Spanakopita is delicious. Phyllo dough is fussy. This is the hack.
Puff pastry instead of phyllo. Same creamy spinach-feta filling. Same flaky, buttery magic. Half the work. 30 minutes. All the glory.
Ingredients
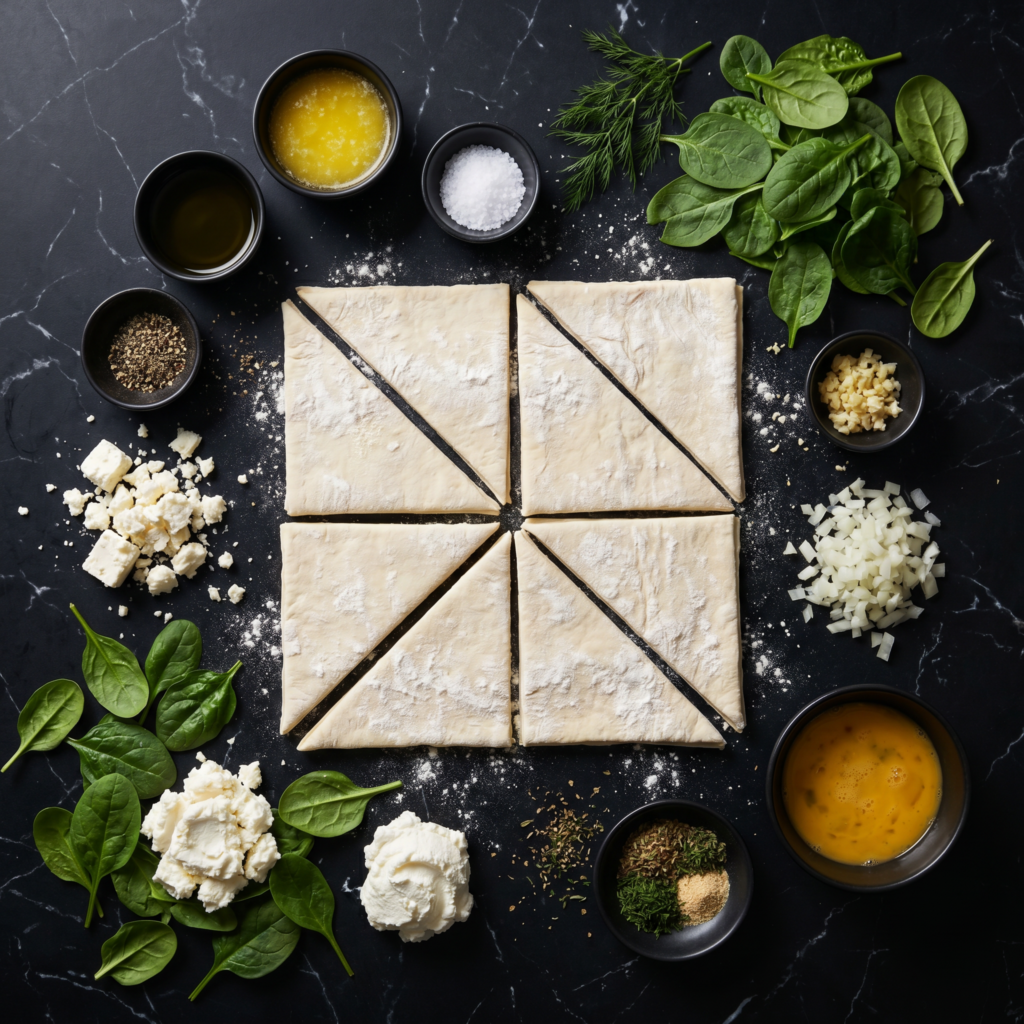
Makes 12 triangles.
- 1 sheet puff pastry (thawed)
- 1 tbsp olive oil
- 2 green onions, sliced
- 10 oz frozen chopped spinach, thawed and squeezed VERY dry
- 4 oz feta cheese, crumbled
- ¼ cup ricotta cheese (or cream cheese)
- 1 garlic clove, minced
- ½ tsp dill (optional)
- ¼ tsp black pepper
- 1 egg, beaten (for egg wash)
- 1 tbsp sesame seeds (optional)
Step-by-Step Instructions
Step 1: Preheat and Prep
- Preheat oven to 400°F (200°C). Line a baking sheet with parchment.
- Squeeze spinach in a kitchen towel until bone-dry (critical!).
Step 2: Make the Filling
- Heat oil in a small skillet. Cook green onions 1 minute.
- In a bowl, combine cooked onions, spinach, feta, ricotta, garlic, dill, and pepper.
Step 3: Cut and Fill Pastry
- Roll puff pastry slightly into a 10×12-inch rectangle. Cut into 12 squares.
- Place 1 tbsp filling in center of each square. Fold diagonally into triangles.
- Crimp edges with a fork to seal.
Step 4: Brush and Bake
- Place triangles on baking sheet. Brush with beaten egg. Sprinkle with sesame seeds.
- Cut a small slit on top for steam.
- Bake 15-18 minutes until puffed and golden brown.
Step 5: Serve
- Cool 5 minutes. Serve warm or at room temperature.
Summary
Prep Time: 15 minutes | Cook Time: 15-18 minutes | Total Time: 30 minutes
Yield: 12 triangles
Difficulty: Easy
Storage Notes
Fridge:
Store baked triangles for 4 days. Reheat in oven or air fryer.
Freezer Friendly:
Freeze unbaked triangles for 3 months. Bake from frozen at 400°F for 18-20 minutes.
Pro Tip:
Squeeze spinach DRY. Wet spinach = soggy pastry = sad triangles.