Category: baking

  • Homemade Pretzels: Soft, Buttery, Better Than the Mall

    Homemade Pretzels: Soft, Buttery, Better Than the Mall

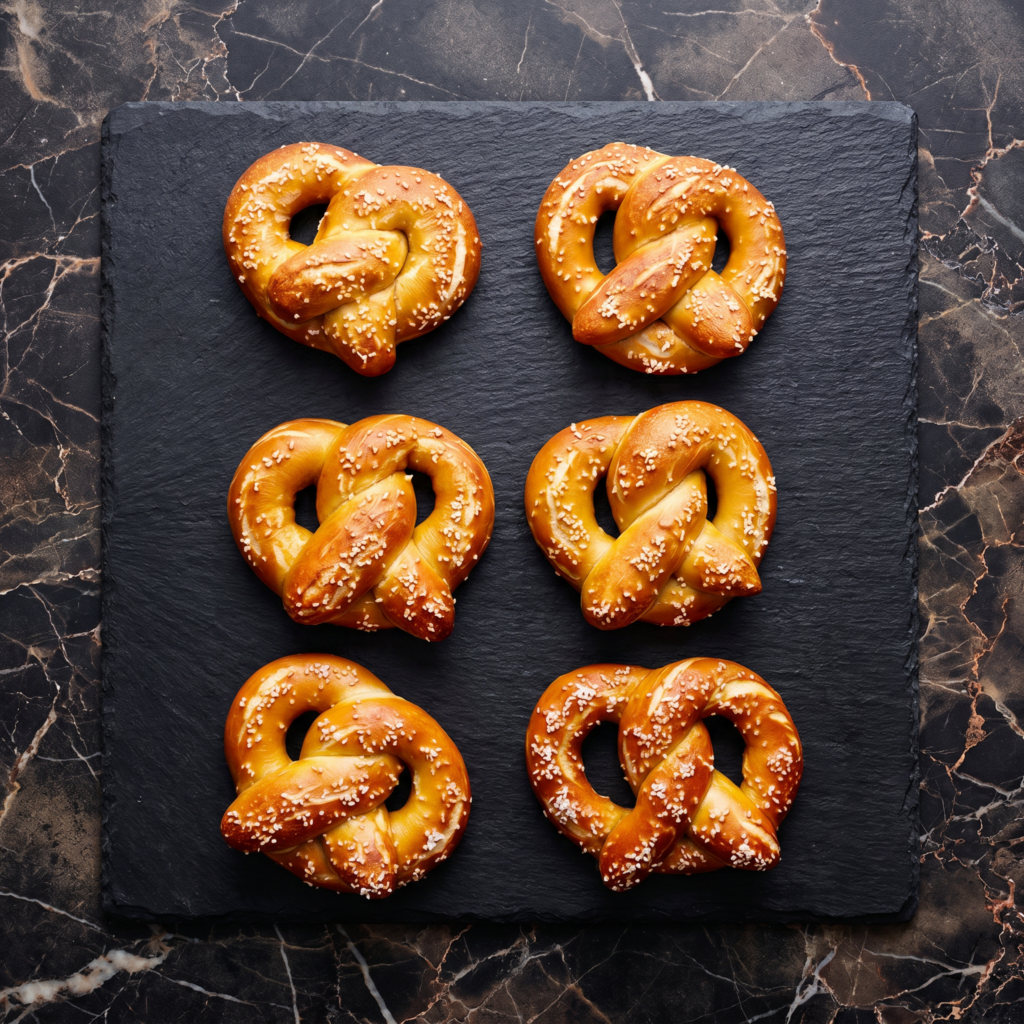
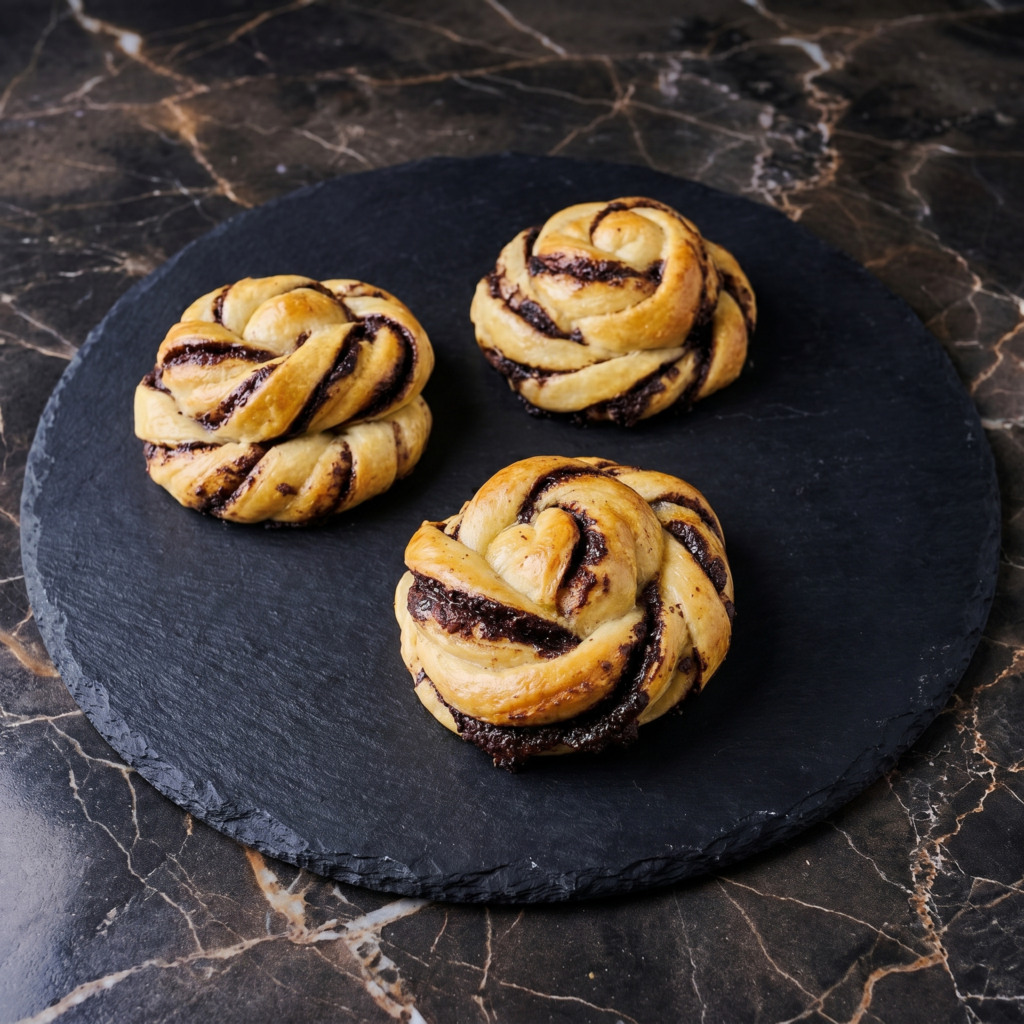
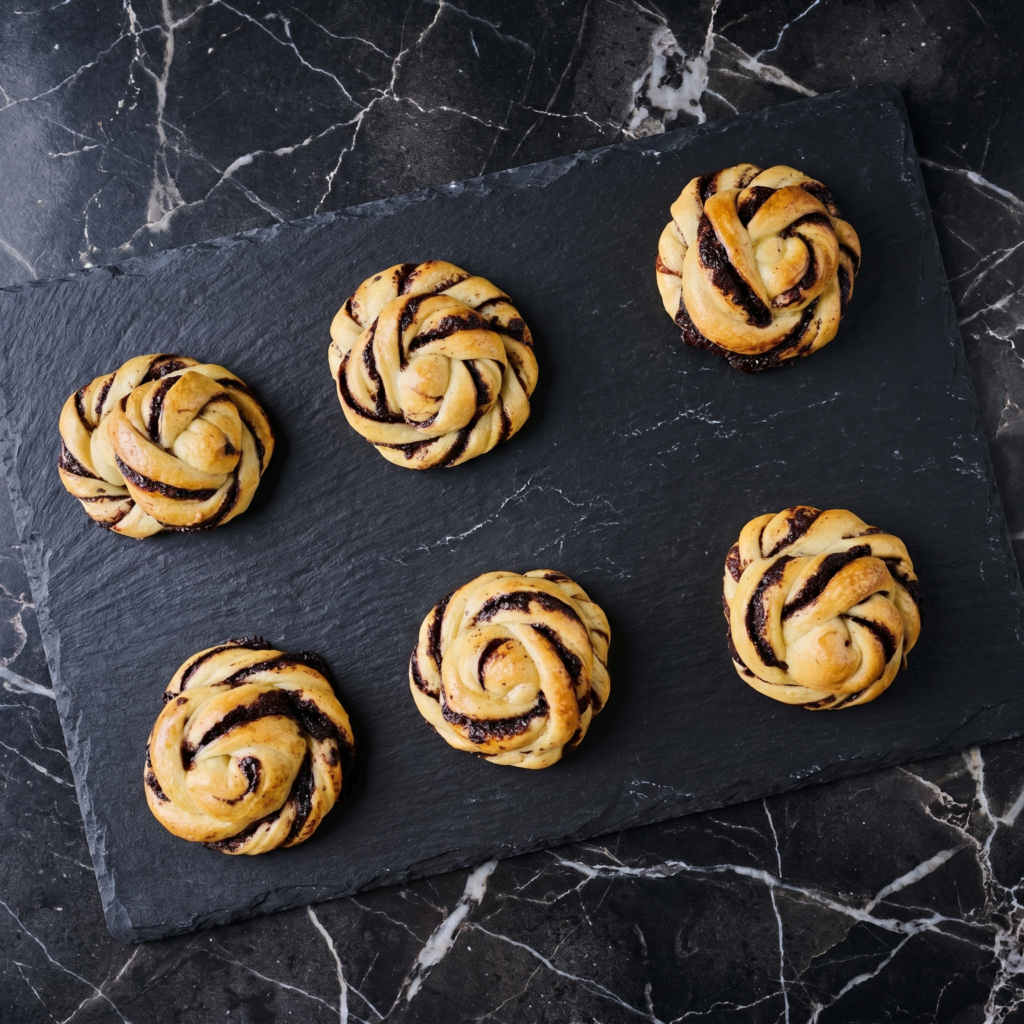
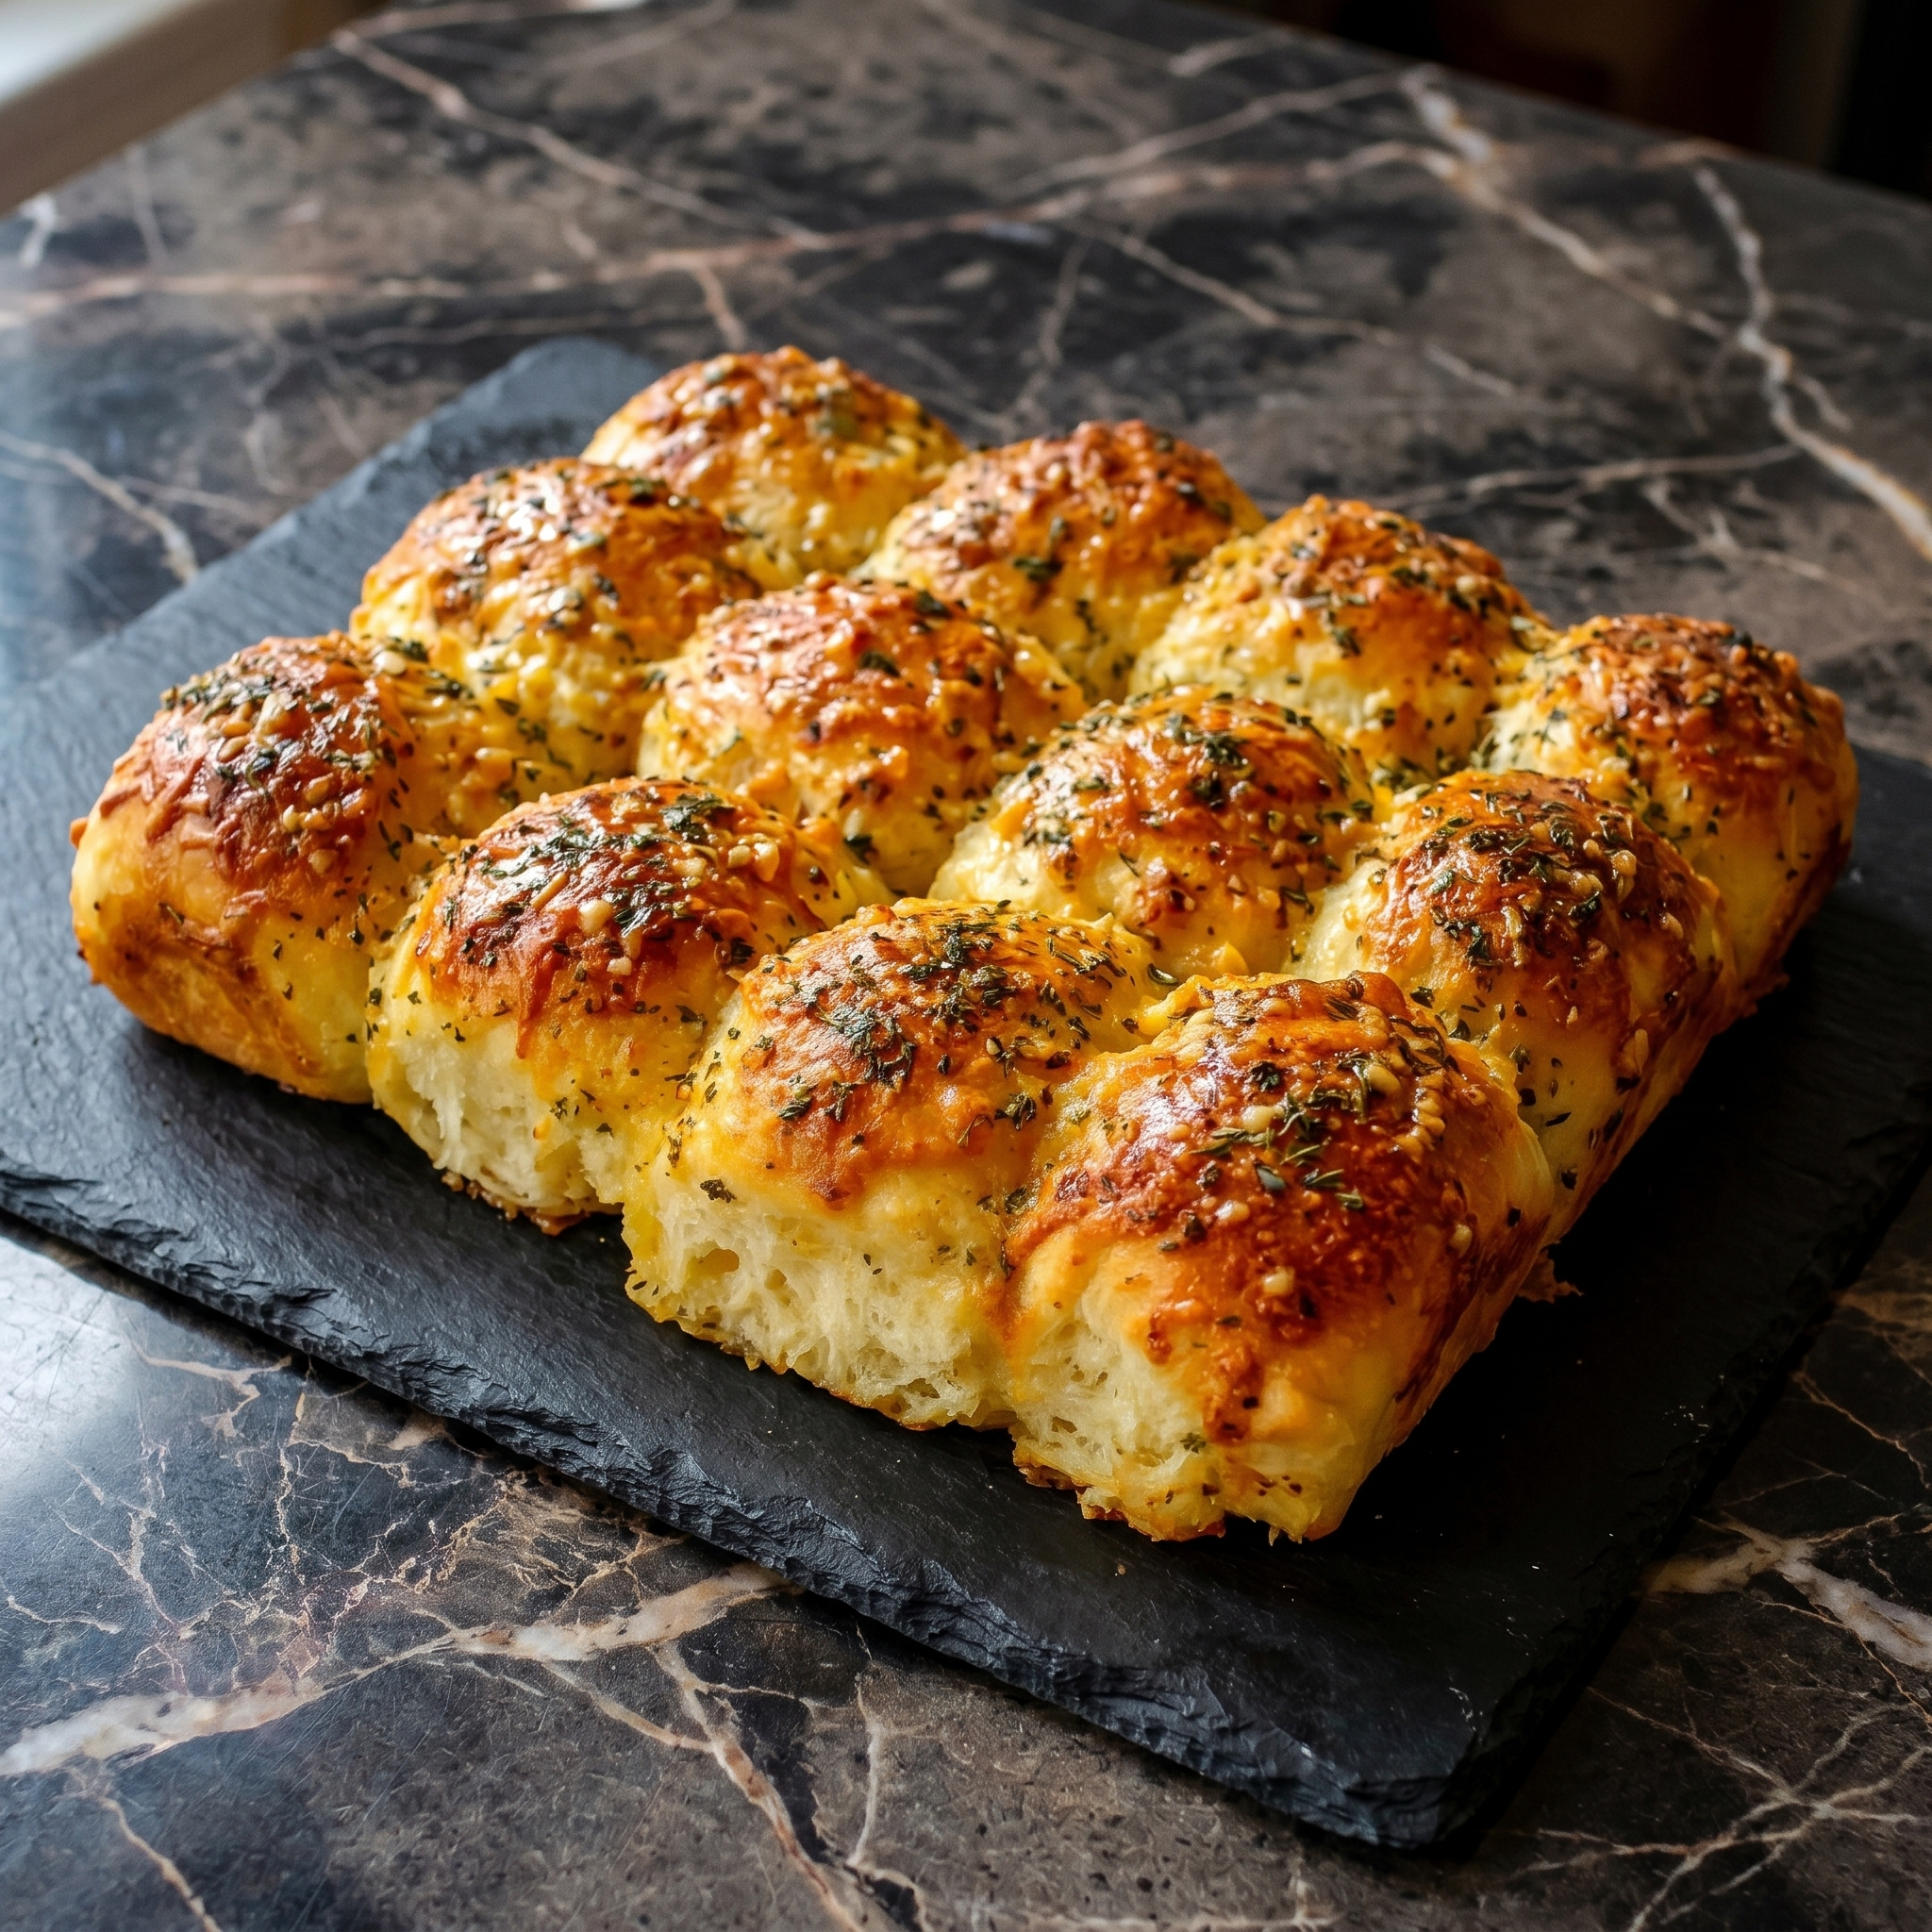
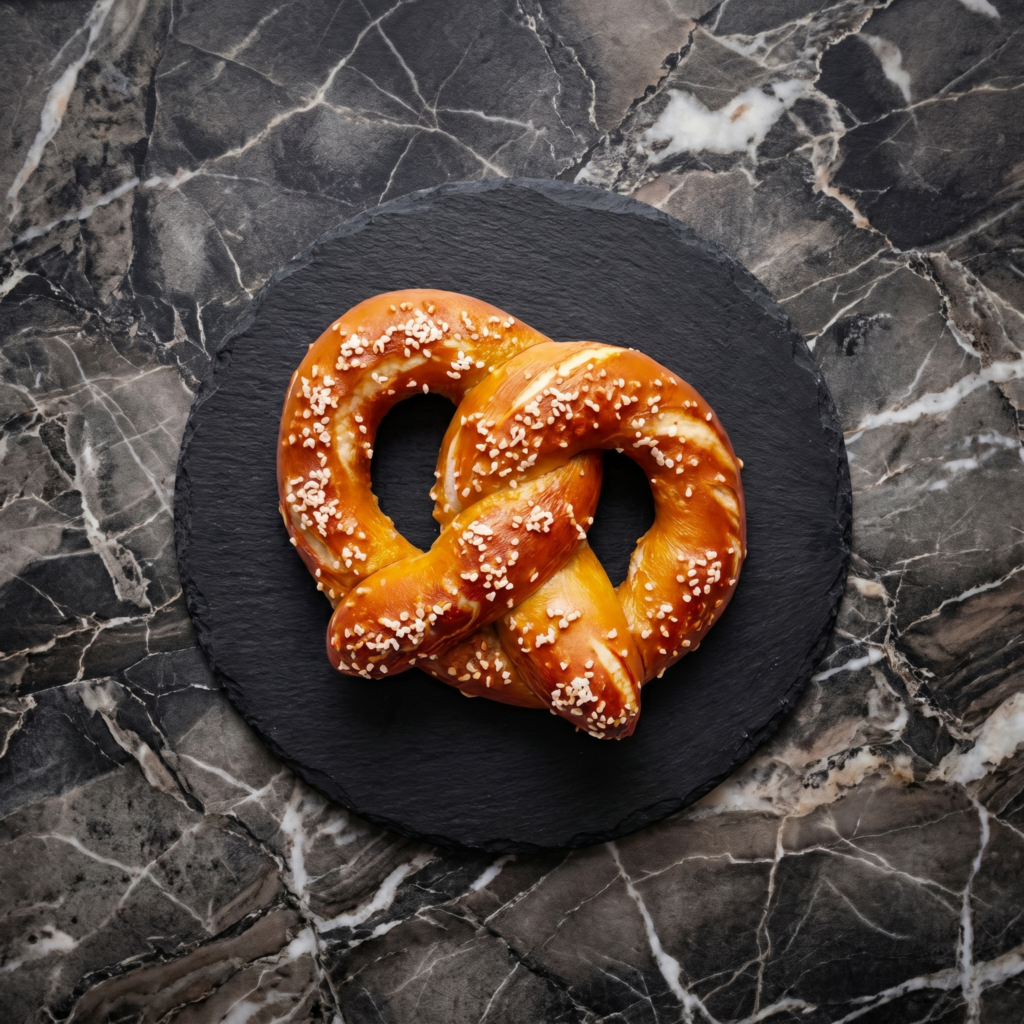
    Mall pretzels are fine. Homemade pretzels are a religious experience.

    These are soft, chewy, shiny, and begging for mustard or cheese sauce. The secret? A quick baking soda bath before baking. No lye. No drama. Just twisted, salty perfection in under an hour.

    Ingredients

    Makes 8 pretzels.

    For the Dough:

    • 3 cups all-purpose flour
    • 1 packet (2 ¼ tsp) instant yeast
    • 1 tablespoon sugar
    • 1 teaspoon salt
    • 1 cup warm water (about 110°F)
    • 2 tablespoons melted butter

    For the Baking Soda Bath:

    • 10 cups water
    • ⅔ cup baking soda

    For Topping:

    • 1 egg yolk beaten with 1 tablespoon water
    • Coarse sea salt or pretzel salt
    • ¼ cup melted butter (for brushing after baking)

    Step-by-Step Instructions

    Step 1: Make the Dough

    1. Whisk flour, yeast, sugar, and salt in a bowl.
    2. Add warm water and melted butter. Mix until a dough forms.
    3. Knead for 5-7 minutes until smooth.
    4. Let rise in a greased bowl for 30 minutes.

    Step 2: Shape the Pretzels

    1. Preheat oven to 450°F (230°C). Line a baking sheet with parchment.
    2. Divide dough into 8 pieces. Roll each into a 20-inch rope.
    3. Form a U-shape. Cross the ends twice. Flip down to the bottom of the U.

    Step 3: The Baking Soda Bath

    1. Bring 10 cups water to a boil. Add baking soda (it will bubble).
    2. Drop each pretzel in for 20-30 seconds. Remove with slotted spoon.
    3. Place on baking sheet.

    Step 4: Bake & Butter

    1. Brush pretzels with egg wash. Sprinkle with coarse salt.
    2. Bake for 10-12 minutes until deep golden brown.
    3. Brush hot pretzels with melted butter. Serve warm with mustard or cheese sauce.

    Summary

    Prep Time: 15 minutes | Rise Time: 30 minutes | Bake Time: 12 minutes

    Yield: 8 pretzels | Difficulty: Easy

    Storage Notes

    Store in an airtight container for up to 3 days. Freeze for up to 3 months. To reheat, spritz with water and air fry at 350°F for 3-4 minutes or bake at 350°F for 5 minutes. Microwave makes them rubbery—don’t do it.

  • Challah Bread: Braided, Golden, and Absolutely Gorgeous

    Challah Bread: Braided, Golden, and Absolutely Gorgeous

    Challah is the prettiest bread you’ll ever make. And somehow, also the easiest.

    It’s rich, soft, slightly sweet, and absolutely stunning on any table. The braid looks intimidating, but it’s just loops and tucks. This recipe walks you through it. No tears. No tantrums. Just gorgeous, egg-washed perfection.

    Ingredients

    Makes 1 large braided loaf.

    • 4 cups all-purpose flour (plus more for dusting)
    • ¼ cup sugar
    • 1 packet (2 ¼ tsp) instant yeast
    • 1 ½ teaspoons salt
    • 3 large eggs
    • 1 large egg yolk (save the white for egg wash)
    • ½ cup warm water (about 110°F)
    • ¼ cup vegetable oil
    • 2 tablespoons honey

    For the Egg Wash:

    • Reserved egg white + 1 tablespoon water
    • Optional: poppy seeds or sesame seeds

    Step-by-Step Instructions

    Step 1: Make the Dough

    1. Whisk flour, sugar, yeast, and salt in a large bowl.
    2. Add eggs, egg yolk, warm water, oil, and honey. Mix until a shaggy dough forms.
    3. Knead for 8-10 minutes until smooth and elastic.
    4. Let rise in a greased bowl for 1-2 hours until doubled.

    Step 2: Braid the Challah

    1. Punch down dough. Divide into 6 equal pieces.
    2. Roll each piece into a 12-inch rope.
    3. Line up the ropes. Pinch tops together.
    4. 6-strand braid: Move the far-right rope over 2, under 1, over 2. Repeat starting from the right each time. Or just do a 3-strand braid (easier, still beautiful).
    5. Pinch ends together and tuck under.

    Step 3: Second Rise

    1. Transfer braided loaf to a parchment-lined baking sheet.
    2. Cover and let rise for 45-60 minutes until puffy.

    Step 4: Bake

    1. Preheat oven to 375°F (190°C).
    2. Brush loaf generously with egg wash. Sprinkle with seeds if using.
    3. Bake for 25-30 minutes until deep golden brown. The loaf should sound hollow when tapped.
    4. Cool on a wire rack. Try not to tear off the end while it’s hot.

    Summary

    Prep Time: 20 minutes | Rise Time: 2-3 hours | Bake Time: 30 minutes

    Yield: 1 large loaf | Difficulty: Medium (braiding takes practice)

    Storage Notes

    Store at room temperature in an airtight container for up to 4 days. Freeze for up to 3 months. Challah makes the world’s best French toast—use stale slices, soak overnight, thank us later.

  • Chocolate Knots: Twisted, Gooey, Dangerously Good

    Chocolate Knots: Twisted, Gooey, Dangerously Good

    Chocolate + puff pastry + a simple twist = happiness.

    These chocolate knots are flaky, buttery, and packed with warm, gooey chocolate. They take 20 minutes from start to finish and look like you tried way too hard. You didn’t. Let’s knot.

    Ingredients

    Makes 8 knots.

    • 1 sheet frozen puff pastry, thawed
    • ½ cup chocolate chips or chopped dark chocolate
    • 2 tablespoons unsalted butter, melted
    • 2 tablespoons sugar
    • 1 teaspoon cinnamon (optional)
    • Powdered sugar for dusting
    • 1 egg, beaten (for egg wash)

    Step-by-Step Instructions

    Step 1: Prep

    1. Preheat oven to 375°F (190°C). Line a baking sheet with parchment.
    2. Roll puff pastry into a 10×12-inch rectangle.

    Step 2: Fill

    1. Brush pastry with melted butter.
    2. Sprinkle with sugar and cinnamon (if using).
    3. Scatter chocolate chips evenly over the surface. Press in lightly.

    Step 3: Cut & Twist

    1. Cut pastry into 8 strips (each about 1.5 inches wide and 10 inches long).
    2. Gently twist each strip several times.
    3. Tie each twisted strip into a loose knot. Tuck ends underneath.

    Step 4: Bake & Dust

    1. Place knots on the baking sheet. Brush with beaten egg.
    2. Bake for 12-15 minutes until puffed and golden brown.
    3. Cool for 5 minutes. Dust generously with powdered sugar.
    4. Eat while chocolate is still warm and lava-like.

    Summary

    Prep Time: 8 minutes | Bake Time: 15 minutes | Total Time: 23 minutes

    Yield: 8 knots | Difficulty: Super Easy

    Storage Notes

    Best eaten day-of. Store leftovers in an airtight container for up to 2 days. Reheat in an air fryer at 350°F for 3-4 minutes or in an oven for 5 minutes. Never microwave—chocolate becomes napalm, pastry turns sad.

  • Homemade Naan: Bubble-y, Buttery, and Obsession-Worthy

    Homemade Naan: Bubble-y, Buttery, and Obsession-Worthy

    Store-bought naan is a sad, dry cracker pretending to be bread. Let’s fix that.

    This homemade naan is soft, chewy, blistered, and slathered in garlic butter. No tandoor? No problem. A regular skillet does the job. Ten minutes of work. Unlimited dipping potential.

    Ingredients

    Makes 6 large naan.

    For the Dough:

    • 2 cups all-purpose flour (plus more for dusting)
    • ½ cup plain yogurt (full-fat works best)
    • ¼ cup warm water
    • 2 tablespoons oil or melted butter
    • 1 teaspoon sugar
    • 1 teaspoon baking powder
    • ½ teaspoon baking soda
    • ½ teaspoon salt

    For the Garlic Butter Topping:

    • 3 tablespoons melted butter
    • 3 cloves garlic, minced
    • 2 tablespoons fresh cilantro, chopped (optional)

    Step-by-Step Instructions

    Step 1: Make the Dough

    1. In a large bowl, whisk flour, sugar, baking powder, baking soda, and salt.
    2. Add yogurt, warm water, and oil. Mix until a shaggy dough forms.
    3. Knead for 5-7 minutes until smooth and soft.
    4. Cover and rest for 30 minutes (or up to 2 hours).

    Step 2: Shape the Naan

    1. Divide dough into 6 equal balls.
    2. On a floured surface, roll each ball into a 6-8 inch oval or teardrop shape. Don’t make it too thin.

    Step 3: Cook on the Stovetop

    1. Heat a cast-iron skillet or heavy pan over high heat until screaming hot.
    2. Place one naan in the dry skillet. Cook for 1-2 minutes until bubbles appear on top.
    3. Flip and cook for another 1-2 minutes until dark blistered spots appear.
    4. Repeat with all naan.

    Step 4: Butter and Serve

    1. Mix melted butter and minced garlic.
    2. Brush hot naan with garlic butter. Sprinkle with cilantro.
    3. Serve warm with curry, hummus, or just eat it plain. No judgment.

    Summary

    Prep Time: 10 minutes | Rest Time: 30 minutes | Cook Time: 10 minutes

    Yield: 6 naan | Difficulty: Easy

    Storage Notes

    Store in an airtight container for up to 3 days. Freeze for up to 3 months. To reheat, spritz with water and warm in a skillet or air fryer at 350°F for 3 minutes. Microwaving works but kills the texture.

  • Chimichangas (Deep-Fried Burritos = Best Idea Ever)

    Chimichangas (Deep-Fried Burritos = Best Idea Ever)

    Someone, somewhere, looked at a burrito and thought: “This needs to be fried.”

    That person was a genius. The chimichanga is a golden, crispy, shatteringly delicious masterpiece. A flour tortilla stuffed with seasoned meat, beans, and cheese, then fried until crackly-crunchy. Baked version included if you’re being healthy (no judgment… okay, a little).

    Ingredients

    Makes 6 chimichangas.

    • 6 large flour tortillas (burrito-size)
    • 1 lb (450g) ground beef (or shredded chicken)
    • 1 packet taco seasoning (or homemade)
    • ⅓ cup water
    • 1 can (15 oz) refried beans
    • 1 cup shredded Mexican cheese blend
    • Oil for frying (vegetable or canola)

    For Toppings:

    • Sour cream
    • Salsa or pico de gallo
    • Guacamole or sliced avocado
    • Shredded lettuce
    • Hot sauce

    Step-by-Step Instructions

    Step 1: Cook the Filling

    1. Brown ground beef in a skillet over medium-high heat. Drain grease.
    2. Add taco seasoning and water. Simmer 3 minutes until thickened.

    Step 2: Warm the Tortillas

    1. Microwave tortillas for 20 seconds or warm in a dry skillet. This prevents cracking.

    Step 3: Assemble

    1. Spread 2 tablespoons refried beans in the center of each tortilla.
    2. Top with seasoned beef and shredded cheese.
    3. Fold in the sides, then roll tightly from the bottom up.
    4. Secure with toothpicks if needed.

    Step 4: Fry or Bake

    1. Fry: Heat 1 inch oil to 350°F (175°C). Fry chimichangas seam-side down for 2-3 minutes per side until golden brown.
    2. Bake (healthier): Brush with oil. Bake at 425°F (220°C) for 15-20 minutes, flipping halfway.
    3. Air fry: 375°F (190°C) for 8-10 minutes.

    Step 5: Serve

    1. Remove toothpicks. Top with sour cream, salsa, guacamole, lettuce, and hot sauce.
    2. Eat with your hands. Napkins required.

    Summary

    Prep Time: 15 minutes | Cook Time: 15 minutes | Total Time: 30 minutes

    Yield: 6 chimichangas

    Difficulty: Easy

    Storage Notes

    • Fridge: Fried chimichangas keep for 3 days. They will lose crispiness.
    • Reheat: Air fryer at 375°F for 6-8 minutes or oven at 400°F for 10 minutes. No microwave (soggy disaster).
    • Freezer: Freeze uncooked, assembled chimichangas for up to 2 months. Fry or bake from frozen (add 5-10 minutes).
    • Pro tip: Bake or air fry for leftovers. Re-frying is messy.
  • Cornish Pasties (A Handheld Meat Pie That Miners Got Right)

    Cornish Pasties (A Handheld Meat Pie That Miners Got Right)

    Cornish miners packed these for lunch because a pasty is basically edible Tupperware.

    Hearty beef, potatoes, onion, and rutabaga (swede) wrapped in a buttery, flaky crust. Crimp the edge like a handle—hold it, eat it, toss the dirty edge. Two hundred years of wisdom in one delicious pocket.

    Ingredients

    Makes 4 large pasties.

    For the Dough:

    • 3 cups (375g) all-purpose flour
    • 1 teaspoon salt
    • ½ cup (115g) cold unsalted butter, cubed
    • ½ cup (115g) cold lard or shortening
    • ½ cup (120ml) ice water

    For the Filling:

    • ½ lb (225g) beef sirloin or skirt steak, cut into ½-inch cubes
    • 1 medium potato, diced small
    • ½ small rutabaga (swede), diced small
    • ½ small onion, finely chopped
    • 1 teaspoon salt
    • ½ teaspoon black pepper
    • 1 egg, beaten (for egg wash)

    Step-by-Step Instructions

    Step 1: Make Dough

    1. Mix flour and salt. Cut in butter and lard until pea-sized crumbs form.
    2. Add ice water 1 tablespoon at a time until dough comes together.
    3. Divide into 4 balls. Wrap and chill 30 minutes.

    Step 2: Prep Filling

    1. In a bowl, combine beef, potato, rutabaga, and onion.
    2. Season with salt and pepper. Do NOT pre-cook anything.

    Step 3: Assemble

    1. Preheat oven to 400°F (200°C). Roll each dough ball into a 8-inch circle.
    2. Place ¾ cup filling on one half, leaving a border.
    3. Fold other half over. Crimp edges firmly.

    Step 4: Bake

    1. Brush with egg wash. Cut a small steam slit on top.
    2. Bake 45-50 minutes until deep golden brown.

    Step 5: Serve

    1. Cool 10 minutes. Eat warm or at room temperature.

    Summary

    Prep Time: 30 minutes | Chill Time: 30 minutes | Cook Time: 50 minutes | Total Time: ~2 hours

    Yield: 4 pasties

    Difficulty: Medium

    Storage Notes

    Refrigerate Baked:

    Store in an airtight container for up to 4 days. Reheat at 350°F for 15 minutes. Microwave makes crust sad.

    Freeze (Best Method):

    Freeze unbaked pasties on a tray, then wrap tightly. Bake from frozen at 375°F for 55-60 minutes.

    Traditional Note:

    Authentic Cornish pasties have the crimp on the side (not top). Fill is roughly ⅓ beef, ⅓ potato, ⅓ veg.

    No Rutabaga?

    Use carrot or turnip. Not the same, but still good.

  • Garlic Cheese Rolls (Stretchy, Buttery, Irresistible)

    Garlic Cheese Rolls (Stretchy, Buttery, Irresistible)

    Garlic bread is great. Garlic bread with a molten cheese center? That’s a life decision.

    These garlic cheese rolls are soft, stretchy, and dangerously addictive. Make a batch. Watch them vanish.

    Ingredients

    Makes 8 rolls.

    • 1 can (8-count) refrigerated biscuit dough or 8 homemade roll dough balls
    • 4 oz (115g) mozzarella cheese, cut into 8 cubes
    • 3 tablespoons melted butter
    • 3 cloves garlic, minced (or 1 teaspoon garlic powder)
    • 1 tablespoon fresh parsley, chopped (optional)
    • ¼ cup (25g) grated parmesan cheese (optional)

    Step-by-Step Instructions

    Step 1: Prep

    1. Preheat oven to 375°F (190°C). Grease a baking dish or line with parchment.
    2. In a small bowl, mix melted butter and minced garlic.

    Step 2: Stuff

    1. Flatten each dough ball into a small circle.
    2. Place a cheese cube in the center. Wrap dough around it. Pinch to seal.

    Step 3: Butter and Bake

    1. Arrange rolls seam-side down in the baking dish.
    2. Brush with half the garlic butter. Sprinkle with parmesan if using.
    3. Bake for 12–15 minutes until golden brown.

    Step 4: Finish

    1. Brush hot rolls with remaining garlic butter. Sprinkle with parsley.
    2. Let cool 3 minutes. Then pull one apart and watch the cheese stretch.

    Summary

    Prep Time: 5 minutes | Cook Time: 15 minutes | Total Time: 20 minutes

    Yield: 8 rolls

    Difficulty: Super Easy

    Storage Notes

    • Fridge: Store in an airtight container for up to 2 days. Reheat in microwave for 10–15 seconds or oven at 350°F for 5 minutes.
    • Freezer: Freeze baked rolls for up to 1 month. Reheat from frozen at 350°F for 8–10 minutes.

    Pro tip: Serve warm with marinara sauce for dipping. You’re welcome.

  • Jamaican Patties (Flaky, Spicy, Golden Packets of Joy)

    Jamaican Patties (Flaky, Spicy, Golden Packets of Joy)

    Jamaican patties are the reason golden pastry exists.

    Flaky, buttery, turmeric-bright dough wrapped around deeply seasoned ground beef. A little spicy. A lot addictive. Eat one with coco bread or just alone. Just make extra—they disappear fast.

    Ingredients

    Makes 8 patties.

    For the Dough:

    • 2 cups (250g) all-purpose flour
    • 1 teaspoon turmeric
    • ½ teaspoon salt
    • ½ cup (115g) cold butter, cubed
    • ½ cup (120ml) ice water

    For the Filling:

    • 1 lb (450g) ground beef
    • 1 onion, finely chopped
    • 2 cloves garlic, minced
    • 1 teaspoon thyme
    • 1 teaspoon curry powder
    • ½ teaspoon allspice
    • 1 Scotch bonnet pepper (whole, or ½ tsp dried)
    • ¼ cup beef broth
    • 1 egg (for egg wash)

    Step-by-Step Instructions

    Step 1: Make Dough

    1. Mix flour, turmeric, and salt. Cut in butter until crumbly.
    2. Add ice water gradually until dough forms. Wrap and chill 30 minutes.

    Step 2: Cook Filling

    1. Brown ground beef with onion and garlic. Drain fat.
    2. Add thyme, curry, allspice, and Scotch bonnet. Cook 1 minute.
    3. Add broth. Simmer until liquid evaporates. Remove whole pepper if used. Cool.

    Step 3: Assemble

    1. Preheat oven to 400°F (200°C). Roll dough to ⅛-inch thick.
    2. Cut into 6-inch circles. Place filling on one half. Fold over. Crimp with a fork.

    Step 4: Bake

    1. Brush with beaten egg. Bake 25-30 minutes until golden brown.

    Step 5: Serve

    1. Serve warm or at room temperature.

    Summary

    Prep Time: 30 minutes | Chill Time: 30 minutes | Cook Time: 30 minutes | Total Time: ~1.5 hours

    Yield: 8 patties

    Difficulty: Medium

    Storage Notes

    Refrigerate Baked:

    Store in an airtight container for up to 4 days. Reheat at 350°F for 10 minutes.

    Freeze Unbaked:

    Assemble patties, freeze on a tray, then transfer to a bag. Bake from frozen at 375°F for 30-35 minutes.

    Make It Milder:

    Remove Scotch bonnet seeds or substitute with ½ teaspoon paprika + cayenne to taste.

    Fillings to Try:

    Chicken, veggies, saltfish, or cheese + callaloo.

  • Classic Po’Boy Sandwich (New Orleans in Your Hands)

    Classic Po’Boy Sandwich (New Orleans in Your Hands)

    New Orleans didn’t invent the sandwich. They just perfected it.

    A proper po’boy is crispy seafood, soft French bread, creamy remoulade, and crunchy lettuce. It’s supposed to be messy. It’s supposed to drip. Embrace it.

    Ingredients

    Makes 2 sandwiches.

    For the Seafood:

    • ½ lb (225g) shrimp (or oysters), peeled
    • ½ cup cornmeal
    • ½ cup flour
    • 1 tsp Cajun seasoning
    • ½ tsp salt
    • Vegetable oil for frying

    For the Remoulade:

    • ½ cup mayo
    • 2 tbsp Creole mustard
    • 1 tbsp hot sauce
    • 1 tsp paprika
    • 1 clove garlic, minced

    For Assembly:

    • 1 loaf French bread (soft inside, crispy outside)
    • Shredded lettuce
    • Tomato slices
    • Pickle slices

    Step-by-Step Instructions

    Step 1: Make Remoulade

    1. Whisk all remoulade ingredients in a bowl. Refrigerate until ready.

    Step 2: Heat Oil

    1. Pour 1 inch of oil into a heavy pot. Heat to 350°F (175°C).

    Step 3: Dredge Seafood

    1. Mix cornmeal, flour, Cajun seasoning, and salt in a bowl.
    2. Toss shrimp in mixture until fully coated.

    Step 4: Fry

    1. Fry shrimp in batches for 2-3 minutes until golden and crispy.
    2. Drain on paper towels. Sprinkle with salt.

    Step 5: Assemble

    1. Cut bread into 2 sandwich portions. Split but don’t cut all the way through.
    2. Spread remoulade on both sides.
    3. Pile on lettuce, tomato, pickles, then fried shrimp.

    Step 6: Serve

    1. Press down gently. Serve with extra hot sauce and napkins. Lots of napkins.

    Summary

    Prep Time: 15 minutes | Cook Time: 10 minutes | Total Time: 25 minutes

    Yield: 2 sandwiches

    Difficulty: Easy

    Storage Notes

    Do Not Store Assembled

    Fried shrimp gets soggy. Bread gets sad. Assemble and eat immediately.

    Prep Ahead:

    • Make remoulade up to 5 days ahead.
    • Dredge shrimp up to 2 hours ahead (refrigerate).
    • Fry fresh for best crunch.

    Leftover Fried Shrimp:

    Reheat in air fryer at 375°F for 3-4 minutes. Then make a smaller sandwich.

    Oyster Option:

    Same dredge, same oil. Fry oysters 2-3 minutes until edges curl.

  • Classic Sausage Rolls (Britain’s Best Party Trick)

    Classic Sausage Rolls (Britain’s Best Party Trick)

    Every British party has them. Now your party will too.

    Sausage rolls are just good pastry wrapped around good sausage. That’s it. No mystery. But when done right—flaky, golden, juicy inside—they become the first thing to vanish from the table. Make two batches.

    Ingredients

    Makes 12 sausage rolls.

    • 1 sheet (½ box) puff pastry, thawed
    • 1 lb (450g) good quality sausage meat or ground pork
    • 1 teaspoon dried sage (or 1 tbsp fresh)
    • ½ teaspoon black pepper
    • ¼ teaspoon nutmeg (optional)
    • 1 egg, beaten (for egg wash)
    • 1 tablespoon sesame or poppy seeds (optional)

    Step-by-Step Instructions

    Step 1: Prep

    1. Preheat oven to 400°F (200°C). Line a baking sheet with parchment.
    2. If using ground pork, mix with sage, pepper, and nutmeg.

    Step 2: Roll and Fill

    1. Unroll puff pastry on a lightly floured surface.
    2. Shape sausage meat into a log along one long edge, about 1 inch thick.
    3. Fold pastry over the meat. Press edge to seal. Crimp with a fork.

    Step 3: Cut and Brush

    1. Cut the long roll into 2-inch pieces.
    2. Place seam-side down on baking sheet. Brush with beaten egg.
    3. Sprinkle with seeds if using.

    Step 4: Bake

    1. Bake 20-25 minutes until deep golden brown and puffed.
    2. Let cool 5 minutes on the sheet.

    Step 5: Serve

    1. Serve warm or at room temperature. Brown mustard on the side is non-negotiable.

    Summary

    Prep Time: 10 minutes | Cook Time: 25 minutes | Total Time: 35 minutes

    Yield: 12 sausage rolls

    Difficulty: Easy

    Storage Notes

    Refrigerate Baked:

    Store in an airtight container for up to 3 days. Reheat at 350°F for 8-10 minutes. Cold is also fine (picnic style).

    Freeze Unbaked:

    Assemble and cut, then freeze on a tray. Bake from frozen at 400°F for 25-30 minutes. Add 5 minutes to cook time.

    Pro Tip:

    Prick each roll with a fork to let steam escape and prevent soggy bottoms.

    Cheater’s Version:

    Use pre-made cocktail sausages. Wrap each in a strip of puff pastry. Bake as directed. No shame.