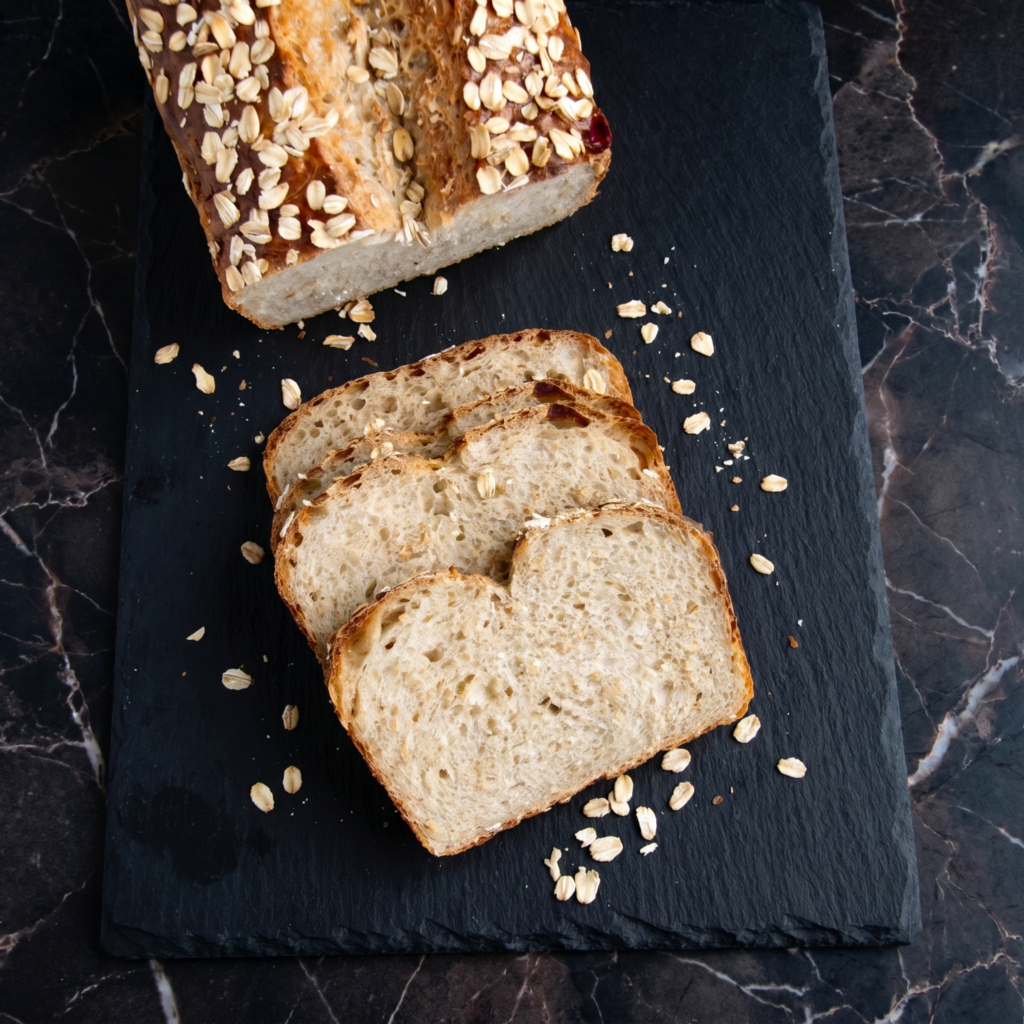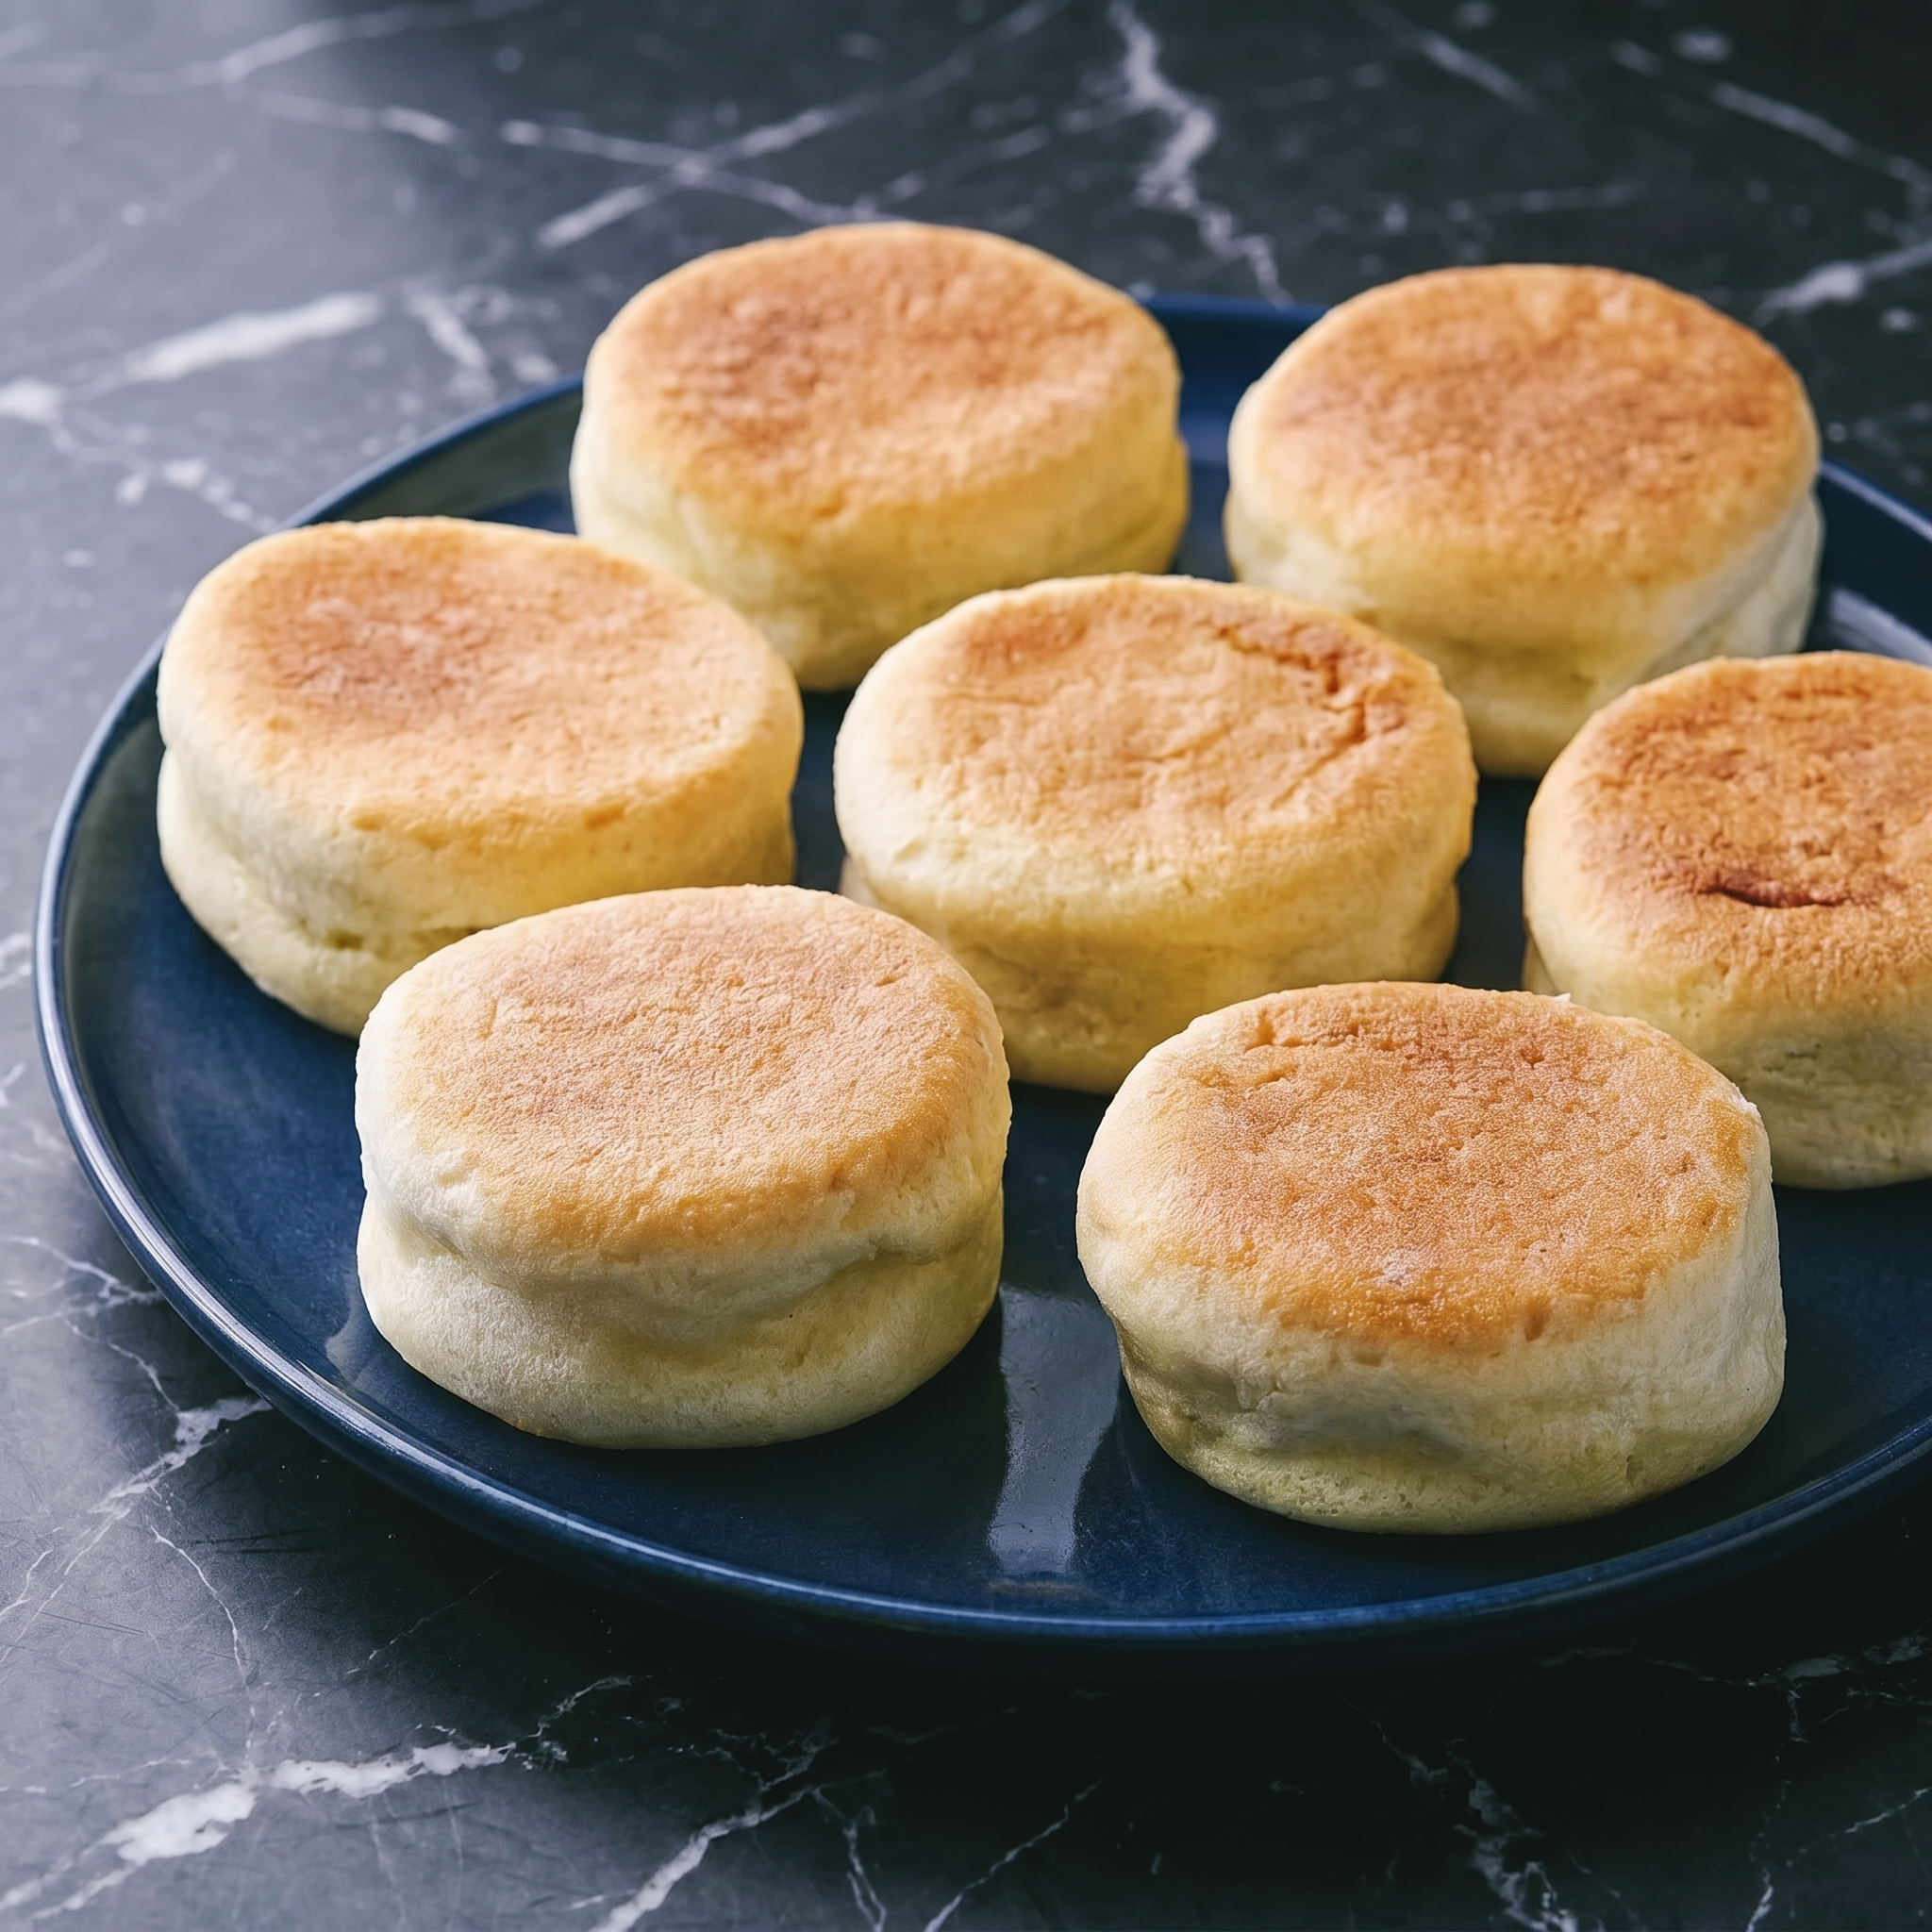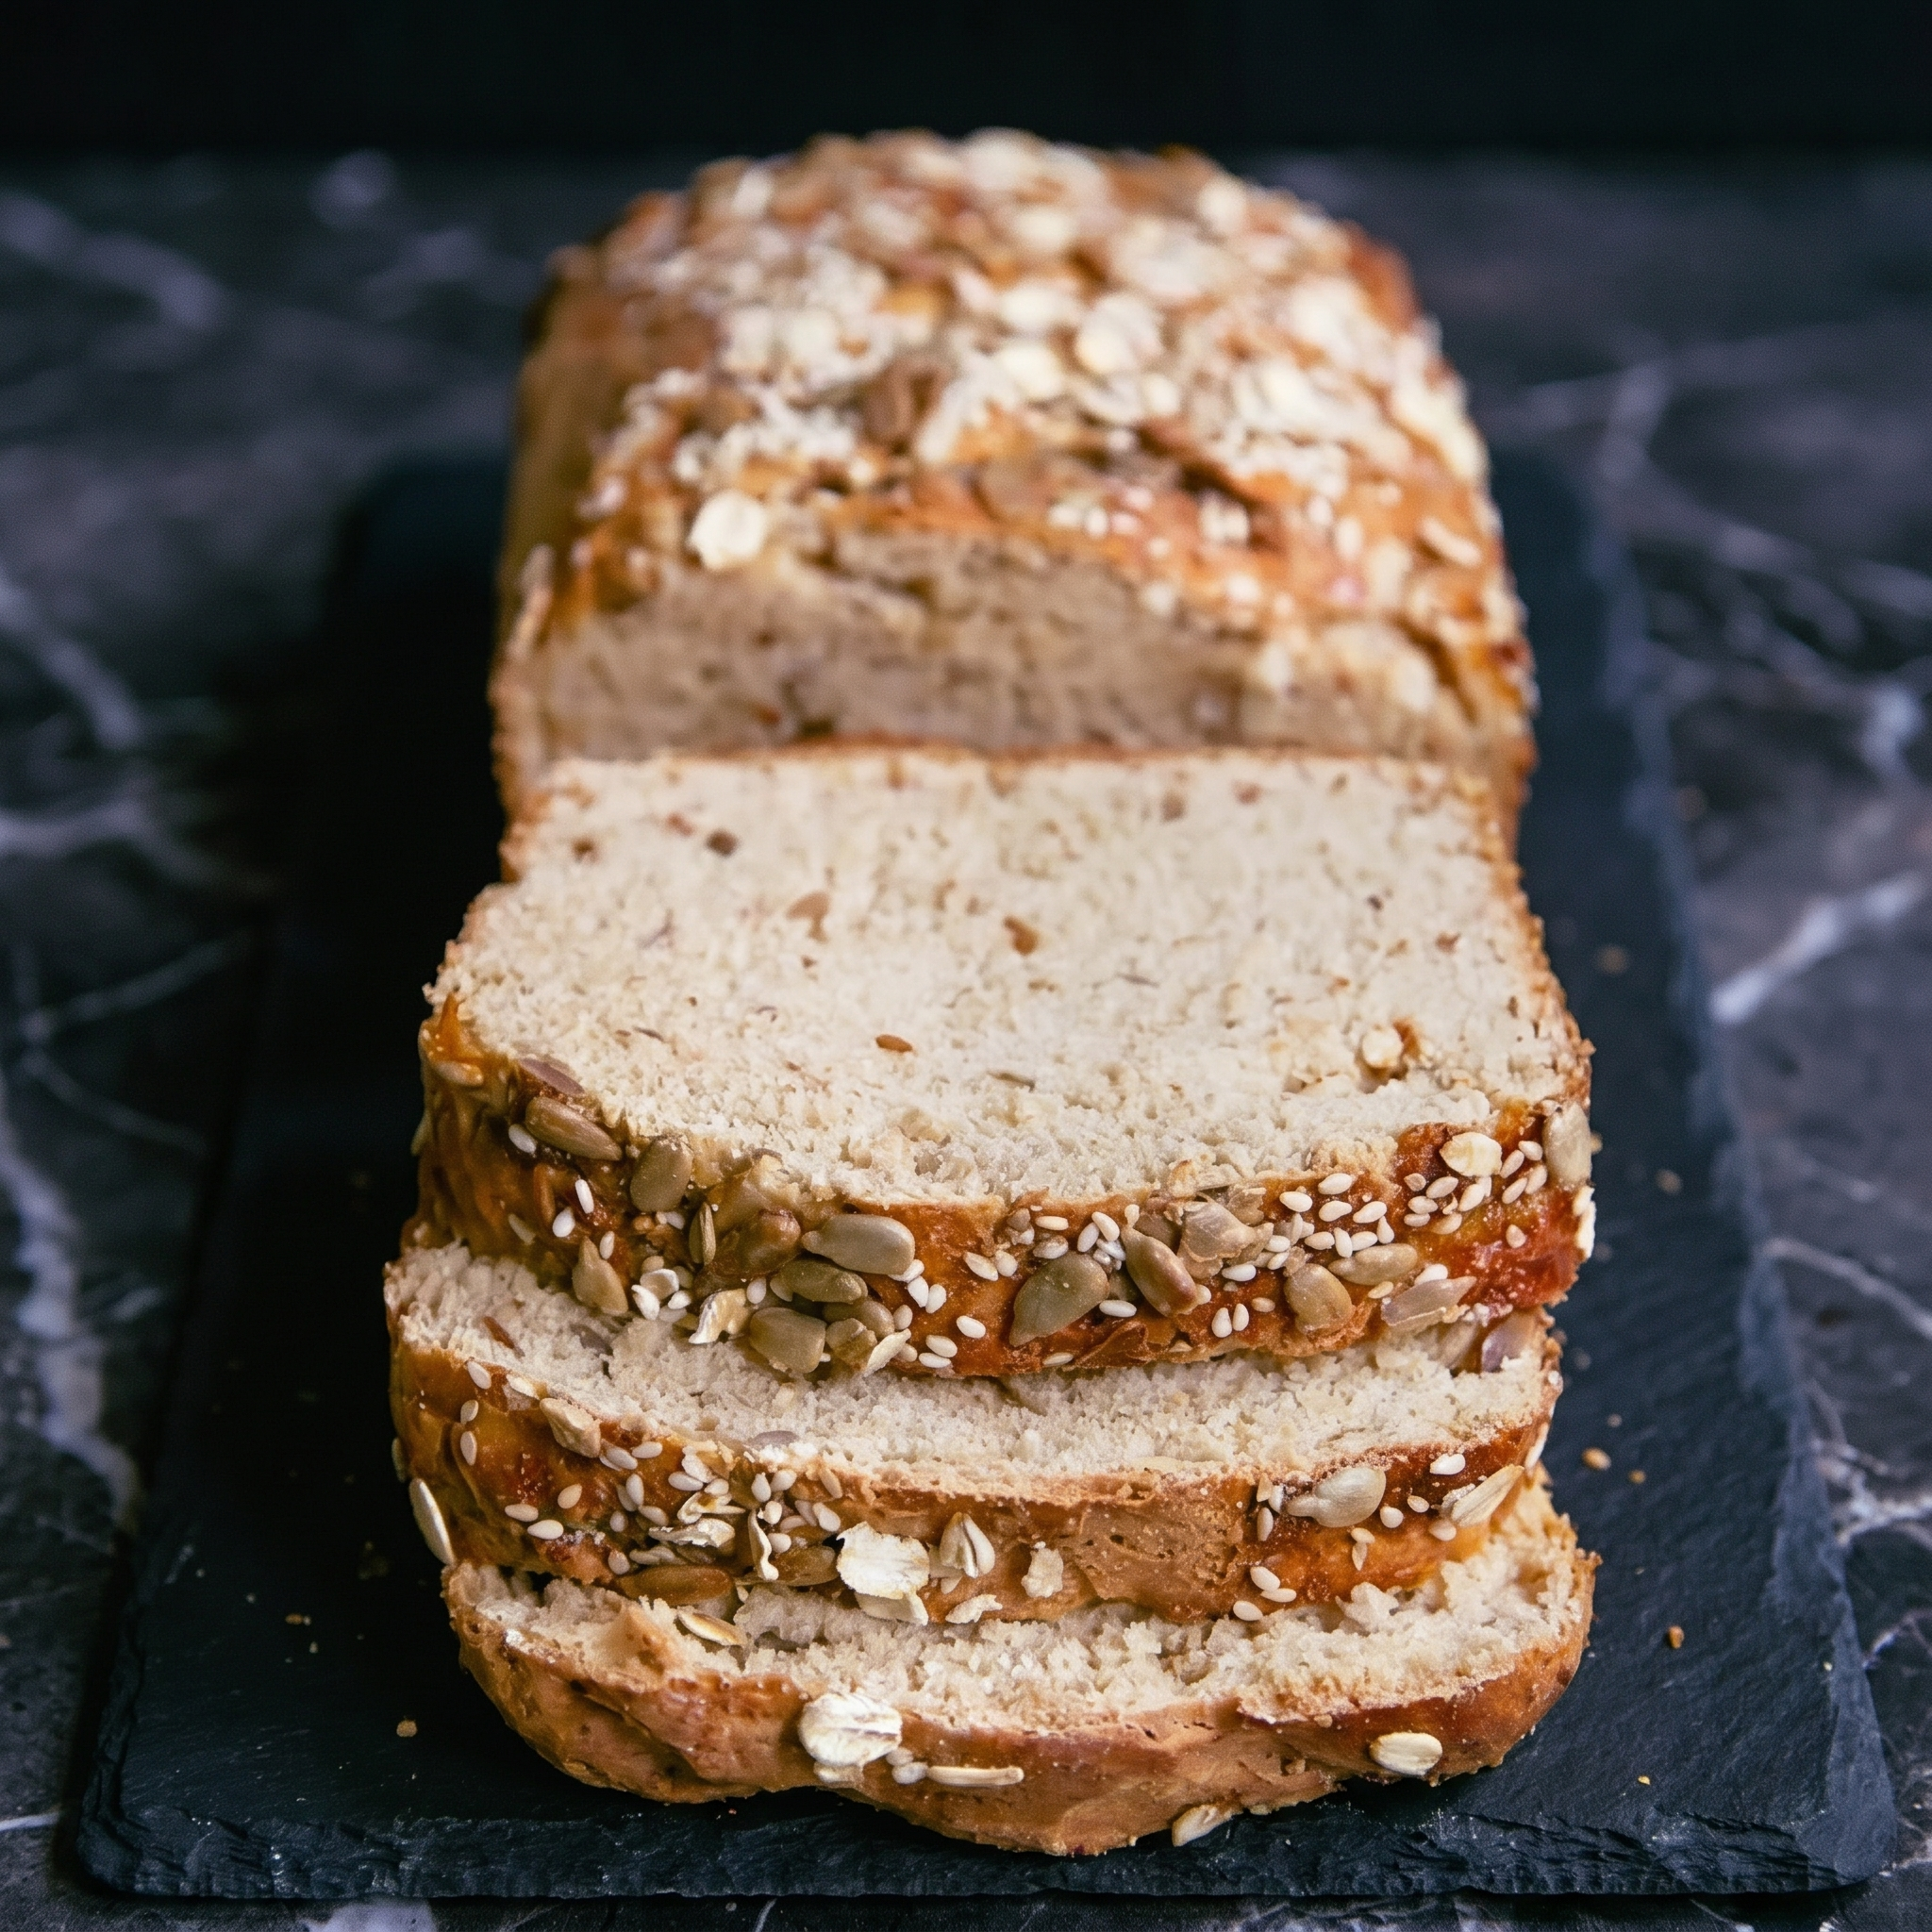
Oatmeal bread is the best of both worlds. Hearty and wholesome. Soft and pillowy. Slightly sweet from honey. Perfect for toast, sandwiches, or just tearing apart with butter. Make two loaves. One won’t last.
Ingredients
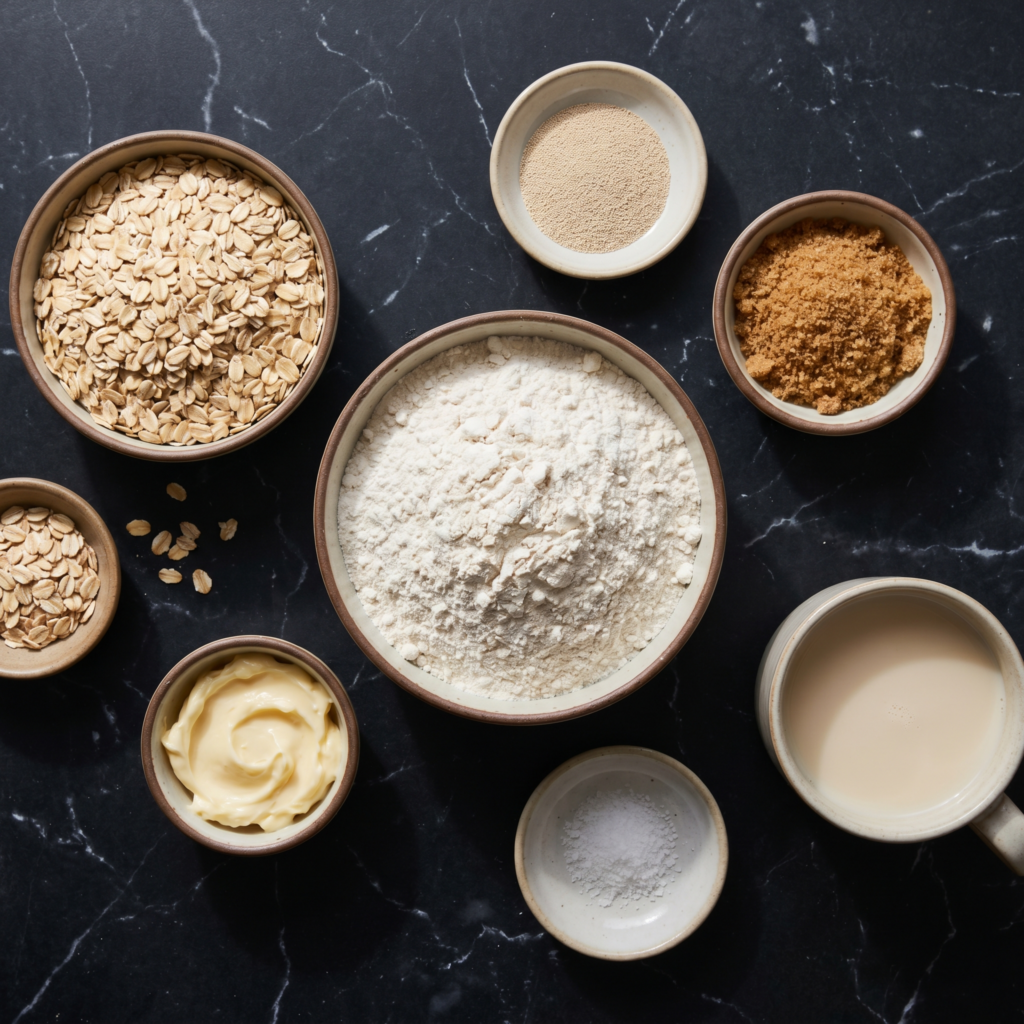
Makes 1 loaf.
- 1 cup (80g) old-fashioned rolled oats (plus 2 tbsp for topping)
- 1½ cups (360ml) boiling water
- 2¼ tsp (1 packet) instant yeast
- ¼ cup (60ml) warm water (110°F / 45°C)
- ¼ cup (85g) honey
- 2 tbsp vegetable oil or melted butter
- 1 tsp salt
- 3 to 3½ cups (375-440g) bread flour or all-purpose flour
- 1 egg white + 1 tbsp water (for egg wash, optional)
Step-by-Step Instructions
Step 1: Soak Oats
- In a large bowl, pour boiling water over 1 cup of rolled oats. Let sit for 20-30 minutes until cooled to lukewarm.
Step 2: Activate Yeast
- In a small bowl, combine warm water, honey, and yeast. Let sit 5-10 minutes until foamy.
Step 3: Make Dough
- Add yeast mixture, oil, and salt to the cooled oat mixture. Stir to combine.
- Gradually add flour, ½ cup at a time, until a soft dough forms. Knead 8-10 minutes until smooth and elastic.
- Place in an oiled bowl, cover, and rise 1-2 hours until doubled.
Step 4: Shape & Second Rise
- Punch down dough. Shape into a loaf and place in a greased 9×5 inch loaf pan.
- Brush with egg wash (if using). Sprinkle with reserved 2 tbsp oats.
- Cover and rise 30-45 minutes until puffy and above the rim.
Step 5: Bake
- Preheat oven to 375°F (190°C). Bake 35-40 minutes until golden brown and loaf sounds hollow when tapped.
Step 6: Cool & Serve
- Cool in pan 10 minutes, then transfer to a wire rack. Slice when completely cool. Toast and butter generously.
Summary
Prep Time: 20 min + rises | Bake Time: 40 min | Total: 1 hour + rises
Yield: 1 loaf | Difficulty: Medium
Storage Notes
Counter (wrap tightly): 5 days. Freezer (sliced): 3 months. Toast directly from frozen. This bread stays moist for days — perfect for meal prep sandwiches and morning toast.