Author: user

  • Key Lime Pie So Good, You’ll Hear Steel Drums

    Key Lime Pie So Good, You’ll Hear Steel Drums

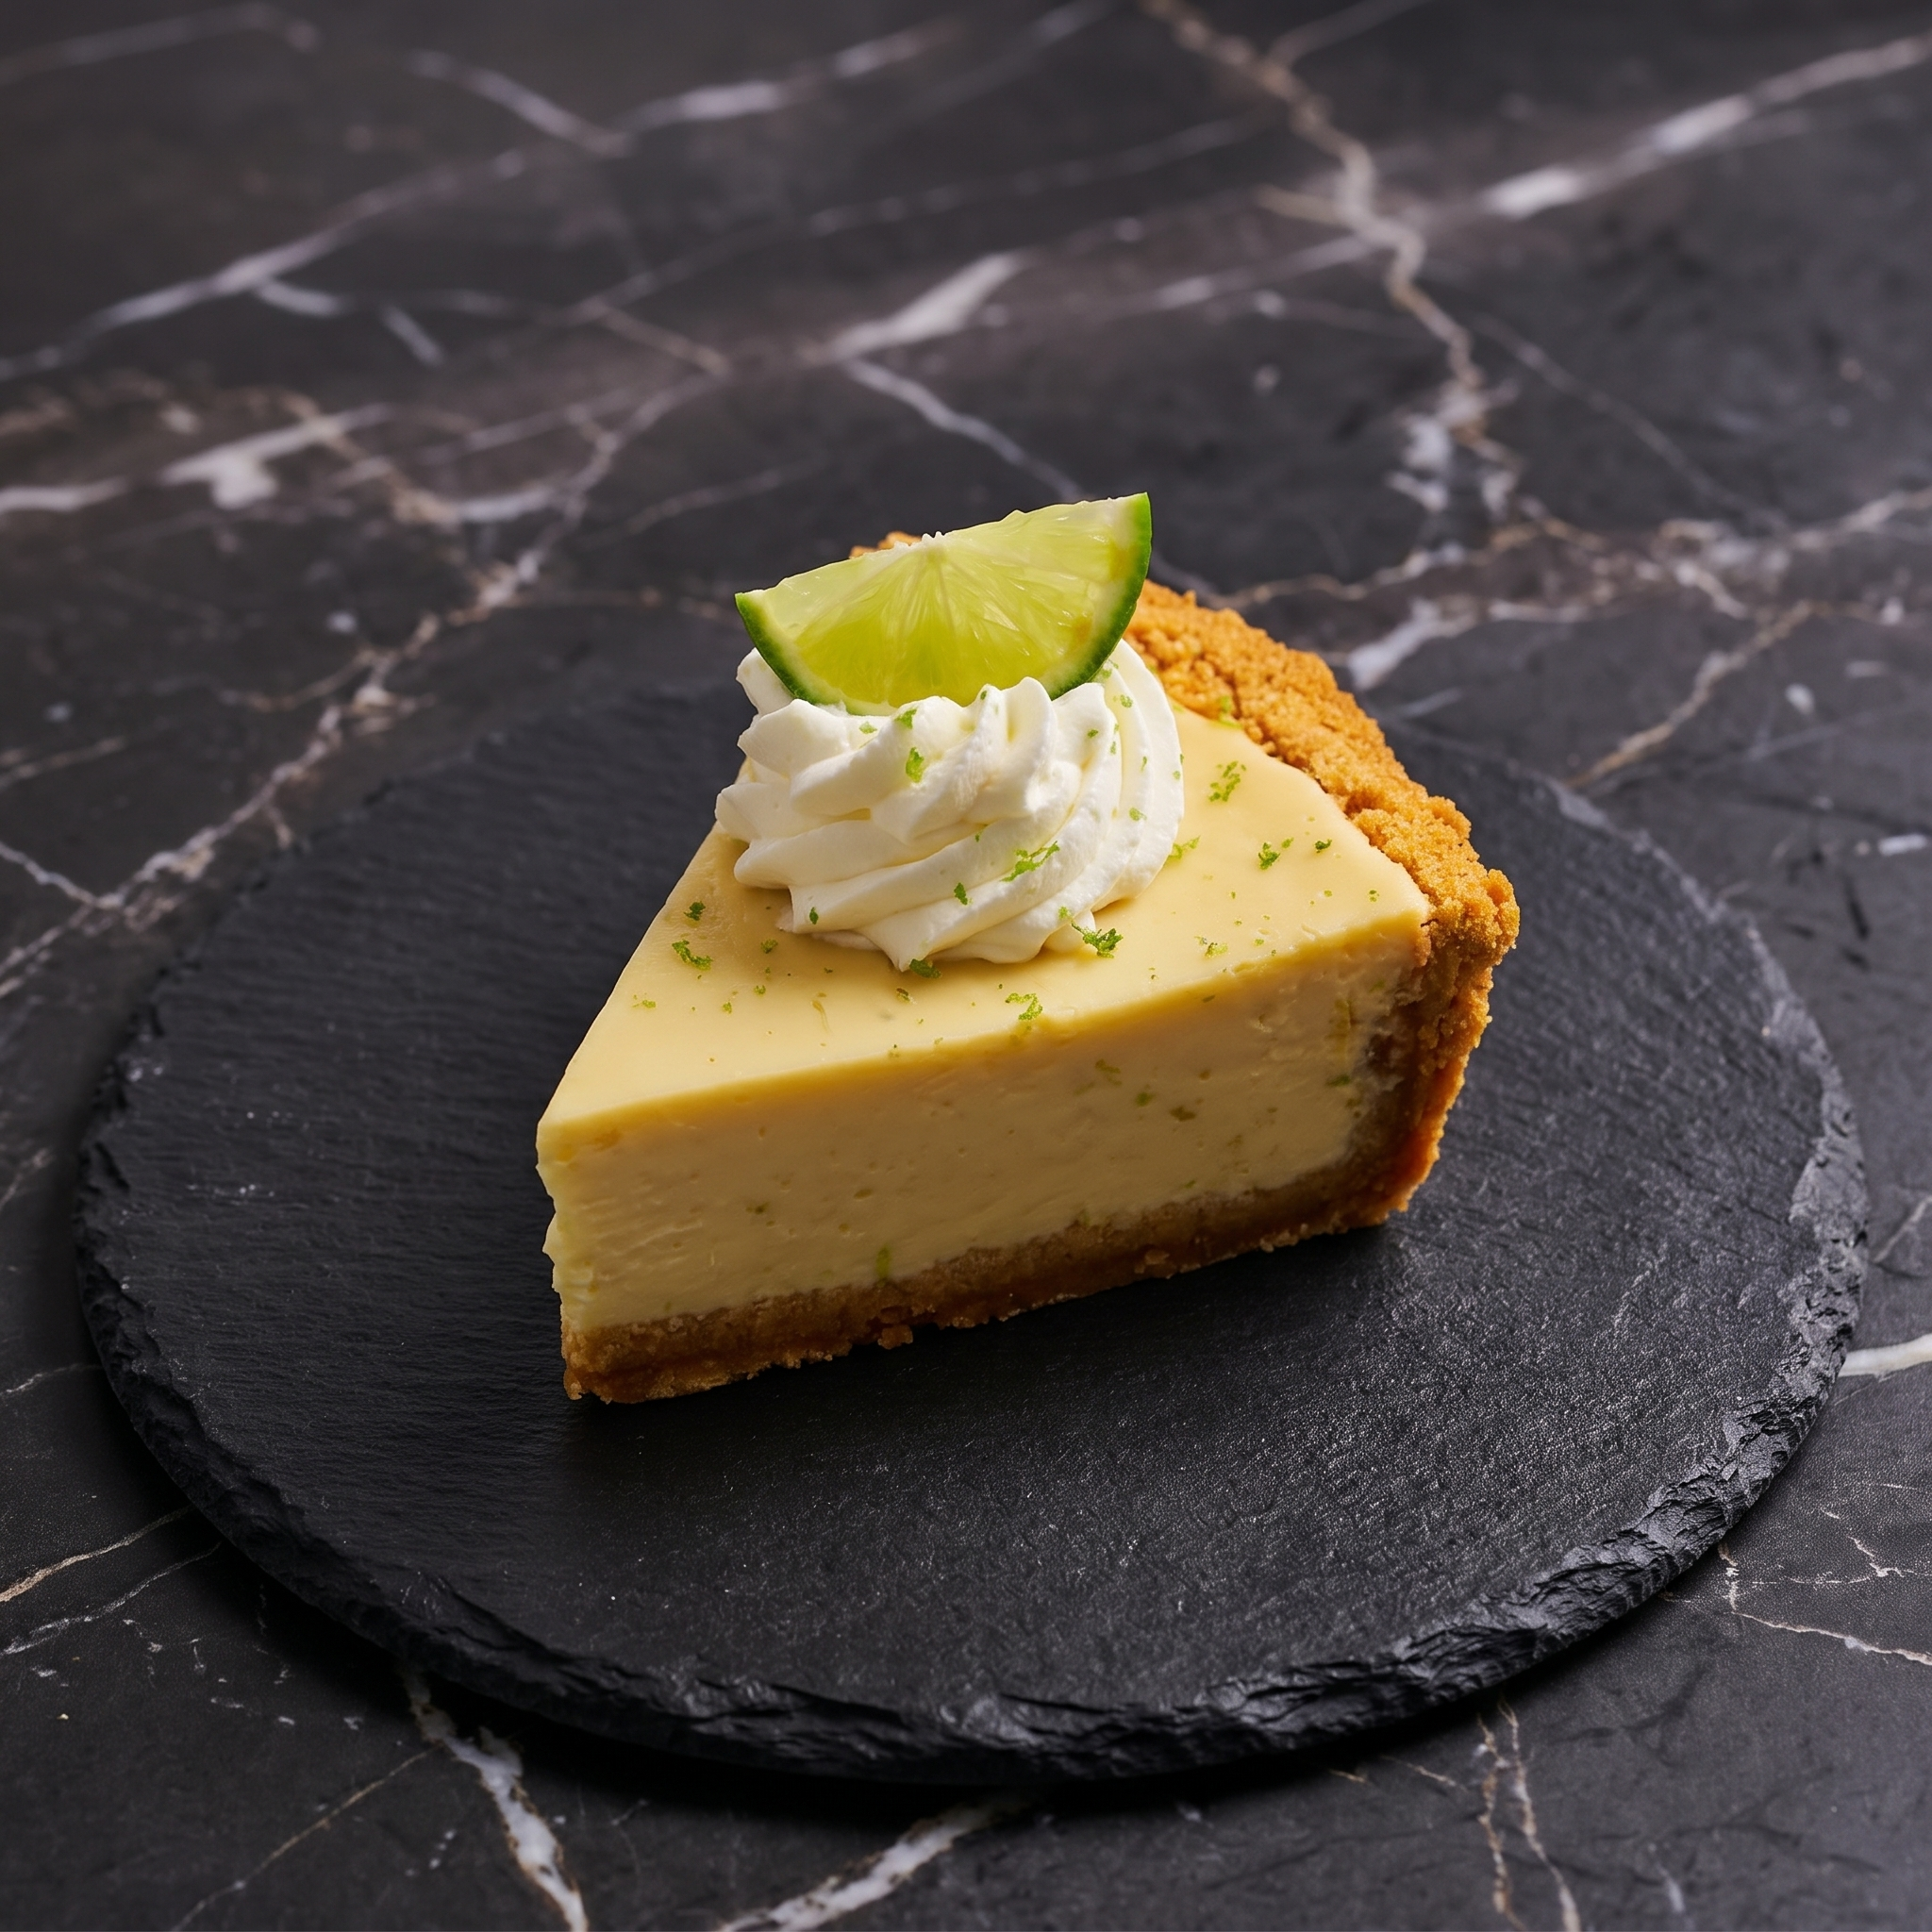
    Some desserts taste like a vacation. This is one of them.

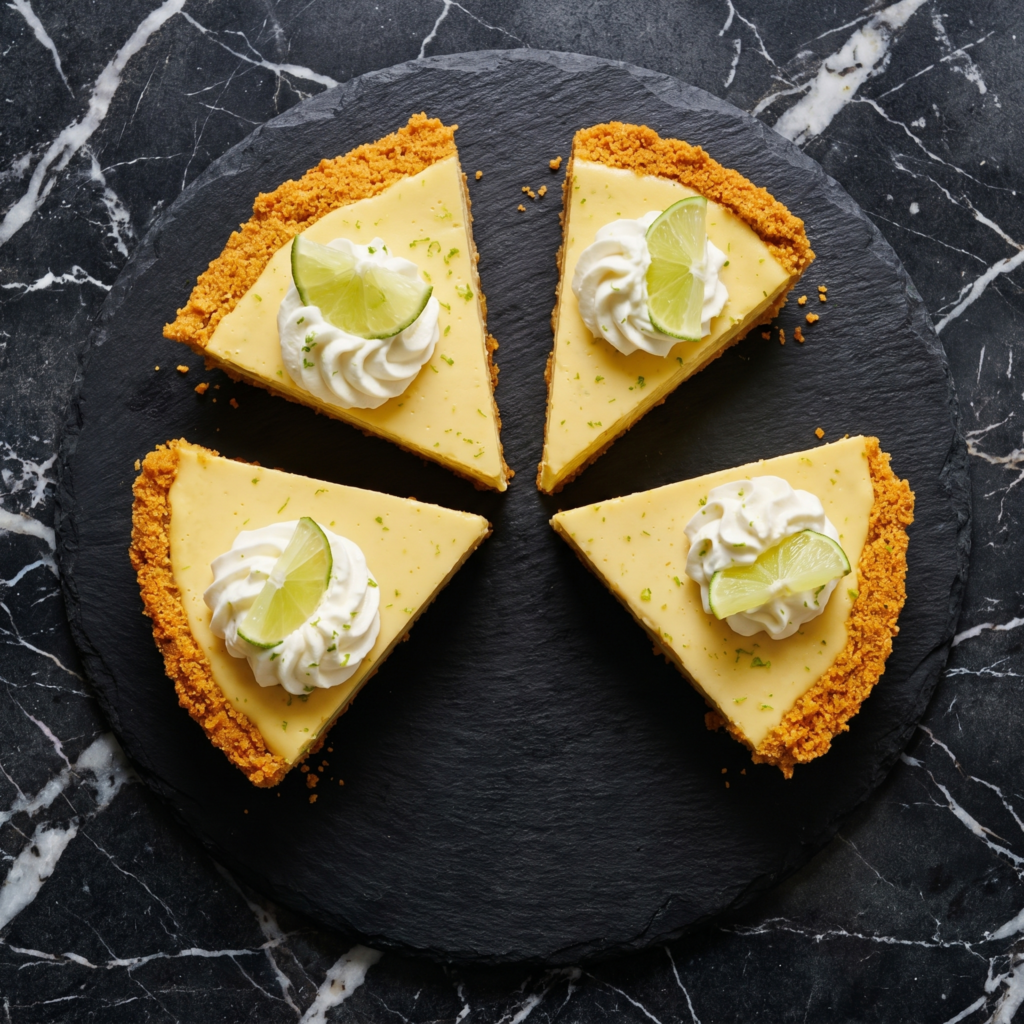
    Key lime pie is pure magic: a buttery graham cracker crust, a silky, tart-sweet lime filling, and a cloud of whipped cream on top. No oven required. No complicated techniques. Just 15 minutes of hands-on work and a few hours in the fridge. Let’s go coastal.

    Ingredients

    Serves 8.

    For the Crust:

    • 1 ½ cups graham cracker crumbs (about 12 full sheets)
    • ⅓ cup granulated sugar
    • 6 tablespoons unsalted butter, melted

    For the Filling:

    • 2 (14-oz) cans sweetened condensed milk
    • ¾ cup key lime juice (or bottled key lime juice—no shame)
    • 1 tablespoon key lime zest (regular limes work too)
    • 4 large egg yolks

    For the Topping:

    • 1 cup heavy whipping cream
    • 2 tablespoons powdered sugar
    • Lime slices or zest for garnish

    Step-by-Step Instructions

    Step 1: Make the Crust

    1. Preheat oven to 350°F (175°C) — just for the crust.
    2. Mix graham crumbs, sugar, and melted butter until it looks like wet sand.
    3. Press firmly into a 9-inch pie pan (bottom and up the sides).
    4. Bake for 8 minutes. Let cool completely.

    Step 2: Make the Filling (No Oven Needed)

    1. In a large bowl, whisk egg yolks until pale and thick (about 2 minutes).
    2. Add sweetened condensed milk and whisk until smooth.
    3. Add key lime juice and zest. Whisk until thick and creamy — it will start to set almost immediately.

    Step 3: Assemble & Chill

    1. Pour filling into cooled crust. Smooth the top.
    2. Refrigerate for at least 4 hours (overnight is better).

    Step 4: Whipped Cream Topping

    1. Whip heavy cream and powdered sugar until soft peaks form.
    2. Spread or pipe over the chilled pie.
    3. Garnish with lime slices or extra zest.

    Summary

    Prep Time: 15 minutes | Chill Time: 4 hours | Total Time: 4 hours 15 minutes

    Yield: 8 slices | Difficulty: Easy

    Storage Notes

    Cover loosely with plastic wrap and refrigerate for up to 5 days. Do not freeze — the texture will become grainy. Add whipped cream right before serving for best results.

  • Crispy Beef Tacos (The Shell Shatters. The Heart Sings.)

    Crispy Beef Tacos (The Shell Shatters. The Heart Sings.)

    Soft tacos are fine. But crispy tacos? Crispy tacos are an event.

    That first bite where the shell shatters. The seasoned beef. The cool lettuce and sour cream. The avalanche of hot sauce. These crispy beef tacos take 20 minutes and taste like the best version of your childhood Tuesday night. No fancy stuff. Just pure, crunchy happiness.

    Ingredients

    Makes 8-10 tacos (serves 4).

    • 1 lb (450g) ground beef (80/20 recommended)
    • 1 packet taco seasoning (or homemade: chili powder, cumin, paprika, garlic powder, onion powder)
    • ⅓ cup water
    • 8-10 hard taco shells
    • 1 cup shredded cheddar or Mexican blend cheese
    • Shredded lettuce
    • Diced tomatoes
    • Sour cream
    • Hot sauce or salsa
    • Optional: diced onion, pickled jalapeños, cilantro

    Step-by-Step Instructions

    Step 1: Cook the Beef

    1. Heat a large skillet over medium-high heat. Add ground beef.
    2. Cook for 5-7 minutes, breaking it apart with a spatula, until browned.
    3. Drain excess grease.
    4. Add taco seasoning and water. Stir and simmer for 2-3 minutes until thickened.

    Step 2: Warm the Shells

    1. Preheat oven to 350°F (175°C). Place taco shells on a baking sheet.
    2. Warm for 3-5 minutes until toasty and fragrant.

    Step 3: Assemble (The Right Way)

    1. Spoon seasoned beef into each taco shell.
    2. Top immediately with shredded cheese (so it melts slightly).
    3. Add lettuce, tomatoes, sour cream, and hot sauce.

    Step 4: Serve

    1. Serve immediately with extra hot sauce on the side.
    2. Do not wait. Soggy tacos are sad tacos.

    Summary

    Prep Time: 5 minutes | Cook Time: 15 minutes | Total Time: 20 minutes

    Yield: 8-10 tacos

    Difficulty: Easy

    Storage Notes

    • Fridge: Cooked seasoned beef keeps for 4 days. Store separately from shells and toppings.
    • Reheat beef: Skillet or microwave with a splash of water.
    • Shells: Never store assembled tacos. They’ll become a sad, soggy mess.
    • Taco night pro tip: Set up a taco bar. Let everyone build their own fresh.
  • Mac and Cheese Balls (Fried, Golden, Dangerously Good)

    Mac and Cheese Balls (Fried, Golden, Dangerously Good)

    Mac and cheese is perfect. But you know what’s even better?

    Mac and cheese you can hold in your hand. Mac and cheese with a crunchy shell and a molten, gooey center. These mac and cheese balls take everyone’s favorite side dish and turn it into a crispy, dippable, crowd-devouring appetizer. Make them with leftovers or make them from scratch. Just make them.

    Ingredients

    Makes about 15-20 balls.

    • 3 cups leftover mac and cheese (cold, firm)
    • 1 cup all-purpose flour
    • 2 large eggs, beaten
    • 1½ cups breadcrumbs (panko preferred)
    • ½ cup grated Parmesan cheese (optional, for extra crunch)
    • Oil for frying (vegetable or canola)
    • Salt to taste

    For Dipping:

    • Marinara sauce, ranch, or sriracha mayo

    Step-by-Step Instructions

    Step 1: Prep the Mac

    1. Scoop cold mac and cheese into 1.5-inch balls. Pack tightly so they hold together.
    2. Place on a parchment-lined tray. Freeze for 30 minutes (this is key—they won’t fall apart in the oil).

    Step 2: Set Up Breading Station

    1. Three bowls: flour, beaten eggs, and breadcrumbs mixed with Parmesan.
    2. Roll each cold mac ball in flour, then egg, then breadcrumbs.

    Step 3: Fry

    1. Heat 2 inches of oil in a pot to 350°F (175°C).
    2. Fry balls in batches for 2-3 minutes until golden brown and crispy.
    3. Drain on paper towels. Sprinkle with salt.

    Step 4: Serve

    1. Serve hot with dipping sauce on the side.
    2. Warn people they’re molten inside. They won’t listen. They’ll burn their mouths anyway.

    Summary

    Prep Time: 15 minutes + 30 minutes freezing | Cook Time: 10 minutes | Total Time: 55 minutes

    Yield: 15-20 balls

    Difficulty: Medium

    Storage Notes

    • Fridge: Fried balls keep for 3 days. Reheat to restore crunch.
    • Freezer (uncooked): Breaded, uncooked balls freeze for up to 2 months. Fry from frozen (add 1-2 minutes).
    • Reheat cooked: Air fryer at 375°F for 5 minutes or oven at 400°F for 8 minutes.
    • No microwave: You’ll get a sad, greasy sponge.
  • Blooming Onion (The Outback Classic, Made at Home)

    Blooming Onion (The Outback Classic, Made at Home)

    You know the one. The giant fried onion that arrives at the table and everyone gasps.

    This blooming onion is that. Crispy, golden petals. A sweet, tender center. And that iconic dipping sauce that’s creamy, smoky, and just a little spicy. It looks impressive. It tastes even better. And yes, you can absolutely make it at home without a deep fryer.

    Ingredients

    Serves 4 as an appetizer.

    • 1 large sweet onion (Vidalia or Walla Walla)
    • 1 cup all-purpose flour
    • 1 teaspoon paprika
    • 1 teaspoon garlic powder
    • ½ teaspoon cayenne pepper
    • ½ teaspoon salt
    • ¼ teaspoon black pepper
    • 2 large eggs
    • ½ cup milk
    • Oil for frying (vegetable or canola)

    For the Dipping Sauce:

    • ½ cup mayonnaise
    • 2 tablespoons horseradish (or to taste)
    • 1 tablespoon ketchup
    • 1 teaspoon smoked paprika
    • ¼ teaspoon garlic powder
    • ¼ teaspoon cayenne

    Step-by-Step Instructions

    Step 1: Cut the Onion

    1. Slice off the top (not the root end). Peel the onion.
    2. Place root-side up. Cut down into the onion, leaving ½ inch from the root. Make 4 cuts, then 8, then 12. Petals will fall open.
    3. Gently separate the petals with your fingers.

    Step 2: Soak

    1. Place onion in a bowl of ice water for 30 minutes. This helps petals open and removes sharpness.
    2. Drain and pat dry.

    Step 3: Season the Flour

    1. In a bowl, mix flour, paprika, garlic powder, cayenne, salt, and pepper.
    2. In another bowl, whisk eggs and milk.

    Step 4: Coat the Onion

    1. Dredge onion in flour mixture (get between petals). Shake off excess.
    2. Dip in egg mixture, then back into flour mixture for a second coat.

    Step 5: Fry

    1. Heat 3 inches of oil to 375°F (190°C).
    2. Place onion root-side down in oil. Fry for 3-4 minutes, rotating carefully.
    3. Flip and fry another 2-3 minutes until golden brown.
    4. Drain on paper towels.

    Step 6: Make the Sauce

    1. Mix all sauce ingredients in a small bowl.
    2. Serve onion with sauce on the side (or in the center).

    Summary

    Prep Time: 20 minutes + 30 minutes soak | Cook Time: 10 minutes | Total Time: 1 hour

    Yield: 1 blooming onion

    Difficulty: Medium

    Storage Notes

    • Leftovers? Honestly, blooming onions don’t reheat well. They get sad and soggy.
    • Make ahead: Cut the onion and refrigerate in water for up to 4 hours. Fry fresh.
    • Sauce: Dipping sauce keeps in the fridge for 1 week.
    • Pro tip: This is a fry-and-eat-immediately situation. Plan accordingly.
  • Garlic Parmesan Chicken Tenders (Better Than Any Drive-Thru)

    Garlic Parmesan Chicken Tenders (Better Than Any Drive-Thru)

    Let’s be honest: most homemade chicken tenders are boring. Dry. Bland. Sad.

    These are not those. These are garlic butter-drenched, Parmesan-crusted, crispy-on-the-outside-juicy-on-the-inside tenders. Baked or fried (your call). Ready in 25 minutes. Good enough for adults. Loved by kids. Make a double batch. Trust me.

    Ingredients

    Serves 4 (about 12-16 tenders).

    • 1.5 lbs (680g) chicken tenderloins (or chicken breasts cut into strips)
    • ½ cup all-purpose flour
    • 2 large eggs, beaten
    • 1 cup panko breadcrumbs
    • ½ cup grated Parmesan cheese
    • 1 teaspoon garlic powder
    • 1 teaspoon onion powder
    • ½ teaspoon salt
    • ¼ teaspoon black pepper
    • Cooking spray or oil for frying

    For the Garlic Butter Finish:

    • 3 tablespoons butter, melted
    • 3 cloves garlic, minced
    • 2 tablespoons fresh parsley, chopped
    • Extra Parmesan for topping

    Step-by-Step Instructions

    Step 1: Preheat and Prep

    1. Preheat oven to 425°F (220°C) for baking. Line a baking sheet with foil and place a wire rack on top.
    2. Pat chicken tenders dry with paper towels.

    Step 2: Set Up Breading Station

    1. Three shallow bowls: flour (seasoned with salt/pepper), beaten eggs, and panko + Parmesan + garlic powder + onion powder mixed together.
    2. Dredge each tender in flour → dip in egg → coat in panko mixture, pressing firmly.

    Step 3: Cook

    1. Bake: Place tenders on wire rack. Spray with oil. Bake for 12-15 minutes, flipping halfway, until golden and cooked through.
    2. Fry: Heat ½ inch oil in skillet to 350°F. Fry 3-4 minutes per side.
    3. Air fry: 375°F for 8-10 minutes, shaking halfway.

    Step 4: Make Garlic Butter

    1. While tenders cook, melt butter in a small pan. Add garlic and cook 1 minute.
    2. Stir in parsley.

    Step 5: Finish and Serve

    1. Place hot tenders in a bowl. Drizzle with garlic butter. Toss gently.
    2. Sprinkle with extra Parmesan. Serve with ranch, marinara, or honey mustard.

    Summary

    Prep Time: 10 minutes | Cook Time: 15 minutes | Total Time: 25 minutes

    Yield: 12-16 tenders

    Difficulty: Easy

    Storage Notes

    • Fridge: Cooked tenders keep for 4 days in an airtight container.
    • Freezer: Freeze uncooked breaded tenders for up to 3 months. Bake from frozen (add 5-10 minutes).
    • Reheat: Air fryer at 375°F for 5 minutes or oven at 400°F for 8 minutes.
    • Don’t microwave: You’ll get sad, rubbery tenders. Don’t do it.
  • Crispy Chicken Katsu (Better Than Your Takeout Spot)

    Crispy Chicken Katsu (Better Than Your Takeout Spot)

    There’s fried chicken. Then there’s chicken katsu.

    Pounded thin. Dredged in flour, egg, and flaky panko. Fried until it sounds like stepping on autumn leaves. Served with that sweet, tangy, addictive tonkatsu sauce. It’s simple. It’s perfect. And once you make it at home, you’ll never order delivery again.

    Ingredients

    Serves 4.

    • 4 boneless, skinless chicken breasts (about 6 oz / 170g each)
    • Salt and pepper to taste
    • ½ cup all-purpose flour
    • 2 large eggs, beaten
    • 1½ cups panko breadcrumbs (Japanese-style)
    • Oil for frying (vegetable or canola)

    For the Tonkatsu Sauce:

    • ¼ cup ketchup
    • 2 tablespoons Worcestershire sauce
    • 1 tablespoon soy sauce
    • 1 tablespoon honey or sugar

    For Serving:

    • Cooked white rice
    • Shredded cabbage
    • Lemon wedges

    Step-by-Step Instructions

    Step 1: Pound the Chicken

    1. Place chicken between two sheets of plastic wrap. Pound to ½-inch thickness.
    2. Season both sides with salt and pepper.

    Step 2: Set Up Breading Station

    1. Three shallow bowls: flour, beaten eggs, panko.
    2. Dredge chicken in flour → dip in egg → coat in panko, pressing firmly.

    Step 3: Fry

    1. Heat ½ inch of oil in a large skillet to 350°F (175°C).
    2. Fry chicken for 3-4 minutes per side until golden brown and cooked through.
    3. Drain on a wire rack (not paper towels—keeps it crispy).

    Step 4: Make the Sauce

    1. Whisk ketchup, Worcestershire, soy sauce, and honey in a small bowl.

    Step 5: Serve

    1. Slice katsu into strips. Serve over rice with shredded cabbage.
    2. Drizzle with tonkatsu sauce and a squeeze of lemon.

    Summary

    Prep Time: 15 minutes | Cook Time: 10 minutes | Total Time: 25 minutes

    Yield: 4 servings

    Difficulty: Easy

    Storage Notes

    • Fridge: Cooked katsu keeps for 3 days. It will lose crispiness.
    • Reheat: Air fryer at 375°F for 5 minutes or oven at 400°F for 8 minutes. Never microwave.
    • Make ahead: Bread the chicken up to 4 hours in advance. Refrigerate until frying.
    • Katsu curry: Serve with Japanese curry roux for the ultimate comfort meal.
  • Garlic Herb Roasted Turkey Breast (Thanksgiving Any Tuesday)

    Garlic Herb Roasted Turkey Breast (Thanksgiving Any Tuesday)

    Love turkey but hate wrestling a 15-pound bird? Same.

    This garlic herb roasted turkey breast is your answer. All the juicy, savory, crispy-skin goodness of a holiday turkey, but it cooks in under 90 minutes. No brining required. No giant roasting pan. No leftovers for three weeks. Just perfect turkey any day of the week.

    Ingredients

    Serves 4-6.

    • 3-4 lb (1.4-1.8 kg) bone-in, skin-on turkey breast
    • 2 tablespoons olive oil or softened butter
    • 6 cloves garlic, minced
    • 1 tablespoon fresh rosemary, chopped
    • 1 tablespoon fresh thyme leaves
    • 1 tablespoon fresh sage, chopped (or 1 tsp dried)
    • 1 teaspoon salt
    • ½ teaspoon black pepper
    • 1 lemon, quartered (optional, for roasting)

    Step-by-Step Instructions

    Step 1: Preheat and Prep

    1. Preheat oven to 400°F (200°C). Line a baking sheet or roasting pan with foil.
    2. Pat turkey breast completely dry with paper towels.

    Step 2: Make the Herb Butter

    1. In a small bowl, mix olive oil (or butter), garlic, rosemary, thyme, sage, salt, and pepper.
    2. Gently loosen the skin from the turkey breast with your fingers.
    3. Rub half the herb mixture directly under the skin. Rub the rest all over the outside.

    Step 3: Roast

    1. Place turkey on the pan. Tuck lemon quarters around it if using.
    2. Roast for 50-65 minutes, until internal temp hits 165°F (74°C).
    3. If skin is browning too fast, loosely tent with foil.

    Step 4: Rest and Serve

    1. Let rest for 10-15 minutes before slicing. This is critical for juiciness.
    2. Slice and serve with pan juices.

    Summary

    Prep Time: 10 minutes | Cook Time: 55 minutes | Total Time: 1 hour 15 minutes

    Yield: 4-6 servings

    Difficulty: Easy

    Storage Notes

    • Fridge: Sliced turkey keeps for 4 days in an airtight container.
    • Freezer: Freezes beautifully for up to 3 months. Slice first.
    • Reheat: Oven at 325°F with a splash of broth. Skip the microwave.
    • Leftover magic: Sandwiches, salads, soups, or turkey pot pie.
  • Bacon Wrapped Chicken Breasts (Juicy Inside, Crispy Outside)

    Bacon Wrapped Chicken Breasts (Juicy Inside, Crispy Outside)

    Chicken breast has a reputation for being dry, boring, and sad. This recipe exists to destroy that reputation.

    Wrap a chicken breast in bacon, and something magical happens. The bacon bastes the chicken as it cooks. The chicken stays juicy. The bacon gets crispy. Everyone wins. No brine. No complicated steps. Just dinner that tastes like you tried way harder than you did.

    Ingredients

    Serves 4.

    • 4 boneless, skinless chicken breasts (about 6 oz / 170g each)
    • 8 slices bacon (thin or regular, not thick-cut)
    • 1 teaspoon salt
    • ½ teaspoon black pepper
    • 1 teaspoon garlic powder
    • ½ teaspoon paprika (optional)
    • Optional: brown sugar for caramelized bacon

    Step-by-Step Instructions

    Step 1: Preheat and Prep

    1. Preheat oven to 400°F (200°C). Line a baking sheet with foil and place a wire rack on top.
    2. Pat chicken breasts dry with paper towels.
    3. Season all over with salt, pepper, garlic powder, and paprika.

    Step 2: Wrap in Bacon

    1. Wrap 2 slices of bacon around each chicken breast, slightly overlapping.
    2. Tuck the ends underneath. No toothpicks needed if tucked well.
    3. Sprinkle a little brown sugar on top if you want caramelized bacon.

    Step 3: Bake

    1. Place wrapped chicken on the wire rack (this lets bacon crisp on all sides).
    2. Bake for 25-30 minutes, until chicken hits 165°F (74°C) and bacon is crispy.
    3. For extra crispiness, broil for 1-2 minutes at the end.

    Step 4: Rest and Serve

    1. Let rest for 5 minutes. Serve with roasted veggies, potatoes, or a salad.

    Summary

    Prep Time: 5 minutes | Cook Time: 25-30 minutes | Total Time: 30-35 minutes

    Yield: 4 servings

    Difficulty: Easy

    Storage Notes

    • Fridge: Leftovers keep for 4 days in an airtight container.
    • Reheat: Oven or air fryer at 375°F for 8-10 minutes. Microwaving will make bacon soft.
    • Meal prep: Wrap seasoned chicken in bacon up to 24 hours ahead. Keep covered in the fridge.
    • Freezer: Freeze uncooked wrapped chicken for up to 2 months. Thaw before baking.
  • Crispy Parmesan Potatoes (The Side Dish That Steals the Show)

    Crispy Parmesan Potatoes (The Side Dish That Steals the Show)

    Let’s be real: the main course is fine. But these potatoes? These potatoes are the reason people come back for seconds.

    Crispy on the outside. Pillowy on the inside. Coated in salty Parmesan and garlic. Roasted until the bottoms form a crunchy, cheesy golden crust. They’re the side dish that never makes it home in leftovers. Make a double batch. Trust me.

    Ingredients

    Serves 4.

    • 2 lbs (900g) baby potatoes or Yukon Golds, cut into 1-inch pieces
    • ¼ cup olive oil
    • ½ cup grated Parmesan cheese
    • 3 cloves garlic, minced
    • 1 teaspoon salt
    • ½ teaspoon black pepper
    • 1 teaspoon dried oregano or rosemary (optional)
    • Fresh parsley for garnish

    Step-by-Step Instructions

    Step 1: Preheat and Prep

    1. Preheat oven to 425°F (220°C).
    2. Line a baking sheet with parchment paper (not foil—potatoes will stick).

    Step 2: Coat the Potatoes

    1. In a large bowl, toss potatoes with olive oil, garlic, salt, pepper, and oregano (if using).
    2. Add Parmesan and toss again until coated.

    Step 3: Roast Until Crispy

    1. Spread potatoes in a single layer on the baking sheet.
    2. Roast for 25-30 minutes, flipping halfway, until golden brown and crispy on the edges.
    3. For extra crunch, broil for 1-2 minutes at the end.

    Step 4: Serve

    1. Garnish with fresh parsley.
    2. Serve immediately while hot and crunchy.

    Summary

    Prep Time: 5 minutes | Cook Time: 25-30 minutes | Total Time: 30-35 minutes

    Yield: 4 servings

    Difficulty: Easy

    Storage Notes

    • Fridge: Leftovers keep for 4 days. They will lose crispiness.
    • Reheat: Air fryer at 375°F for 5 minutes or oven at 400°F for 8 minutes. Don’t microwave.
    • Pro tip: These are best fresh from the oven. Make only what you’ll eat.
  • Herb Crusted Pork Loin (Fancy Dinner, Zero Stress)

    Herb Crusted Pork Loin (Fancy Dinner, Zero Stress)

    Want to impress someone? Make this. Want to eat like a king on a Tuesday? Also make this.

    This herb crusted pork loin is the answer to “what do I cook that feels special but isn’t stressful?” A garlic-herb crust on the outside. Tender, juicy pork on the inside. One pan. Zero drama. Serve it with roasted potatoes or a pile of greens and feel like a genius.

    Ingredients

    Serves 4-6.

    • 2 lb (900g) pork tenderloin (or pork loin roast)
    • 2 tablespoons olive oil
    • 1 teaspoon salt
    • ½ teaspoon black pepper

    For the Herb Crust:

    • ¼ cup panko breadcrumbs
    • ¼ cup fresh parsley, finely chopped
    • 2 tablespoons fresh rosemary, finely chopped
    • 2 tablespoons fresh thyme leaves
    • 4 cloves garlic, minced
    • 2 tablespoons Dijon mustard (to glue the crust on)

    Step-by-Step Instructions

    Step 1: Preheat and Prep

    1. Preheat oven to 400°F (200°C). Line a baking sheet with parchment.
    2. Pat pork dry. Season all over with salt and pepper.

    Step 2: Make the Crust

    1. In a bowl, mix panko, parsley, rosemary, thyme, garlic, and 1 tablespoon olive oil.
    2. Brush pork all over with Dijon mustard (this helps the crust stick).
    3. Press the herb mixture onto the pork, coating all sides.

    Step 3: Sear (Optional but Recommended)

    1. Heat 1 tablespoon olive oil in an oven-safe skillet over medium-high heat.
    2. Sear pork for 2 minutes per side until crust is golden. Skip this step if using a regular baking sheet.

    Step 4: Roast

    1. Transfer to oven. Roast for 15-20 minutes until internal temp hits 145°F (63°C).
    2. Let rest for 5-10 minutes before slicing. Do not skip resting.

    Step 5: Slice and Serve

    1. Slice into medallions. Serve with pan juices.

    Summary

    Prep Time: 10 minutes | Cook Time: 20-25 minutes | Total Time: 35 minutes

    Yield: 4-6 servings

    Difficulty: Easy

    Storage Notes

    • Fridge: Sliced pork keeps for 4 days in an airtight container.
    • Freezer: Freezes well for up to 3 months. Slice first.
    • Reheat: Skillet with a splash of broth or oven at 325°F. Not the microwave.
    • Leftover magic: Great in sandwiches, salads, or wrapped in tortillas.