Tag: no-bake dessert

  • Mini Key Lime Pies: Tart, Sweet, Poppable Sunshine

    Mini Key Lime Pies: Tart, Sweet, Poppable Sunshine

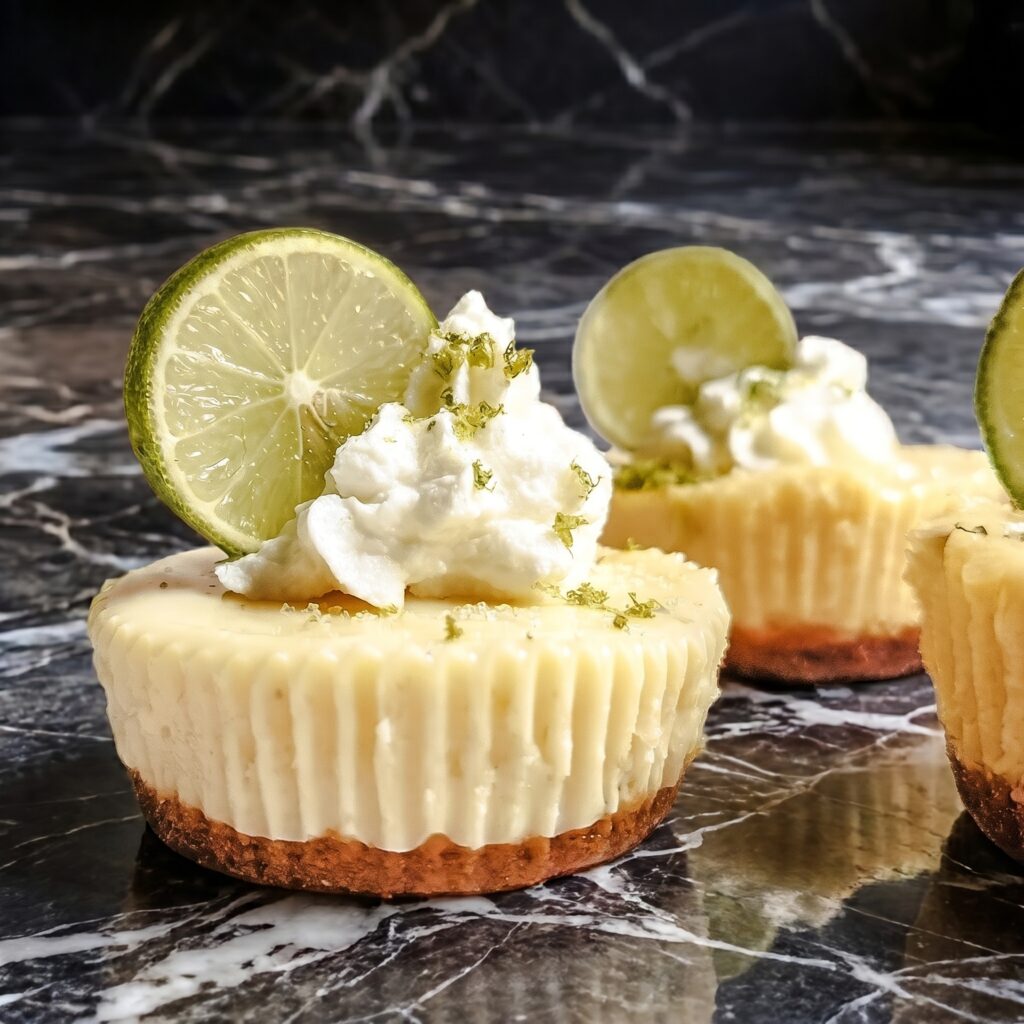
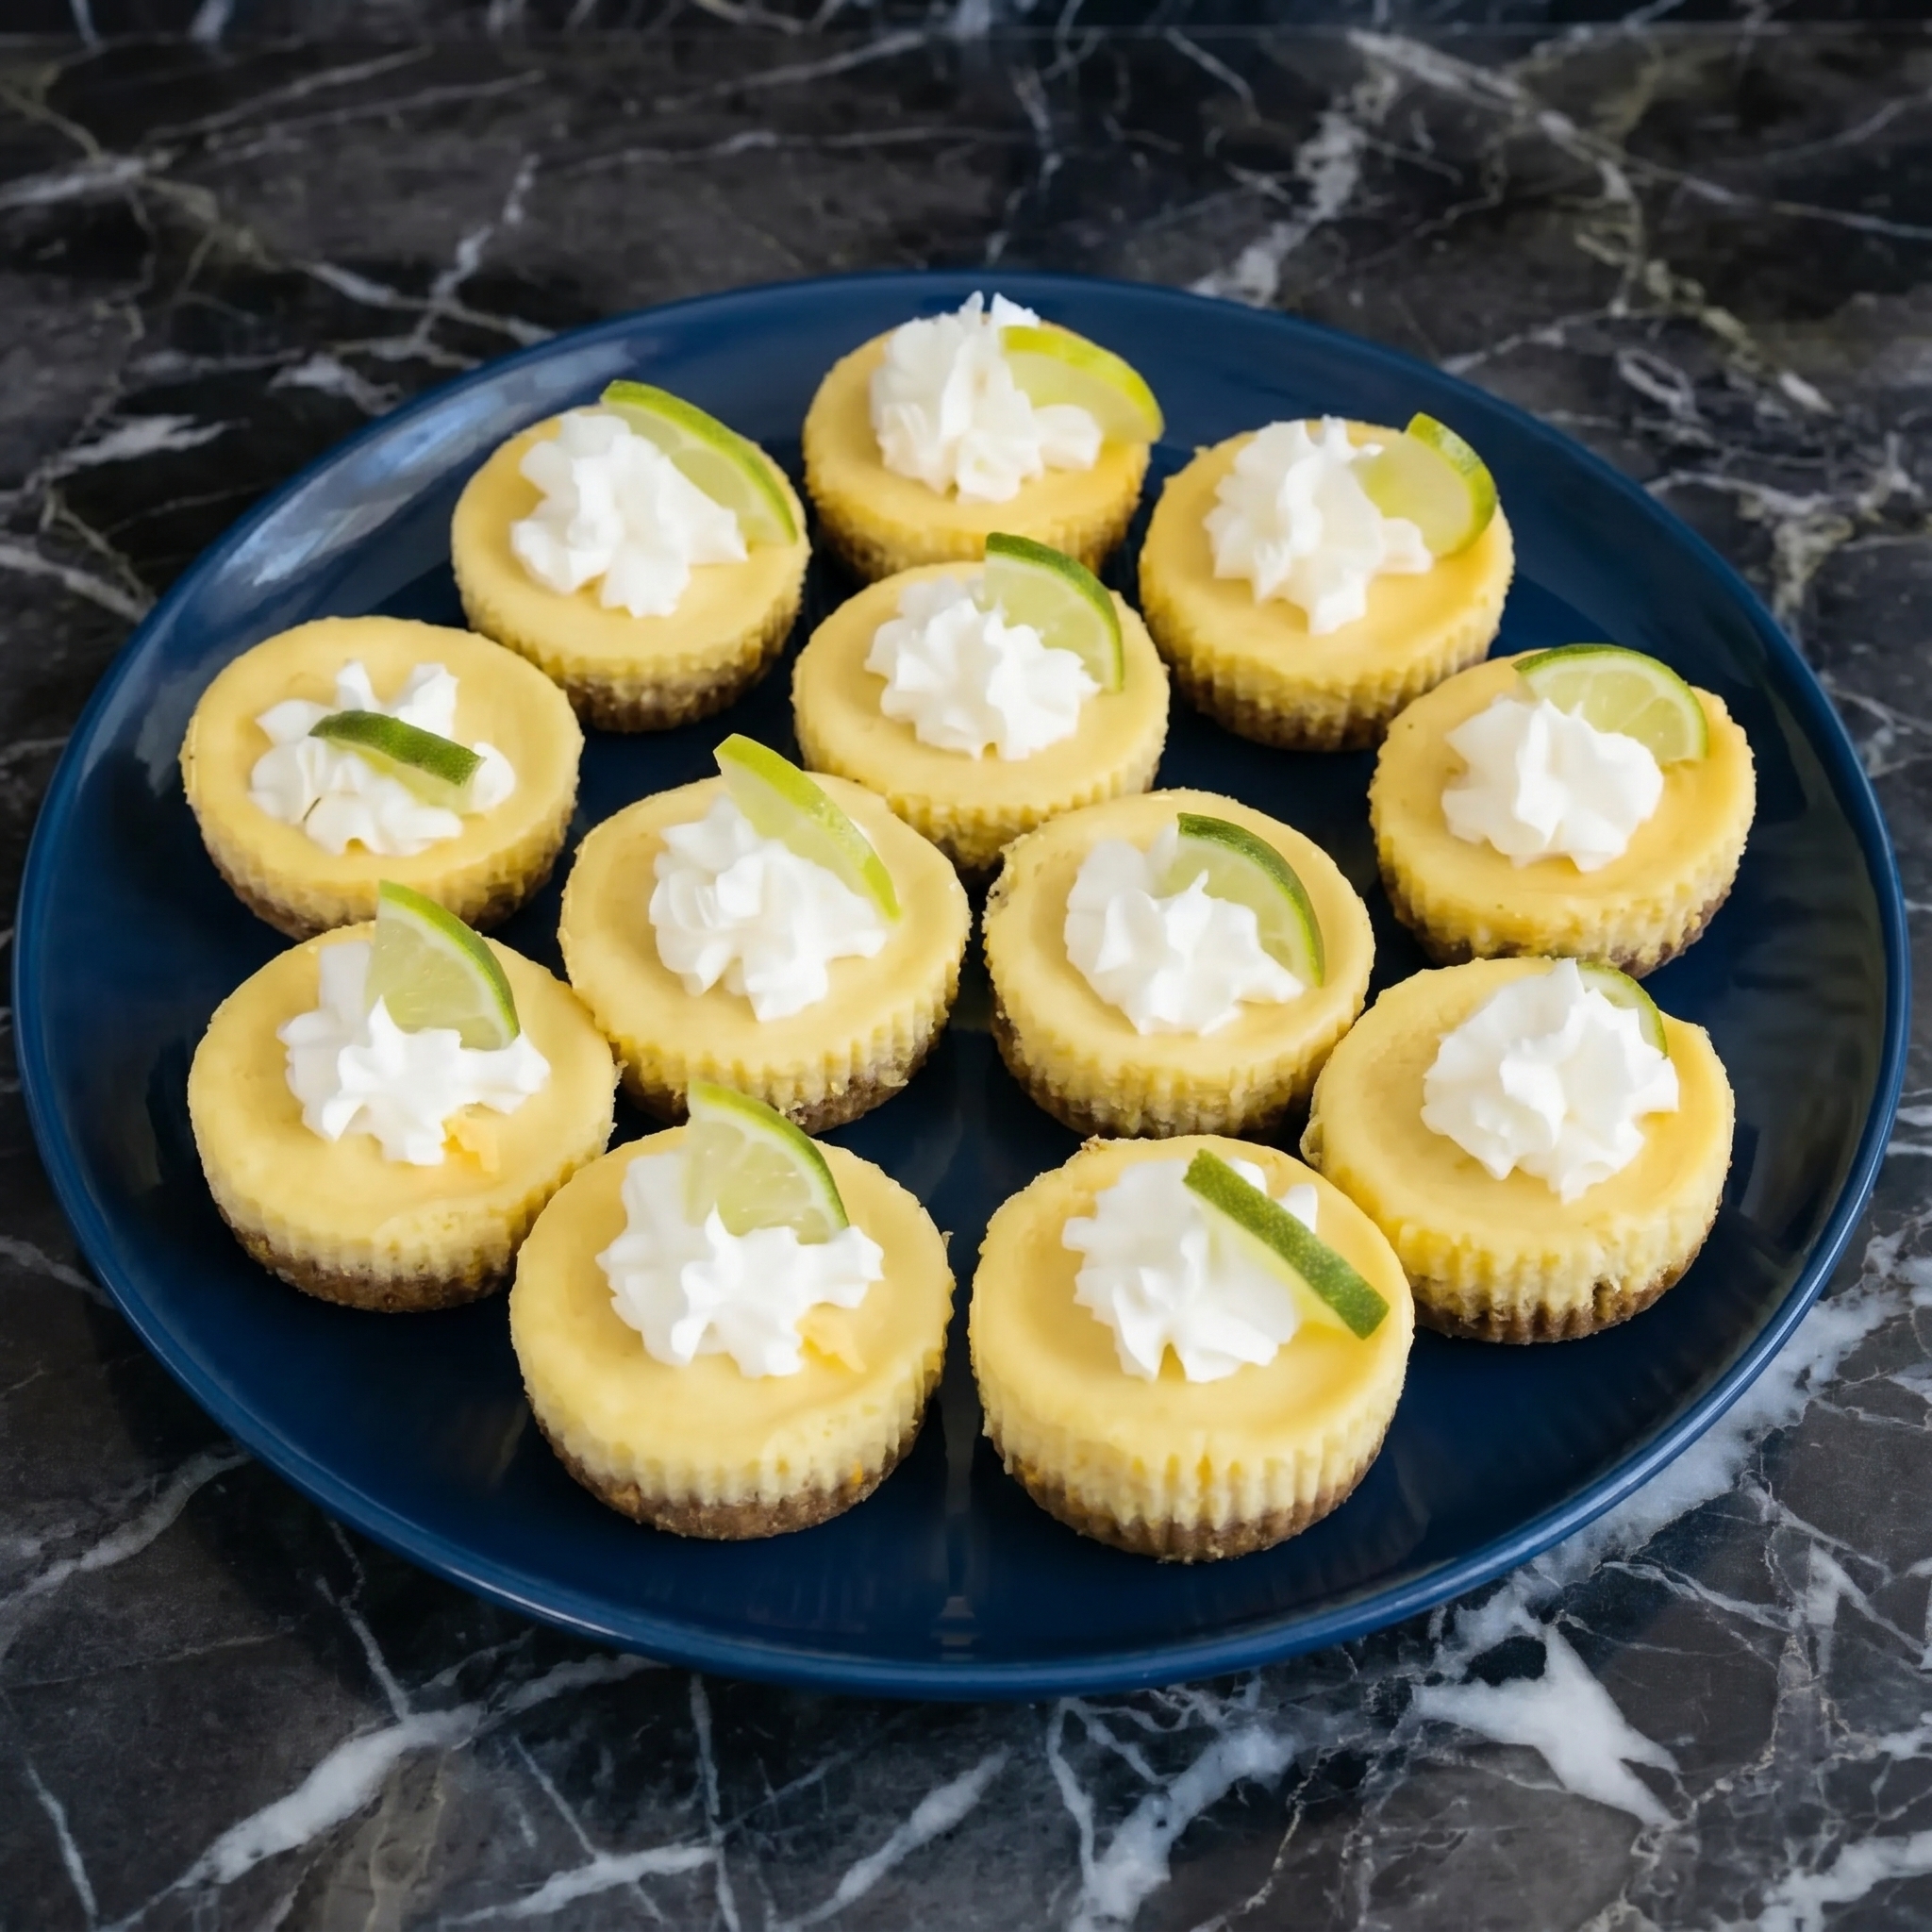
    Key lime pie is summer in a crust. Mini versions? Even better.

    Buttery graham crust. Tangy, sweet lime filling. Fluffy whipped cream. 20 minutes. No oven. No slicing. Just grab and gobble.
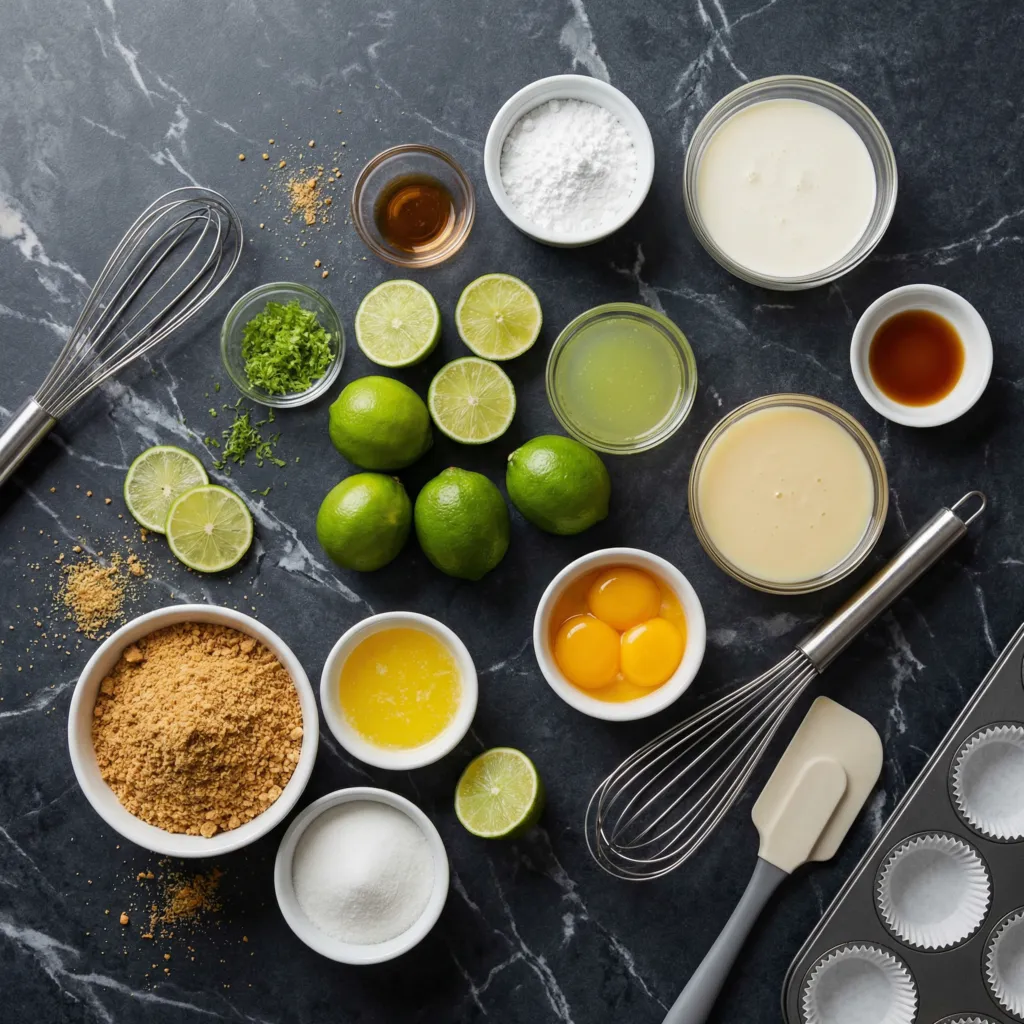
    Ingredients

    Makes 12 mini pies (muffin tin size).

    For the Crust:

    • 1½ cups graham cracker crumbs
    • 6 tbsp unsalted butter, melted
    • 2 tbsp granulated sugar

    For the Key Lime Filling:

    • 1 can (14 oz) sweetened condensed milk
    • ½ cup key lime juice (fresh or bottled)
    • 1 tbsp key lime zest
    • 3 large egg yolks

    For Topping:

    • ½ cup heavy cream
    • 1 tbsp powdered sugar
    • ¼ tsp vanilla extract
    • Lime zest or slices for garnish

    Step-by-Step Instructions

    Step 1: Prep the Pan

    1. Line a 12-cup muffin tin with paper liners.

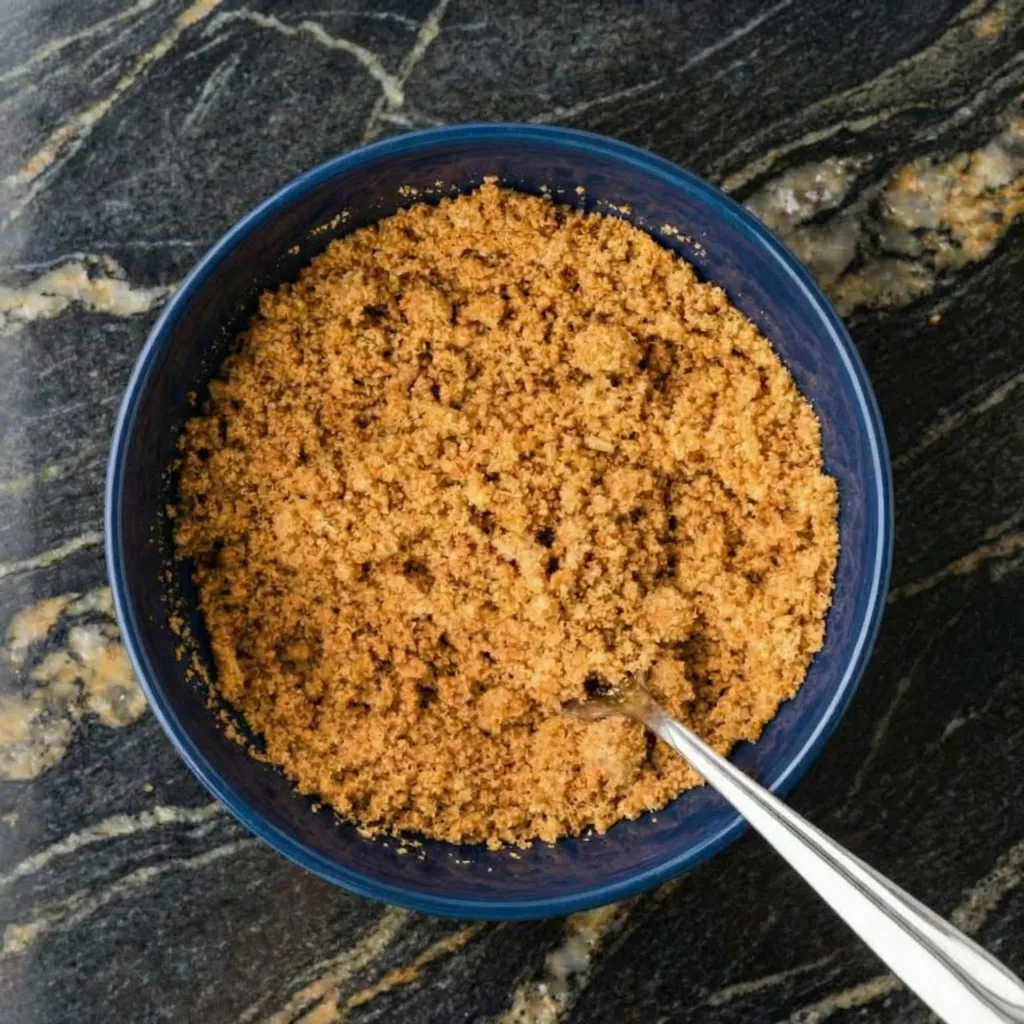
    Step 2: Make the Crust

    1. Mix graham crumbs, melted butter, and sugar. Press 2 tbsp mixture into each liner.
    2. Use a small glass or measuring cup to press firmly.

    Step 3: Make the Filling

    1. Whisk condensed milk, key lime juice, lime zest, and egg yolks until smooth and thickened (about 2 minutes).

    Step 4: Fill and Chill

    1. Spoon filling evenly into crusts (about 2 tbsp each).
    2. Refrigerate at least 4 hours (overnight is better).

    Step 5: Make Topping and Serve

    1. Whip heavy cream, powdered sugar, and vanilla until stiff peaks form.
    2. Pipe or dollop onto chilled pies. Garnish with lime zest or slices.

    Summary

    Prep Time: 20 minutes | Chill Time: 4+ hours | Total Time: ~4.5 hours

    Yield: 12 mini pies

    Difficulty: Easy

    Storage Notes

    Fridge:

    Store in refrigerator for up to 5 days (cream topping is perishable).

    Freezer Friendly:

    Freeze unfilled crusts for 2 months. Freeze filled pies (without cream) for 2 months.

    Pro Tip:

    Bottled key lime juice works great. No need to juice tiny limes.

  • Peanut Butter Fudge Bars: Peanut Butter + Chocolate. No Baking.

    Peanut Butter Fudge Bars: Peanut Butter + Chocolate. No Baking.

    Peanut butter and chocolate are a match made in heaven. These bars are proof.

    Creamy peanut butter fudge layer. Rich chocolate topping. 15 minutes. No oven. 6 ingredients. Dangerously easy. Dangerously good.

    Ingredients

    Makes 16 bars.

    For the Peanut Butter Layer:

    • 1 cup creamy peanut butter
    • ¼ cup unsalted butter, melted
    • 1 cup powdered sugar
    • ½ tsp vanilla extract
    • ¼ tsp salt

    For the Chocolate Topping:

    • 1 cup semisweet or dark chocolate chips
    • ¼ cup heavy cream (or 2 tbsp coconut oil)

    Optional topping: Flaky sea salt, crushed peanuts

    Step-by-Step Instructions

    Step 1: Prepare the Pan

    1. Line an 8×8 baking pan with parchment paper, leaving overhang on two sides.

    Step 2: Make the Peanut Butter Layer

    1. In a bowl, mix peanut butter and melted butter until smooth.
    2. Add powdered sugar, vanilla, and salt. Stir until thick and well combined.
    3. Press mixture evenly into the prepared pan.

    Step 3: Make the Chocolate Topping

    1. In a microwave-safe bowl, combine chocolate chips and heavy cream.
    2. Microwave in 20-second bursts, stirring each time, until smooth.

    Step 4: Assemble and Chill

    1. Pour chocolate mixture over peanut butter layer. Spread evenly.
    2. Sprinkle with sea salt or crushed peanuts if desired.
    3. Refrigerate 1-2 hours until firm.

    Step 5: Cut and Serve

    1. Lift bars out using parchment overhang. Cut into 16 squares.
    2. Store in refrigerator. Serve cold.

    Summary

    Prep Time: 10 minutes | Chill Time: 1-2 hours | Total Time: ~1.5 hours

    Yield: 16 bars

    Difficulty: So Easy

    Storage Notes

    Fridge:

    Store in an airtight container in the refrigerator for up to 2 weeks.

    Freezer Friendly:

    Freeze for 3 months. Thaw in refrigerator before serving.

    Pro Tip:

    Use natural peanut butter? Stir well first. The oil can separate.

  • Chocolate Rice Krispie Treats: The Original, But Make It Cocoa

    Chocolate Rice Krispie Treats: The Original, But Make It Cocoa

    Rice Krispie Treats are perfect. Chocolate Rice Krispie Treats are perfecter.

    Same buttery marshmallow base. Same crispy crunch. Plus cocoa powder in the mix and melted chocolate on top. 10 minutes. No oven. Maximum chocolate.

    Ingredients

    Makes 12-16 bars.

    • 4 tbsp unsalted butter
    • 1 bag (10 oz) marshmallows (about 40 regular or 4 cups mini)
    • ¼ cup unsweetened cocoa powder
    • ½ tsp vanilla extract
    • Pinch of salt
    • 6 cups Rice Krispies cereal
    • ½ cup chocolate chips (milk or semi-sweet) for topping

    Optional add-ins: Mini chocolate chips inside, sprinkles, peanut butter chips

    Step-by-Step Instructions

    Step 1: Prep the Pan

    1. Grease a 9×13 baking dish with butter or non-stick spray.

    Step 2: Melt Butter and Marshmallows

    1. In a large pot over low heat, melt butter.
    2. Add marshmallows. Stir constantly until completely melted and smooth.
    3. Whisk in cocoa powder, vanilla, and salt until fully combined.

    Step 3: Add the Cereal

    1. Pour in Rice Krispies. Stir quickly until cereal is fully coated in chocolate marshmallow.
    2. Don’t overmix.

    Step 4: Press Into Pan

    1. Transfer mixture to prepared dish. Press firmly into an even layer using greased hands or wax paper.

    Step 5: Add Chocolate Topping

    1. Melt chocolate chips in microwave (30-second bursts, stirring).
    2. Drizzle or spread over the top. Let set 5 minutes.

    Step 6: Cut and Serve

    1. Let cool completely. Cut into squares. Serve.

    Summary

    Prep Time: 5 minutes | Cook Time: 5 minutes | Total Time: 10 minutes (+ cooling)

    Yield: 12-16 bars

    Difficulty: So Easy

    Storage Notes

    Room Temp:

    Store in an airtight container for up to 5 days. Do not refrigerate (they get hard).

    Freezer Friendly:

    Freeze for up to 6 weeks. Thaw at room temperature.

    Pro Tip:

    Use dark cocoa powder for an extra-rich, Oreo-like flavor. Life-changing.

  • Rice Krispie Treats: The 5-Ingredient Childhood Hero

    Rice Krispie Treats: The 5-Ingredient Childhood Hero

    Some recipes are timeless. This is one of them.

    Butter. Marshmallows. Cereal. That’s it. 10 minutes. No oven. Sticky, gooey, crispy perfection. Make them with a kid. Eat them like a kid. No judgment.

    Ingredients

    Makes 12-16 bars.

    • 4 tbsp unsalted butter
    • 1 bag (10 oz) marshmallows (about 40 regular or 4 cups mini)
    • ½ tsp vanilla extract (optional)
    • Pinch of salt (optional)
    • 6 cups Rice Krispies cereal

    Optional add-ins: Sprinkles, chocolate chips, M&Ms, peanut butter

    Step-by-Step Instructions

    Step 1: Prep the Pan

    1. Grease a 9×13 baking dish with butter or non-stick spray.

    Step 2: Melt the Butter and Marshmallows

    1. In a large pot over low heat, melt butter.
    2. Add marshmallows. Stir constantly until completely melted and smooth.
    3. Remove from heat. Stir in vanilla and salt (if using).

    Step 3: Add the Cereal

    1. Pour in Rice Krispies. Stir quickly until cereal is fully coated.
    2. Don’t overmix (cereal gets crushed).

    Step 4: Press Into Pan

    1. Transfer mixture to prepared dish.
    2. Press firmly into an even layer using greased hands or wax paper (mixture is sticky!).

    Step 5: Cool and Cut

    1. Let cool at room temperature for 15-20 minutes.
    2. Cut into squares. Serve.

    Summary

    Prep Time: 5 minutes | Cook Time: 5 minutes | Total Time: 10 minutes (+ cooling)

    Yield: 12-16 bars

    Difficulty: So Easy

    Storage Notes

    Room Temp:

    Store in an airtight container for up to 5 days. Do not refrigerate (they get hard).

    Freezer Friendly:

    Freeze for up to 6 weeks. Thaw at room temperature.

    Pro Tip:

    For extra gooey treats, add 1 extra cup of marshmallows. For extra crispy, add 1 less cup.