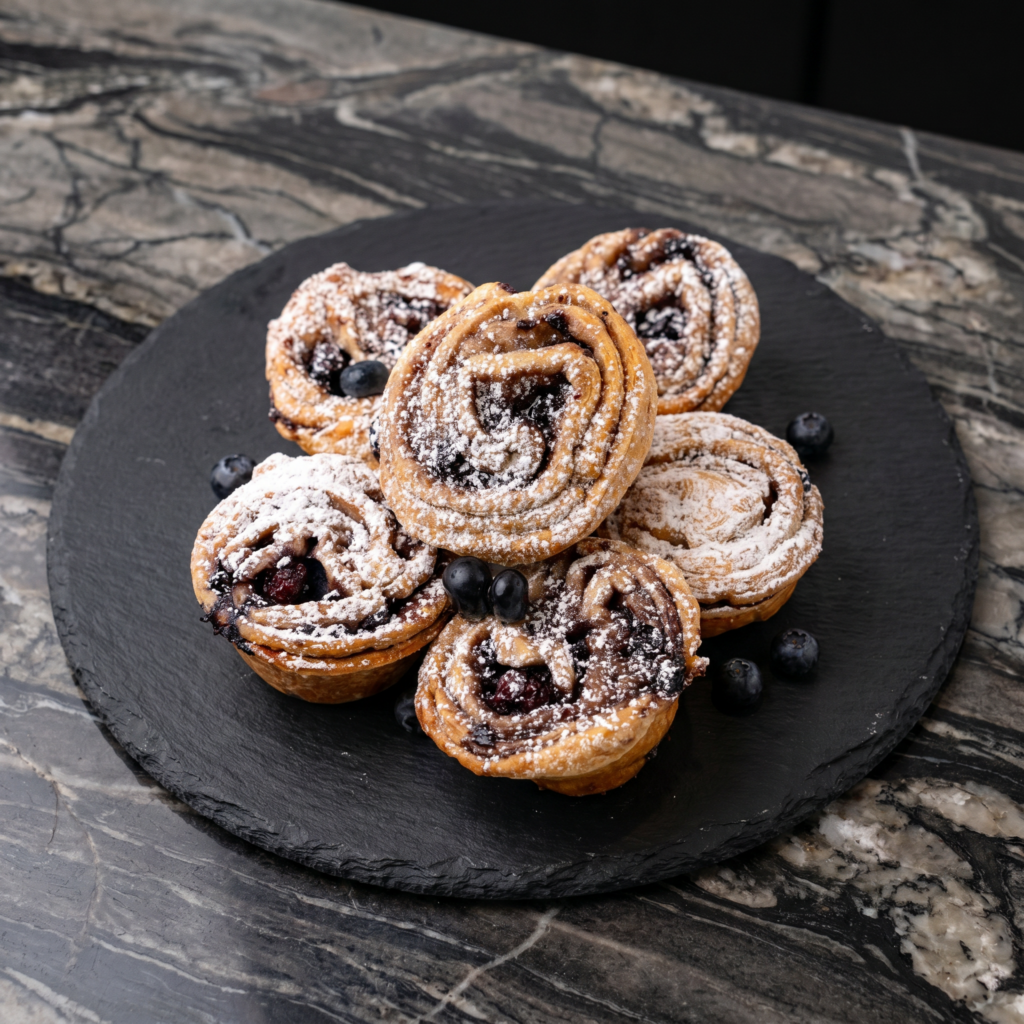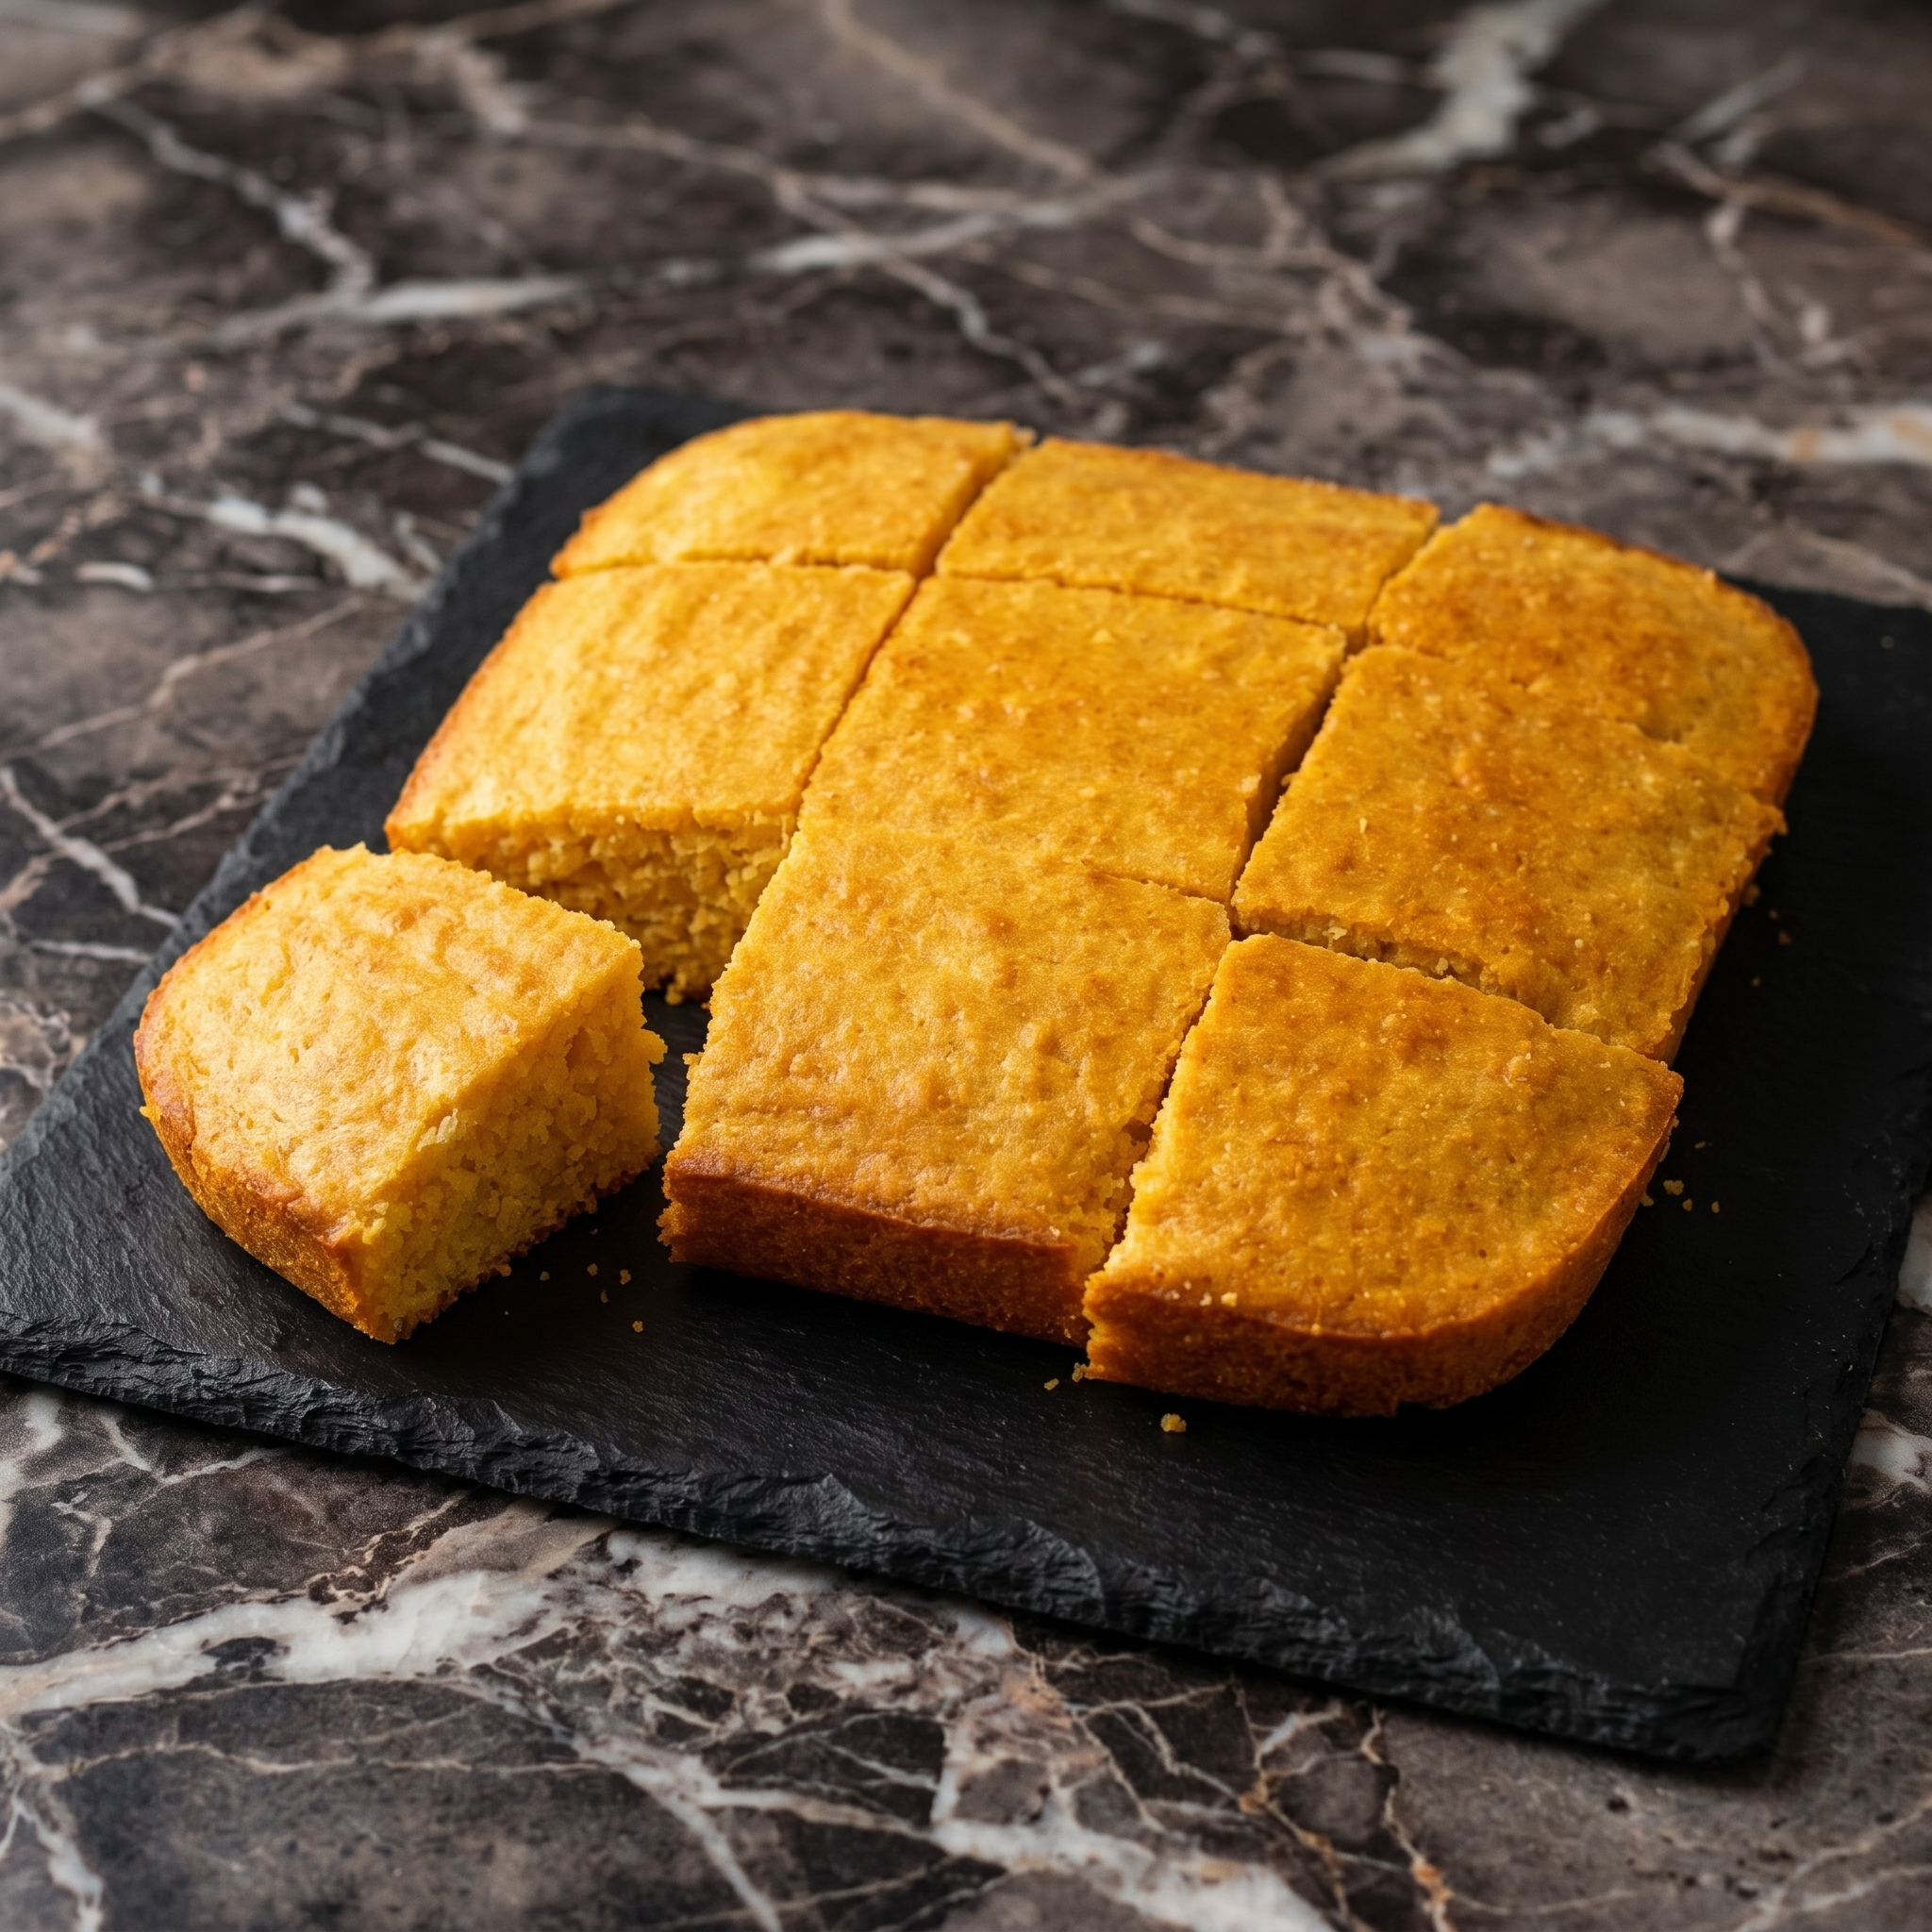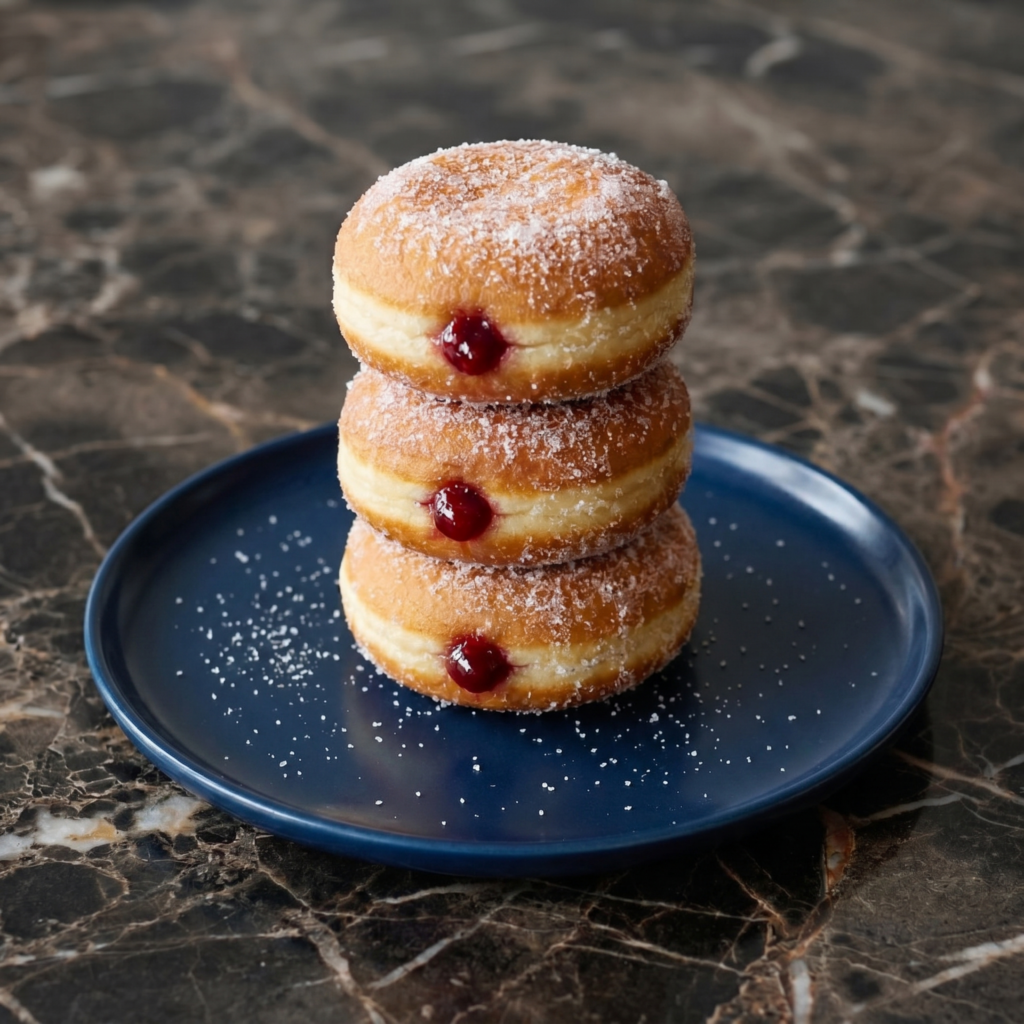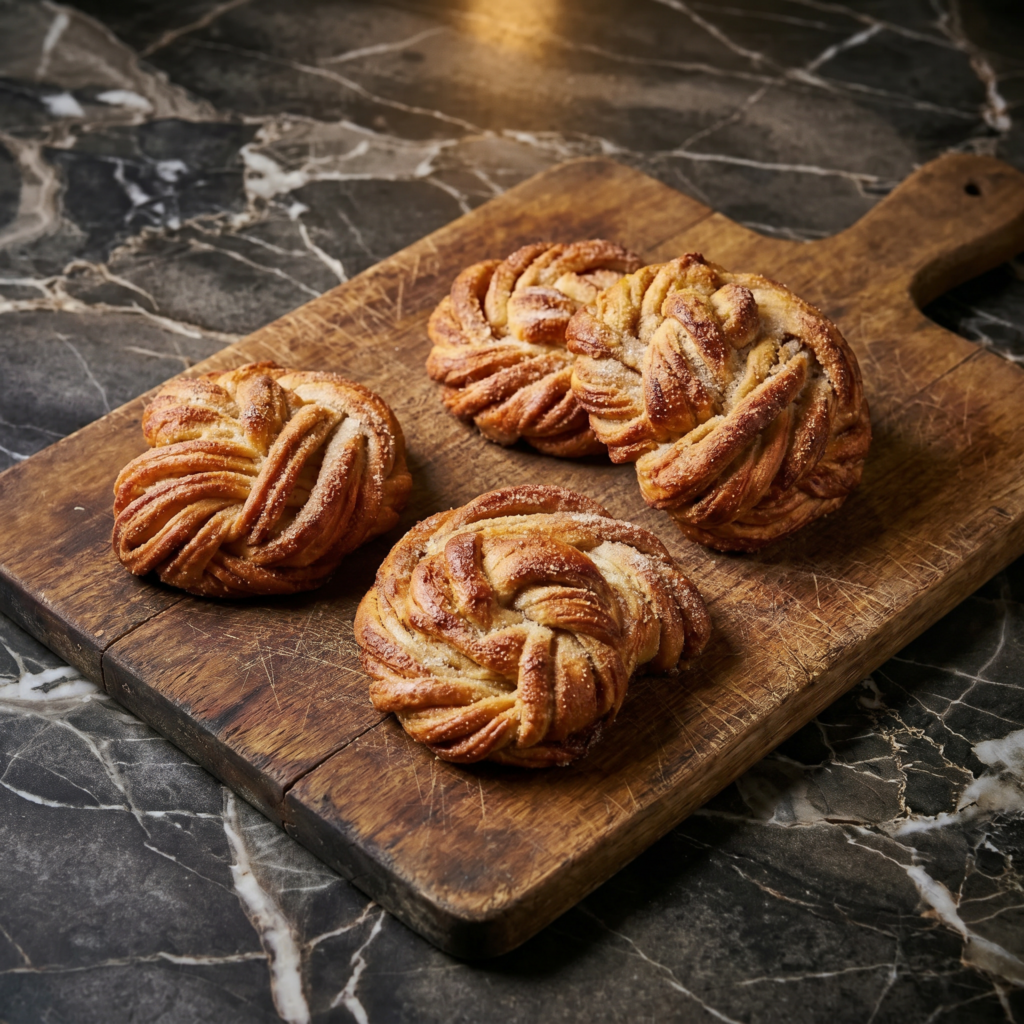
Scones get a bad rap. Dry. Dense. Crumbly. Not these.
These are tender, buttery, and bursting with juicy blueberries. Topped with crunchy sugar. 30 minutes. Your coffee just found its soulmate.
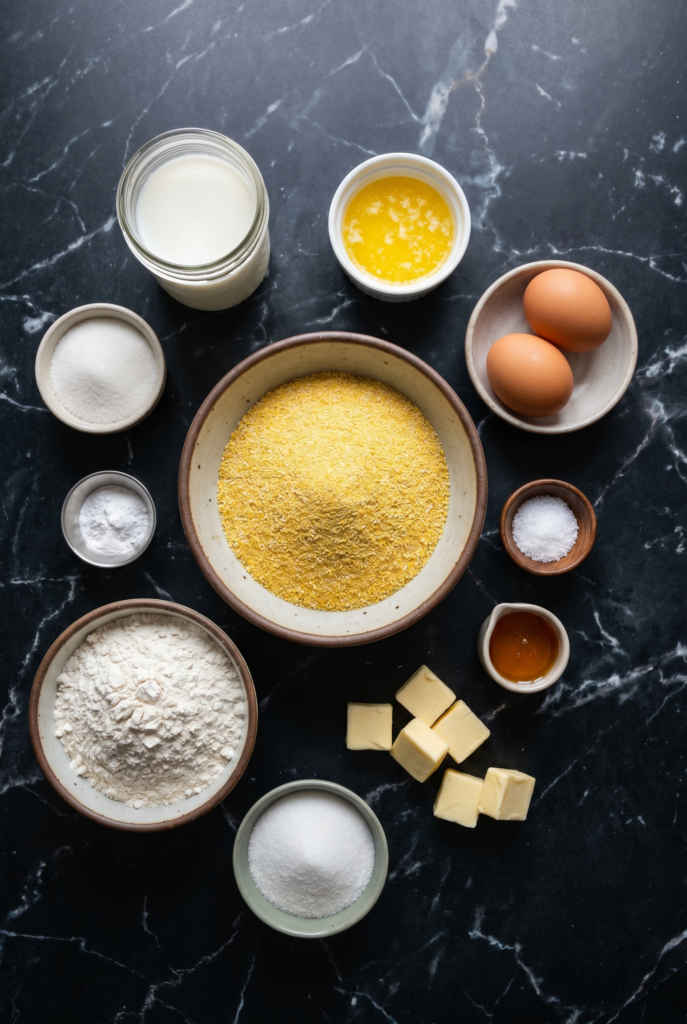
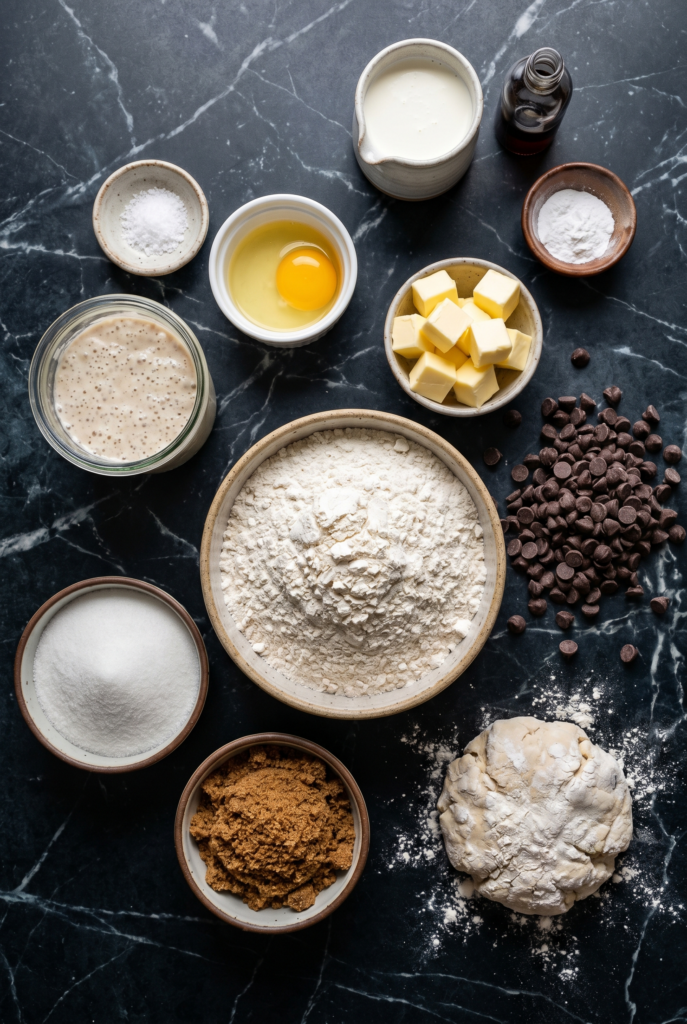
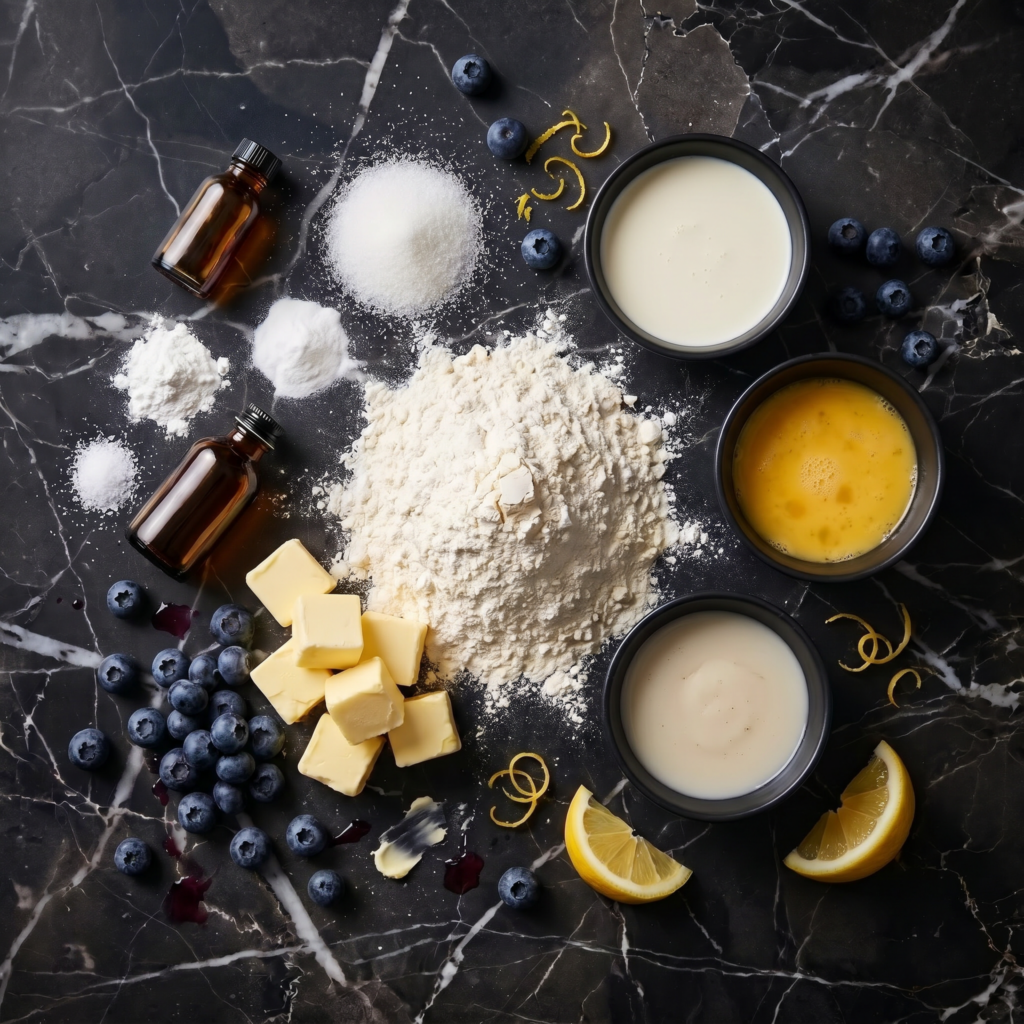
Ingredients
Makes 8 scones.
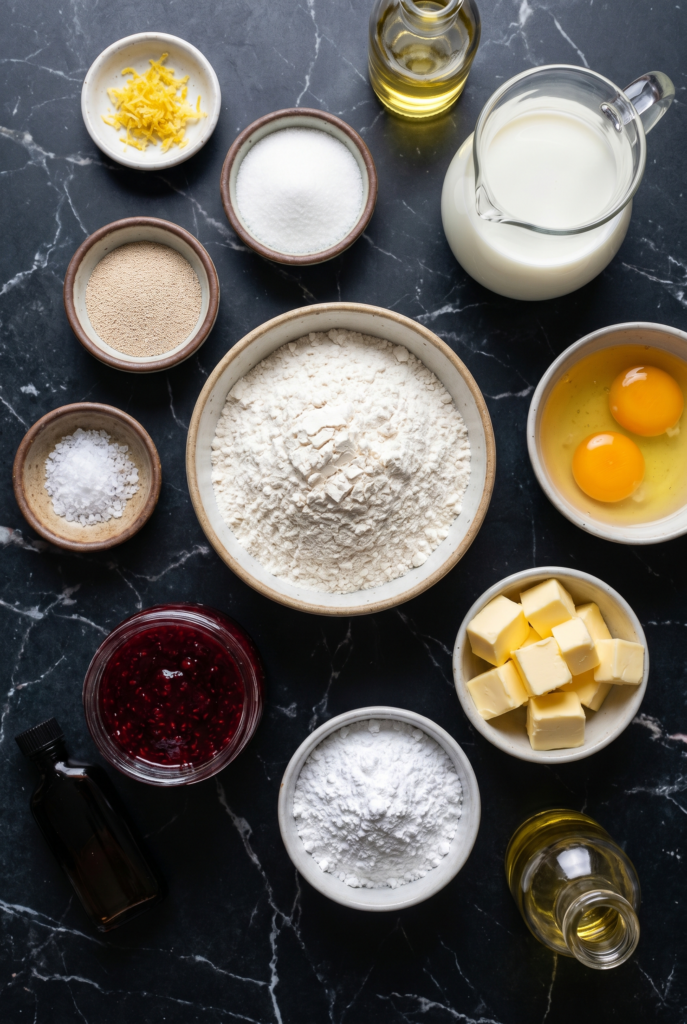
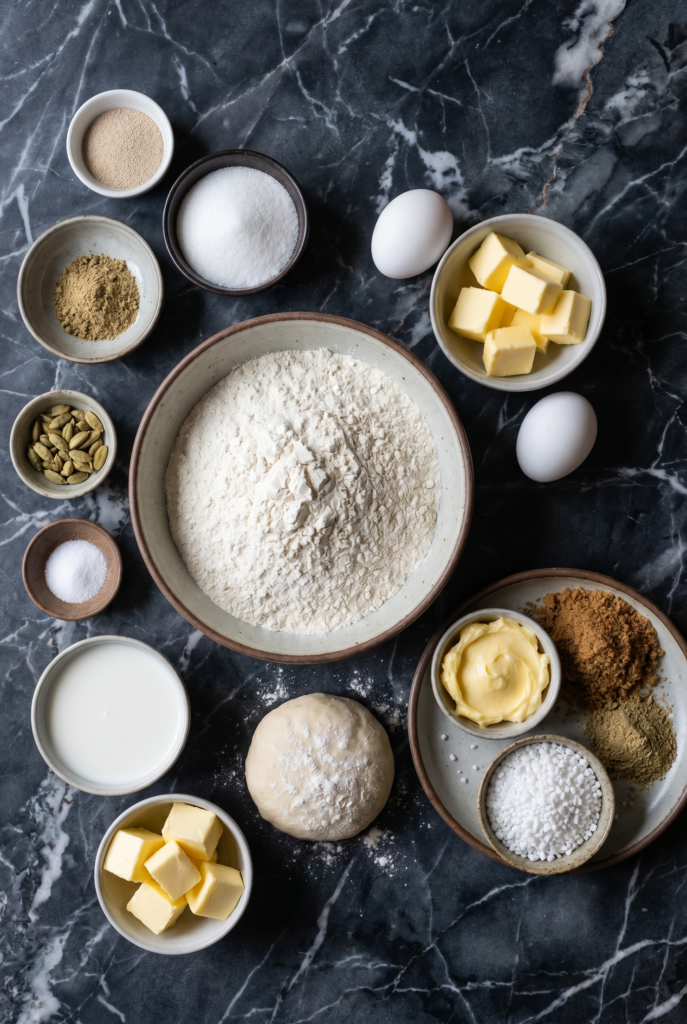
- 2 cups all-purpose flour
- ⅓ cup granulated sugar
- 1 tbsp baking powder
- ½ tsp salt
- ½ cup cold unsalted butter, cubed
- ½ cup cold buttermilk (or milk + 1 tsp vinegar)
- 1 large egg
- 1 tsp vanilla extract
- 1 cup fresh or frozen blueberries (don’t thaw if frozen)
- 1 tbsp turbinado sugar for topping
Step-by-Step Instructions
Step 1: Preheat and Prep
- Preheat oven to 400°F (200°C). Line a baking sheet with parchment.
Step 2: Mix Dry Ingredients
- Whisk flour, sugar, baking powder, and salt.
- Cut in cold butter using pastry blender or fingers until mixture looks like coarse meal.
Step 3: Add Wet Ingredients
- Whisk buttermilk, egg, and vanilla. Pour into dry mixture. Stir until just combined.
- Gently fold in blueberries (don’t overmix or they’ll bleed).
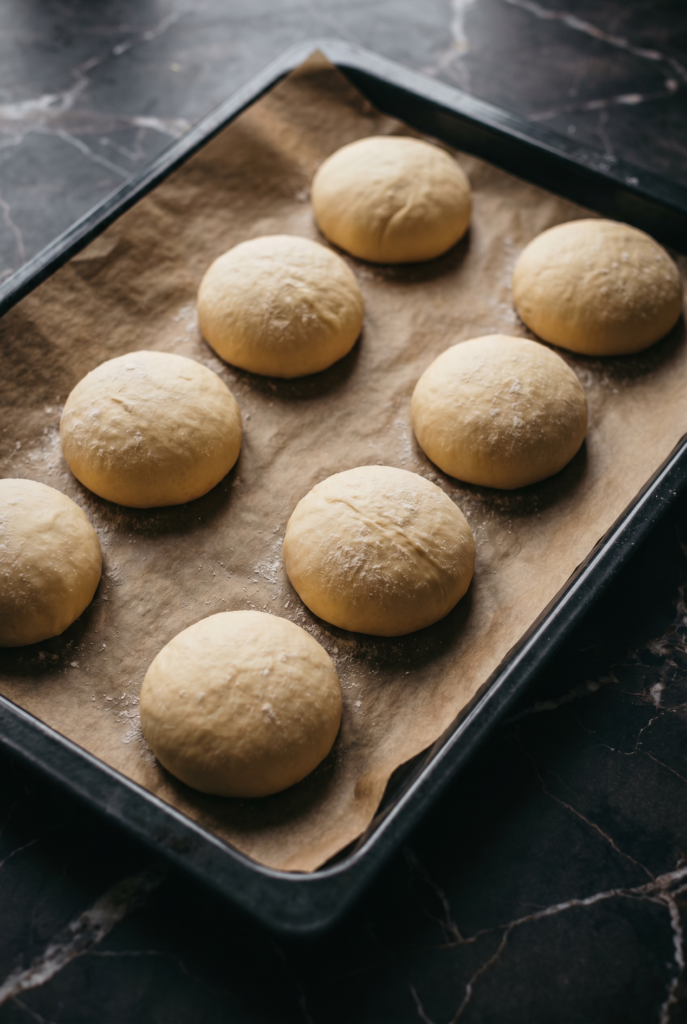
Step 4: Shape and Cut
- Turn dough onto floured surface. Pat into an 8-inch circle (1-inch thick).
- Cut into 8 wedges. Place on baking sheet.
- Sprinkle with turbinado sugar.
Step 5: Bake
- Bake 15-18 minutes until golden brown.
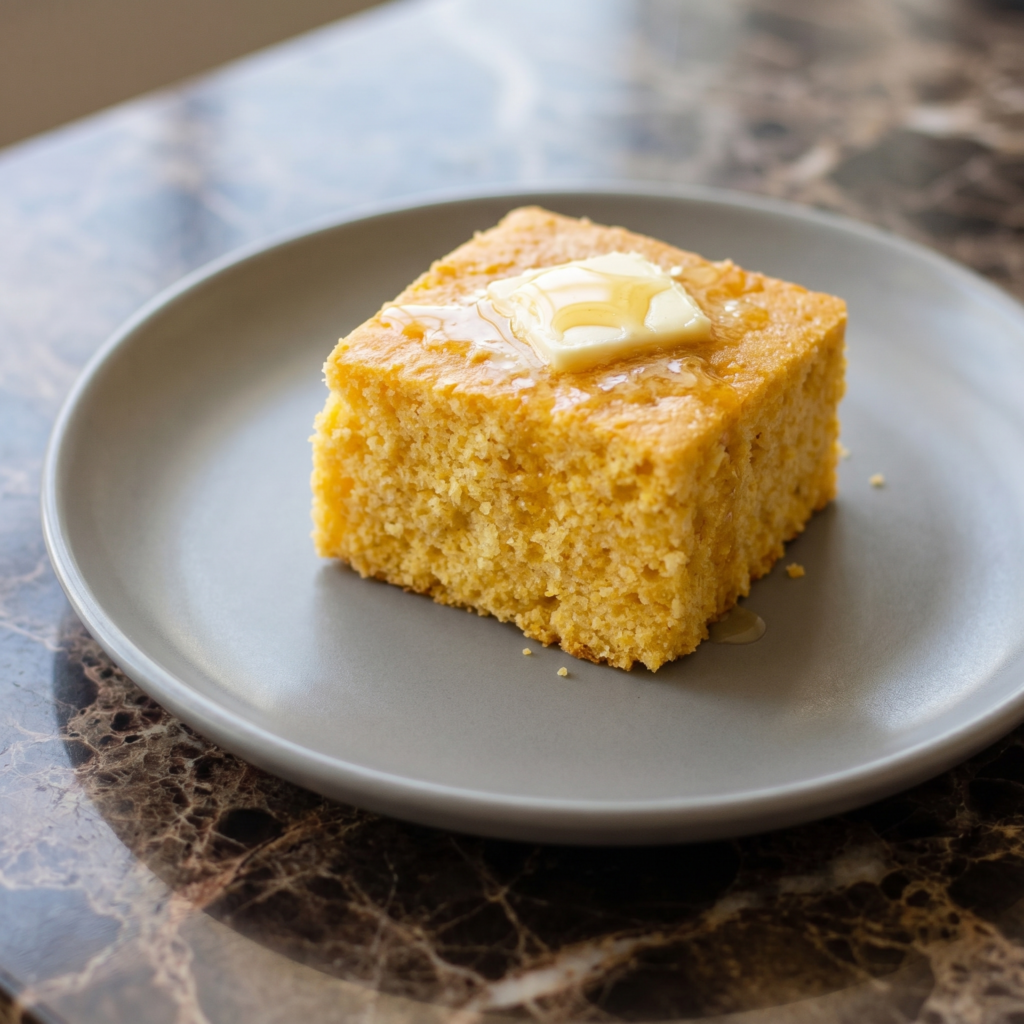
- Cool 5 minutes. Serve warm.
Summary
Prep Time: 10 minutes | Cook Time: 15-18 minutes | Total Time: 25-30 minutes
Yield: 8 scones
Difficulty: Easy
Storage Notes
Room Temp:
Store in an airtight container for 3 days.
Freezer Friendly:
Freeze unbaked cut scones for 3 months. Bake from frozen at 400°F for 18-20 minutes.
Pro Tip:
Keep everything COLD. The colder the butter, the flakier the scone. Don’t overmix.