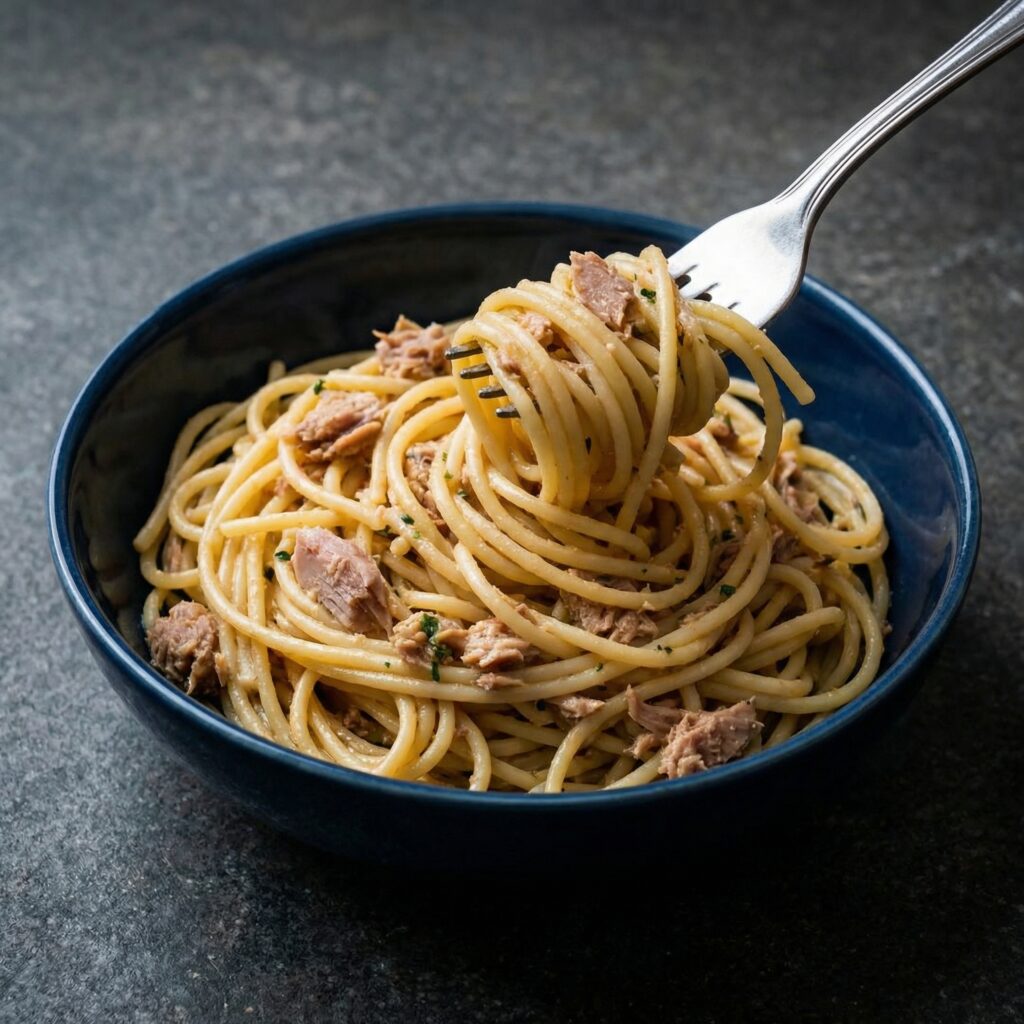
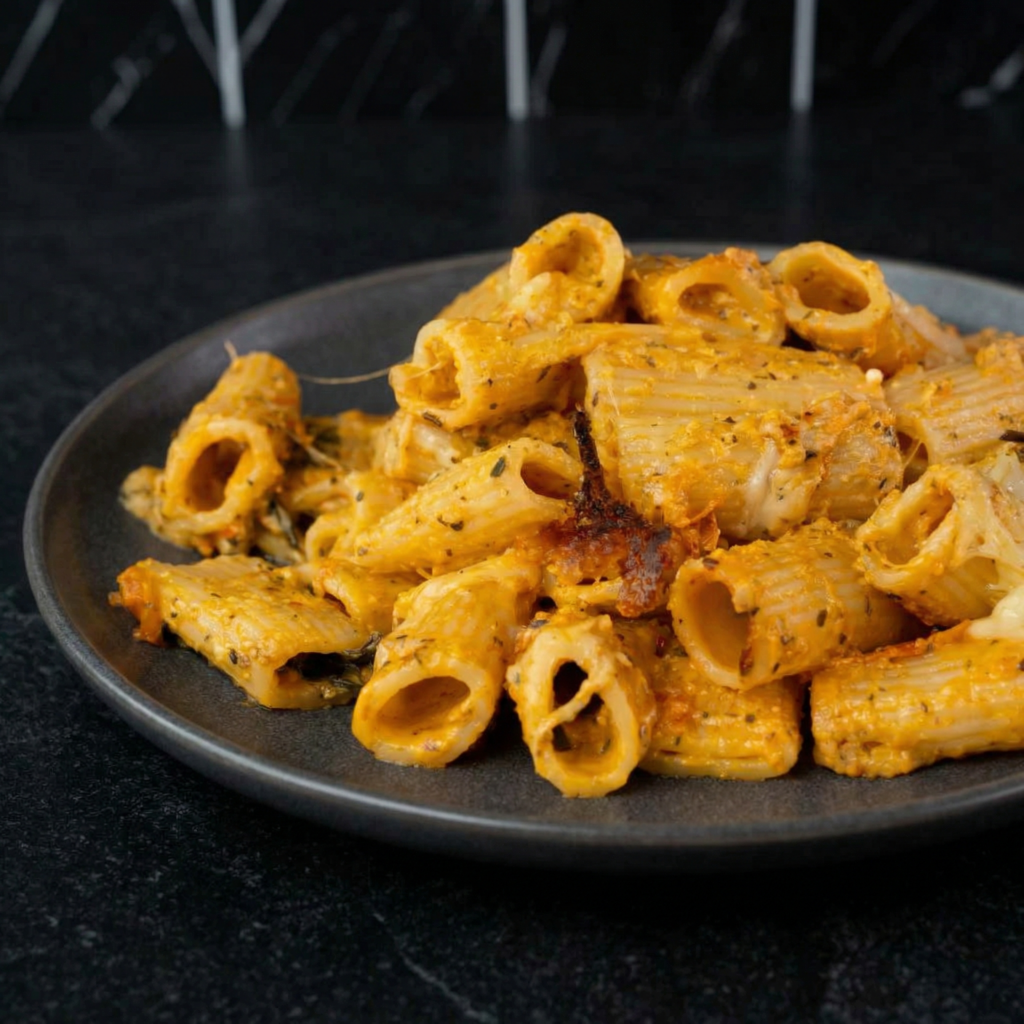
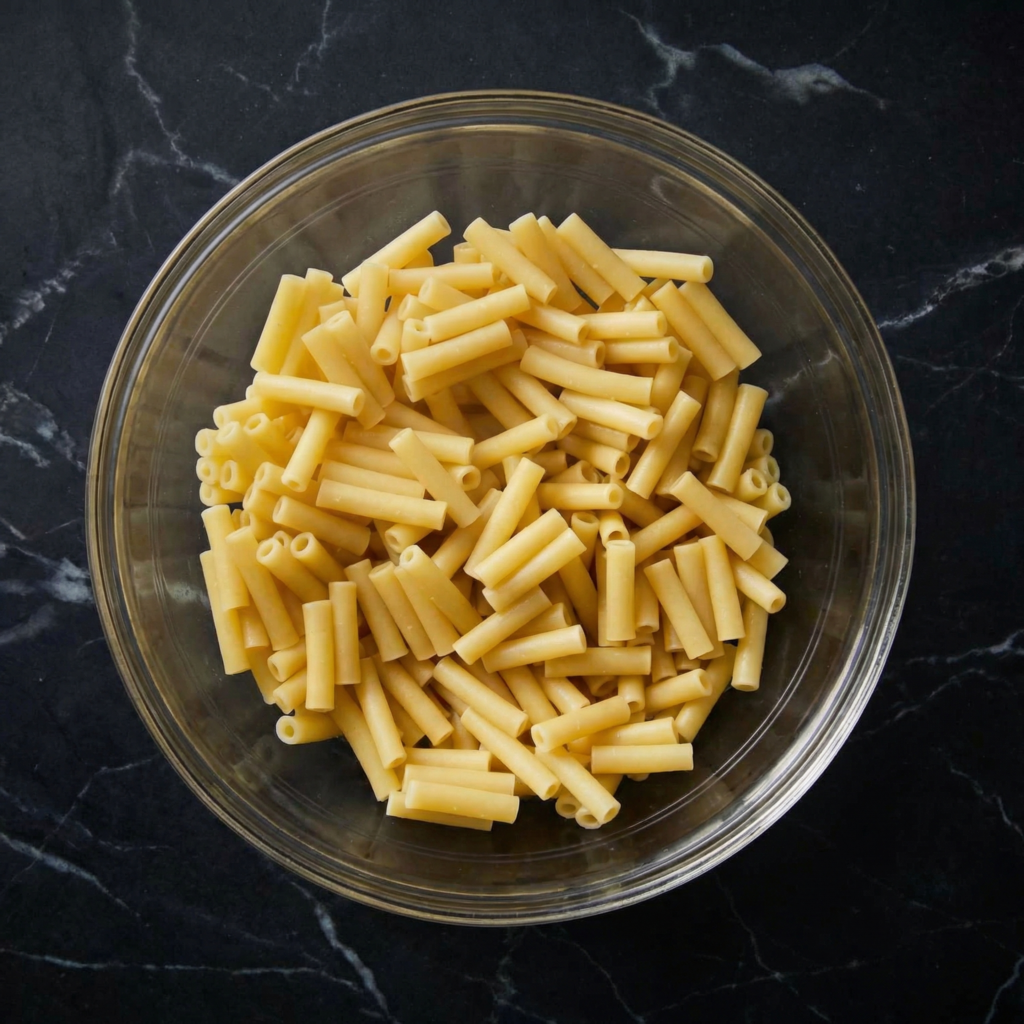
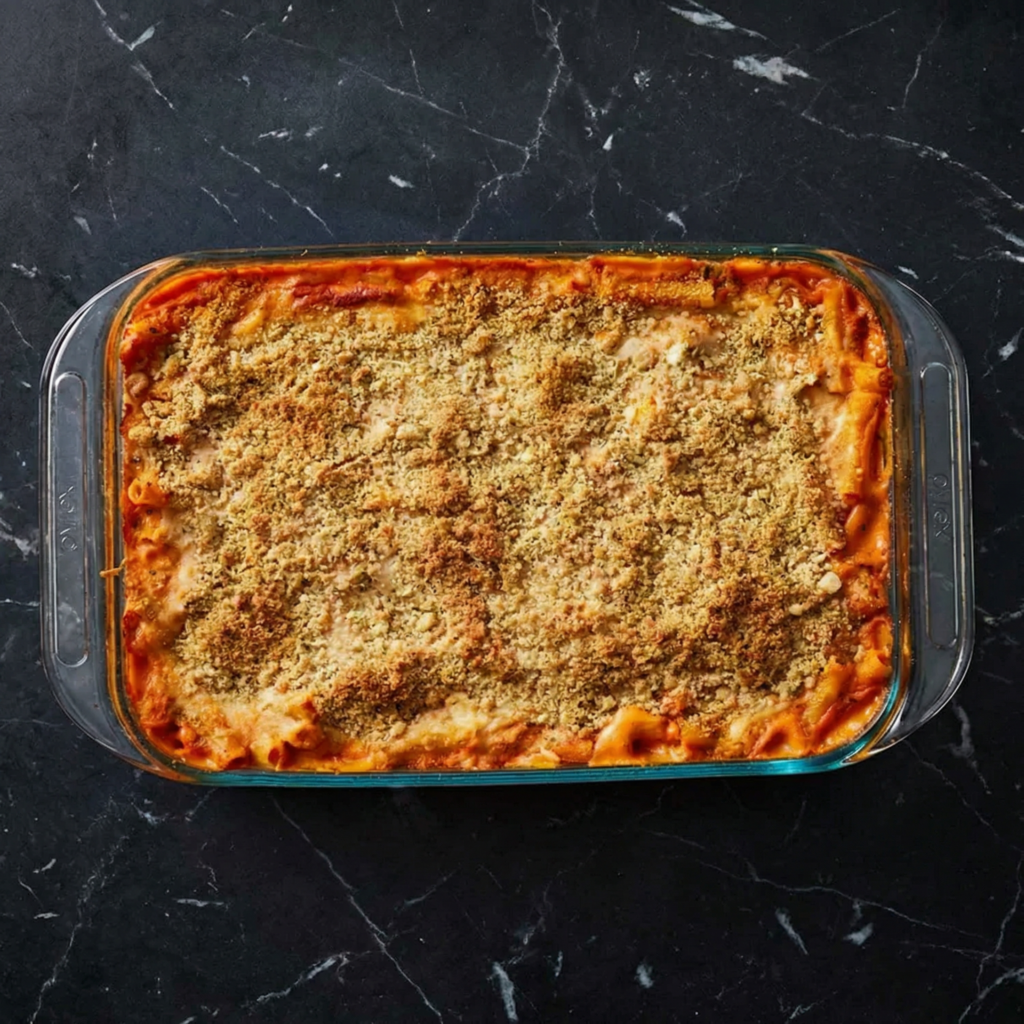
If you need a fast, budget-friendly meal that feels cozy and satisfying without creating a sink full of dishes, this One-Pan Tuna Pasta is exactly what you’re looking for.
It’s creamy, savory, and packed with flavor from simple pantry staples. Best of all, everything cooks in a single pan—including the pasta.
This recipe is perfect for busy weeknights, last-minute dinners, or when you just want something warm and comforting with minimal effort. Let’s break it down step by step so you can master this easy, foolproof dish.
Why You’ll Love This Recipe
- Only one pan required
- Ready in about 30 minutes
- Uses pantry staples
- Creamy and satisfying
- Easy to customize
Tuna adds protein and depth, while a creamy garlic-infused sauce coats every bite of pasta.
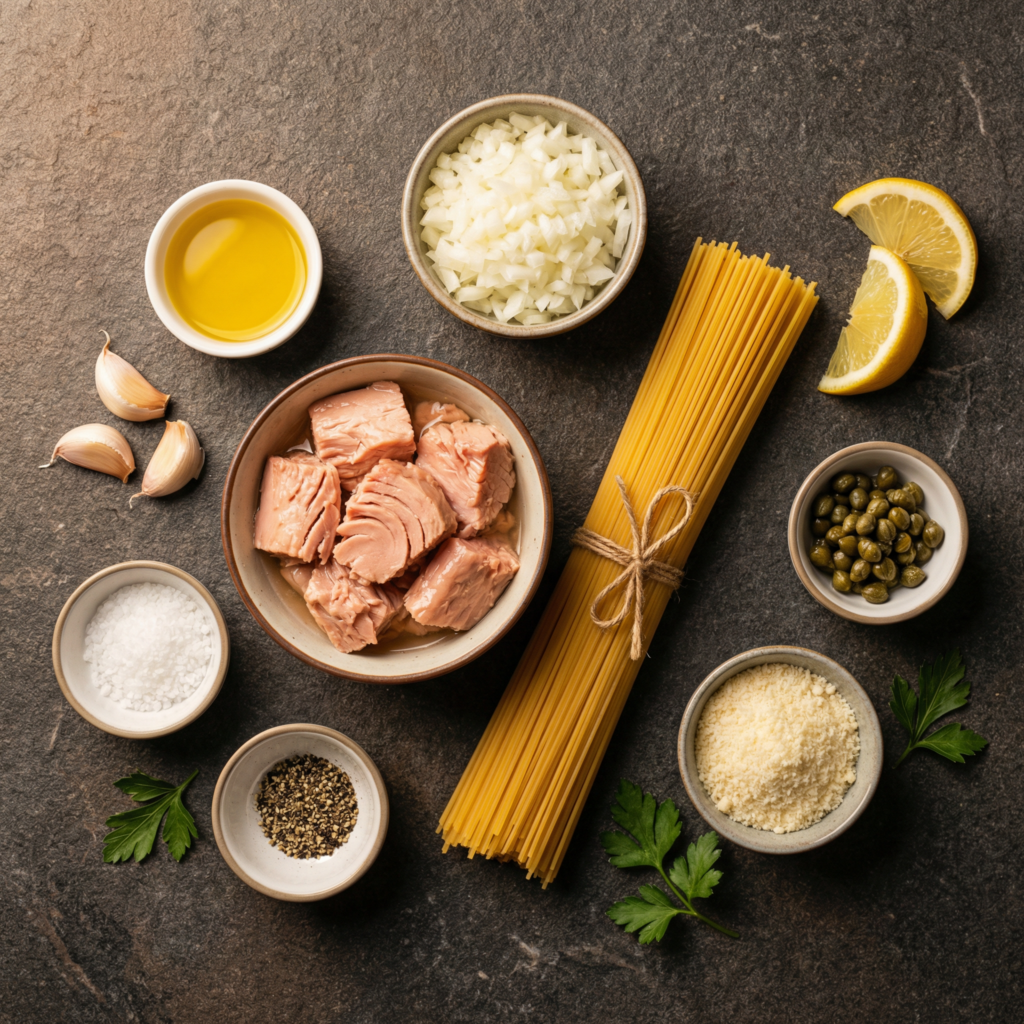
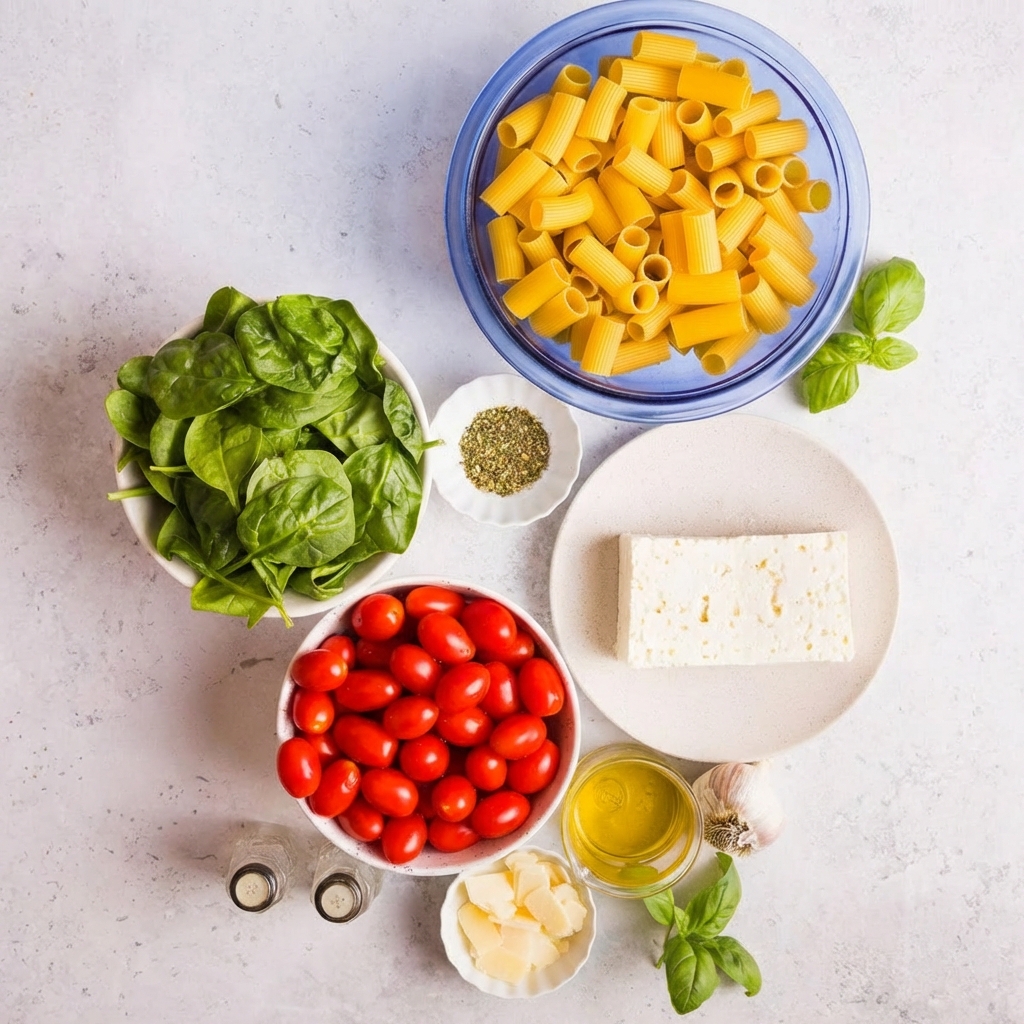
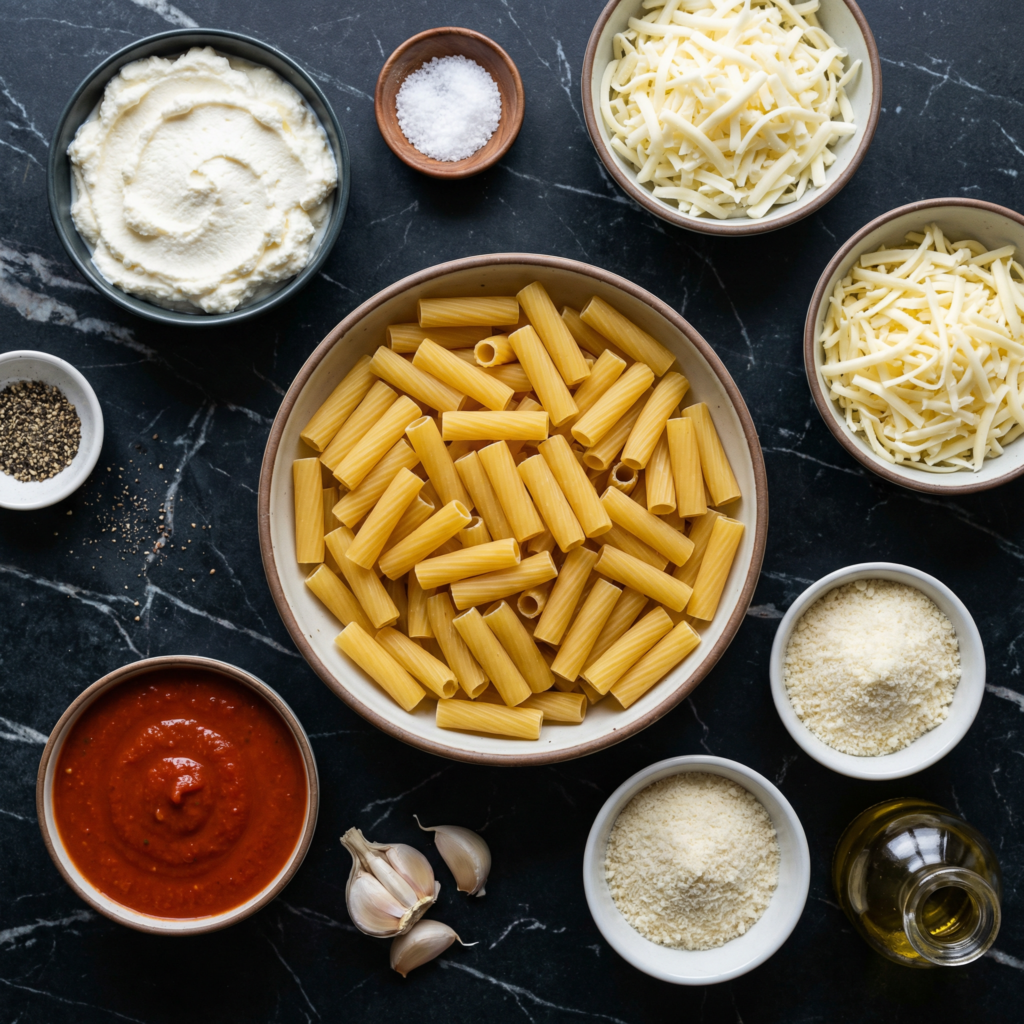
Ingredients You’ll Need
- 2 tablespoons olive oil
- 1 small yellow onion, finely diced
- 3 cloves garlic, minced
- ½ teaspoon red pepper flakes (optional)
- 1 tablespoon tomato paste
- 2 cups vegetable or chicken broth
- 1 cup milk (whole or 2%)
- 8 ounces uncooked short pasta (penne, rotini, or shells)
- 2 (5-ounce) cans tuna in oil or water, drained
- ½ cup grated Parmesan cheese
- ½ cup frozen peas
- Salt and black pepper, to taste
- Zest of ½ lemon
- Fresh parsley, chopped (for garnish)
Step 1: Sauté the Aromatics
Place a large deep skillet or sauté pan over medium heat. Add the olive oil.
Once the oil is warm, add the diced onion with a small pinch of salt. Cook for 3–4 minutes until soft and translucent.
Add the minced garlic and red pepper flakes. Stir constantly for about 30 seconds until fragrant. Be careful not to let the garlic brown—it can become bitter quickly.
This aromatic base builds the flavor foundation for the entire dish.
Step 2: Caramelize the Tomato Paste
Stir in the tomato paste and cook for 1–2 minutes, allowing it to darken slightly.
Cooking the tomato paste enhances its natural sweetness and adds depth to the sauce. Don’t skip this step—it makes a noticeable difference.
Step 3: Add the Liquid and Pasta
Pour in the broth and milk, stirring to combine.
Bring the mixture to a gentle simmer, then add the uncooked pasta directly into the pan. Make sure the pasta is mostly submerged in the liquid.
This one-pan method allows the pasta to cook while absorbing flavor from the sauce.
Increase the heat slightly to maintain a steady simmer. Cook uncovered for about 10–12 minutes, stirring every few minutes to prevent sticking.
If the liquid reduces too quickly before the pasta is tender, add a small splash of water or broth.
Step 4: Add the Tuna and Peas
Once the pasta is al dente and most of the liquid has reduced into a creamy sauce, reduce the heat to low.
Gently fold in the drained tuna, breaking it into chunks as you stir. Add the frozen peas at the same time.
Cook for 2–3 minutes until everything is heated through. The peas will brighten and soften quickly.
Be gentle when stirring—you want the tuna to remain slightly chunky for texture.
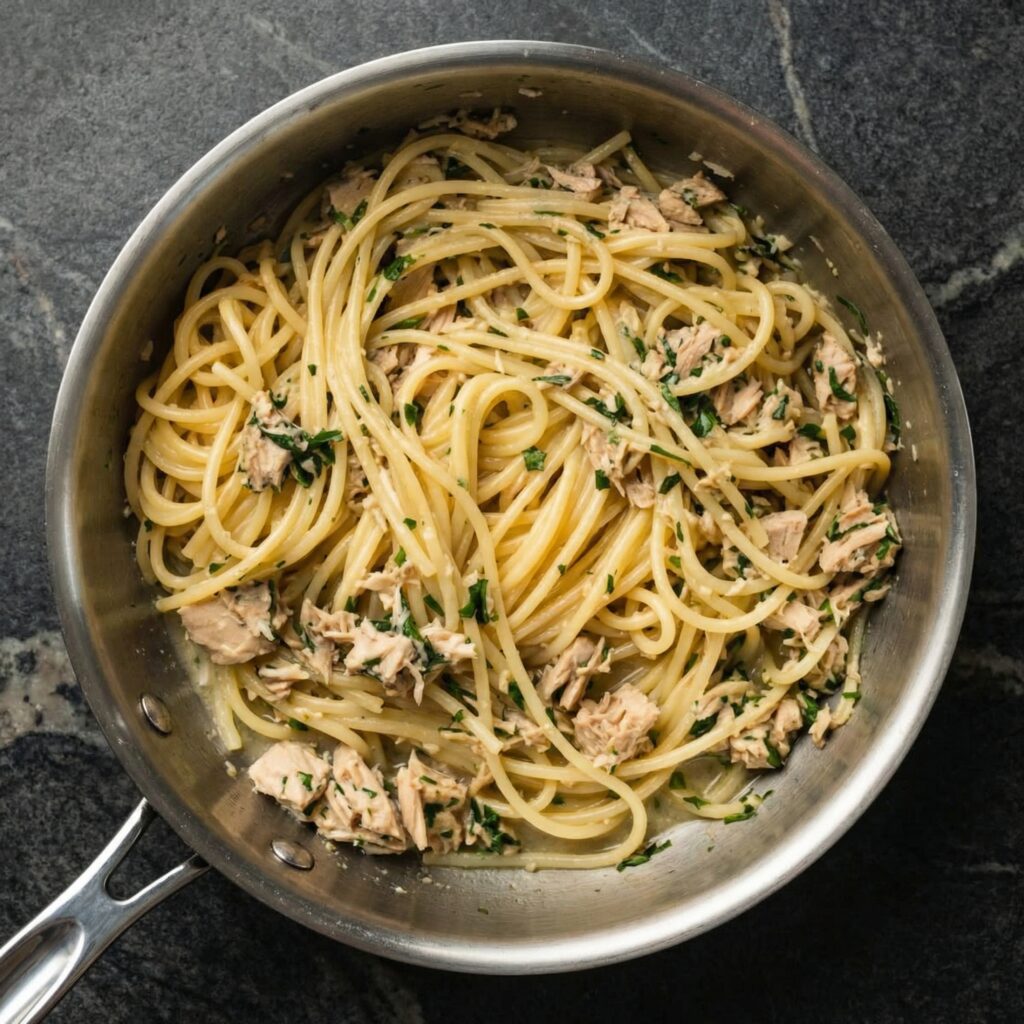
Step 5: Stir in Cheese and Finish
Add the grated Parmesan cheese and stir until melted and creamy.
Taste and adjust seasoning with salt and black pepper. Keep in mind that Parmesan and tuna both add saltiness, so season carefully.
Finish with lemon zest for brightness. This small touch lifts the richness of the sauce and balances the flavors beautifully.
Step 6: Garnish and Serve
Turn off the heat and sprinkle with freshly chopped parsley.
For extra flavor, you can add:
- A squeeze of fresh lemon juice
- More grated Parmesan
- A drizzle of good olive oil
- Extra red pepper flakes
Serve immediately while warm and creamy.
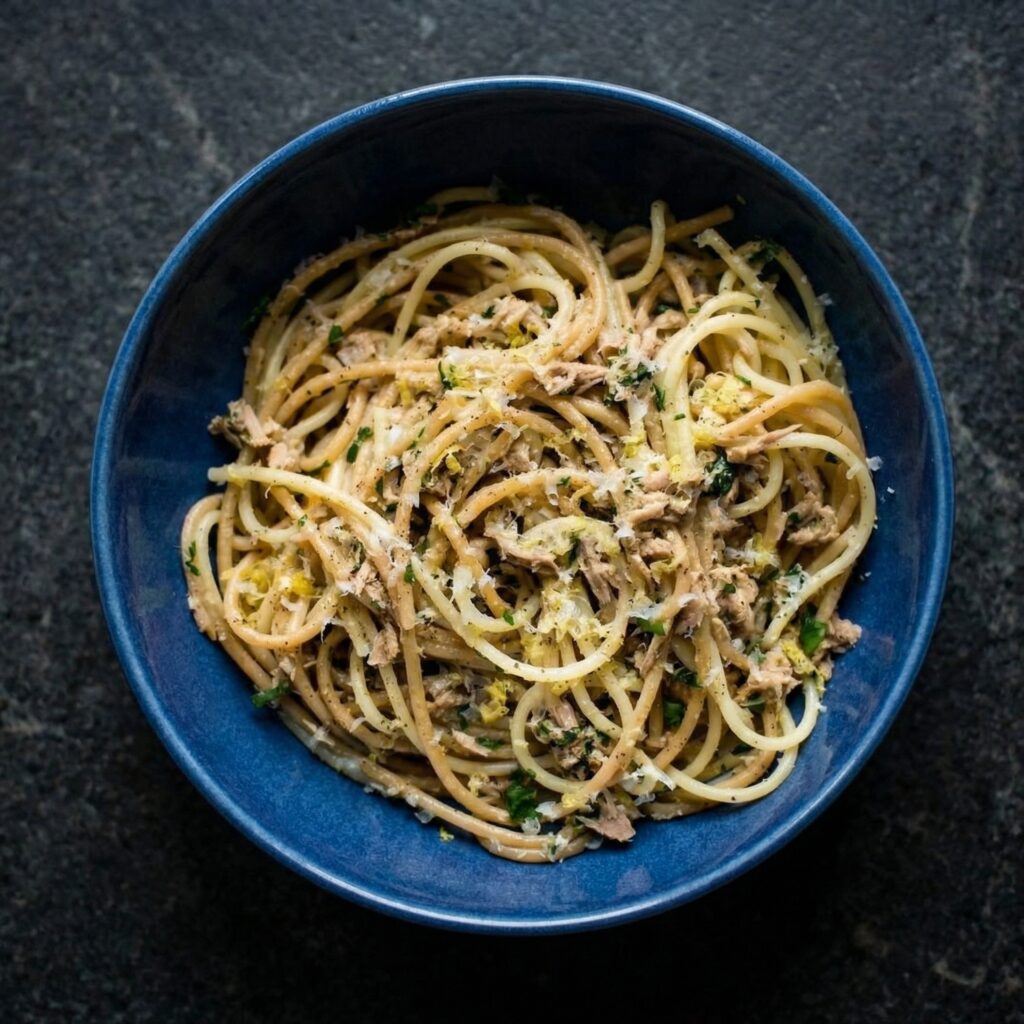
Tips for Perfect One-Pan Pasta
Stir occasionally. This prevents pasta from sticking to the bottom of the pan.
Use short pasta shapes. They cook evenly and hold sauce well.
Adjust consistency. If too thick, add a splash of milk. If too thin, simmer a minute longer.
Choose good-quality tuna. Tuna packed in olive oil adds extra richness and flavor.
Make It Your Own
This recipe is incredibly versatile. Try these variations:
- Add spinach or kale for extra greens.
- Stir in capers or olives for a Mediterranean twist.
- Swap peas for broccoli florets.
- Add a spoonful of cream cheese for extra creaminess.
- Sprinkle toasted breadcrumbs on top for crunch.
You can also use canned salmon instead of tuna for a different flavor profile.
Storage and Reheating
Store leftovers in an airtight container in the refrigerator for up to 3 days.
When reheating, add a splash of milk or broth and warm gently on the stove or in the microwave. The pasta will continue absorbing sauce as it sits, so a little added liquid helps restore creaminess.
Final Thoughts
One-Pan Tuna Pasta proves that simple pantry ingredients can create a meal that feels comforting and complete. With minimal prep, easy cleanup, and rich flavor in every bite, it’s a reliable dinner you’ll turn to again and again.
Creamy, savory, and brightened with a touch of lemon, this dish transforms humble canned tuna into something truly satisfying.
Grab your skillet, open that pantry, and enjoy a cozy bowl of creamy tuna pasta—no extra pots required.