
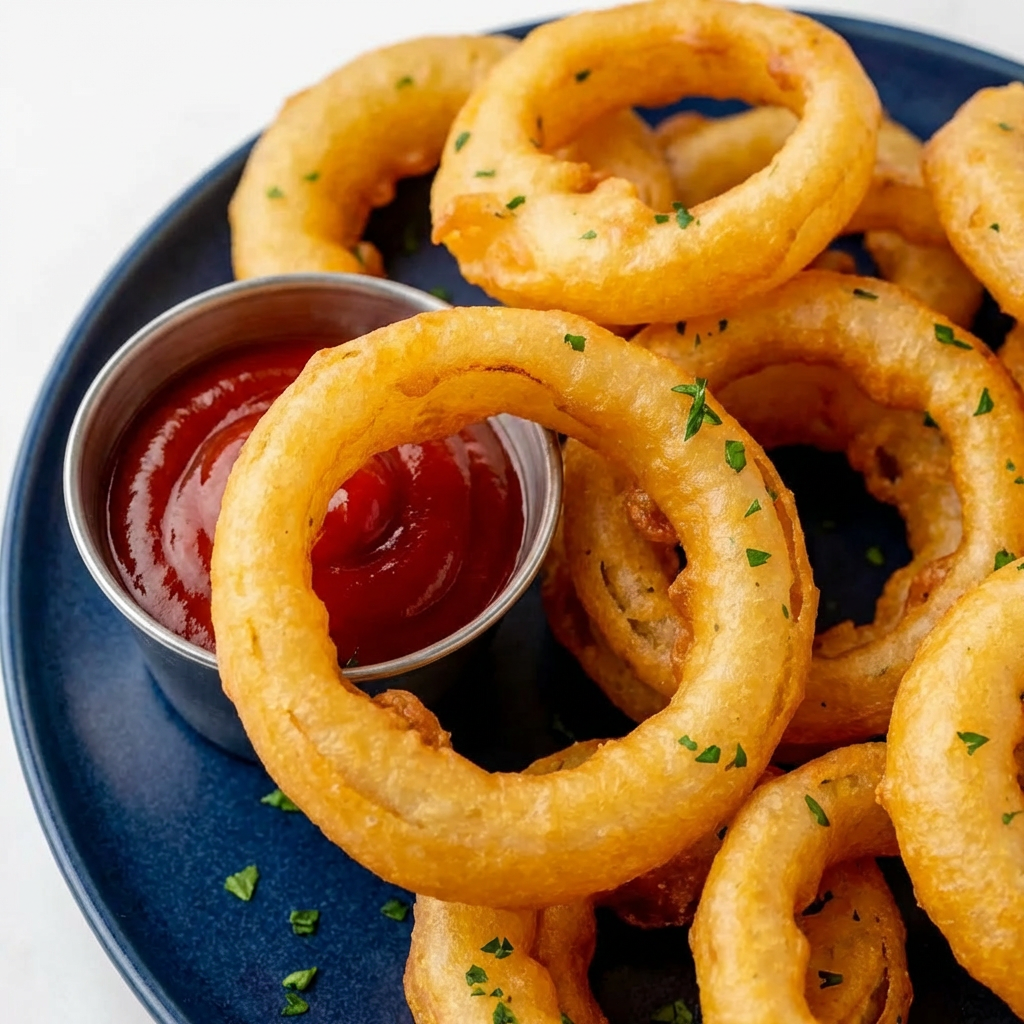
Let’s settle the debate right now: the best onion rings are not breaded, they’re battered. Specifically, they’re cloaked in a light, effervescent beer batter that fries up into an ethereally crisp, golden shell with a satisfying crunch that gives way to a sweet, tender onion within. These aren’t the heavy, doughy, or greasy rings you might be used to.
This recipe is a masterclass in frying technique, using a simple trick—ice-cold beer—to create a batter that puffs up in the hot oil, resulting in rings that are incredibly light and airy. The carbonation in the beer and the chill from the fridge create tiny bubbles in the batter that expand when fried, giving you that iconic, shatteringly crisp texture.
Paired with the natural sweetness of a Vidalia onion and served with a tangy dipping sauce, these onion rings are a game-day essential, a burger’s best friend, and an impressive appetizer that will have everyone asking for your secret.
The Science of the Perfect Beer Batter
Why does beer make such a phenomenal batter? It’s all about chemistry and temperature. Beer is carbonated, which means it’s full of CO2 bubbles. When the cold batter hits the hot oil, those bubbles expand rapidly, creating thousands of tiny air pockets throughout the coating. This makes it light and crisp instead of dense and hard. The alcohol in the beer also evaporates quickly during frying, further contributing to a drier, crisper crust.
The key to success is keeping everything cold. The beer should be icy, and the batter should be mixed just before frying and kept in the refrigerator until the oil is perfectly heated. A combination of all-purpose flour and cornstarch in the dry mix ensures a coating that adheres well and gets extra crispy.
Over-mixing is the enemy; a few lumps are not only okay, they’re desirable, as overworking the flour develops gluten, which can make the batter tough. This simple understanding transforms a basic ingredient list into a foolproof formula for fryer success.
Ingredients
For the Onion Rings:
- 2 large sweet onions (Vidalia or Walla Walla), about 1 ½ lbs
- 2 cups all-purpose flour, divided
- ½ cup cornstarch
- 1 teaspoon baking powder
- 2 teaspoons salt, divided
- 1 teaspoon smoked paprika (optional)
- 1 (12 oz) bottle very cold lager or pilsner beer
- Neutral oil for frying (vegetable, canola, or peanut)
For the Dipping Sauce (Optional):
- ½ cup mayonnaise
- 2 tablespoons ketchup
- 1 tablespoon pickle relish or chopped pickles
- 1 teaspoon Worcestershire sauce
- ½ teaspoon smoked paprika
Instructions
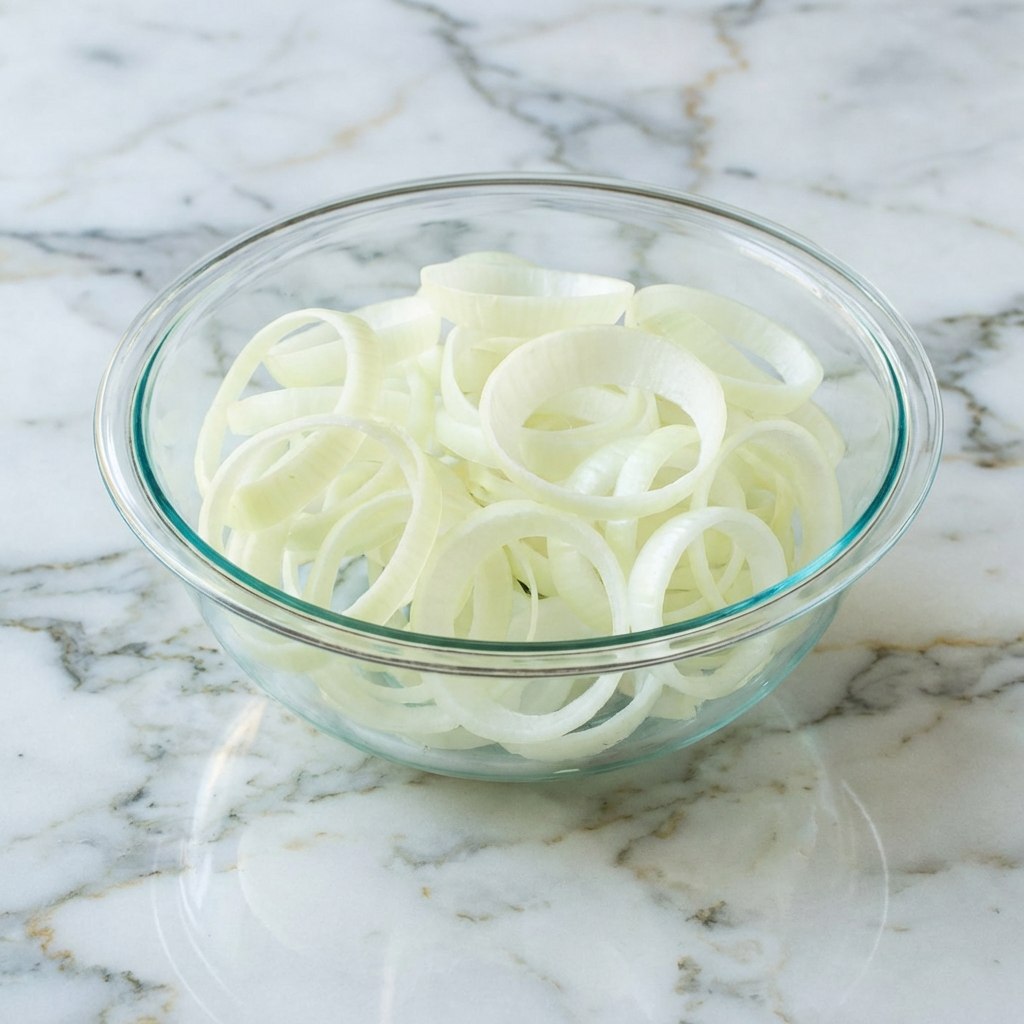
1. Prep the Onions & Dry Mix: Peel the onions and slice them into ½-inch thick rounds. Separate the rounds into individual rings. In a shallow bowl, place 1 cup of the flour. In a separate, large mixing bowl, whisk together the remaining 1 cup of flour, cornstarch, baking powder, 1 teaspoon of salt, and smoked paprika (if using). Place this bowl in the refrigerator to keep cold.
2. Make the Batter: Just before you’re ready to fry, remove the dry mix from the fridge. Slowly pour the ice-cold beer into the dry ingredients while whisking gently. Mix just until combined; the batter should be thick and lumpy, like pancake batter. Do not over-whisk. Place the batter bowl back in the fridge while you heat the oil.
3. Heat the Oil: Pour oil into a heavy-bottomed pot or Dutch oven to a depth of about 3 inches. Heat over medium-high heat to 375°F (190°C). Use a deep-fry or candy thermometer for accuracy. Line a baking sheet with paper towels or a wire rack for draining.
4. Dredge and Batter: Working in small batches, toss a few onion rings in the plain flour to coat lightly, shaking off excess. This helps the batter stick. Then, dip each floured ring into the cold batter, letting the excess drip back into the bowl.
5. Fry: Carefully lower the battered rings into the hot oil. Do not crowd the pot. Fry for 2-4 minutes, turning occasionally with a spider or tongs, until they are a deep, uniform golden brown and very crisp.
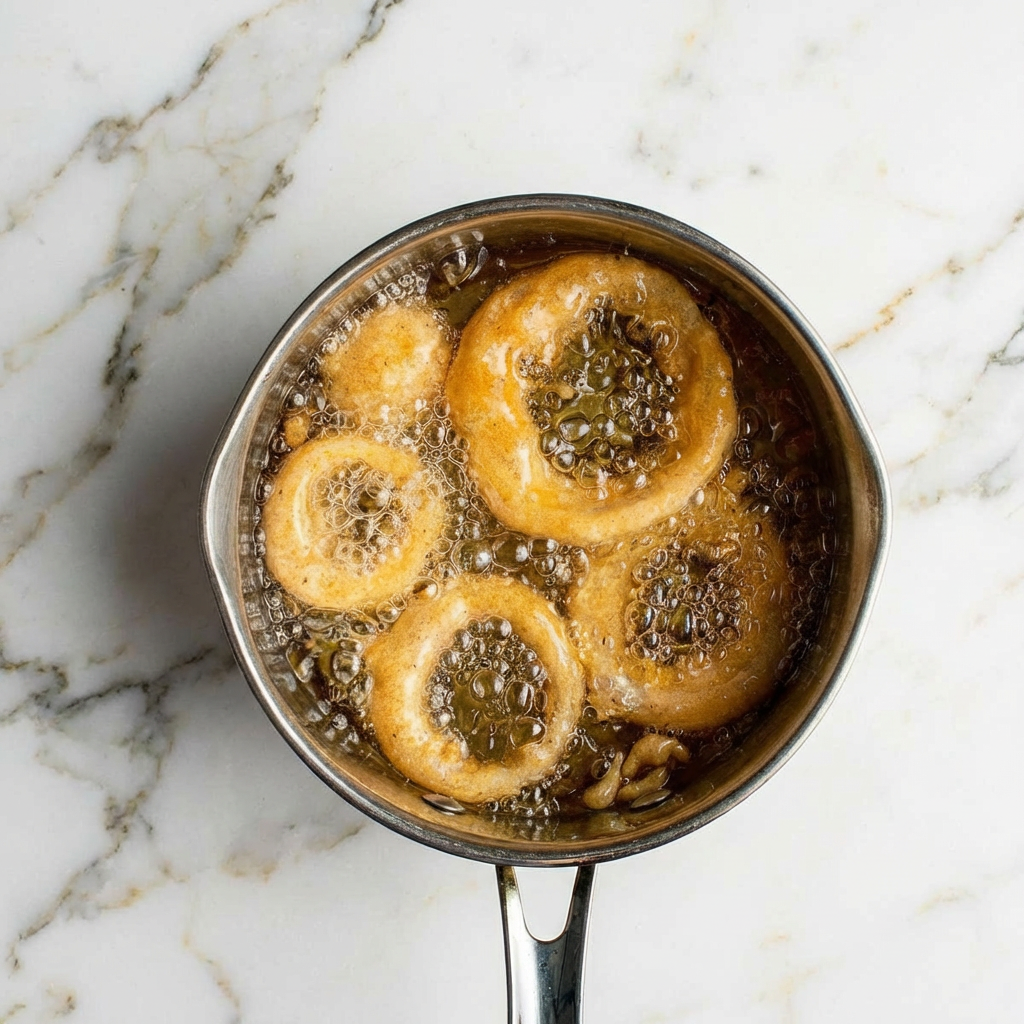
6. Drain & Season: Transfer the fried rings to the prepared baking sheet. Immediately sprinkle with the remaining 1 teaspoon of salt (or seasoning salt). Repeat with remaining rings, allowing the oil to return to 375°F between batches.
7. Make the Sauce & Serve: While the last batch fries, stir together all dipping sauce ingredients in a small bowl. Serve the onion rings immediately while they’re hot and crispy, with the sauce on the side.
Mastering the Fry: Pro Tips for Success
- Temperature is Everything: If the oil is too cool, the rings will be greasy. If it’s too hot, the batter will brown before the onion cooks through. A thermometer is your best friend.
- Keep it Cold, Fry it Hot: Don’t let the batter sit out. Keep it cold until the moment of frying for maximum puff.
- Dry Your Onions: Pat the onion rings dry with a paper towel before flouring to ensure the batter sticks perfectly.
- Season Immediately: Salting the rings right out of the fryer allows the salt to adhere to the hot oil on the surface.
- Serve NOW: Onion rings are at their absolute peak within minutes of frying. They do not reheat well.
- Dipping Sauce Variations: Swap the sauce for ranch, barbecue, or a spicy sriracha mayo. With this recipe in your arsenal, you’ll never be tempted by a frozen bag or a soggy drive-thru order again.
These beer-battered onion rings are a celebration of texture and technique, and they’re worth every delicious, crispy bite.


