If you’re looking for a dish that feels elegant yet comes together effortlessly, Miso Glazed Salmon is the answer.
This Japanese-inspired favorite balances sweet, salty, and umami flavors in a glossy glaze that caramelizes beautifully in the oven.
The salmon turns tender and flaky, while the miso glaze forms a slightly sticky, deeply flavorful coating that tastes like it came from a high-end restaurant.
The best part?
It takes minimal prep and cooks quickly, making it perfect for both busy weeknights and special dinners.
Let’s walk through the process step by step so you can achieve perfectly glazed, melt-in-your-mouth salmon every time.
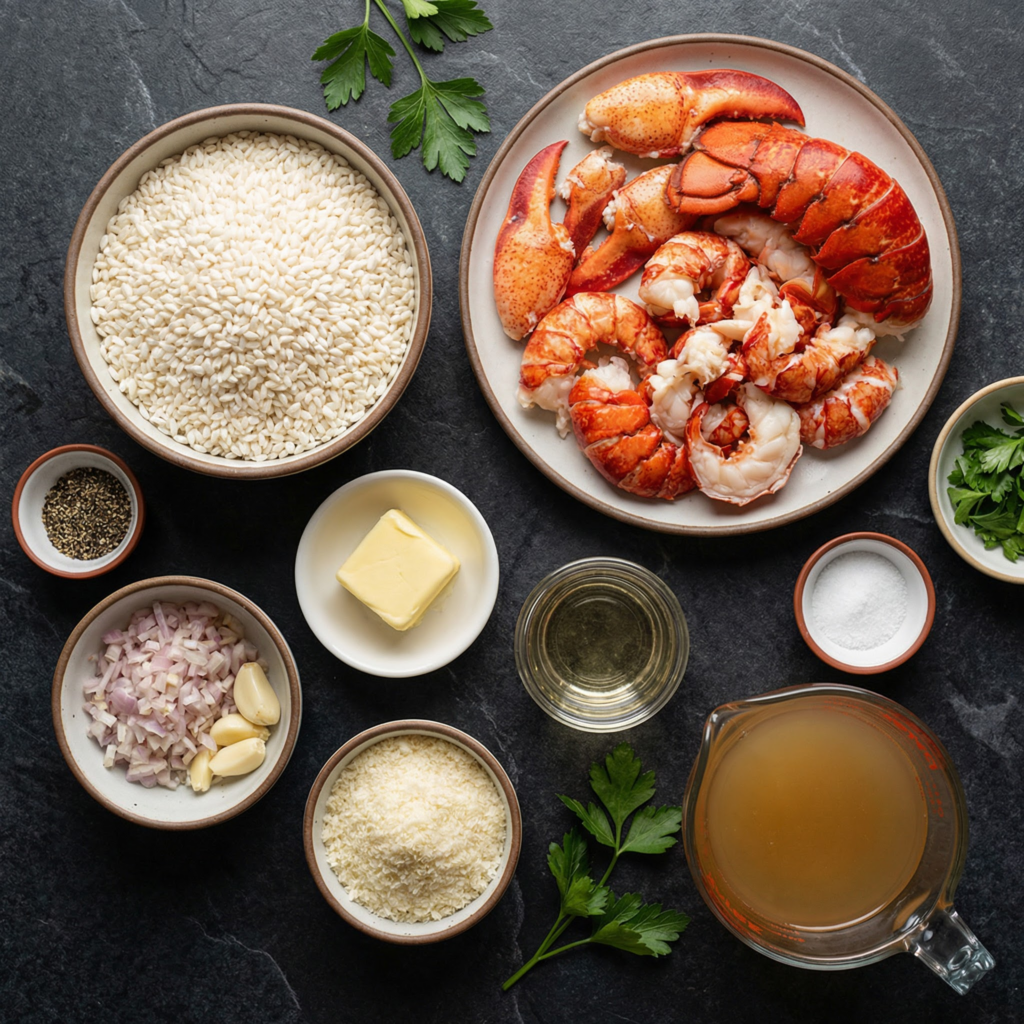
Ingredients You’ll Need
- 4 salmon fillets (about 6 oz each), skin-on or skinless
- 3 tablespoons white miso paste
- 2 tablespoons mirin
- 1 tablespoon soy sauce
- 1 tablespoon honey (or brown sugar)
- 1 tablespoon rice vinegar
- 1 teaspoon sesame oil
- 2 cloves garlic, finely minced
- 1 teaspoon freshly grated ginger
- 1 tablespoon olive oil (for the pan)
- Optional garnish: sliced green onions, sesame seeds, lime wedges
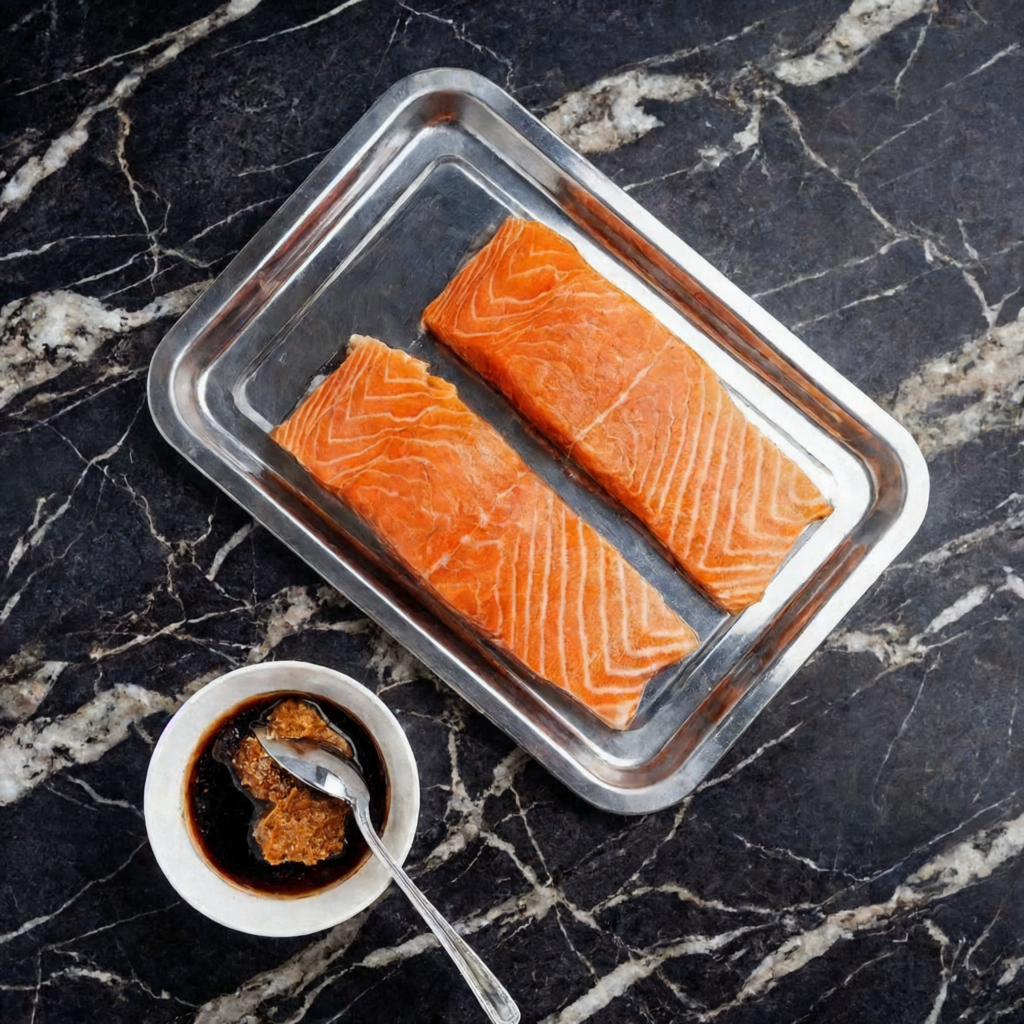
Step 1: Prepare the Miso Glaze
In a medium bowl, whisk together the white miso paste, mirin, soy sauce, honey, rice vinegar, sesame oil, minced garlic, and grated ginger. Mix until smooth and fully combined.
The glaze should be thick but spreadable. If it feels too thick, add a teaspoon of water to loosen it slightly. This mixture is the heart of the dish—it delivers sweet depth, savory umami, and a subtle tang.
Step 2: Pat the Salmon Dry
Use paper towels to gently pat the salmon fillets dry. Removing excess moisture helps the glaze adhere better and promotes caramelization.
If your fillets have skin, check for any stray scales and remove them before cooking.
Step 3: Marinate Briefly
Place the salmon in a shallow dish and spoon about half of the glaze over the top. Spread evenly to coat each fillet.
Let the salmon marinate for 20–30 minutes in the refrigerator. Because miso is salty, avoid marinating much longer than 30 minutes to prevent overpowering flavor.
Reserve the remaining glaze for brushing during cooking.
Step 4: Preheat the Oven
Preheat your oven to 400°F (200°C). Line a baking sheet with parchment paper or lightly oil a baking dish to prevent sticking.
You can also cook this under the broiler, but baking first ensures even cooking before caramelizing the top.
Step 5: Bake the Salmon
Place the marinated salmon fillets on the prepared baking sheet, skin-side down if applicable. Bake for 10–12 minutes, depending on thickness.
Salmon is done when it flakes easily with a fork and reaches an internal temperature of 125–130°F (52–54°C) for medium. Avoid overcooking, as salmon can dry out quickly.
Step 6: Broil for Caramelization
Switch the oven to broil for the final 1–2 minutes. Brush the tops of the salmon with the reserved glaze and broil until the surface becomes bubbly and slightly caramelized.
Watch closely during this step—the sugars in the glaze can burn quickly. You’re looking for golden edges and a glossy finish.
Step 7: Rest Before Serving
Remove the salmon from the oven and let it rest for 3–5 minutes. This allows the juices to redistribute and ensures tender, moist fish.
Step 8: Garnish and Serve
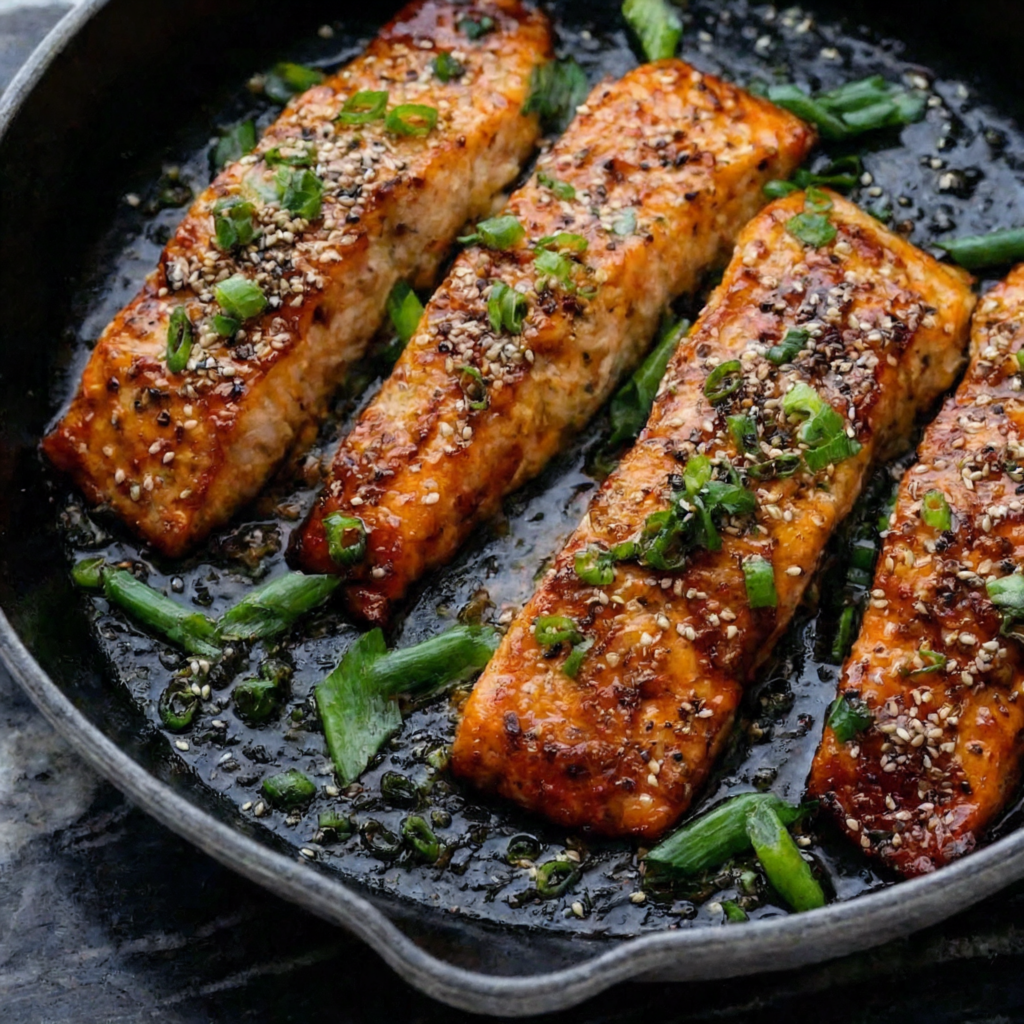
Sprinkle sliced green onions and sesame seeds over the salmon for color and texture. Serve with lime wedges for a bright finishing touch.
Miso glazed salmon pairs beautifully with:
- Steamed jasmine rice
- Stir-fried vegetables
- Sautéed bok choy
- Cucumber salad
- Rice noodles
Pro Tips for Perfect Miso Glazed Salmon
- Use white miso paste for a milder, slightly sweet flavor.
- Don’t over-marinate—miso is concentrated and can overpower the fish.
- Pat the salmon dry to help the glaze stick.
- Broil carefully for caramelization without burning.
- Choose center-cut fillets for even thickness and consistent cooking.
Flavor Variations
Once you master the base recipe, try these delicious variations:
- Spicy Miso: Add 1 teaspoon sriracha or chili paste to the glaze.
- Maple Miso: Swap honey for pure maple syrup for deeper sweetness.
- Citrus Twist: Add a teaspoon of orange zest to the glaze.
- Grilled Version: Cook salmon on a grill over medium heat and brush with glaze during the final minutes.
Storage and Reheating
Store leftover salmon in an airtight container in the refrigerator for up to 3 days.
To reheat, warm gently in a 300°F oven for 8–10 minutes. Avoid microwaving at high heat, as it can dry out the fish.
Cold leftover miso salmon also works wonderfully flaked into salads or rice bowls.
Why This Recipe Works
Miso paste delivers deep umami flavor that pairs naturally with rich salmon.
The sweetness from honey balances the saltiness, while ginger and garlic add aromatic warmth. High heat allows the glaze to caramelize, creating contrast between the crispy exterior and tender interior.
The simplicity of the ingredients lets the salmon shine while still offering bold, layered flavor.
Final Thoughts
Miso Glazed Salmon is proof that impressive meals don’t have to be complicated. With a handful of pantry staples and under 30 minutes of active cooking time, you can create a dish that feels refined, balanced, and deeply satisfying.
The glossy, caramelized glaze and flaky salmon make every bite memorable. Whether you’re cooking for family, entertaining guests, or simply upgrading your weeknight dinner routine, this recipe delivers consistent, delicious results.
Once you try it, don’t be surprised if it becomes a weekly favorite. Sweet, savory, tender, and vibrant—this miso glazed salmon checks every box.