Author: user

  • Cajun Blackened Chicken: Smoky, Spicy, 15 Minutes

    Cajun Blackened Chicken: Smoky, Spicy, 15 Minutes

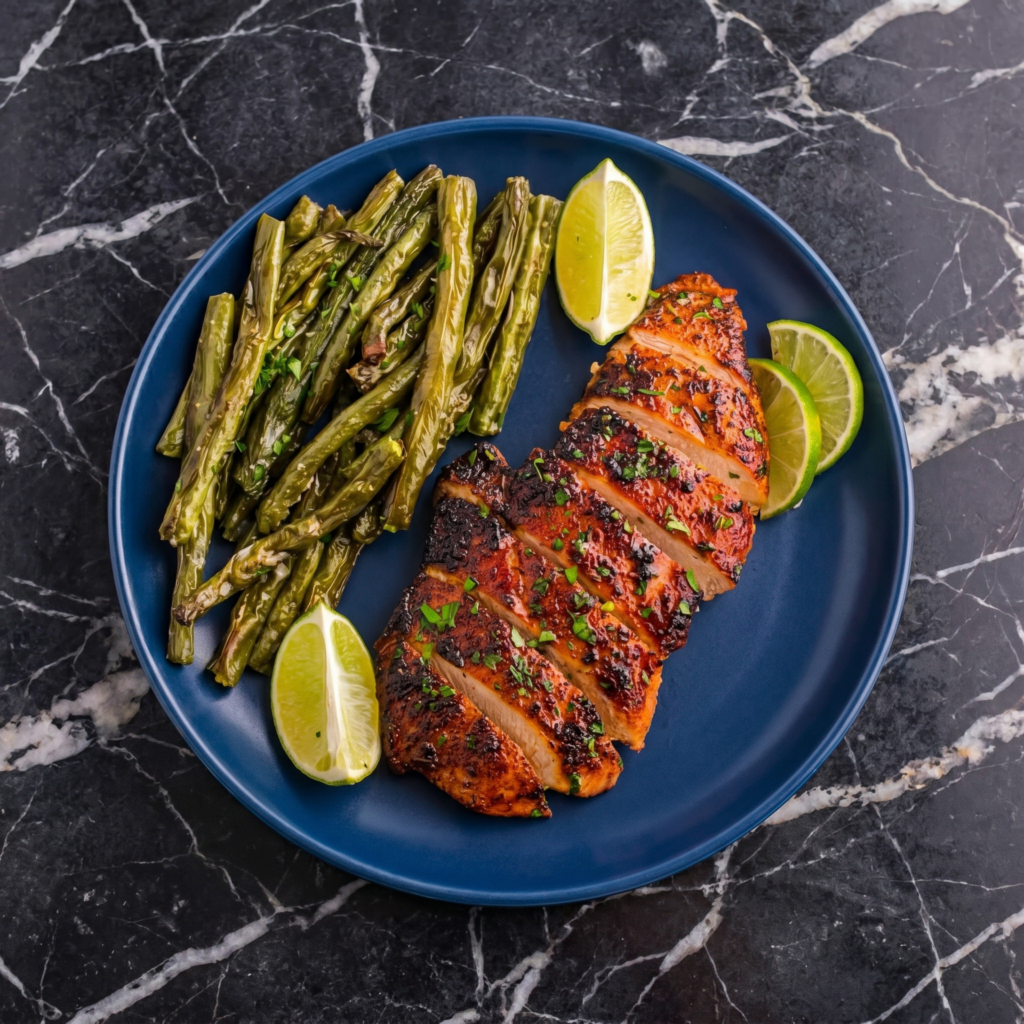
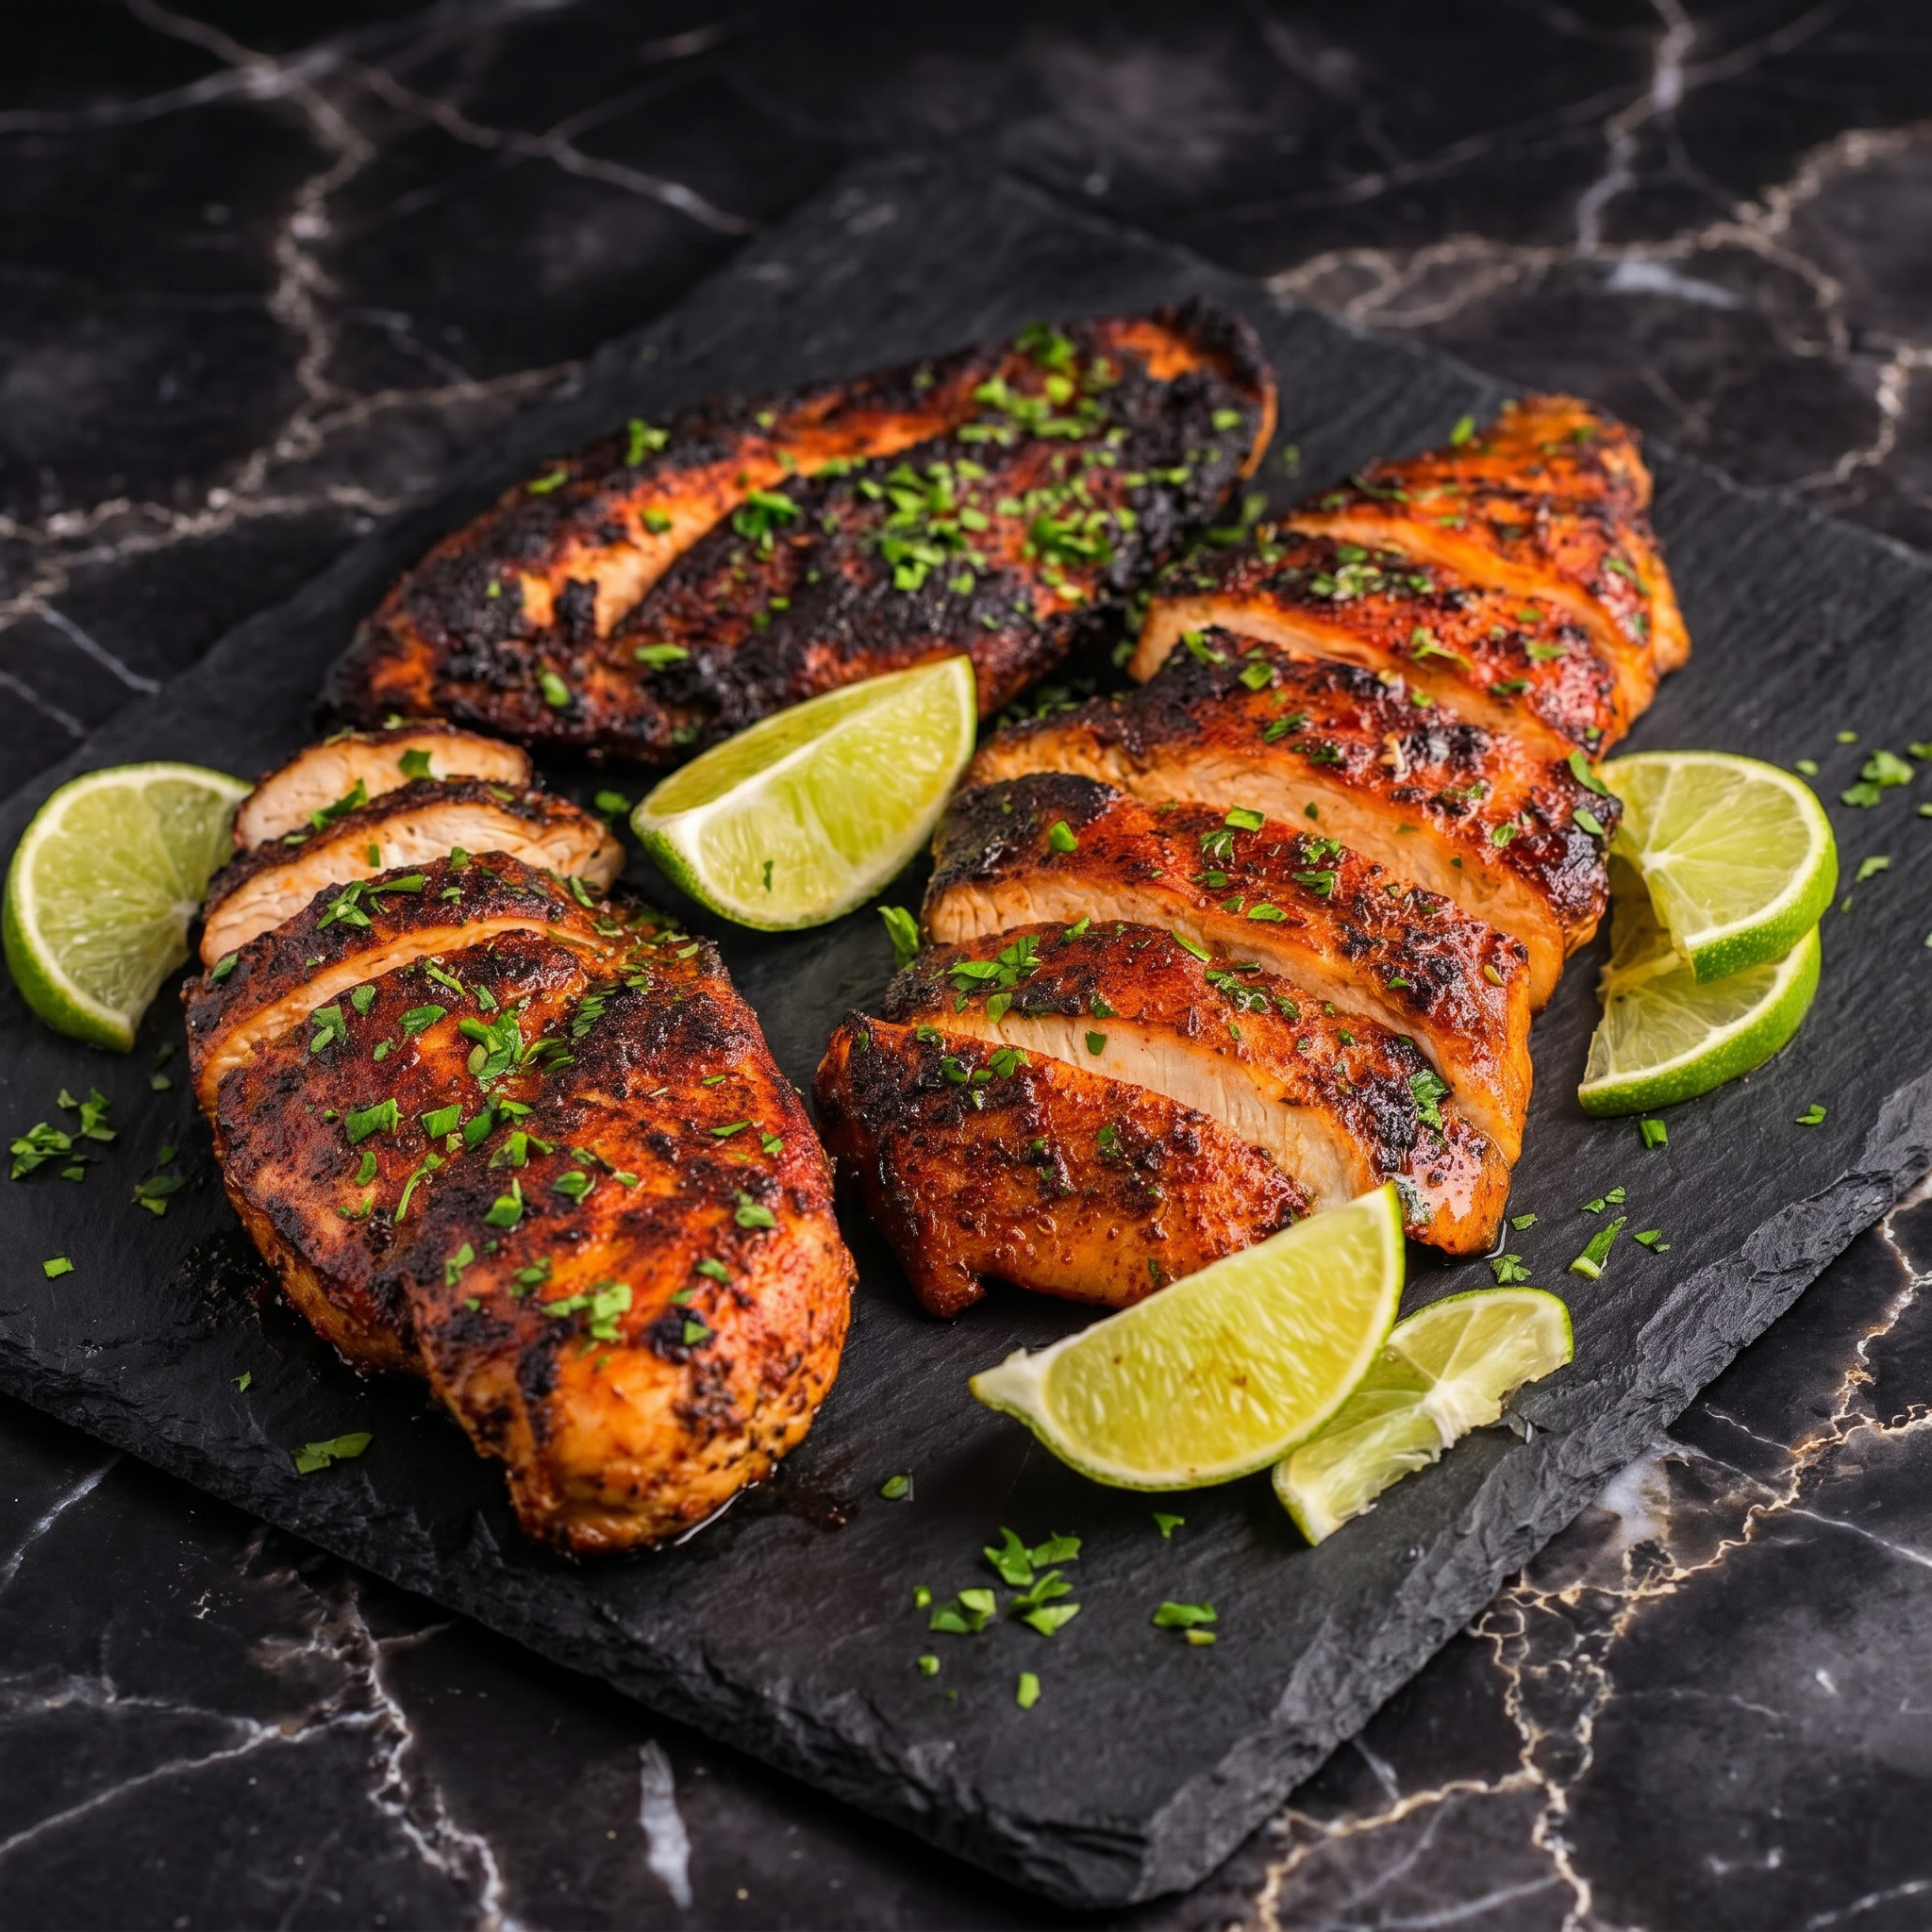
    Blackening is not burning. It’s flavor explosion.

    Cajun spices meet a screaming-hot skillet. The crust turns dark and smoky. The inside stays juicy. 15 minutes. No grill. Just heat and spice.
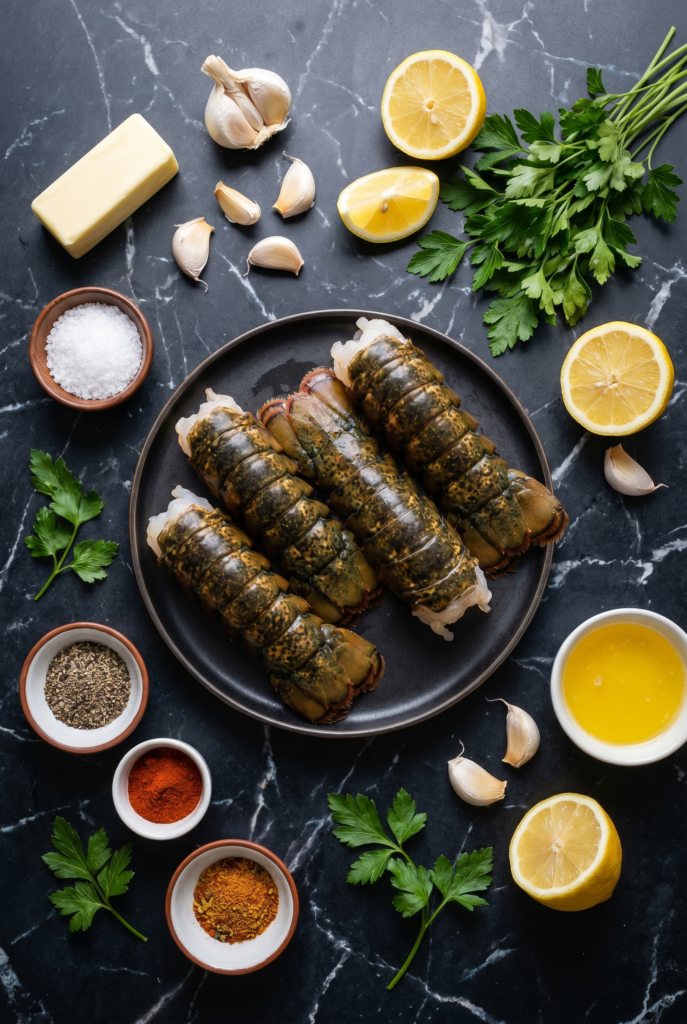
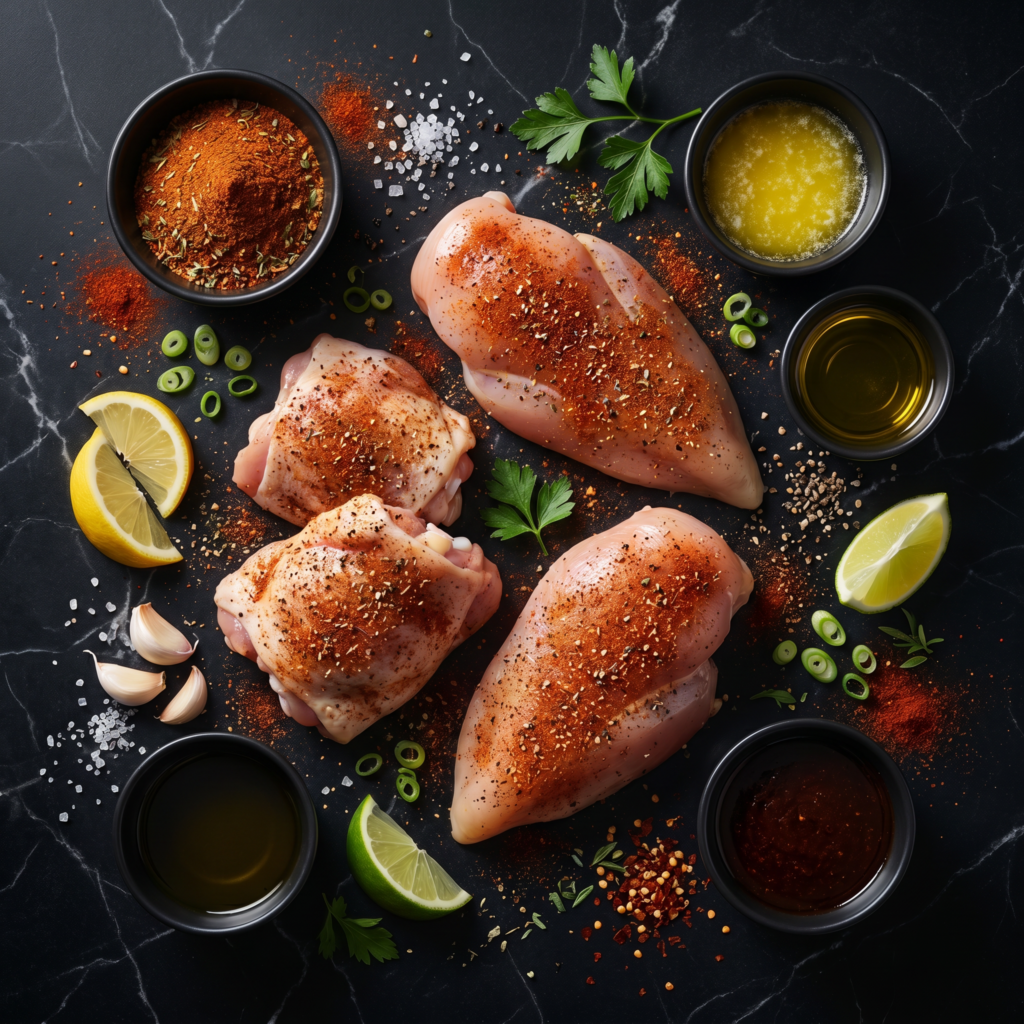
    Ingredients

    Serves 4.

    • 4 boneless, skinless chicken breasts (or thighs)
    • 2 tbsp butter or oil (high smoke point)

    Blackening Seasoning:

    • 1 tbsp paprika
    • 1 tsp garlic powder
    • 1 tsp onion powder
    • 1 tsp dried thyme
    • 1 tsp dried oregano
    • ½ tsp cayenne pepper (less for mild, more for brave)
    • 1 tsp black pepper
    • 1 tsp salt

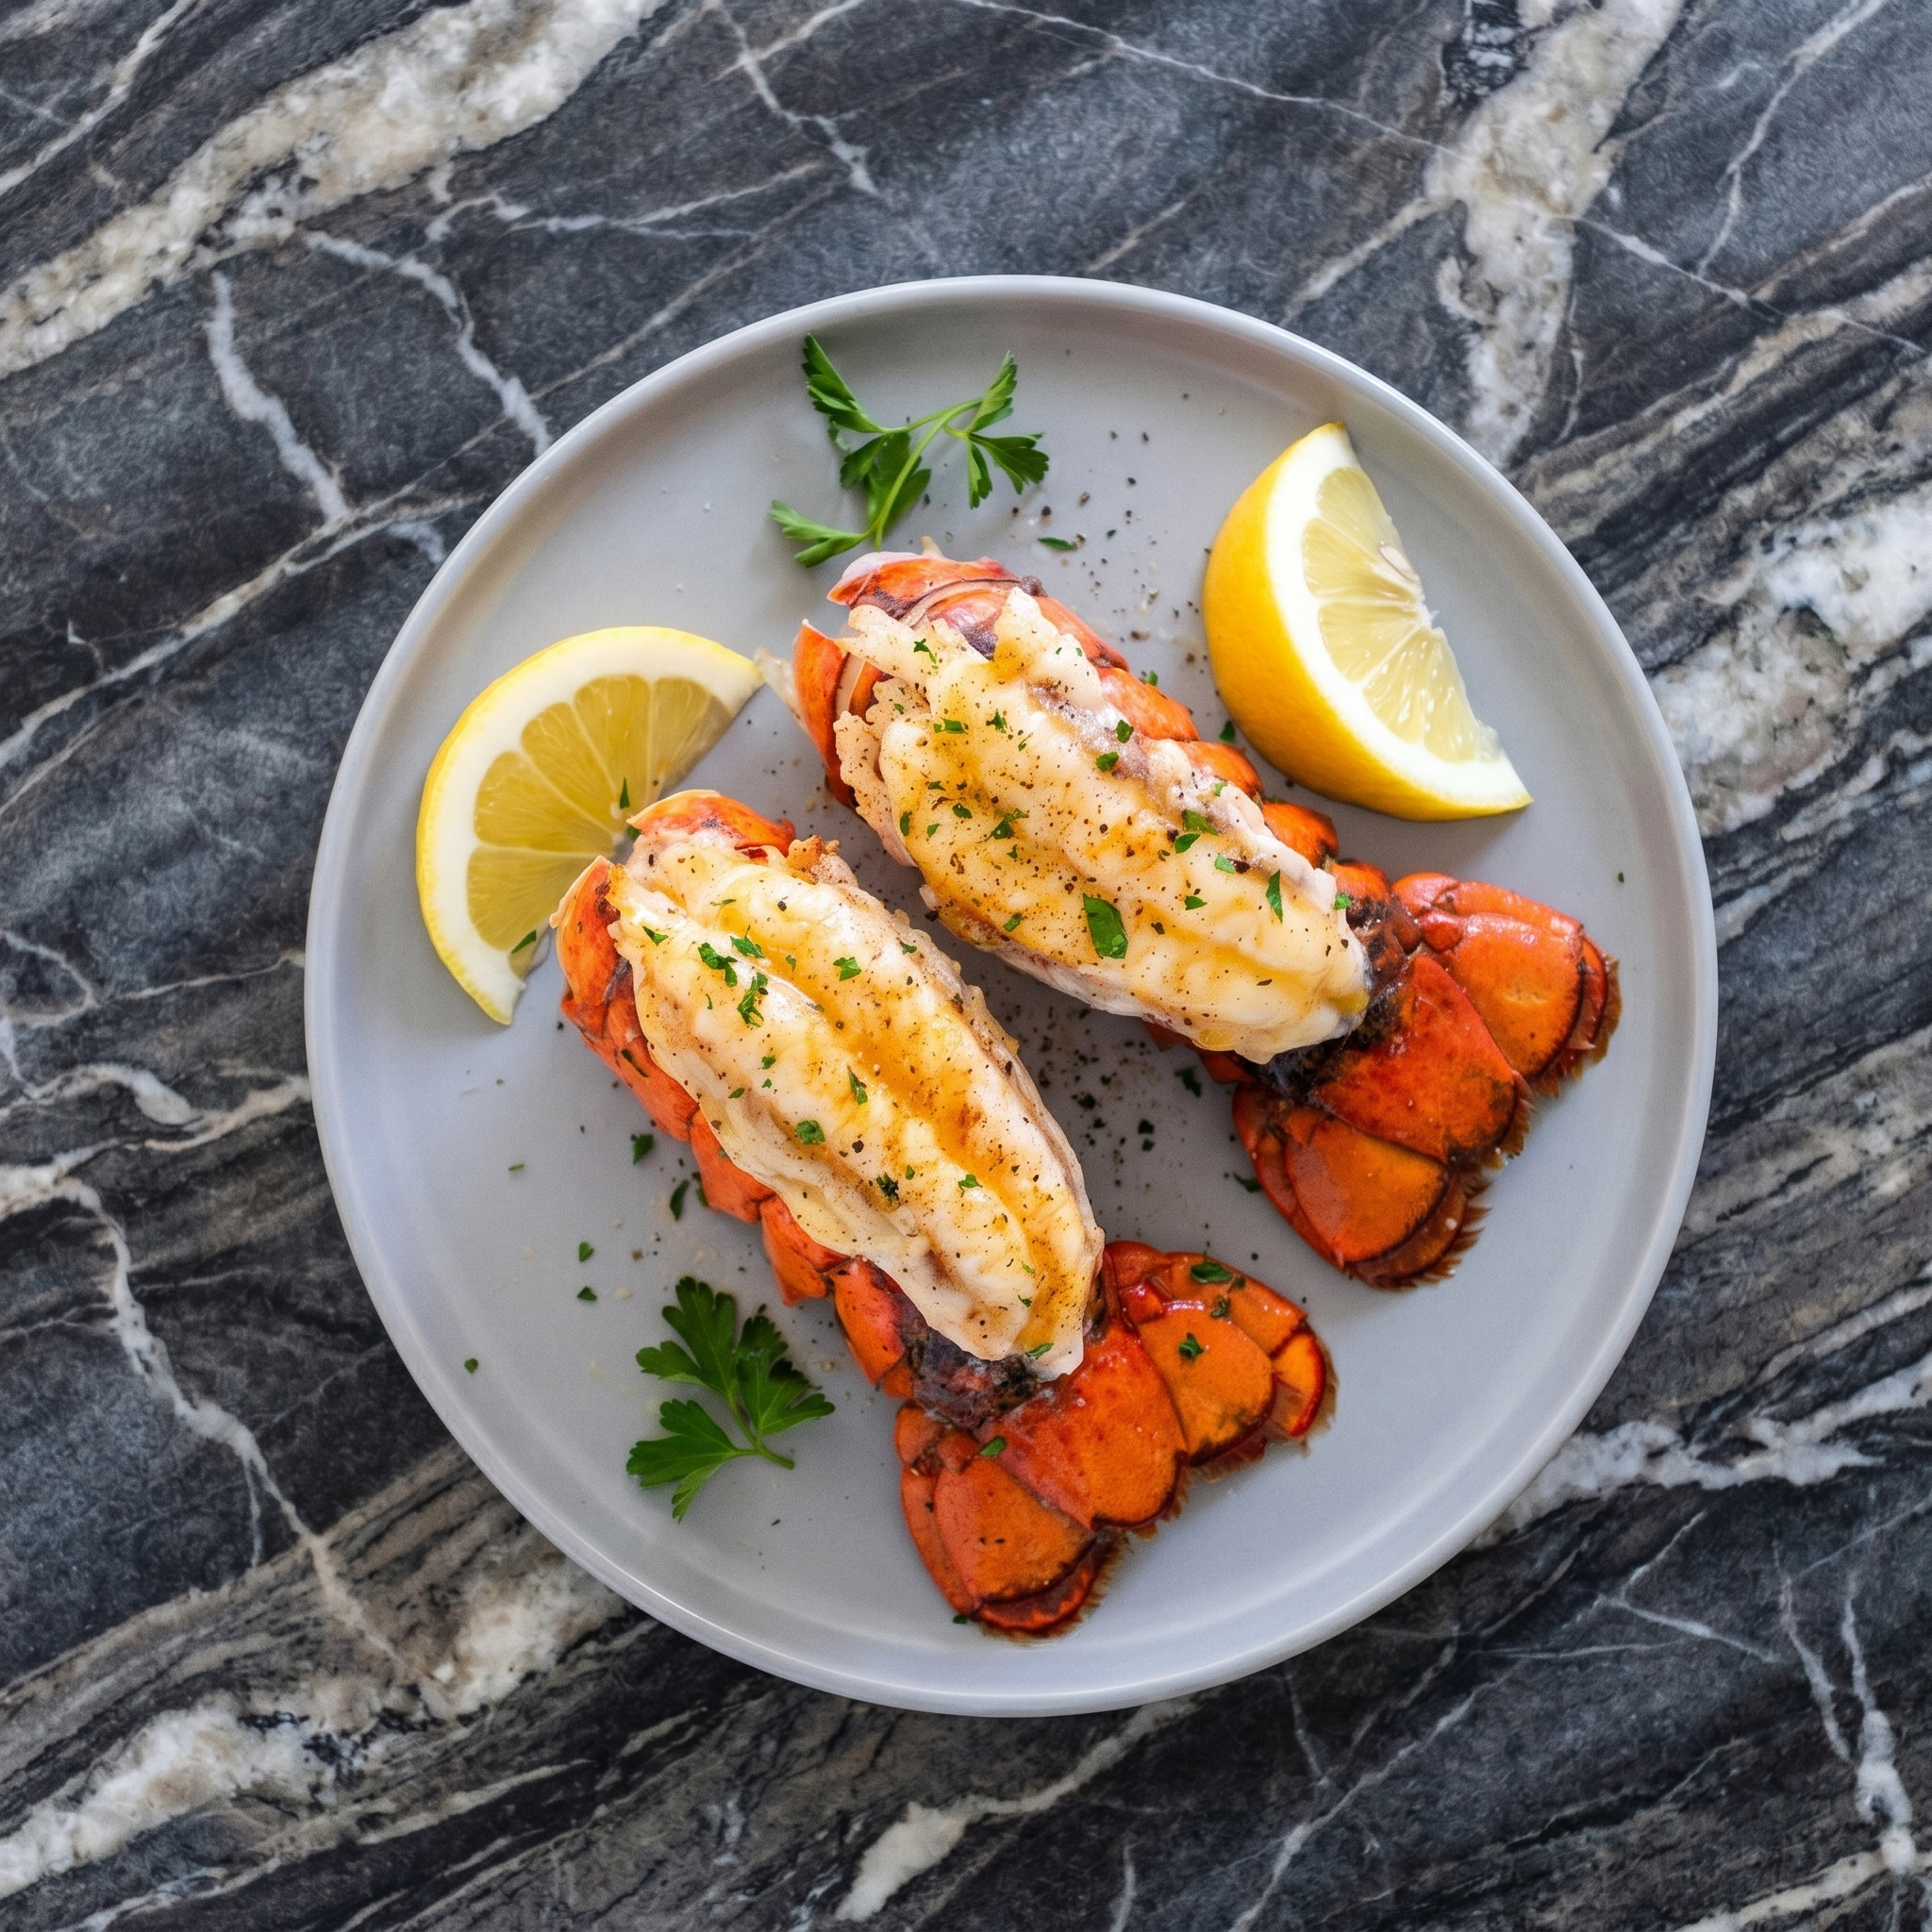
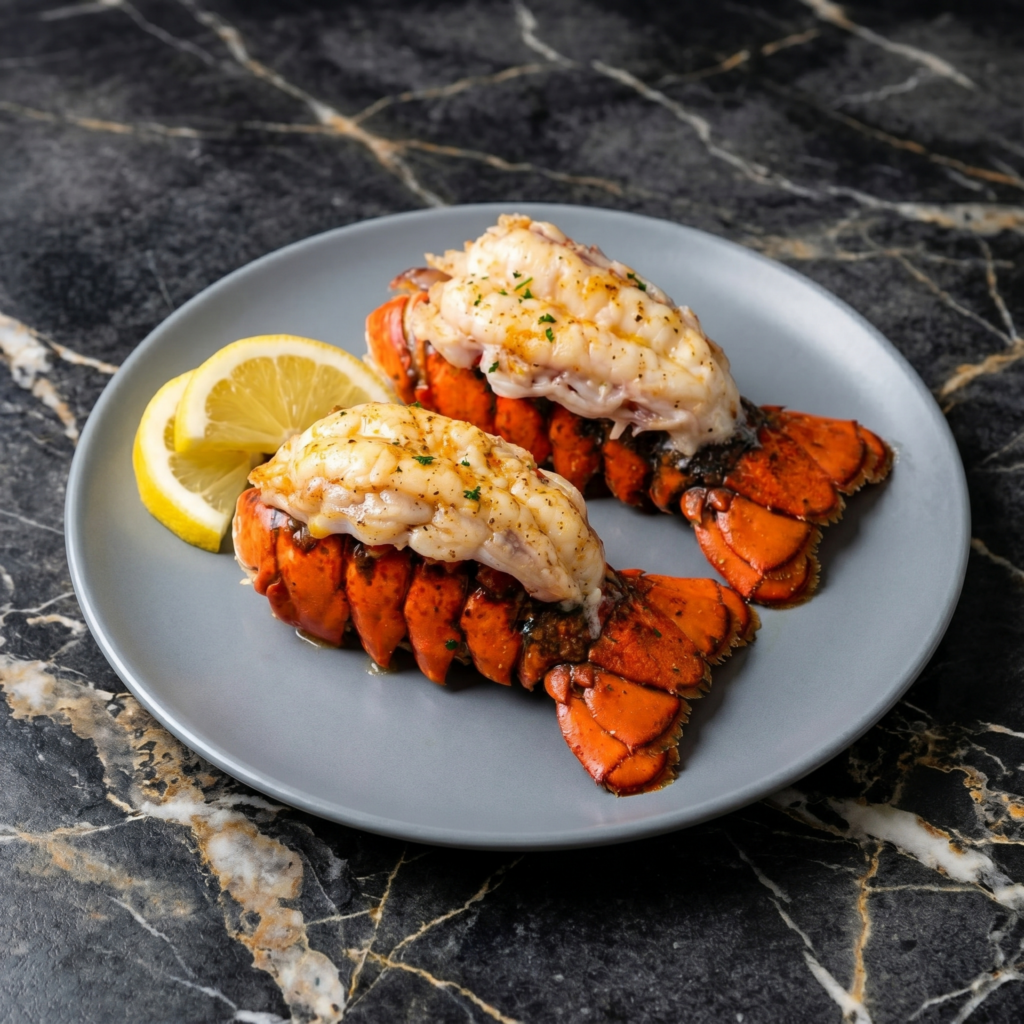
    For serving: Lemon wedges, fresh parsley

    Step-by-Step Instructions

    Step 1: Make the Seasoning

    1. Mix all seasoning ingredients in a small bowl.

    Step 2: Season the Chicken

    1. Pat chicken completely dry with paper towels.
    2. Generously coat both sides with blackening seasoning. Press to adhere.

    Step 3: Heat the Skillet

    1. Heat a cast iron skillet over medium-high heat until screaming hot (3-5 minutes).
    2. Add butter or oil. It should shimmer immediately.

    Step 4: Blacken the Chicken

    1. Place chicken in skillet. Don’t overcrowd (cook in batches if needed).
    2. Cook 4-5 minutes per side until blackened crust forms and internal temp reaches 165°F (75°C).

    Step 5: Rest and Serve

    1. Let chicken rest 5 minutes. Squeeze lemon over top.
    2. Serve with rice, vegetables, or slice over a salad.

    Summary

    Prep Time: 5 minutes | Cook Time: 8-10 minutes | Total Time: 15 minutes

    Yield: 4 servings

    Difficulty: Easy

    Storage Notes

    Fridge:

    Store cooked chicken for 4 days.

    Reheat:

    Skillet over medium heat for 3-4 minutes per side. Microwave works but crust softens.

    Pro Tip:

    Do this in a cast iron skillet. Non-stick pans can’t handle the high heat needed for blackening.

  • Korean BBQ Beef Tacos: Seoul Meets Taco Tuesday

    Korean BBQ Beef Tacos: Seoul Meets Taco Tuesday

    Korean BBQ meets Mexican street food. It’s a beautiful thing.

    Thinly sliced beef in a sweet-savory bulgogi marinade. Spicy gochujang crema. Crunchy slaw. Kimchi if you’re bold. In a warm tortilla. 20 minutes. Make these now.

    Ingredients

    Serves 4.

    • 1 lb thinly sliced ribeye or sirloin (or beef bulgogi pre-sliced)
    • 8 small corn or flour tortillas
    • 1 cup kimchi (optional, for topping)
    • Fresh cilantro and lime wedges

    For the Bulgogi Marinade:

    • ¼ cup soy sauce
    • 2 tbsp brown sugar
    • 2 tbsp sesame oil
    • 3 garlic cloves, minced
    • 1 tsp fresh ginger, grated
    • 1 tbsp gochujang (Korean chili paste)
    • 1 tbsp rice vinegar
    • 2 green onions, sliced

    For the Spicy Gochujang Crema:

    • ¼ cup sour cream or Greek yogurt
    • 1 tbsp gochujang
    • 1 tbsp lime juice
    • 1 tbsp water (to thin)

    For the Quick Slaw:

    • 2 cups shredded cabbage
    • 1 tbsp rice vinegar
    • 1 tsp sesame oil

    Step-by-Step Instructions

    Step 1: Marinate the Beef

    1. Whisk soy sauce, brown sugar, sesame oil, garlic, ginger, gochujang, rice vinegar, and green onions.
    2. Add beef. Marinate 10 minutes (or up to 4 hours in fridge).

    Step 2: Make the Crema and Slaw

    1. Whisk sour cream, gochujang, lime juice, and water. Set aside.
    2. Toss cabbage with rice vinegar and sesame oil. Set aside.

    Step 3: Cook the Beef

    1. Heat a large skillet or grill pan over high heat.
    2. Cook beef in batches, 1-2 minutes per side, until caramelized.
    3. Cut into bite-sized pieces.

    Step 4: Warm Tortillas

    1. Heat tortillas in a dry skillet or microwave.

    Step 5: Assemble Tacos

    1. Fill tortillas with bulgogi beef, slaw, kimchi (if using), and a drizzle of gochujang crema.
    2. Top with cilantro and a squeeze of lime.

    Summary

    Prep Time: 10 minutes | Marinate: 10 minutes | Cook Time: 5-8 minutes | Total Time: 25 minutes

    Yield: 4 servings (8 tacos)

    Difficulty: Easy

    Storage Notes

    Fridge:

    Store cooked beef separately for 3 days. Assemble tacos fresh.

    Reheat Beef:

    Skillet over medium-high heat for 2-3 minutes.

    Pro Tip:

    Freeze beef in marinade for 3 months. Thaw and cook when craving strikes.

  • Lobster Tails: Fancy Dinner in 15 Minutes

    Lobster Tails: Fancy Dinner in 15 Minutes

    Lobster tails feel fancy. They’re actually stupid easy.

    Cut. Loosen. Butter. Broil. 8 minutes. That’s it. Garlic lemon butter takes it over the top. No steakhouse needed. No chef skills required. Just hungry.

    Ingredients

    Serves 2.

    • 2 lobster tails (4-5 oz each)
    • 4 tbsp unsalted butter, melted
    • 2 garlic cloves, minced
    • 1 tbsp fresh lemon juice
    • 1 tsp lemon zest (optional)
    • 1 tbsp fresh parsley, chopped
    • ¼ tsp salt
    • ⅛ tsp black pepper
    • Lemon wedges for serving

    Step-by-Step Instructions

    Step 1: Preheat and Prep Tails

    1. Preheat broiler to high. Place oven rack 6 inches from heat.
    2. Using kitchen shears, cut down the top center of each lobster shell (stop at the tail fan).
    3. Gently loosen meat from shell, keeping attached at the tail. Lift meat up and rest on top of the shell.

    Step 2: Make Garlic Butter

    1. Mix melted butter, garlic, lemon juice, lemon zest, parsley, salt, and pepper.

    Step 3: Butter the Tails

    1. Place tails on a baking sheet. Brush generously with garlic butter.

    Step 4: Broil

    1. Broil 6-8 minutes until meat is opaque and internal temp hits 140°F (60°C).
    2. Don’t overcook! Lobster turns rubbery fast.

    Step 5: Serve

    1. Brush with more butter. Serve immediately with lemon wedges. Melted butter for dipping optional (recommended).

    Summary

    Prep Time: 5 minutes | Cook Time: 6-8 minutes | Total Time: 15 minutes

    Yield: 2 servings

    Difficulty: Easy

    Storage Notes

    Best Fresh:

    Lobster tails are best eaten immediately. Leftovers get tough.

    Leftover Meat:

    Remove from shell. Store in fridge for 1 day. Use in salads, pasta, or rolls.

    Pro Tip:

    Buy frozen lobster tails. Thaw overnight in fridge. Cheaper and just as good.

  • Stromboli: Pizza’s Rolled-Up, Snackable Cousin

    Stromboli: Pizza’s Rolled-Up, Snackable Cousin

    Stromboli is what happens when pizza and a burrito fall in love.

    Pepperoni. Salami. Ham. Provolone. Roasted peppers. Rolled up in pizza dough. Baked until golden. Slice it. Dip it. Lose your mind. Easier than homemade pizza. Feeds a crowd.

    Ingredients

    Serves 4-6.

    • 1 lb pizza dough (store-bought or homemade)
    • ½ cup marinara sauce (plus extra for dipping)
    • 20 slices pepperoni
    • 10 slices salami
    • 10 slices ham or capicola
    • 12 slices provolone cheese (or 1½ cups shredded Italian blend)
    • ½ cup roasted red peppers, drained and sliced
    • 1 egg, beaten (for egg wash)
    • 1 tbsp sesame seeds or everything bagel seasoning (optional)

    Step-by-Step Instructions

    Step 1: Preheat and Roll

    1. Preheat oven to 400°F (200°C). Line a baking sheet with parchment.
    2. Roll pizza dough into a 10×14-inch rectangle on floured surface.

    Step 2: Layer the Fillings

    1. Spread marinara sauce on dough, leaving a 1-inch border.
    2. Layer provolone, pepperoni, salami, ham, and roasted peppers.
    3. Add another layer of provolone on top.

    Step 3: Roll It Up

    1. Roll tightly from the long side, like a jelly roll. Pinch seams to seal.
    2. Place seam-side down on baking sheet.

    Step 4: Brush and Slash

    1. Brush with beaten egg. Sprinkle with sesame seeds if using.
    2. Cut 3-4 small slits on top for steam.

    Step 5: Bake

    1. Bake 20-25 minutes until golden brown and crispy.
    2. Let cool 5 minutes. Slice into rounds. Serve warm with extra marinara.

    Summary

    Prep Time: 10 minutes | Cook Time: 20-25 minutes | Total Time: 30-35 minutes

    Yield: 4-6 servings

    Difficulty: Easy

    Storage Notes

    Fridge:

    Store leftovers in an airtight container for 4 days. Cold stromboli is great lunch.

    Reheat:

    Oven at 375°F for 8-10 minutes. Air fryer at 350°F for 5 minutes. Microwave works but crust gets soft.

    Freezer Friendly:

    Freeze unbaked stromboli for 3 months. Bake from frozen at 400°F for 30-35 minutes.

    Pro Tip:

    Don’t overstuff. Less filling = tighter roll = no blowouts in the oven.

  • BBQ Chicken Sliders: Little Buns, Big Flavor

    BBQ Chicken Sliders: Little Buns, Big Flavor

    Sliders are the perfect food. Change my mind.

    BBQ chicken. Buttery Hawaiian rolls. Crunchy coleslaw. They’re sweet, smoky, creamy, and crunchy. Baked in one dish. Pull apart. Disappear. Make two batches.

    Ingredients

    Makes 12 sliders.

    • 1 package (12 count) Hawaiian rolls
    • 3 cups cooked chicken, shredded (rotisserie = hero)
    • ¾ cup BBQ sauce (plus extra for drizzling)
    • 1 cup shredded cheddar or Monterey Jack cheese
    • 1 cup creamy coleslaw (store-bought or homemade)
    • 3 tbsp butter, melted
    • 1 tsp garlic powder
    • ½ tsp smoked paprika (optional)

    Step-by-Step Instructions

    Step 1: Preheat and Sauce

    1. Preheat oven to 375°F (190°C).
    2. Toss shredded chicken with BBQ sauce until coated.

    Step 2: Prep the Rolls

    1. Without separating individual rolls, slice the entire slab of Hawaiian rolls horizontally (top and bottom).
    2. Place bottom half in a greased 9×13 baking dish.

    Step 3: Assemble

    1. Layer BBQ chicken evenly on bottom rolls.
    2. Sprinkle with cheese.
    3. Spread coleslaw over the cheese.
    4. Place top slab of rolls back on.

    Step 4: Butter and Bake

    1. Mix melted butter, garlic powder, and smoked paprika. Brush over tops.
    2. Bake 10-12 minutes until golden and cheese is melted.

    Step 5: Pull Apart and Serve

    1. Drizzle extra BBQ sauce on top. Separate sliders. Serve hot.

    Summary

    Prep Time: 10 minutes | Cook Time: 10-12 minutes | Total Time: 20-22 minutes

    Yield: 12 sliders

    Difficulty: Easy

    Storage Notes

    Fridge:

    Store leftovers for 3 days. The coleslaw softens the buns, but still tasty.

    Reheat:

    Oven at 350°F for 8-10 minutes. Microwave for 30 seconds but buns get soft.

    Pro Tip:

    Assemble ahead without coleslaw. Refrigerate. Add coleslaw after baking for crunch.

  • Crab Rolls: Lobster Roll’s Crispy, Cheaper Cousin

    Crab Rolls: Lobster Roll’s Crispy, Cheaper Cousin

    Love lobster rolls? Try crab rolls. Same vibe. Half the price.

    Sweet lump crab. Light lemon dressing. Buttery toasted bun. No cooking. 10 minutes. This is your new warm-weather obsession.

    Ingredients

    Serves 4.

    • 1 lb lump crab meat (fresh or refrigerated)
    • 4 brioche or New England-style hot dog buns
    • ¼ cup mayo
    • 1 tbsp lemon juice
    • 1 tbsp fresh chives or parsley, chopped
    • ½ tsp old bay seasoning (optional)
    • ¼ tsp salt
    • ¼ tsp black pepper
    • 2 tbsp butter (for toasting buns)
    • Lemon wedges for serving

    Step-by-Step Instructions

    Step 1: Make the Crab Salad

    1. Gently pick through crab meat to remove any shells (don’t break up the lumps).
    2. In a bowl, mix mayo, lemon juice, chives, old bay, salt, and pepper.
    3. Fold in crab meat gently. Keep those lumps intact. Set aside.

    Step 2: Toast the Buns

    1. Heat a skillet over medium heat. Melt butter.
    2. Place buns cut-side down. Toast 1-2 minutes until golden brown.

    Step 3: Assemble the Rolls

    1. Spoon crab salad generously into each toasted bun.
    2. Don’t be shy. Overflowing is good.

    Step 4: Serve

    1. Squeeze fresh lemon over the top. Serve immediately. Eat with your hands. Lick your fingers.

    Summary

    Prep Time: 10 minutes | Cook Time: 5 minutes | Total Time: 15 minutes

    Yield: 4 crab rolls

    Difficulty: Easy

    Storage Notes

    Best Fresh:

    Assemble right before eating. Soggy buns and warm crab salad = no.

    Leftover Crab Salad:

    Store in fridge for 1 day max. Seafood doesn’t wait. Eat it fast.

    Pro Tip:

    Use jumbo lump or backfin crab meat. Don’t use canned or imitation. Trust me on this.

  • Garlic Butter Lobster Rolls: Fancy Fingers, No Fuss

    Garlic Butter Lobster Rolls: Fancy Fingers, No Fuss

    Lobster rolls sound fancy. They are not hard.

    The secret? Garlic butter. Lots of it. Toss lobster in warm, garlicky butter. Stuff into a toasted, buttery brioche bun. That’s it. No mayo (unless you want it). 15 minutes. Pure luxury.

    Ingredients

    Serves 4.

    • 1 lb cooked lobster meat (claw and knuckle meat best)
    • 4 brioche or New England-style hot dog buns
    • 4 tbsp unsalted butter (divided)
    • 4 garlic cloves, minced
    • 1 tbsp fresh lemon juice
    • 1 tbsp fresh chives or parsley, chopped
    • ¼ tsp salt
    • Lemon wedges for serving

    Optional (Connecticut style only): Extra melted butter for dipping

    Optional (Maine style): ¼ cup mayo, celery, and a squeeze of lemon

    Step-by-Step Instructions

    Step 1: Toast the Buns

    1. Heat a skillet over medium heat. Melt 2 tbsp butter.
    2. Place buns cut-side down in the skillet. Toast 1-2 minutes until golden brown. Set aside.

    Step 2: Make Garlic Butter

    1. In the same skillet, melt remaining 2 tbsp butter over medium-low heat.
    2. Add minced garlic. Cook 1-2 minutes until fragrant (don’t burn it).

    Step 3: Warm the Lobster

    1. Add lobster meat to the skillet. Toss gently in garlic butter for 1-2 minutes until warmed through.
    2. Stir in lemon juice, chives, and salt.

    Step 4: Assemble the Rolls

    1. Stuff each toasted bun generously with garlic butter lobster.
    2. Drizzle any remaining butter from the pan over the top.

    Step 5: Serve

    1. Serve immediately with lemon wedges. Napkins mandatory. Happiness guaranteed.

    Summary

    Prep Time: 5 minutes | Cook Time: 10 minutes | Total Time: 15 minutes

    Yield: 4 lobster rolls

    Difficulty: Easy

    Storage Notes

    Best Fresh:

    Assemble and eat immediately. Soggy buns are sad buns.

    Leftover Lobster:

    Store cooked lobster in the fridge for 2 days max. Reheat gently in a skillet with a little butter.

    Pro Tip:

    Costco and most fish counters sell pre-cooked frozen lobster meat. Thaw overnight. Works perfectly and saves $$$.

  • Chipotle Lime Chicken Tacos: Smoky, Zesty, Irresistible

    Chipotle Lime Chicken Tacos: Smoky, Zesty, Irresistible

    Chicken tacos can be boring. These are not.

    Chipotle peppers bring smoky heat. Lime brings bright zing. Together? Magic. Top with crema and cilantro. 20 minutes from craving to table.

    Ingredients

    Serves 4.

    • 1.5 lbs chicken thighs (or breasts, thinly sliced)
    • 8 small corn or flour tortillas

    For the Marinade:

    • 2 chipotle peppers in adobo sauce (plus 1 tbsp adobo sauce)
    • ¼ cup lime juice (about 2 limes)
    • 3 garlic cloves
    • ¼ cup olive oil
    • 1 tsp cumin
    • 1 tsp oregano
    • 1 tsp salt

    For the Lime Crema:

    • ¼ cup sour cream
    • ¼ cup mayo
    • 2 tbsp lime juice
    • 1 tbsp milk (to thin)
    • Salt to taste

    Toppings: Cilantro, diced onion, avocado, lime wedges

    Step-by-Step Instructions

    Step 1: Make the Marinade

    1. Blend chipotle peppers, adobo sauce, lime juice, garlic, oil, cumin, oregano, and salt until smooth.

    Step 2: Marinate the Chicken

    1. Toss chicken with marinade. Let sit 10 minutes (or up to 8 hours in fridge).

    Step 3: Make the Crema

    1. Whisk sour cream, mayo, lime juice, and milk. Add salt. Set aside.

    Step 4: Cook the Chicken

    1. Heat a skillet or grill over medium-high heat.
    2. Cook chicken 5-7 minutes per side until charred and cooked through (165°F internal).
    3. Let rest 5 minutes. Slice or chop into bite-sized pieces.

    Step 5: Assemble Tacos

    1. Warm tortillas in a dry skillet or over gas flame.
    2. Fill with chipotle chicken. Drizzle with lime crema.
    3. Top with cilantro, onion, and avocado. Squeeze lime. Devour.

    Summary

    Prep Time: 10 minutes (+ optional marinade) | Cook Time: 10-15 minutes | Total Time: 20-25 minutes

    Yield: 4 servings (8 tacos)

    Difficulty: Easy

    Storage Notes

    Fridge:

    Cooked chicken keeps 4 days. Store separately from tortillas and toppings.

    Reheat Chicken:

    Skillet over medium heat 2-3 minutes. Microwave works too.

    Pro Tip:

    Freeze uncooked chicken in marinade for up to 3 months. Thaw and cook when ready.

  • Philly Cheesesteak Quesadillas: Two Legends, One Pan

    Philly Cheesesteak Quesadillas: Two Legends, One Pan

    Philly cheesesteak meets Mexican quesadilla. It’s beautiful.

    All the classic fillings—thin steak, peppers, onions, mushrooms, provolone—griddled inside a crispy tortilla. Dipped in ketchup or ranch. 20 minutes. You’re welcome.

    Ingredients

    Serves 4.

    • 4 large flour tortillas (10-inch)
    • 1 lb thinly sliced ribeye or steak-umms
    • 1 green bell pepper, thinly sliced
    • 1 onion, thinly sliced
    • 4 oz mushrooms, sliced (optional)
    • 2 tbsp olive oil
    • ½ tsp salt
    • ¼ tsp black pepper
    • 8 slices provolone cheese (or 2 cups shredded)
    • Butter or oil for the pan

    Dipping options: Ketchup, ranch, sriracha mayo, or extra provolone sauce

    Step-by-Step Instructions

    Step 1: Cook the Fillings

    1. Heat 1 tbsp oil in a large skillet over medium-high heat.
    2. Add onion, pepper, and mushrooms. Cook 5 minutes until soft. Remove.
    3. Add steak to same skillet. Cook 3-4 minutes until browned. Season with salt and pepper.
    4. Mix steak with cooked vegetables.

    Step 2: Assemble Quesadillas

    1. Lay tortillas flat. Place 2 slices provolone (or ½ cup shredded) on one half.
    2. Top with steak mixture. Add more cheese on top.
    3. Fold the empty half over.

    Step 3: Griddle Until Crispy

    1. Heat a clean skillet over medium heat. Add butter or oil.
    2. Place quesadilla in skillet. Cook 2-3 minutes per side until golden brown and cheese is melted.

    Step 4: Slice and Serve

    1. Transfer to cutting board. Rest 1 minute.
    2. Slice into wedges. Serve with your favorite dip.

    Summary

    Prep Time: 10 minutes | Cook Time: 15 minutes | Total Time: 25 minutes

    Yield: 4 quesadillas

    Difficulty: Easy

    Storage Notes

    Fridge:

    Store leftovers for 3 days.

    Reheat:

    Skillet over medium heat for 2-3 minutes per side. Air fryer at 350°F for 4 minutes. Skip the microwave (soggy tortilla).

    Pro Tip:

    Use provolone or Cheez Whiz for authentic Philly flavor. Both work great in quesadilla form.

  • Buffalo Cauliflower Bites: Wings for Plants (and Everyone Else)

    Buffalo Cauliflower Bites: Wings for Plants (and Everyone Else)

    Cauliflower has no business being this good.

    Battered. Baked until crispy. Tossed in buttery buffalo sauce. These bites are crunchy, spicy, addictive. Serve with ranch or blue cheese. Omnivores won’t believe it’s cauliflower.

    Ingredients

    Serves 4 as appetizer.

    • 1 medium head cauliflower, cut into bite-sized florets
    • ¾ cup flour (all-purpose or GF blend)
    • ¾ cup water (or unsweetened plant milk)
    • 1 tsp garlic powder
    • 1 tsp paprika
    • ½ tsp salt
    • ¼ tsp black pepper

    For the Buffalo Sauce:

    • ½ cup hot sauce (Frank’s RedHot is classic)
    • 3 tbsp melted butter (or vegan butter)
    • 1 tbsp honey or maple syrup (optional, for balance)

    For serving: Ranch or blue cheese dressing, celery sticks

    Step-by-Step Instructions

    Step 1: Preheat and Prep

    1. Preheat oven to 450°F (230°C). Line a baking sheet with parchment.
    2. Cut cauliflower into bite-sized florets.

    Step 2: Make the Batter

    1. Whisk flour, water, garlic powder, paprika, salt, and pepper until smooth.

    Step 3: Coat and Bake

    1. Dip each floret into batter, letting excess drip off.
    2. Place on baking sheet. Bake 20 minutes, flipping halfway.

    Step 4: Sauce Them Up

    1. Whisk hot sauce and melted butter together.
    2. Transfer baked cauliflower to a bowl. Pour sauce over. Toss to coat.

    Step 5: Bake Again (For Stickiness)

    1. Return coated cauliflower to baking sheet.
    2. Bake 10-15 more minutes until sauce is sticky and edges are crispy.

    Step 6: Serve

    1. Serve immediately with ranch and celery. Watch them disappear.

    Summary

    Prep Time: 10 minutes | Cook Time: 30-35 minutes | Total Time: 40-45 minutes

    Yield: 4 appetizer servings

    Difficulty: Easy

    Storage Notes

    Best Fresh:

    These are crispiest straight from the oven. Leftovers get soft.

    Reheat:

    Air fryer at 375°F for 5-6 minutes. Oven at 400°F for 8-10 minutes. Don’t microwave (soggy).

    Pro Tip:

    For extra crunch, use panko breadcrumbs after the batter. Double bake for maximum crisp.