Category: desserts

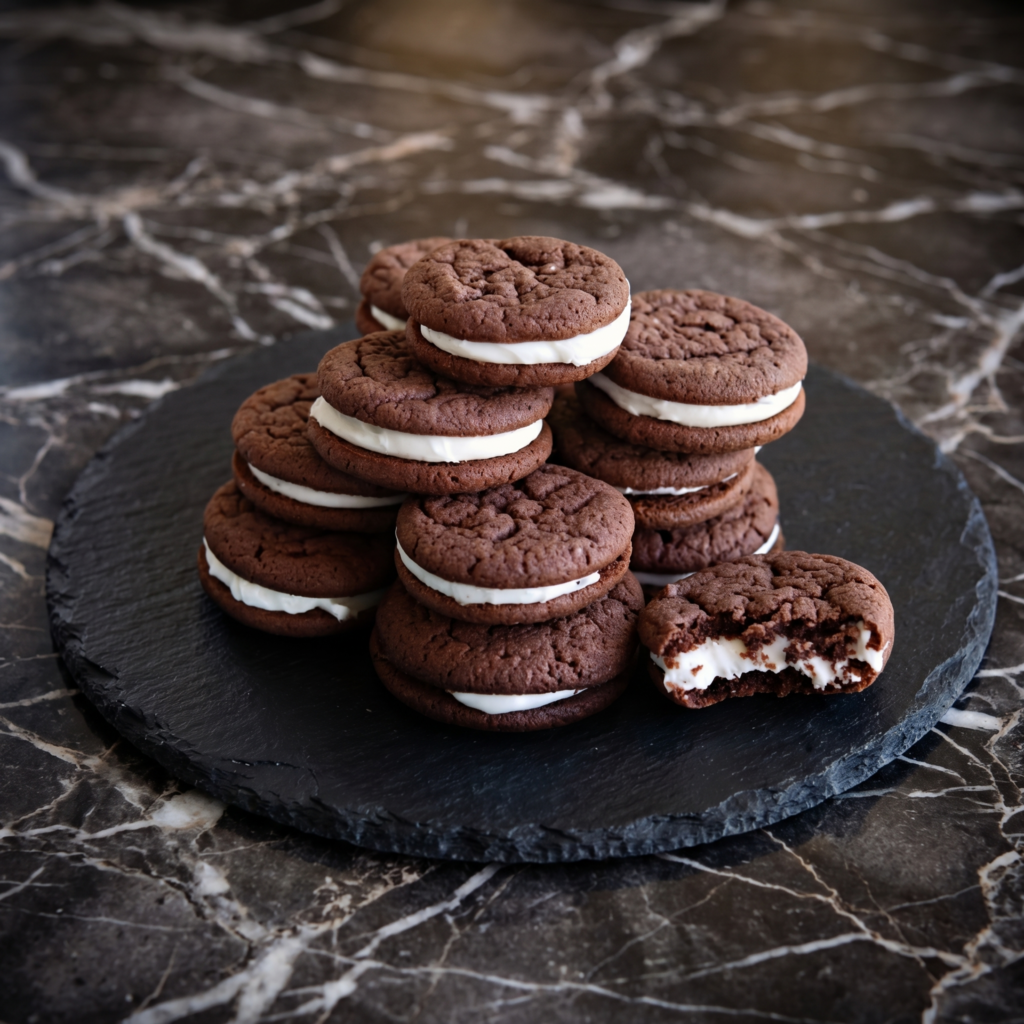
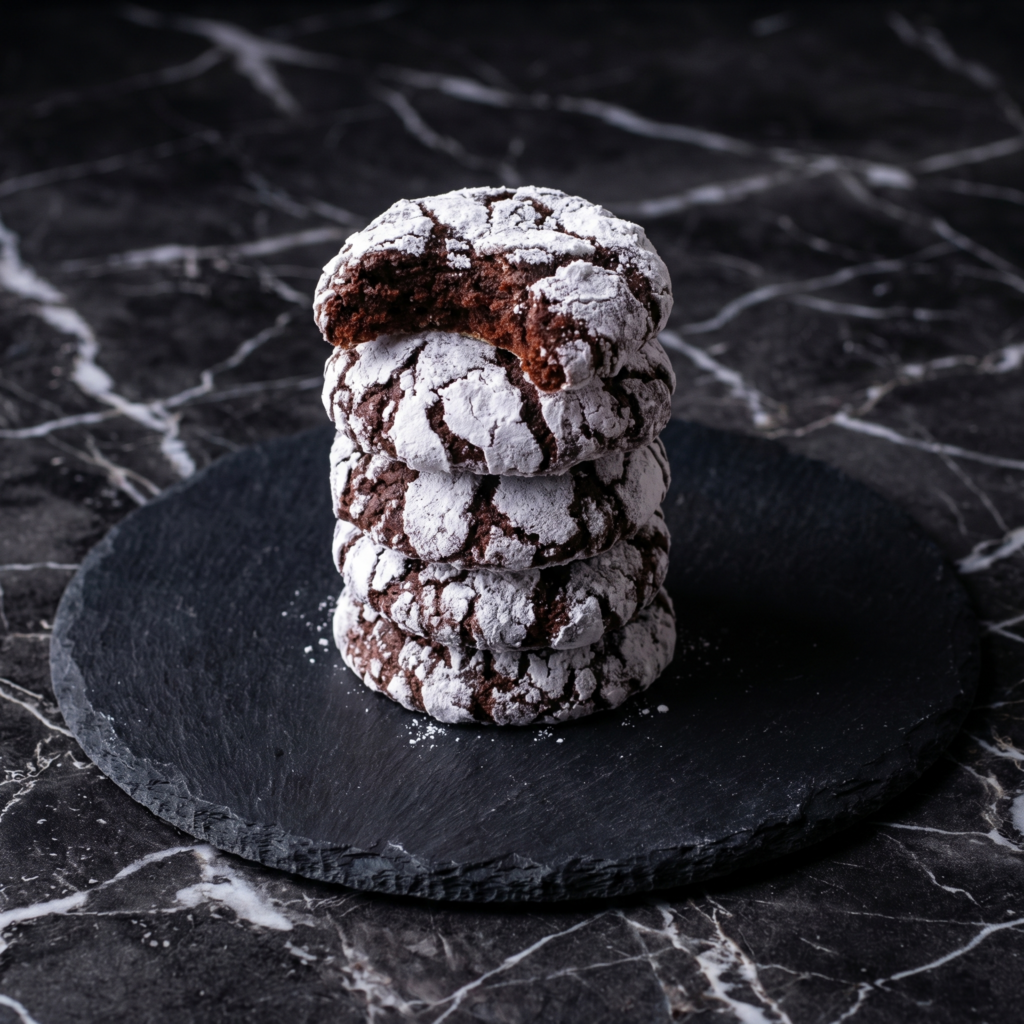
  • Perfect Crinkle Cookies (Fudgy, Crackled, Powdered Sugar)

    Perfect Crinkle Cookies (Fudgy, Crackled, Powdered Sugar)

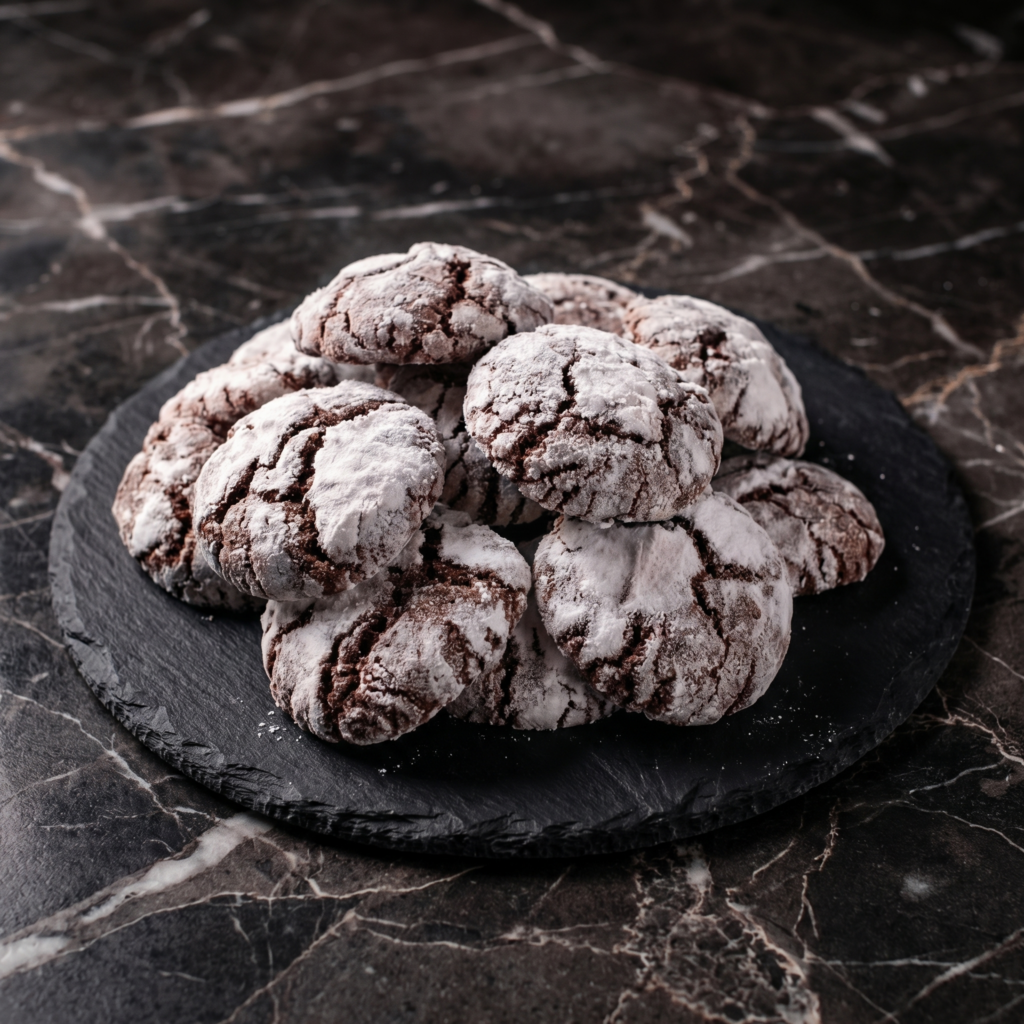
    Crinkle cookies are a showstopper—deep, dark chocolate cookies with a dramatic crackled surface, generously dusted with powdered sugar that contrasts beautifully against the fudgy interior. They look like they came from a fancy bakery, but they’re surprisingly simple to make.

    The secret is in the dough: it’s intentionally soft and needs plenty of chilling, but the result is a cookie that’s rich, fudgy, and absolutely irresistible. Every bite has that perfect brownie-like texture, with just the right amount of sweetness. Whether for holiday cookie plates, bake sales, or just because, these crinkle cookies never fail to impress.

    Ingredients
    For the Crinkle Cookies (makes about 24-30 cookies):

    • ½ cup (1 stick / 113g) unsalted butter
    • 4 oz (115g) semi-sweet or bittersweet chocolate, chopped
    • 1 cup (200g) granulated sugar
    • 2 large eggs, room temperature
    • 1 teaspoon vanilla extract
    • 1 ½ cups (190g) all-purpose flour
    • ½ cup (45g) unsweetened cocoa powder (Dutch-process preferred)
    • 1 teaspoon baking powder
    • ½ teaspoon salt

    For Rolling:

    • ½ cup (100g) granulated sugar
    • 1 cup (120g) powdered sugar

    Instructions

    1. Melt Butter and Chocolate: In a medium saucepan over low heat, melt the butter and chopped chocolate together, stirring constantly until smooth. Remove from heat and let cool slightly.

    2. Add Sugar: Whisk the granulated sugar into the melted chocolate mixture until well combined.

    3. Add Eggs and Vanilla: Add the eggs one at a time, whisking vigorously after each addition until the batter becomes smooth and glossy. Whisk in the vanilla extract.

    4. Combine Dry Ingredients: In a separate bowl, whisk together the flour, cocoa powder, baking powder, and salt.

    5. Mix Wet and Dry: Gradually add the flour mixture to the wet ingredients, folding with a spatula until just combined. Do not overmix. The dough will be soft and slightly sticky.

    6. Chill the Dough: Cover the bowl and refrigerate for at least 2 hours, preferably 3-4 hours or overnight. Chilling is essential—the dough needs to be firm enough to roll.

    7. Preheat and Prep: Preheat your oven to 350°F (175°C). Line baking sheets with parchment paper.

    8. Set Up Rolling Sugars: Place the granulated sugar in one shallow bowl and the powdered sugar in another shallow bowl.

    9. Scoop and Roll: Using a cookie scoop or tablespoon, portion the chilled dough into 1½-tablespoon balls. Roll each ball first in the granulated sugar to coat completely, then roll generously in the powdered sugar. Make sure they’re heavily coated—this creates the crackled effect.

    10. Place on Baking Sheets: Place the coated dough balls on the prepared baking sheets, leaving about 2 inches between each cookie.

    11. Bake: Bake for 10-12 minutes, until the edges are set and the cookies have puffed and cracked. The centers will still look soft—that’s perfect. Do not overbake.

    12. Cool: Let cookies cool on the baking sheet for 5 minutes, then transfer to wire racks to cool completely. The cracks will become more pronounced as they cool.

    Pro-Tips for Crinkle Cookie Perfection

    • Chill Thoroughly: This dough is very soft. Chilling for at least 2 hours is essential—overnight is even better.
    • Don’t Skip the Double Roll: Rolling first in granulated sugar helps the powdered sugar adhere and creates a better crackle.
    • Be Generous with Powdered Sugar: Heavy coating creates those beautiful white cracks against the dark chocolate.
    • Don’t Overbake: Pull cookies when edges are set but centers still look soft. They’ll continue baking from residual heat and stay fudgy.
    • Room Temperature Eggs: Cold eggs can seize the chocolate mixture. Let them warm up first.
    • Use Good Chocolate: Quality chocolate makes a difference in flavor. Semi-sweet or bittersweet is ideal.
    • Make Ahead: Dough can be refrigerated for up to 3 days or frozen for 3 months. Roll in sugars just before baking.
    • Variations: Try adding peppermint extract for holiday cookies, or roll in colored sugar for festive occasions.

    These Perfect Crinkle Cookies are fudgy, crackled, and absolutely beautiful.
  • Classic Whoopie Pies (Soft, Cakey, Cream-Filled)

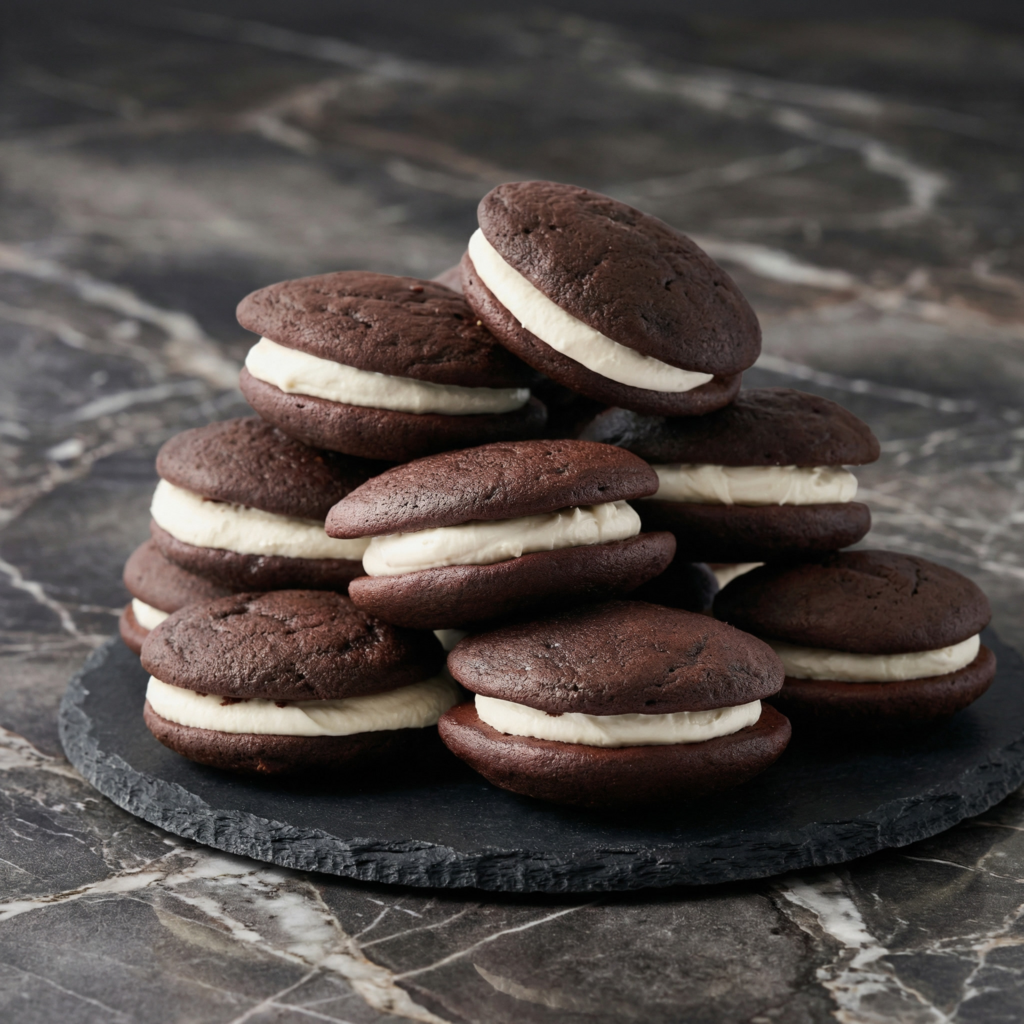
    Classic Whoopie Pies (Soft, Cakey, Cream-Filled)

    Whoopie pies are a New England tradition—two soft, tender chocolate cakes sandwiching a cloud of fluffy, marshmallowy vanilla cream. They’re not quite cookies and not quite cakes, but whatever they are, they’re absolutely delicious. The story goes that Amish women would put these treats in lunchboxes, and when children found them, they’d shout “Whoopie!” Whatever the origin, one bite explains why they’ve endured.

    This authentic recipe delivers perfectly domed chocolate cakes with a tender crumb and a light-as-air filling that’s pure vanilla bliss. Whoopie pies are fun to make, even more fun to eat, and guaranteed to disappear fast.

    Ingredients

    For the Chocolate Whoopie Cakes (makes about 12-15 sandwich pies):

    • 2 cups (250g) all-purpose flour
    • ¾ cup (65g) Dutch-process cocoa powder
    • 1 ½ teaspoons baking soda
    • ½ teaspoon salt
    • ½ cup (1 stick / 113g) unsalted butter, softened
    • ½ cup (100g) packed light brown sugar
    • ¼ cup (50g) granulated sugar
    • 1 large egg, room temperature
    • 1 teaspoon vanilla extract
    • 1 cup (240ml) buttermilk, room temperature

    For the Fluffy Vanilla Filling:

    • ½ cup (1 stick / 113g) unsalted butter, softened
    • ½ cup (100g) vegetable shortening (like Crisco)
    • 1 ½ cups (180g) powdered sugar, sifted
    • 1 ½ cups (210g) marshmallow fluff (about one 7-oz jar)
    • 2 teaspoons vanilla extract
    • Pinch of salt

    Instructions

    1. Prep and Preheat: Preheat your oven to 375°F (190°C). Line baking sheets with parchment paper.

    2. Whisk Dry Ingredients: In a medium bowl, whisk together the flour, cocoa powder, baking soda, and salt. Set aside.

    3. Cream Butter and Sugars: In a large bowl or stand mixer fitted with the paddle attachment, beat the softened butter, brown sugar, and granulated sugar together on medium speed until light and fluffy, about 2-3 minutes.

    4. Add Egg and Vanilla: Add the egg and vanilla extract, beating until well combined and smooth.

    5. Alternate Dry and Buttermilk: With the mixer on low speed, add about one-third of the flour mixture, then half the buttermilk, mixing until just combined. Repeat with another third of flour, the remaining buttermilk, and finally the last of the flour. Mix just until combined—do not overmix. The batter will be thick.

    6. Pipe the Cakes: Transfer the batter to a piping bag fitted with a large round tip (or use a zip-top bag with the corner snipped). Pipe 2-inch circles onto the prepared baking sheets, spacing about 2 inches apart. Alternatively, use a cookie scoop to drop rounded tablespoons of batter.

    7. Bake: Bake for 8-10 minutes, until the cakes are set and spring back when lightly touched. They should be slightly domed. Let cool on the baking sheet for 5 minutes, then transfer to wire racks to cool completely.

    8. Make the Filling: In a large bowl, beat the softened butter and shortening together until smooth and creamy. Gradually add the powdered sugar, beating until light and fluffy. Add the marshmallow fluff, vanilla, and salt, and beat until well combined and smooth. The filling should be fluffy and spreadable.

    9. Chill the Filling (Optional): For easier handling, refrigerate the filling for 15-20 minutes until slightly firm but still spreadable.

    10. Assemble the Whoopie Pies: Pair the cooled cakes by size, matching similar-sized tops and bottoms. Spread or pipe a generous amount of filling onto the flat side of one cake. Top with the matching cake, pressing gently so the filling spreads to the edges.

    11. Serve or Store: Serve immediately, or refrigerate in an airtight container for up to 5 days. Bring to room temperature before serving for the best texture.

    Pro-Tips for Whoopie Pie Perfection

    • Don’t Overmix the Batter: Overmixing develops gluten and makes the cakes tough. Mix just until combined.
    • Pipe Uniform Circles: Using a piping bag ensures evenly sized cakes that will match up nicely for sandwiching.
    • Cool Completely: Warm cakes will melt the filling. Make sure they’re completely cool before assembling.
    • Room Temperature Ingredients: Cold butter won’t cream properly; cold buttermilk can curdle the batter. Let everything warm up first.
    • Dutch-Process Cocoa: Its deeper, richer flavor makes a noticeable difference.
    • Fluffy Filling: Beat the filling well to incorporate air—it should be light and fluffy, not dense.
    • Chill for Clean Assembly: Slightly chilled filling is easier to pipe without making a mess.
    • Customize: Try pumpkin whoopie pies with cream cheese filling, red velvet, or add chocolate chips to the batter.

    These Classic Whoopie Pies are soft, cakey, and absolutely delicious.

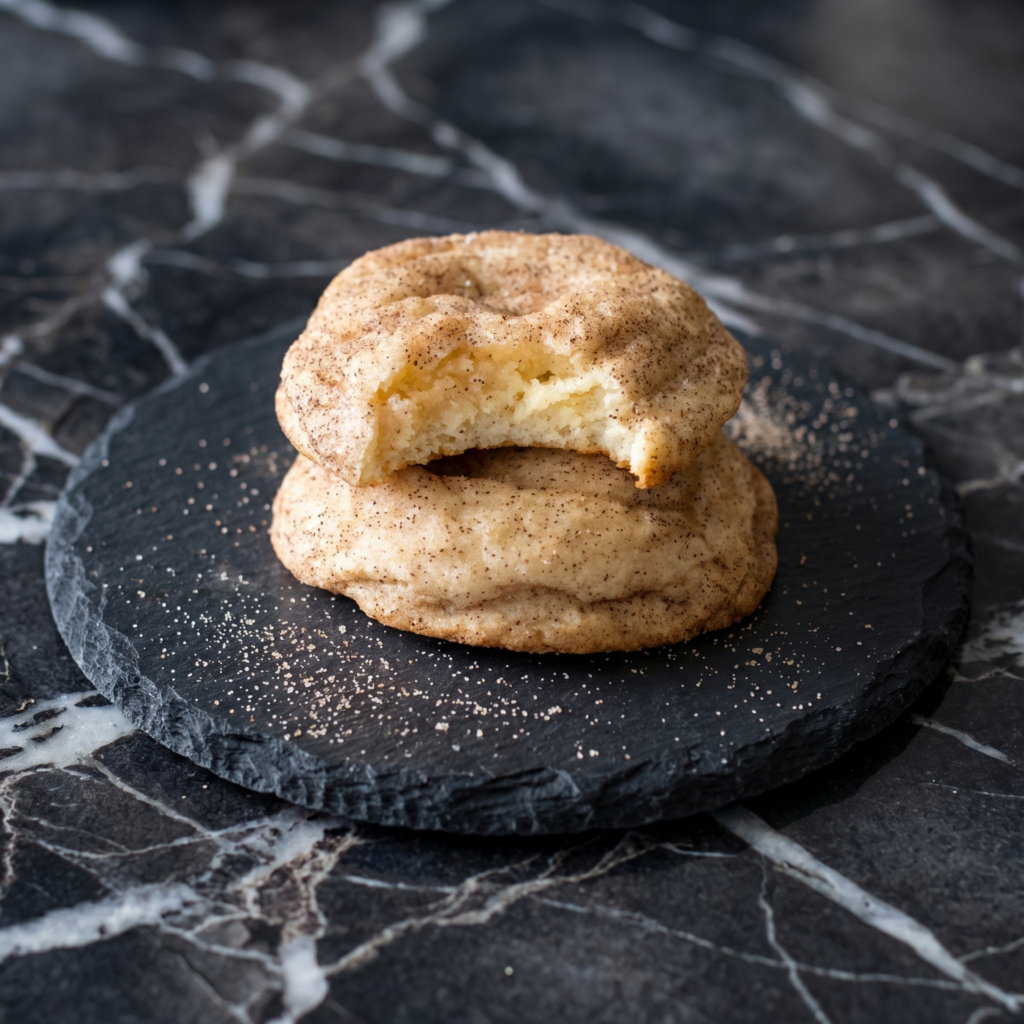
  • Perfect Snickerdoodles (Soft, Chewy, Cinnamon-Sugar)

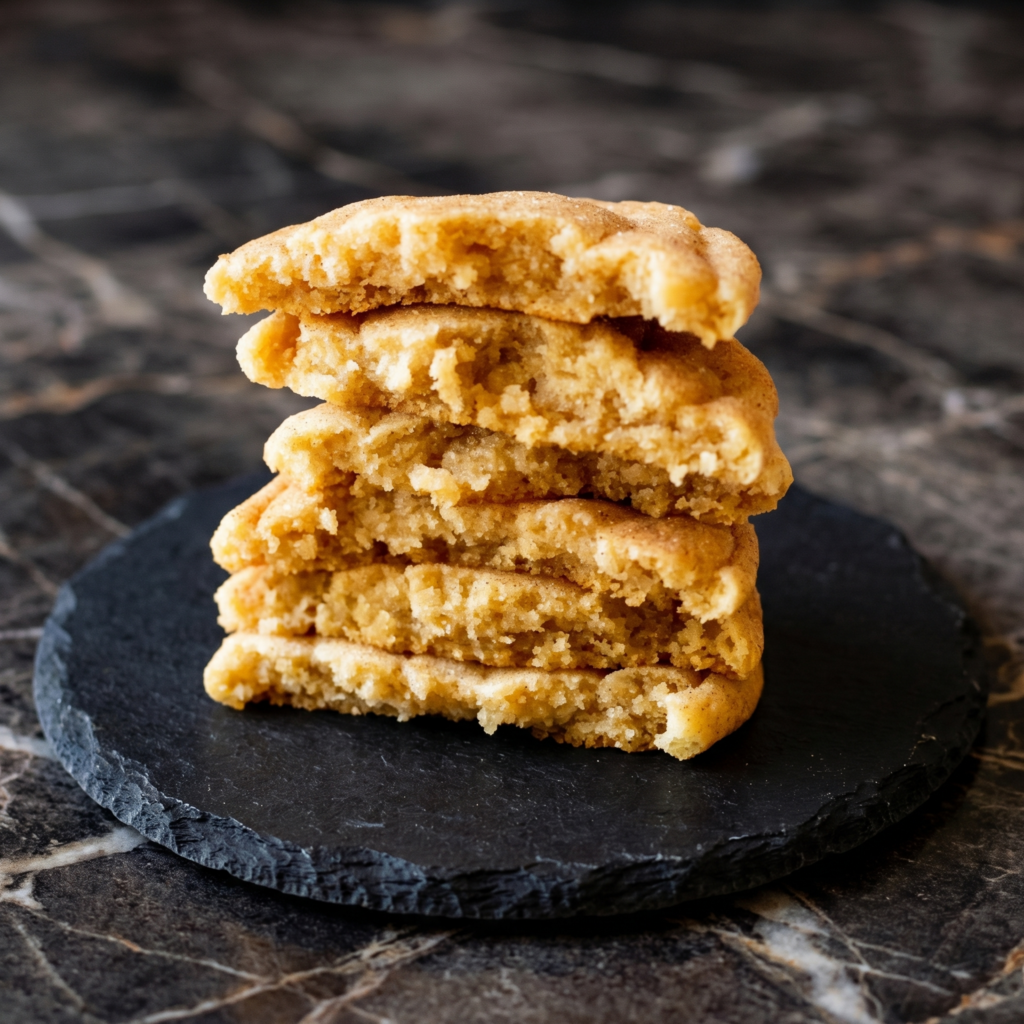
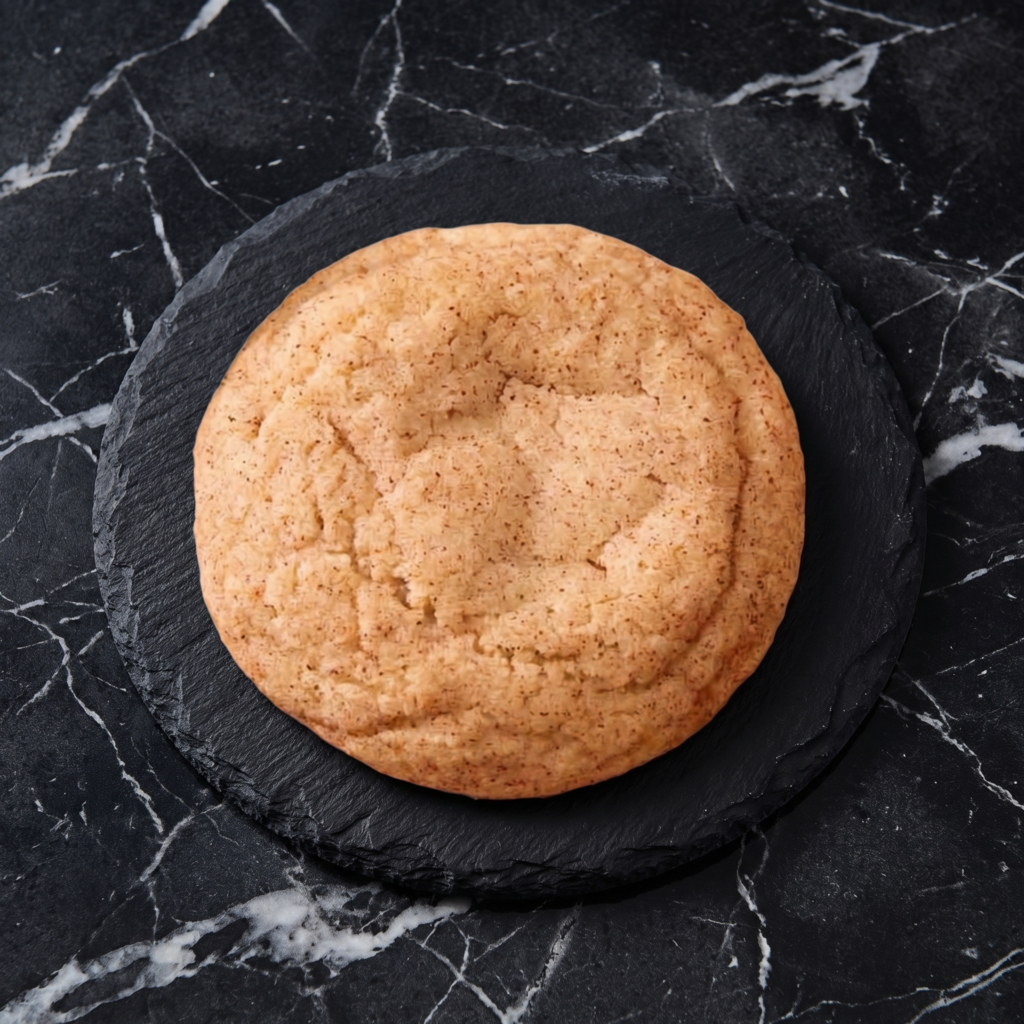
    Perfect Snickerdoodles (Soft, Chewy, Cinnamon-Sugar)

    Snickerdoodles are the cookies that everyone loves but somehow forgets about until the first bite. Then they remember: oh, these are the best. Soft and chewy with a slightly crisp edge, tender crumb, and that unmistakable tang from cream of tartar—all wrapped in a generous coating of cinnamon sugar. They’re simple, unpretentious, and absolutely perfect.

    This recipe delivers snickerdoodles that are consistently soft, with that signature crackly top and just the right amount of cinnamon warmth. Whether for holiday cookie exchanges, bake sales, or just because, these cookies never disappoint.

    Ingredients

    For the Snickerdoodle Cookies (makes about 24-30 cookies):

    • 1 cup (2 sticks / 227g) unsalted butter, softened
    • 1 ½ cups (300g) granulated sugar
    • 2 large eggs, room temperature
    • 2 teaspoons vanilla extract
    • 2 ¾ cups (345g) all-purpose flour
    • 2 teaspoons cream of tartar
    • 1 teaspoon baking soda
    • ½ teaspoon salt

    For the Cinnamon-Sugar Coating:

    • ¼ cup (50g) granulated sugar
    • 2 tablespoons ground cinnamon

    Instructions

    1. Cream Butter and Sugar: In a large bowl or stand mixer fitted with the paddle attachment, beat the softened butter and granulated sugar together on medium speed until light and fluffy, about 2-3 minutes. Scrape down the sides as needed.

    2. Add Eggs and Vanilla: Add the eggs one at a time, beating well after each addition. Add the vanilla extract and beat until smooth.

    3. Combine Dry Ingredients: In a separate bowl, whisk together the flour, cream of tartar, baking soda, and salt.

    4. Mix Wet and Dry: Gradually add the flour mixture to the wet ingredients, mixing on low speed until just combined. Do not overmix. The dough will be soft.

    5. Chill the Dough: Cover the bowl and refrigerate for at least 1 hour, preferably 2-3 hours. Chilling prevents spreading and develops flavor.

    6. Preheat and Prep: Preheat your oven to 375°F (190°C). Line baking sheets with parchment paper.

    7. Make Cinnamon-Sugar Coating: In a small bowl, mix together the ¼ cup granulated sugar and 2 tablespoons cinnamon until well combined.

    8. Scoop and Roll: Using a cookie scoop or tablespoon, portion the chilled dough into 1½-tablespoon balls. Roll each ball generously in the cinnamon-sugar mixture until fully coated.

    9. Place on Baking Sheets: Place the coated dough balls on the prepared baking sheets, leaving about 2 inches between each cookie.

    10. Bake: Bake for 10-12 minutes, until edges are set and just barely golden, and the centers are still soft and slightly puffy. They will continue to set as they cool.

    11. Cool: Let cookies cool on the baking sheet for 5 minutes, then transfer to wire racks to cool completely.

    Pro-Tips for Snickerdoodle Success

    • Cream of Tartar Is Essential: Don’t substitute—it provides the signature tang and crackly top. If you don’t have it, you’re not making snickerdoodles.
    • Chill the Dough: This dough is soft and spreads easily. Chilling is essential for thick, chewy cookies.
    • Roll Generously: Make sure each dough ball is completely coated in cinnamon sugar for that classic look and flavor.
    • Don’t Overbake: Pull cookies when edges are set but centers still look slightly underdone. They’ll continue baking from residual heat.
    • Room Temperature Ingredients: Cold butter won’t cream properly; cold eggs can seize the batter. Let everything warm up first.
    • Use Fresh Spices: Cinnamon loses potency over time. Fresh cinnamon makes a noticeable difference.
    • Make Ahead: Dough can be refrigerated for up to 3 days or frozen for 3 months. Roll in cinnamon sugar just before baking.

    These Perfect Snickerdoodles are soft, chewy, and absolutely irresistible.

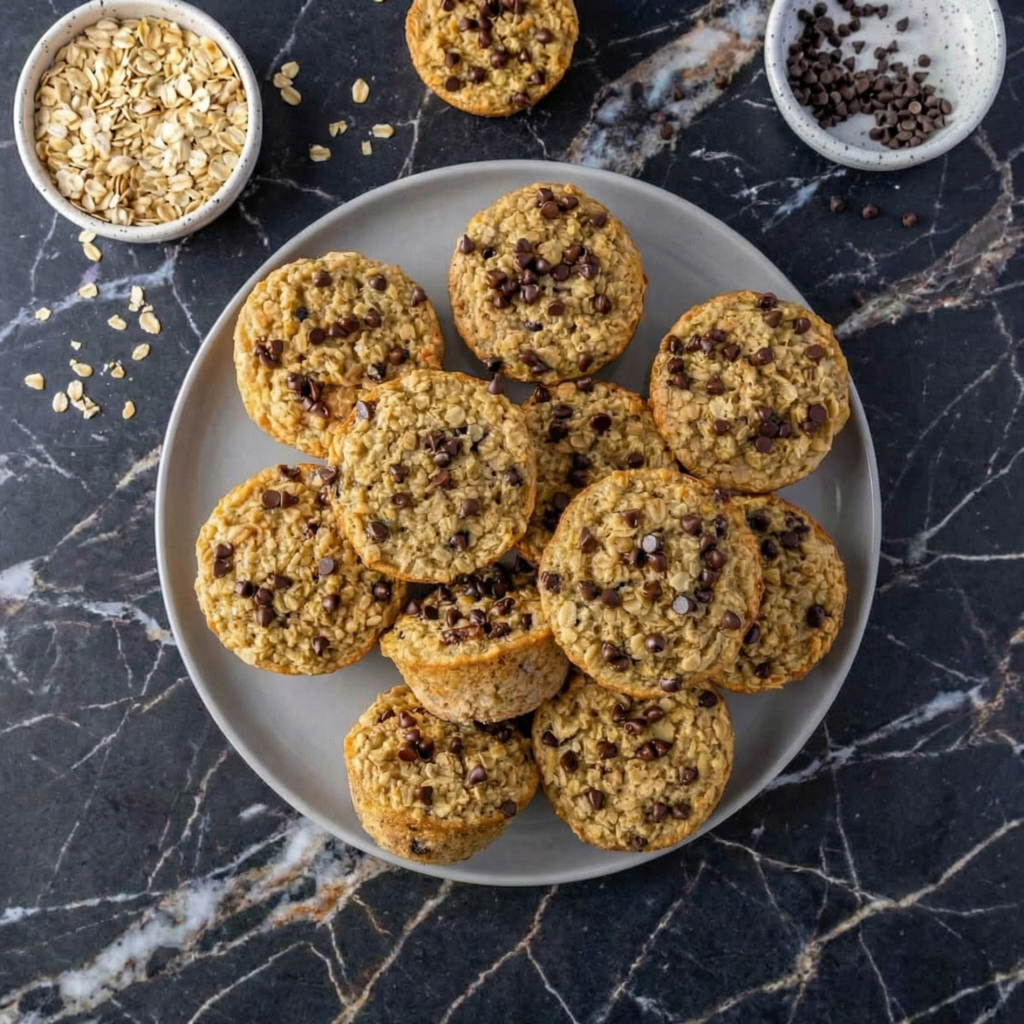
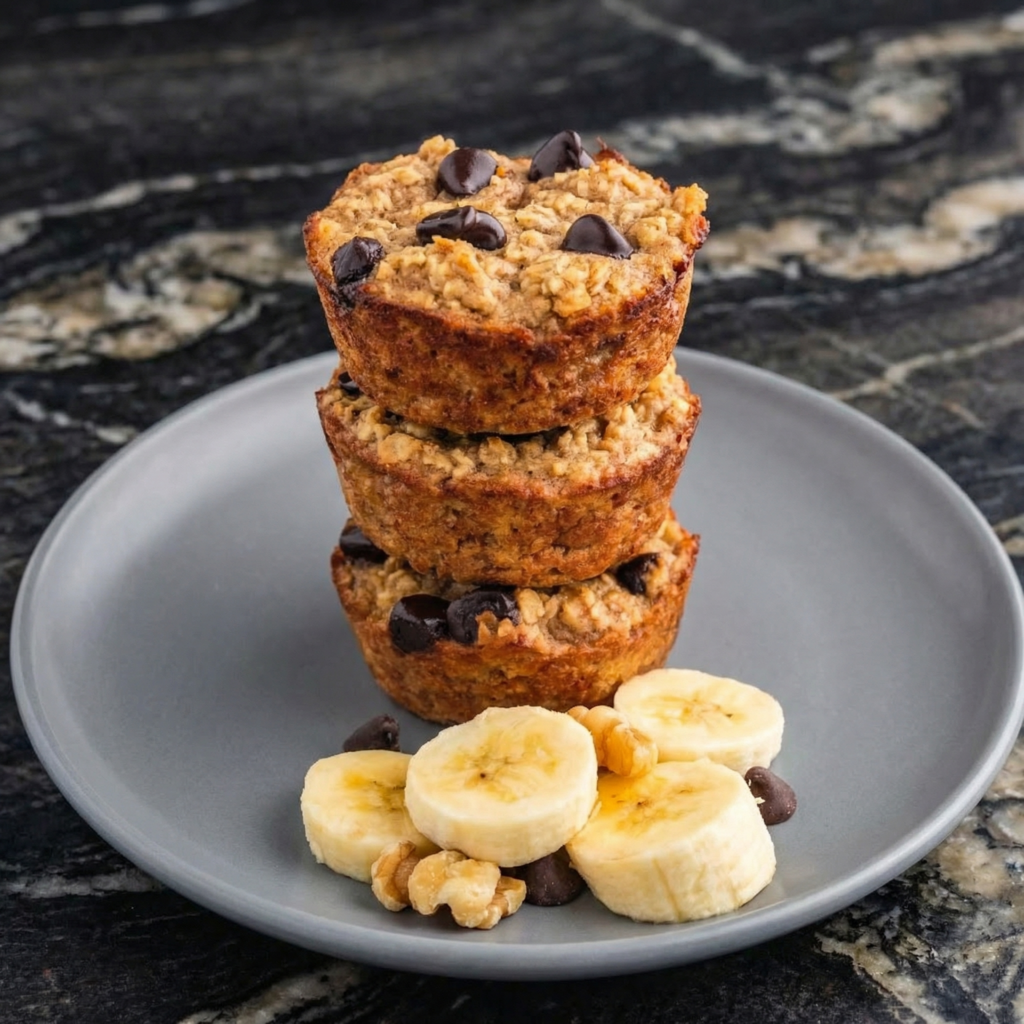
  • Baked Banana Oat Cups: Healthy Grab-and-Go Breakfast

    Baked Banana Oat Cups: Healthy Grab-and-Go Breakfast

    These baked banana oat cups are the perfect solution for busy mornings—soft, naturally sweet, and packed with wholesome oats and ripe bananas. They’re like a bowl of oatmeal in a portable, grab-and-go form.

    Perfect for meal prep, these cups come together in minutes and keep you satisfied all morning. Naturally gluten-free (if using certified oats), dairy-free, and with no added sugar, they’re a healthy breakfast or snack the whole family will love.

    Ingredients

    For the Banana Oat Cups (makes 12 cups):

    • 3 very ripe bananas, mashed (about 1½ cups)
    • 2 large eggs
    • 1 cup (240ml) milk (dairy or non-dairy)
    • 2 tablespoons maple syrup or honey (optional)
    • 1 teaspoon vanilla extract
    • 3 cups (270g) old-fashioned rolled oats
    • 1 teaspoon baking powder
    • ½ teaspoon ground cinnamon
    • ¼ teaspoon salt

    Optional Add-Ins:

    • ½ cup chocolate chips
    • ½ cup chopped walnuts or pecans
    • ½ cup blueberries or diced apple
    • 2 tablespoons chia seeds or flaxseed meal

    For Serving:

    • Greek yogurt
    • Fresh fruit
    • Drizzle of honey or maple syrup

    Instructions

    1. Prep and Preheat: Preheat your oven to 375°F (190°C). Generously grease a 12-cup muffin tin or line with paper liners.

    2. Mash the Bananas: In a large bowl, mash the bananas with a fork until smooth.

    3. Add Wet Ingredients: Whisk in the eggs, milk, maple syrup (if using), and vanilla until well combined.

    4. Add Dry Ingredients: Stir in the oats, baking powder, cinnamon, and salt. Mix until everything is evenly combined. If using any add-ins, fold them in now. Let the mixture sit for 10-15 minutes to allow the oats to absorb the liquid.

    5. Fill the Muffin Tin: Divide the mixture evenly among the 12 muffin cups, filling them almost to the top. Press down gently to compact.

    6. Bake: Bake for 20-25 minutes, until the tops are golden brown and the cups are set. A toothpick inserted in the center should come out clean.

    7. Cool: Let the cups cool in the pan for 10 minutes, then transfer to a wire rack to cool completely.

    8. Serve or Store: Serve warm or at room temperature. Store in an airtight container in the refrigerator for up to 5 days, or freeze for up to 3 months.

    Pro-Tips for Banana Oat Cup Perfection

    • Use Very Ripe Bananas: The riper, the sweeter and more flavorful. Brown-spotted bananas are ideal.
    • Let the Mixture Rest: Allowing the oats to soak for 10-15 minutes creates a softer, more cohesive texture.
    • Grease the Pan Well: These can stick—use non-stick spray or butter generously, or use paper liners.
    • Customize Add-Ins: Chocolate chips, nuts, berries, or a swirl of nut butter are all delicious.
    • Make It Vegan: Use flax eggs (2 tablespoons flaxseed meal + 5 tablespoons water) and non-dairy milk.
    • Make Ahead: These are perfect for meal prep. Make a batch on Sunday and enjoy all week.
    • Freezer Friendly: Wrap individually and freeze for up to 3 months. Reheat in the microwave or toaster oven.

    These Baked Banana Oat Cups are healthy, delicious, and perfect for busy mornings.

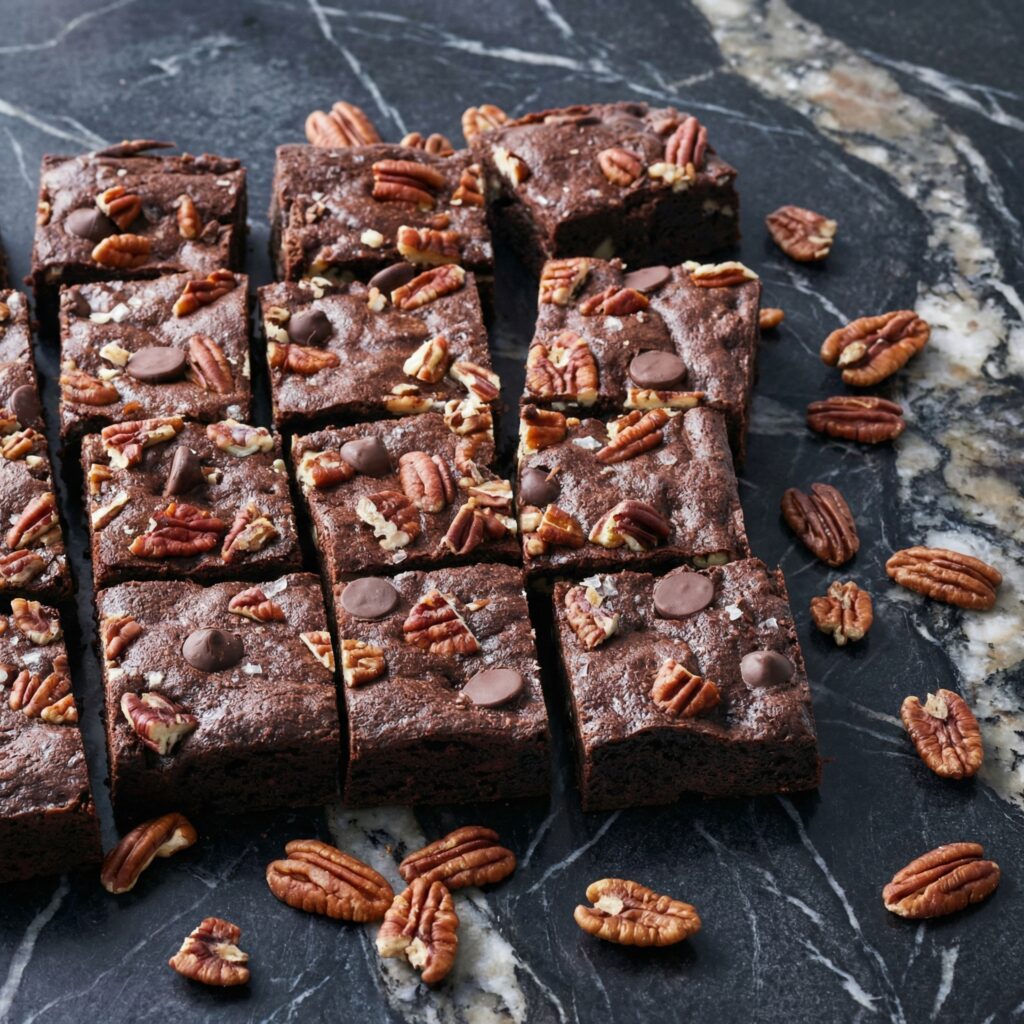
  • Fudgy Brownies with Pecans: Rich, Nutty and Decadent

    Fudgy Brownies with Pecans: Rich, Nutty and Decadent

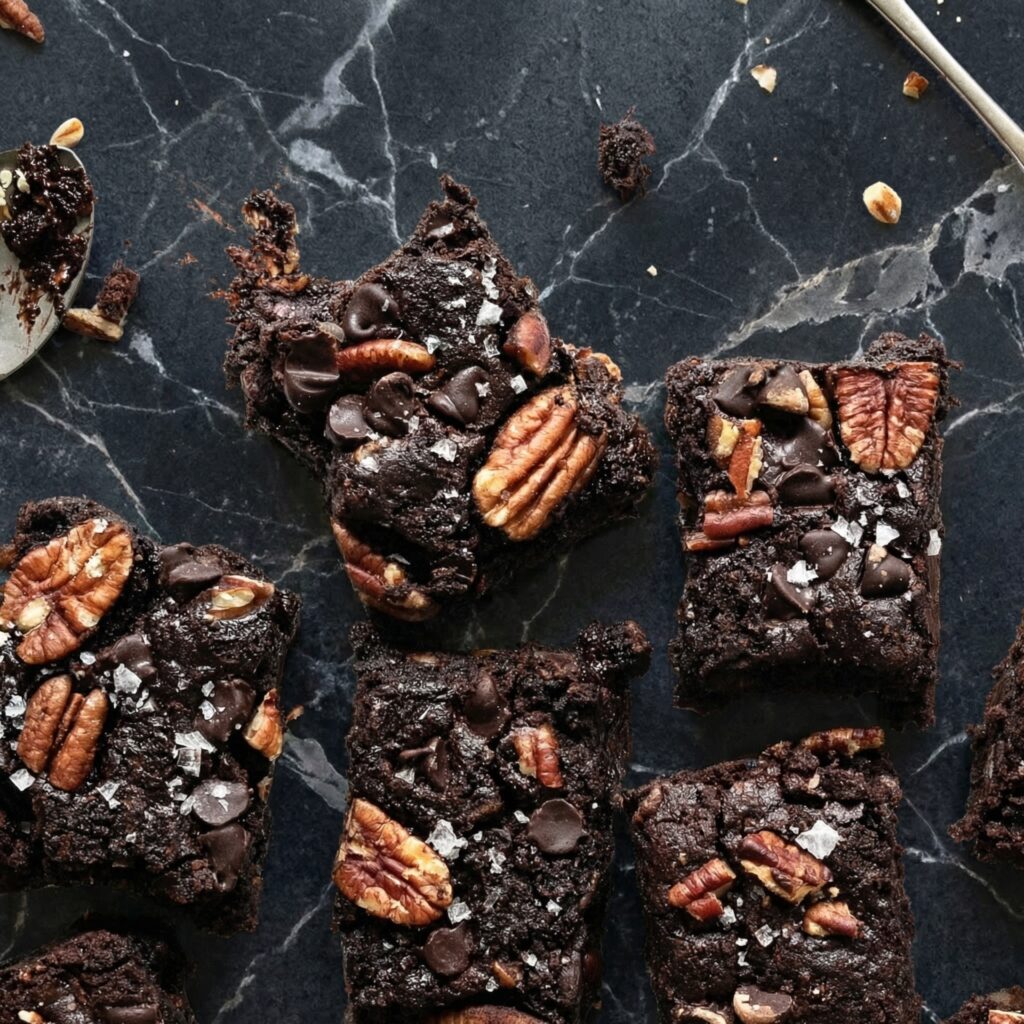
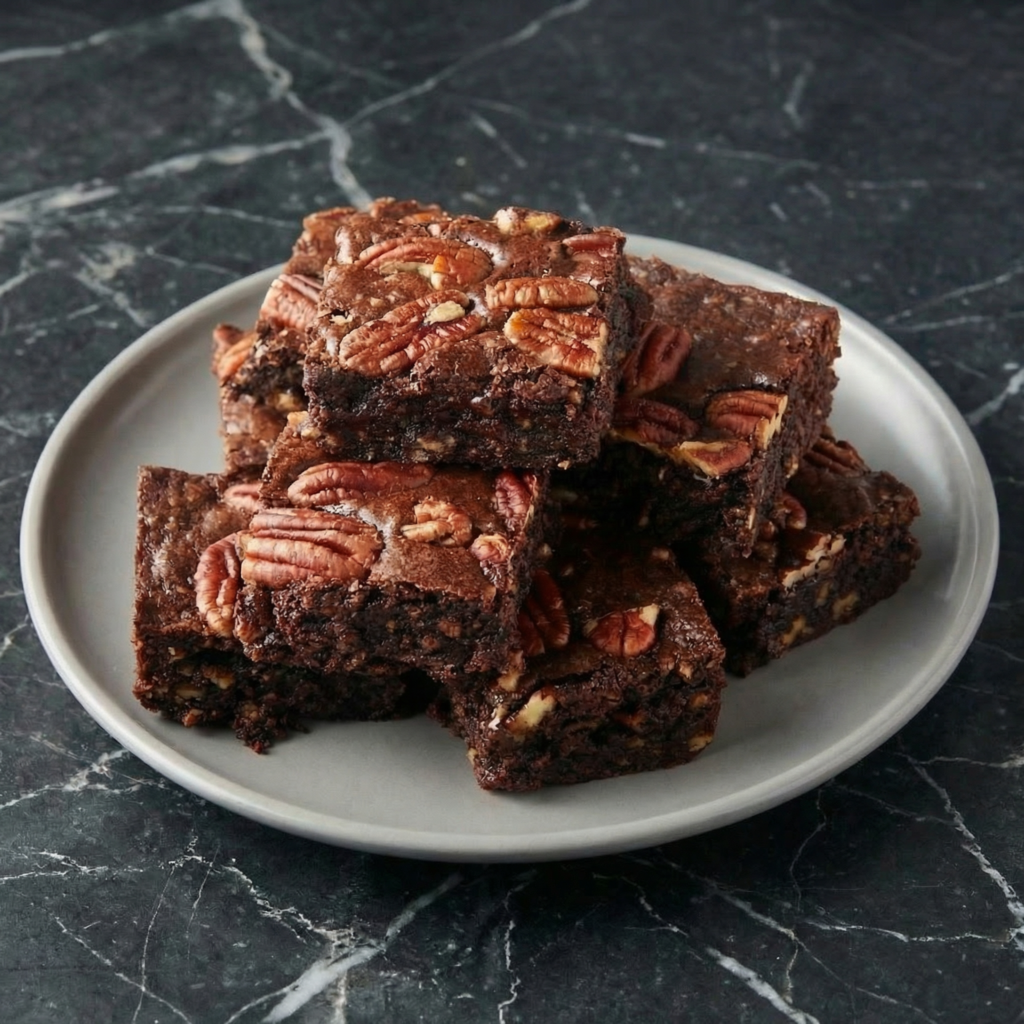
    These fudgy brownies are the ultimate indulgence—intensely chocolatey, dense, and fudgy, with a crackly, paper-thin top crust and a generous amount of toasted pecans in every bite. The pecans add a wonderful nutty crunch that perfectly complements the rich chocolate.

    Made with both cocoa powder and melted chocolate for maximum depth, and just the right amount of flour to hold it together without compromising that fudgy texture. This is the brownie recipe for true chocolate lovers.

    Ingredients

    For the Fudgy Brownies (makes one 8×8 or 9×9 pan):

    • ½ cup (1 stick / 113g) unsalted butter
    • 4 oz (115g) bittersweet or semi-sweet chocolate, roughly chopped
    • 1 cup (200g) granulated sugar
    • 2 large eggs, room temperature
    • 1 teaspoon vanilla extract
    • ⅓ cup (40g) unsweetened cocoa powder (Dutch-process preferred)
    • ½ cup (65g) all-purpose flour
    • ¼ teaspoon salt
    • 1 cup (120g) pecans, toasted and roughly chopped

    Instructions

    1. Toast the Pecans: Preheat your oven to 350°F (175°C). Spread the pecans on a baking sheet and toast for 5-7 minutes until fragrant. Let cool, then roughly chop.

    2. Prep and Preheat: Keep oven at 350°F (175°C). Line an 8×8 or 9×9-inch baking pan with parchment paper, leaving overhang on two sides for easy removal.

    3. Melt Butter and Chocolate: In a medium saucepan over low heat, melt the butter and chopped chocolate together, stirring constantly until smooth. Remove from heat and let cool slightly.

    4. Add Sugar: Whisk the granulated sugar into the melted chocolate mixture until well combined. The mixture will be grainy—that’s fine.

    5. Add Eggs and Vanilla: Add the eggs one at a time, whisking vigorously after each addition until the batter becomes smooth, glossy, and thickened.

    This is crucial for that crackly top—beat until the mixture pulls away from the sides of the pan slightly and looks lightened in color. Whisk in the vanilla.

    6. Sift in Dry Ingredients: Sift the cocoa powder, flour, and salt over the batter. Fold gently with a spatula until just combined—do not overmix.

    7. Fold in Pecans: Fold in the toasted chopped pecans until evenly distributed.

    8. Transfer to Pan: Pour the batter into the prepared pan and spread evenly. The batter will be thick.

    9. Bake: Bake for 20-25 minutes (for 8×8) or 18-22 minutes (for 9×9), until a toothpick inserted in the center comes out with a few moist crumbs attached—not wet batter, but not clean. For fudgy brownies, slightly underbake.

    10. Cool Completely: Let the brownies cool completely in the pan on a wire rack. This allows them to set properly. For clean slices, refrigerate for 1-2 hours before cutting.

    11. Slice and Serve: Use the parchment overhang to lift the brownies out of the pan. Place on a cutting board and slice into squares with a sharp knife. Wipe the knife clean between cuts for clean edges.

    Pro-Tips for Fudgy Brownie Perfection

    • Don’t Overbake: Fudgy brownies are all about underbaking. Pull them when a toothpick comes out with moist crumbs, not clean.
    • Toast the Pecans: Toasting brings out their nutty flavor and keeps them crunchy in the brownies.
    • Beat the Eggs Well: That crackly top comes from beating eggs and sugar until thick and ribbony. Don’t skimp on this step.
    • Use Good Chocolate: Since chocolate is the star, use high-quality chocolate. It makes a difference.
    • Room Temperature Eggs: Cold eggs can seize the chocolate mixture. Let them warm up first.
    • Line with Parchment: Parchment overhang makes removal and slicing infinitely easier.
    • Chill Before Slicing: For clean, perfect squares, refrigerate the cooled brownies before cutting.
    • Customize: Add chocolate chips, swirl in caramel, or top with flaky sea salt.

    These Fudgy Brownies with Pecans are rich, nutty, and absolutely decadent.

  • Authentic Italian Zeppole (Italian Doughnuts)

    Authentic Italian Zeppole (Italian Doughnuts)

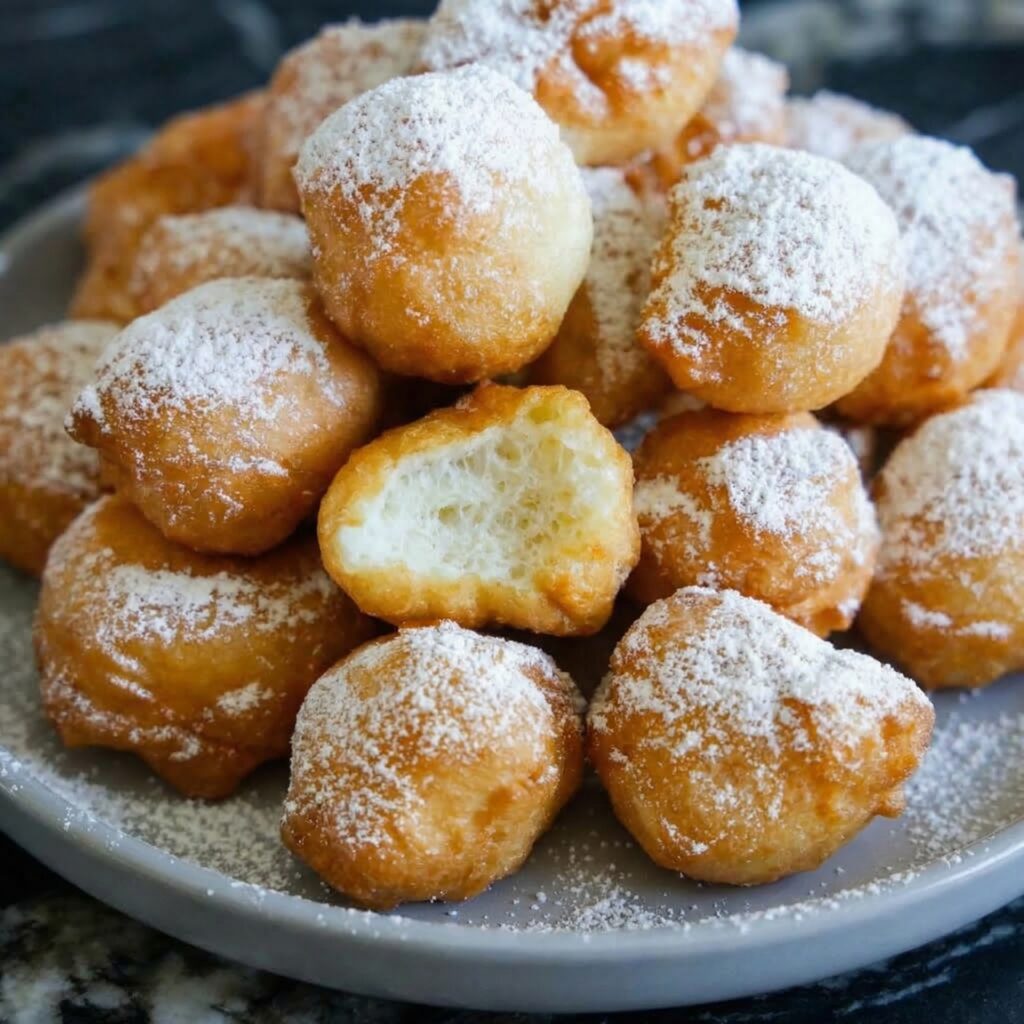
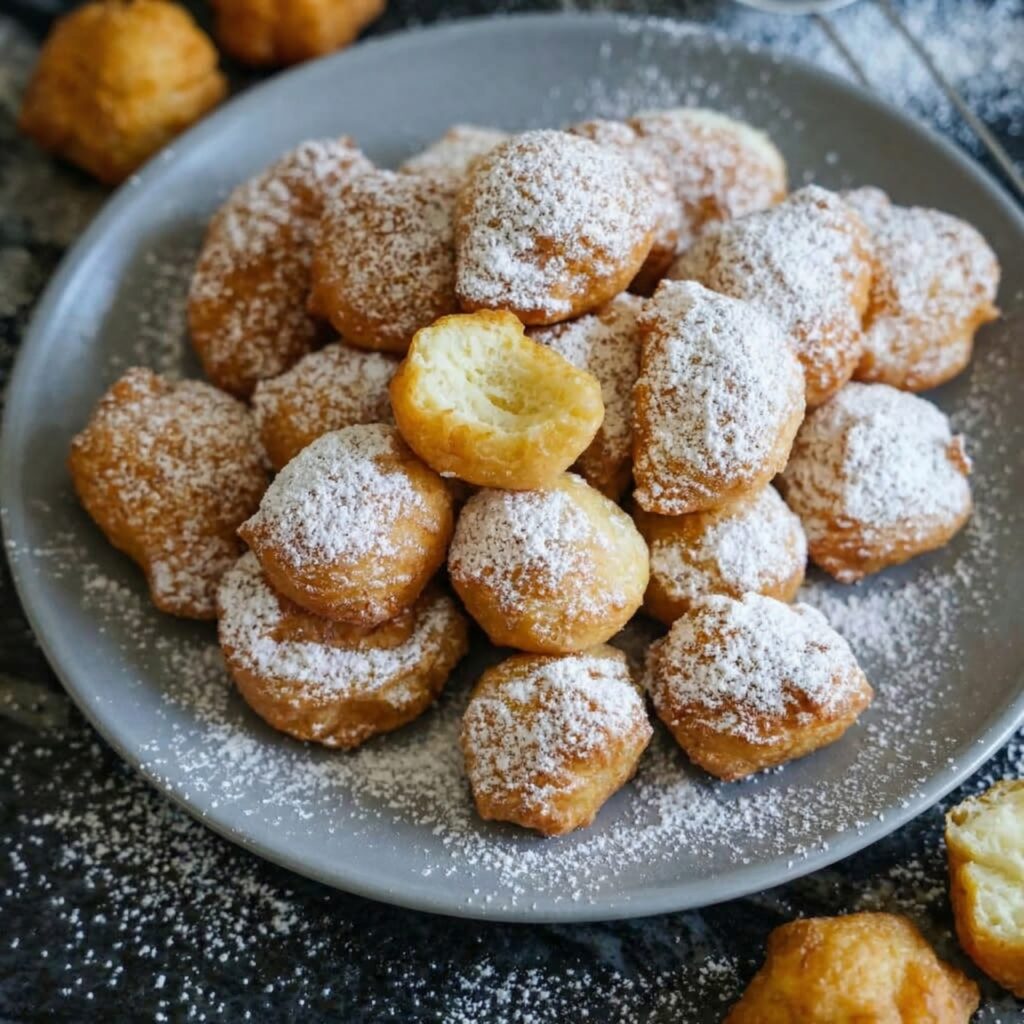
    Zeppole are the quintessential Italian treat—light, pillowy balls of fried dough, crispy on the outside and impossibly airy within, dusted generously with powdered sugar. They’re the kind of dessert that disappears within minutes, everyone reaching for “just one more.”

    Whether you’re celebrating St. Joseph’s Day, attending a Italian festival, or just want to bring a little dolce vita into your kitchen, zeppole are the answer. This authentic recipe delivers zeppole just like those from Italian bakeries and street fairs—with that perfect texture and just a hint of lemon and vanilla.

    Ingredients

    For the Zeppole Dough (makes about 24-30 zeppole):

    • 2 cups (250g) all-purpose flour
    • ¼ cup (50g) granulated sugar
    • 2 ¼ teaspoons (1 packet) active dry yeast
    • ½ teaspoon salt
    • ¾ cup (180ml) warm water (110°F / 43°C)
    • 2 large eggs, room temperature
    • 2 tablespoons unsalted butter, melted and cooled
    • 1 teaspoon vanilla extract
    • Zest of 1 lemon (optional, but traditional)
    • Vegetable or peanut oil, for frying

    For the Coating:

    • 1 cup (120g) powdered sugar, for dusting
    • Additional granulated sugar with cinnamon (optional)

    Optional Fillings/Serving Suggestions:

    • Ricotta cream, pastry cream, or Nutella for filling
    • Marinated cherries or berries
    • Honey for drizzling

    Instructions

    1. Activate the Yeast: In a small bowl, combine the warm water, yeast, and a pinch of sugar. Let sit for 5-10 minutes until foamy and bubbly.

    2. Mix the Dough: In a large bowl or stand mixer fitted with the dough hook, combine the flour, sugar, and salt. Add the yeast mixture, eggs, melted butter, vanilla, and lemon zest.

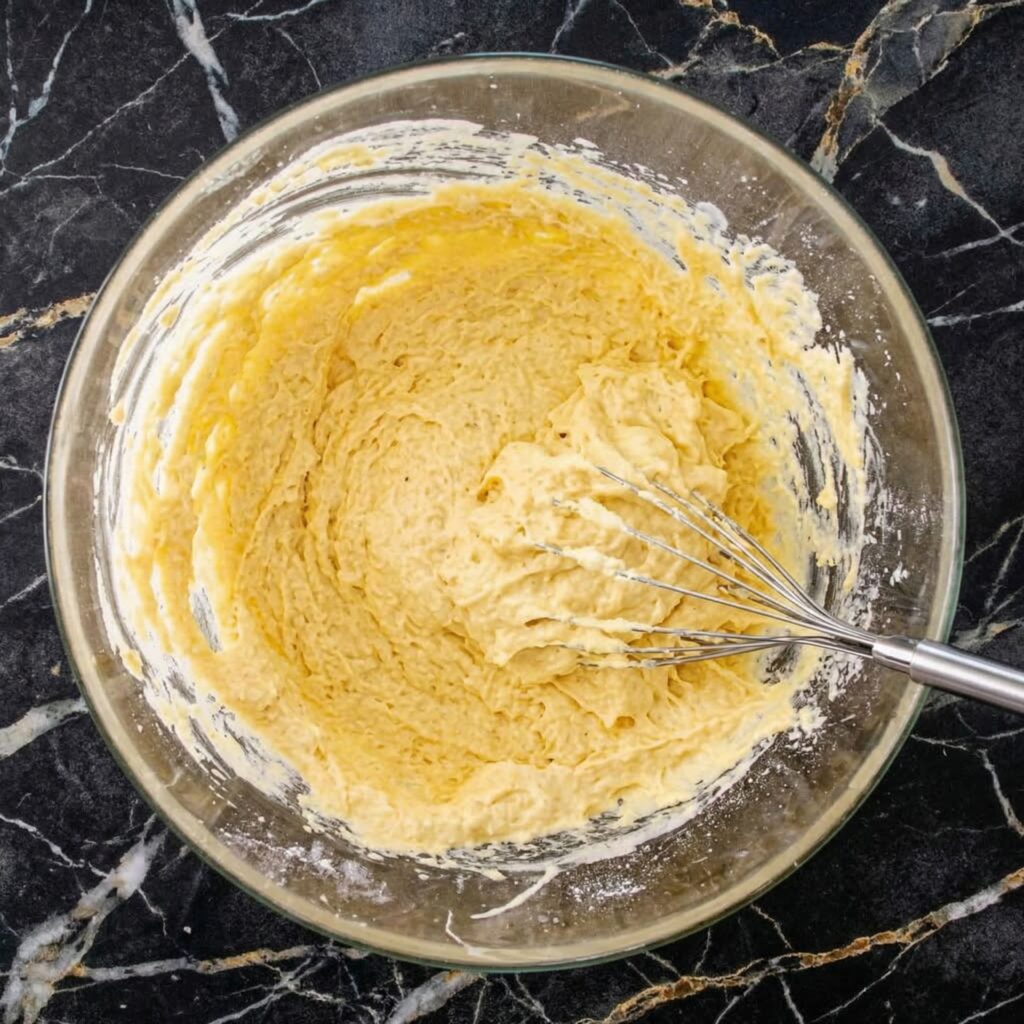
    Mix on low speed until a shaggy dough forms, then knead on medium-low for 5-7 minutes until smooth, soft, and slightly sticky. The dough should be very soft and tacky.

    3. First Rise: Transfer the dough to a lightly oiled bowl, cover with plastic wrap or a damp towel, and let rise in a warm place until doubled in size, about 1-2 hours.

    4. Chill the Dough (Optional but Recommended): For easier handling and better flavor, refrigerate the dough for at least 2 hours or overnight. This step also makes the dough less sticky to work with.

    5. Shape the Zeppole: On a generously floured surface, gently turn out the dough. With floured hands, gently shape into a rough log. Pinch off small pieces (about 1½ tablespoons) and roll into balls. Place on a floured baking sheet, cover loosely, and let rest for 20-30 minutes while you heat the oil.

    6. Heat the Oil: In a heavy-bottomed pot or deep fryer, heat about 3 inches of oil to 350°F (175°C). Use a thermometer to maintain temperature.

    7. Fry the Zeppole: Working in small batches to avoid overcrowding, carefully drop the dough balls into the hot oil. Fry for 2-3 minutes per side, turning occasionally, until puffed and golden brown all over.

    8. Drain: Remove with a slotted spoon or spider strainer and drain on a wire rack set over a baking sheet (not paper towels—they’ll get soggy).

    9. Dust and Serve: While still warm, generously dust the zeppole with powdered sugar. Serve immediately—they’re best fresh and warm.

    Pro-Tips for Zeppole Perfection

    • Soft Dough Is Key: The dough should be quite soft and slightly sticky—this creates that airy, light texture. Resist the urge to add too much flour.
    • Chill for Easier Handling: Cold dough is much less sticky and easier to shape. The overnight rest also develops flavor.
    • Keep Oil Temperature Steady: Use a thermometer and adjust the heat as needed. Too cool = greasy zeppole; too hot = burnt outside, raw inside.
    • Don’t Overcrowd: Fry in small batches to maintain oil temperature and ensure even cooking.
    • Drain on a Rack: Paper towels trap steam and make zeppole soggy. A wire rack keeps them crisp.
    • Dust Generously: Zeppole should be buried in powdered sugar—don’t be shy.
    • Serve Warm: Zeppole are at their absolute best fresh from the fryer. Have your powdered sugar ready before you start frying.
    • Variations: Try rolling in cinnamon sugar instead of powdered sugar, or fill with pastry cream, ricotta, or Nutella using a piping bag.

    These Authentic Italian Zeppole are light, pillowy, and absolutely irresistible.

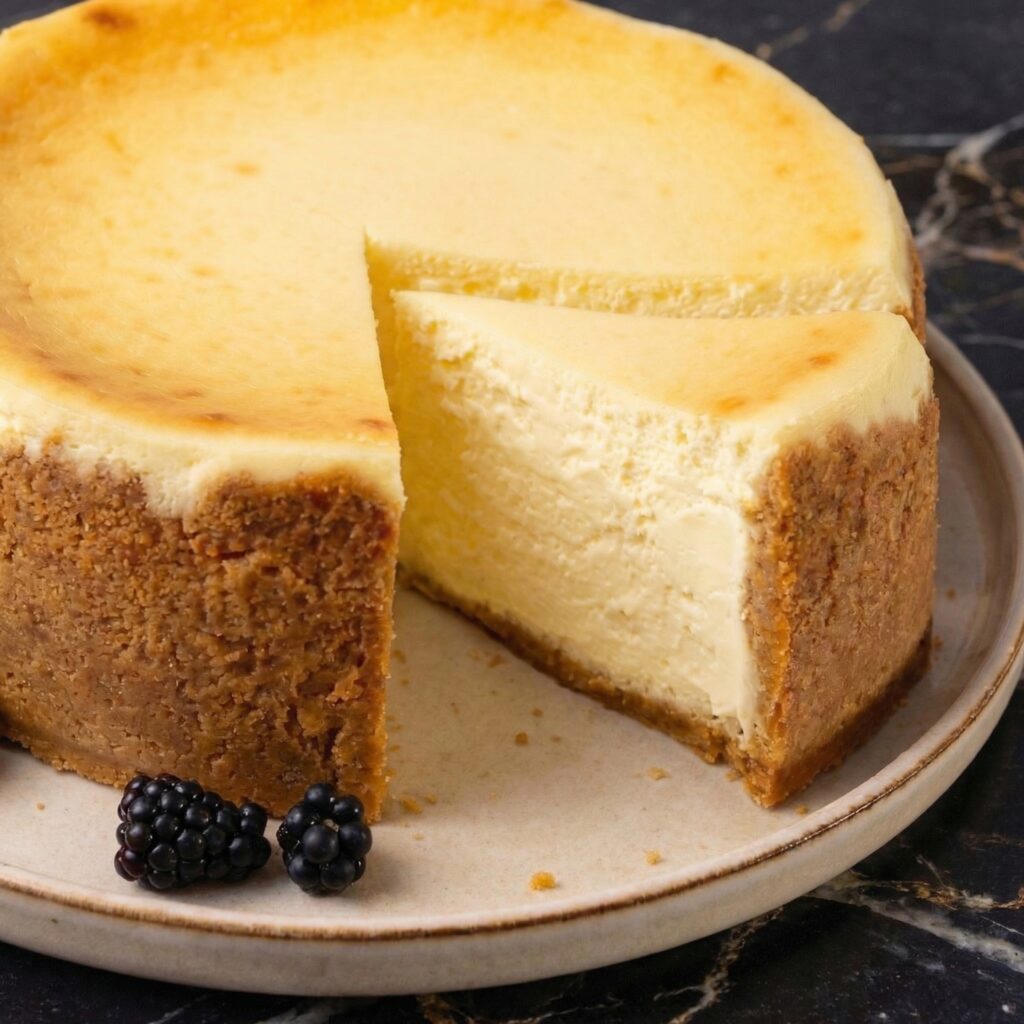
  • Classic New York Cheesecake (Creamy, Dense, Perfect)

    Classic New York Cheesecake (Creamy, Dense, Perfect)

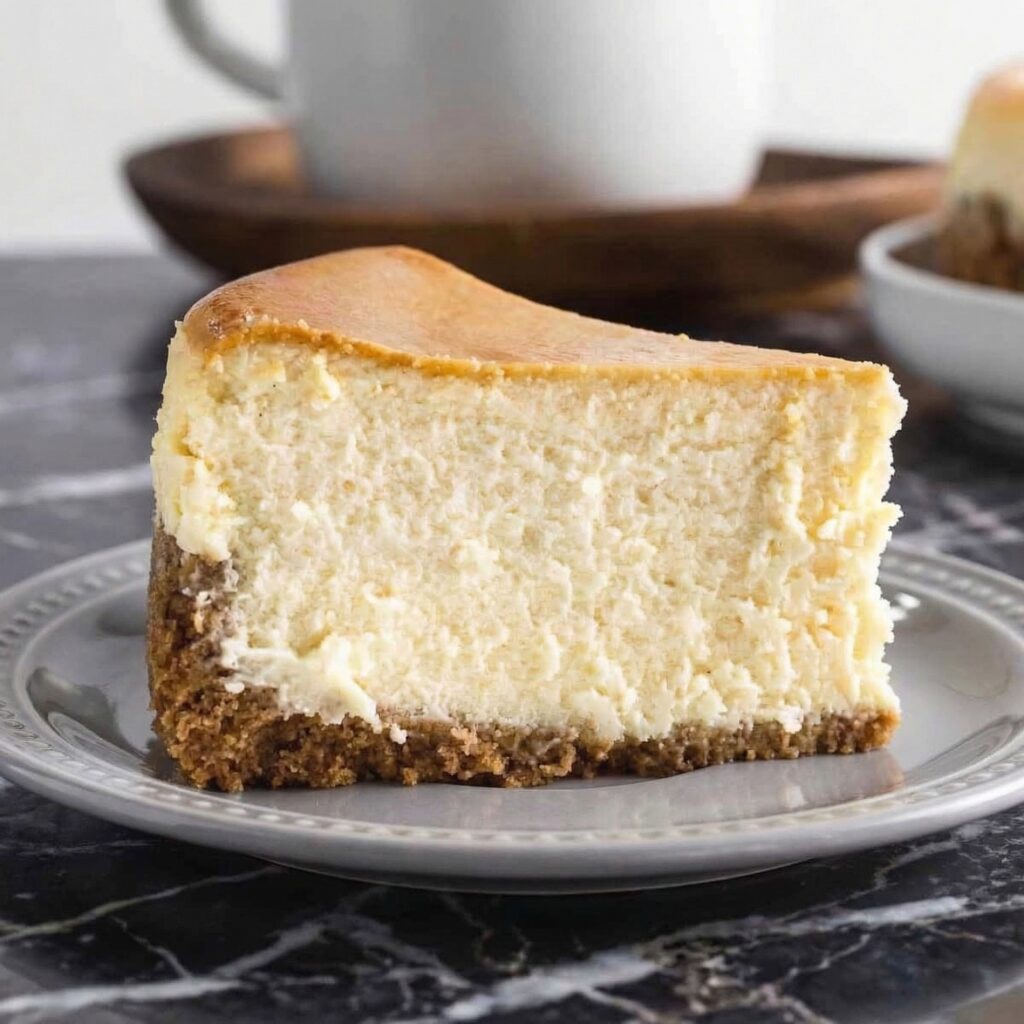
    New York cheesecake is the king of cheesecakes—dense, rich, and impossibly creamy, with a tangy cream cheese flavor that’s perfectly balanced by a buttery graham cracker crust. It’s the kind of dessert that makes an impression: tall, proud, and absolutely luxurious. This authentic recipe delivers that iconic texture—no cracks, no sinking, just pure silky perfection.

    The secret is in the technique: room temperature ingredients, a water bath, and gentle mixing to avoid incorporating too much air. The result is a cheesecake that slices like a dream and tastes like heaven. Serve it plain, with fresh berries, or a drizzle of raspberry sauce. Either way, it’s unforgettable.

    Ingredients

    For the Graham Cracker Crust:

    • 1 ½ cups (150g) graham cracker crumbs (about 12 full sheets)
    • 2 tablespoons granulated sugar
    • ¼ teaspoon salt
    • 5 tablespoons (70g) unsalted butter, melted

    For the Cheesecake Filling:

    • 4 packages (32 oz / 900g total) full-fat cream cheese, softened to room temperature
    • 1 ¼ cups (250g) granulated sugar
    • ½ cup (120g) sour cream, room temperature
    • 2 teaspoons vanilla extract
    • 4 large eggs, room temperature

    For Serving (Optional):

    • Raspberry sauce, strawberry sauce, or caramel
    • Fresh berries
    • Whipped cream

    Instructions

    1. Prep and Preheat: Preheat your oven to 325°F (165°C). Wrap the outside of a 9-inch springform pan with a double layer of heavy-duty aluminum foil, covering the bottom and up the sides. This will prevent water from seeping in during the water bath.

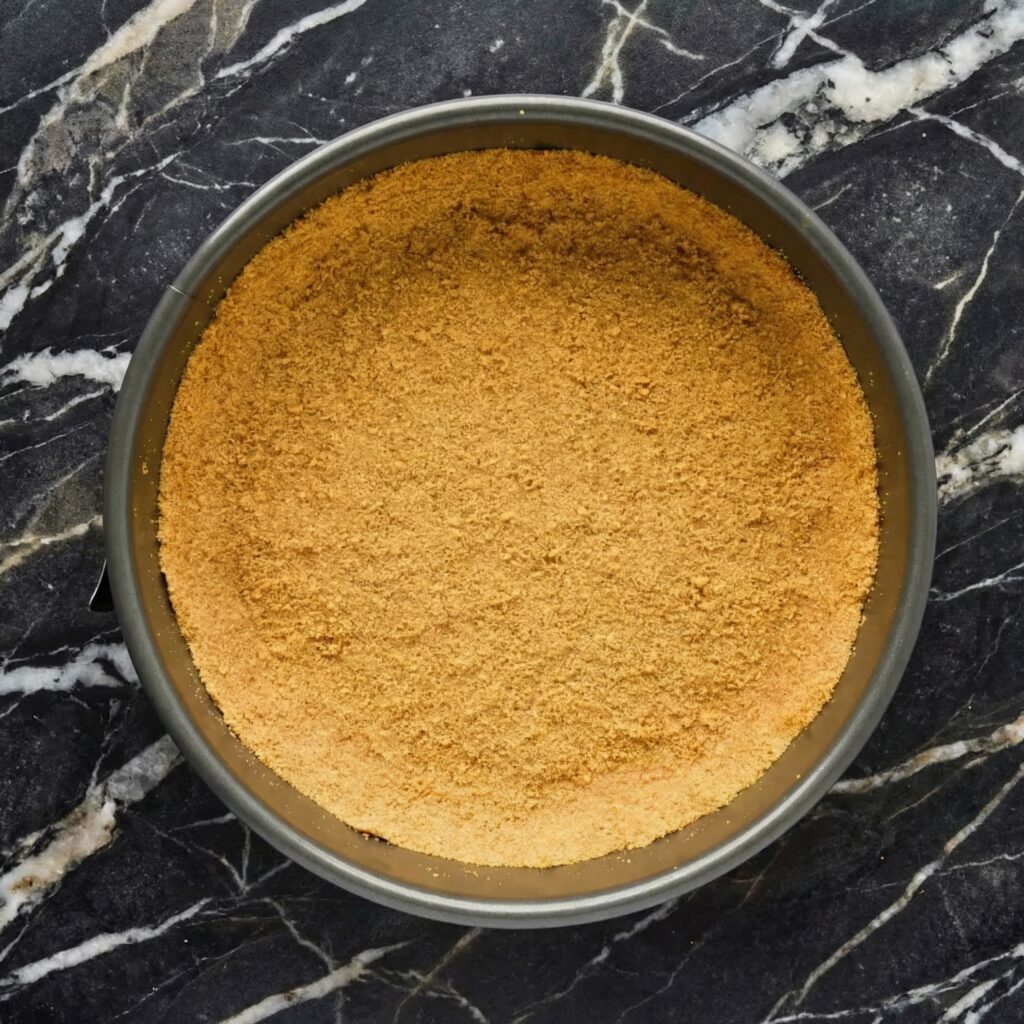
    2. Make the Crust: In a medium bowl, combine the graham cracker crumbs, sugar, and salt. Pour in the melted butter and stir with a fork until all crumbs are moistened.

    Press the mixture firmly into the bottom of the prepared springform pan, using the bottom of a measuring cup to create an even layer. Bake for 10 minutes. Remove from oven and set aside to cool. Reduce oven temperature to 300°F (150°C).

    3. Prepare the Water Bath: Bring a large kettle or pot of water to a boil. Place a large roasting pan or baking dish in the oven on the lower rack to preheat with the oven.

    4. Make the Filling: In a large bowl or stand mixer fitted with the paddle attachment, beat the softened cream cheese on medium speed until completely smooth and creamy, about 2-3 minutes, scraping down the sides and bottom well.

    5. Add Sugar: Gradually add the sugar and beat until smooth and well combined, scraping down the sides as needed.

    6. Add Sour Cream and Vanilla: Add the sour cream and vanilla, and beat on low speed until just combined.

    7. Add Eggs One at a Time: Add the eggs one at a time, beating on low speed just until each egg is incorporated before adding the next. Scrape down the bowl between additions. Do not overmix—you want a smooth, silky batter without excess air.

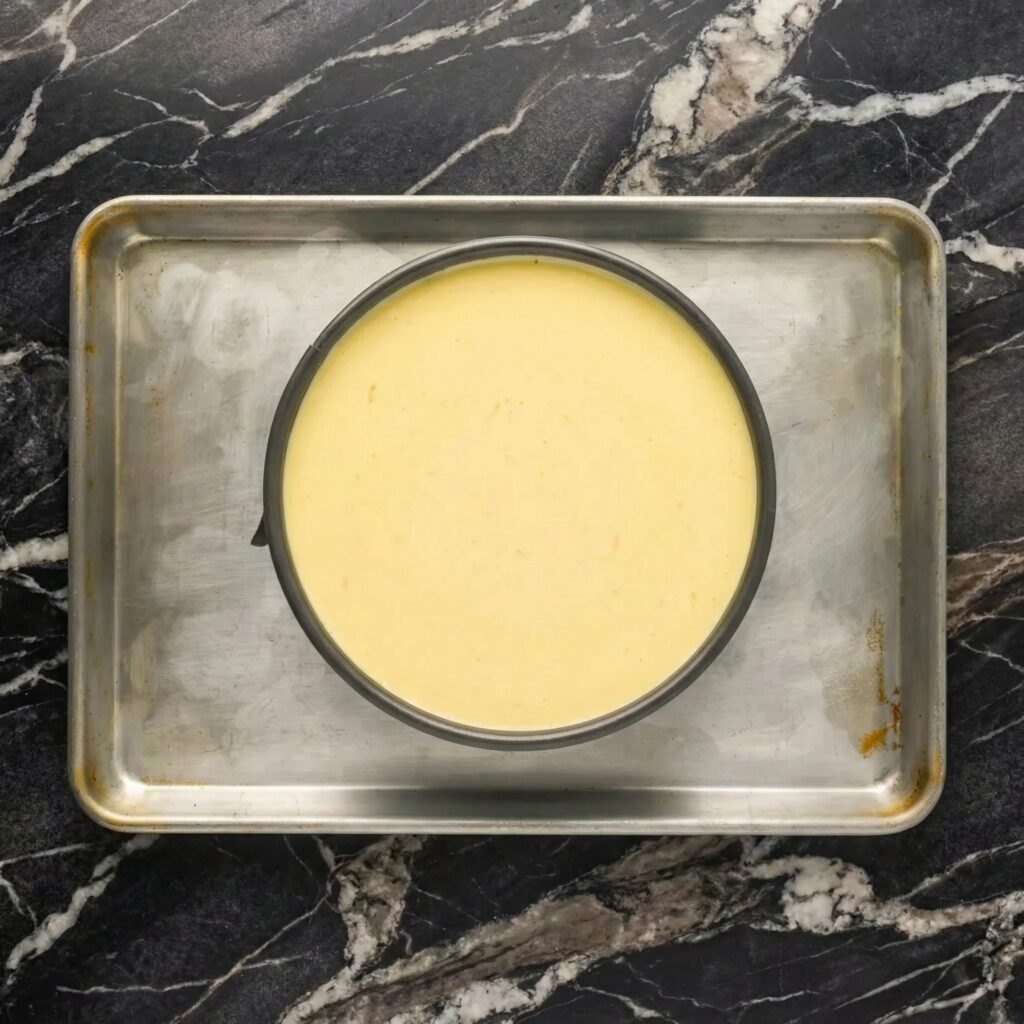
    8. Pour the Filling: Pour the filling over the cooled crust. Gently tap the pan on the counter a few times to release any air bubbles.

    9. Water Bath: Place the springform pan into the preheated roasting pan. Carefully pour the boiling water into the roasting pan until it reaches about halfway up the sides of the springform pan.

    10. Bake: Bake at 300°F (150°C) for 60-75 minutes, until the edges are set but the center still jiggles slightly when gently shaken. It should look firm around the edges and slightly wobbly in the very center.

    11. Cool Gradually: Turn off the oven, prop the door open slightly with a wooden spoon, and let the cheesecake cool in the oven for 1 hour. This gradual cooling helps prevent cracks.

    12. Cool to Room Temperature: Remove the cheesecake from the water bath and carefully remove the foil. Place on a wire rack and let cool completely to room temperature.

    13. Chill: Refrigerate the cheesecake for at least 4 hours, preferably overnight, until fully chilled and set.

    14. Serve: Run a thin knife around the edge of the pan before releasing the springform latch. Slice with a sharp, thin-bladed knife, wiping clean between cuts. Serve plain or with desired toppings.

    Pro-Tips for Cheesecake Perfection

    • Room Temperature Everything: Cold cream cheese creates lumps. Set all ingredients out 1-2 hours before starting.
    • Don’t Overmix: Overmixing incorporates too much air, which can cause cracks and a cakey texture. Mix just until smooth.
    • Wrap the Pan Well: Double-layer heavy-duty foil prevents water from seeping into the cheesecake during the water bath.
    • Water Bath Is Essential: The gentle, moist heat prevents cracking and ensures even baking.
    • Don’t Overbake: The center should still jiggle slightly when done. It will continue to set as it cools.
    • Cool Gradually: Sudden temperature changes cause cracks. The slow cool in the oven, then at room temperature, then in the fridge is key.
    • Chill Thoroughly: Cheesecake needs at least 4 hours, preferably overnight, to set properly.
    • Clean Slices: Use a thin, sharp knife dipped in hot water and wiped clean between cuts for picture-perfect slices.

    This Classic New York Cheesecake is creamy, dense, and absolutely perfect.

  • Chocolate Cake (Rich, Moist, and Absolutely Perfect)

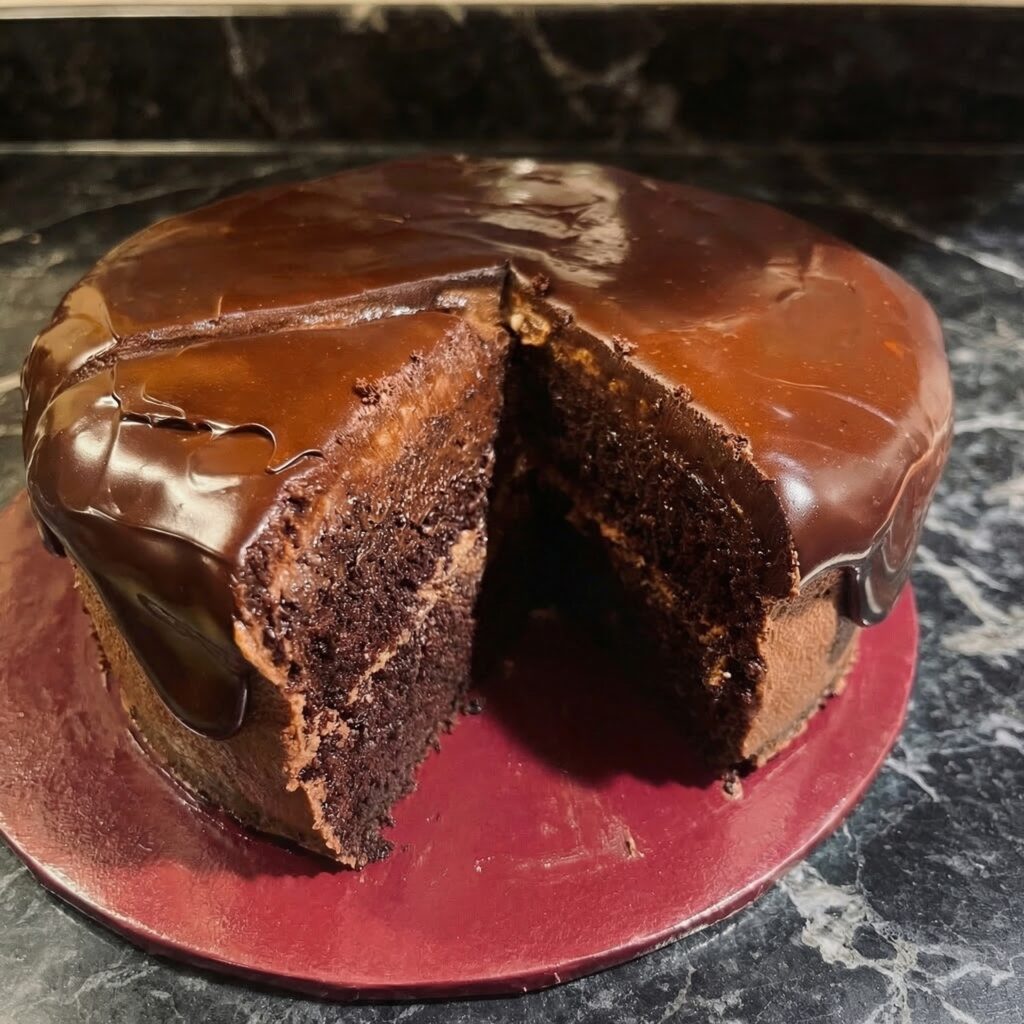
    Chocolate Cake (Rich, Moist, and Absolutely Perfect)

    Let’s talk about the cake that never goes out of style. Chocolate cake—rich, moist, and deeply chocolatey—is the dessert that makes every occasion special. Birthday parties, anniversaries, Sunday dinners, or just because it’s Tuesday.

    This is the chocolate cake of your dreams. With a tender crumb that stays moist for days, a silky chocolate buttercream that’s not too sweet, and that perfect balance of flavor, it’s the only chocolate cake recipe you’ll ever need. Let’s bake something unforgettable.

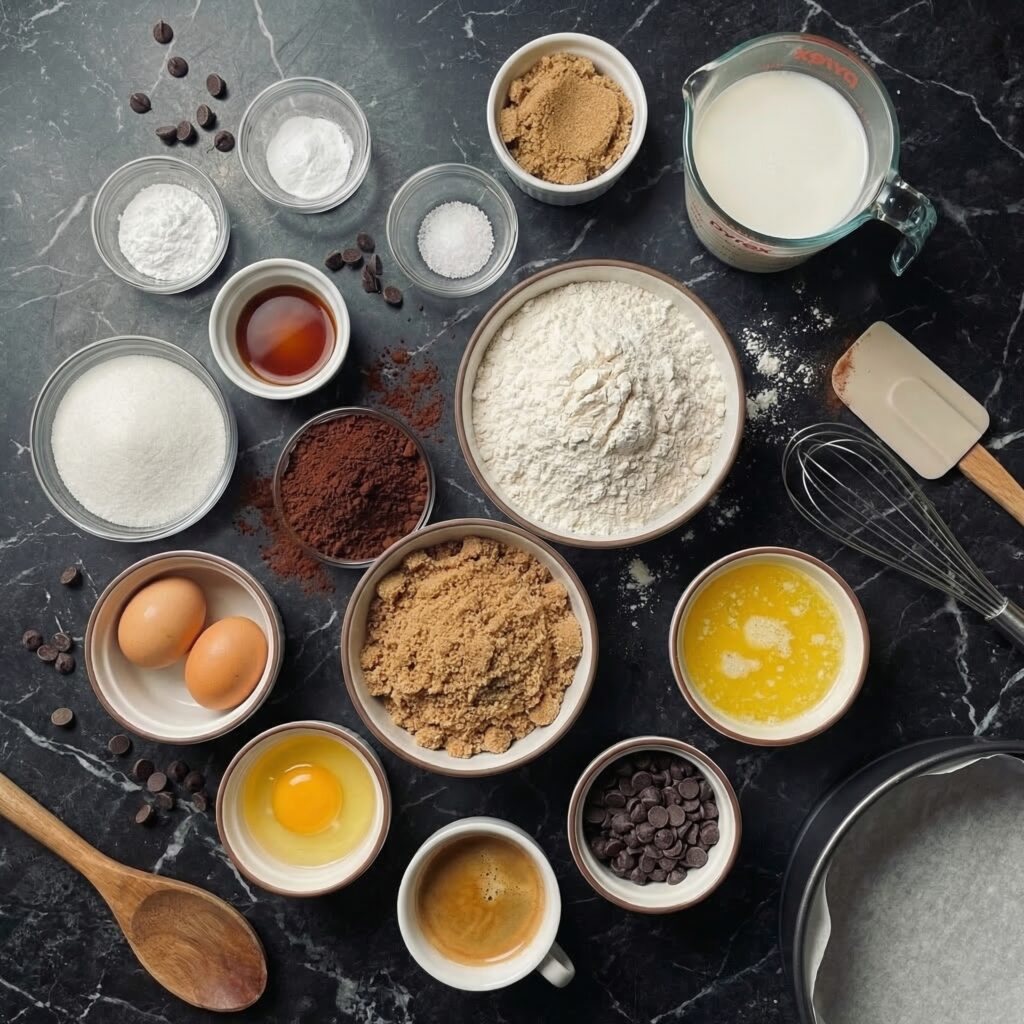
    Ingredients

    For the Chocolate Cake (Makes 2 8-inch or 9-inch layers):

    • 1 ¾ cups (220g) all-purpose flour
    • 2 cups (400g) granulated sugar
    • ¾ cup (75g) unsweetened cocoa powder
    • 2 teaspoons baking soda
    • 1 teaspoon baking powder
    • 1 teaspoon salt
    • 2 large eggs, at room temperature
    • 1 cup (240ml) buttermilk, at room temperature
    • 1 cup (240ml) hot coffee (or hot water)
    • ½ cup (120ml) vegetable oil
    • 2 teaspoons vanilla extract

    For the Chocolate Buttercream Frosting:

    • 1 ½ cups (340g) unsalted butter, slightly softened
    • 5 cups (600g) powdered sugar, sifted
    • 1 cup (100g) unsweetened cocoa powder, sifted
    • ½ cup (120ml) heavy cream or milk
    • 2 teaspoons vanilla extract
    • ¼ teaspoon salt

    For Garnish (Optional):

    • Chocolate curls
    • Cocoa powder for dusting

    Instructions

    1. Preheat and Prep: Preheat your oven to 350°F (175°C). Grease two 8-inch or 9-inch round cake pans, line the bottoms with parchment paper, and lightly flour the sides .

    2. Combine Dry Ingredients: In a large bowl, whisk together the flour, sugar, cocoa powder, baking soda, baking powder, and salt .

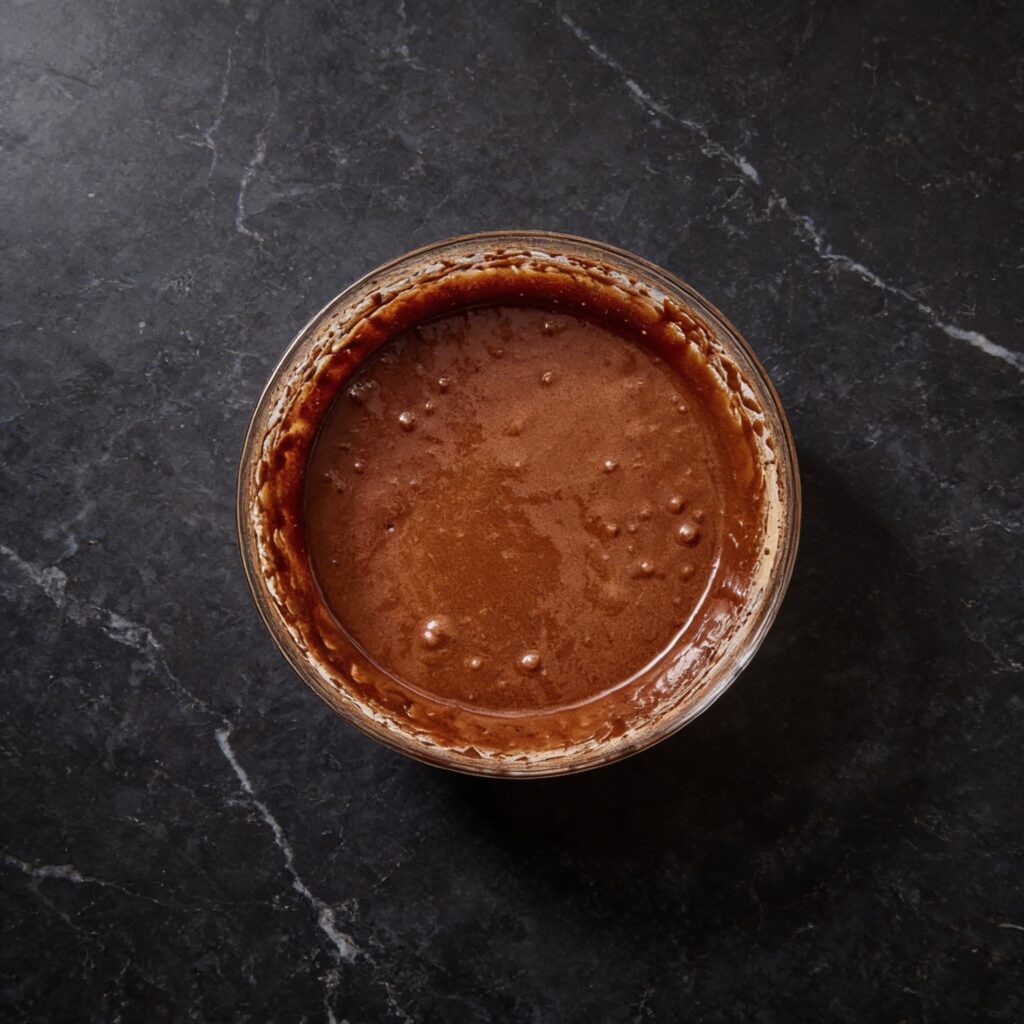
    3. Combine Wet Ingredients: In a separate bowl or large measuring cup, whisk together the eggs, buttermilk, hot coffee, vegetable oil, and vanilla extract until smooth .

    4. Mix Wet and Dry: Pour the wet ingredients into the dry ingredients. Whisk gently until just combined—about 30 seconds. The batter will be thin. That’s normal. Do not overmix .

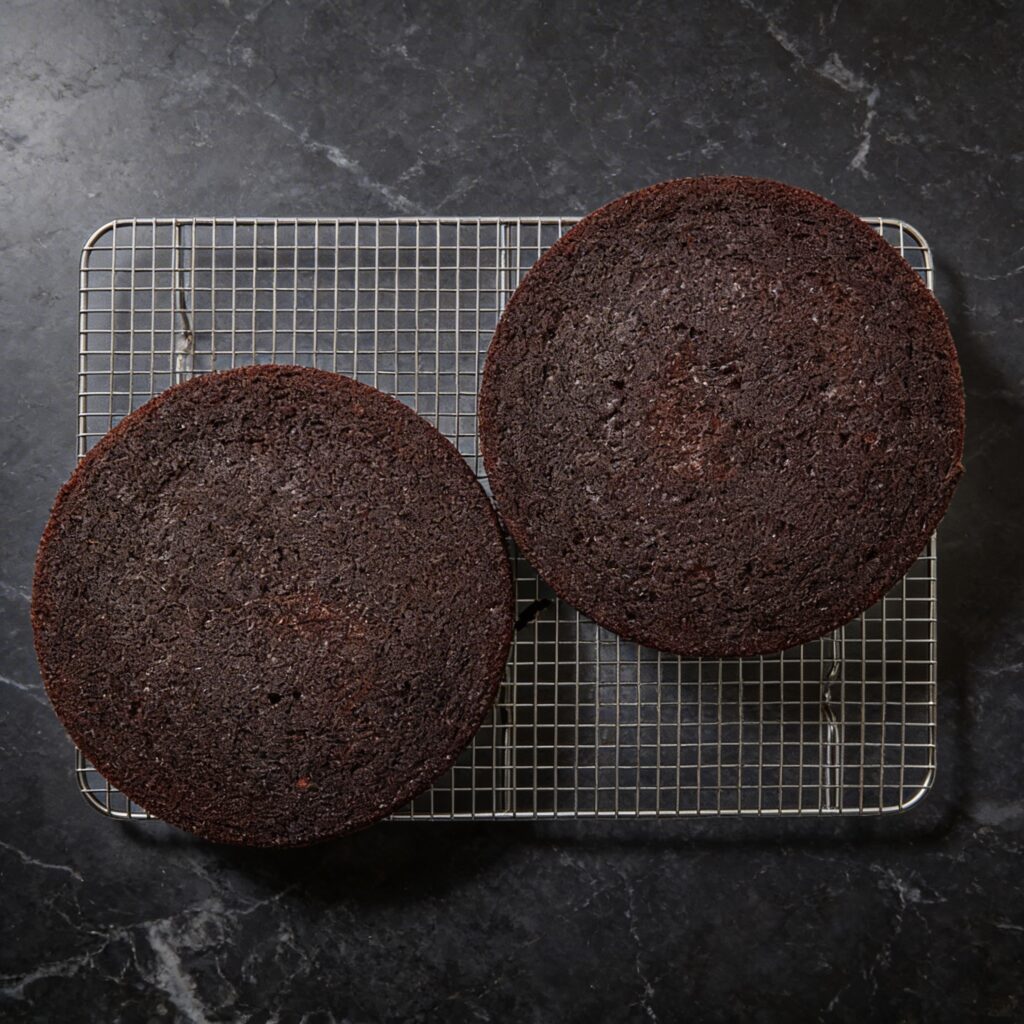
    5. Bake: Divide the batter evenly between the prepared pans. Bake for 30-35 minutes (for 8-inch) or 25-30 minutes (for 9-inch) until a toothpick inserted into the center comes out clean. Let cool in pans for 15 minutes, then turn out onto wire racks to cool completely .

    6. Make the Chocolate Buttercream: In a large bowl, beat the softened butter on medium speed until creamy and smooth, about 2-3 minutes. Gradually add the sifted powdered sugar and cocoa powder, one cup at a time, beating on low until combined. Add the heavy cream, vanilla extract, and salt. Beat on medium-high speed for 2-3 minutes until the frosting is light, fluffy, and spreadable .

    7. Level the Cakes (Optional): If your cakes have domed tops, use a serrated knife to level them for even stacking .

    8. Assemble the Cake: Place one cooled cake layer on a serving plate. Spread about ¾ cup of frosting evenly over the top. Place the second layer on top. Apply a thin crumb coat all over and refrigerate for 30 minutes. Then apply the final layer of frosting, smoothing the sides and top with an offset spatula .

    9. Decorate: Garnish with chocolate curls and a light dusting of cocoa powder if desired .

    10. Slice and Serve: Slice and serve at room temperature .

    11. Store: Store in an airtight container at room temperature for up to 3 days, or in the refrigerator for up to 5 days. Bring to room temperature before serving .

    Pro-Tips for Chocolate Cake Greatness

    • Use Hot Coffee: It deepens the chocolate flavor without making the cake taste like coffee. Don’t skip it .
    • Room Temperature Ingredients: Eggs and buttermilk should be at room temperature for a smooth, evenly mixed batter .
    • Don’t Overmix: Mix just until the flour disappears. Overmixing = tough cake .
    • Cool Completely Before Frosting: If the cake is even slightly warm, your frosting will melt and slide right off .
    • Chill Before Slicing: For clean slices, refrigerate the assembled cake for 30-60 minutes before cutting .
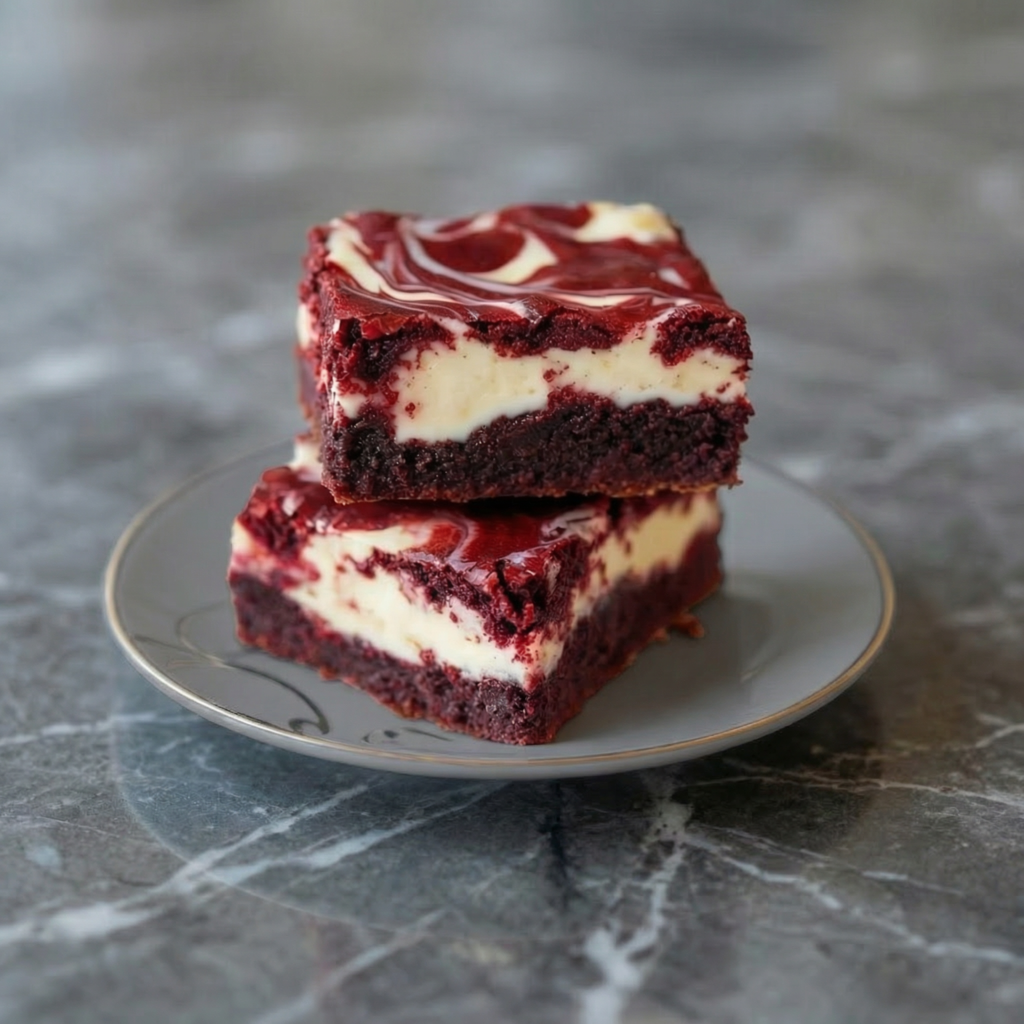
  • Red Velvet Brownies (Fudgy, Dreamy, and Swirled with Cream Cheese)

    Red Velvet Brownies (Fudgy, Dreamy, and Swirled with Cream Cheese)

    Let’s talk about the perfect marriage of two desserts: red velvet cake and fudgy brownies. These red velvet brownies are everything you could want—rich, chocolatey, strikingly beautiful, and swirled with creamy cheesecake goodness.

    They have the signature tang of red velvet, the fudgy texture of a perfect brownie, and a gorgeous cream cheese swirl that makes every bite irresistible. They’re perfect for Valentine’s Day, Christmas, or any time you want to impress with something stunning and delicious. And the best part? They’re easier to make than you’d think. Let’s get swirling.

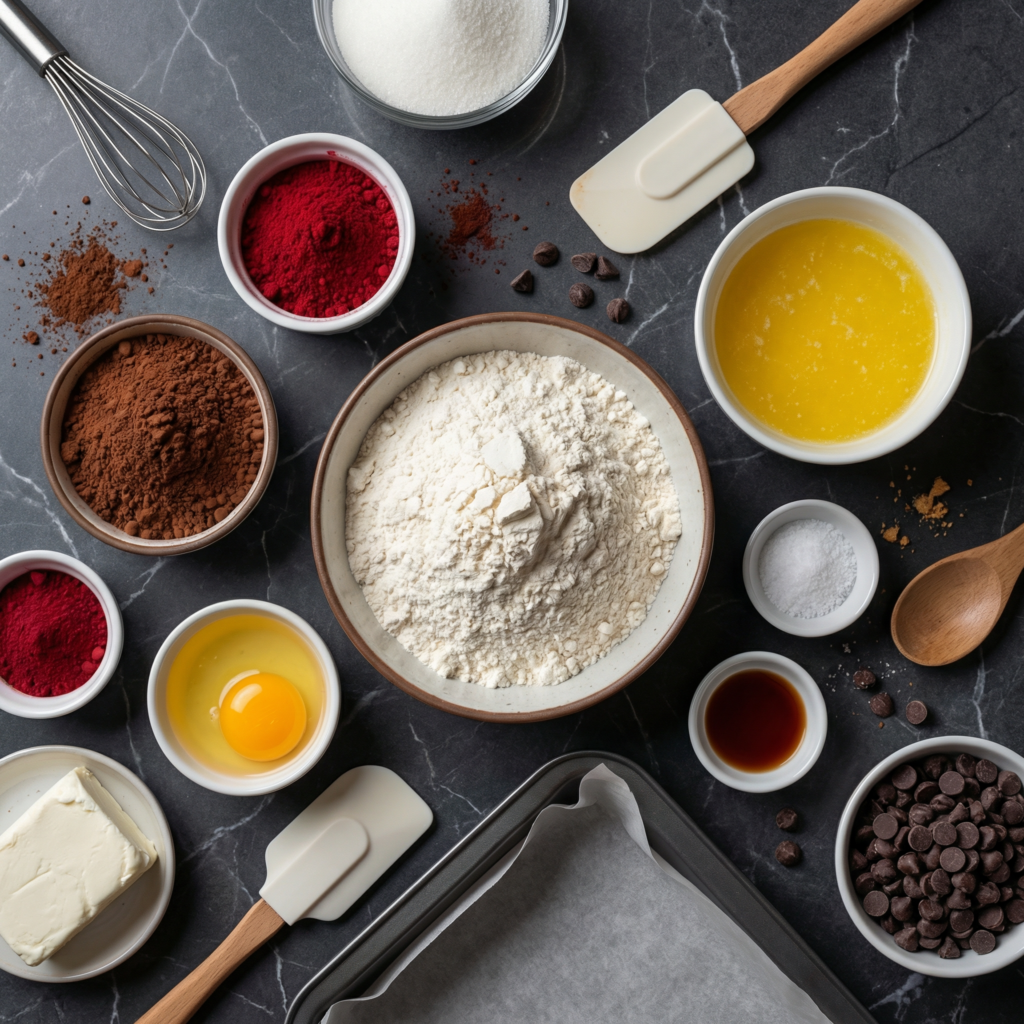
    Ingredients

    For the Red Velvet Brownies (Makes 16 brownies):

    • ¾ cup (170g) unsalted butter
    • 1 cup (200g) granulated sugar
    • ½ cup (100g) packed brown sugar
    • 2 large eggs, at room temperature
    • 2 teaspoons vanilla extract
    • 1 tablespoon red gel food coloring
    • 1 teaspoon white vinegar
    • 1 cup (125g) all-purpose flour
    • ¼ cup (25g) unsweetened cocoa powder
    • ½ teaspoon salt

    For the Cream Cheese Swirl:

    • 8 oz (225g) cream cheese, softened to room temperature
    • ¼ cup (50g) granulated sugar
    • 1 large egg yolk
    • ½ teaspoon vanilla extract

    For Serving (Optional):

    • Powdered sugar, for dusting

    Instructions

    1. Preheat and Prep: Preheat your oven to 350°F (175°C). Grease an 8×8 or 9×9-inch baking pan and line it with parchment paper, leaving overhang on two sides for easy removal .

    2. Melt Butter: In a medium saucepan or microwave-safe bowl, melt the butter. Let it cool slightly .

    3. Combine Wet Ingredients: In a large bowl, whisk together the melted butter, granulated sugar, and brown sugar until well combined. Whisk in the eggs one at a time, then the vanilla extract, red gel food coloring, and white vinegar until smooth and uniformly red .

    4. Add Dry Ingredients: Sift the flour, cocoa powder, and salt into the wet mixture. Fold gently with a spatula until just combined. Do not overmix .

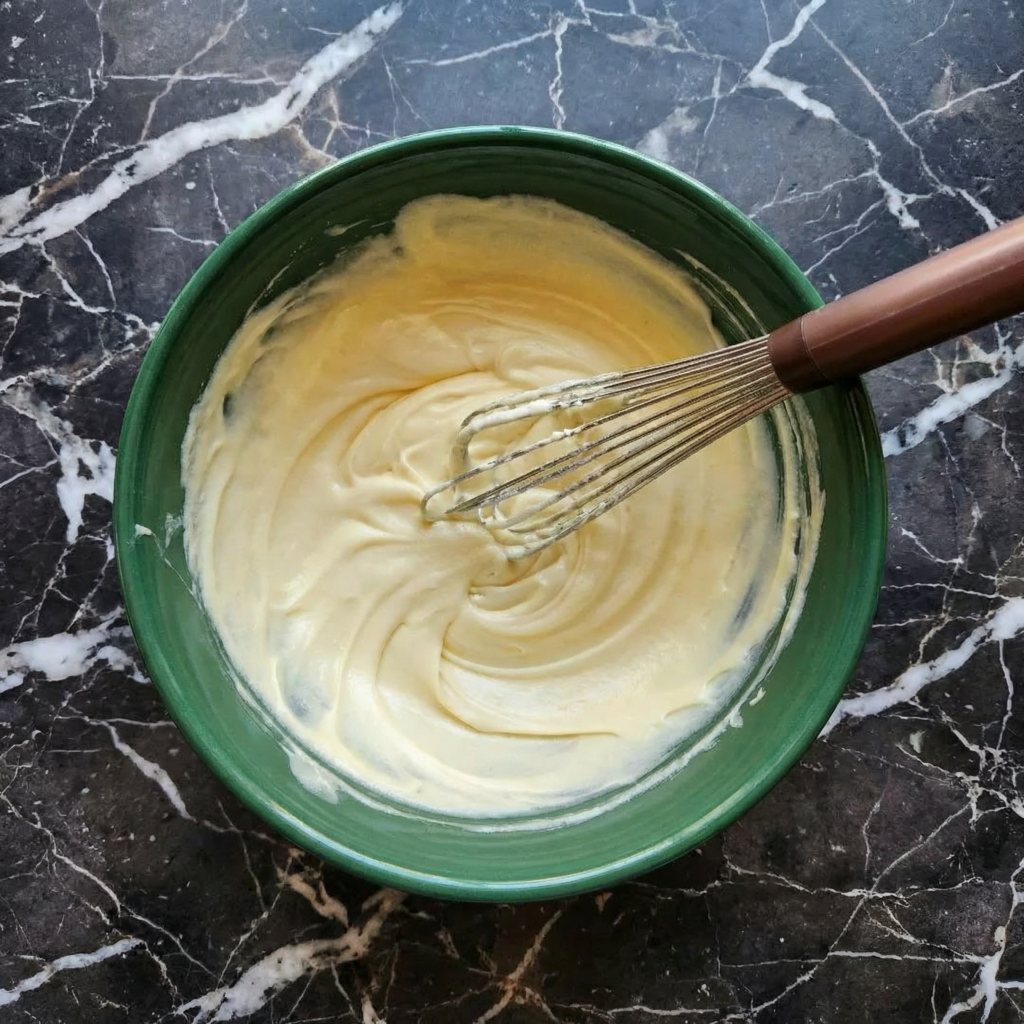
    5. Make Cream Cheese Swirl: In a separate bowl, beat the softened cream cheese and granulated sugar until smooth. Add the egg yolk and vanilla extract, beating until well combined and creamy .

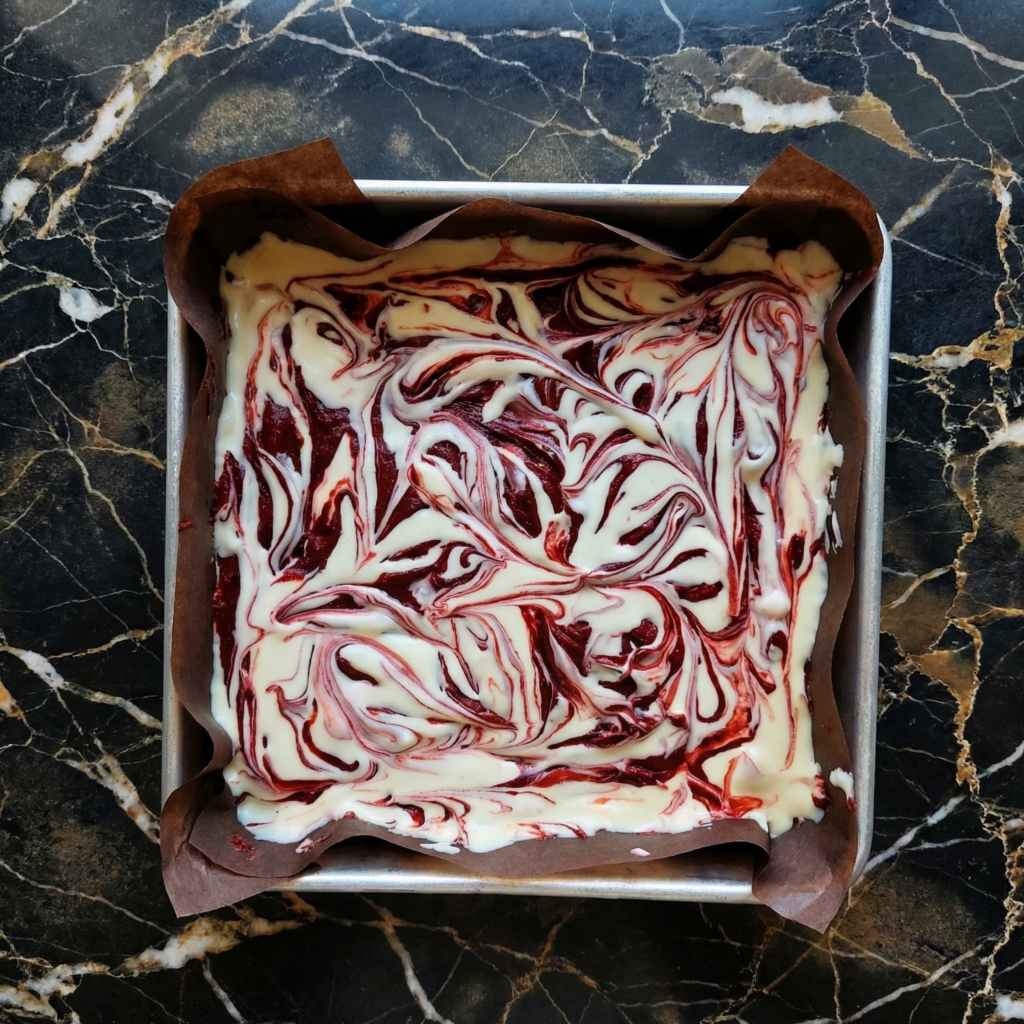
    6. Assemble: Pour the red velvet batter into the prepared pan and spread evenly. Drop spoonfuls of the cream cheese mixture over the batter. Use a knife or toothpick to gently swirl the cream cheese into the red velvet batter, creating a marbled effect. Don’t over-swirl—you want distinct pockets of cream cheese .

    7. Bake: Bake for 30-35 minutes until the edges are set and a toothpick inserted into the center comes out with a few moist crumbs (not wet batter). The center should still look slightly soft .

    8. Cool Completely: Let the brownies cool completely in the pan on a wire rack. This is essential for clean slices—at least 2 hours .

    9. Chill (Optional but Recommended): For the cleanest cuts, refrigerate the cooled brownies for 1-2 hours before slicing .

    10. Slice: Use the parchment overhang to lift the brownies out of the pan. Place on a cutting board and slice into squares with a sharp knife, wiping clean between cuts .

    11. Serve: Dust with powdered sugar just before serving if desired .

    12. Store: Store in an airtight container in the refrigerator for up to 5 days .

    Pro-Tips for Red Velvet Brownie Greatness

    • Use Gel Food Coloring: Liquid food coloring can thin the batter and won’t give you that vibrant red color. Gel is the way to go .
    • Room Temperature Ingredients: For the cream cheese swirl, make sure the cream cheese is softened to avoid lumps .
    • Don’t Over-Swirl: A few gentle swirls are enough. Over-swirling will muddy the beautiful red and white contrast .
    • Cool Completely: These brownies need time to set up. Don’t rush the cooling process .
    • Chill Before Slicing: For picture-perfect squares, refrigerate before cutting. A warm knife helps too .
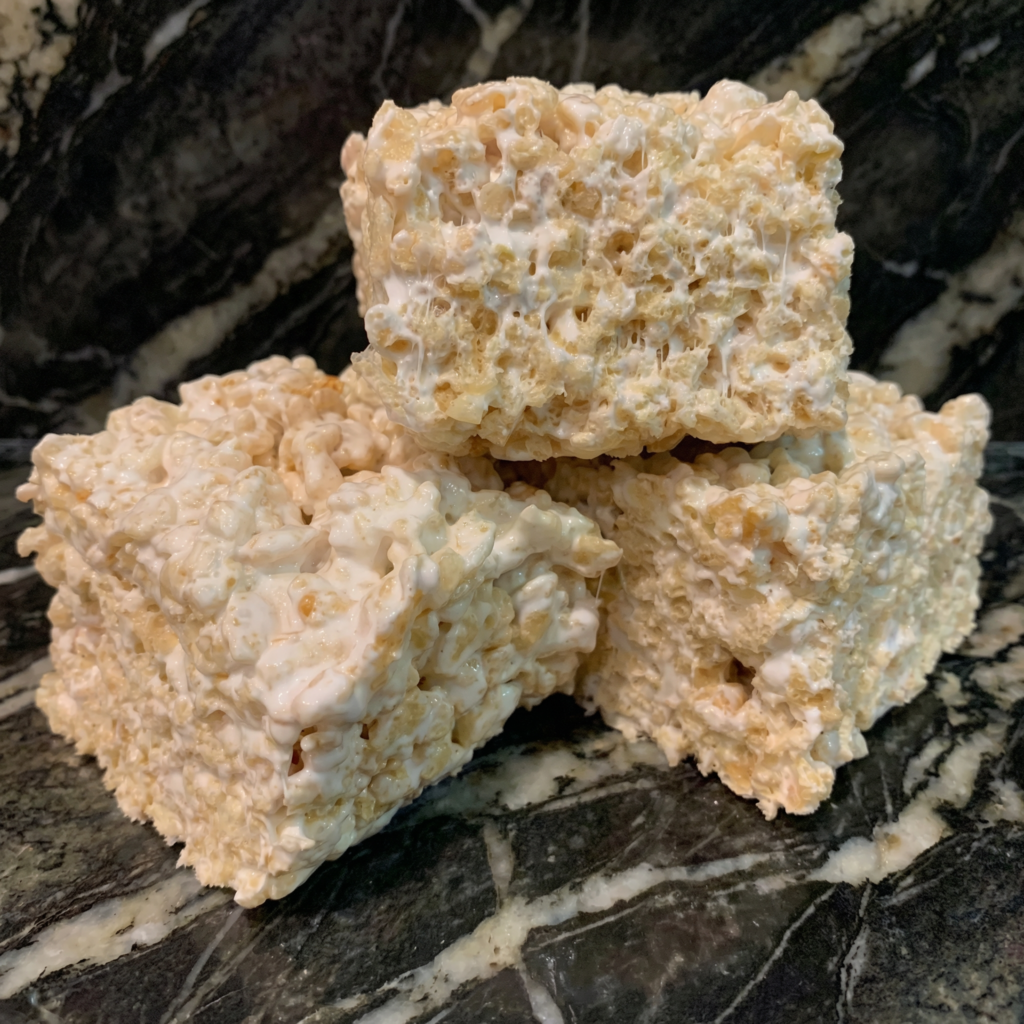
  • Rice Krispie Treats (The 3-Ingredient Magic You Never Outgrow)

    Rice Krispie Treats (The 3-Ingredient Magic You Never Outgrow)

    Some things never get old. Rice Krispie treats are one of them. They’re the taste of childhood birthdays, after-school snacks, and bake sales. They’re the treat you begged your mom to make, and now you can make them yourself—in about 10 minutes, with three ingredients, and zero stress.

    Buttery, marshmallowy, perfectly crispy, and impossibly gooey, these treats are pure nostalgia in every bite. The secret? Don’t overcomplicate them. Quality butter, fresh marshmallows, and a gentle hand are all you need. Go ahead, eat the whole pan. We won’t tell.

    The Secret to Perfectly Gooey, Never-Hard Rice Krispie Treats

    The line between perfect Rice Krispie treats and sad, hard, brick-like blocks is a thin one. The secret is low heat and gentle handling. Melt your butter and marshmallows over low heat, stirring constantly. High heat will make the marshmallows seize up and turn tough.

    The other secret? Use fresh marshmallows. Stale marshmallows won’t melt smoothly and can lead to gritty treats. And here’s the pro tip: add a pinch of salt. It balances the sweetness and makes the butter flavor sing.

    Finally, press the mixture gently into the pan—don’t smash it down or your treats will be dense and hard. Light hands, low heat, perfect treats.

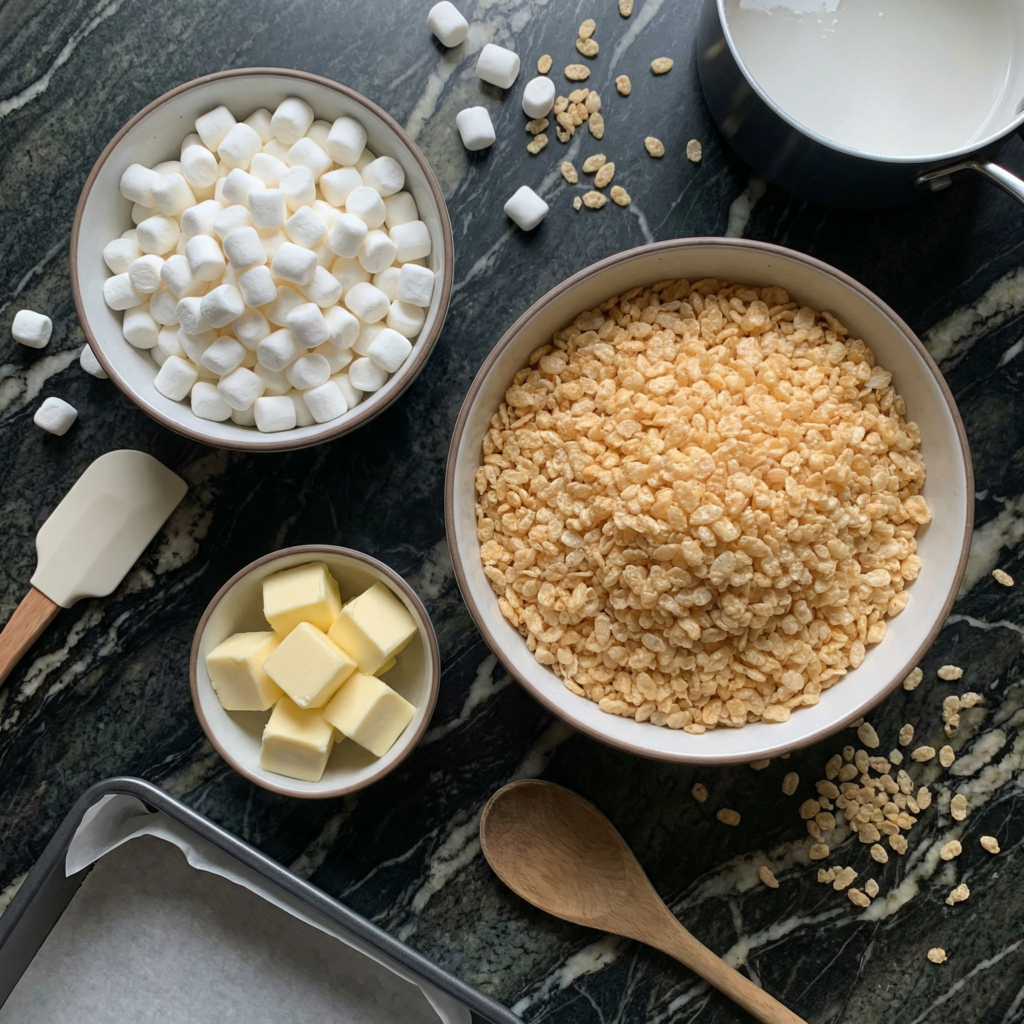
    Ingredients

    For the Rice Krispie Treats (Makes 12-16 squares):

    • 6 cups (180g) Rice Krispies cereal (or any crispy rice cereal)
    • 3 tablespoons (42g) unsalted butter
    • 1 package (10 oz, about 40 large) marshmallows (or 4 cups mini marshmallows)
    • ¼ teaspoon salt (optional, but highly recommended)
    • ½ teaspoon vanilla extract (optional, but lovely)

    Optional Add-Ins:

    • Chocolate chips, drizzled on top
    • Sprinkles, for fun
    • Peanut butter (stir in ¼ cup with the marshmallows)

    Instructions

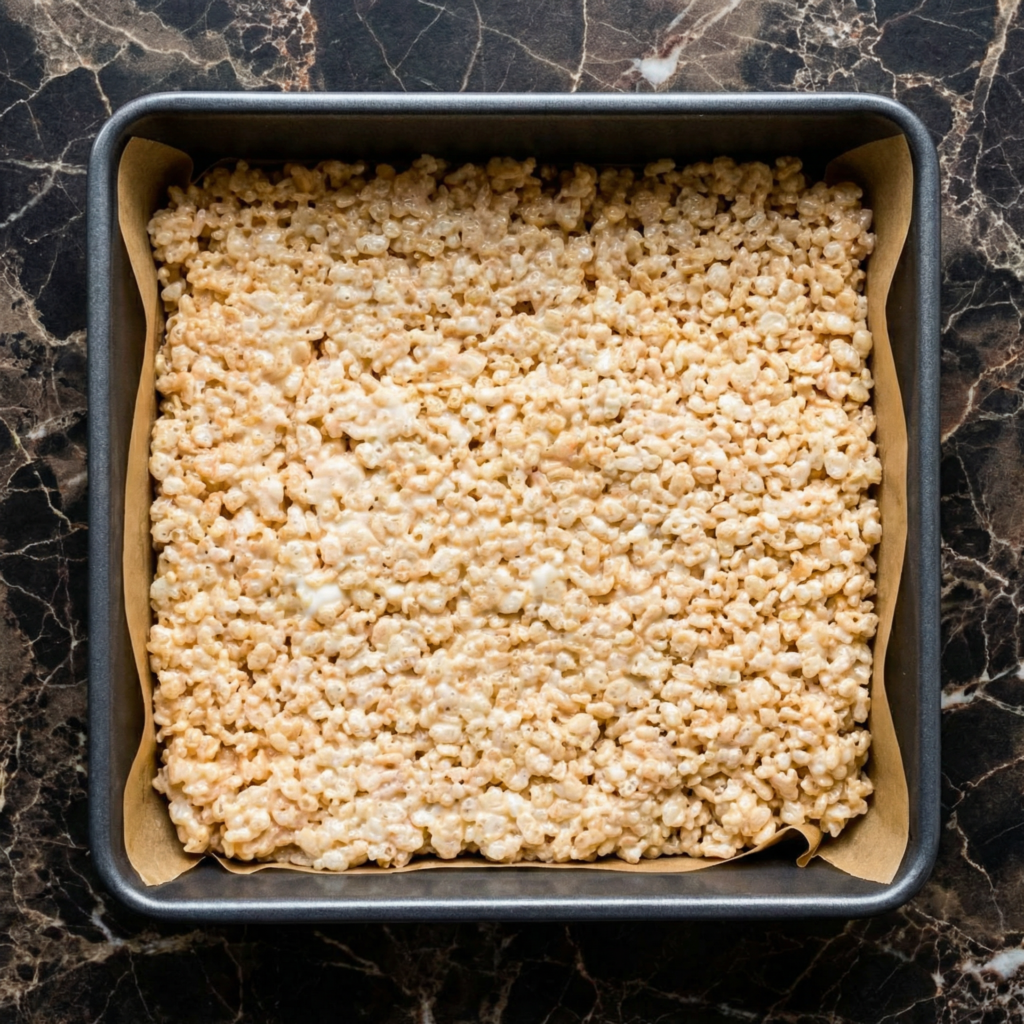
    1. Prep Your Pan: Generously butter a 9×13-inch baking pan or line it with parchment paper, leaving overhang on the long sides for easy removal. Set aside.

    2. Measure the Cereal: Measure 6 cups of Rice Krispies cereal into a large bowl. Having it ready ensures you can work quickly once the marshmallow mixture is ready.

    3. Melt the Butter: In a large pot or Dutch oven, melt the butter over low heat. Stir occasionally until completely melted.

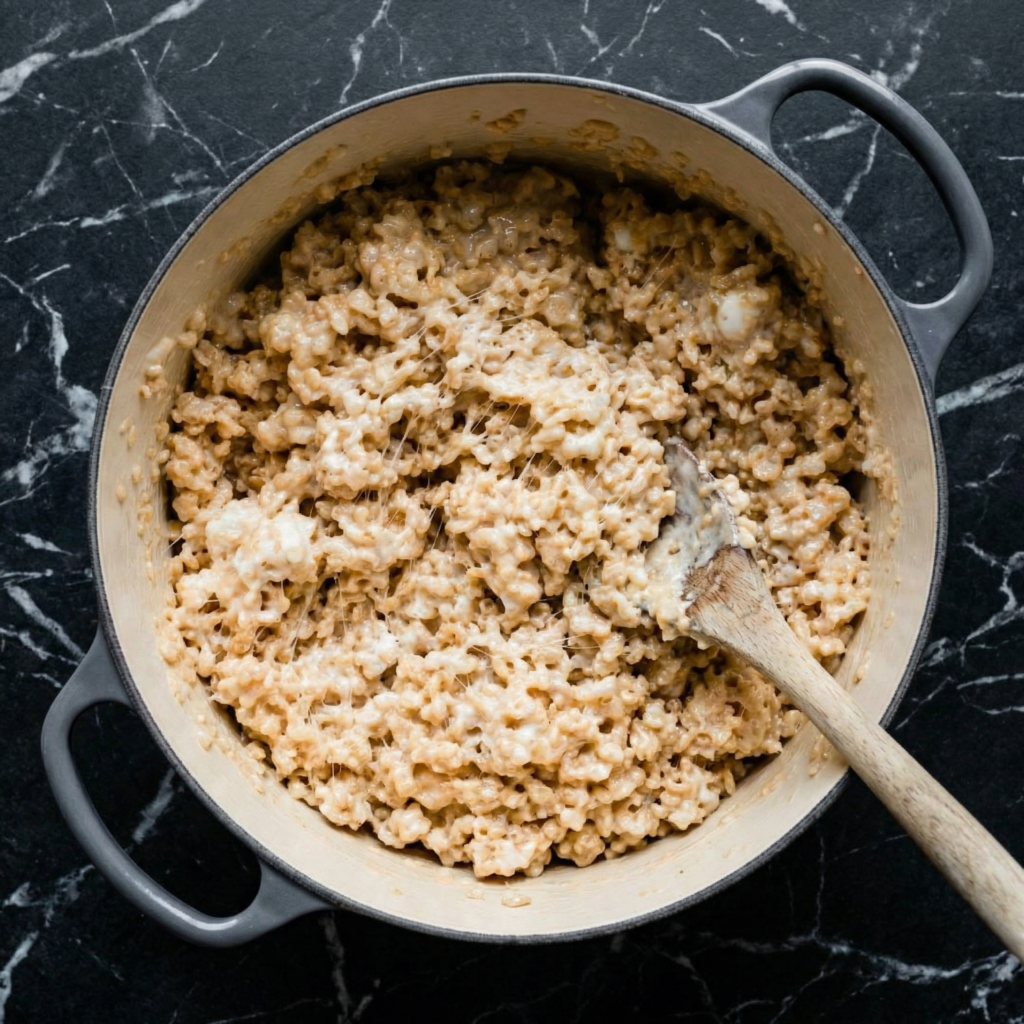
    4. Add Marshmallows: Add the marshmallows to the pot. Stir constantly with a spatula over low heat until the marshmallows are completely melted and smooth. Remove from heat immediately. Do not overheat—this is crucial for soft treats.

    5. Add Salt and Vanilla: Stir in the salt and vanilla extract (if using) until combined.

    6. Combine with Cereal: Pour the Rice Krispies cereal into the pot with the marshmallow mixture. Fold gently with a spatula until all the cereal is evenly coated. Work quickly but gently to avoid crushing the cereal.

    7. Transfer to Pan: Scrape the mixture into the prepared pan. Using a buttered spatula or buttered hands, gently press the mixture into an even layer. Don’t smash it down hard—just gently coax it into place.

    8. Add Toppings (Optional): If adding chocolate chips or sprinkles, sprinkle them on top now and press in gently.

    9. Cool: Let the treats cool completely at room temperature, about 30-60 minutes. Do not refrigerate—they’ll get hard.

    10. Slice and Serve: Use the parchment overhang to lift the treats out of the pan. Place on a cutting board and slice into squares with a sharp knife. A buttered knife helps prevent sticking.

    11. Store: Store in an airtight container at room temperature for up to 3 days. If they last that long.

    Pro-Tips for Rice Krispie Treat Greatness

    • Low Heat is Non-Negotiable: High heat makes marshmallows tough and grainy. Keep it low, keep it gentle.
    • Use Fresh Marshmallows: Stale marshmallows won’t melt smoothly. For extra gooey treats, use mini marshmallows—they melt faster and more evenly.
    • Don’t Overwork the Cereal: Fold just until combined. Crushed cereal leads to dense, sad treats.
    • Press Gently: Light hands create light, airy treats. Smashing them down makes them hard.
    • Customize Endlessly: Add peanut butter, Nutella, chocolate chips, sprinkles, or even Fruity Pebbles for a colorful twist.