Tag: game day food

  • Bacon Wrapped Sausages: Two Meats, One Stick, Zero Remorse

    Bacon Wrapped Sausages: Two Meats, One Stick, Zero Remorse

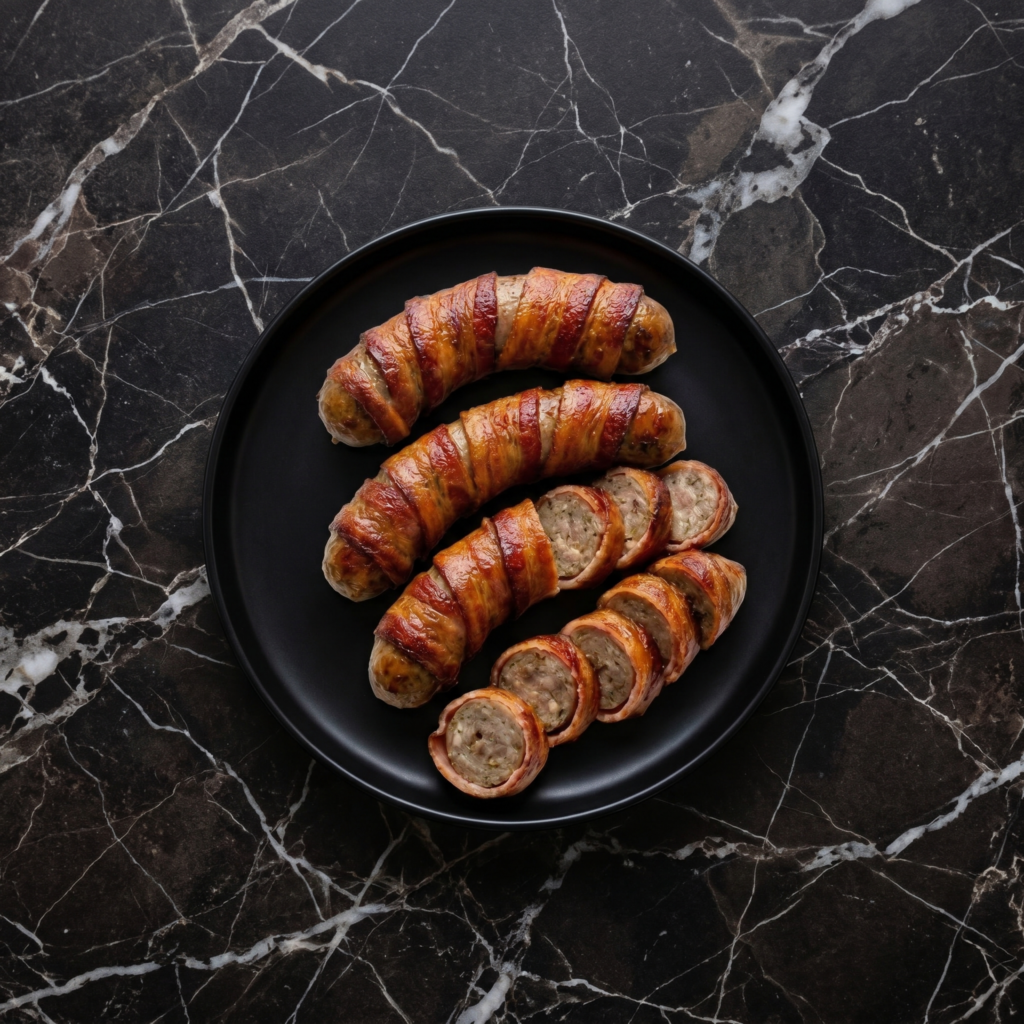
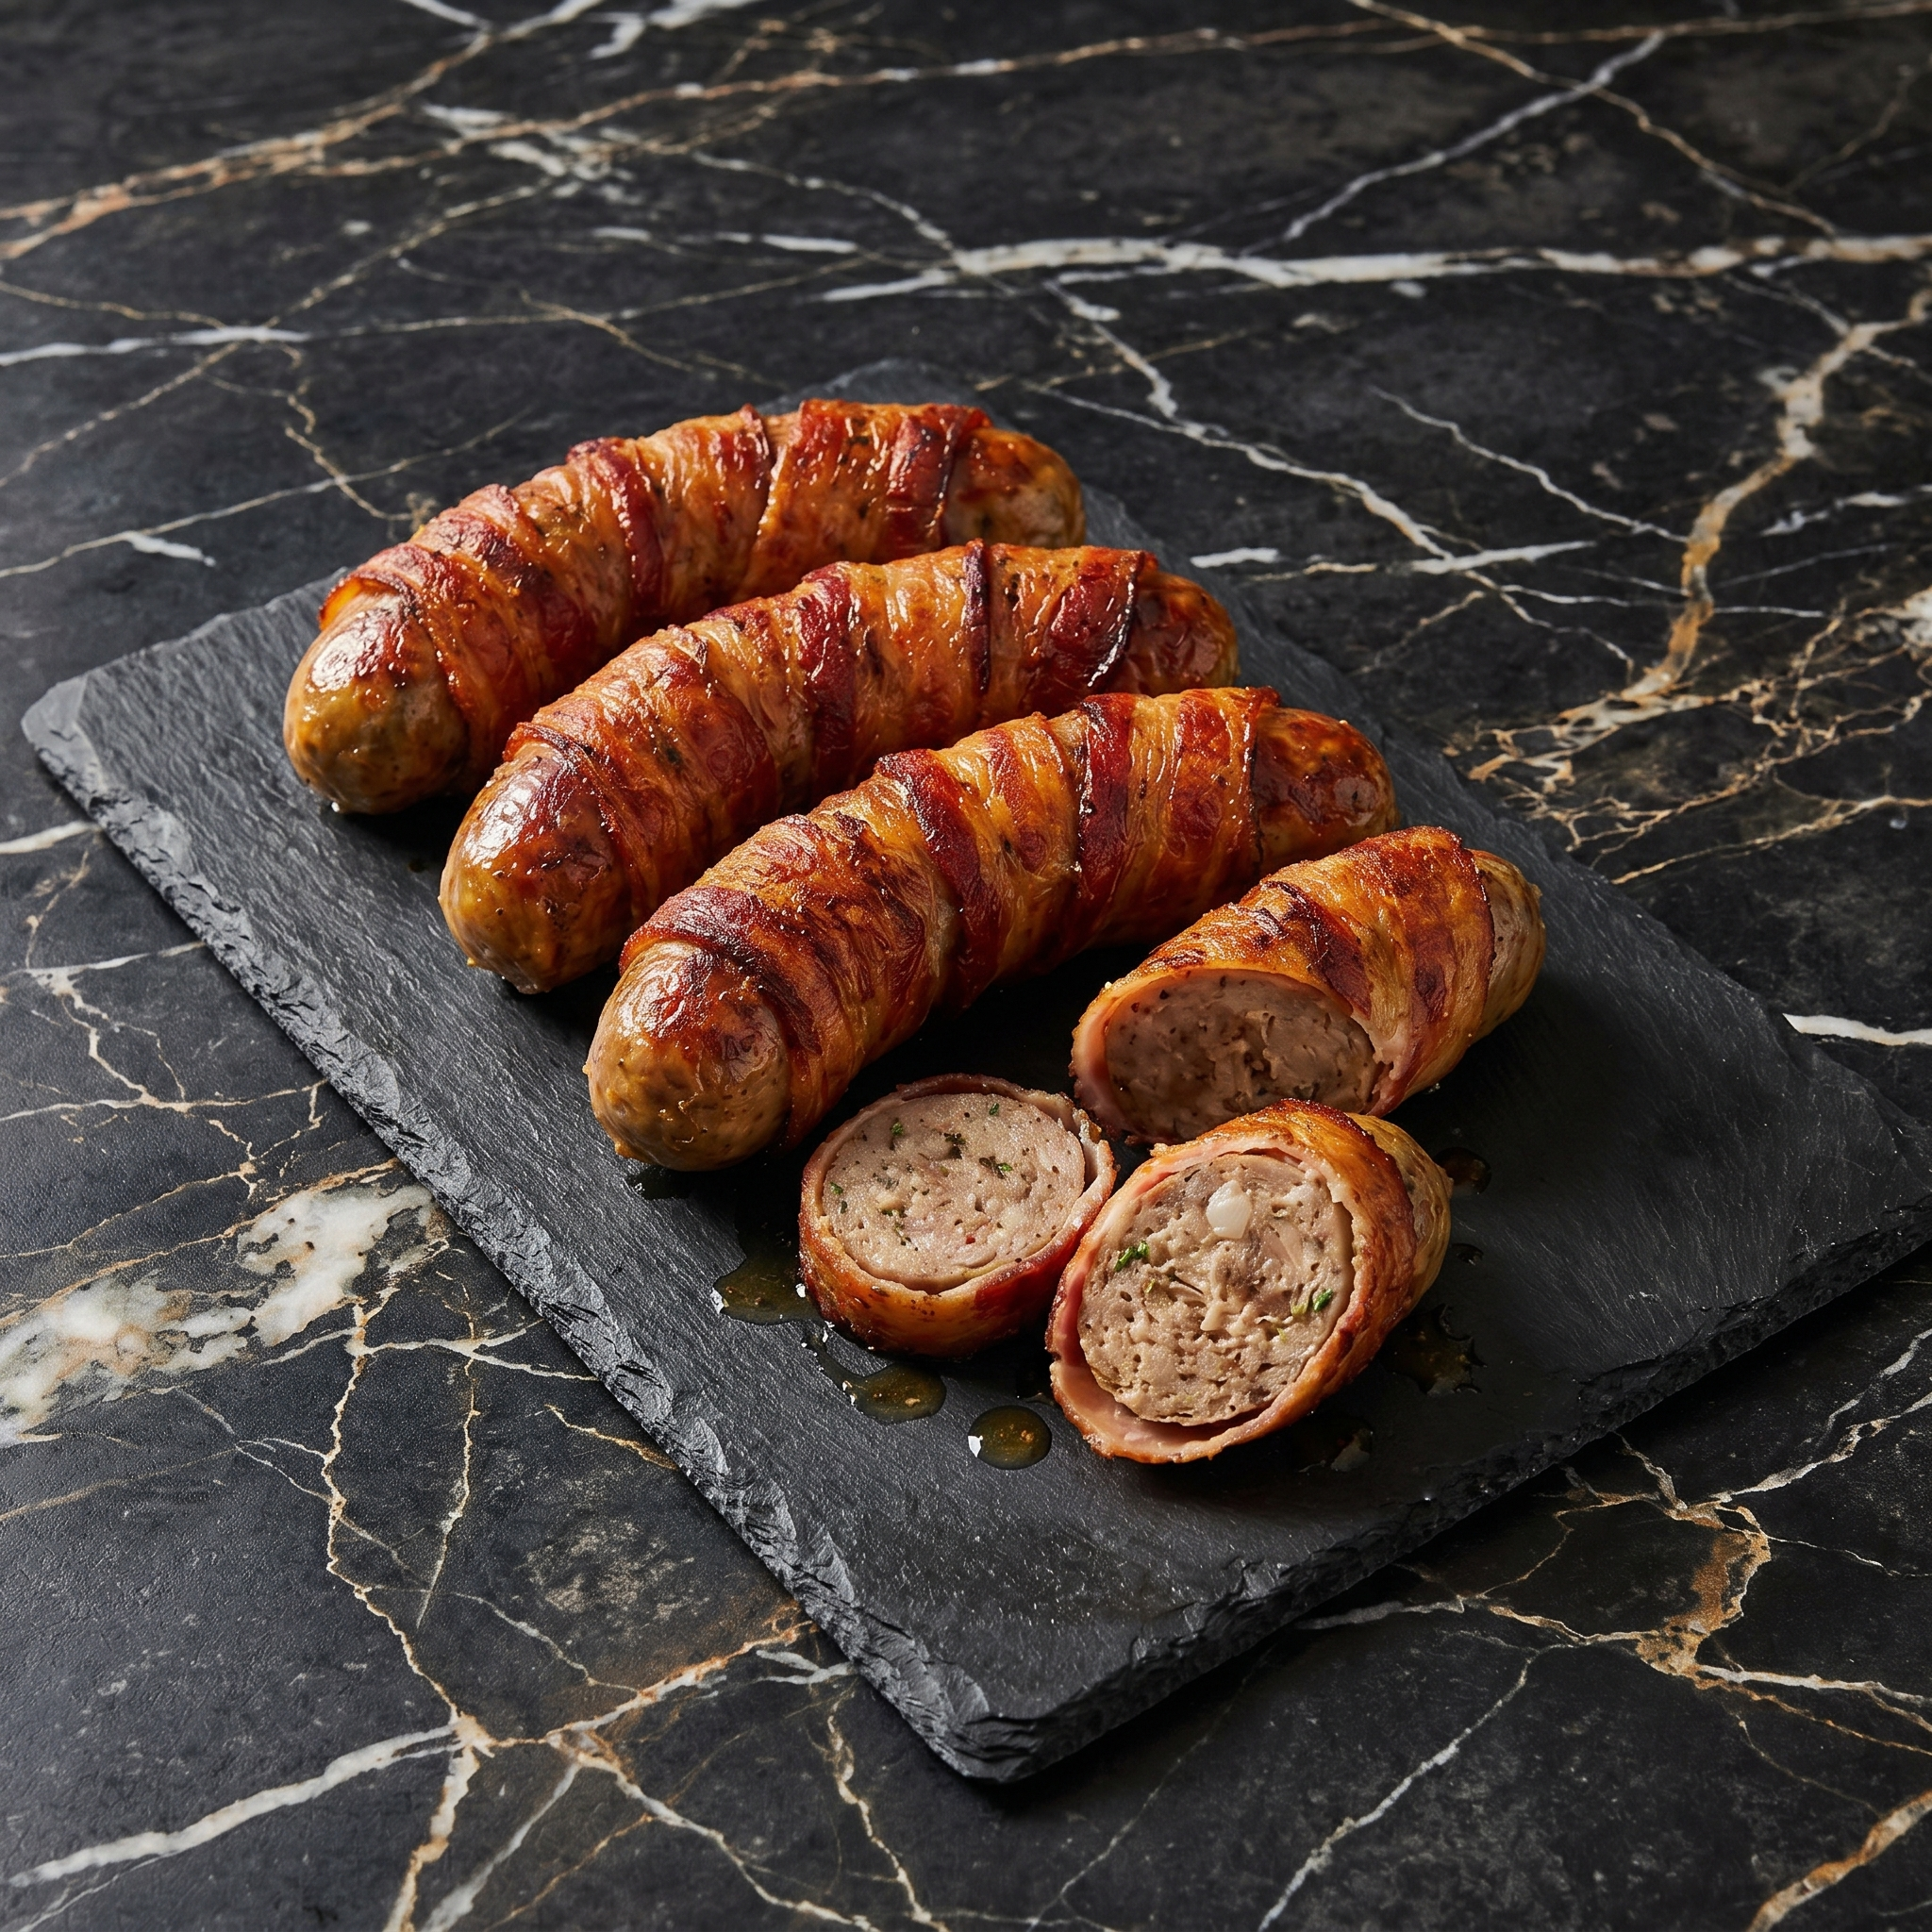
    Bacon makes everything better. Sausages are already great. Together? Meat perfection.

    Wrap sausage in bacon. Brush with BBQ glaze. Bake until crispy. Secure with a toothpick. 25 minutes. These disappear faster than you can make them. Make two batches.
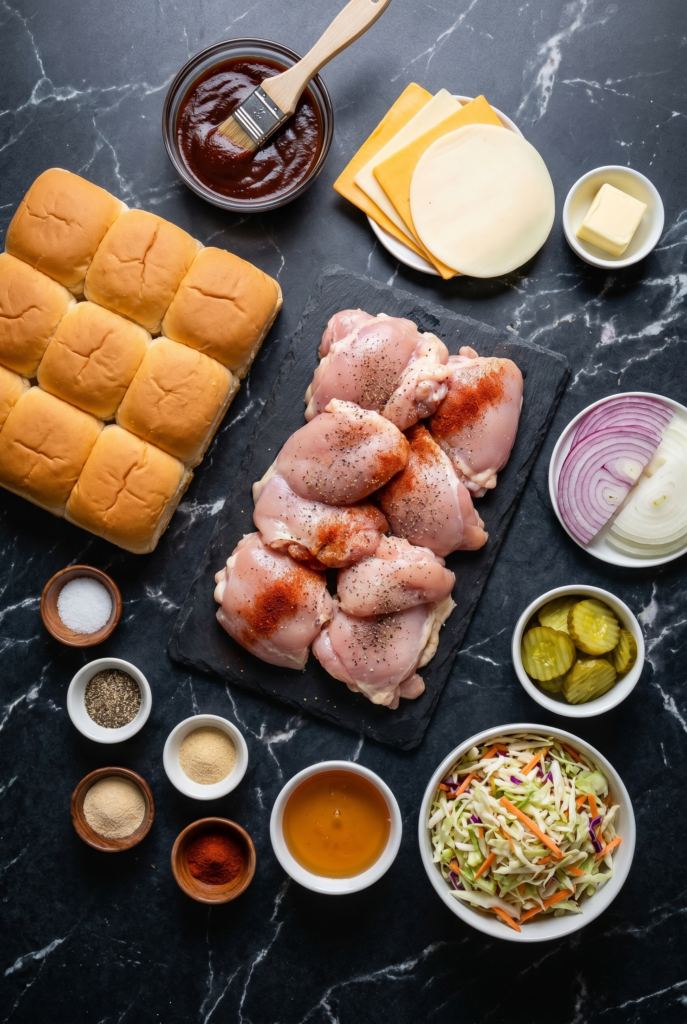
    Ingredients

    Makes 16-20 pieces.

    • 1 package (16 oz) little smoked sausages or cocktail wieners (about 16-20)
    • 1 package (16 oz) thin-cut bacon, cut into thirds
    • ½ cup BBQ sauce
    • 2 tbsp brown sugar
    • 1 tsp garlic powder
    • ½ tsp black pepper
    • Toothpicks (soaked in water 10 minutes to prevent burning)

    Optional glaze add-ins: Honey, sriracha, maple syrup

    Step-by-Step Instructions

    Step 1: Preheat and Prep

    1. Preheat oven to 375°F (190°C). Line a baking sheet with foil and place a wire rack on top.
    2. Cut bacon strips into thirds.

    Step 2: Wrap the Sausages

    1. Wrap one piece of bacon around each sausage. Secure with a toothpick.
    2. Place on wire rack seam-side down.

    Step 3: Make the Glaze

    1. Mix BBQ sauce, brown sugar, garlic powder, and black pepper in a small bowl.

    Step 4: Glaze and Bake

    1. Brush glaze over each bacon-wrapped sausage.
    2. Bake 15-20 minutes until bacon is crispy and caramelized.
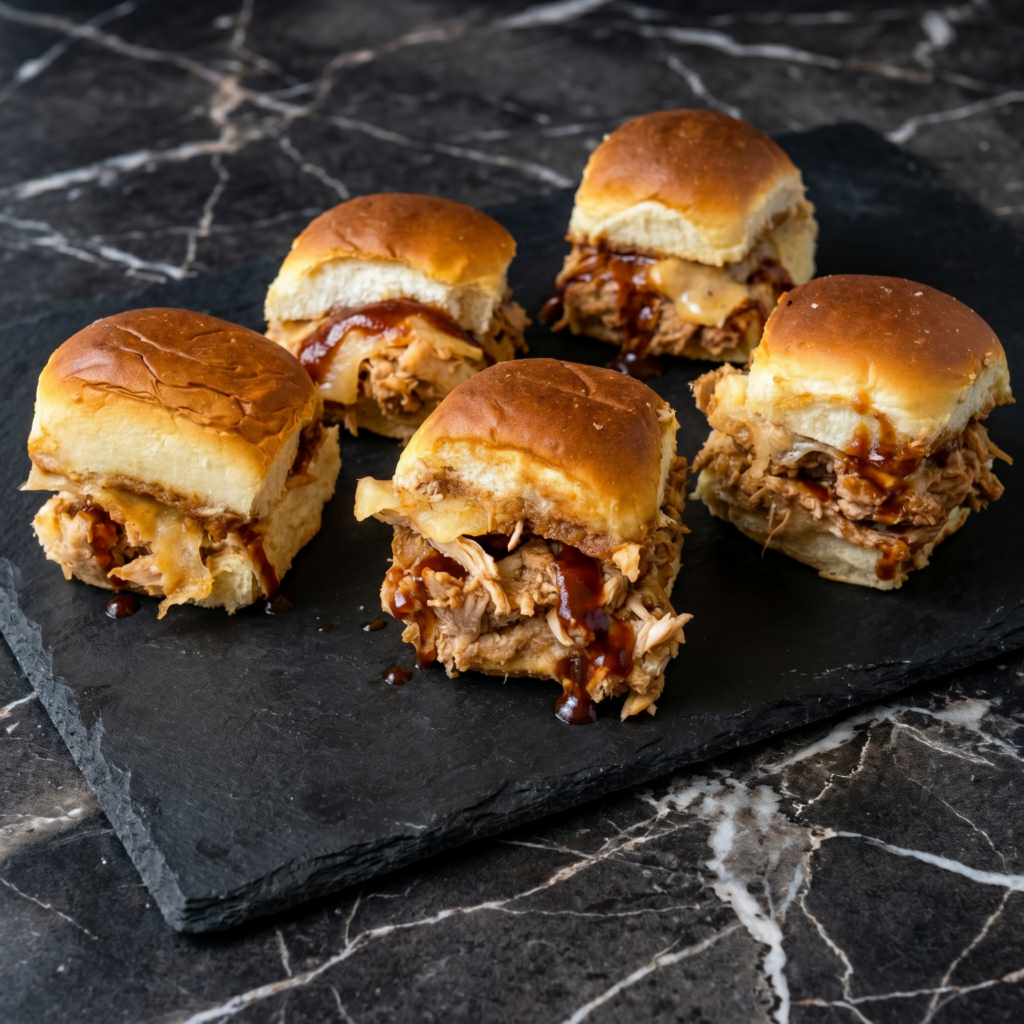
    Step 5: Serve

    1. Let cool 5 minutes. Transfer to a platter. Serve warm with extra BBQ sauce for dipping.

    Summary

    Prep Time: 10 minutes | Cook Time: 15-20 minutes | Total Time: 25-30 minutes

    Yield: 16-20 pieces

    Difficulty: Easy

    Storage Notes

    Fridge:

    Store leftovers for 3 days. Reheat in oven or air fryer to restore crispiness.

    Reheat:

    Air fryer at 350°F for 5 minutes. Oven at 375°F for 8-10 minutes.

    Freezer Friendly:

    Freeze baked or unbaked for 2 months. Bake from frozen at 375°F for 20-25 minutes.

    Pro Tip:

    Use thin-cut bacon. Thick-cut won’t crisp up properly in the oven.

  • BBQ Chicken Sliders: Little Buns, Big Flavor

    BBQ Chicken Sliders: Little Buns, Big Flavor

    Sliders are the perfect food. Change my mind.

    BBQ chicken. Buttery Hawaiian rolls. Crunchy coleslaw. They’re sweet, smoky, creamy, and crunchy. Baked in one dish. Pull apart. Disappear. Make two batches.

    Ingredients

    Makes 12 sliders.

    • 1 package (12 count) Hawaiian rolls
    • 3 cups cooked chicken, shredded (rotisserie = hero)
    • ¾ cup BBQ sauce (plus extra for drizzling)
    • 1 cup shredded cheddar or Monterey Jack cheese
    • 1 cup creamy coleslaw (store-bought or homemade)
    • 3 tbsp butter, melted
    • 1 tsp garlic powder
    • ½ tsp smoked paprika (optional)

    Step-by-Step Instructions

    Step 1: Preheat and Sauce

    1. Preheat oven to 375°F (190°C).
    2. Toss shredded chicken with BBQ sauce until coated.

    Step 2: Prep the Rolls

    1. Without separating individual rolls, slice the entire slab of Hawaiian rolls horizontally (top and bottom).
    2. Place bottom half in a greased 9×13 baking dish.

    Step 3: Assemble

    1. Layer BBQ chicken evenly on bottom rolls.
    2. Sprinkle with cheese.
    3. Spread coleslaw over the cheese.
    4. Place top slab of rolls back on.

    Step 4: Butter and Bake

    1. Mix melted butter, garlic powder, and smoked paprika. Brush over tops.
    2. Bake 10-12 minutes until golden and cheese is melted.

    Step 5: Pull Apart and Serve

    1. Drizzle extra BBQ sauce on top. Separate sliders. Serve hot.

    Summary

    Prep Time: 10 minutes | Cook Time: 10-12 minutes | Total Time: 20-22 minutes

    Yield: 12 sliders

    Difficulty: Easy

    Storage Notes

    Fridge:

    Store leftovers for 3 days. The coleslaw softens the buns, but still tasty.

    Reheat:

    Oven at 350°F for 8-10 minutes. Microwave for 30 seconds but buns get soft.

    Pro Tip:

    Assemble ahead without coleslaw. Refrigerate. Add coleslaw after baking for crunch.

  • Philly Cheesesteak Sliders: All the Flavor, None of the Drama

    Philly Cheesesteak Sliders: All the Flavor, None of the Drama

    Cheesesteaks are messy. Sliders are neat. These are the best of both worlds.

    Thinly sliced steak, caramelized onions and peppers, gooey provolone, all tucked into sweet Hawaiian rolls. Brush with garlic butter. Bake. Pull apart. Disappear.

    Ingredients

    Makes 12 sliders.

    • 1 package (12 count) Hawaiian rolls
    • 1 lb thinly sliced ribeye or steak-umms
    • 1 green bell pepper, thinly sliced
    • 1 onion, thinly sliced
    • 2 tbsp olive oil
    • ½ tsp salt
    • ¼ tsp black pepper
    • 6 slices provolone cheese (torn in half)
    • 3 tbsp butter, melted
    • 1 tsp garlic powder

    Step-by-Step Instructions

    Step 1: Preheat and Cook Fillings

    1. Preheat oven to 375°F (190°C).
    2. Heat oil in a skillet over medium-high heat. Add onion and pepper. Cook 5 minutes until soft. Remove.
    3. Add steak to same skillet. Cook 3-4 minutes until browned. Season with salt and pepper.
    4. Mix steak with peppers and onions.

    Step 2: Prep the Rolls

    1. Slice entire slab of Hawaiian rolls horizontally (keep rolls connected).
    2. Place bottom half in a greased 9×13 baking dish.

    Step 3: Assemble

    1. Layer steak mixture evenly on bottom rolls.
    2. Top with provolone slices.
    3. Place top slab of rolls back on.

    Step 4: Butter and Bake

    1. Mix melted butter and garlic powder. Brush over tops.
    2. Bake 10-12 minutes until golden and cheese is melted.

    Step 5: Pull Apart and Serve

    1. Separate sliders. Serve hot. Watch them vanish.

    Summary

    Prep Time: 10 minutes | Cook Time: 15 minutes | Total Time: 25 minutes

    Yield: 12 sliders

    Difficulty: Easy

    Storage Notes

    Fridge:

    Store leftovers for 3 days.

    Reheat:

    Oven at 350°F for 8-10 minutes. Microwave for 30 seconds but rolls get soft.

    Pro Tip:

    Assemble ahead. Refrigerate unbaked up to 24 hours. Bake when guests arrive. Hero status unlocked.

  • Nashville Mozzarella Sticks (Hot, Crispy, Insanely Addictive)

    Nashville Mozzarella Sticks (Hot, Crispy, Insanely Addictive)

    Mozzarella sticks are already perfect. So why mess with them?

    Because Nashville hot oil exists. These start with the ultimate cheese pull, then get drenched in spicy, buttery, cayenne-laced magic. Sweet heat. Salty cheese. Cold ranch dip. It’s a beautiful mess.

    Ingredients

    Makes 12 sticks.

    For the Sticks:

    • 12 mozzarella string cheese sticks (full-fat, not low-moisture)
    • 1 cup all-purpose flour
    • 3 large eggs, beaten
    • 2 cups panko breadcrumbs
    • 1 teaspoon garlic powder
    • 1 teaspoon paprika
    • 1 teaspoon salt
    • Oil for frying (vegetable or canola)

    For the Nashville Hot Oil:

    • ½ cup hot frying oil (reserved from frying)
    • 3 tablespoons cayenne pepper
    • 1 tablespoon brown sugar
    • 1 teaspoon paprika
    • ½ teaspoon garlic powder

    For Serving:

    • Ranch dressing or blue cheese dip
    • Pickles (optional)

    Step-by-Step Instructions

    Step 1: Freeze the Cheese

    1. Freeze cheese sticks for at least 2 hours (or overnight). Frozen = no mid-fry blowouts.

    Step 2: Set Up Dredge

    1. Bowl 1: flour, garlic powder, paprika, salt.
    2. Bowl 2: beaten eggs.
    3. Bowl 3: panko.

    Step 3: Double Coat

    1. Dip frozen cheese in flour, then egg, then panko. Repeat (egg → panko) for a thick, craggy crust.
    2. Freeze coated sticks for 30 minutes (keeps cheese from exploding).

    Step 4: Fry

    1. Heat 2 inches of oil to 375°F (190°C).
    2. Fry 3-4 sticks at a time for 60-90 seconds until golden. Don’t overcrowd.
    3. Drain on a wire rack. Reserve ½ cup of the hot oil.

    Step 5: Make Nashville Oil

    1. In a heatproof bowl, whisk cayenne, brown sugar, paprika, and garlic powder.
    2. Slowly whisk in the reserved hot oil. Brush or drizzle over hot cheese sticks.

    Step 6: Serve Immediately

    1. Serve with ranch and pickles. Warning: cheese will stretch across the room.

    Summary

    Prep Time: 15 minutes + 2½ hours freezing | Cook Time: 10 minutes

    Total Time: ~3 hours (mostly inactive)

    Yield: 12 sticks

    Difficulty: Medium (hot oil + frozen cheese = focus required)

    Storage Notes

    Don’t store cooked. Mozzarella sticks are a live-in-the-moment food. Reheated = sad, deflated cheese logs.

    Make ahead (uncooked): Double-coated, frozen sticks keep in a zip-top bag for 3 months. Fry straight from frozen – add 30 seconds to cook time.

    Leftover Nashville oil: Save for chicken, fries, or eggs. Fridge 2 weeks.

  • The Loaded Baked Potato That Steals the Show

    The Loaded Baked Potato That Steals the Show

    Let’s be honest: the toppings are why we’re here. A perfect loaded baked potato is a buttery, fluffy cloud cradled in a salty, crispy shell, then absolutely buried in cheese, bacon, and chives. It’s cheap, it’s easy, and it makes everyone happy.

    This recipe skips the fuss. You’ll get a potato with crispy skin, a tender inside, and a topping-to-potato ratio that respects your time and taste buds.

    Ingredients

    Serves 4.

    • 4 medium russet potatoes (the best for baking)
    • 2 tablespoons olive oil
    • 1 teaspoon kosher salt
    • 1 cup shredded cheddar cheese
    • 6 slices cooked bacon, crumbled
    • ½ cup sour cream
    • ¼ cup chopped fresh chives or green onions
    • Optional: butter, black pepper, hot sauce

    Step-by-Step Instructions

    Step 1: Prep the Potatoes

    1. Preheat oven to 400°F (200°C).
    2. Scrub potatoes dry, then prick each one several times with a fork.
    3. Rub with olive oil and sprinkle with salt all over.

    Step 2: Bake Until Tender

    1. Place potatoes directly on the middle oven rack.
    2. Bake for 50–60 minutes, until a knife slides in easily with no resistance.

    Step 3: Fluff the Inside

    1. Cut a slit down the middle of each potato.
    2. Gently squeeze the ends toward the center to open it up.
    3. Use a fork to fluff the inside while adding a pat of butter if you’re feeling fancy.

    Step 4: Load It Up

    1. Pile on the cheddar cheese (it will melt instantly).
    2. Sprinkle with crumbled bacon and chives.
    3. Top with a generous dollop of sour cream.
    4. Finish with black pepper or hot sauce.

    Step 5: Serve Immediately

    1. These potatoes do not wait. Serve hot, with extra toppings on the side for the over-achievers at your table.

    Summary

    Prep Time: 10 minutes | Cook Time: 1 hour | Total Time: 1 hour 10 minutes

    Yield: 4 servings

    Difficulty: Easy

    Storage Notes

    Leftover Potatoes:

    Store baked (but unloaded) potatoes in the fridge for up to 4 days. Reheat in a 350°F oven or air fryer to crisp the skin again.

    Do Not Store Fully Loaded:

    Soggy bacon and sad sour cream are not the vibe. Keep toppings separate and assemble fresh.

    Meal Prep Trick:

    Bake a batch of potatoes on Sunday. Refrigerate. During the week, just reheat and load in 5 minutes.