Tag: Japanese snack

  • Dorayaki (The Fluffy Pancake Sandwich That Stole Doraemon’s Heart)

    Dorayaki (The Fluffy Pancake Sandwich That Stole Doraemon’s Heart)

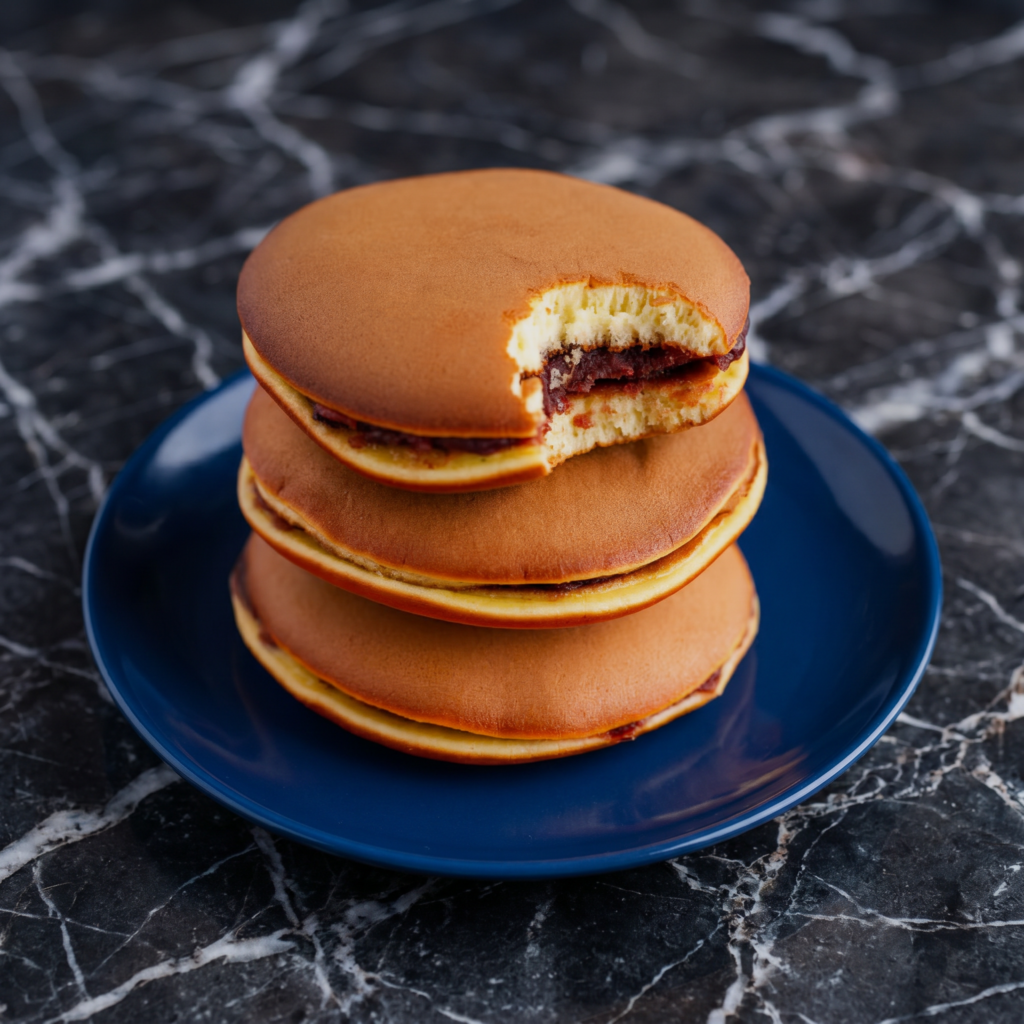
    Dorayaki is what happens when pancakes and sandwiches fall in love. Two fluffy, honey-kissed pancakes hugging a thick slab of sweet red bean paste. Soft, simple, and completely addictive. Make a batch. Eat them all. No judgment.

    Ingredients

    Makes 5 dorayaki (10 pancakes).

    For the Pancakes:

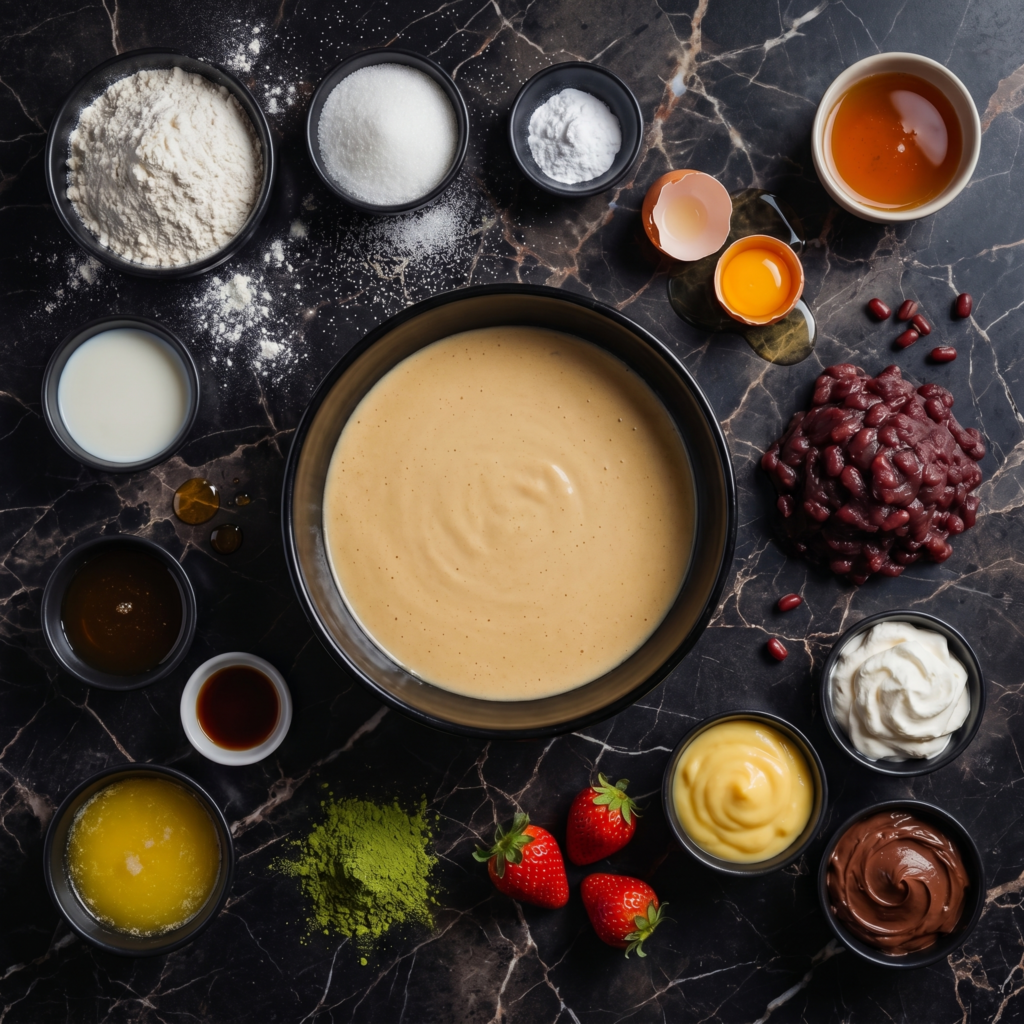
    • 1 cup (125g) all-purpose flour
    • ½ tsp baking powder
    • ¼ tsp baking soda
    • 2 large eggs
    • ½ cup (100g) sugar
    • 2 tbsp honey
    • 2 tbsp water
    • 1 tsp mirin or rice vinegar (optional, for shine)
    • Vegetable oil for cooking

    For the Filling:

    • 1 cup (250g) anko (sweet red bean paste) — store-bought or homemade

    Step-by-Step Instructions

    Step 1: Make Batter

    1. Whisk flour, baking powder, and baking soda in a bowl.
    2. In another bowl, whisk eggs, sugar, and honey until pale and thick (about 2 minutes).
    3. Add water and mirin to egg mixture. Whisk. Pour dry into wet. Stir until just combined. Rest 15 minutes.

    Step 2: Cook Pancakes

    1. Heat a nonstick pan over low-medium heat. Lightly oil. Wipe off excess with a paper towel.
    2. Pour 2 tablespoons of batter into a 3-inch circle. Cook until bubbles appear on top (about 1–2 minutes).
    3. Flip. Cook 30 seconds more until lightly browned. Remove to a rack. Repeat. You need 10 pancakes (5 sandwiches).

    Step 3: Cool

    1. Let pancakes cool completely. Hot pancakes + anko = messy melty sadness.
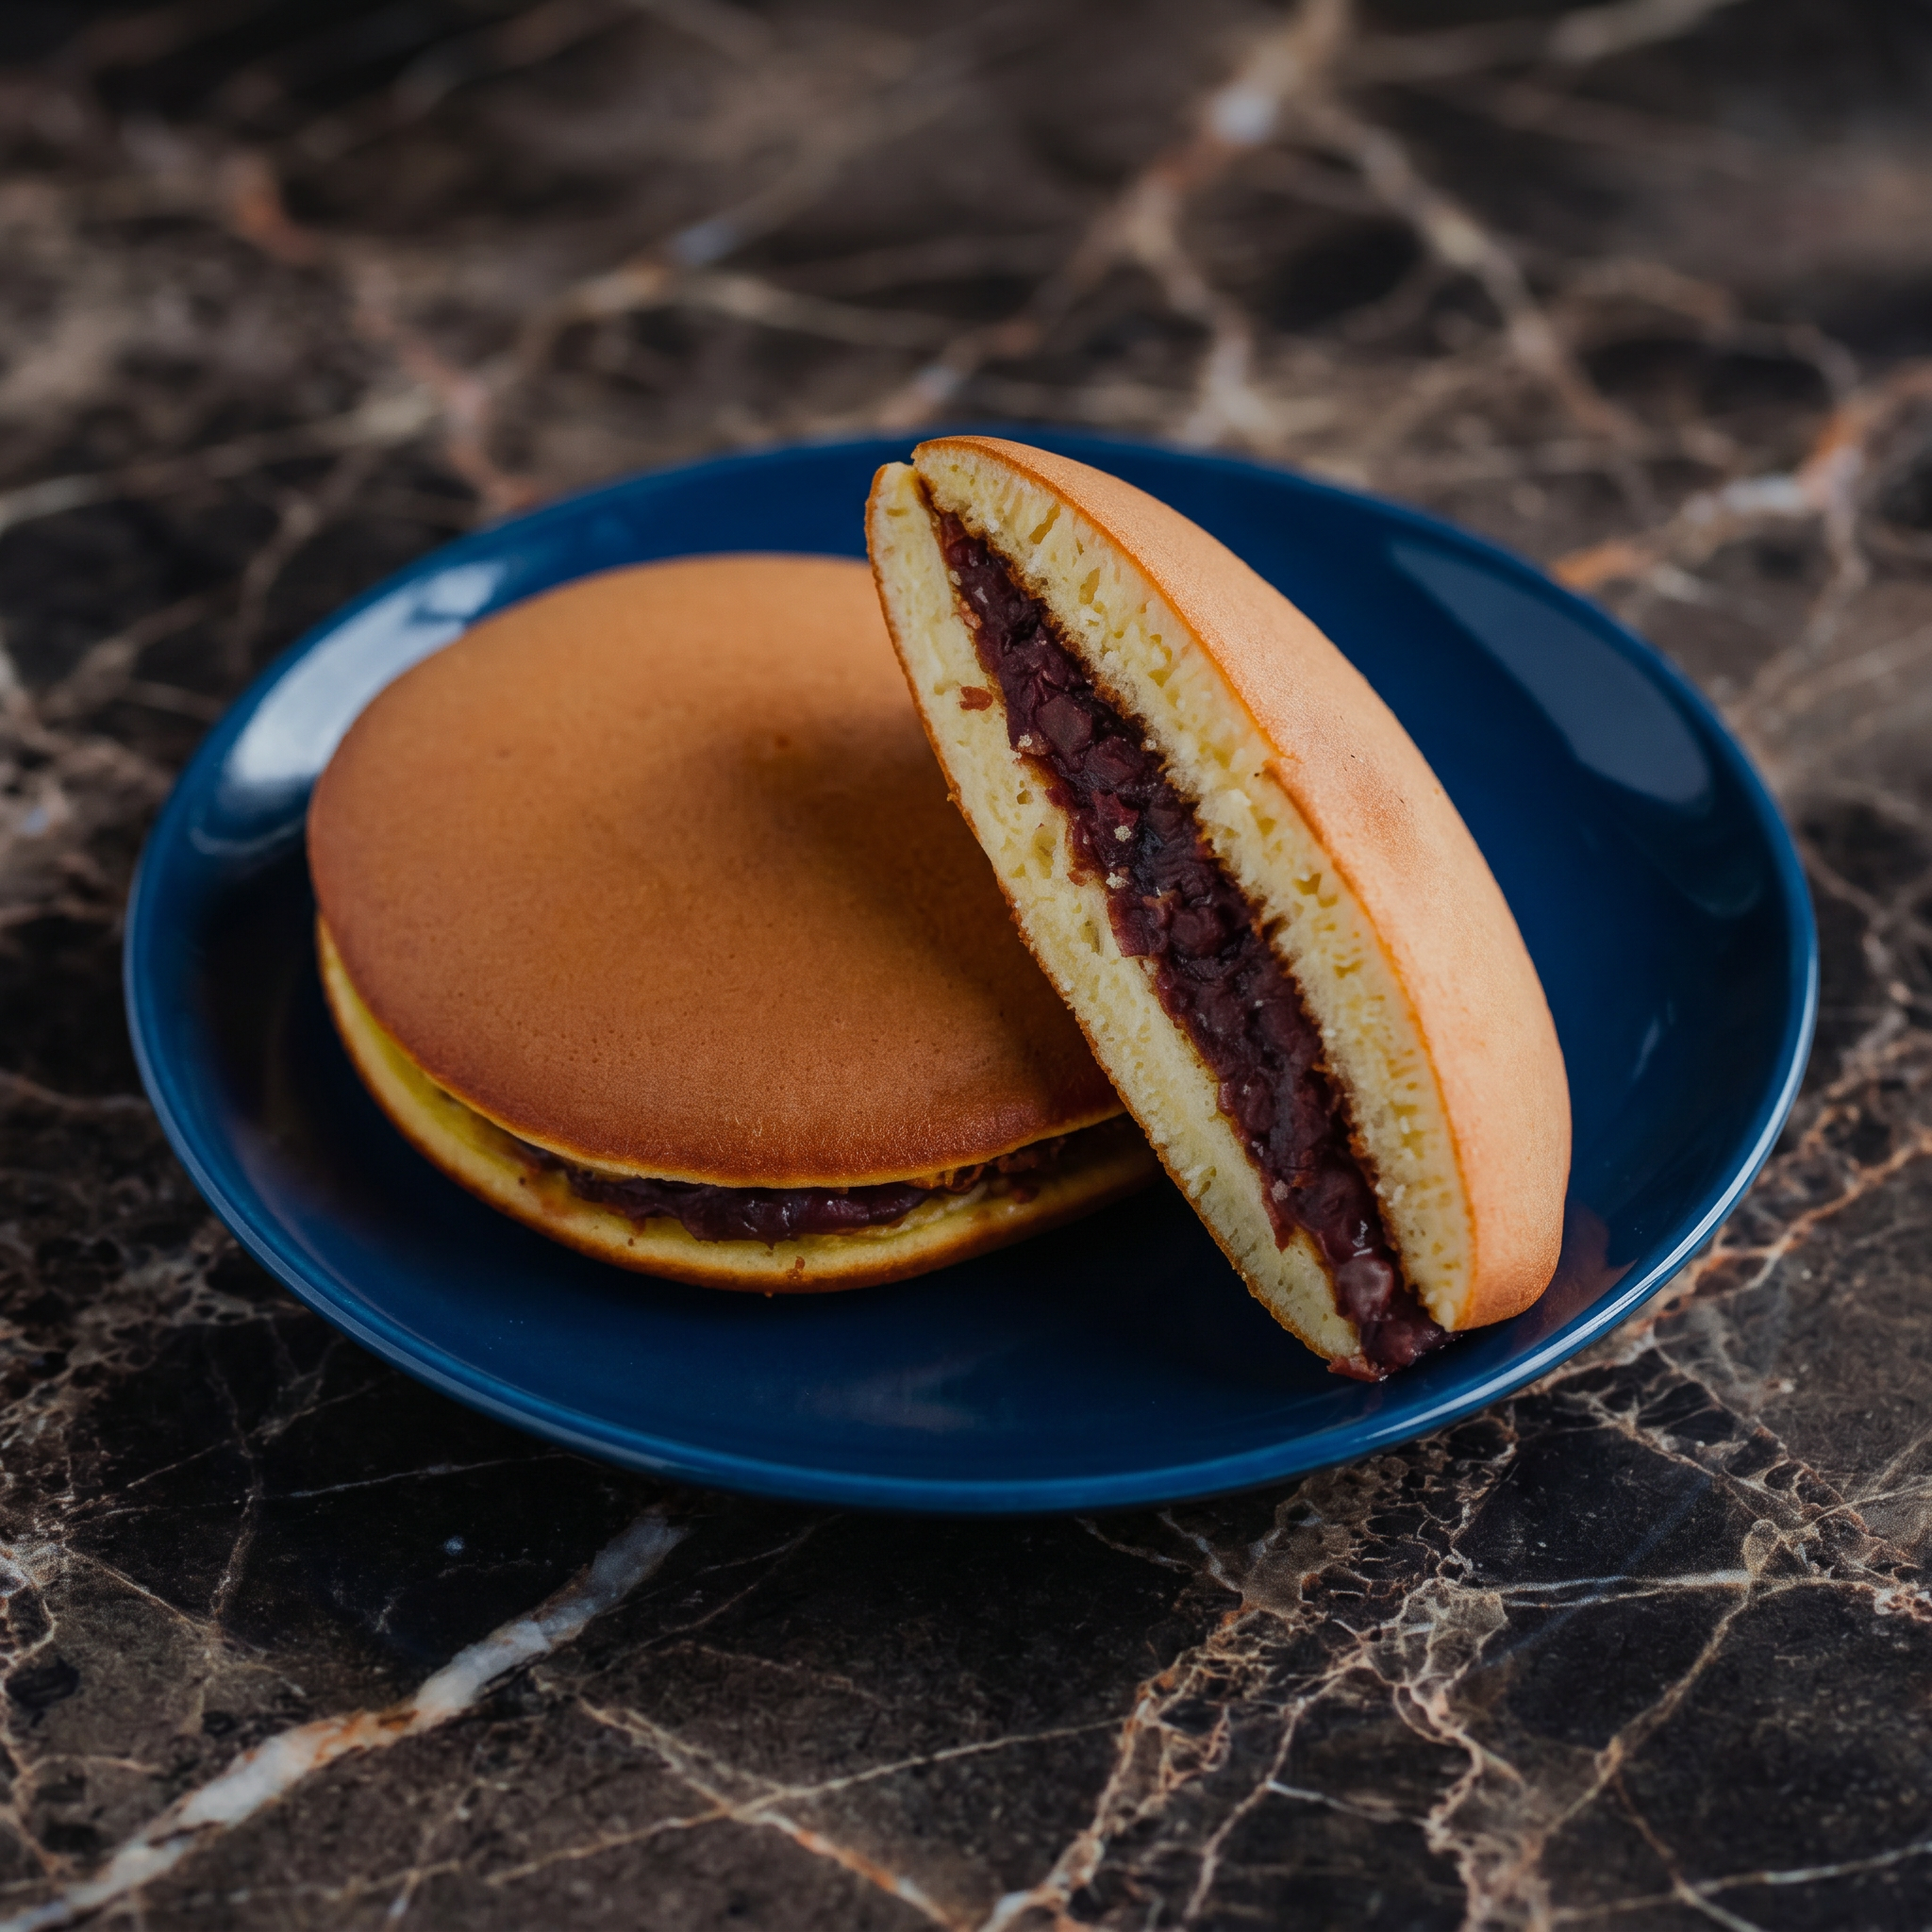
    Step 4: Assemble

    1. Spread about 2 tablespoons of anko on the flat side of one pancake.
    2. Top with another pancake (flat sides together). Gently press.
    3. Wrap tightly in plastic wrap for 15 minutes (this = chewy, authentic texture).

    Step 5: Serve

    1. Unwrap. Eat with your hands. Try not to eat all five.

    Summary

    Prep Time: 10 min + rest | Cook Time: 15 min | Total: 25 min + rest

    Yield: 5 dorayaki | Difficulty: Easy

    Storage Notes

    Fridge: 3 days wrapped tightly. Freezer: 1 month. Pro tip: Dorayaki tastes even better the next day — flavors meld, texture gets perfectly chewy. Bring to room temperature or microwave 10 seconds.

  • Onigiri (Japan’s Greatest Handheld Snack)

    Onigiri (Japan’s Greatest Handheld Snack)

    Onigiri is what rice wants to be when it grows up. A warm, slightly salty triangle of fluffy Japanese rice, stuffed with something delicious, wrapped in crispy nori. No rolling mat. No special tools. Just your hands and a little love. Let’s shape.

    Ingredients

    Makes 4 onigiri.

    For the Rice:

    • 2 cups uncooked Japanese short-grain rice (like sushi rice)
    • 2¼ cups water
    • 2 tbsp rice vinegar (optional, for seasoning)
    • 1 tsp salt

    For the Fillings (Pick One or Mix):

    • Filling 1: Cooked salmon + salt (shiozake)
    • Filling 2: Canned tuna + Japanese mayo + a dab of soy sauce (tuna mayo)
    • Filling 3: Umeboshi (pickled plum) — one per onigiri
    • Filling 4: Kombu tsukudani (simmered seaweed)

    To Finish:

    • Nori (toasted seaweed sheets), cut into strips
    • Optional: Sesame seeds, furikake, or a light dusting of salt

    Step-by-Step Instructions

    Step 1: Cook Rice

    1. Rinse rice in a bowl until water runs clear. Drain.
    2. Cook rice with water in a pot or rice cooker. Let it rest 10 minutes after cooking.
    3. Gently fold in rice vinegar and salt if using. Cool until warm (not hot).

    Step 2: Prepare Fillings

    1. For tuna mayo: mix canned tuna (drained) with 2 tbsp Japanese mayo.
    2. For salmon: flake cooked salted salmon.
    3. Keep other fillings ready.

    Step 3: Wet Your Hands

    1. Wet your hands (so rice doesn’t stick). Rub a pinch of salt on your palms.

    Step 4: Shape the Onigiri

    1. Scoop about ½ cup of warm rice into your palm. Flatten into a disc.
    2. Place 1–2 teaspoons of filling in the center.
    3. Close the rice around the filling. Gently press and shape into a triangle (or ball).

    Step 5: Wrap or Top

    1. Wrap a strip of nori around the bottom of the triangle. Or sprinkle with furikake.
    2. Repeat with remaining rice.

    Step 6: Serve

    1. Eat immediately (nori stays crispy). Or wrap tightly for lunch.

    Summary

    Prep Time: 15 min | Cook Time: 20 min (rice) | Total: 35 min

    Yield: 4 onigiri | Difficulty: Easy

    Storage Notes

    Best day-of. Rice hardens in the fridge. Wrap tightly in plastic if needed. Nori goes soft quickly—add it just before eating. For bento boxes, wrap onigiri in plastic then add nori at lunchtime.