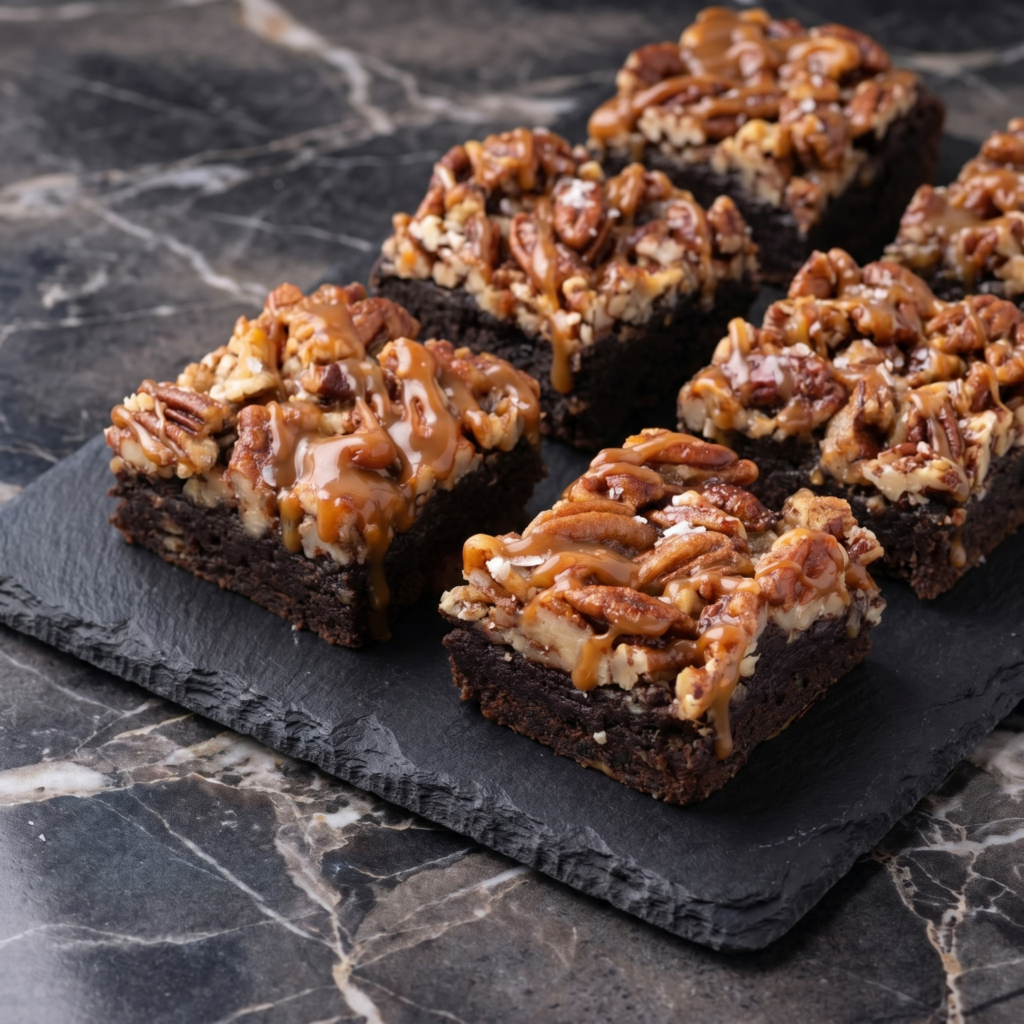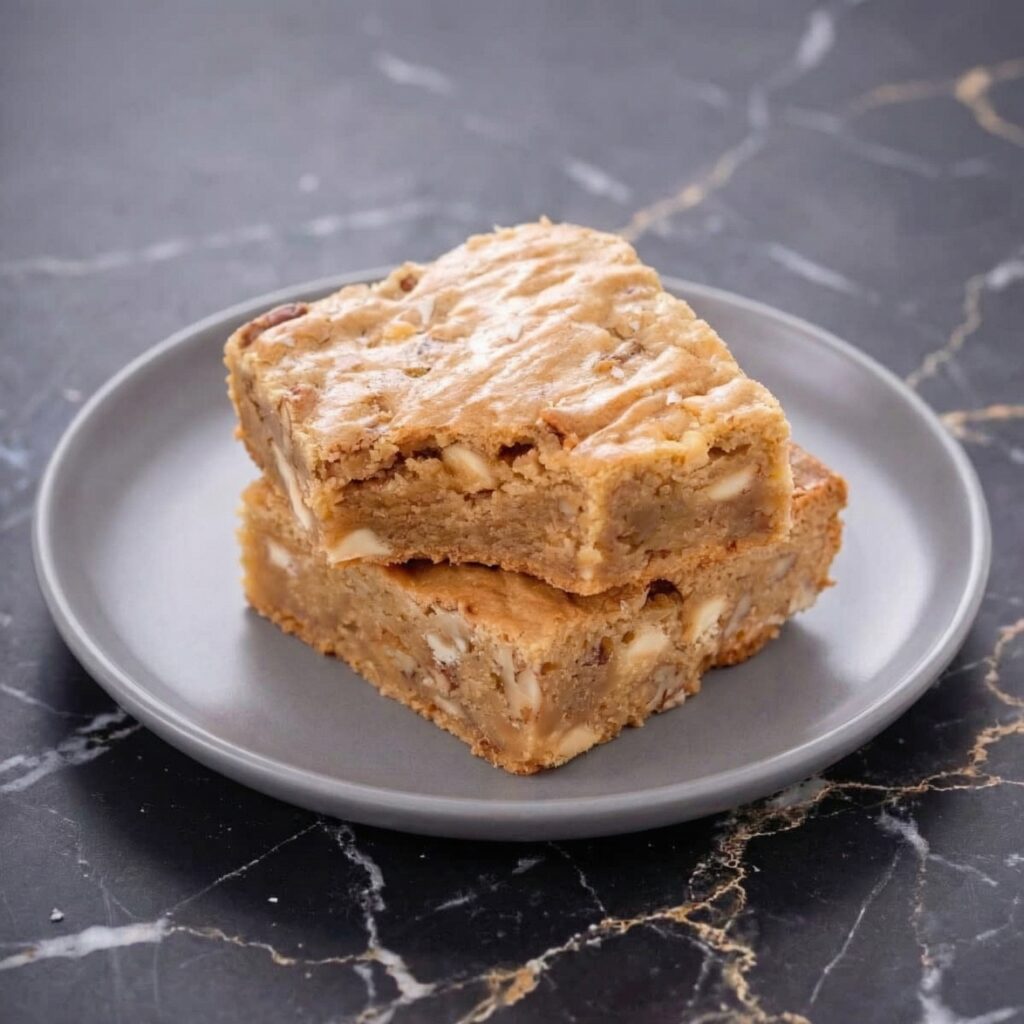
If you’ve ever found yourself torn between a rich chocolate brownie and a sticky-sweet slice of pecan pie, this recipe is your dream come true. Pecan Pie Brownies layer a dense, fudgy chocolate base with a buttery, caramel-like pecan topping that bubbles into golden perfection in the oven. The result? A decadent dessert with contrasting textures—chewy, gooey, crunchy, and melt-in-your-mouth tender—all in one irresistible bite.
Whether you’re baking for the holidays, a potluck, or just a weekend treat, these brownies are guaranteed to impress. Let’s walk through every step to ensure your batch turns out flawless.
Ingredients You’ll Need
Gather your ingredients before starting for a smooth baking experience.
For the Brownie Layer:
- 1 cup (226g) unsalted butter, melted
- 1 ½ cups granulated sugar
- ½ cup brown sugar
- 3 large eggs, room temperature
- 1 tablespoon vanilla extract
- 1 cup all-purpose flour
- ¾ cup unsweetened cocoa powder
- ½ teaspoon salt
For the Pecan Pie Topping:
- 1 cup brown sugar
- ½ cup light corn syrup
- ½ cup unsalted butter, melted
- 2 large eggs
- 1 teaspoon vanilla extract
- ¼ teaspoon salt
- 2 cups pecan halves
Step 1: Preheat and Prepare the Pan
Preheat your oven to 350°F (175°C). Line a 9×13-inch baking pan with parchment paper, leaving some overhang on the sides for easy lifting later. Lightly grease the parchment to prevent sticking. Proper pan preparation ensures clean removal and beautifully cut squares.
Step 2: Make the Brownie Batter
In a large mixing bowl, whisk together the melted butter, granulated sugar, and brown sugar until smooth and glossy. Add the eggs one at a time, mixing thoroughly after each addition. Stir in the vanilla extract.
In a separate bowl, sift together the flour, cocoa powder, and salt. Gradually fold the dry ingredients into the wet mixture using a spatula. Mix just until combined—overmixing can make brownies tough. The batter should be thick and rich.
Step 3: Bake the Brownie Base
Spread the brownie batter evenly into your prepared pan. Bake for 18–22 minutes, or until the top is set but the center is still slightly soft. The brownies should not be fully baked at this stage—they will continue cooking once the pecan topping is added. Remove from the oven and let sit while you prepare the topping.
Step 4: Prepare the Pecan Pie Filling
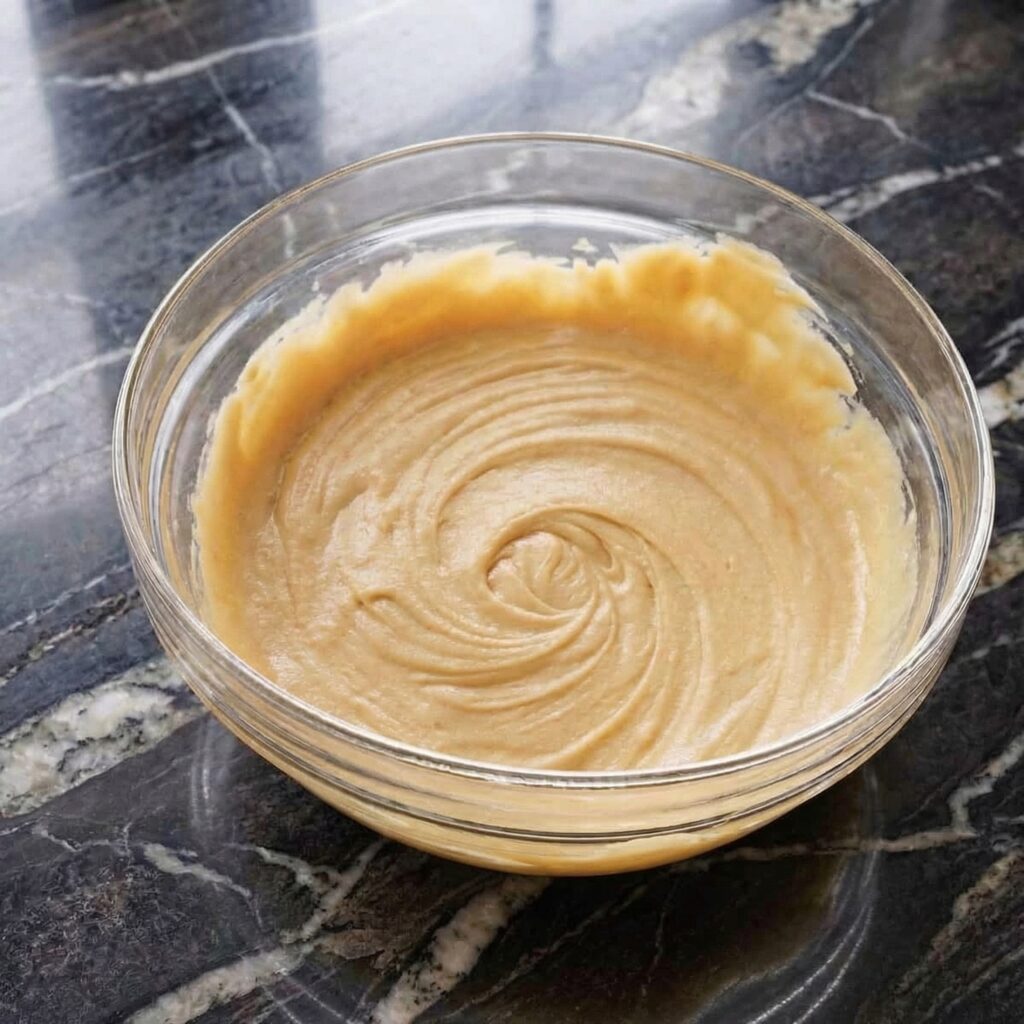
In a medium bowl, whisk together the brown sugar, corn syrup, melted butter, eggs, vanilla extract, and salt until smooth and fully incorporated. The mixture should look glossy and slightly thick.
Fold in the pecan halves, ensuring they are evenly coated with the sweet filling. This mixture will create the classic gooey pecan pie texture once baked.
Step 5: Assemble the Layers
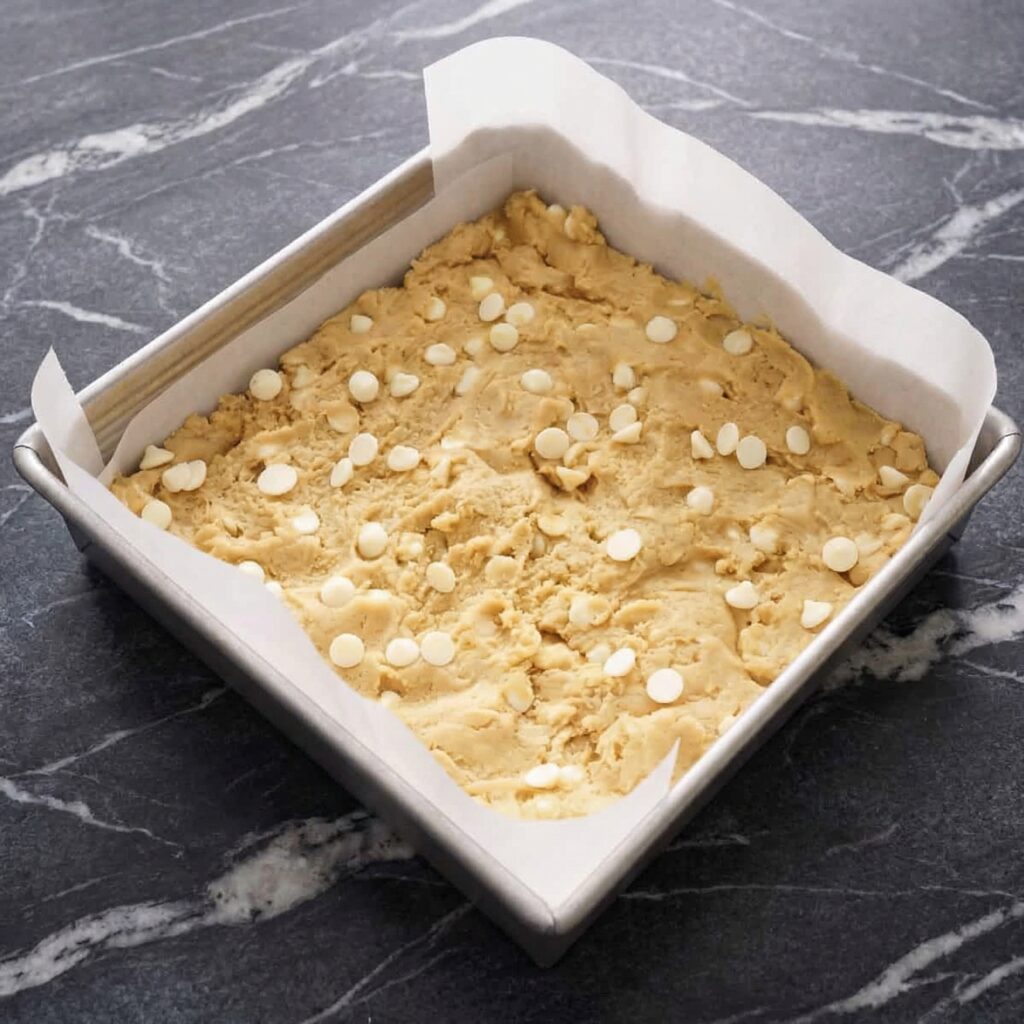
Carefully pour the pecan mixture over the partially baked brownie layer. Use a spatula to gently spread the pecans into an even layer. Avoid pressing down too hard—you want the layers to remain distinct.
Step 6: Final Bake
Return the pan to the oven and bake for an additional 30–35 minutes. The topping should be bubbling gently and set around the edges, with the center slightly soft but not liquid.
If the pecans begin browning too quickly, loosely tent the pan with aluminum foil during the last 10–15 minutes of baking.
Step 7: Cool Completely
Once done, remove the pan from the oven and allow the brownies to cool completely at room temperature. This is crucial. The pecan topping needs time to firm up, and slicing too soon will result in messy bars.
For best results, refrigerate the brownies for 1–2 hours after they’ve cooled to achieve clean, sharp cuts.
Step 8: Slice and Serve
Lift the brownies out of the pan using the parchment overhang. Place on a cutting board and slice into squares using a sharp knife. Wipe the blade clean between cuts for neat edges.
Serve at room temperature or slightly chilled. For an extra indulgent touch, top with vanilla ice cream or a drizzle of warm chocolate sauce.
Pro Tips for Perfect Results
- Room-temperature eggs blend more smoothly into batters.
- Don’t overbake the brownie layer before adding the topping.
- Toast the pecans for 5–7 minutes before mixing for deeper flavor.
- Let them fully cool for clean slicing.
- Use good-quality cocoa powder for a richer chocolate base.
Flavor Variations
- Bourbon Pecan Brownies: Add 1 tablespoon bourbon to the pecan mixture.
- Dark Chocolate Boost: Stir chocolate chips into the brownie batter.
- Salted Caramel Twist: Sprinkle flaky sea salt over the topping before baking.
- Espresso Kick: Add 1 teaspoon espresso powder to the brownie batter to intensify the chocolate flavor.
Why You’ll Love These Brownies
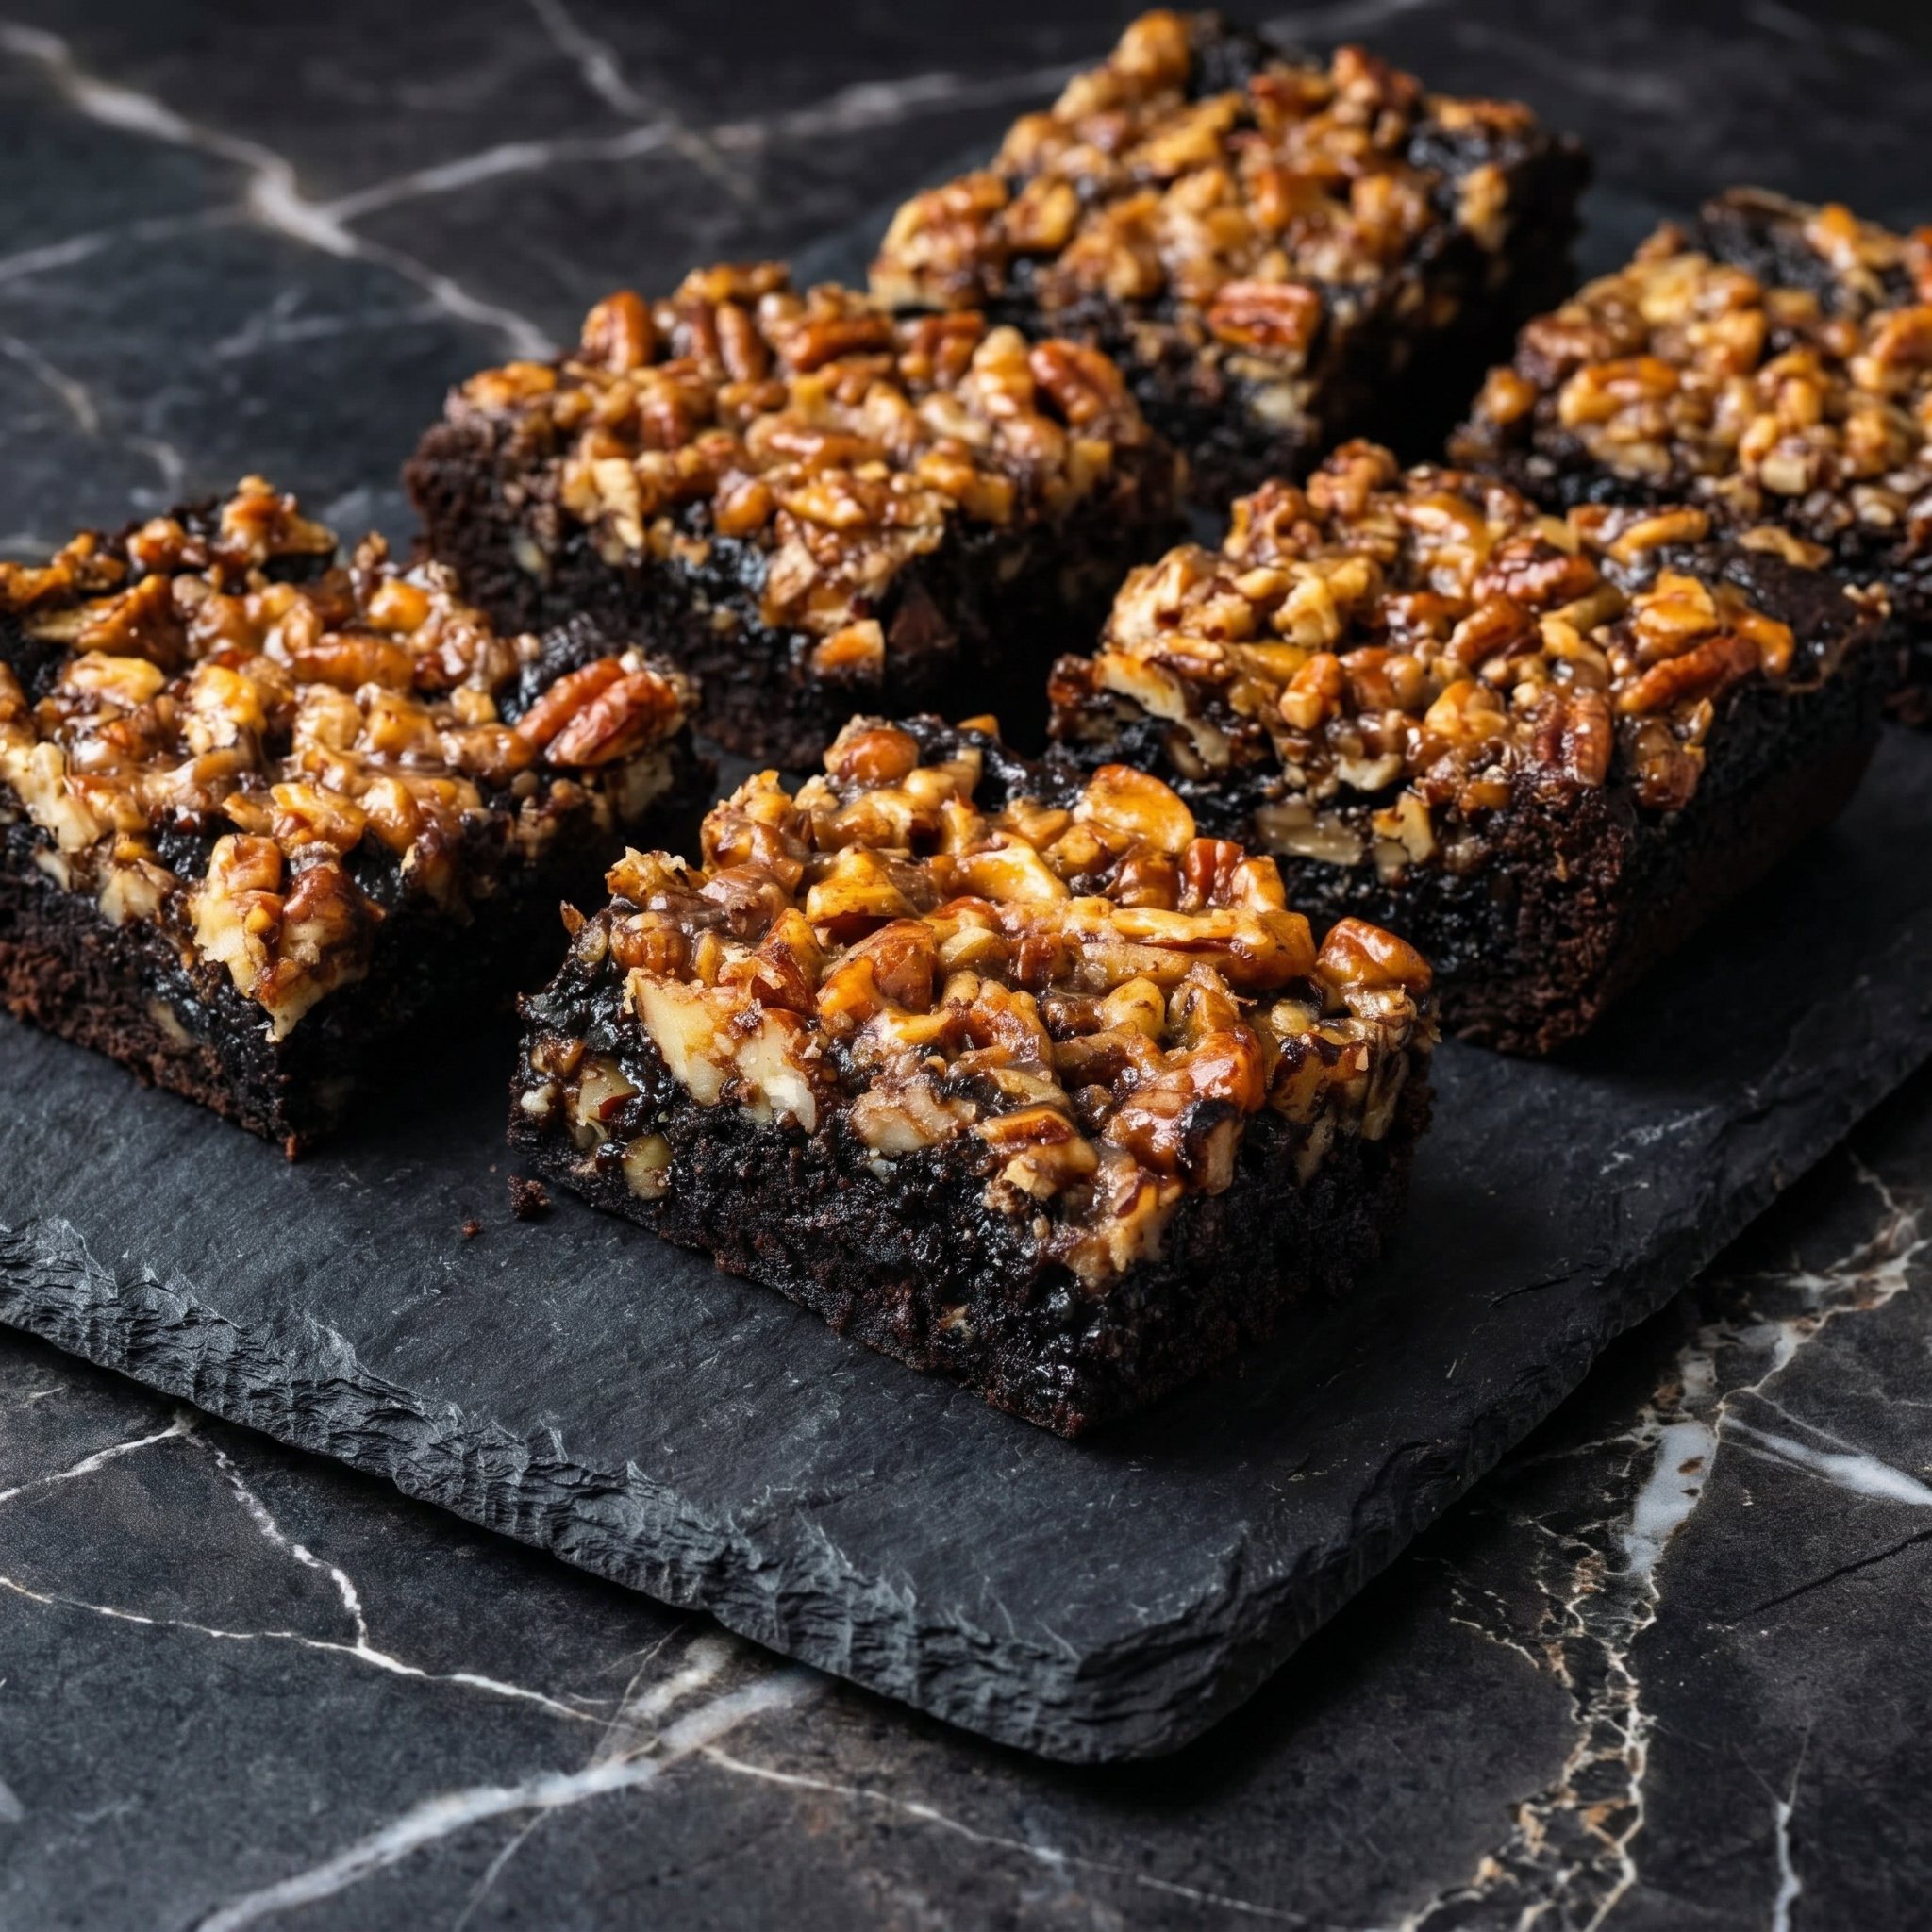
These Pecan Pie Brownies combine the best of two beloved desserts into one show-stopping treat. The brownie layer is dense, moist, and deeply chocolatey, while the topping brings buttery sweetness and crunchy texture. Every bite delivers balance—rich but not overwhelming, sweet but layered with nutty depth.
They’re perfect for Thanksgiving, Christmas, bake sales, or anytime you want a dessert that feels special. Plus, they store beautifully in an airtight container for up to four days, making them ideal for make-ahead baking.
Final Thoughts
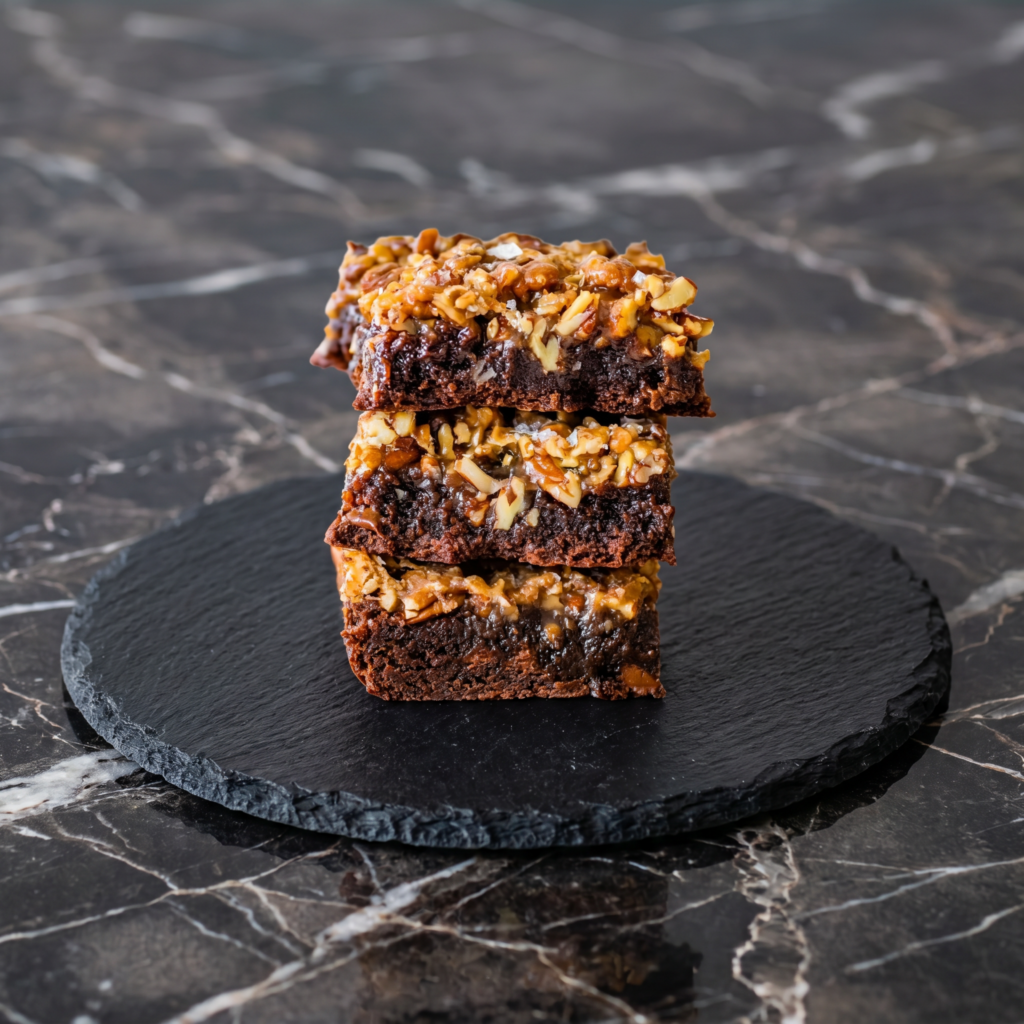
Pecan Pie Brownies are more than just a dessert—they’re a celebration of texture and flavor. With a fudgy chocolate base and a gooey pecan topping, they deliver comfort and indulgence in every square. While they look impressive, the step-by-step process makes them approachable for bakers of all skill levels.
Once you bake these, don’t be surprised if they become your new signature dessert. Slice them thick, serve them proudly, and enjoy the sweet reward of combining two classics into one unforgettable treat.