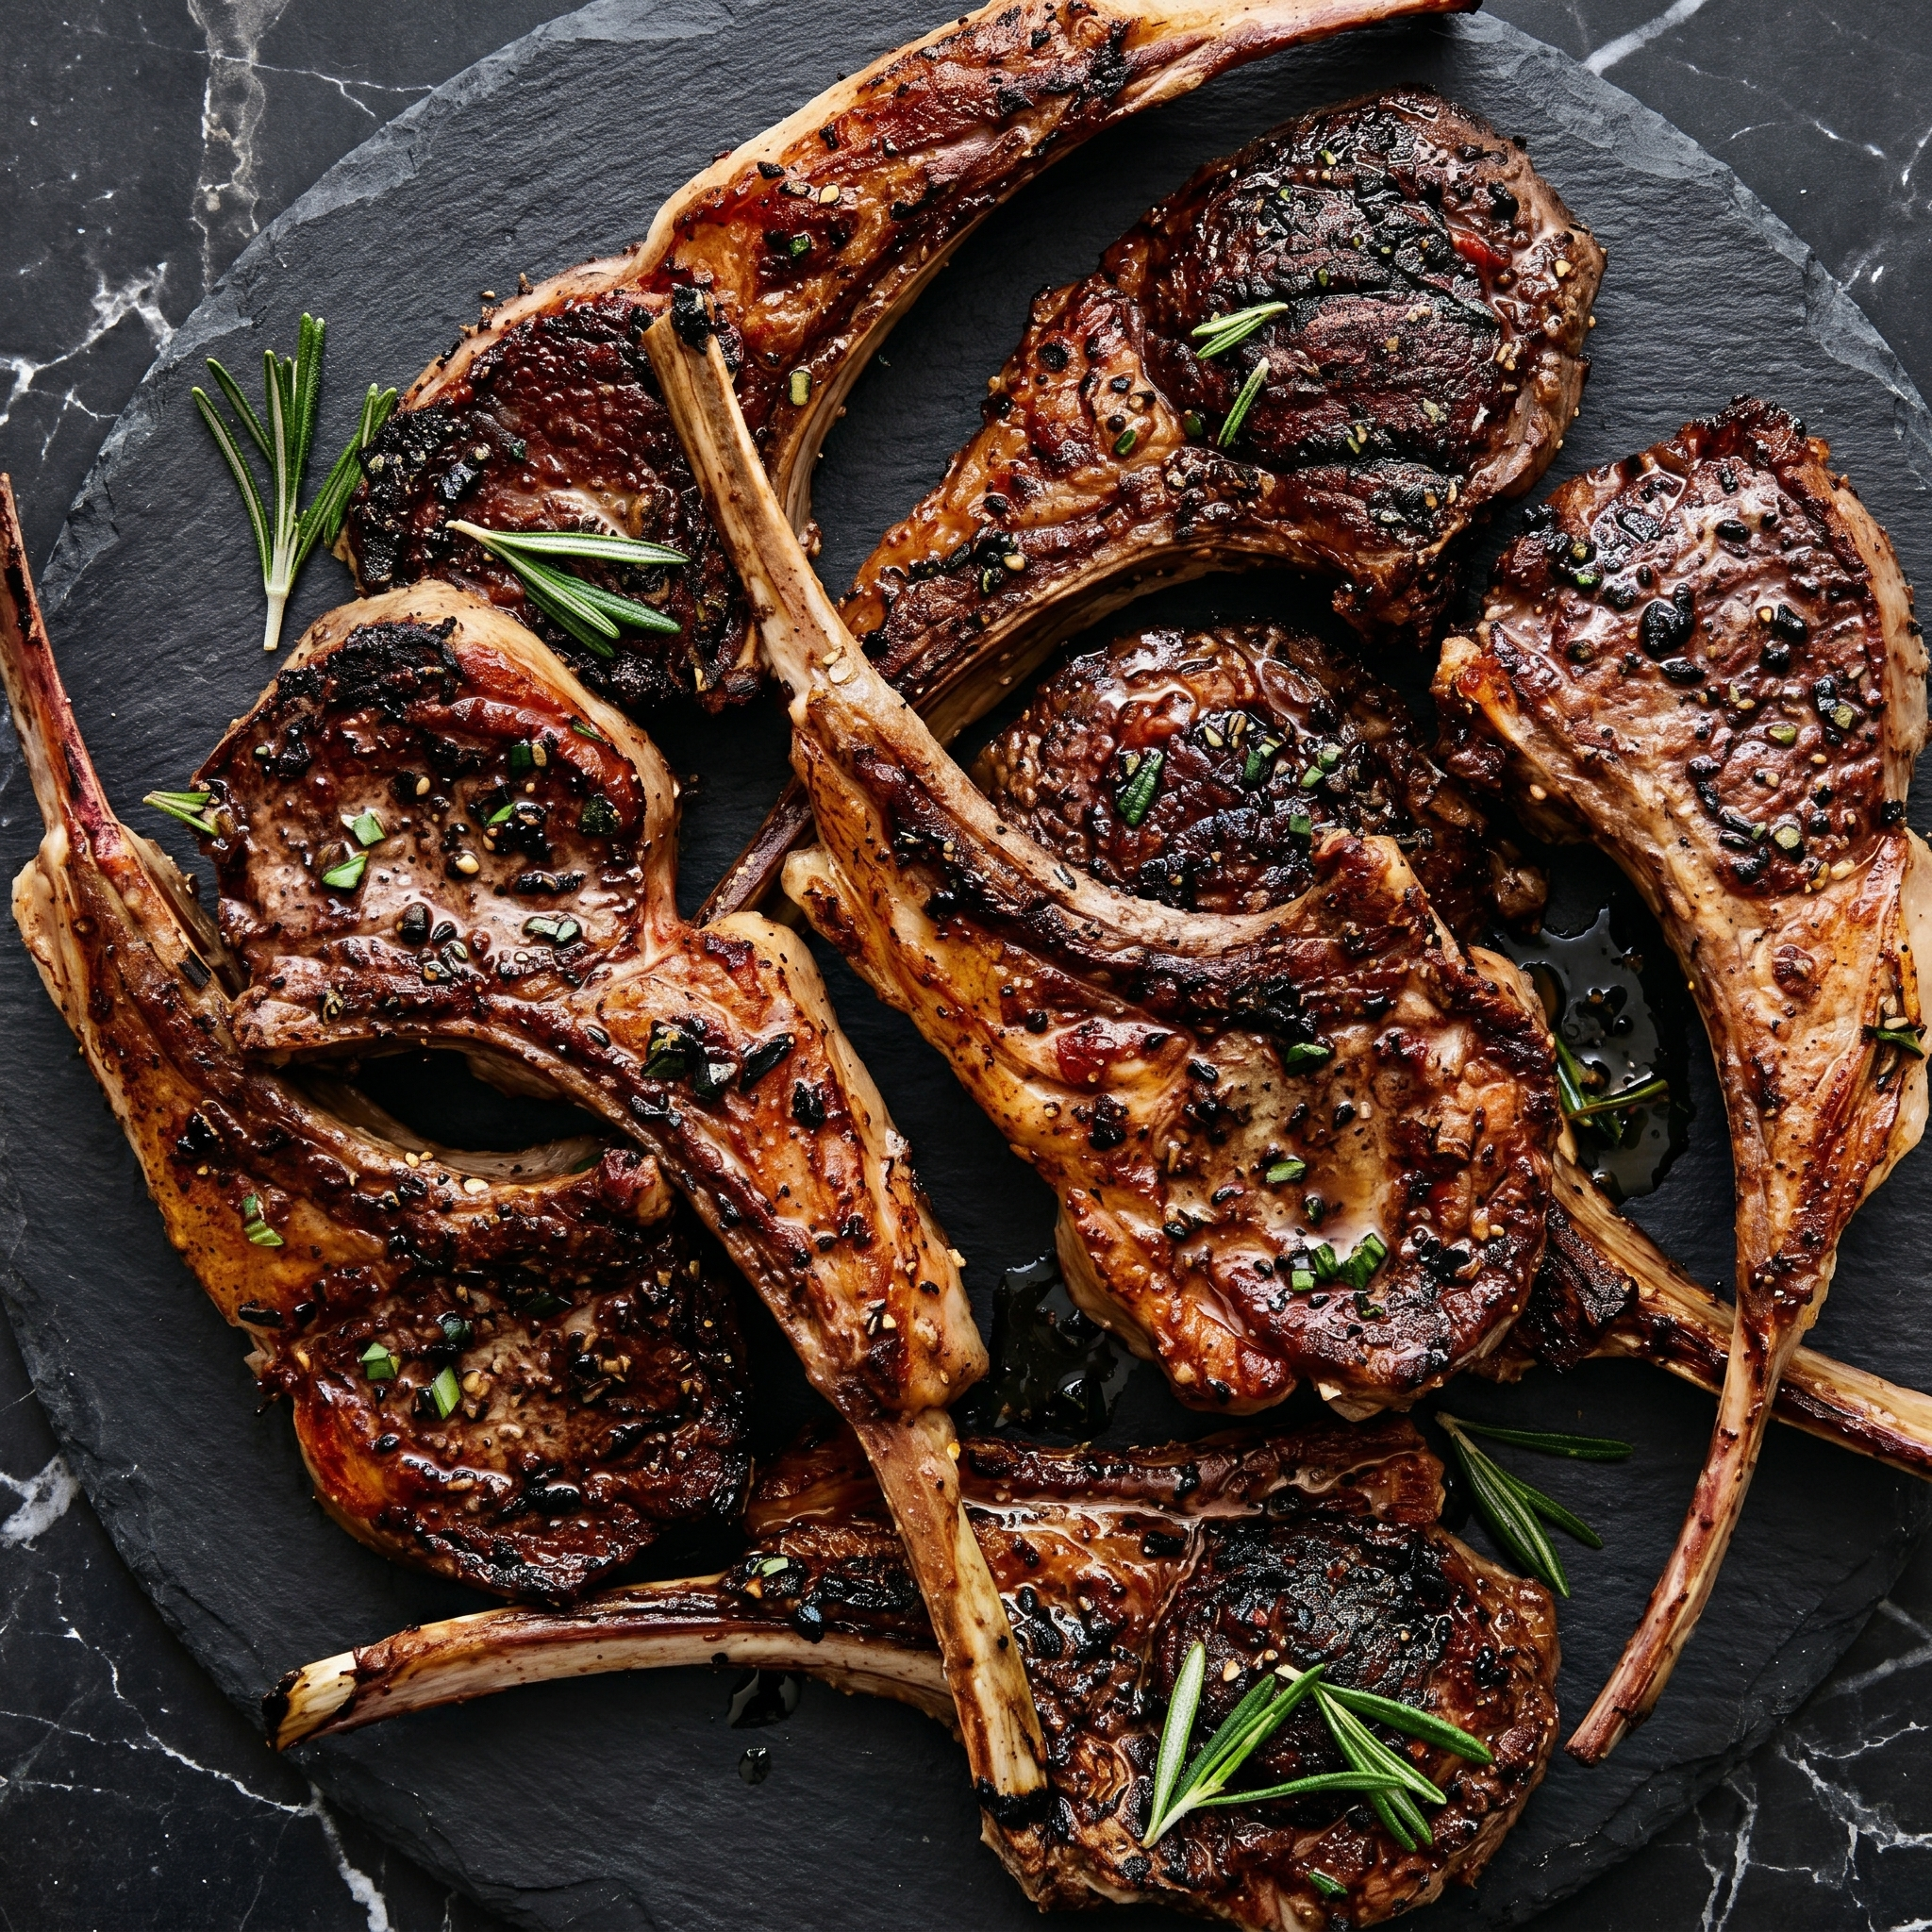
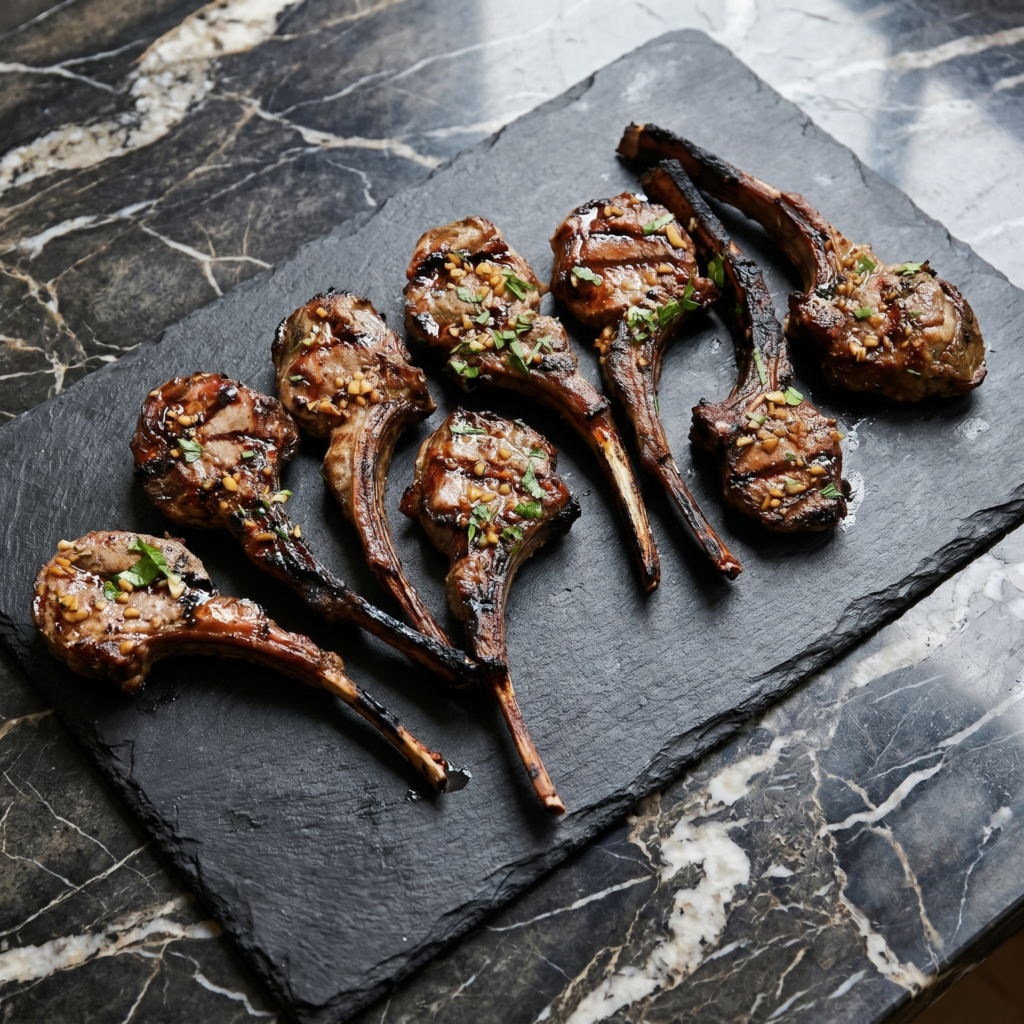
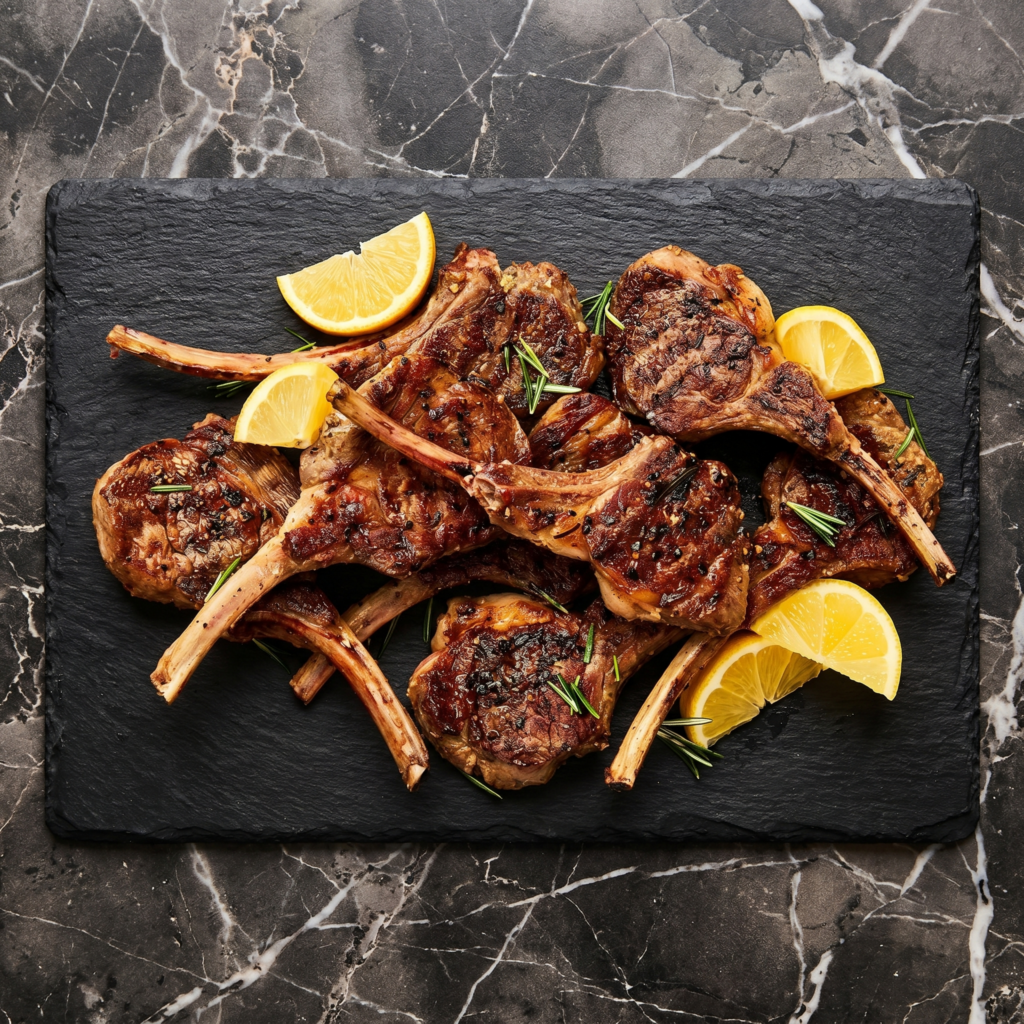
Lamb chops feel like a splurge. But here’s the secret: they cook faster than chicken.
These pan-seared lamb chops are crusted with garlic, rosemary, and thyme, then seared until golden. Inside, they’re pink, juicy, and ridiculously tender. From fridge to plate in 15 minutes. Impress your date. Impress yourself.
Ingredients
Serves 2-3.
8 lamb loin chops (about 1.5 inches thick)
2 tablespoons olive oil
4 cloves garlic, minced
2 tablespoons fresh rosemary, finely chopped
1 tablespoon fresh thyme leaves
1 teaspoon salt
½ teaspoon black pepper
2 tablespoons butter (for basting)
Optional: lemon wedges for serving
Step-by-Step Instructions
Step 1: Prep the Chops
Pat lamb chops completely dry with paper towels. This = better sear.
In a small bowl, mix garlic, rosemary, thyme, salt, and pepper.
Rub mixture all over both sides of each chop.
Step 2: Heat the Pan
Heat olive oil in a large cast-iron or heavy skillet over medium-high heat.
Oil should shimmer—almost smoking.
Step 3: Sear Hard
Place chops in pan without crowding (work in batches if needed).
Sear 2-3 minutes per side for medium-rare. Do not move them while searing.
Step 4: Butter Baste
Add butter to pan during last minute of cooking.
Tilt pan and spoon melted butter over chops repeatedly.
Step 5: Rest
Transfer chops to a plate. Let rest 5 minutes—non-negotiable.
Resting keeps the juices inside, not on your plate.
Step 6: Serve
Squeeze fresh lemon over chops. Serve immediately.
Summary
Prep Time: 5 minutes | Cook Time: 10 minutes | Total Time: 15 minutes (plus 5 min rest)
Yield: 8 chops (2-3 servings)
Difficulty: Easy
Storage Notes
Refrigerate Leftovers:
Store in an airtight container for up to 3 days. Reheat gently in a skillet over low heat (microwave ruins lamb).
Best Enjoyed Fresh:
Lamb chops really shine right off the pan. Leftovers work for salads or pitas, but that perfect medium-rare is a one-time event.
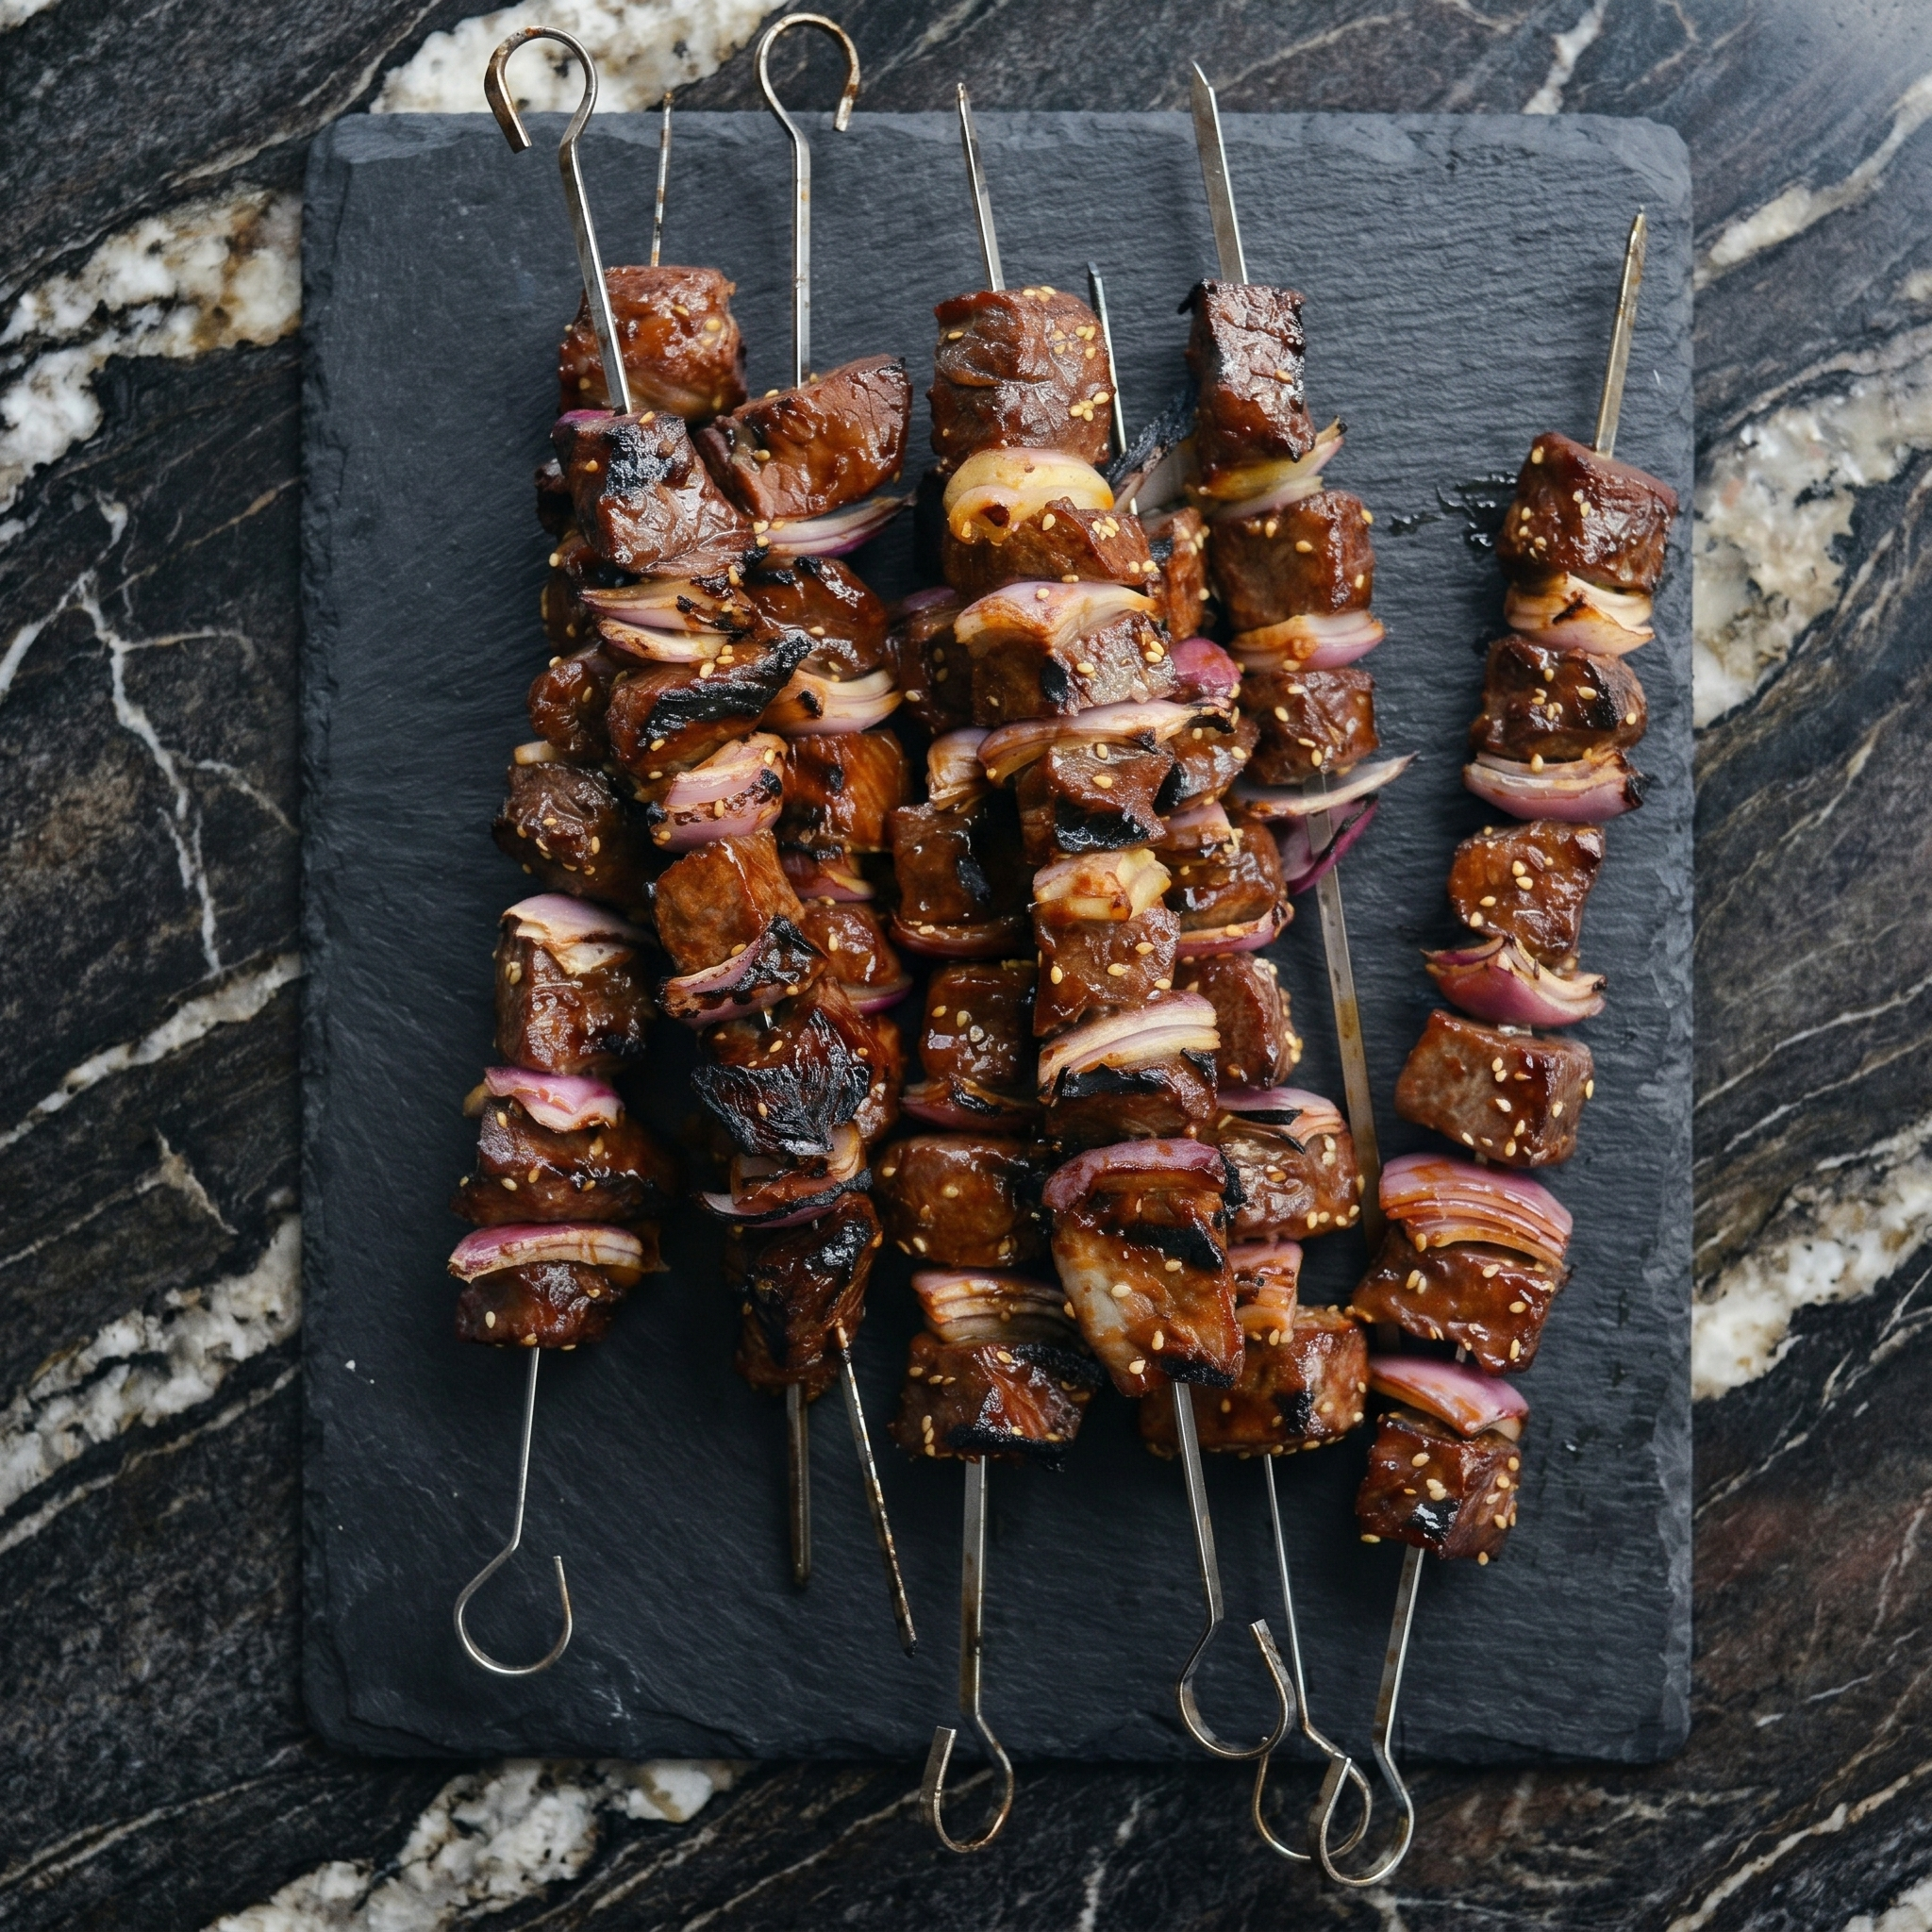
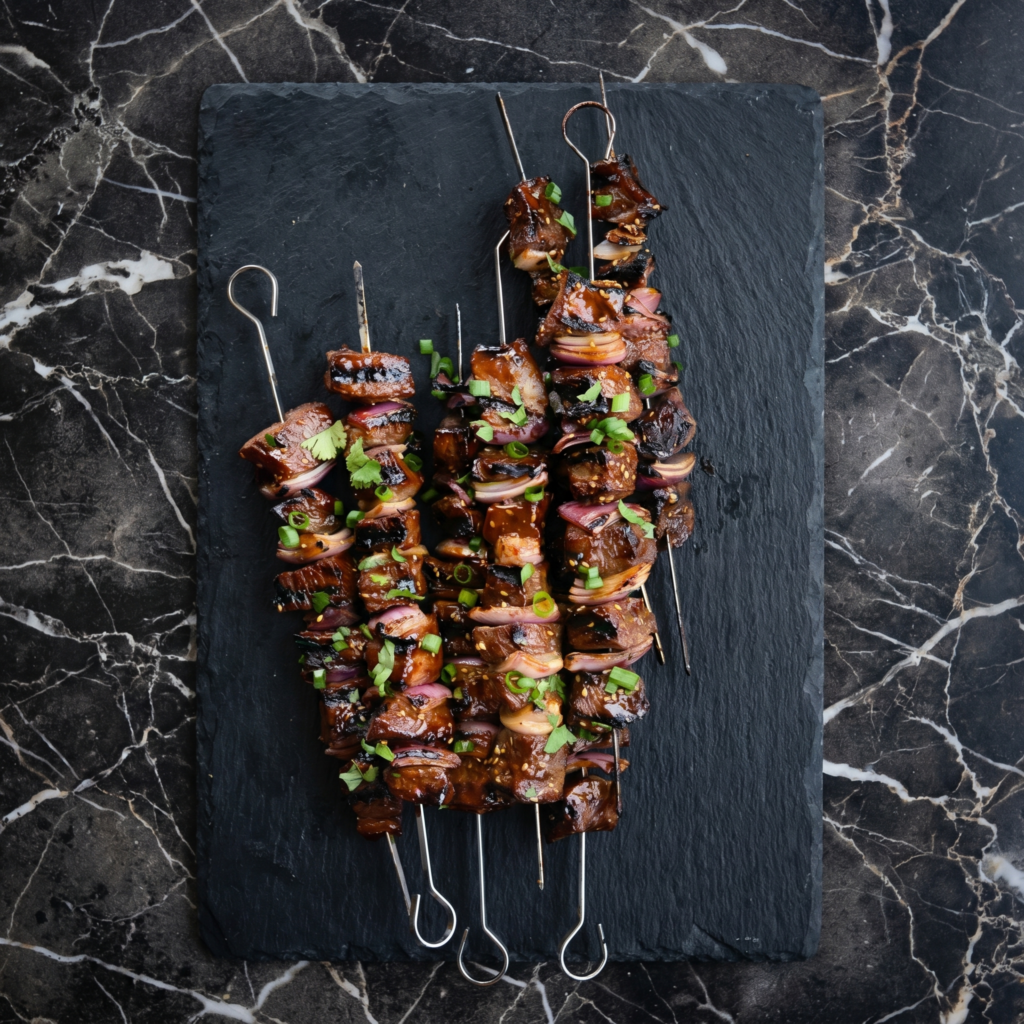
If you’re looking for a bold, crowd-pleasing dish that’s packed with flavor and easy enough for weeknights, these Sticky Soy Steak Skewers are exactly what you need. Tender cubes of steak are marinated in a sweet and savory soy glaze, threaded onto skewers, and grilled until caramelized and slightly charred. The result? Juicy, flavorful bites with a glossy, sticky finish that’s completely addictive.
Perfect for backyard barbecues, casual dinners, or even meal prep, these skewers deliver maximum flavor with minimal effort. Let’s walk step by step through how to make them perfectly every time.
Ingredients
For the steak:
1 ½ pounds sirloin, flank steak, or ribeye, cut into 1 ½-inch cubes
Salt and freshly ground black pepper
For the sticky soy marinade:
⅓ cup soy sauce
2 tablespoons brown sugar
1 tablespoon honey
1 tablespoon rice vinegar
1 tablespoon sesame oil
3 cloves garlic, minced
1 teaspoon freshly grated ginger
½ teaspoon red pepper flakes (optional)
For garnish:
Sesame seeds
Sliced green onions
Lime wedges (optional)
Additional:
Wooden or metal skewers
Neutral oil for brushing
Step 1: Prep the Steak
Start by trimming any excess fat from the steak. Cut it into evenly sized cubes—about 1 ½ inches each. Uniform pieces ensure even cooking.
Pat the steak dry with paper towels and lightly season with salt and freshly ground black pepper. Since soy sauce is salty, don’t over-season at this stage.
Step 2: Make the Marinade
In a medium bowl, whisk together soy sauce, brown sugar, honey, rice vinegar, sesame oil, garlic, ginger, and red pepper flakes. Stir until the sugar dissolves completely.
This marinade strikes the perfect balance between salty, sweet, tangy, and aromatic. The honey and brown sugar will help create that beautiful sticky glaze once the skewers hit the heat.
Step 3: Marinate the Steak
Place the steak cubes in a zip-top bag or shallow dish. Pour the marinade over the steak, ensuring all pieces are well coated.
Cover and refrigerate for at least 30 minutes, ideally 2–4 hours. The longer it marinates, the deeper the flavor. Avoid marinating overnight if using very tender cuts like ribeye, as the acidity can slightly change the texture.
Step 4: Prepare the Skewers
If using wooden skewers, soak them in water for at least 30 minutes to prevent burning. Metal skewers don’t require soaking.
Thread the marinated steak cubes onto the skewers, leaving a little space between each piece. This allows heat to circulate evenly and promotes better caramelization.
Step 5: Preheat the Grill or Pan
Preheat your grill to medium-high heat (about 400°F / 200°C). If cooking indoors, heat a grill pan or cast-iron skillet over medium-high heat.
Lightly brush the grates or pan with neutral oil to prevent sticking.
Step 6: Grill the Skewers
Place the skewers on the hot grill. Cook for about 2–3 minutes per side, rotating to ensure even cooking and grill marks on all sides.
For medium-rare steak, aim for an internal temperature of about 130–135°F. For medium, cook to 140–145°F. Avoid overcooking, as the steak can become tough.
As the sugars in the marinade heat up, they’ll caramelize, forming that signature sticky glaze. Watch carefully to prevent burning.
Step 7: Create the Extra Glaze (Optional but Recommended)
If you’d like extra stickiness, reserve a small portion of marinade before adding it to the raw steak. Simmer this reserved marinade in a small saucepan for 3–5 minutes until slightly thickened.
Brush the cooked skewers with this glaze just before removing them from the grill for an extra glossy finish.
Step 8: Rest the Steak
Remove the skewers from heat and let them rest for 5 minutes. Resting allows the juices to redistribute throughout the meat, keeping each bite tender and juicy.
Step 9: Garnish and Serve
Sprinkle sesame seeds and sliced green onions over the skewers. Serve with lime wedges for a bright citrus finish if desired.
These skewers pair beautifully with:
Steamed jasmine rice
Fried rice
Grilled vegetables
Fresh cucumber salad
Noodles with sesame dressing
Pro Tips for Perfect Sticky Soy Steak Skewers
Choose the right cut: Sirloin and flank steak are flavorful and hold up well to grilling.
Don’t overcrowd skewers: Leave slight gaps for even cooking.
High heat is key: It creates caramelization without overcooking the interior.
Rest before serving: This prevents juices from spilling out.
Monitor closely: Sugars in the marinade can burn quickly.
Why This Recipe Works
The magic lies in the marinade. Soy sauce provides umami depth, brown sugar and honey add sweetness and caramelization, rice vinegar balances with acidity, and garlic and ginger create aromatic complexity.
Grilling at high heat locks in juices while forming a lightly charred crust. The result is steak that’s tender inside, slightly crisp outside, and coated in a glossy, flavorful glaze.
Variations to Try
Spicy Kick: Add a tablespoon of chili paste for extra heat.
Teriyaki Twist: Substitute rice vinegar with mirin for a sweeter profile.
Garlic Lover’s Version: Double the garlic for bold flavor.
Vegetable Skewers: Add bell peppers, onions, or mushrooms between steak pieces.
Storage and Reheating
Leftover skewers can be stored in an airtight container in the refrigerator for up to 3 days. Reheat gently in a skillet over medium heat to avoid overcooking.
They also make fantastic leftovers sliced over salads or tucked into wraps.
Final Thoughts
Sticky Soy Steak Skewers combine simplicity with bold flavor, making them perfect for everything from casual weeknight dinners to festive gatherings. With a balanced marinade, high-heat grilling, and a glossy finish, these skewers are guaranteed to impress.
Once you try them, they’ll quickly become a staple in your cooking rotation—sweet, savory, and irresistibly sticky in every bite.
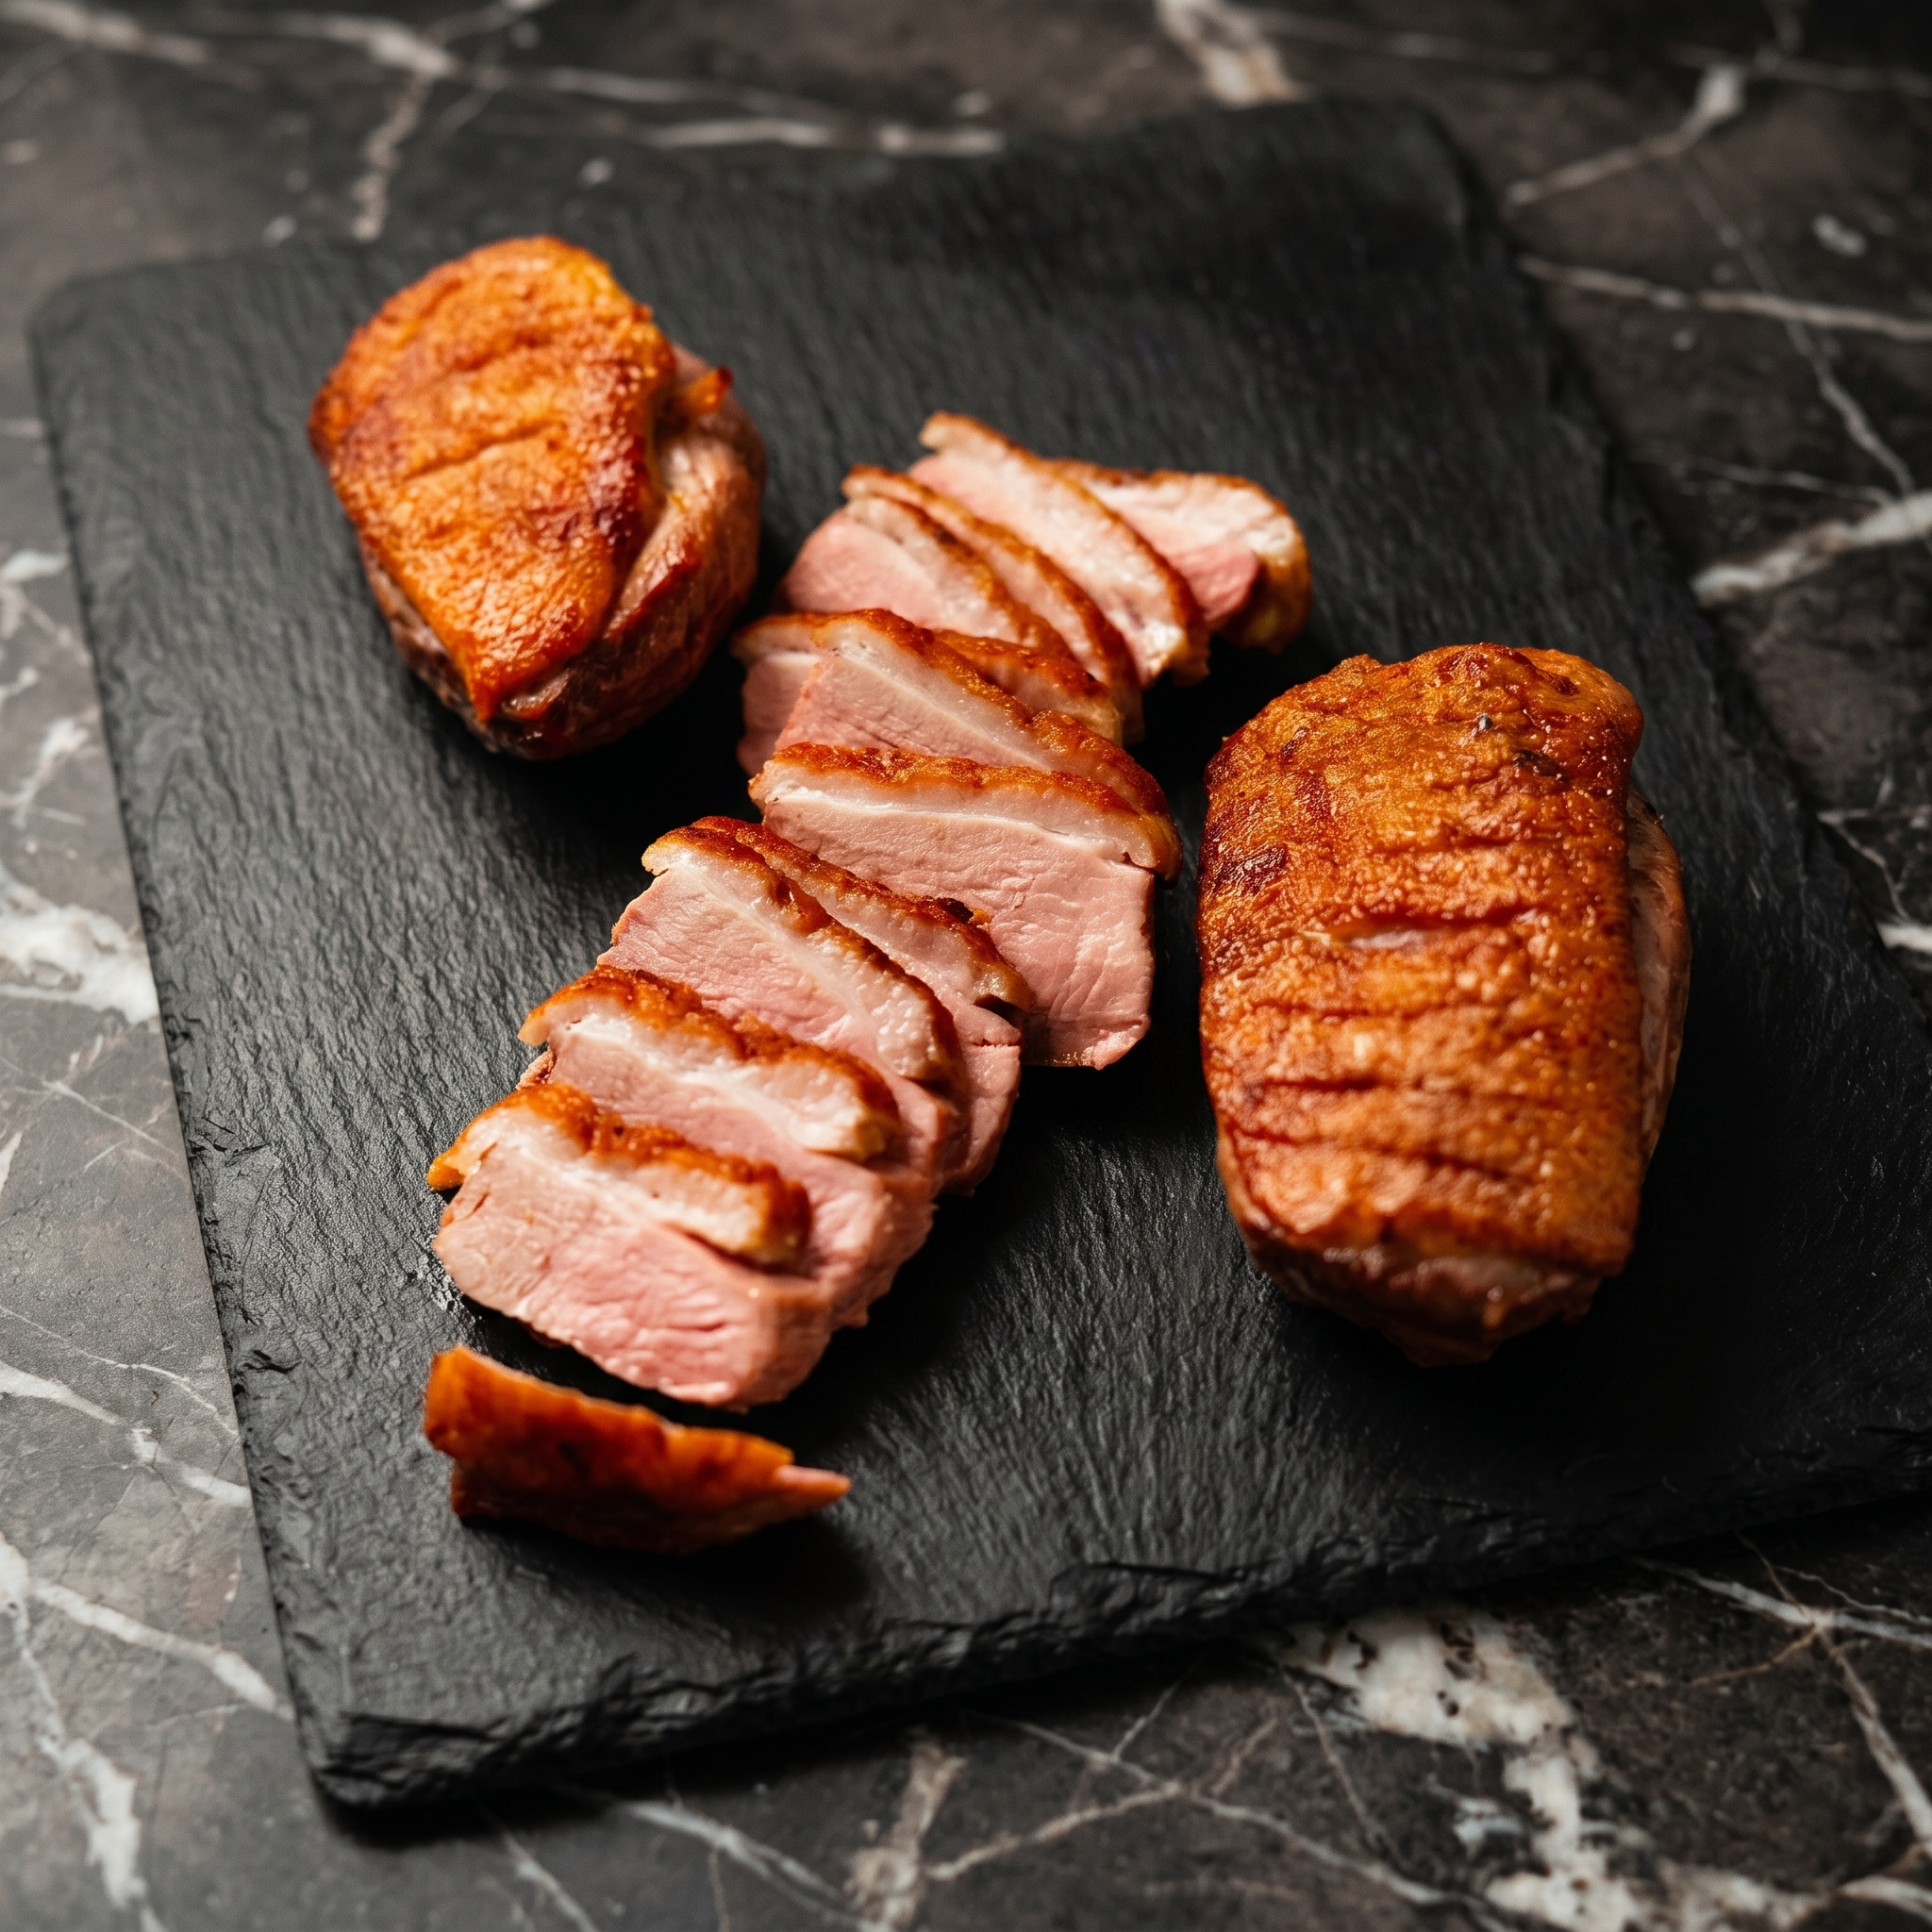
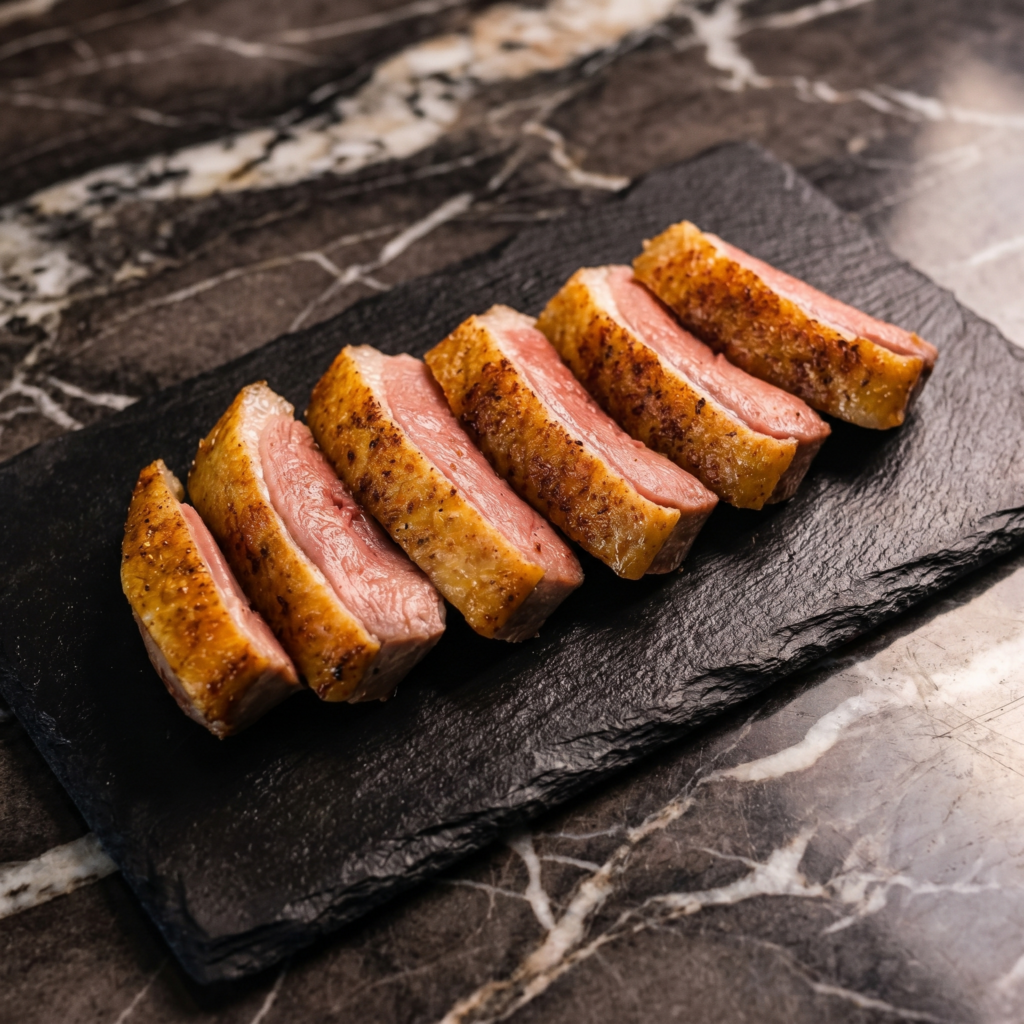
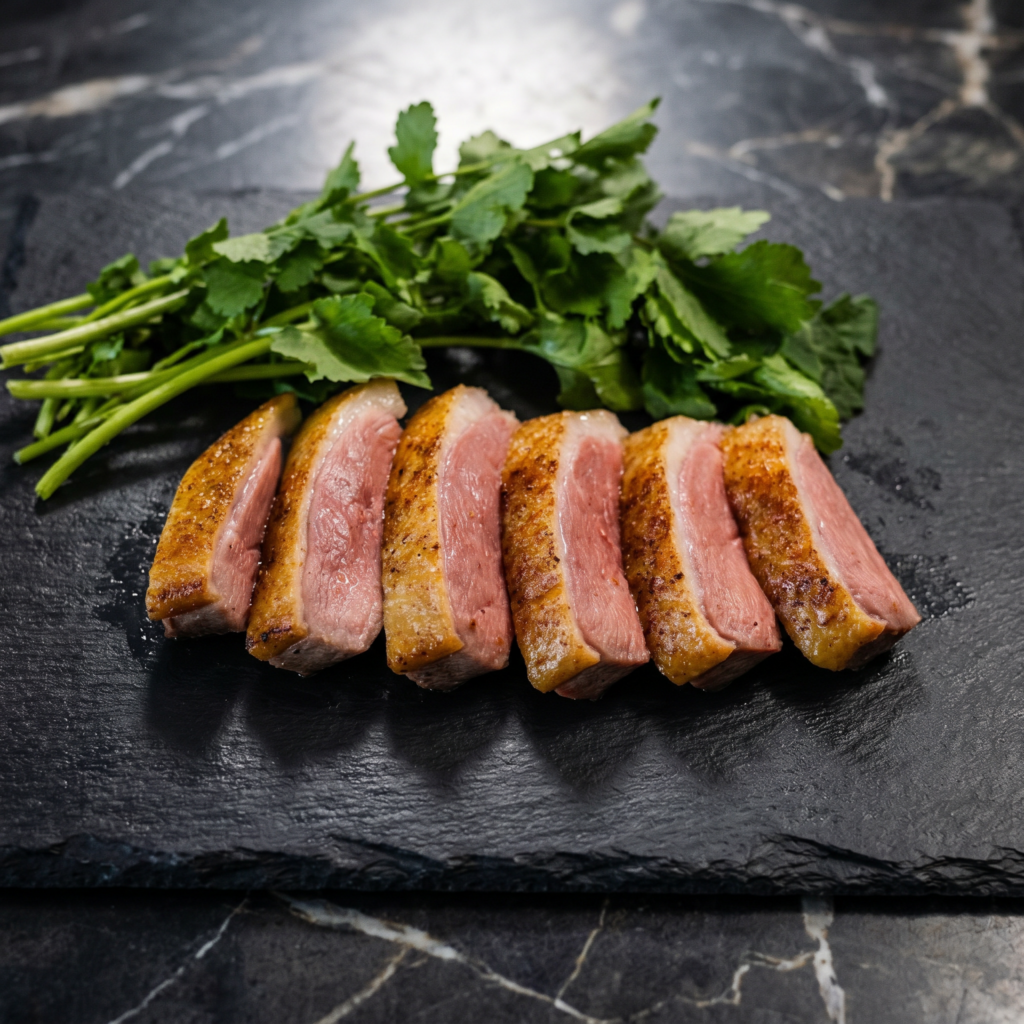
Duck sounds fancy. But crispy-skinned duck breast with cherry sauce? Easier than chicken. Score the skin. Sear it low and slow to render fat. Crisp it up. Make a quick cherry pan sauce. 20 minutes. One pan. Serve with mashed potatoes or roasted veggies. Date night? Nailed it. Weeknight treat? Absolutely. Let’s cook duck.
Ingredients
Serves 2.
2 duck breasts (about 6-8 oz each)
Salt and black pepper
1 cup fresh or frozen cherries (pitted) or ½ cup cherry jam
¼ cup chicken or duck stock
2 tablespoons balsamic vinegar
1 tablespoon honey or maple syrup
1 shallot, finely chopped
1 sprig fresh thyme
1 tablespoon butter (optional)
Step-by-Step Instructions
Step 1: Score and Season the Duck
Pat duck breasts dry. Score skin in a crosshatch pattern (don’t cut into meat).
Season generously with salt and pepper on both sides.
Step 2: Sear the Duck (Skin Side Down)
Place duck skin-side down in a cold skillet (no oil needed). Turn heat to medium.
Cook slowly for 6-8 minutes, pouring off fat occasionally, until skin is deep golden and crispy.
Step 3: Flip and Finish
Flip duck. Cook 2-3 minutes for medium-rare (internal temp 135°F).
Remove duck to a cutting board. Rest 5 minutes.
Step 4: Make the Cherry Sauce
Pour off all but 1 tablespoon of duck fat. Add shallot. Cook 1 minute.
Add cherries, stock, balsamic, honey, and thyme. Simmer 5 minutes until syrupy.
Stir in butter if using. Remove thyme.
Step 5: Slice and Serve
Slice duck breast thinly against the grain. Spoon cherry sauce over.
Serve immediately. Pretend you’re in a Paris bistro.
Best fresh. Leftover duck keeps 2 days in fridge. Reheat in a hot skillet (not microwave). Cherry sauce keeps 1 week—great on pork or chicken. Save duck fat for roasting potatoes (liquid gold). Don’t skip scoring and drying the skin—that’s the crisp secret. Fresh or frozen cherries both work. Jam works too (skip the honey). This is easier than steak. Try it.