We’ve taken the classic and given it a serious upgrade. Think juicy, tender strips of chicken, encased in a crust that’s gloriously crispy and golden, thanks to a perfect blend of panko breadcrumbs, nutty parmesan, and a punch of savory garlic.
The best part? They’re baked, not fried, so you get all the crunch with way less mess. Serve them up with a side of ranch, marinara, or honey mustard, and watch them disappear. This is the chicken tender recipe you’ll come back to again and again.
Ingredients
Serves 4.
For the Chicken Tenders:
1 ½ lbs (680g) chicken tenderloins (or chicken breasts sliced into strips)
½ cup (65g) all-purpose flour
2 large eggs
1 ½ cups (135g) panko breadcrumbs (regular or gluten-free)
1 cup (100g) freshly grated Parmesan cheese
2 teaspoons garlic powder
1 teaspoon onion powder
1 teaspoon dried parsley
½ teaspoon salt
¼ teaspoon black pepper
¼ cup (60g) unsalted butter, melted
Fresh parsley, chopped, for garnish
For Serving (Optional):
Ranch dressing, marinara sauce, honey mustard, or your favorite dipping sauce
Step-by-Step Instructions
Step 1: Prep the Chicken
Preheat your oven to 400°F (200°C). Place a wire rack on a baking sheet and spray it lightly with non-stick cooking spray. This allows air to circulate under the tenders, making them extra crispy.
Pat the chicken tenders completely dry with paper towels. This helps the breading stick. Season them lightly on both sides with a pinch of salt and pepper.
Step 2: Set Up Your Breading Station
Grab three shallow bowls. This is your assembly line.
Bowl 1: Place the all-purpose flour.
Bowl 2: Crack the eggs and beat them with a fork until the yolks and whites are fully combined and slightly frothy.
Bowl 3: In the third bowl, combine the panko breadcrumbs, freshly grated Parmesan cheese, garlic powder, onion powder, dried parsley, salt, and pepper. Mix everything together with a fork until it’s evenly distributed.
Step 3: Bread the Chicken
Working with one tender at a time, dredge it in the flour, shaking off any excess. This thin layer of flour helps the egg wash stick.
Next, dip the floured tender into the beaten eggs, turning to coat all sides. Let any excess drip off.
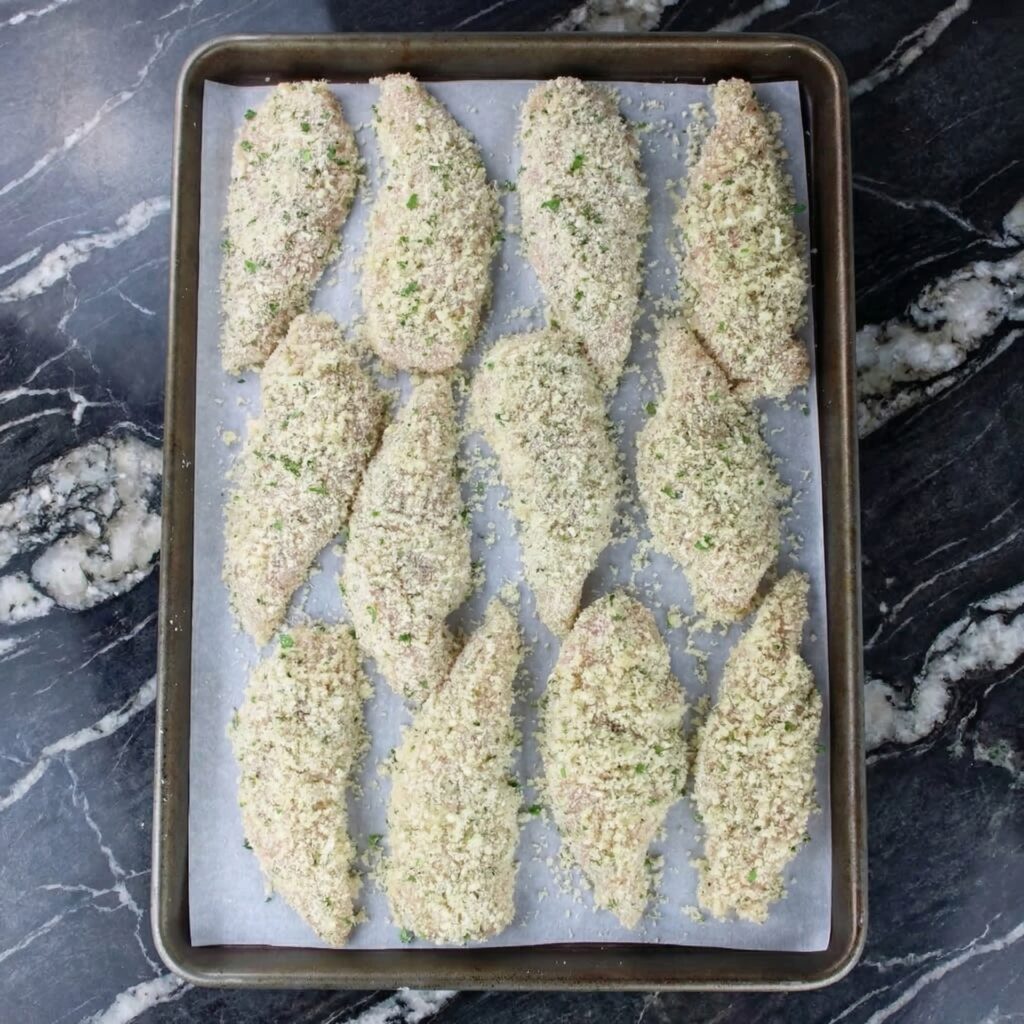
Finally, press the tender into the parmesan-panko mixture, turning and pressing firmly so the crumbs adhere in a thick, even layer. Place the breaded tender on the prepared wire rack.
Repeat with all the chicken tenders, placing them in a single layer on the rack without touching.
Step 4: The Secret to Extra Crispiness
Once all the tenders are breaded and on the rack, use a spoon or a small brush to drizzle the melted butter evenly over the top of each one. This is the secret to getting that golden, fried-like finish from the oven.
Step 5: Bake to Perfection
Bake for 15-18 minutes, flipping the tenders halfway through, until they are golden brown, crispy, and cooked through. An instant-read thermometer inserted into the thickest part of a tender should read 165°F (74°C).
For an even crispier exterior, you can switch the oven to broil for the last 1-2 minutes. Watch them carefully so they don’t burn!
Step 6: Garnish and Serve
Remove the tenders from the oven and let them rest for a couple of minutes.
Transfer them to a serving platter. Sprinkle generously with freshly chopped parsley and an extra dusting of grated Parmesan cheese.
Serve hot with your favorite dipping sauces on the side.
Store any leftover chicken tenders in an airtight container in the refrigerator for up to 4 days. They are delicious cold, but even better reheated.
Reheating:
To bring back that signature crunch, reheat in an air fryer at 350°F for 3-5 minutes, or in a 375°F oven on a wire rack for about 10 minutes. The microwave will work but will make the coating soft.
Make-Ahead for Meal Prep:
You can bread the chicken tenders up to 24 hours in advance. Place them on the wire rack on the baking sheet, cover loosely with plastic wrap, and store in the refrigerator. When ready to eat, simply drizzle with the melted butter and bake as directed, adding a couple of minutes to the cooking time.
Freezing Instructions:
Freeze the breaded, uncooked chicken tenders in a single layer on a parchment-lined baking sheet until solid. Transfer the frozen tenders to a freezer-safe bag or container. They can be frozen for up to 3 months. Bake from frozen at 400°F for 20-25 minutes, or until cooked through and crispy. No need to thaw!