Author: user

  • Pad See Ew Perfection: A Step-by-Step Guide to Thailand’s Irresistible Stir-Fried Noodles

    Pad See Ew Perfection: A Step-by-Step Guide to Thailand’s Irresistible Stir-Fried Noodles

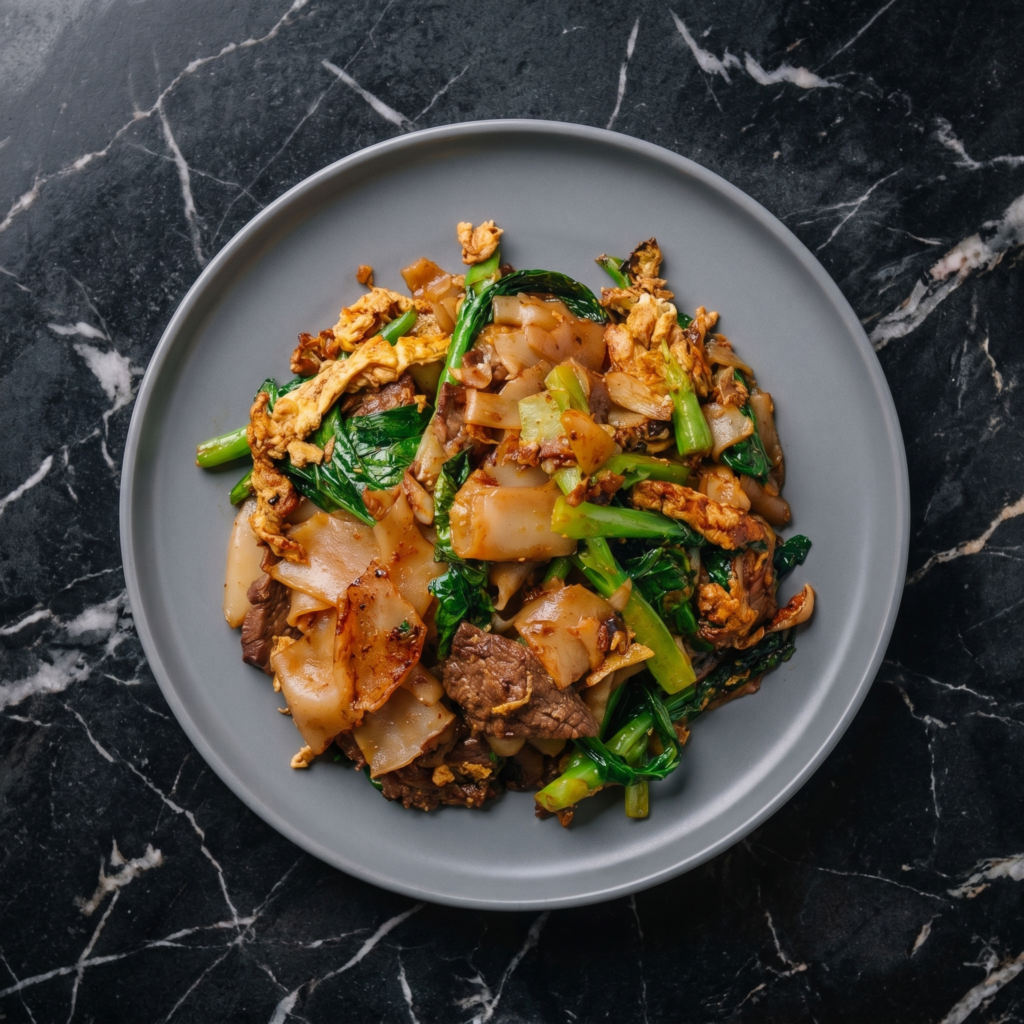
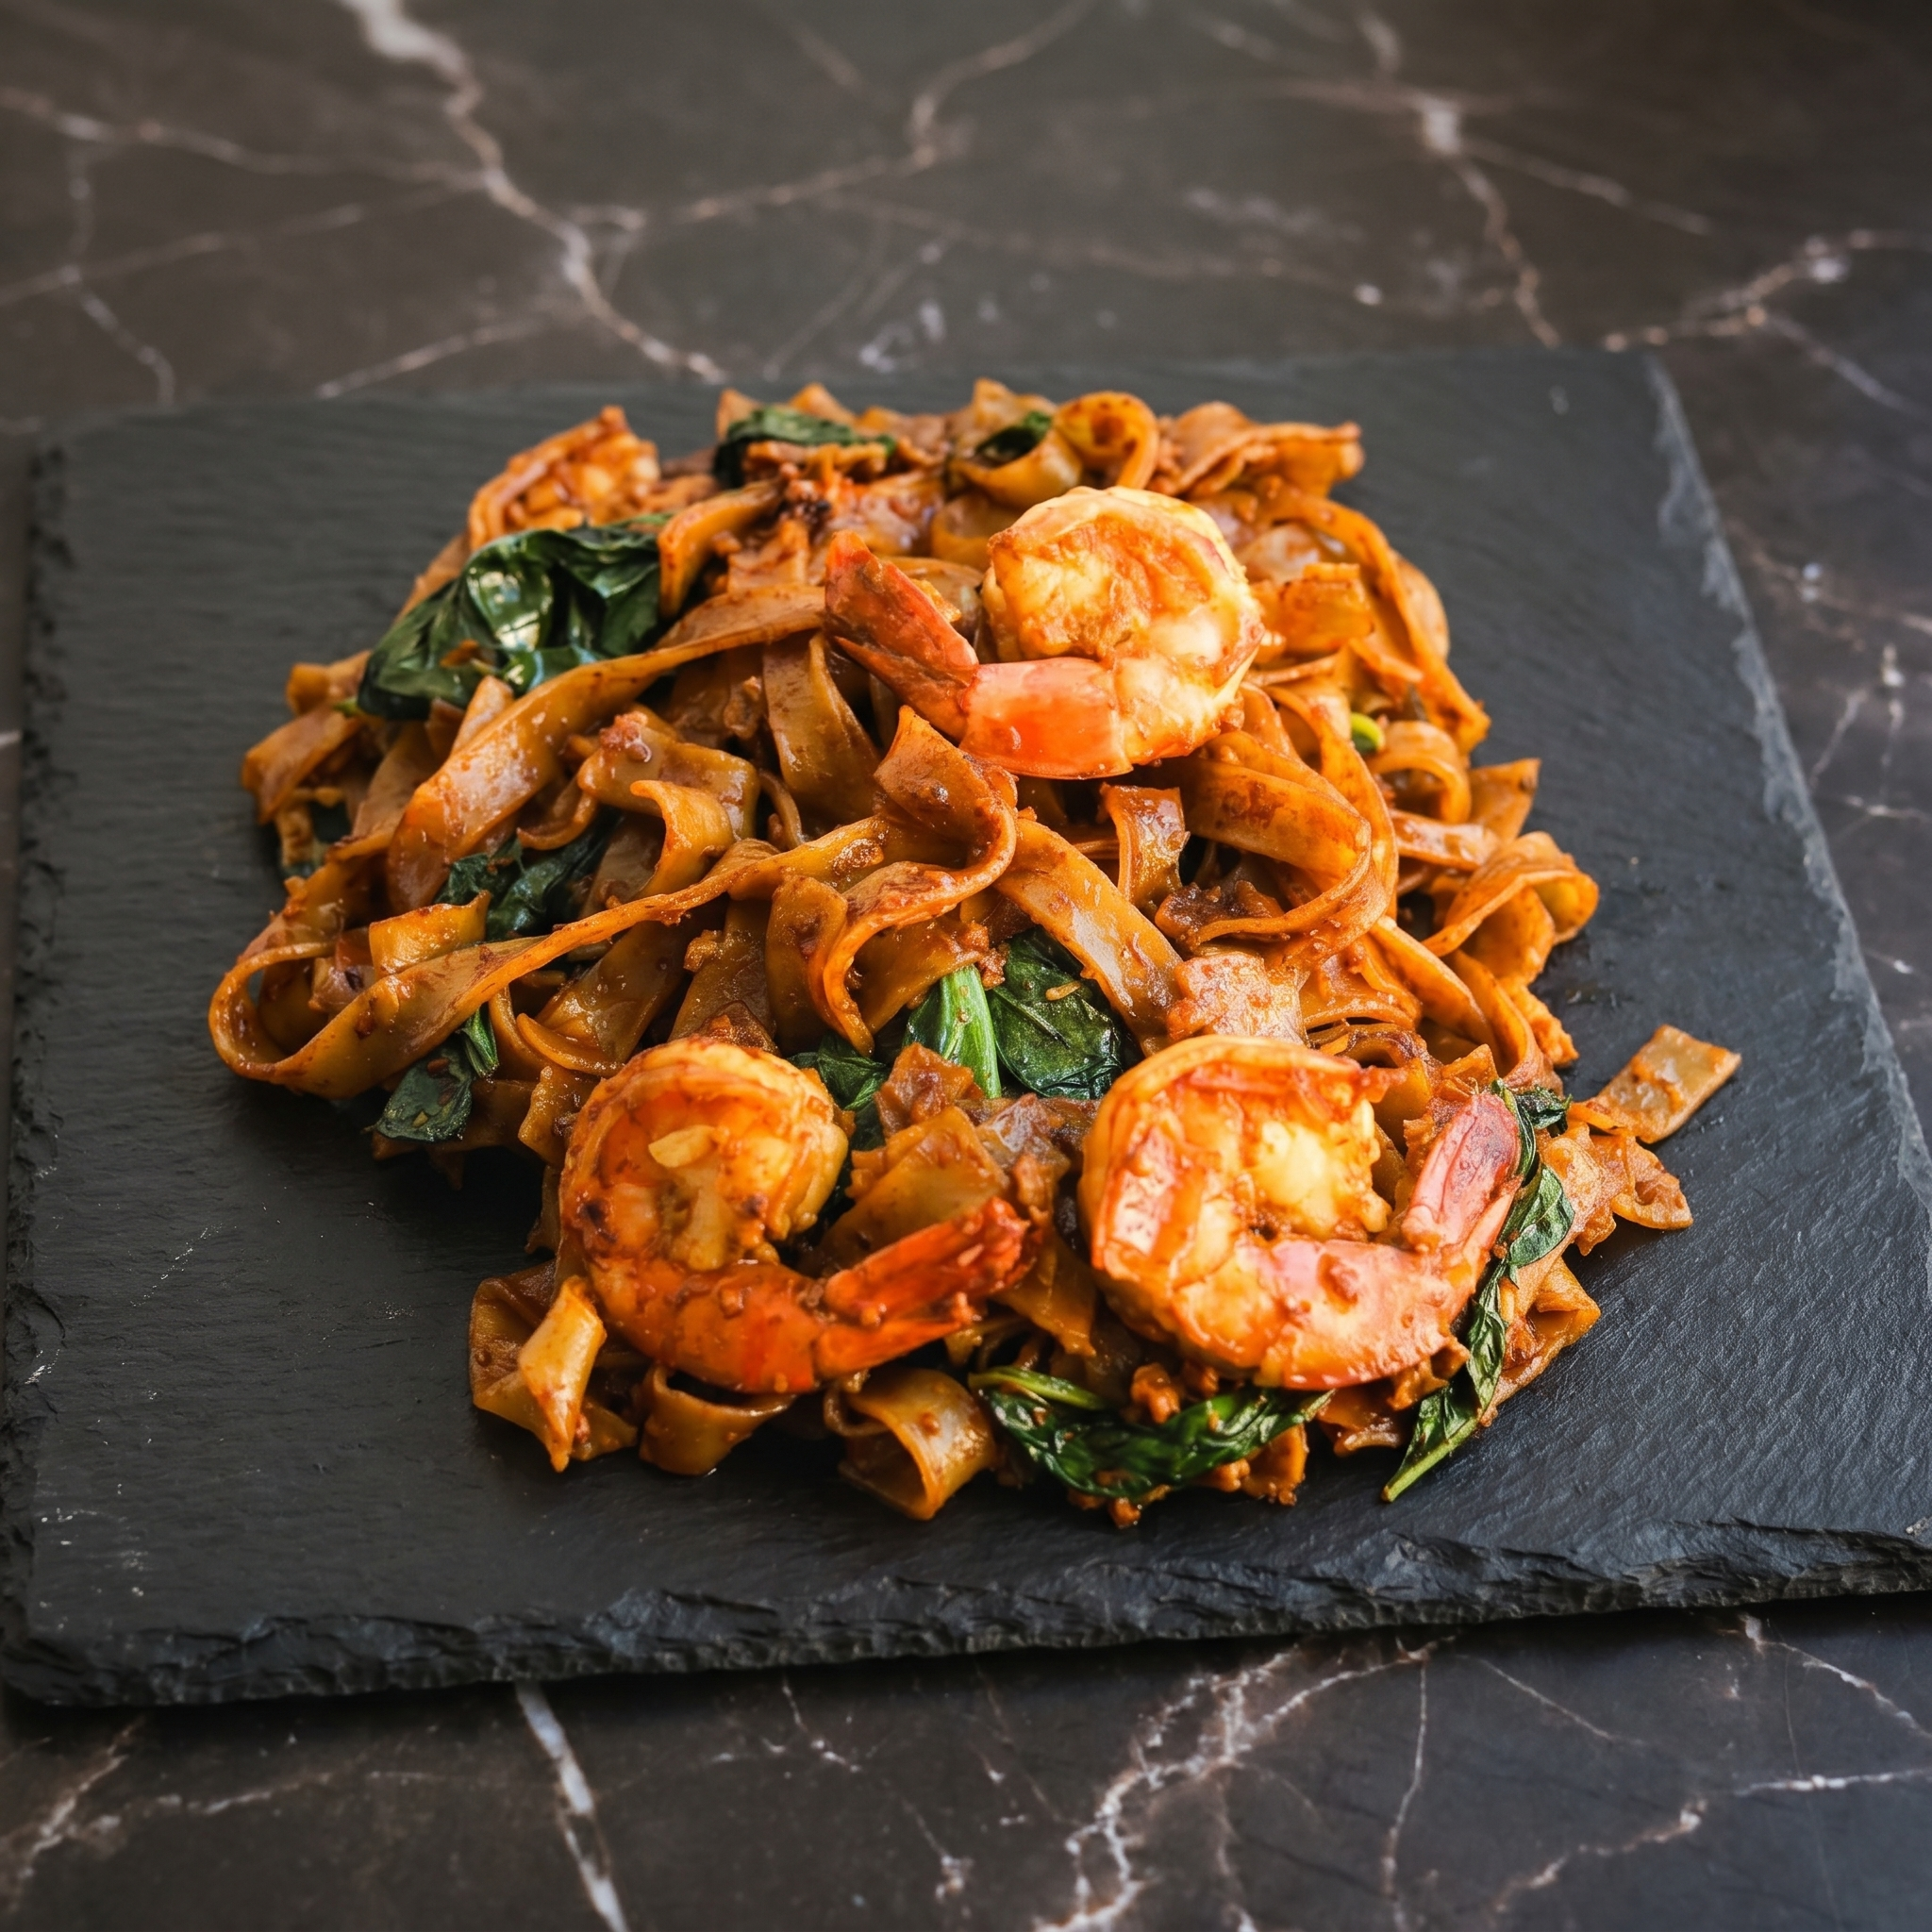
    If you’ve ever ordered Pad See Ew at a Thai restaurant and wondered how those glossy, smoky noodles come together so perfectly, you’re in the right place. This beloved street food classic is known for its wide rice noodles, savory-sweet soy sauce coating, tender protein, and slightly charred edges that deliver irresistible flavor in every bite.

    The good news? You don’t need a restaurant kitchen to make it. With the right technique and a hot pan, you can recreate that signature taste right at home.

    Let’s walk through it step by step.


    What Is Pad See Ew?

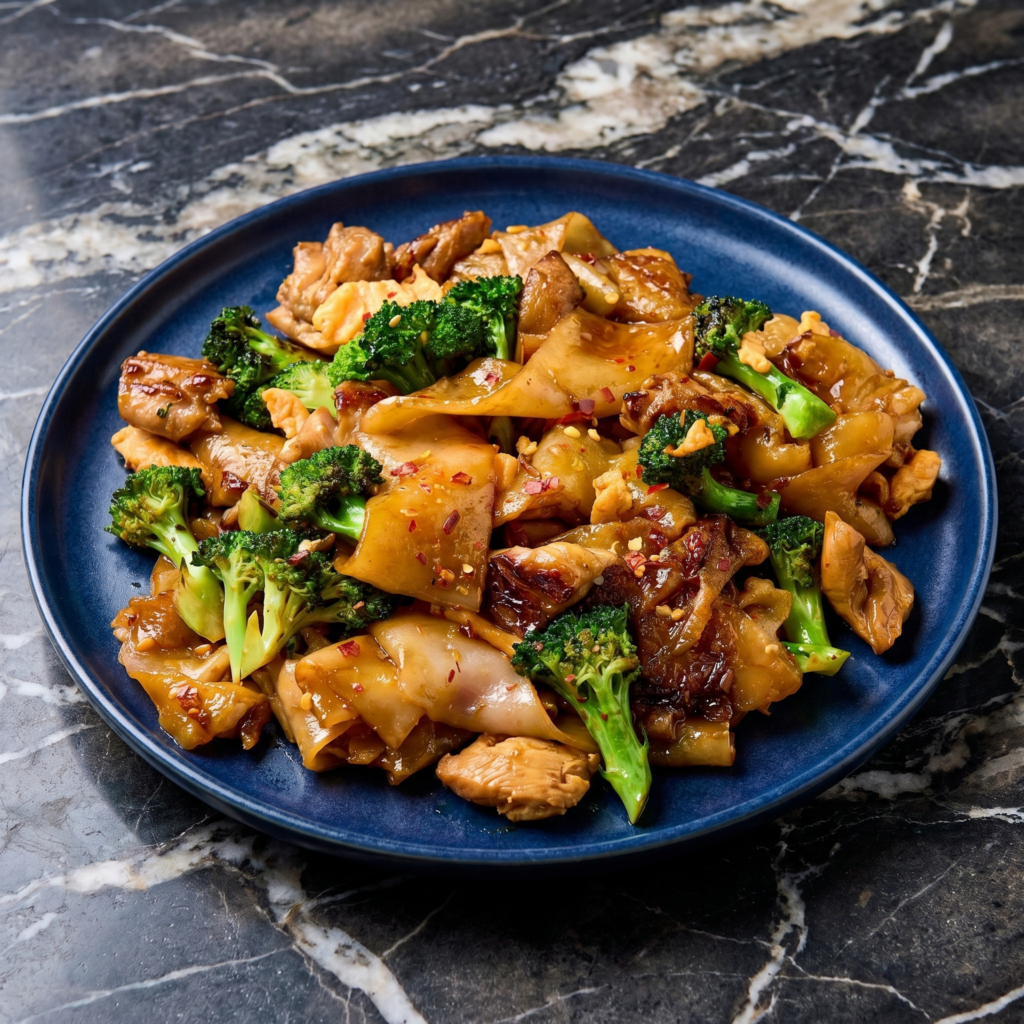
    Pad See Ew is a popular Thai stir-fried noodle dish made with wide rice noodles, dark soy sauce, Chinese broccoli (gai lan), egg, and a protein like chicken, beef, shrimp, or tofu. The name translates roughly to “stir-fried with soy sauce,” and that savory depth is exactly what defines the dish.

    Its flavor profile is savory, slightly sweet, and deeply umami, with subtle smokiness from high-heat cooking.


    Ingredients You’ll Need

    Here’s everything to prepare before you start cooking:

    For the sauce:

    • 2 tablespoons light soy sauce
    • 1 tablespoon dark soy sauce
    • 1 tablespoon oyster sauce
    • 1–2 teaspoons sugar
    • 1 teaspoon rice vinegar

    For the stir-fry:

    • 12 ounces fresh wide rice noodles (or dried, soaked until pliable)
    • 2 tablespoons neutral oil (like avocado or vegetable oil)
    • 8 ounces chicken breast (thinly sliced), or your preferred protein
    • 2 cloves garlic, minced
    • 2 large eggs
    • 2 cups Chinese broccoli (gai lan), chopped into bite-sized pieces
    • Freshly ground white or black pepper

    Step 1: Prepare Everything First

    Pad See Ew cooks quickly, so have all ingredients measured and ready before turning on the heat.

    If using dried rice noodles, soak them in warm water for about 30 minutes until pliable but not mushy. Drain well.

    Mix all sauce ingredients together in a small bowl and set aside. This ensures even distribution once it hits the pan.

    Slice your protein thinly against the grain. Chop the Chinese broccoli, separating thick stems from leafy tops—they cook at different speeds.


    Step 2: Heat the Pan Properly

    Place a large wok or heavy skillet over high heat. Let it heat for at least 1–2 minutes before adding oil. High heat is essential for achieving that signature smoky flavor, often called “wok hei.”

    Add 1 tablespoon of oil and swirl to coat the pan.


    Step 3: Cook the Protein

    Add the sliced chicken (or chosen protein) in a single layer. Let it sear undisturbed for about 30 seconds to develop color.

    Stir-fry for 2–3 minutes until cooked through. Remove from the pan and set aside.

    Cooking the protein separately prevents overcrowding and keeps it tender.


    Step 4: Sauté the Garlic and Vegetables

    Add another tablespoon of oil if needed. Toss in the minced garlic and stir quickly—about 10 seconds—just until fragrant.

    Add the chopped Chinese broccoli stems first. Stir-fry for about 1 minute before adding the leafy parts. Continue cooking for another minute until bright green and slightly tender but still crisp.

    Push everything to one side of the pan.


    Step 5: Scramble the Eggs

    Crack the eggs into the empty side of the pan. Let them sit for a few seconds, then scramble gently.

    Once mostly cooked but still slightly soft, mix them with the vegetables.

    This layering method keeps textures distinct and prevents overcooking.


    Step 6: Add the Noodles

    Increase heat back to high. Add the rice noodles to the pan.

    If using fresh noodles that are stuck together, gently separate them with your hands before adding. Handle carefully—they can tear easily.

    Spread the noodles out and let them sit for 20–30 seconds without stirring. This allows slight caramelization and char.


    Step 7: Add Sauce and Combine

    Pour the prepared sauce evenly over the noodles.

    Using tongs or a spatula, gently toss everything together. Try to lift and fold rather than aggressively stir to keep noodles intact.

    Let sections of the noodles sit briefly against the hot surface to develop light charring. This step gives the dish its authentic depth.

    Return the cooked protein to the pan and toss until fully combined and heated through.


    Step 8: Final Seasoning

    Taste and adjust if needed. Add a pinch more sugar if it needs balance or a splash of soy sauce for saltiness.

    Finish with freshly ground white or black pepper for subtle heat.

    Turn off the heat immediately once everything is coated and glossy.


    Tips for Authentic Flavor

    Use dark soy sauce. It provides color and mild sweetness without overpowering saltiness.

    Cook on high heat. Proper heat creates the slightly smoky character that defines Pad See Ew.

    Don’t overcrowd the pan. If doubling the recipe, cook in batches.

    Avoid over-saucing. The noodles should be coated, not swimming.


    Make It Your Own

    Pad See Ew is flexible and easy to customize:

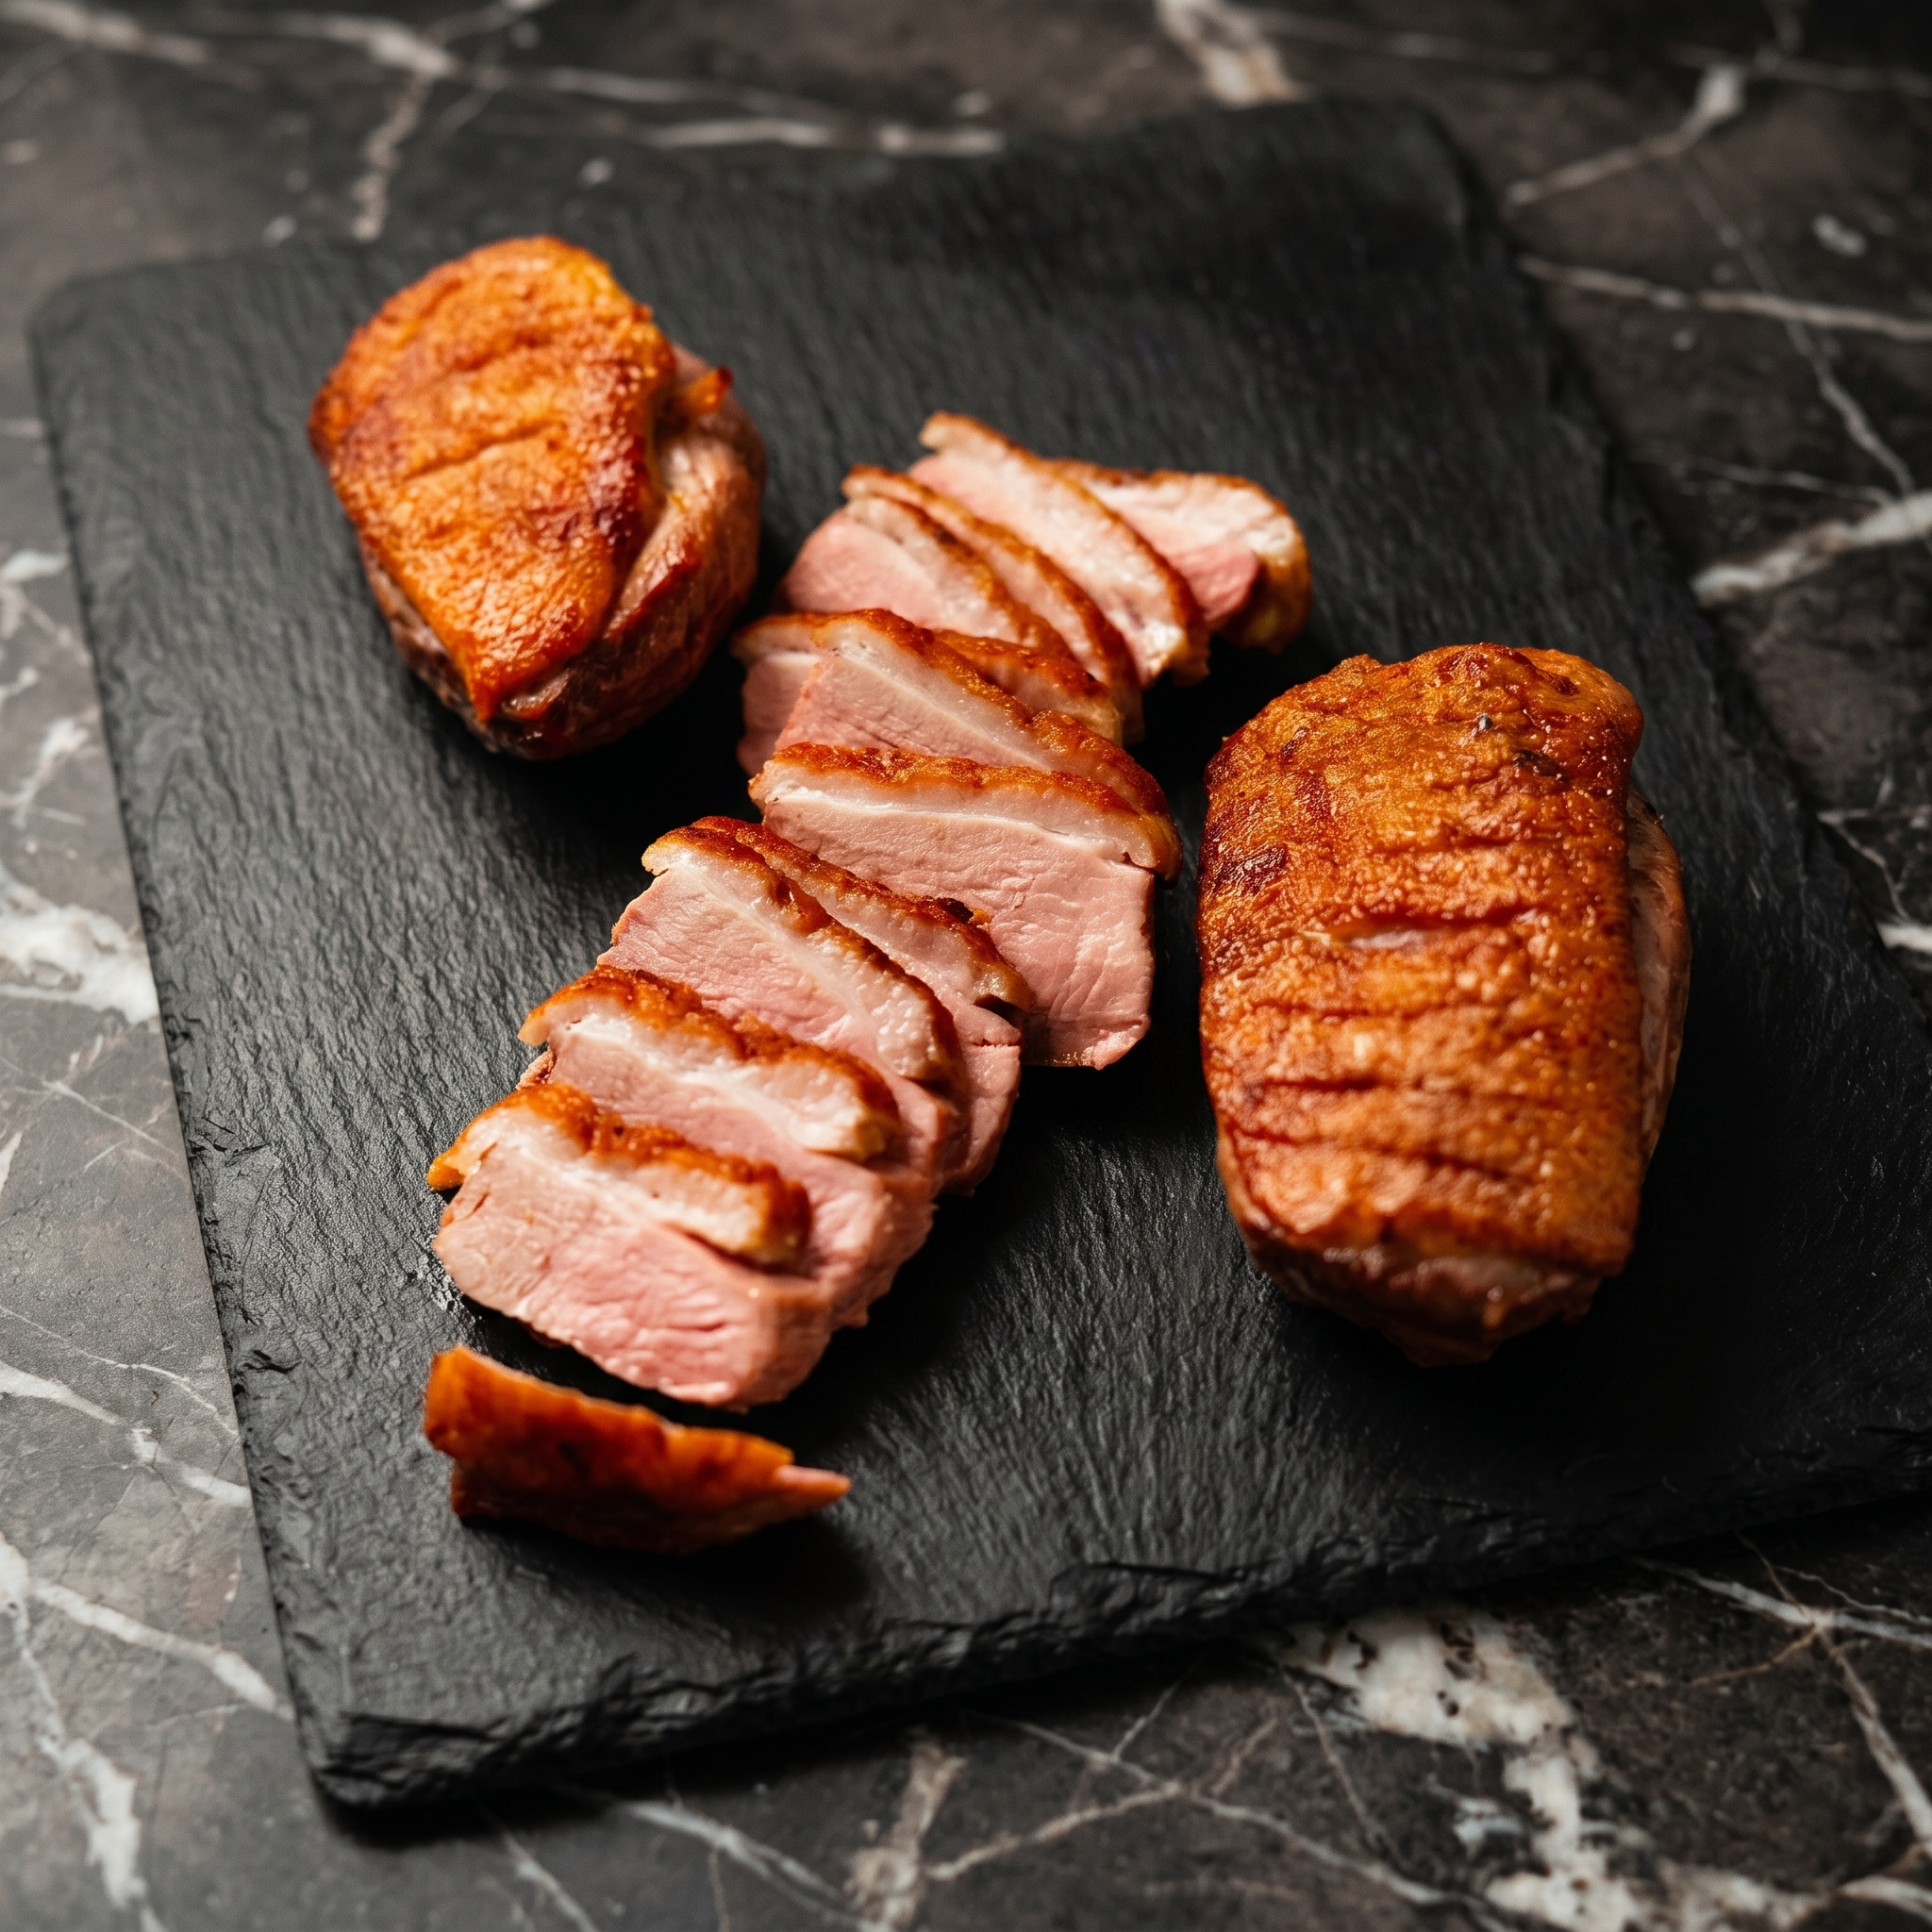
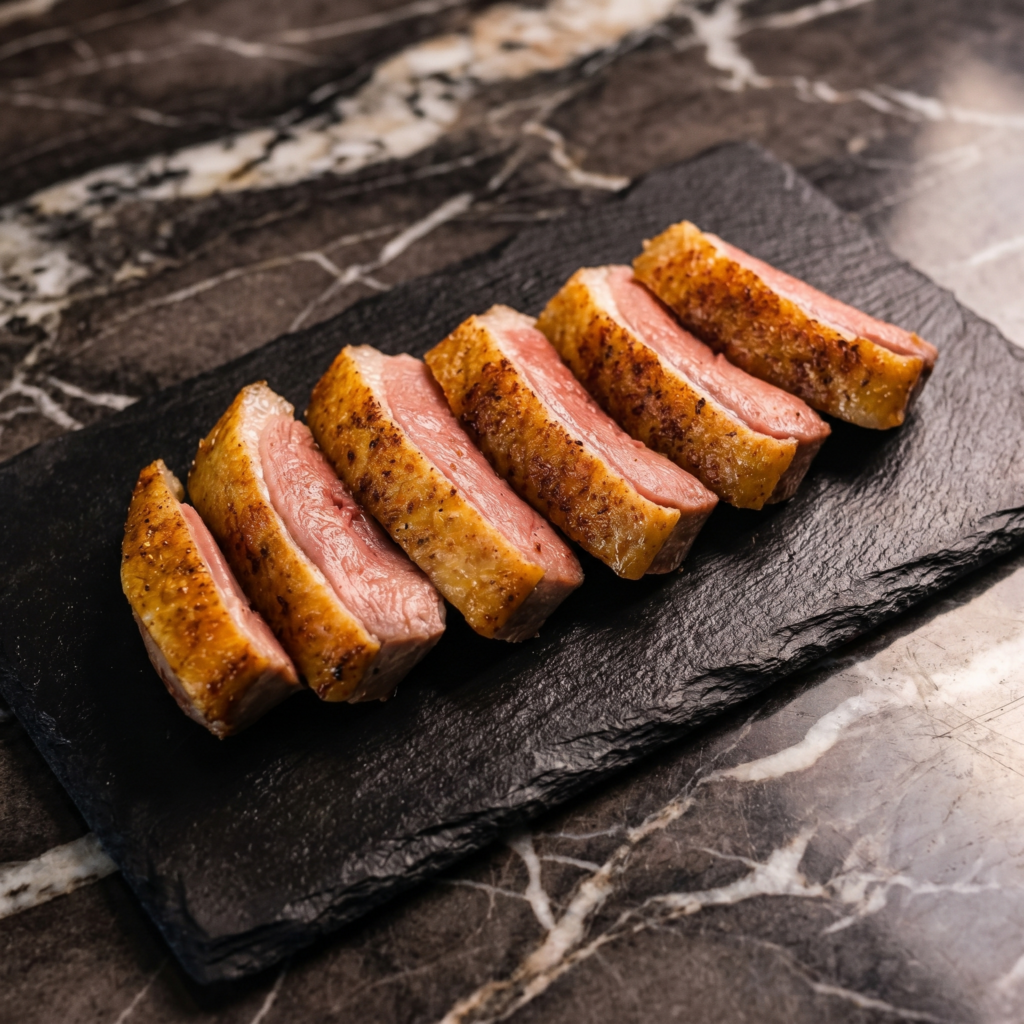
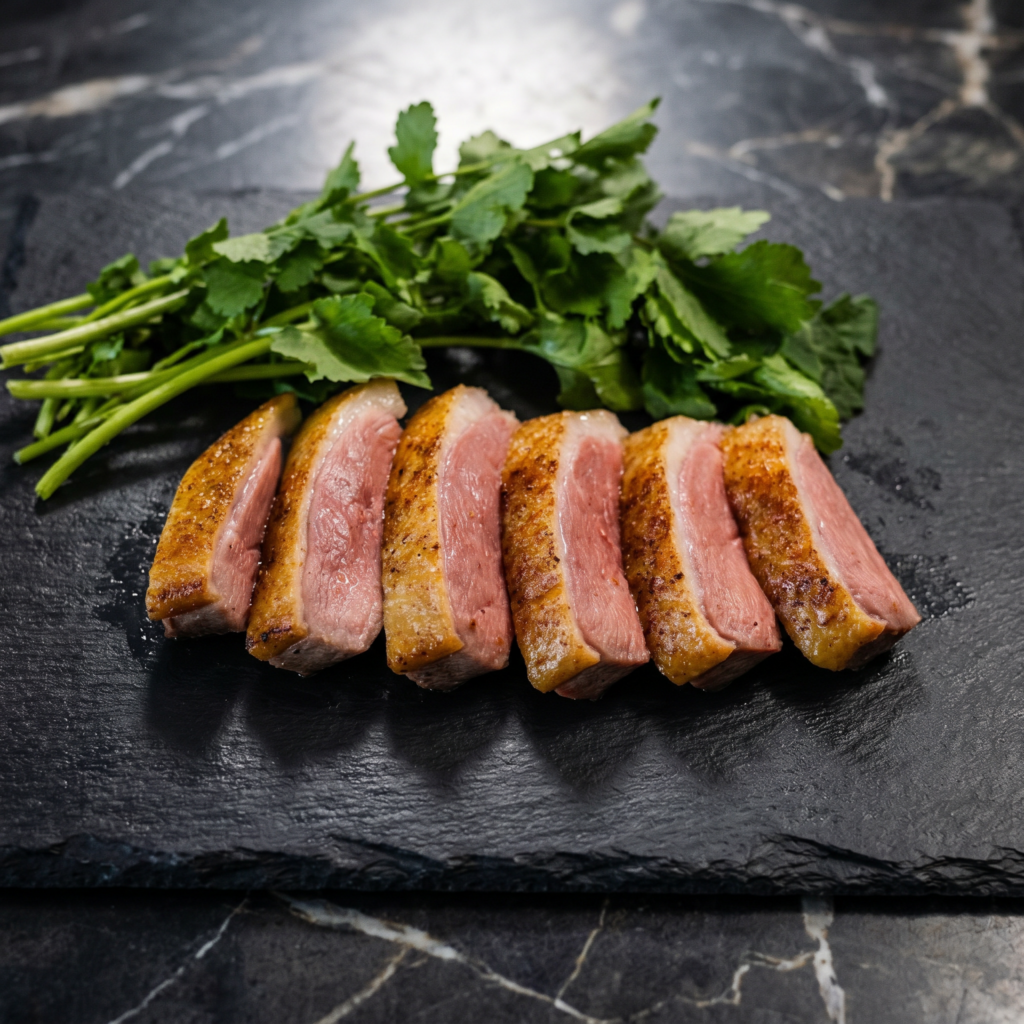
    • Swap chicken for thinly sliced beef or shrimp.
    • Use tofu for a vegetarian option.
    • Add mushrooms for extra umami.
    • Sprinkle chili flakes for heat.

    You can also serve it with a wedge of lime or a dash of chili vinegar for brightness.


    Storage and Reheating

    Pad See Ew is best enjoyed fresh, but leftovers can be stored in an airtight container in the refrigerator for up to 3 days.

    Reheat in a hot skillet with a small splash of water to loosen the noodles. Avoid microwaving too long, as it can make them rubbery.


    Final Thoughts

    Making Pad See Ew at home is easier than you might think. With a handful of pantry staples and the right high-heat technique, you can recreate that restaurant-quality flavor in under 30 minutes.

    Savory, slightly sweet, and satisfyingly smoky, this Thai classic proves that simple ingredients—treated with care—can create bold, unforgettable meals.

    Heat up your wok, embrace the sizzle, and enjoy every glossy, flavorful bite.

  • Sweet, Savory & Sizzling: Irresistible Sticky Soy Steak Skewers

    Sweet, Savory & Sizzling: Irresistible Sticky Soy Steak Skewers

    If you’re looking for a bold, crowd-pleasing dish that’s packed with flavor and easy enough for weeknights, these Sticky Soy Steak Skewers are exactly what you need. Tender cubes of steak are marinated in a sweet and savory soy glaze, threaded onto skewers, and grilled until caramelized and slightly charred. The result? Juicy, flavorful bites with a glossy, sticky finish that’s completely addictive.

    Perfect for backyard barbecues, casual dinners, or even meal prep, these skewers deliver maximum flavor with minimal effort. Let’s walk step by step through how to make them perfectly every time.


    Ingredients

    For the steak:

    • 1 ½ pounds sirloin, flank steak, or ribeye, cut into 1 ½-inch cubes
    • Salt and freshly ground black pepper

    For the sticky soy marinade:

    • ⅓ cup soy sauce
    • 2 tablespoons brown sugar
    • 1 tablespoon honey
    • 1 tablespoon rice vinegar
    • 1 tablespoon sesame oil
    • 3 cloves garlic, minced
    • 1 teaspoon freshly grated ginger
    • ½ teaspoon red pepper flakes (optional)

    For garnish:

    • Sesame seeds
    • Sliced green onions
    • Lime wedges (optional)

    Additional:

    • Wooden or metal skewers
    • Neutral oil for brushing

    Step 1: Prep the Steak

    Start by trimming any excess fat from the steak. Cut it into evenly sized cubes—about 1 ½ inches each. Uniform pieces ensure even cooking.

    Pat the steak dry with paper towels and lightly season with salt and freshly ground black pepper. Since soy sauce is salty, don’t over-season at this stage.


    Step 2: Make the Marinade

    In a medium bowl, whisk together soy sauce, brown sugar, honey, rice vinegar, sesame oil, garlic, ginger, and red pepper flakes. Stir until the sugar dissolves completely.

    This marinade strikes the perfect balance between salty, sweet, tangy, and aromatic. The honey and brown sugar will help create that beautiful sticky glaze once the skewers hit the heat.


    Step 3: Marinate the Steak

    Place the steak cubes in a zip-top bag or shallow dish. Pour the marinade over the steak, ensuring all pieces are well coated.

    Cover and refrigerate for at least 30 minutes, ideally 2–4 hours. The longer it marinates, the deeper the flavor. Avoid marinating overnight if using very tender cuts like ribeye, as the acidity can slightly change the texture.


    Step 4: Prepare the Skewers

    If using wooden skewers, soak them in water for at least 30 minutes to prevent burning. Metal skewers don’t require soaking.

    Thread the marinated steak cubes onto the skewers, leaving a little space between each piece. This allows heat to circulate evenly and promotes better caramelization.


    Step 5: Preheat the Grill or Pan

    Preheat your grill to medium-high heat (about 400°F / 200°C). If cooking indoors, heat a grill pan or cast-iron skillet over medium-high heat.

    Lightly brush the grates or pan with neutral oil to prevent sticking.


    Step 6: Grill the Skewers

    Place the skewers on the hot grill. Cook for about 2–3 minutes per side, rotating to ensure even cooking and grill marks on all sides.

    For medium-rare steak, aim for an internal temperature of about 130–135°F. For medium, cook to 140–145°F. Avoid overcooking, as the steak can become tough.

    As the sugars in the marinade heat up, they’ll caramelize, forming that signature sticky glaze. Watch carefully to prevent burning.


    Step 7: Create the Extra Glaze (Optional but Recommended)

    If you’d like extra stickiness, reserve a small portion of marinade before adding it to the raw steak. Simmer this reserved marinade in a small saucepan for 3–5 minutes until slightly thickened.

    Brush the cooked skewers with this glaze just before removing them from the grill for an extra glossy finish.


    Step 8: Rest the Steak

    Remove the skewers from heat and let them rest for 5 minutes. Resting allows the juices to redistribute throughout the meat, keeping each bite tender and juicy.


    Step 9: Garnish and Serve

    Sprinkle sesame seeds and sliced green onions over the skewers. Serve with lime wedges for a bright citrus finish if desired.

    These skewers pair beautifully with:

    • Steamed jasmine rice
    • Fried rice
    • Grilled vegetables
    • Fresh cucumber salad
    • Noodles with sesame dressing

    Pro Tips for Perfect Sticky Soy Steak Skewers

    • Choose the right cut: Sirloin and flank steak are flavorful and hold up well to grilling.
    • Don’t overcrowd skewers: Leave slight gaps for even cooking.
    • High heat is key: It creates caramelization without overcooking the interior.
    • Rest before serving: This prevents juices from spilling out.
    • Monitor closely: Sugars in the marinade can burn quickly.

    Why This Recipe Works

    The magic lies in the marinade. Soy sauce provides umami depth, brown sugar and honey add sweetness and caramelization, rice vinegar balances with acidity, and garlic and ginger create aromatic complexity.

    Grilling at high heat locks in juices while forming a lightly charred crust. The result is steak that’s tender inside, slightly crisp outside, and coated in a glossy, flavorful glaze.


    Variations to Try

    • Spicy Kick: Add a tablespoon of chili paste for extra heat.
    • Teriyaki Twist: Substitute rice vinegar with mirin for a sweeter profile.
    • Garlic Lover’s Version: Double the garlic for bold flavor.
    • Vegetable Skewers: Add bell peppers, onions, or mushrooms between steak pieces.

    Storage and Reheating

    Leftover skewers can be stored in an airtight container in the refrigerator for up to 3 days. Reheat gently in a skillet over medium heat to avoid overcooking.

    They also make fantastic leftovers sliced over salads or tucked into wraps.


    Final Thoughts

    Sticky Soy Steak Skewers combine simplicity with bold flavor, making them perfect for everything from casual weeknight dinners to festive gatherings. With a balanced marinade, high-heat grilling, and a glossy finish, these skewers are guaranteed to impress.

    Once you try them, they’ll quickly become a staple in your cooking rotation—sweet, savory, and irresistibly sticky in every bite.

  • Balsamic Glazed Beef Short Ribs (Fall-Off-The-Bone, Zero Regrets)

    Balsamic Glazed Beef Short Ribs (Fall-Off-The-Bone, Zero Regrets)

    Short ribs are a flex that requires almost no effort. You sear. You pour. You walk away. Hours later, your kitchen smells like a steakhouse heaven, and dinner is unforgettable.

    This version gets a glossy balsamic glaze that’s sticky, tangy, and deeply savory. Serve over mashed potatoes or polenta and watch people fight over the last rib.

    Ingredients

    Serves 4.

    • 3–4 lbs beef short ribs (bone-in, about 6–8 ribs)
    • 2 tablespoons olive oil
    • 1 large onion, diced
    • 4 garlic cloves, smashed
    • 1 cup balsamic vinegar
    • 2 cups beef broth
    • 2 tablespoons tomato paste
    • 2 sprigs fresh rosemary
    • Salt and black pepper

    Step-by-Step Instructions

    Step 1: Sear the Ribs

    1. Preheat oven to 325°F (165°C). Pat short ribs dry. Season generously with salt and pepper.
    2. Heat oil in a Dutch oven over medium-high heat. Sear ribs in batches until deeply browned on all sides, about 3–4 minutes per batch. Transfer to a plate.

    Step 2: Build the Braise

    1. Pour off all but 1 tablespoon of fat. Add onion and cook 3 minutes. Add garlic and tomato paste, cook 1 more minute.
    2. Pour in balsamic vinegar. Scrape up brown bits. Simmer until reduced by half, about 2 minutes.
    3. Add beef broth and rosemary. Bring to a simmer.

    Step 3: Braise Low and Slow

    1. Return ribs to the pot (meat-side down). Liquid should come halfway up the ribs—add water if needed.
    2. Cover and transfer to oven. Braise for 2.5 to 3 hours until meat is fall-apart tender.

    Step 4: Glaze and Serve

    1. Remove ribs to a platter. Skim fat from the sauce. Simmer sauce on stovetop until thickened to a syrupy glaze, about 5–10 minutes.
    2. Spoon glaze over ribs. Serve hot.

    Summary

    Prep Time: 15 minutes | Cook Time: 3 hours | Total Time: 3 hours 15 minutes

    Yield: 4 servings

    Difficulty: Easy (patient required, skill not so much)

    Storage Notes

    Even better the next day: Short ribs improve overnight. Refrigerate in the sauce for up to 4 days. Skim solidified fat before reheating.

    Freezer friendly: Freeze in sauce for up to 3 months. Thaw overnight in the fridge and reheat gently on the stovetop.

    Make ahead move: Braise a day early. Reheat slowly in a 300°F oven for 20 minutes before glazing.

  • Lamb Lollipops with Mint Pesto (Fancy Enough for a Crown)

    Lamb Lollipops with Mint Pesto (Fancy Enough for a Crown)

    Lamb lollipops are exactly what they sound like. Lamb chops. Frenched into little handles. Eat with your hands. No shame.

    Juicy, herb-crusted, seared to perfection. Served with a vibrant, garlicky mint pesto that cuts through the richness. Fancy dinner party energy. Zero stress.

    Ingredients

    Serves 4 as an appetizer or 2 as a main.

    For the Lamb:

    • 8 lamb chops (frenched—ask your butcher)
    • 2 tablespoons olive oil
    • 4 cloves garlic, minced
    • 1 tablespoon fresh rosemary, finely chopped
    • 1 tablespoon fresh thyme, finely chopped
    • 1 teaspoon salt
    • ½ teaspoon black pepper

    For the Mint Pesto:

    • 2 cups fresh mint leaves (packed)
    • ½ cup fresh parsley or basil
    • ¼ cup pine nuts or walnuts
    • ¼ cup grated Parmesan cheese
    • 2 cloves garlic
    • ¼ cup olive oil
    • 1 tablespoon lemon juice
    • Salt to taste

    Step-by-Step Instructions

    Step 1: Marinate the Lamb

    1. In a bowl, mix olive oil, garlic, rosemary, thyme, salt, and pepper.
    2. Coat lamb chops. Marinate for 15 minutes (or up to 4 hours in the fridge).

    Step 2: Make the Mint Pesto

    1. In a food processor, combine mint, parsley, nuts, Parmesan, garlic, and lemon juice.
    2. Pulse until finely chopped. With machine running, stream in olive oil.
    3. Season with salt. Set aside.

    Step 3: Sear the Lamb Lollipops

    1. Heat a heavy pan over medium-high heat (no oil needed—meat has oil).
    2. Sear lamb chops for 2–3 minutes per side for medium-rare.
    3. Let rest for 5 minutes.

    Step 4: Serve

    1. Arrange lamb lollipops on a platter.
    2. Spoon mint pesto over the top or serve on the side for dipping.
    3. Pick up by the bone. Bite. Grin. Repeat.

    Summary

    Prep Time: 10 minutes | Marinate: 15 minutes | Cook Time: 6 minutes | Total Time: 30 minutes

    Yield: 8 lamb lollipops

    Difficulty: Easy

    Storage Notes

    Lamb is best fresh. Leftover pesto is a gift that keeps giving.

    • Fridge (lamb): Store cooked chops for up to 3 days. Reheat in pan over medium-low for 2 minutes per side.
    • Fridge (pesto): Store in a jar with a thin layer of olive oil on top for up to 1 week.
    • Freezer (pesto): Freeze in ice cube trays for up to 3 months. Pop one out whenever you need brightness.
    • Pro tip: Ask your butcher to french the lamb chops. It takes 30 seconds and makes you look like a pro.
  • Veal Saltimbocca: The 15-Minute Italian Classic

    Veal Saltimbocca: The 15-Minute Italian Classic

    “Saltimbocca” means “jumps in your mouth.” One bite and you’ll get it. Tender veal cutlets topped with fresh sage and salty prosciutto, pan-seared, then finished with a buttery white wine sauce. It’s Roman. It’s elegant. It’s on your table in 15 minutes. Date night? Weeknight fancy? Yes and yes. Let’s cook.

    Ingredients

    Serves 4.

    • 4 veal cutlets (about 1.5 lbs / 700g), pounded thin
    • 4 slices prosciutto
    • 12 fresh sage leaves
    • ½ cup all-purpose flour
    • 2 tablespoons olive oil
    • 2 tablespoons unsalted butter
    • ½ cup dry white wine
    • ¼ cup chicken broth
    • Salt and black pepper
    • Lemon wedges for serving

    Step-by-Step Instructions

    Step 1: Assemble the Saltimbocca

    1. Season veal with salt and pepper. Lay a sage leaf on each cutlet. Top with a slice of prosciutto (same size as veal). Press to adhere.
    2. Dredge veal in flour, shake off excess (prosciutto side up, don’t coat it).

    Step 2: Sear the Veal

    1. Heat olive oil and 1 tablespoon butter in a large skillet over medium-high heat.
    2. Place veal prosciutto-side down. Cook 2 minutes until golden. Flip. Cook 1-2 more minutes. Remove to a plate.

    Step 3: Make the Sauce

    1. Add wine to the pan, scraping up brown bits. Simmer 1 minute.
    2. Add broth and remaining butter. Simmer 1 minute until slightly thickened.

    Step 4: Finish and Serve

    1. Return veal to pan, turning to coat in sauce (30 seconds).
    2. Serve immediately with lemon wedges and sauce spooned over.
    3. Add roasted potatoes or polenta. Mangia.

    Summary

    Prep Time: 5 minutes | Cook Time: 10 minutes | Total Time: 15 minutes

    Yield: 4 servings

    Difficulty: Easy

    Storage Notes

    Best fresh. Leftovers keep 2 days in fridge. Reheat gently in a skillet with a splash of broth (microwave dries out veal). Prosciutto can be swapped with pancetta. No veal? Use chicken or turkey cutlets (chicken saltimbocca works great). Don’t skip the sage—it’s essential. This sauce also works on pasta. Double the recipe. You’ll want leftovers.

  • Pistachio Crusted Salmon (Fancy Enough for Guests, Fast Enough for Tuesday)

    Pistachio Crusted Salmon (Fancy Enough for Guests, Fast Enough for Tuesday)

    Salmon is already great. Add a pistachio crust? Now we’re talking. The nuts toast into a golden, buttery crunch that contrasts perfectly with the tender, flaky fish underneath.

    A quick honey-mustard glaze holds everything together and adds sweet-tangy depth. This is your new “impress someone” dinner—and it’s faster than ordering delivery.

    Ingredients

    Serves 2.

    • 2 salmon fillets (6 oz each, skin on or off)
    • ½ cup shelled pistachios (unsalted)
    • 2 tablespoons honey
    • 1 tablespoon Dijon mustard
    • 1 tablespoon olive oil
    • Salt and black pepper
    • Lemon wedges, for serving

    Step-by-Step Instructions

    Step 1: Make the Crust

    1. Pulse pistachios in a food processor or chop finely by hand. You want small crumbs, not dust.
    2. Mix pistachios with a pinch of salt.

    Step 2: Glaze and Coat

    1. Pat salmon dry. Season with salt and pepper.
    2. Whisk honey and mustard together in a small bowl.
    3. Brush honey-mustard mixture over the top of each fillet. Press the pistachio crust on top, gently packing it in.

    Step 3: Sear and Finish

    1. Heat olive oil in an oven-safe skillet over medium-high heat.
    2. Place salmon crust-side down. Sear for 2 minutes until golden brown. Carefully flip.
    3. Transfer skillet to a 400°F (200°C) oven for 3–4 minutes for medium, or until cooked to your liking.

    Step 4: Serve

    1. Remove from oven. Squeeze fresh lemon over the top.
    2. Serve immediately—the crust is crispiest right away.

    Summary

    Prep Time: 8 minutes | Cook Time: 8 minutes | Total Time: 16 minutes

    Yield: 2 servings

    Difficulty: Easy

    Storage Notes

    Best fresh: The crust softens within hours. Eat immediately for that crunchy texture.

    Leftovers: Store in an airtight container for up to 2 days. Eat cold over salads or reheat gently in a 300°F oven for 5 minutes (crust won’t be as crisp).

    Prep ahead: Make pistachio crumbs and honey-mustard glaze up to 3 days in advance. Keep separate. Assemble just before cooking.

  • Ribeye Steak (The 10-Minute Pan-Seared Version)

    Ribeye Steak (The 10-Minute Pan-Seared Version)

    Ribeye is the king of steaks. That marbling means flavor, and flavor means you don’t need fancy techniques. This is the fast version: hot pan, cold steak, aggressive seasoning, and a butter bath. Ten minutes. One dirty pan. Steakhouse results.

    Ingredients

    Serves 1-2.

    • 1 ribeye steak (1 inch thick, about 12 oz)
    • 1 tablespoon high-smoke-point oil
    • 2 tablespoons butter
    • 3 cloves garlic, smashed
    • 2 sprigs fresh rosemary or thyme
    • Salt and coarse black pepper

    Step-by-Step Instructions

    Step 1: Dry and Season

    1. Pat steak completely dry with paper towels.
    2. Season generously with salt and pepper on both sides.

    Step 2: Heat the Pan

    1. Heat oil in a cast iron or heavy skillet over medium-high heat until shimmering.
    2. The pan must be screaming hot.

    Step 3: Sear Hard

    1. Place steak in the pan. Press down gently.
    2. Cook undisturbed for 3 minutes until a dark crust forms.
    3. Flip and cook for another 2-3 minutes.

    Step 4: Butter Baste

    1. Reduce heat to medium. Add butter, garlic, and rosemary.
    2. Tilt pan and spoon butter over steak for 1 minute.

    Step 5: Rest and Slice

    1. Transfer steak to a cutting board. Rest for 5 minutes (do not skip).
    2. Slice against the grain. Pour pan juices over the top.

    Summary

    Prep Time: 2 minutes | Cook Time: 8 minutes | Total Time: 10 minutes (plus 5 min rest)

    Yield: 1-2 servings

    Difficulty: Easy

    Storage Notes

    Leftover ribeye keeps for 3 days. Reheat in a hot skillet for 1 minute per side or eat cold sliced over salad. Never microwave. Never freeze cooked steak.

  • BBQ Pulled Pork Sandwich (Oven or Slow Cooker, No Smoker Needed)

    BBQ Pulled Pork Sandwich (Oven or Slow Cooker, No Smoker Needed)

    Real pulled pork doesn’t require a 12-hour smoke session. This version uses a spice rub, a splash of liquid smoke (secret weapon), and a low-and-slow oven or crockpot. The result? Tender, juicy, shreddable pork that tastes like it came from a Southern BBQ joint. Pile it on a bun with coleslaw and watch it disappear.

    Ingredients

    Serves 6-8.

    For the Pork:

    • 3-4 lb pork shoulder (or pork butt)
    • 2 tablespoons brown sugar
    • 1 tablespoon paprika
    • 1 tablespoon garlic powder
    • 1 tablespoon onion powder
    • 1 teaspoon black pepper
    • 1 teaspoon salt
    • ½ teaspoon cayenne (optional)
    • 1 cup BBQ sauce (plus more for serving)
    • ½ cup chicken broth or apple juice
    • 1 teaspoon liquid smoke (optional)

    For the Sandwich & Coleslaw:

    • 6-8 brioche or potato buns
    • 2 cups coleslaw mix
    • ¼ cup mayonnaise
    • 1 tablespoon apple cider vinegar
    • 1 teaspoon sugar

    Step-by-Step Instructions

    Step 1: Rub the Pork

    1. Mix brown sugar, paprika, garlic powder, onion powder, pepper, salt, and cayenne.
    2. Rub all over the pork shoulder.

    Step 2: Cook Low and Slow

    1. Oven method: Place pork in a Dutch oven. Add broth and liquid smoke. Cover and bake at 300°F for 4-5 hours.
    2. Slow cooker method: Add broth and liquid smoke. Cook on LOW for 8-10 hours.

    Step 3: Shred the Pork

    1. Remove pork from liquid. Shred with two forks (it should fall apart easily).
    2. Discard large fat pieces.

    Step 4: Sauce It Up

    1. Return shredded pork to pot. Add BBQ sauce and mix well.
    2. Optional: broil for 3-5 minutes to get crispy edges.

    Step 5: Make Quick Coleslaw

    1. Whisk mayo, vinegar, and sugar. Toss with coleslaw mix.

    Step 6: Assemble Sandwiches

    1. Pile pulled pork onto toasted buns. Top with coleslaw.
    2. Serve with extra BBQ sauce on the side.

    Summary

    Prep Time: 10 minutes | Cook Time: 4-10 hours (depending on method) | Total Time: 4-10 hours

    Yield: 6-8 sandwiches

    Difficulty: Easy

    Storage Notes

    Pulled pork refrigerates for up to 4 days. Freezes beautifully for up to 3 months. Reheat in a covered skillet with a splash of broth or BBQ sauce. Coleslaw is best made fresh—leftover slaw gets watery after a day.

  • Turkey Club Sandwich (Three Layers of Pure Lunch Perfection)

    Turkey Club Sandwich (Three Layers of Pure Lunch Perfection)

    The club sandwich is a masterpiece of engineering. Three slices of toast. Two layers of fillings. One frilly toothpick holding it all together. This version keeps it classic: turkey, bacon, lettuce, tomato, and mayo. No fancy stuff. Just diner-perfect crunch in 10 minutes.

    Ingredients

    Serves 1 very hungry person or 2 normal people.

    • 3 slices white, sourdough, or whole wheat bread
    • 4-6 slices roasted turkey breast
    • 4 slices crispy bacon
    • 2 leaves romaine or iceberg lettuce
    • 2 thick slices tomato
    • 2 tablespoons mayonnaise
    • Salt and black pepper
    • Frilly toothpicks (for authenticity)

    Step-by-Step Instructions

    Step 1: Toast the Bread

    1. Toast all three bread slices until golden and crisp.
    2. Lightly spread mayo on one side of each slice.

    Step 2: Layer the Bottom Tier

    1. Place one slice of toast (mayo-side up) on a plate.
    2. Top with half the turkey, half the bacon, lettuce, and tomato.
    3. Season tomato with a pinch of salt and pepper.

    Step 3: Add the Middle Toast

    1. Place the second slice of toast (mayo-side up) right on top of the fillings.

    Step 4: Layer the Top Tier

    1. Add remaining turkey, bacon, lettuce, and tomato on the middle toast.
    2. Season again.

    Step 5: Cap It Off

    1. Place the third slice of toast on top (mayo-side down).

    Step 6: Secure and Slice

    1. Stick 2-4 frilly toothpicks through the sandwich to hold everything together.
    2. Slice diagonally into 4 triangles (or 2 rectangles).
    3. Serve with pickles and potato chips.

    Summary

    Prep Time: 5 minutes | Cook Time: 5 minutes | Total Time: 10 minutes

    Yield: 1 large or 2 smaller servings

    Difficulty: Easy

    Storage Notes

    The club sandwich does not store well—bread gets soggy, lettuce wilts. Assemble fresh. You can cook bacon ahead and refrigerate for up to 3 days. Leftover turkey keeps for 3-4 days. But seriously, just eat the whole sandwich.

  • Crispy-Skinned Duck Breast with Cherry Sauce (Fancy, But Easy)

    Crispy-Skinned Duck Breast with Cherry Sauce (Fancy, But Easy)

    Duck sounds fancy. But crispy-skinned duck breast with cherry sauce? Easier than chicken. Score the skin. Sear it low and slow to render fat. Crisp it up. Make a quick cherry pan sauce. 20 minutes. One pan. Serve with mashed potatoes or roasted veggies. Date night? Nailed it. Weeknight treat? Absolutely. Let’s cook duck.

    Ingredients

    Serves 2.

    • 2 duck breasts (about 6-8 oz each)
    • Salt and black pepper
    • 1 cup fresh or frozen cherries (pitted) or ½ cup cherry jam
    • ¼ cup chicken or duck stock
    • 2 tablespoons balsamic vinegar
    • 1 tablespoon honey or maple syrup
    • 1 shallot, finely chopped
    • 1 sprig fresh thyme
    • 1 tablespoon butter (optional)

    Step-by-Step Instructions

    Step 1: Score and Season the Duck

    1. Pat duck breasts dry. Score skin in a crosshatch pattern (don’t cut into meat).
    2. Season generously with salt and pepper on both sides.

    Step 2: Sear the Duck (Skin Side Down)

    1. Place duck skin-side down in a cold skillet (no oil needed). Turn heat to medium.
    2. Cook slowly for 6-8 minutes, pouring off fat occasionally, until skin is deep golden and crispy.

    Step 3: Flip and Finish

    1. Flip duck. Cook 2-3 minutes for medium-rare (internal temp 135°F).
    2. Remove duck to a cutting board. Rest 5 minutes.

    Step 4: Make the Cherry Sauce

    1. Pour off all but 1 tablespoon of duck fat. Add shallot. Cook 1 minute.
    2. Add cherries, stock, balsamic, honey, and thyme. Simmer 5 minutes until syrupy.
    3. Stir in butter if using. Remove thyme.

    Step 5: Slice and Serve

    1. Slice duck breast thinly against the grain. Spoon cherry sauce over.
    2. Serve immediately. Pretend you’re in a Paris bistro.

    Summary

    Prep Time: 5 minutes | Cook Time: 20 minutes | Total Time: 25 minutes

    Yield: 2 servings

    Difficulty: Easy (patience with the skin)

    Storage Notes

    Best fresh. Leftover duck keeps 2 days in fridge. Reheat in a hot skillet (not microwave). Cherry sauce keeps 1 week—great on pork or chicken. Save duck fat for roasting potatoes (liquid gold). Don’t skip scoring and drying the skin—that’s the crisp secret. Fresh or frozen cherries both work. Jam works too (skip the honey). This is easier than steak. Try it.