Tag: quick lunch idea

  • Chicken Bacon Ranch Wraps (Lunch That Doesn’t Suck)

    Chicken Bacon Ranch Wraps (Lunch That Doesn’t Suck)

    Let’s be honest: most homemade lunches are depressing. Leftovers from three days ago. A sad, dry sandwich. Not today.

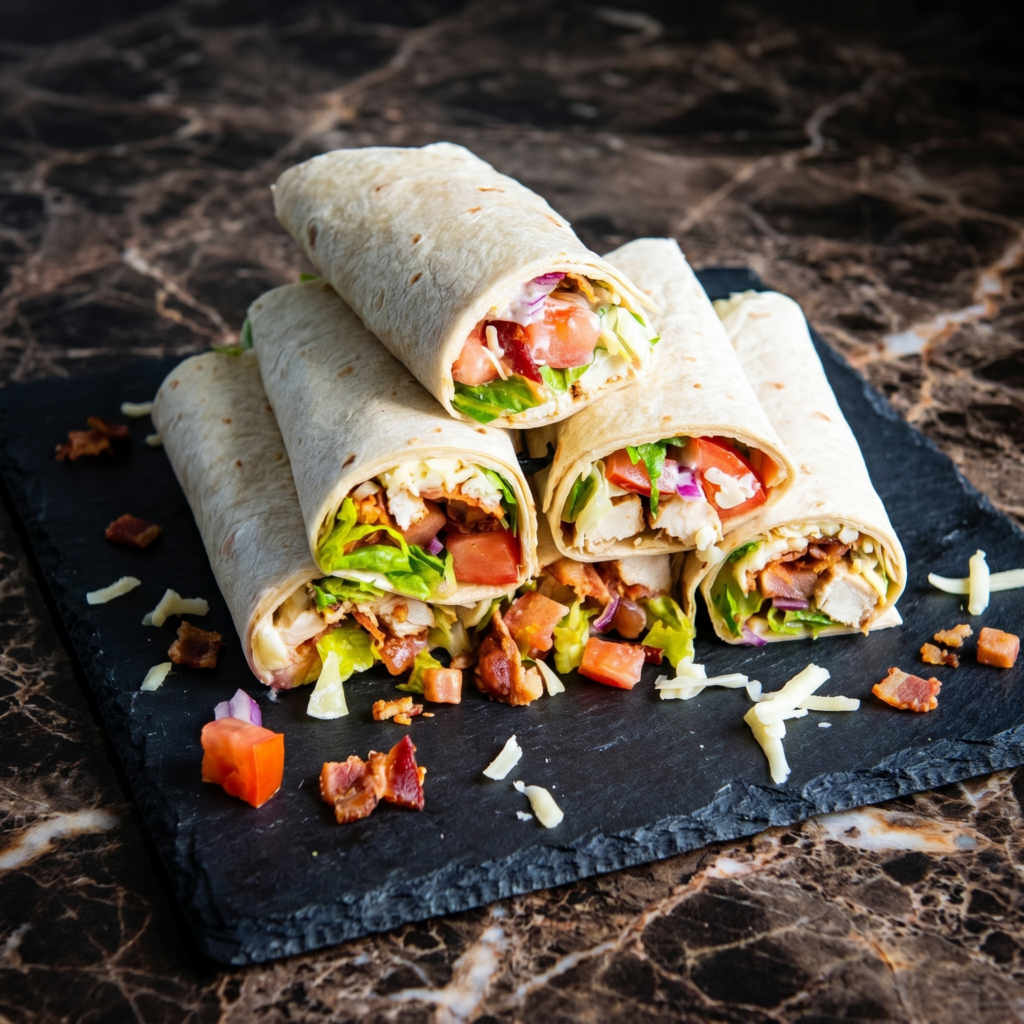
    This Chicken Bacon Ranch wrap is the lunch you’ll actually look forward to. Juicy chicken, salty crispy bacon, cool ranch dressing, fresh lettuce and tomato, and melty cheese. Roll it up. Toast it if you’re fancy. Eat it with one hand while you pretend to work.

    Ingredients

    Makes 2 large wraps.

    • 2 large flour tortillas (10-12 inch)
    • 2 cups cooked chicken (shredded or chopped)
    • 4 slices bacon, cooked crispy and crumbled
    • ½ cup shredded cheddar or Monterey Jack
    • ¼ cup ranch dressing (plus more for dipping)
    • 1 cup shredded lettuce
    • 1 tomato, diced
    • Optional: red onion, avocado, hot sauce

    Step-by-Step Instructions

    Step 1: Warm the Tortilla

    1. Microwave tortillas for 10 seconds or warm in a dry skillet to make them pliable.

    Step 2: Assemble

    1. Spread ranch dressing down the center of each tortilla.
    2. Top with chicken, bacon, cheese, lettuce, and tomato.
    3. Add any optional toppings.

    Step 3: Roll It Tight

    1. Fold in the sides, then roll from the bottom up, tucking tightly.
    2. Roll should be snug but not bursting.

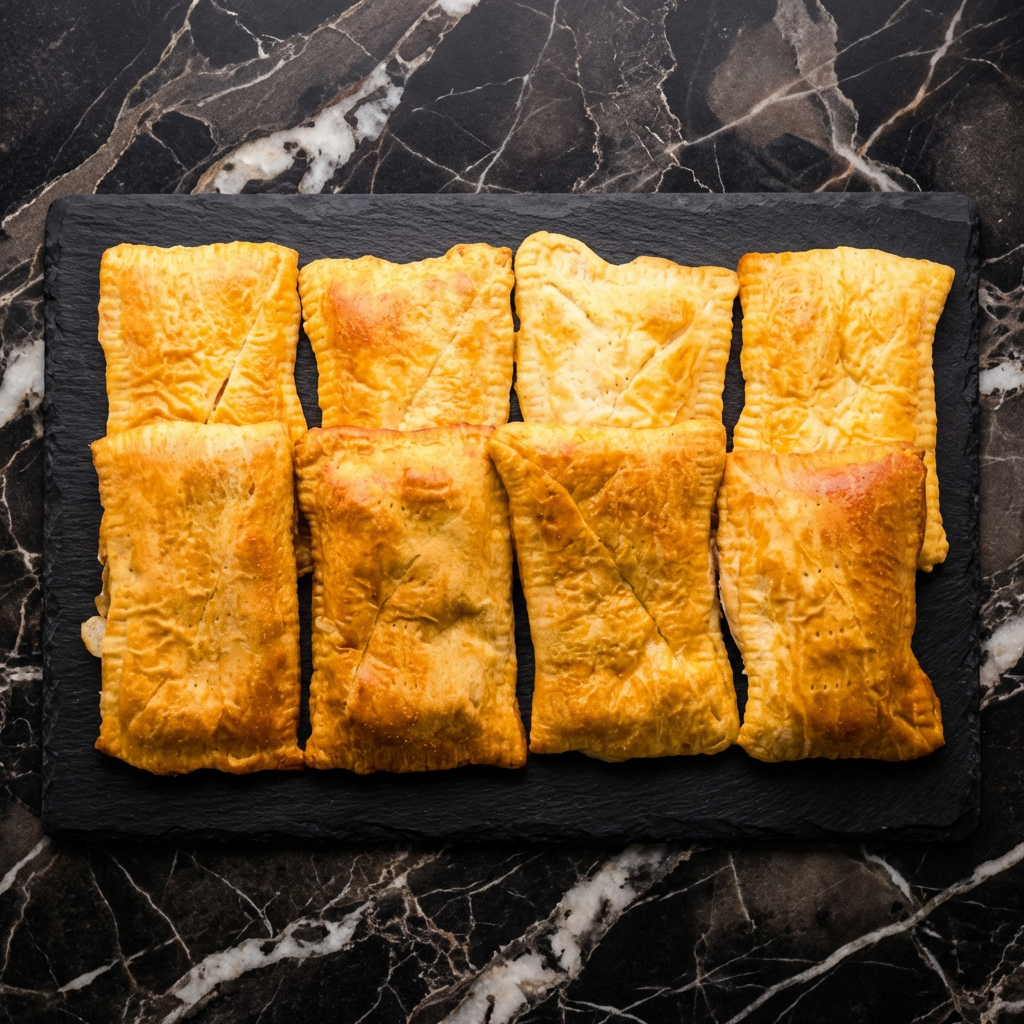
    Step 4: Toast (Optional But Great)

    1. Place wrap seam-side down in a dry skillet over medium heat.
    2. Toast for 1-2 minutes per side until golden and sealed.
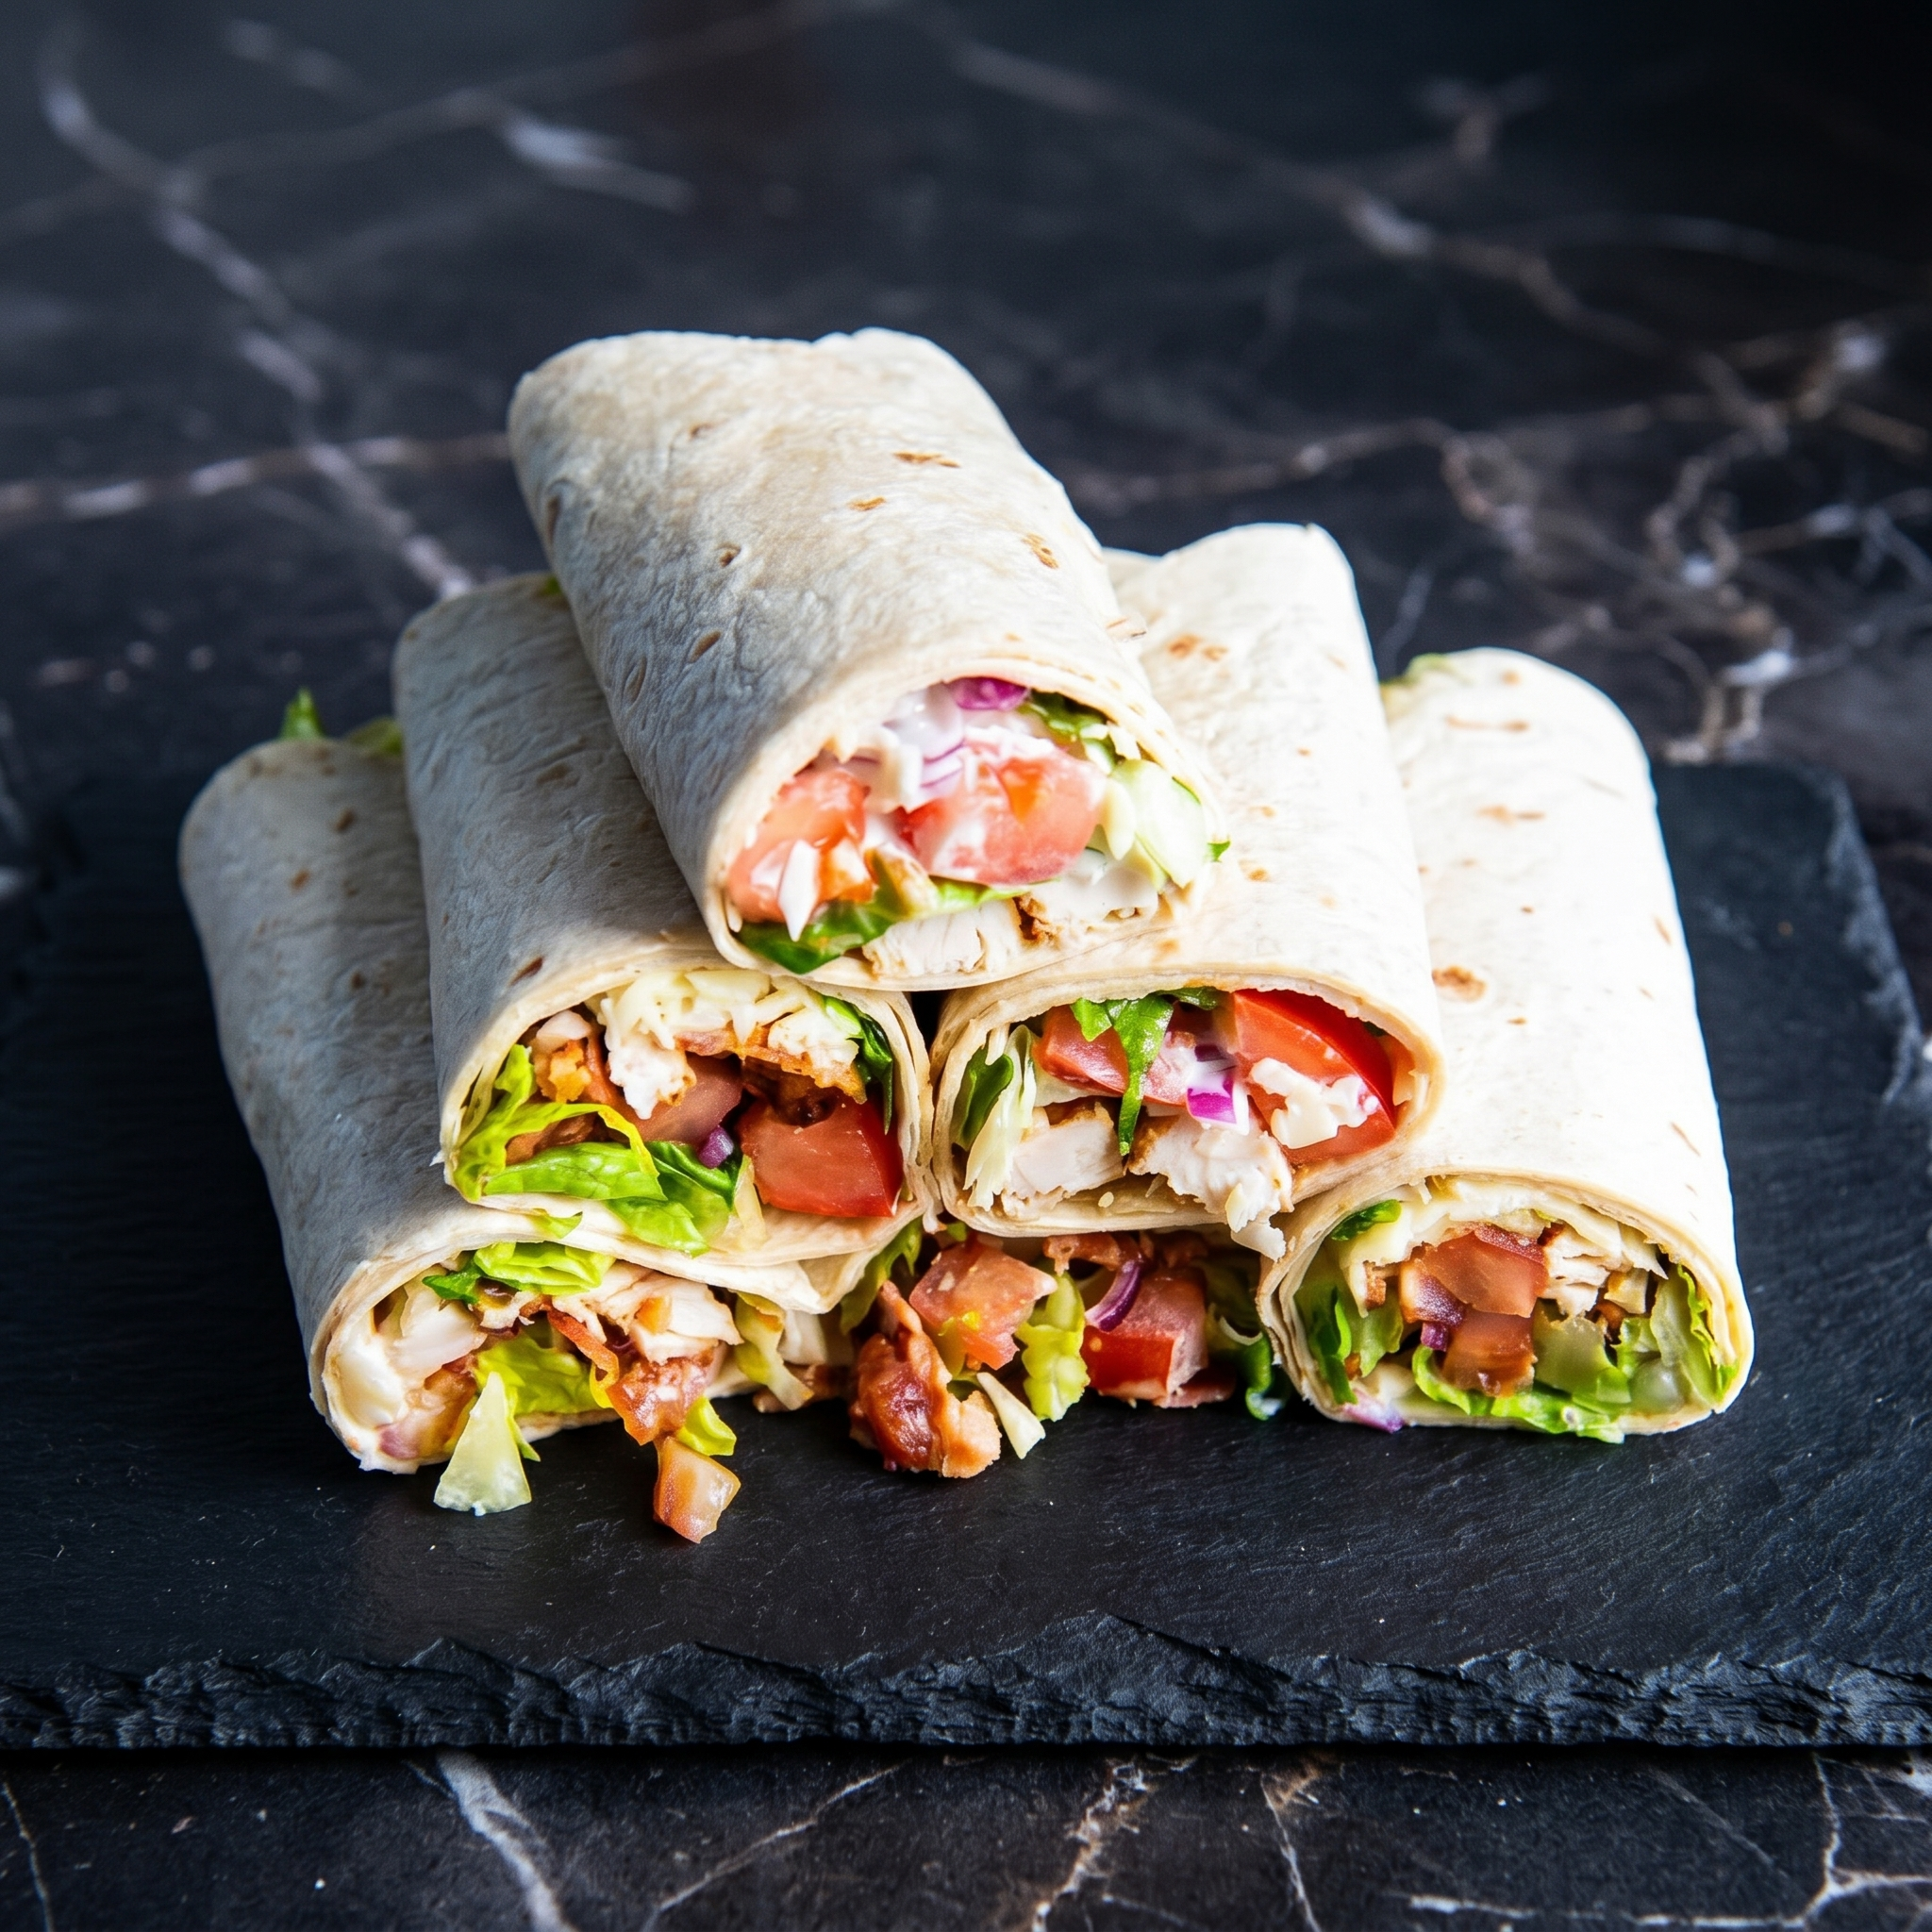
    Step 5: Serve

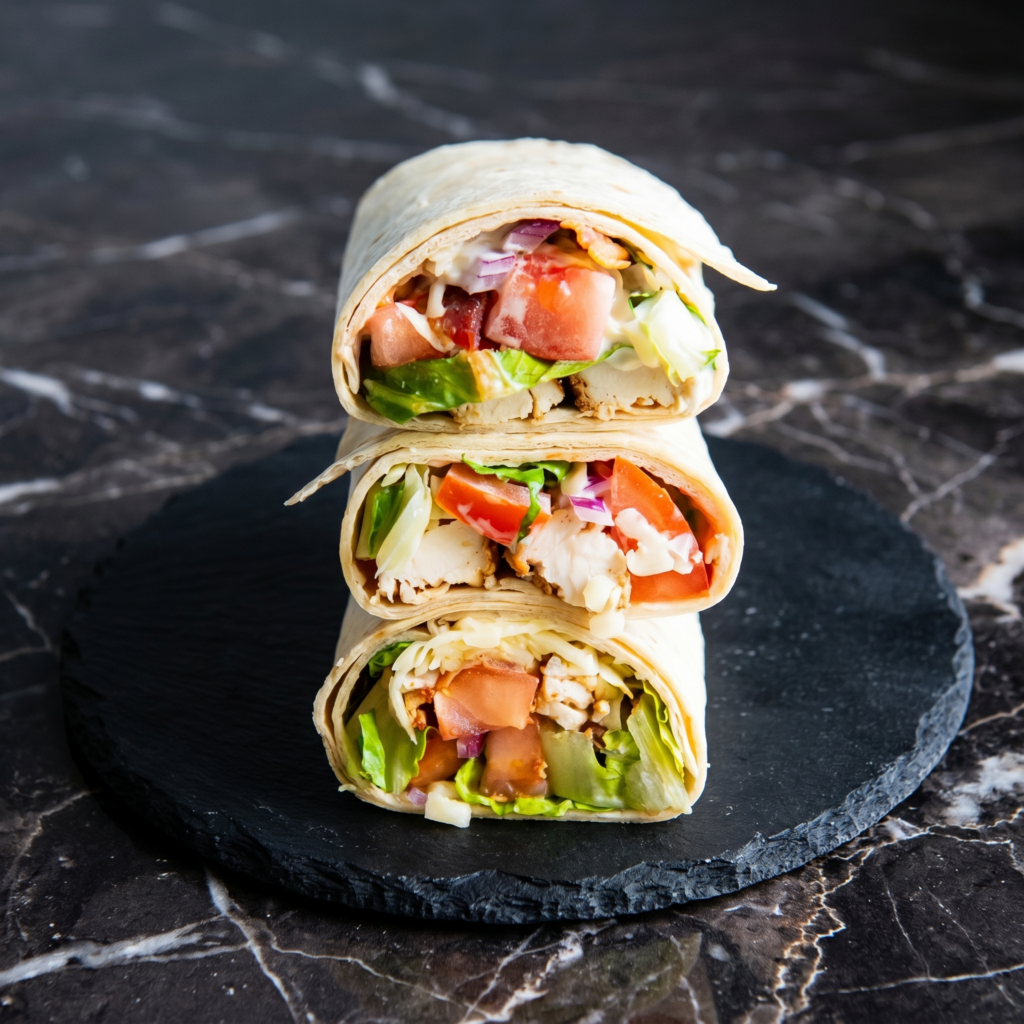
    1. Slice in half on a diagonal.
    2. Serve with extra ranch for dipping.

    Summary

    Prep Time: 10 minutes | Cook Time: 0-2 minutes (toasting optional) | Total Time: 10 minutes

    Yield: 2 wraps

    Difficulty: Easy

    Storage Notes

    • Fridge: Wrapped tightly in foil, keeps for 1 day. Lettuce will soften.
    • Meal prep tip: Keep components separate. Assemble fresh for best crunch.
    • Reheat: Skillet or panini press works great. Cold is also fine.
    • Make ahead: Cook chicken and bacon up to 3 days in advance.
  • Ham and Cheese Pockets (Better Than Lunchables, Takes 20 Minutes)

    Ham and Cheese Pockets (Better Than Lunchables, Takes 20 Minutes)

    Remember Hot Pockets? These are those, but actually good.

    Flaky puff pastry wrapped around ham and melted cheese. Takes 20 minutes. Uses 5 ingredients. Perfect for lunchboxes, game day, or “I forgot to thaw anything” dinner.

    Ingredients

    Makes 4 pockets.

    • 1 sheet frozen puff pastry, thawed
    • 4 oz (115g) ham, diced or thinly sliced
    • 4 oz (115g) cheese (cheddar, Swiss, or provolone), shredded or sliced
    • 1 egg, beaten (for egg wash)
    • Optional: Dijon mustard, honey mustard, or everything bagel seasoning

    Step-by-Step Instructions

    Step 1: Prep

    1. Preheat oven to 400°F (200°C). Line a baking sheet with parchment paper.
    2. Unroll puff pastry on a lightly floured surface. Cut into 4 equal rectangles.

    Step 2: Fill

    1. On one half of each rectangle, layer ham and cheese. Add a smear of mustard if using.
    2. Fold the other half over to form a pocket. Press edges with a fork to seal.

    Step 3: Bake

    1. Brush tops with beaten egg. Sprinkle with seasoning if desired.
    2. Cut a small slit on top to let steam escape.
    3. Bake for 15-18 minutes until golden brown and puffed.

    Step 4: Cool Slightly

    1. Let rest for 2-3 minutes before serving. Cheese is lava-hot.

    Summary

    Prep Time: 5 minutes | Cook Time: 15 minutes | Total Time: 20 minutes

    Yield: 4 pockets

    Difficulty: Super Easy

    Storage Notes

    Store in the fridge for up to 3 days. Reheat in an air fryer at 350°F for 3-4 minutes or oven at 375°F for 5-7 minutes.

    Freeze (uncooked): Assemble pockets, freeze on a tray, then transfer to a bag. Bake from frozen at 400°F for 20-25 minutes.