Tag: quick dinner

  • Chicken Pesto Flatbread (Better Than Any Restaurant)

    Chicken Pesto Flatbread (Better Than Any Restaurant)

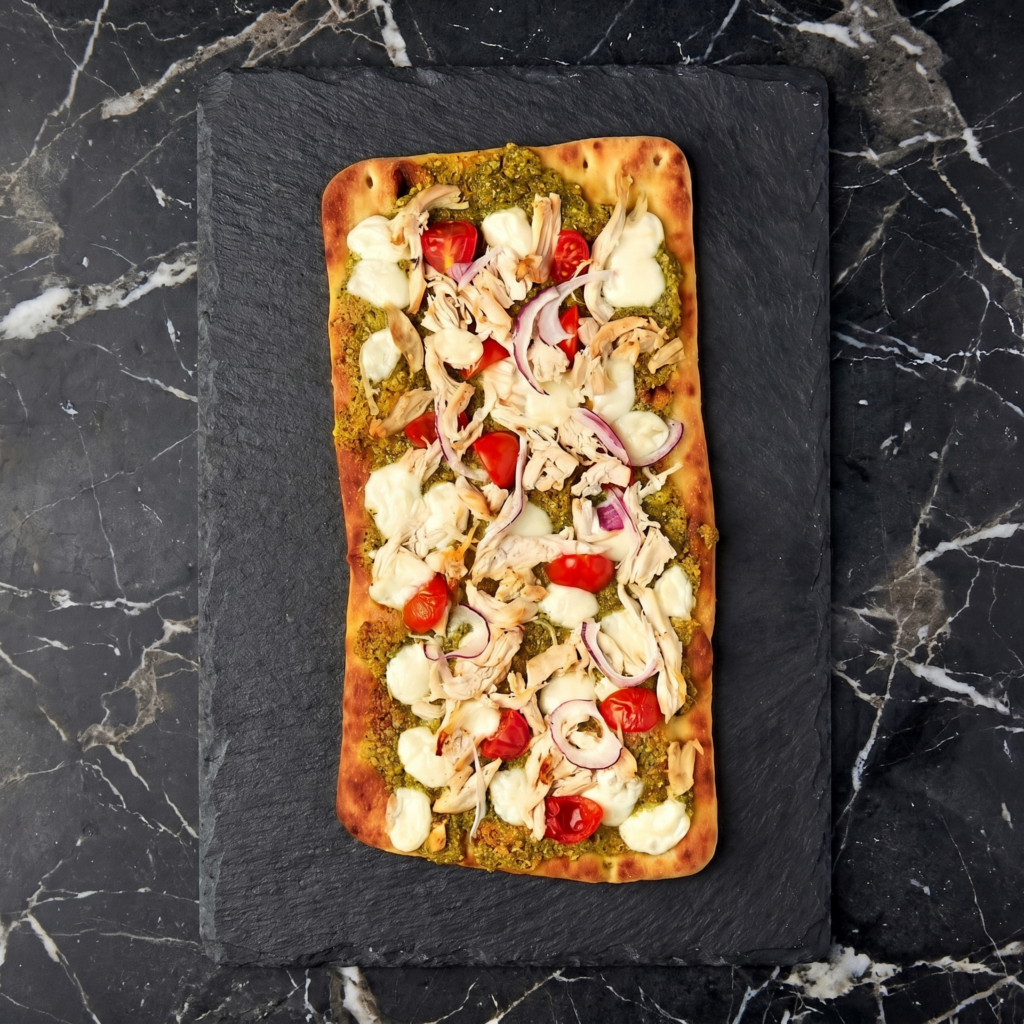
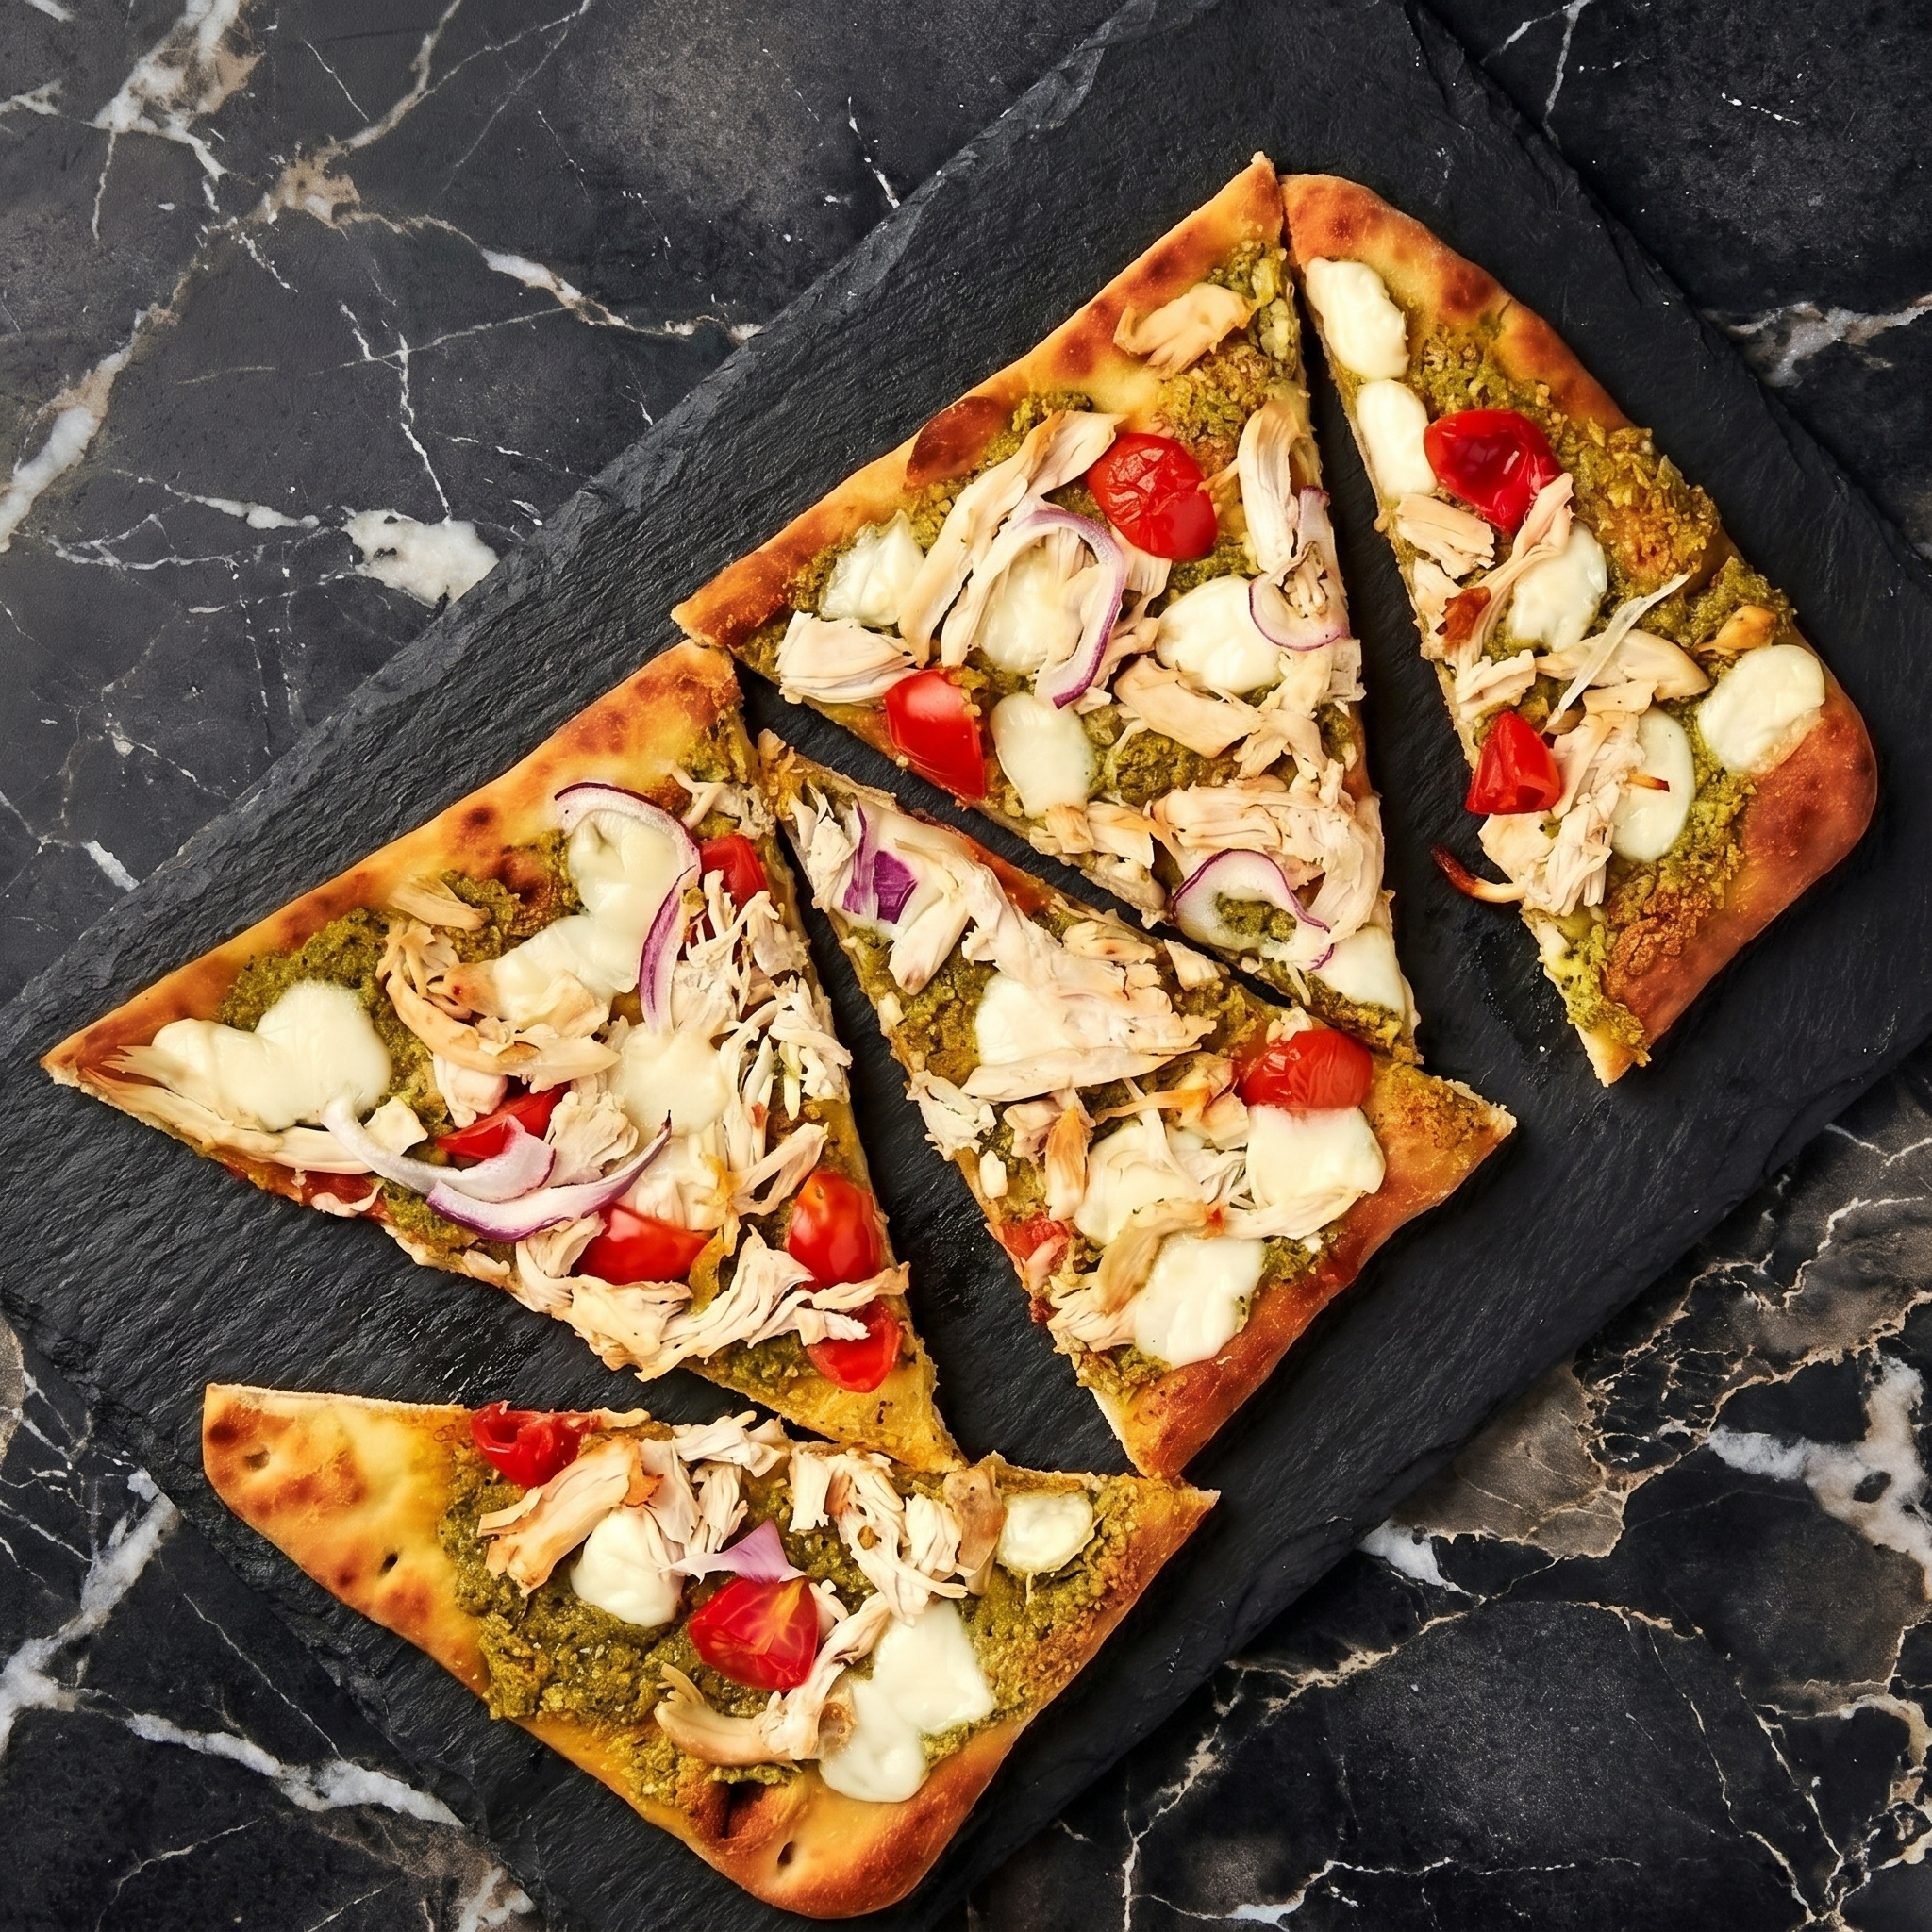
    Flatbread is pizza’s faster, crispier cousin. Top it with pesto, chicken, mozzarella, and tomatoes. 15 minutes. One pan. Zero regrets. Better than any restaurant version.
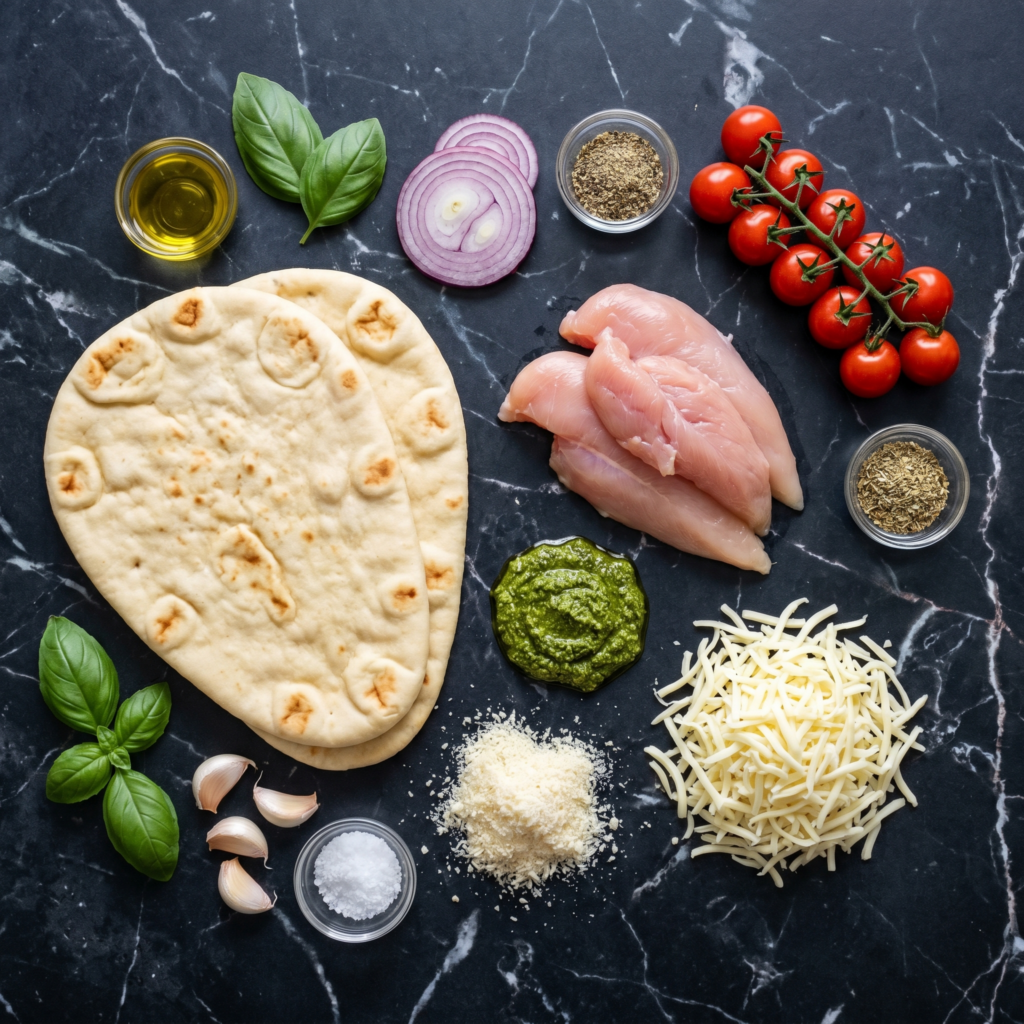
    Ingredients

    Serves 4 (makes 2 flatbreads).

    • 2 flatbreads or naan breads
    • ½ cup basil pesto (store-bought or homemade)
    • 2 cups cooked chicken, shredded or diced (rotisserie works great)
    • 1½ cups shredded mozzarella cheese
    • ½ cup cherry tomatoes, halved
    • ¼ cup red onion, thinly sliced (optional)
    • 2 tbsp Parmesan cheese, grated
    • Fresh basil for garnish (optional)
    • Red pepper flakes (optional)

    Step-by-Step Instructions

    Step 1: Preheat

    1. Preheat oven to 400°F (200°C). Line a baking sheet with parchment.

    Step 2: Assemble Flatbreads

    1. Place flatbreads on baking sheet. Spread pesto evenly over each.
    2. Top with shredded chicken, mozzarella, cherry tomatoes, and red onion (if using).
    3. Sprinkle with Parmesan.

    Step 3: Bake

    1. Bake 8-10 minutes until cheese is melted and edges are crispy.

    Step 4: Finish & Serve

    1. Garnish with fresh basil and red pepper flakes. Slice and serve immediately.

    Summary

    Prep Time: 5 min | Bake Time: 10 min | Total: 15 min

    Yield: 4 servings | Difficulty: Easy

    Storage Notes

    Best fresh. Fridge 2 days. Reheat in oven or air fryer at 375°F for 5-7 minutes (crispy returns). Microwave makes flatbread chewy — avoid. Great for meal prep — assemble and bake fresh.

  • Crispy Chicken Caesar Wraps: Salad That Fights Back

    Crispy Chicken Caesar Wraps: Salad That Fights Back

    Salad is great. Salad you can eat with your hands? Genius.

    Crispy chicken. Creamy Caesar dressing. Shaved Parmesan. Crunchy romaine. All wrapped in a tortilla. 15 minutes. Lunch just got an upgrade.

    Ingredients

    Serves 4.

    • 4 large flour tortillas (10-inch)
    • 4 cups romaine lettuce, chopped
    • 4 crispy chicken tenders (frozen or homemade, cooked crispy)
    • ½ cup Caesar dressing (plus extra)
    • ½ cup shaved or grated Parmesan cheese
    • ½ cup croutons, crushed (optional, for crunch)
    • Black pepper to taste

    Step-by-Step Instructions

    Step 1: Prep the Chicken

    1. Cook chicken tenders according to package instructions until crispy.
    2. Slice into bite-sized strips.

    Step 2: Toss the Caesar Salad

    1. In a bowl, toss romaine with Caesar dressing, Parmesan, and crushed croutons.

    Step 3: Warm the Tortillas

    1. Microwave tortillas for 10-15 seconds until pliable.

    Step 4: Assemble Wraps

    1. Spread a thin layer of Caesar dressing on each tortilla.
    2. Layer crispy chicken strips down the center.
    3. Pile Caesar salad on top. Add black pepper.

    Step 5: Roll and Serve

    1. Fold in sides. Roll from bottom up, keeping it tight.
    2. Cut in half on a diagonal. Serve immediately.

    Summary

    Prep Time: 10 minutes | Cook Time: 5 minutes | Total Time: 15 minutes

    Yield: 4 wraps

    Difficulty: Easy

    Storage Notes

    Best Fresh:

    Assemble right before eating. Soggy lettuce = sad wrap.

    Meal Prep Style:

    Store components separately for 3 days. Assemble when hungry.

    Pro Tip:

    Toast the tortilla in a dry skillet for 30 seconds per side. Holds up better. Worth it.

  • Chili Cheese Dogs: Messy. Cheesy. Perfect.

    Chili Cheese Dogs: Messy. Cheesy. Perfect.

    Some foods are meant to be messy. Chili cheese dogs are the king of messy.

    Grilled hot dog. Smoky, beefy chili. A mountain of shredded cheddar. Diced onion. That’s it. 20 minutes. Eat with your hands. Lick your fingers. Zero regrets.

    Ingredients

    Serves 4.

    • 4 hot dogs (beef recommended)
    • 4 hot dog buns
    • 1 (15 oz) can chili (no beans or with beans—your call)
    • 1 cup shredded cheddar cheese
    • ¼ cup diced white onion (optional)
    • Yellow mustard (optional)
    • Pickled jalapeños (optional)

    Quick Homemade Chili (Optional):

    • ½ lb ground beef
    • 1 (8 oz) can tomato sauce
    • 1 tbsp chili powder
    • ½ tsp cumin

    Step-by-Step Instructions

    Step 1: Heat the Chili

    1. In a small pot, heat chili over medium heat until bubbly.
    2. If making quick homemade: brown ground beef, drain, add tomato sauce, chili powder, and cumin. Simmer 5 minutes.

    Step 2: Cook the Hot Dogs

    1. Grill, pan-fry, or boil hot dogs until heated through.
    2. Steam or toast buns lightly.

    Step 3: Assemble

    1. Place hot dog in bun. Squeeze mustard if using.
    2. Ladle chili generously over the dog.
    3. Pile on cheddar cheese. Top with onion and jalapeños.

    Step 4: Serve

    1. Serve immediately with a fork (and napkins. so many napkins).

    Summary

    Prep Time: 5 minutes | Cook Time: 10-15 minutes | Total Time: 15-20 minutes

    Yield: 4 chili cheese dogs

    Difficulty: Easy

    Storage Notes

    Best Fresh:

    Assemble and eat immediately. Nobody wants a soggy chili cheese dog.

    Leftover Chili:

    Store chili in fridge for 4 days or freeze for 3 months. Reheat and make fresh dogs.

    Pro Tip:

    Toast the buns. A little crunch prevents soggy bottom syndrome.

  • Ground Beef Quesadilla: Cheesy, Beefy, 15-Minute Hero

    Ground Beef Quesadilla: Cheesy, Beefy, 15-Minute Hero

    Quesadillas are the ultimate lazy dinner. But when you stuff them with seasoned ground beef? Now we’re talking. Crispy tortilla. Oozy cheese. Savory, spiced beef.

    Fifteen minutes. One skillet. Zero regrets. Serve with salsa, sour cream, or just eat it over the sink like a champion.

    Ingredients

    Serves 2-3 (makes 2 large quesadillas).

    • 2 large flour tortillas (burrito size)
    • ½ lb ground beef (85/15 is good)
    • 1½ cups shredded cheese (cheddar, Monterey Jack, or Mexican blend)
    • ¼ small onion, diced
    • 1 clove garlic, minced
    • ½ teaspoon chili powder
    • ½ teaspoon cumin
    • ¼ teaspoon salt
    • 1 tablespoon oil or butter
    • Optional toppings: salsa, sour cream, avocado, hot sauce

    Step-by-Step Instructions

    Step 1: Cook the Ground Beef

    1. Heat a skillet over medium-high heat. Add ground beef.
    2. Cook for 5-6 minutes, breaking it apart, until browned.
    3. Add onion and garlic. Cook for 2 minutes until soft.
    4. Stir in chili powder, cumin, and salt. Remove from heat.

    Step 2: Assemble the Quesadilla

    1. Wipe the skillet clean. Return to medium heat.
    2. Place one tortilla in the dry skillet.
    3. Sprinkle half the cheese over half the tortilla.
    4. Top cheese with half the beef mixture.
    5. Sprinkle with a little more cheese (the glue that holds it together).
    6. Fold the empty half over the filling.

    Step 3: Cook Until Golden and Crispy

    1. Cook for 2-3 minutes until bottom is golden brown.
    2. Flip carefully. Cook second side for 2 minutes until cheese is melted and tortilla is crispy.
    3. Repeat with second quesadilla.

    Step 4: Slice and Serve

    1. Let rest for 1 minute. Slice into wedges.
    2. Serve with salsa, sour cream, or guac. Maybe all three.

    Summary

    Prep Time: 5 minutes | Cook Time: 12 minutes | Total Time: 17 minutes

    Yield: 2 large quesadillas (2-3 servings)

    Difficulty: Easy

    Storage Notes

    Fridge:

    Store leftover quesadillas in an airtight container for up to 4 days.

    Reheating (Don’t Microwave):

    Air fryer at 375°F for 3-4 minutes. Dry skillet over medium heat for 2 minutes per side. Oven at 375°F for 8 minutes. Microwave = sad and floppy.

    Freezing:

    Freeze cooked and cooled quesadillas for up to 2 months. Reheat from frozen in a skillet or air fryer.

    Make It Yours:

    Add black beans, corn, jalapeños, or bell peppers to the beef. Everything works.