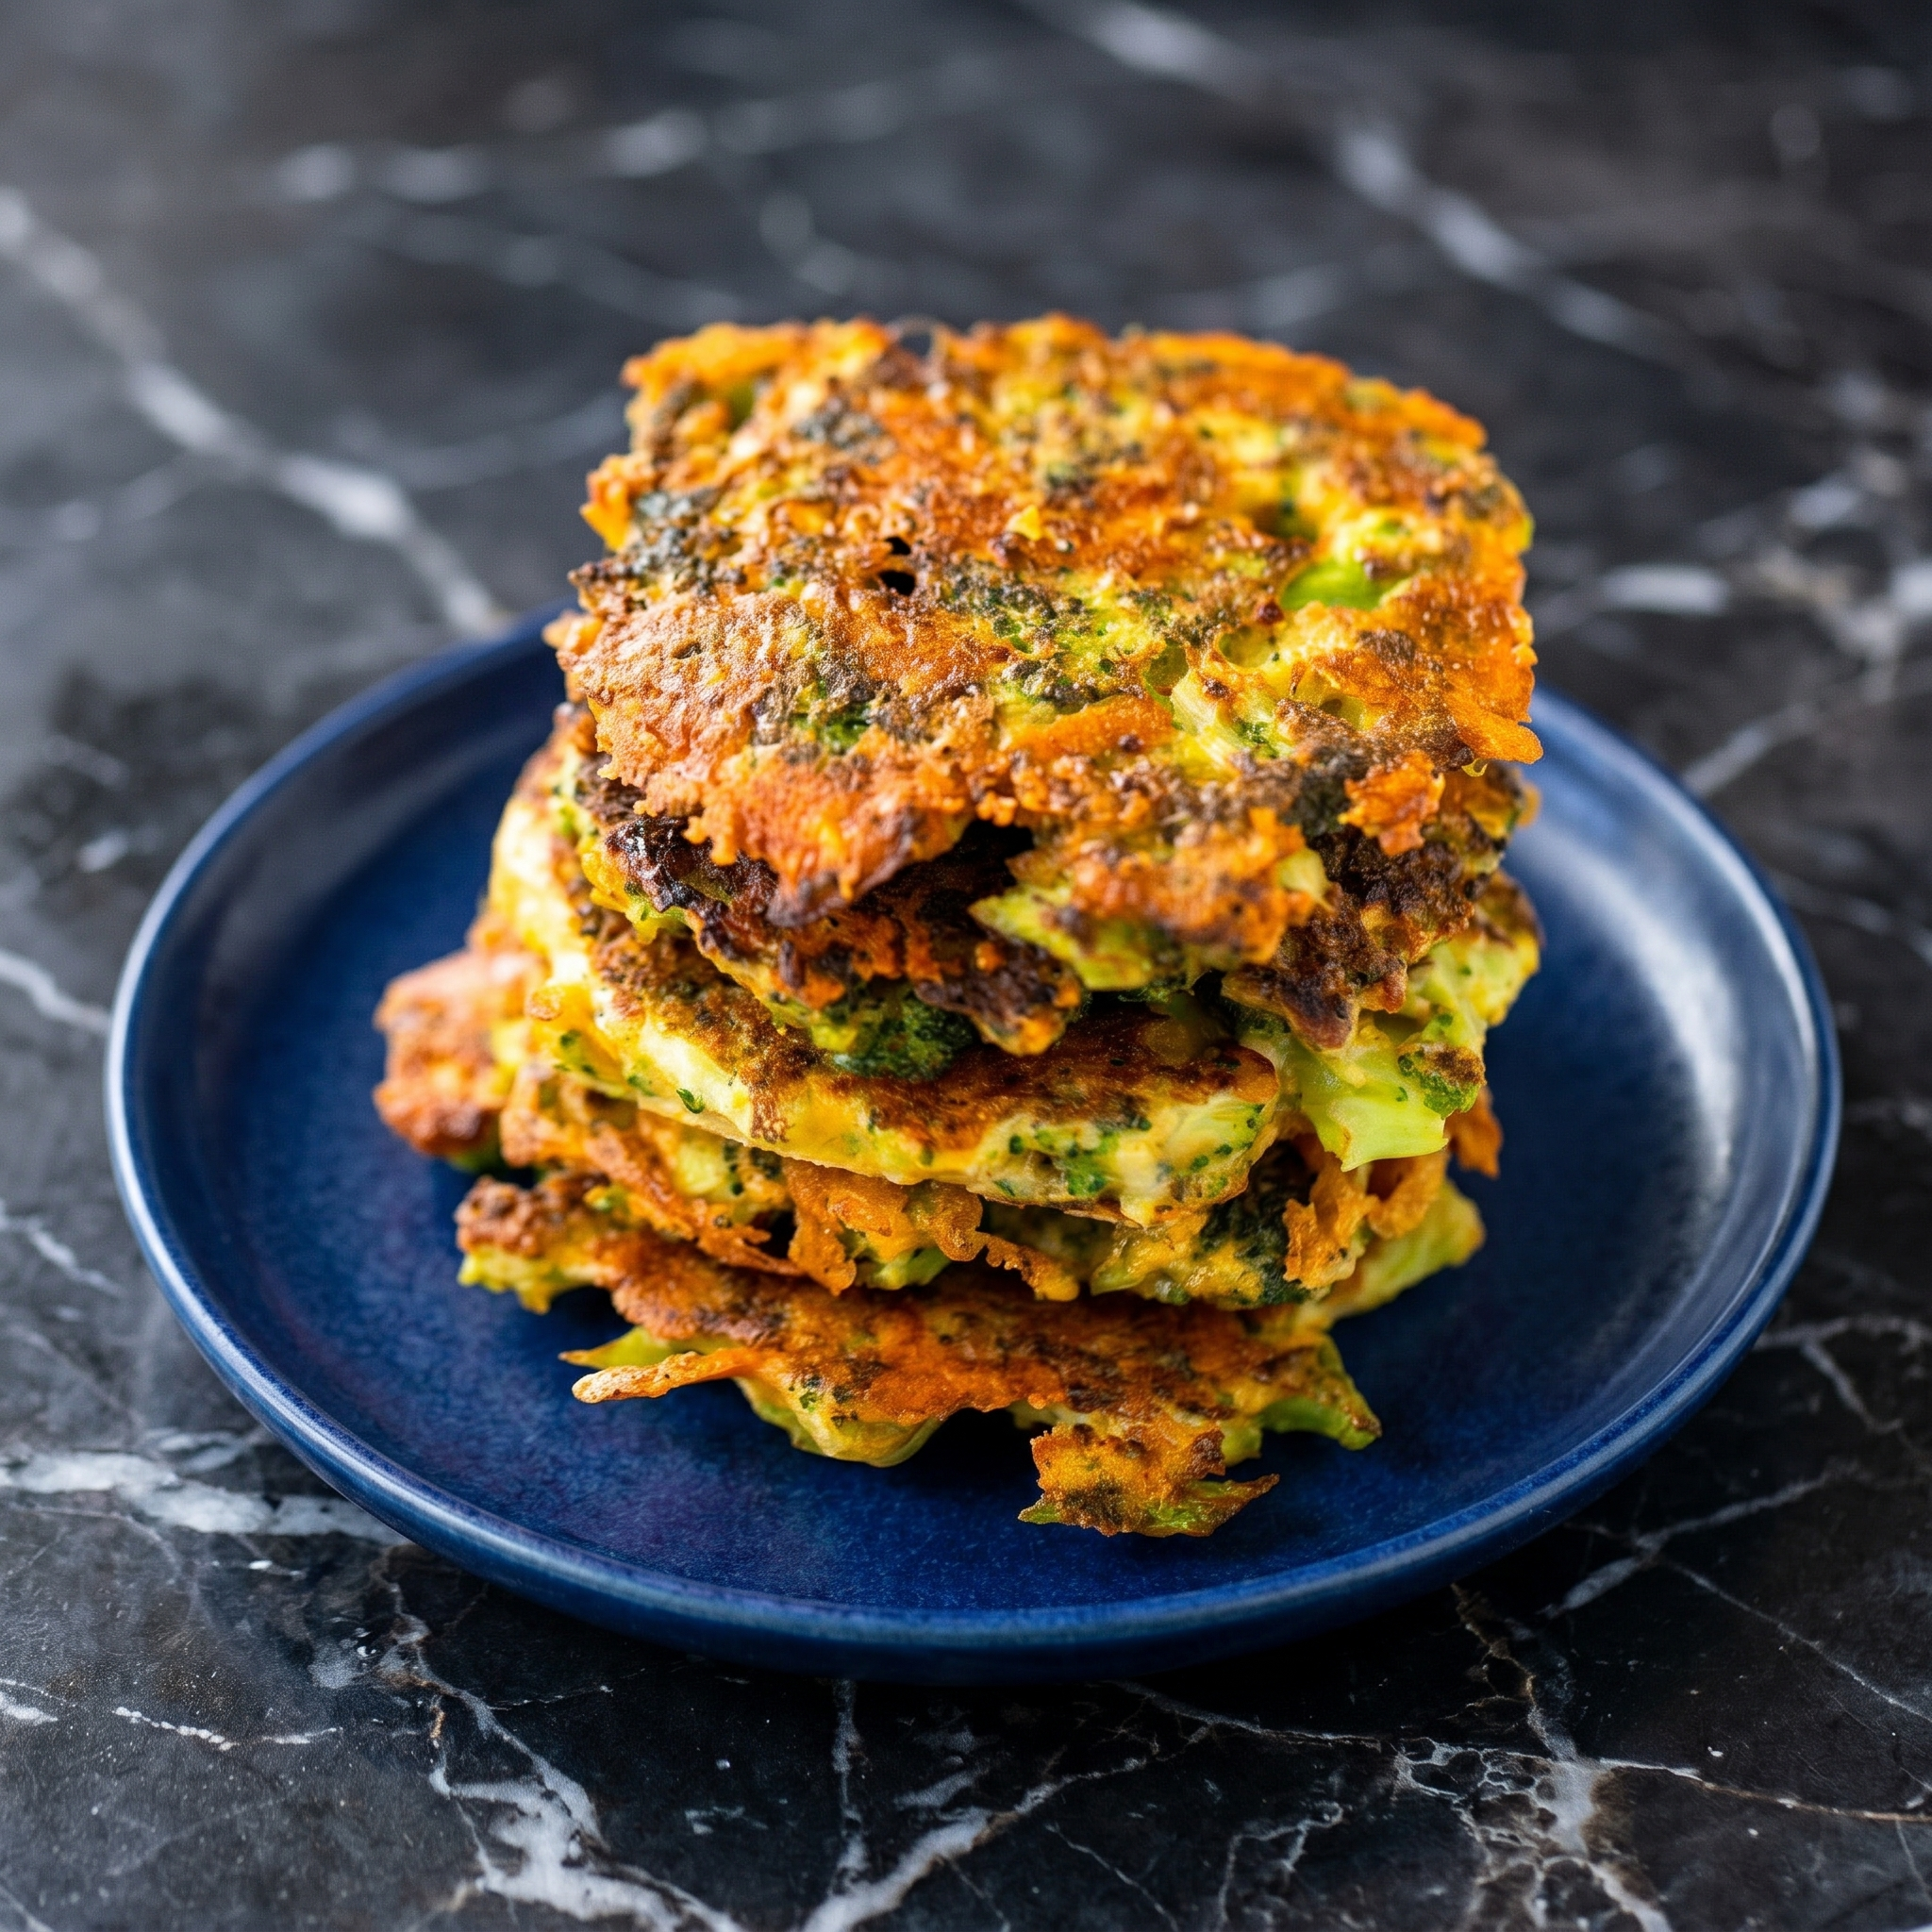
Broccoli fritters are the trick you need. Golden, crispy, cheesy, and packed with finely chopped broccoli. Ready in 15 minutes. Dip in ranch or garlic aioli. Even broccoli haters will ask for seconds.
Ingredients
Serves 4 (makes 8-10 fritters).
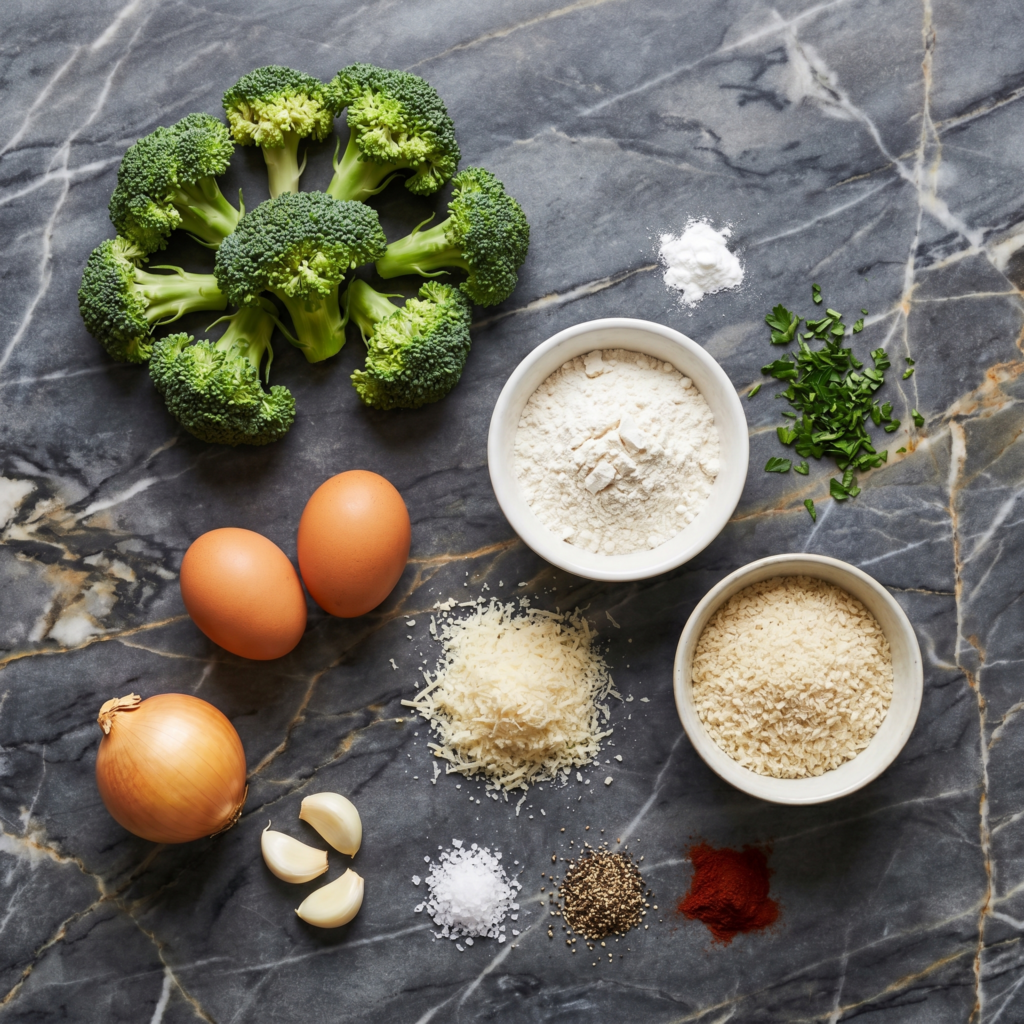
2 cups broccoli florets, finely chopped (about 1 small head)
2 large eggs
½ cup breadcrumbs or panko
½ cup grated Parmesan cheese
¼ cup shredded mozzarella or cheddar (optional)
2 cloves garlic, minced
½ tsp salt
¼ tsp black pepper
¼ tsp red pepper flakes (optional)
2 tbsp olive oil (for frying)
For Dipping:
Ranch dressing, garlic aioli, or sour cream
Step-by-Step Instructions
Step 1: Chop Broccoli
Finely chop broccoli florets into small, rice-sized pieces (a food processor works great — pulse, don’t purée).
Step 2: Mix Batter
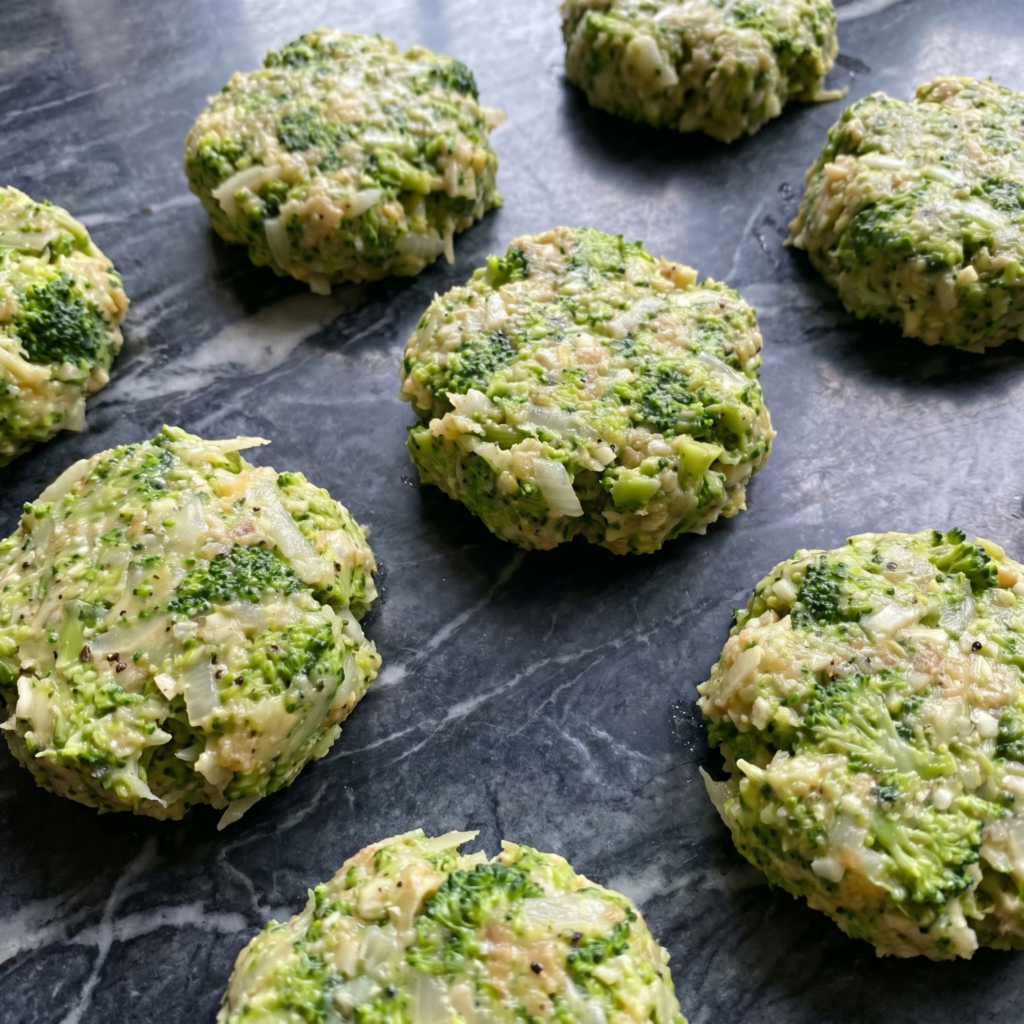
In a bowl, combine chopped broccoli, eggs, breadcrumbs, Parmesan, mozzarella (if using), garlic, salt, pepper, and red pepper flakes. Mix until well combined. The mixture should hold together when pressed.
Step 3: Form & Fry
Heat oil in a large skillet over medium heat.
Scoop ¼ cup of mixture per fritter. Press into a patty shape. Place in skillet.
Cook 2-3 minutes per side until golden brown and crispy.
Drain on paper towels.
Step 4: Serve
Serve hot with ranch or garlic aioli. Watch the broccoli disappear.
Summary
Prep Time: 10 min | Cook Time: 10 min | Total: 20 min
Yield: 8-10 fritters | Difficulty: Easy
Storage Notes
Fridge: 4 days. Reheat in oven or air fryer at 375°F for 5-7 minutes (crispy returns). Freeze uncooked fritters: 3 months (freeze on a tray, then cook from frozen). Never microwave — sogginess is the enemy of the fritter.
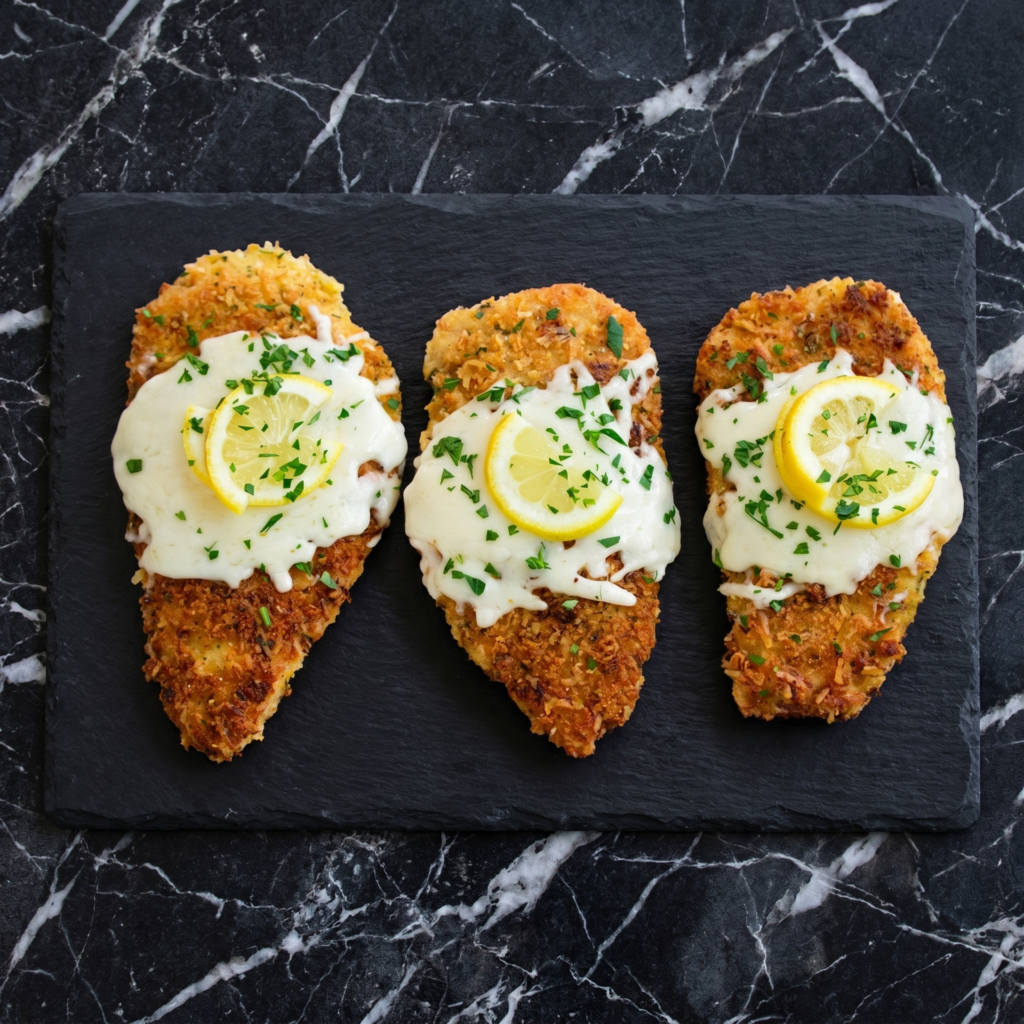
If you love bright citrus flavor paired with crispy, golden chicken and savory cheese, Lemon Chicken Romano is about to become your new favorite dinner. This Italian-inspired classic features tender chicken breasts coated in a Romano cheese crust, pan-fried until perfectly crisp, and finished with a silky lemon butter sauce that ties everything together beautifully.
It’s elegant enough for entertaining, yet simple enough for a weeknight meal. With just a few pantry staples and the right technique, you can create a restaurant-quality dish right at home. Let’s break it down step by step so you get perfectly juicy chicken with bold, balanced flavor every time.
Ingredients You’ll Need
For the Chicken:
2 large boneless, skinless chicken breasts
1 cup all-purpose flour
2 large eggs
2 tablespoons milk
¾ cup grated Romano cheese
½ cup grated Parmesan cheese
½ teaspoon salt
½ teaspoon black pepper
½ teaspoon garlic powder
¼ cup olive oil (for frying)
For the Lemon Butter Sauce:
2 tablespoons unsalted butter
2 cloves garlic, minced
½ cup chicken broth
¼ cup fresh lemon juice (about 1–2 lemons)
1 teaspoon lemon zest
2 tablespoons heavy cream (optional, for richness)
Salt and pepper to taste
Fresh parsley, chopped (for garnish)
Step 1: Prepare the Chicken
Place the chicken breasts between two sheets of plastic wrap or parchment paper. Using a meat mallet or rolling pin, pound them to an even thickness of about ½ inch. This ensures even cooking and tender results.
Season both sides lightly with salt and pepper.
Step 2: Set Up Your Breading Station
Prepare three shallow bowls:
In the first bowl, add the flour.
In the second bowl, whisk together the eggs and milk.
In the third bowl, combine the grated Romano, Parmesan, garlic powder, and a pinch of black pepper.
This three-step coating process creates that signature crispy, cheesy crust.
Step 3: Bread the Chicken
Dredge each chicken breast in flour, shaking off excess. Next, dip into the egg mixture, allowing any extra to drip off. Finally, press firmly into the Romano-Parmesan mixture, ensuring both sides are fully coated.
Place the coated chicken on a plate and let it rest for 5–10 minutes. This helps the coating adhere better during cooking.
Step 4: Pan-Fry Until Golden
Heat olive oil in a large skillet over medium heat. Once hot (but not smoking), carefully place the chicken into the pan.
Cook for about 4–5 minutes per side, or until golden brown and cooked through. The internal temperature should reach 165°F (74°C).
Avoid overcrowding the pan. Cook in batches if necessary to maintain even browning.
Once done, transfer the chicken to a plate and tent loosely with foil to keep warm.
Step 5: Prepare the Lemon Butter Sauce
In the same skillet (do not wipe it clean—those browned bits add flavor), reduce heat to medium-low. Add butter and minced garlic. Sauté for about 30 seconds until fragrant.
Pour in the chicken broth and lemon juice, scraping up any browned bits from the bottom of the pan. Let the sauce simmer for 3–4 minutes to reduce slightly.
Stir in lemon zest and heavy cream if using. Season with salt and pepper to taste. Simmer another 1–2 minutes until the sauce thickens slightly.
Step 6: Combine and Finish
Return the cooked chicken to the skillet. Spoon the lemon butter sauce over the top and let everything simmer together for 2–3 minutes. This allows the chicken to absorb some of the bright citrus flavor while staying crisp.
Step 7: Garnish and Serve
Sprinkle freshly chopped parsley over the chicken before serving. For extra lemon brightness, add a thin lemon slice on top.
Serve immediately while hot and crispy.
Perfect Pairings
Lemon Chicken Romano pairs beautifully with:
Angel hair or linguine pasta
Garlic mashed potatoes
Steamed broccoli or asparagus
A simple arugula salad with vinaigrette
The fresh lemon sauce complements lighter sides particularly well.
Pro Tips for Success
Use freshly grated Romano cheese for the best flavor and melt.
Pound chicken evenly to avoid dry edges and undercooked centers.
Don’t rush the browning—a golden crust equals big flavor.
Fresh lemon juice is essential—bottled juice won’t deliver the same brightness.
Let the chicken rest briefly before slicing to retain juices.
Flavor Variations
Extra Crispy Version: Add a tablespoon of breadcrumbs to the cheese coating.
Spicy Twist: Add red pepper flakes to the sauce.
Herb Upgrade: Stir fresh thyme or basil into the lemon sauce.
Capers Addition: Add a tablespoon of capers for a briny punch.
Storage and Reheating
Store leftovers in an airtight container in the refrigerator for up to 3 days.
To reheat, warm gently in a skillet over medium-low heat with a splash of broth to loosen the sauce. Avoid microwaving if possible, as it can soften the crispy crust.
Why This Recipe Works
Lemon Chicken Romano strikes the perfect balance between rich and bright. The salty Romano cheese creates a crisp, flavorful crust, while the lemon butter sauce adds freshness and acidity that keeps the dish from feeling heavy.
The technique is straightforward—bread, pan-fry, simmer—and the ingredients are simple yet impactful. The result is a dish that feels elevated without requiring complicated steps.
Final Thoughts
Lemon Chicken Romano is one of those meals that feels special every time you make it. The crispy, cheesy coating combined with the silky lemon sauce creates layers of flavor and texture that are deeply satisfying.
Whether you’re cooking for family, entertaining guests, or simply treating yourself to a restaurant-style dinner at home, this dish delivers elegance and comfort in every bite.
With a little preparation and attention to detail, you can master this zesty, golden classic and bring bright Italian-inspired flavor straight to your dinner table.
Few pasta dishes prove that simple ingredients can create extraordinary flavor quite like Cacio e Pepe.
This iconic Roman dish translates literally to “cheese and pepper,” yet the result is far more complex than the name suggests. With just pasta, Pecorino Romano cheese, black pepper, and pasta water, you can create a silky, creamy sauce that coats every strand of pasta beautifully.
The magic of Cacio e Pepe lies in technique rather than complicated ingredients.
When done correctly, the starch from the pasta water emulsifies with the cheese to create a smooth sauce without any cream or butter. The freshly cracked black pepper adds warmth and aroma, balancing the salty richness of the cheese.
In this guide, you’ll learn how to make authentic Cacio e Pepe step by step, along with helpful tips to ensure the sauce turns out perfectly creamy every time.
What Makes Cacio e Pepe Special
Cacio e Pepe is a traditional dish from Rome that has been enjoyed for centuries. Originally created by shepherds who traveled with simple ingredients, the dish relies on pantry staples that were easy to carry and store.
Despite its simplicity, Cacio e Pepe requires attention to detail. The key is properly combining the cheese and pasta water to create a smooth, glossy sauce that clings to the pasta rather than clumping.
When executed well, the result is a luxurious pasta dish that tastes rich, bold, and comforting.
Ingredients
To serve 3–4 people, you will need:
400 grams spaghetti or tonnarelli pasta
1 ½ cups finely grated Pecorino Romano cheese
2 teaspoons freshly cracked black pepper
Salt for the pasta water
1–2 cups reserved pasta cooking water
Using freshly grated Pecorino Romano is crucial. Pre-grated cheese often contains anti-caking agents that can prevent the sauce from emulsifying properly.
Step 1: Bring the Pasta Water to a Boil
Fill a large pot with water and bring it to a rolling boil.
Add a generous amount of salt to the water. The pasta water should taste slightly salty, as this helps season the pasta from the inside.
Once the water is boiling, add the pasta and cook according to the package instructions until al dente.
Step 2: Reserve the Pasta Water
Before draining the pasta, scoop out about 1–2 cups of pasta cooking water and set it aside.
This starchy water is the secret ingredient that helps create the creamy sauce. The starch binds the cheese and pepper together, forming the signature silky texture.
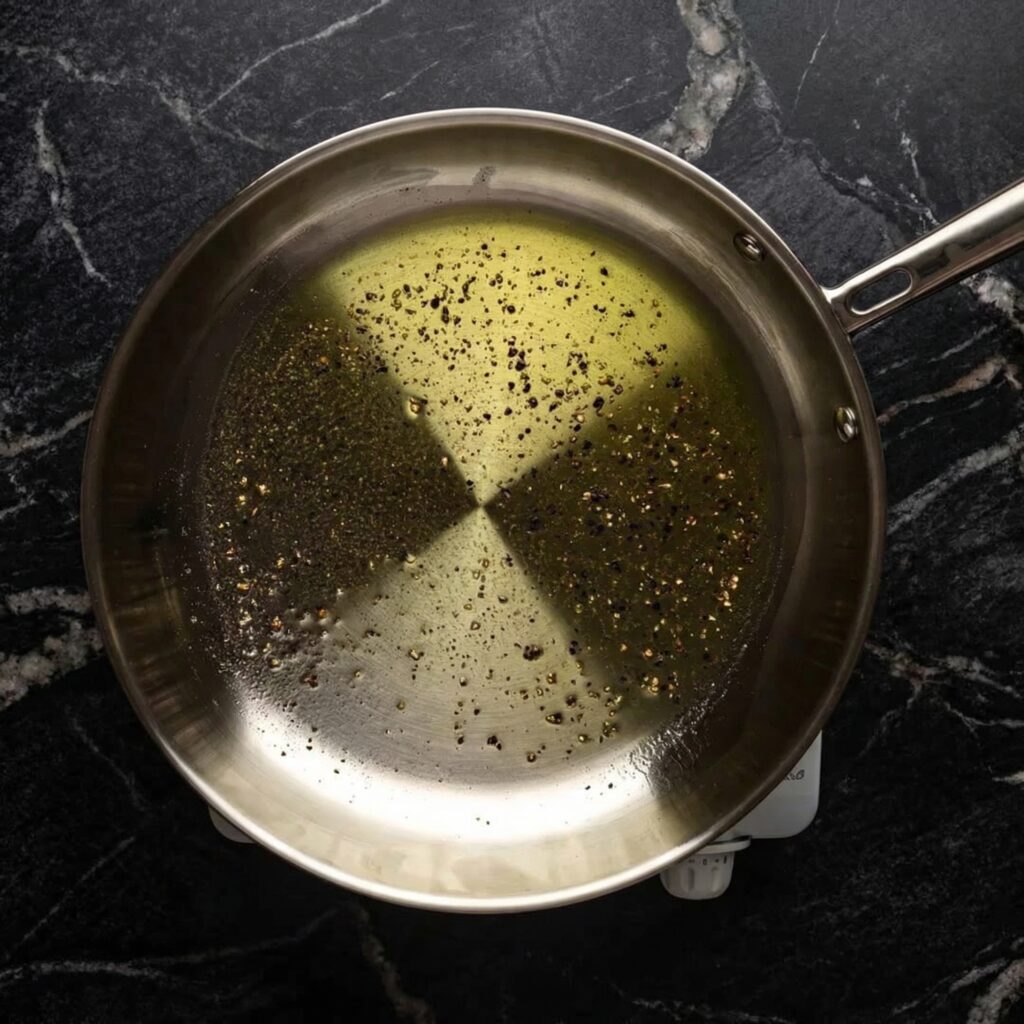
Step 3: Toast the Black Pepper
While the pasta cooks, place a large skillet over medium heat.
Add the freshly cracked black pepper to the dry skillet and toast it for about 1 minute.
Toasting the pepper intensifies its aroma and releases its natural oils, giving the dish its characteristic peppery flavor.
Step 4: Add Pasta Water to the Pepper
Pour about ½ cup of the reserved pasta water into the skillet with the toasted pepper.
Allow the mixture to simmer gently for a minute. This step helps infuse the water with the pepper’s flavor and prepares the base for the sauce.
Step 5: Add the Cooked Pasta
Using tongs, transfer the cooked pasta directly into the skillet with the pepper and pasta water.
Toss the pasta so it becomes fully coated in the pepper-infused liquid.
Let it cook for about 1 minute while stirring constantly.
Step 6: Remove the Pan from Heat
Before adding the cheese, remove the skillet from the heat.
This step is crucial because excessive heat can cause the cheese to clump instead of melting smoothly.
Allow the pasta to cool slightly for about 30 seconds.
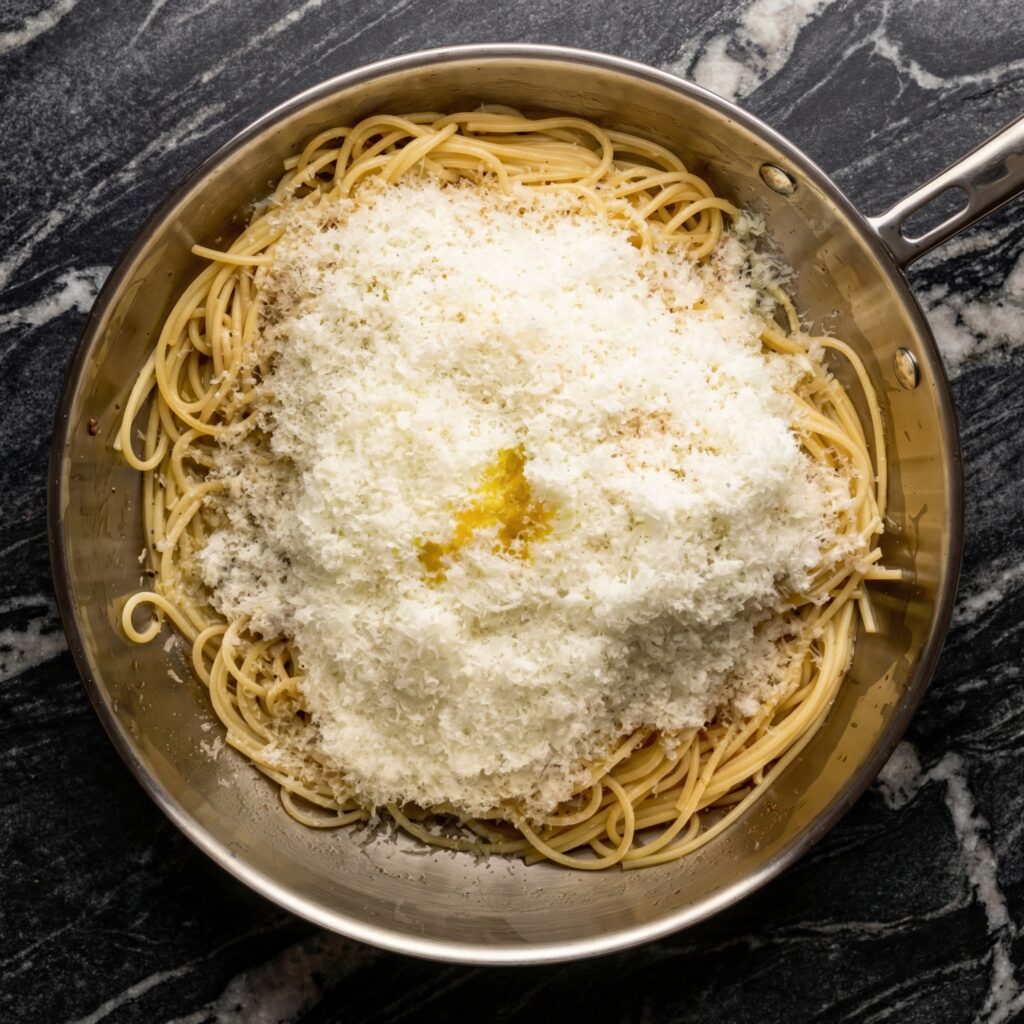
Step 7: Add the Pecorino Romano
Gradually sprinkle the grated Pecorino Romano cheese over the pasta while tossing continuously.
Add the cheese in small batches rather than all at once. This helps the cheese melt evenly and combine with the pasta water to form a creamy sauce.
If the mixture seems too thick, add a splash of reserved pasta water and keep tossing.
Step 8: Emulsify the Sauce
Continue tossing the pasta until the cheese and pasta water form a smooth, glossy sauce that coats every strand.
The starch from the pasta water binds with the cheese to create the creamy texture without needing cream or butter.
If necessary, add small amounts of pasta water until the sauce reaches the desired consistency.
Step 9: Taste and Adjust
Taste the pasta and adjust the seasoning if needed.
Since Pecorino Romano is quite salty, additional salt is usually unnecessary. However, you may want to add a bit more black pepper for extra spice.
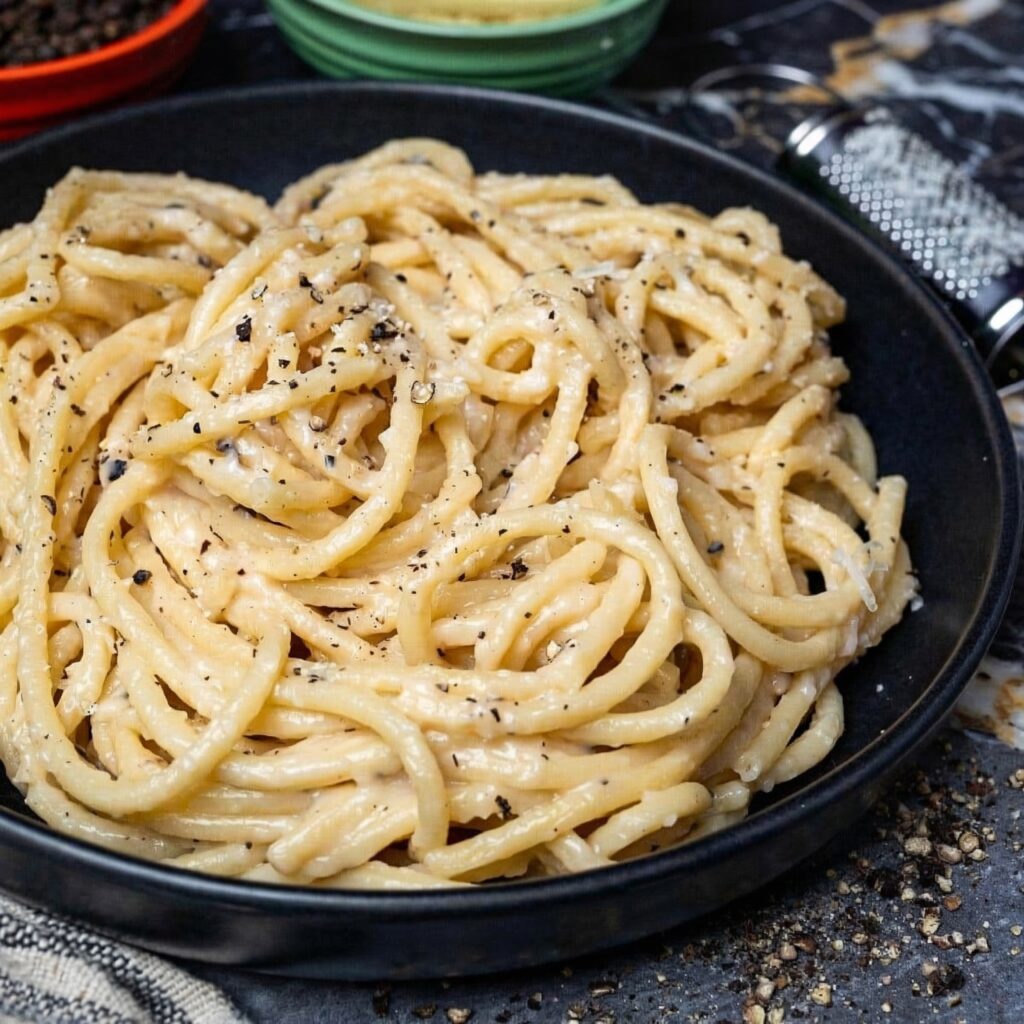
Step 10: Serve Immediately
Cacio e Pepe is best enjoyed immediately while the sauce is hot and silky.
Divide the pasta among serving bowls and sprinkle a little extra Pecorino Romano and freshly cracked pepper on top.
Serve right away for the best texture and flavor.
Tips for Perfect Cacio e Pepe
Use finely grated cheese. Finely grated Pecorino melts more smoothly into the sauce.
Keep the heat low. High heat can cause the cheese to clump rather than emulsify.
Save enough pasta water. The starch in the water is essential for the creamy sauce.
Work quickly. The sauce forms best while the pasta is still warm.
Optional Variations
While traditional Cacio e Pepe uses only a few ingredients, some cooks like to experiment with small variations.
You might try:
Mixing Pecorino Romano with Parmesan for a milder flavor
Adding a small knob of butter for extra richness
Using rigatoni or bucatini instead of spaghetti
These variations can add subtle differences while still preserving the spirit of the classic dish.
Final Thoughts
Cacio e Pepe is a beautiful example of how a few humble ingredients can create something truly remarkable. With its creamy cheese sauce, bold black pepper, and perfectly cooked pasta, this Roman classic delivers comfort and elegance in every bite.
Once you master the simple technique of emulsifying cheese with pasta water, you’ll be able to recreate this restaurant-quality dish anytime at home. It’s quick, satisfying, and proof that great cooking doesn’t always require complicated recipes.
Serve it hot, enjoy the silky sauce clinging to each strand of pasta, and savor one of Italy’s most beloved comfort foods.
Let’s settle this once and for all: brownies or cookies? With this recipe, you never have to choose again. These Brownie Cookies deliver the best of both worlds—that fudgy, dense, almost melt-in-your-mouth texture of a perfect brownie, shaped into a portable, shareable cookie with that iconic crackly, glossy top.
What makes this recipe truly dangerous is how simple it is. There’s no mixer required, no chilling time (unless you want it!), and everything comes together in a single bowl. In about 20 minutes, you can be pulling a tray of these deeply chocolatey beauties out of the oven. They’re like the sophisticated, ultra-chocolatey cousin of your favorite childhood cookie. Prepare to fall in love.
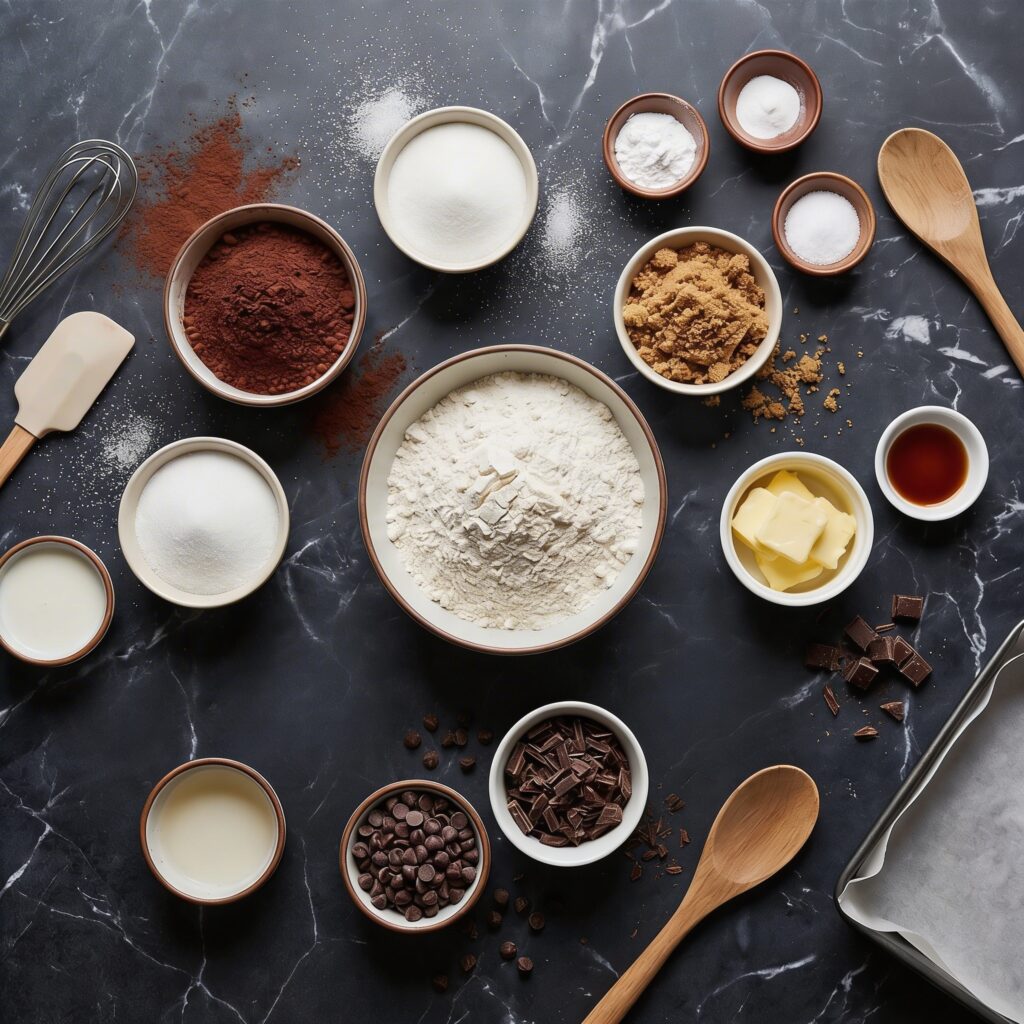
Ingredients
Yields about 12-14 cookies.
For the Brownie Cookies:
½ cup (115g) unsalted butter
1 ¼ cups (250g) granulated sugar
¾ cup (65g) unsweetened cocoa powder (Dutch-process recommended for deep color)
¼ teaspoon salt
2 large eggs, cold straight from the fridge
1 teaspoon vanilla extract
¾ cup (95g) all-purpose flour
½ teaspoon baking powder
Optional Mix-Ins:
½ cup (85g) semi-sweet chocolate chips or chunks
½ cup chopped walnuts or pecans
Flaky sea salt for sprinkling
Step-by-Step Instructions
1. Preheat and Prepare:
Preheat your oven to 350°F (175°C). Line two large baking sheets with parchment paper or silicone baking mats.
2. Melt the Butter:
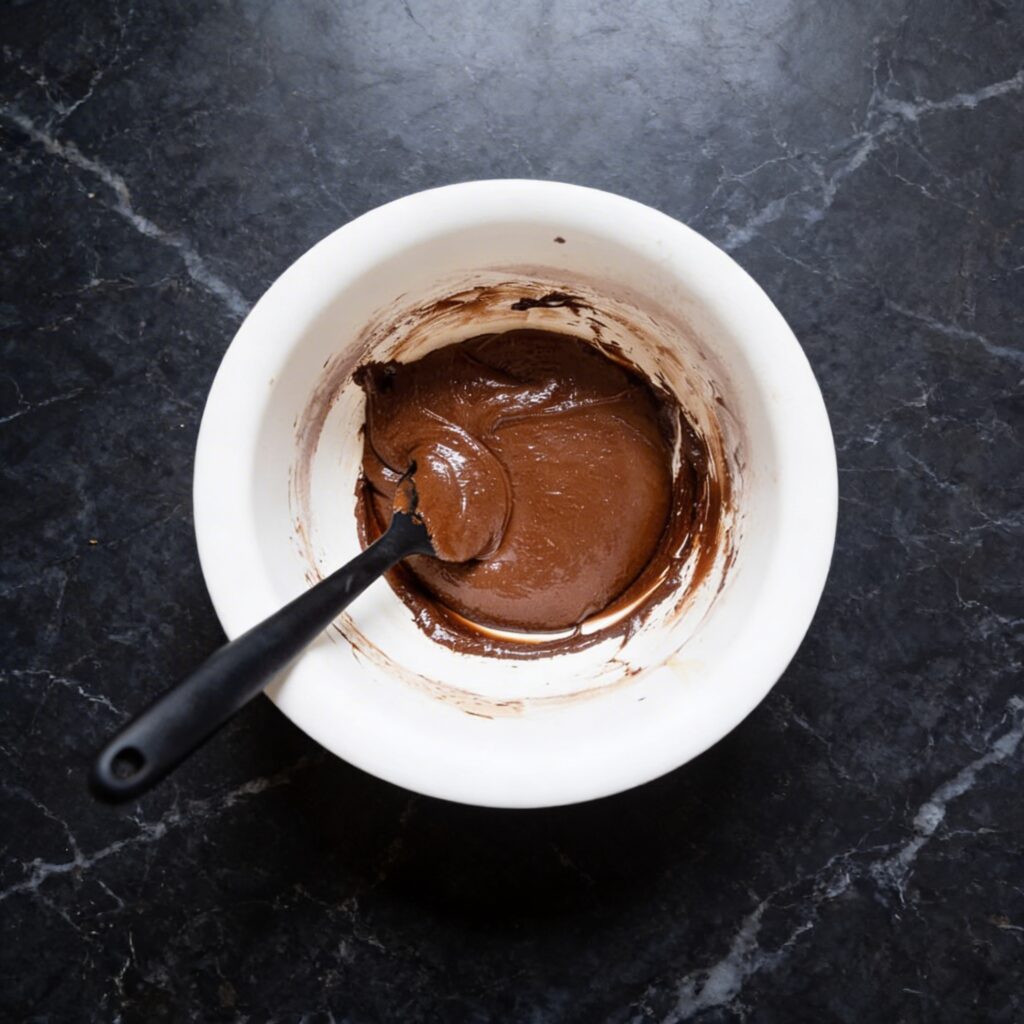
In a medium-large saucepan or a microwave-safe bowl, melt the butter completely. If using a saucepan, remove it from the heat once melted.
Add the granulated sugar, cocoa powder, and salt to the warm melted butter. Whisk vigorously until everything is combined and the mixture looks like a thick, grainy paste. It will be quite thick—this is normal!
Let the mixture cool for 2-3 minutes. It should be warm but not hot to the touch. This is important so you don’t scramble the eggs in the next step.
3. Add the Eggs and Vanilla:
Add the cold eggs one at a time, whisking vigorously after each addition. The mixture will go from thick and pasty to smooth, glossy, and beautifully fudgy. This is where that crackly top magic starts to happen!
Whisk in the vanilla extract.
4. Add the Dry Ingredients:
Sprinkle the flour and baking powder over the chocolate mixture.
Fold gently with a spatula until just combined. Be careful not to overmix. If you’re adding chocolate chips or nuts, fold them in now.
The batter will be soft, sticky, and fudgy—more like a thick brownie batter than a typical cookie dough. This is exactly what you want!
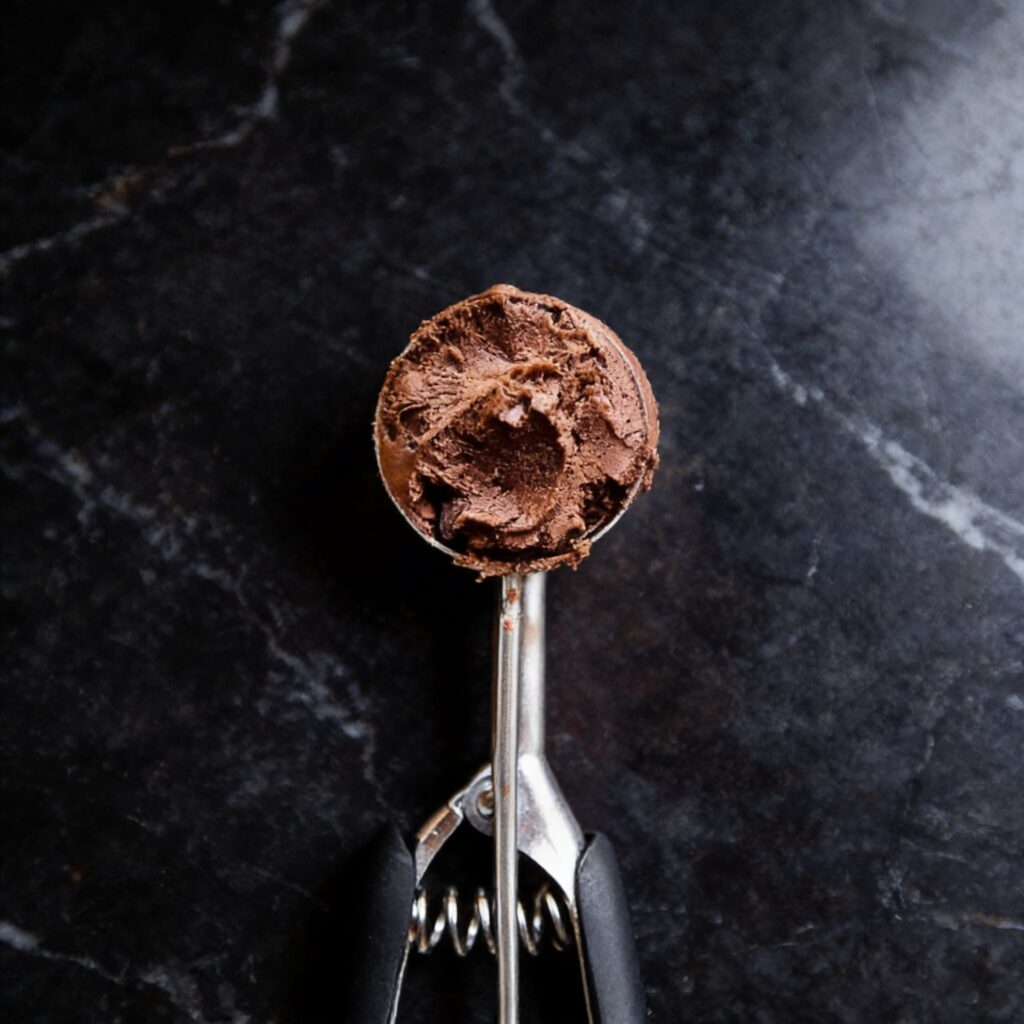
5. Scoop and Bake:
Using a cookie scoop or two tablespoons, drop rounded scoops of dough onto the prepared baking sheets, spacing them about 2 inches apart. The cookies will spread, so give them room.
For that perfect crackly top, bake immediately. Do not flatten the dough balls—they will spread on their own.
Bake for 10-12 minutes. The cookies will look puffed, crackly, and the edges should look set while the centers still appear slightly soft and underdone.
Let the cookies cool on the baking sheet for 5-10 minutes. They are very fragile when hot! As they cool, they will set up and develop that perfect fudgy texture.
Transfer to a wire rack to cool completely, or enjoy warm with a glass of cold milk!
Baker’s Tips for Perfect Brownie Cookies
Cold Eggs Are Key: Unlike most baking recipes where eggs should be room temperature, this recipe calls for cold eggs. They help the mixture thicken properly and contribute to that shiny, crackly crust.
Whisk Vigorously: When you add the eggs, really give it some elbow grease. This incorporates air and helps dissolve the sugar, which is essential for creating that beautiful crackly top.
Don’t Overbake: The secret to fudgy brownie cookies is pulling them out when they still look slightly underdone in the center. They will continue to bake and set up on the hot baking sheet as they cool.
Dutch-Process Cocoa: For the deepest, darkest color and richest flavor, Dutch-process cocoa is your best friend here. Natural cocoa works too, but the color will be lighter and the flavor slightly different.
Let Them Cool: I cannot stress this enough—these cookies are incredibly soft and fragile straight out of the oven. Let them rest on the pan for at least 5-10 minutes before attempting to move them.
Store brownie cookies in an airtight container at room temperature for up to 5 days. Place a piece of parchment paper between layers to prevent sticking. They actually get even fudgier the next day!
Can You Freeze the Dough?
Absolutely! Scoop the dough into balls and place them on a parchment-lined baking sheet. Freeze until solid, then transfer the frozen dough balls to a freezer bag. Bake from frozen, adding 1-2 minutes to the baking time.
Freezing Baked Cookies:
Baked brownie cookies freeze beautifully. Place them in a single layer in a freezer-safe container with parchment between layers. Freeze for up to 3 months. Thaw at room temperature or warm gently in the microwave for a few seconds.
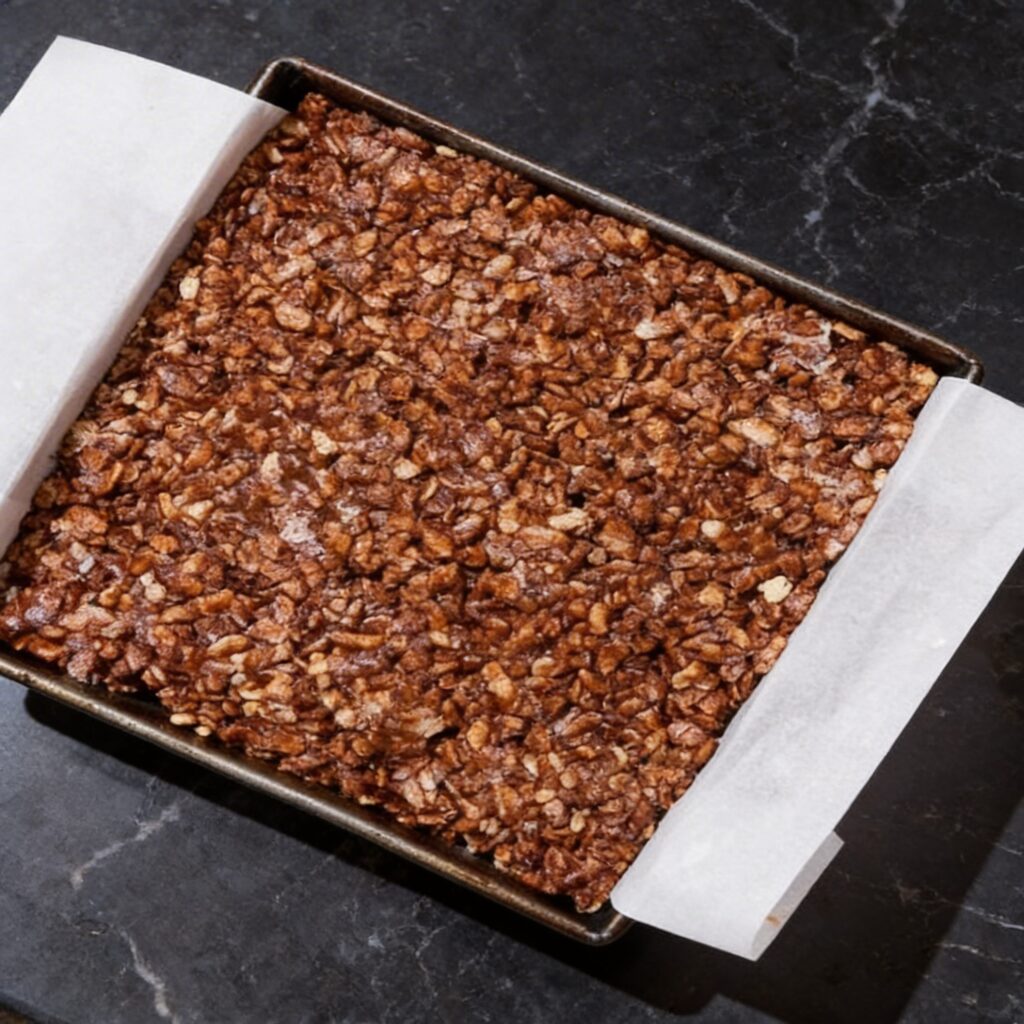
Sometimes the best recipes are the simplest ones. These Chocolate Crispy Squares are proof that you don’t need fancy ingredients or hours in the kitchen to create something absolutely irresistible. With just a handful of pantry staples, you can whip up a batch of these chewy, crunchy, chocolatey treats in less than 15 minutes.
I don’t know about you, but these take me straight back to childhood birthday parties and school bake sales. They’re nostalgic, they’re foolproof, and they’re dangerously easy to eat by the handful. Whether you’re making them with little ones (no oven required!) or need a last-minute dessert for a potluck, these crispy squares always deliver. Let’s get stirring!
Ingredients
Makes 16 squares (8×8 inch pan).
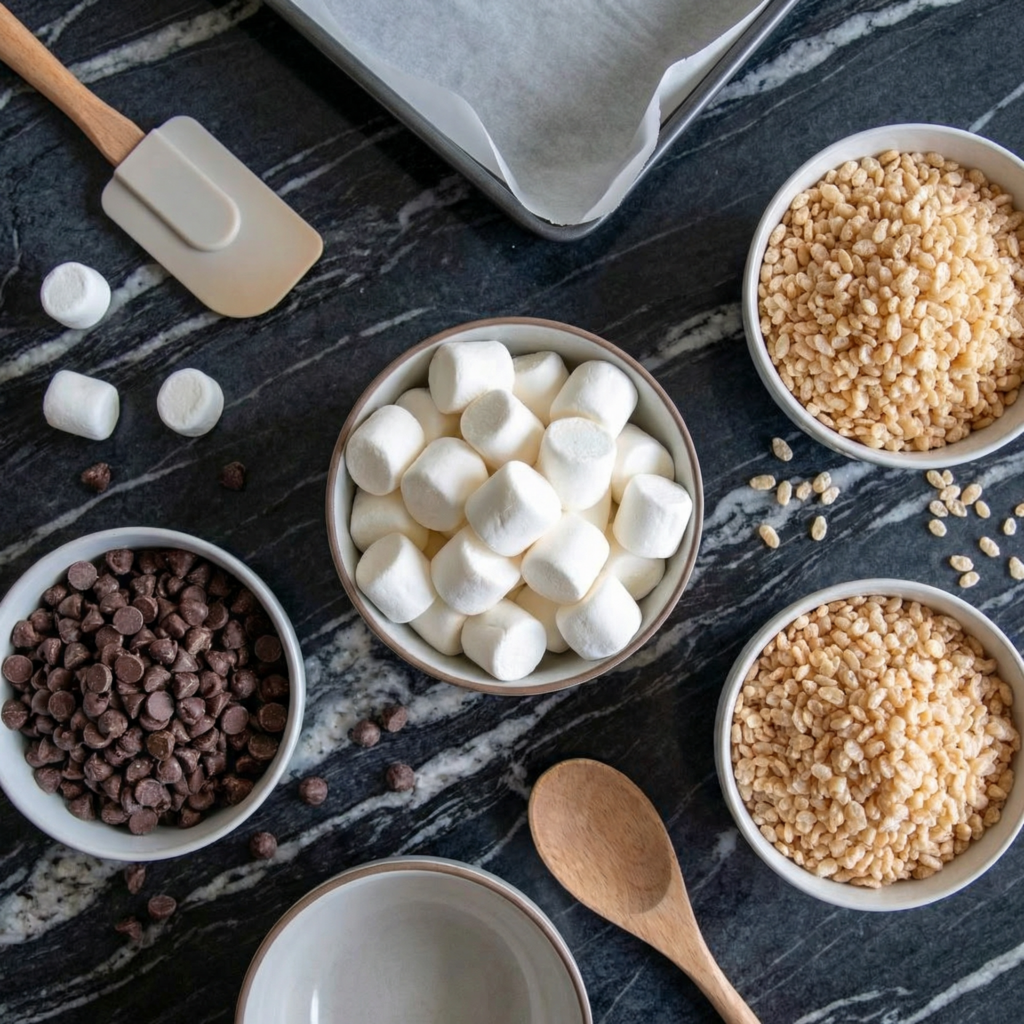
For the Crispy Squares:
4 tablespoons (60g) unsalted butter
1 package (10 oz or about 280g) mini marshmallows (regular size works too, but mini melt faster)
For the Chocolate Version (Choose Your Adventure):
Option A: Cocoa Powder
¼ cup (25g) unsweetened cocoa powder, sifted (added with the marshmallows)
Option B: Melted Chocolate
1 cup (175g) milk or semi-sweet chocolate chips (melted and mixed in)
Optional Toppings:
Flaky sea salt
Sprinkles for holidays
Drizzled white chocolate
Mini chocolate chips
Step-by-Step Instructions
1. Prepare Your Pan:
Line an 8×8 inch square baking pan with parchment paper, leaving an overhang on two opposite sides. This will act as handles to lift the squares out later. Lightly grease the parchment with butter or non-stick spray.
2. Melt the Butter and Marshmallows:
In a large pot (really large—you’ll need room for the cereal!), melt the butter over low heat.
Add the mini marshmallows and stir continuously with a silicone spatula or wooden spoon until the marshmallows are completely melted and smooth.
If using cocoa powder: Sift the cocoa powder into the pot and stir vigorously until fully incorporated and no streaks remain.
Remove the pot from the heat immediately. Overheating can make the squares tough.
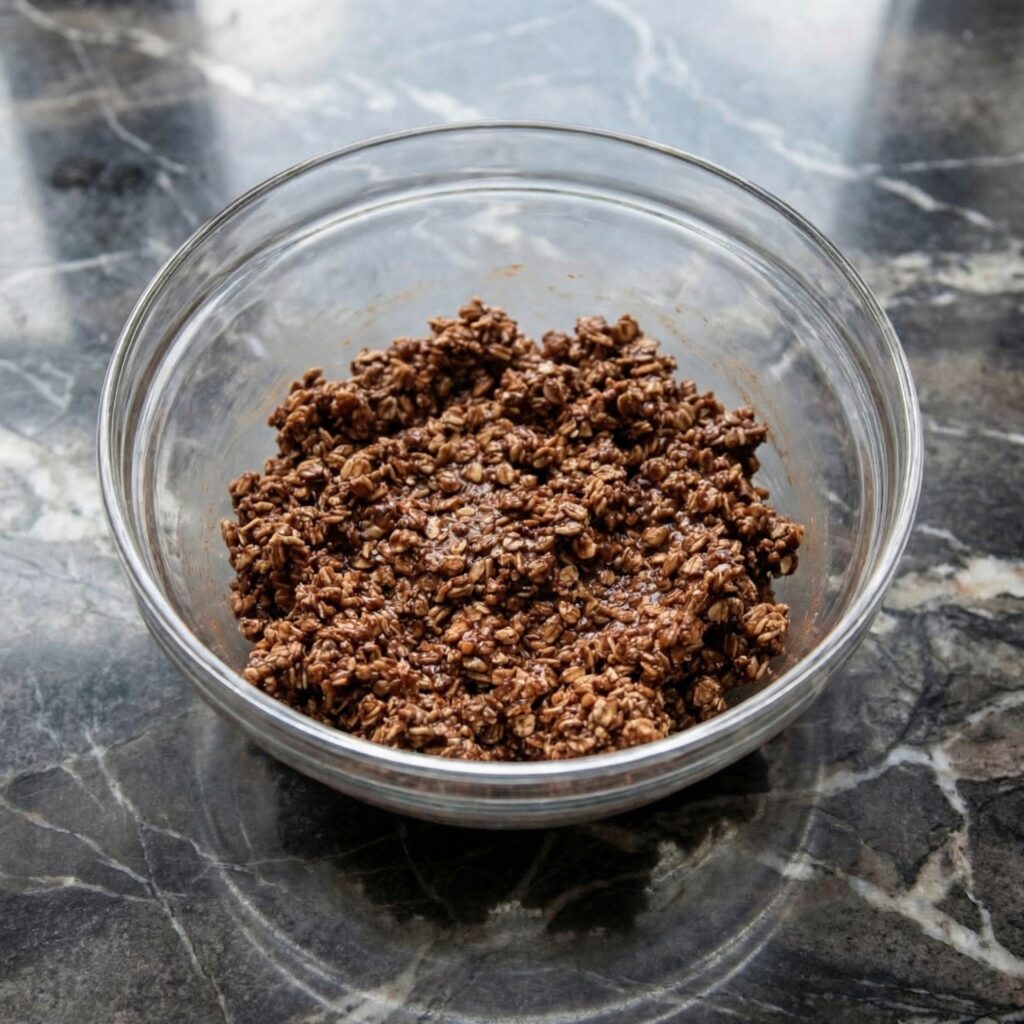
3. Add the Cereal:
Pour the crispy rice cereal into the pot.
Fold gently until all the cereal is evenly coated in the marshmallow mixture. Be careful not to crush the cereal—you want those crispy clusters!
If using melted chocolate: If you’re adding melted chocolate instead of cocoa, gently fold it in now until just combined.
4. Press Into Pan:
Transfer the mixture to your prepared pan.
Here’s the trick: lightly grease your hands or the back of a spatula with butter or non-stick spray. Gently press the mixture evenly into the pan. Don’t press too hard, or the squares will be rock hard—just firm enough to hold together.
5. Cool and Set:
Let the squares sit at room temperature for about 30-60 minutes until completely set.
If you’re in a hurry, you can pop them in the refrigerator for 15-20 minutes to speed up the process.
6. Slice and Serve:
Use the parchment overhang to lift the whole block out of the pan.
Place on a cutting board and slice into 16 squares (or larger bars if you prefer!). A sharp knife works best—wipe it clean between cuts for neat edges.
Fun Variations to Try
Peanut Butter Chocolate: Stir ⅓ cup of creamy peanut butter into the marshmallow mixture before adding the cereal. Use chocolate cereal for double the chocolate!
Salted Caramel: Drizzle caramel sauce over the pressed squares and sprinkle with flaky sea salt before they set.
Mint Chocolate: Use chocolate-flavored crispy cereal and add ½ teaspoon peppermint extract to the marshmallow mixture. Top with crushed candy canes for the holidays.
S’mores Squares: Mix in ½ cup mini marshmallows and ½ cup crushed graham crackers after folding in the cereal. Press and top with more mini marshmallows.
Birthday Sprinkle: Use white chocolate or vanilla marshmallows and fold in ¼ cup rainbow sprinkles at the end. Top with more sprinkles!
Summary
Prep Time: 5 minutes | Cook Time: 5 minutes | Set Time: 30 minutes | Total Time: 40 minutes
Yield: 16 squares
Difficulty: Super Easy (Kid-Friendly!)
Storage and Make-Ahead Tips
How to Store:
Store chocolate crispy squares in an airtight container at room temperature for up to 5 days. Place parchment paper between layers to prevent sticking.
Can You Freeze Them?
Absolutely! Wrap individual squares tightly in plastic wrap, then place them in a freezer bag or container. Freeze for up to 6 weeks. Thaw at room temperature for about 15-20 minutes before enjoying.
Making Ahead for Parties:
These are the perfect make-ahead treat! They actually hold their shape better after sitting overnight. Make them a day or two in advance and store in an airtight container until ready to serve.