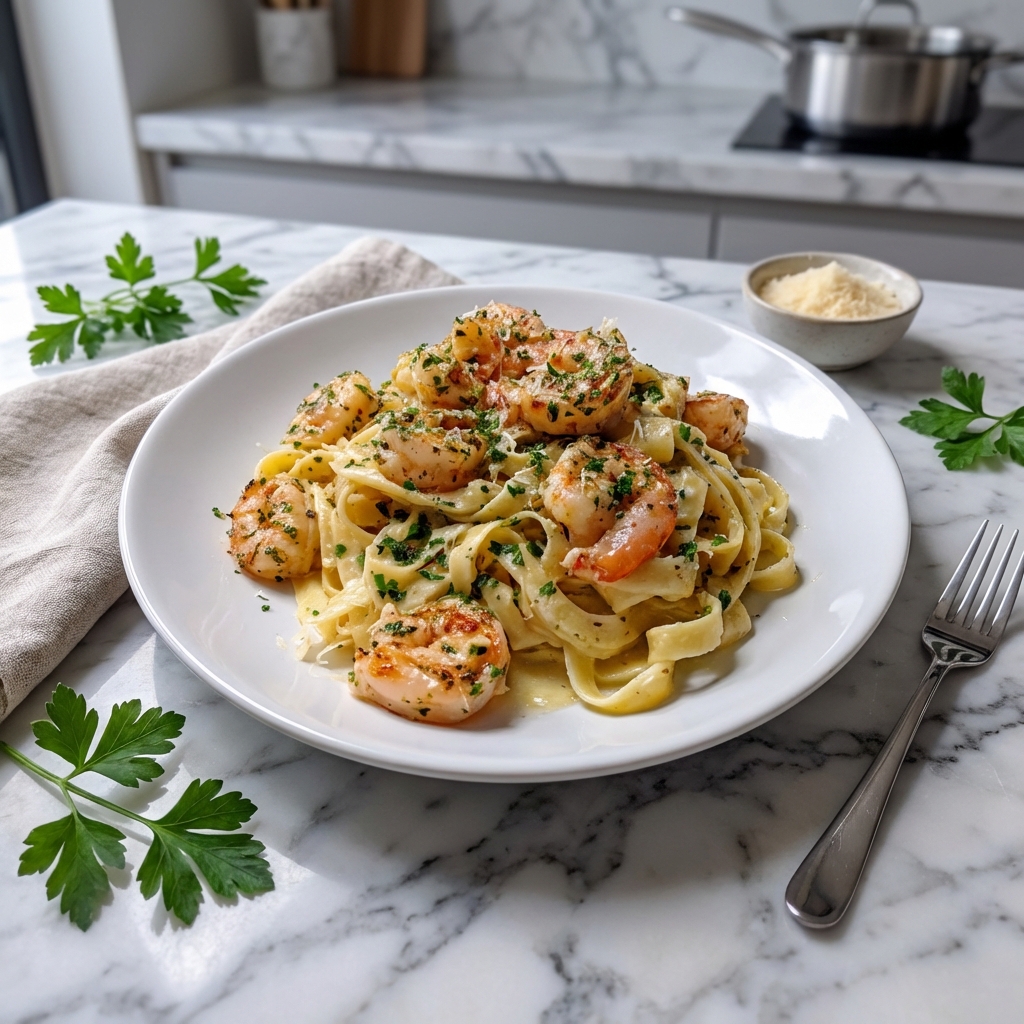
Tag: Valentine’s Day Recipes

  • Creamy, Cheesy, and Comforting: How to Make Classic Scalloped Potatoes

    Creamy, Cheesy, and Comforting: How to Make Classic Scalloped Potatoes

    Few side dishes capture the essence of comfort food quite like scalloped potatoes. Layered with tender slices of potato, creamy sauce, and melted cheese, this dish is perfect for holiday dinners, family gatherings, or simply a cozy weeknight meal. Scalloped potatoes are deceptively simple to make but deliver a rich, decadent flavor that everyone will love.

    This step-by-step guide will walk you through making classic scalloped potatoes with a creamy, cheesy sauce and perfectly tender layers. By following these steps, you’ll end up with a golden, bubbling dish that’s as beautiful as it is delicious.


    Why You’ll Love These Scalloped Potatoes

    • Creamy, cheesy, and comforting
    • Perfectly tender potato slices
    • Baked to golden perfection with a bubbly top
    • Great as a side dish for any meal
    • Easily customizable with herbs, spices, or additional cheese varieties

    The combination of tender potatoes and a rich, flavorful sauce makes scalloped potatoes a dish that never goes out of style.
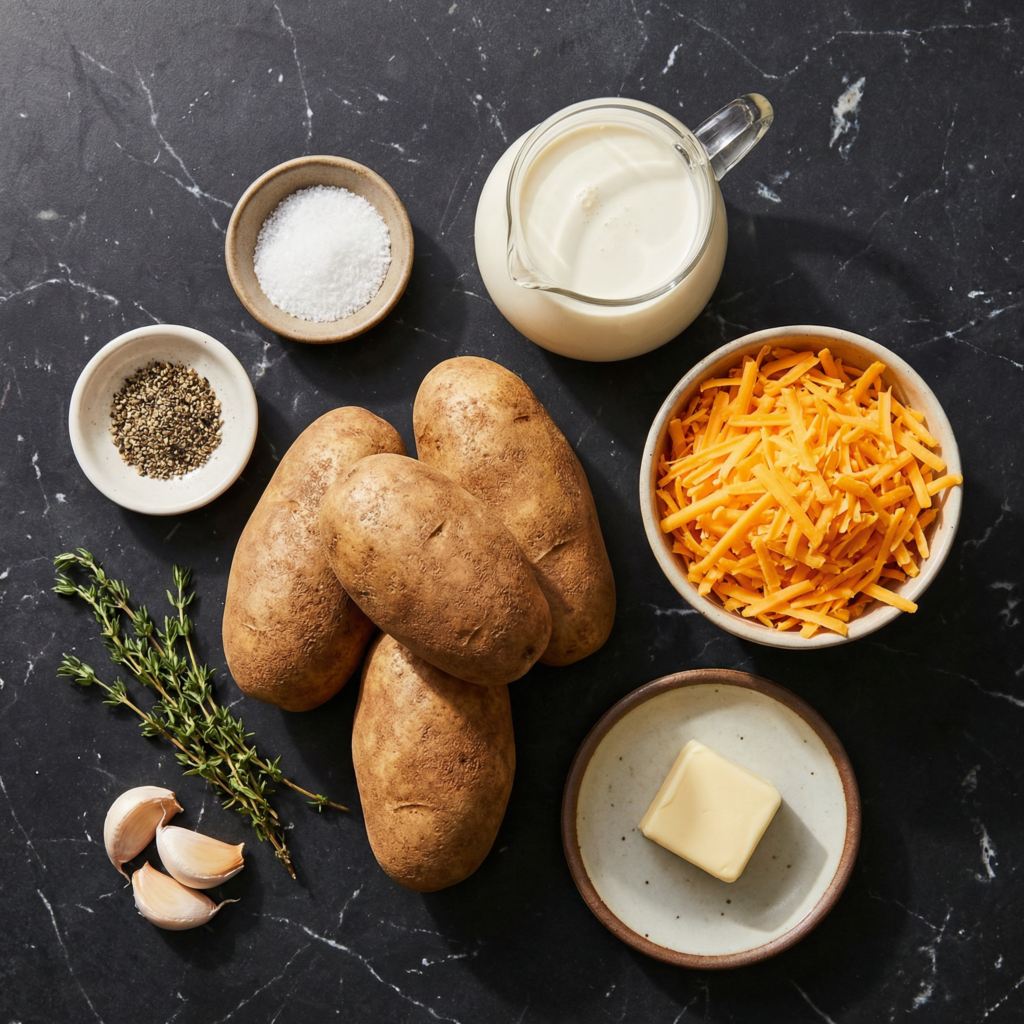

    Ingredients You’ll Need

    For the Potatoes:

    • 3 pounds (1.4 kg) russet or Yukon gold potatoes, peeled and thinly sliced
    • 2 tablespoons unsalted butter
    • 2 tablespoons all-purpose flour
    • 2 cups (480 ml) whole milk, warmed
    • 1 cup (100 g) shredded sharp cheddar cheese
    • ½ cup (50 g) grated Parmesan cheese
    • 2 teaspoons garlic powder or 2 cloves garlic, minced
    • 1 teaspoon salt
    • ½ teaspoon black pepper
    • Optional: ½ teaspoon paprika or dried thyme for garnish

    Step 1: Preheat and Prepare

    Preheat your oven to 375°F (190°C).

    Grease a 9×13-inch baking dish with butter or nonstick spray. This will prevent the potatoes from sticking and make cleanup easier.


    Step 2: Prepare the Creamy Cheese Sauce

    In a medium saucepan over medium heat, melt the butter. Add the flour and whisk constantly for 1–2 minutes to form a roux. This cooks out the raw flour taste and will thicken the sauce.

    Gradually whisk in the warm milk, making sure to eliminate any lumps. Continue to cook until the sauce begins to thicken, about 5–7 minutes.

    Remove from heat and stir in ¾ cup of cheddar cheese, garlic, salt, and pepper until melted and smooth.

    The cheese sauce should be creamy, slightly thick, and full of flavor—it will coat the potatoes beautifully.


    Step 3: Slice the Potatoes

    Peel the potatoes and slice them into ¼-inch thick rounds. Use a sharp knife or mandoline for even slices, which ensures uniform cooking.

    Even slices allow the potatoes to cook at the same rate and create an attractive layered presentation.


    Step 4: Layer the Potatoes

    Arrange a layer of potato slices in the bottom of the prepared baking dish. Pour a portion of the cheese sauce over the layer, spreading it evenly.

    Repeat the layers, alternating potatoes and sauce, until all potatoes and sauce are used. Sprinkle the remaining cheddar and Parmesan on top for a golden, cheesy crust.

    Optional: Sprinkle paprika or dried thyme over the top for color and added flavor.
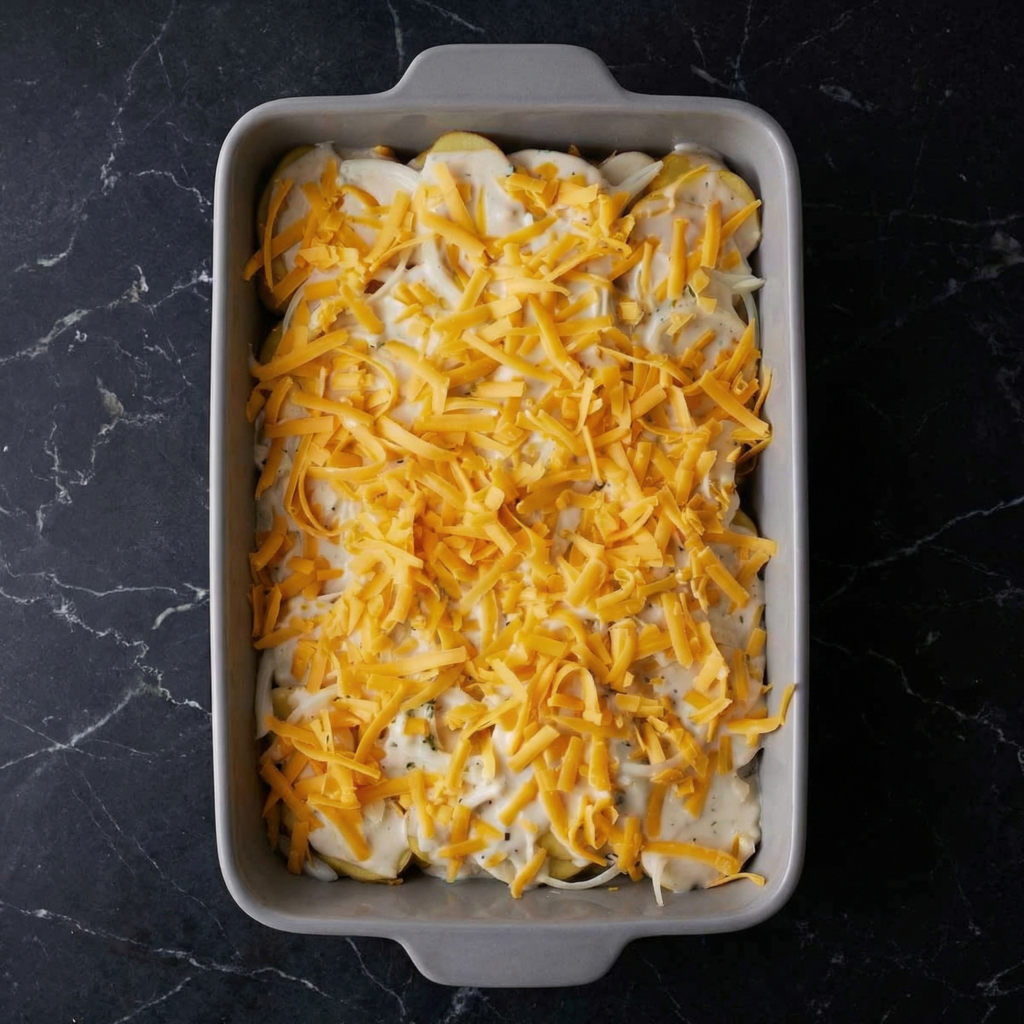

    Step 5: Cover and Bake

    Cover the baking dish tightly with aluminum foil to prevent the top from browning too quickly while the potatoes cook through.

    Bake in the preheated oven for 45 minutes.


    Step 6: Uncover and Finish Baking

    Remove the foil and bake for an additional 20–25 minutes, or until the potatoes are tender and the top is golden brown and bubbling.

    Check for doneness by inserting a knife into the center—potatoes should slide easily without resistance.


    Step 7: Rest Before Serving

    Let the scalloped potatoes rest for 5–10 minutes before serving.

    Resting allows the sauce to thicken slightly, making the dish easier to serve and giving the flavors time to meld together.
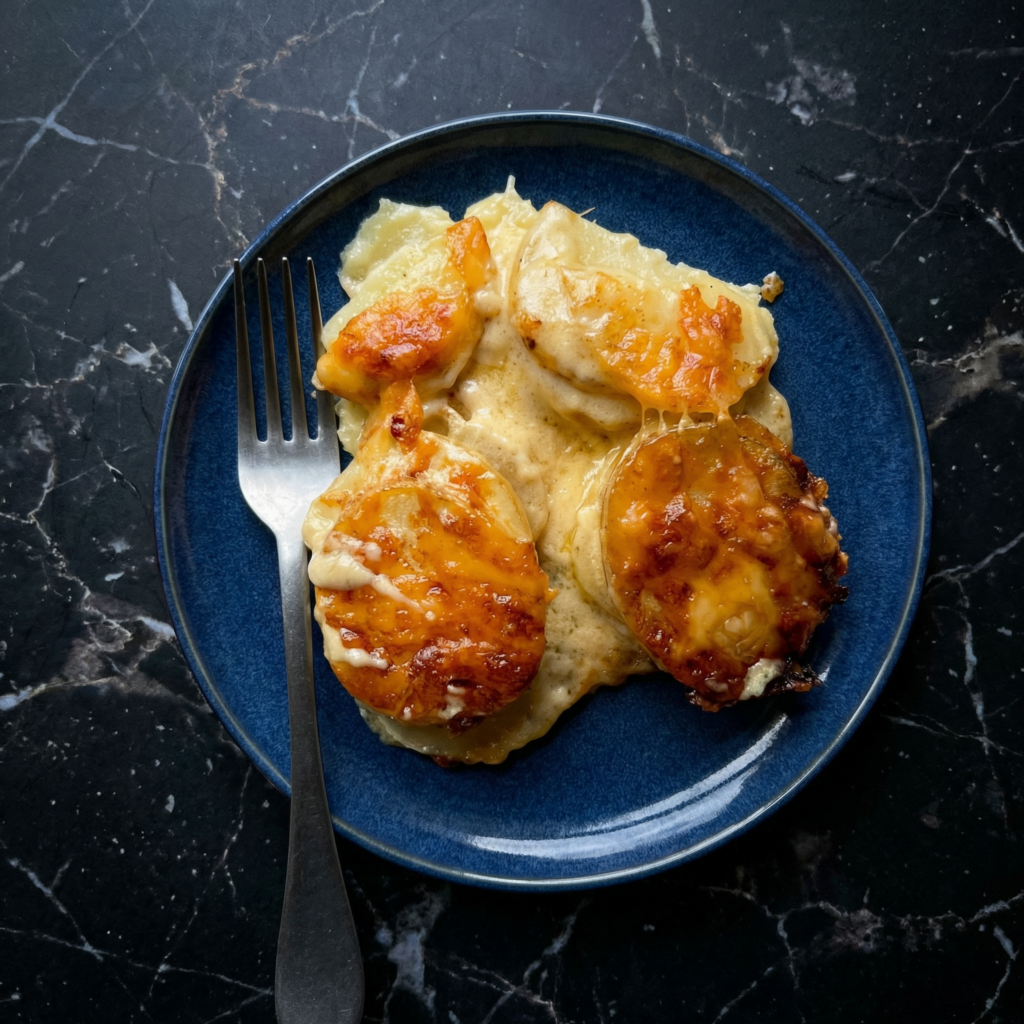

    Flavor and Texture Highlights

    • Tender potato slices cooked to perfection
    • Creamy, cheesy sauce with rich flavor
    • Golden, bubbly top with slightly crisp edges
    • Subtle garlic and spice notes enhance the richness

    Every bite offers a balance of soft potatoes and rich, savory sauce, with just the right amount of cheese pull.


    Tips for Perfect Scalloped Potatoes

    • Use starchy potatoes like Russet for fluffier layers or Yukon Gold for a creamier texture.
    • Slice potatoes evenly to ensure uniform cooking.
    • Warm the milk before adding to the roux to prevent lumps.
    • Cover during the initial bake to prevent the top from burning.
    • Let the dish rest before serving to thicken the sauce.

    Optional Variations

    • Bacon and Onion: Add cooked bacon bits and sautéed onions between layers.
    • Herb-Infused: Mix fresh rosemary, thyme, or sage into the cheese sauce.
    • Extra Cheesy: Use a blend of cheeses like Gruyère, Fontina, or mozzarella for depth of flavor.
    • Spicy Kick: Add a pinch of cayenne or red pepper flakes to the cheese sauce.
    • Vegetable Boost: Layer in thin slices of zucchini, sweet potato, or cauliflower for variety.

    Storage and Serving

    • Serve immediately for the best texture.
    • Store leftovers in an airtight container in the refrigerator for up to 3 days.
    • Reheat covered in the oven at 350°F (175°C) until warmed through.
    • Can be prepared ahead and baked just before serving—cover and refrigerate overnight.

    Why This Recipe Works

    Classic scalloped potatoes succeed because of the combination of thinly sliced potatoes, a flavorful cheese sauce, and layered baking. Covering the dish during the initial bake ensures tender potatoes, while uncovering allows a golden, bubbly top.

    The balance of creamy sauce, cheese, and tender potatoes creates a dish that is comforting, decadent, and universally loved.


    With its tender, flavorful layers, rich cheese sauce, and golden baked top, these classic scalloped potatoes are a comforting, elegant side dish for any meal.

    Perfect for holiday feasts, cozy dinners, or special occasions, every bite delivers creamy, cheesy goodness that will leave everyone asking for seconds. Whether served alongside roasted meats, vegetables, or enjoyed on their own, scalloped potatoes are the ultimate comfort food.

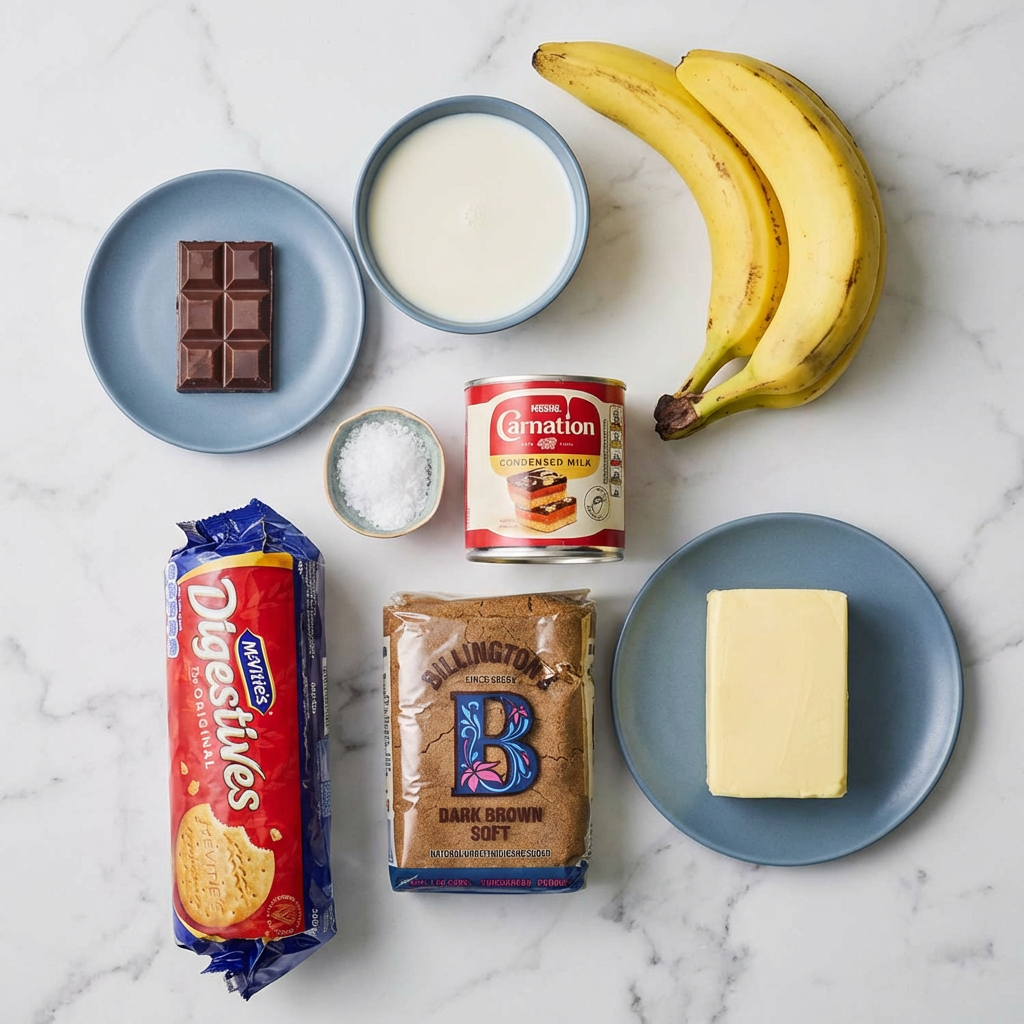
  • No Oven, All Indulgence: The Ultimate No-Bake Banoffee Pie

    No Oven, All Indulgence: The Ultimate No-Bake Banoffee Pie

    If you’re craving something rich, creamy, and irresistibly sweet—but don’t want to turn on the oven—this No-Bake Banoffee Pie is exactly what you need. With a buttery biscuit crust, luscious caramel filling, fresh banana slices, and fluffy whipped cream, this dessert delivers big flavor with minimal effort.

    Banoffee pie, a beloved British classic, gets its name from “banana” and “toffee.” Traditionally baked, this version skips the oven entirely while keeping all the indulgence. It’s perfect for warm days, last-minute guests, or when you simply want an easy yet impressive dessert.

    Let’s walk through it step by step.


    Why You’ll Love This No-Bake Version

    • No oven required
    • Simple, accessible ingredients
    • Minimal prep time
    • Make-ahead friendly
    • Perfect balance of creamy, crunchy, and sweet

    The secret is creating a firm crust that sets in the refrigerator and layering it with rich dulce de leche and fresh bananas.


    Ingredients You’ll Need

    For the Crust:

    • 2 cups (200g) graham cracker crumbs or crushed digestive biscuits
    • ½ cup (113g) unsalted butter, melted
    • 2 tablespoons granulated sugar

    For the Filling:

    • 1½ cups dulce de leche (store-bought or canned caramel)
    • 3–4 ripe but firm bananas

    For the Topping:

    • 1½ cups heavy whipping cream
    • 2 tablespoons powdered sugar
    • 1 teaspoon vanilla extract

    Optional garnish:

    • Chocolate shavings or cocoa powder

    Step 1: Prepare the Crust

    In a medium mixing bowl, combine the graham cracker crumbs, melted butter, and sugar. Stir until the mixture resembles wet sand and holds together when pressed between your fingers.

    Press the mixture firmly into a 9-inch pie dish, covering the bottom and slightly up the sides. Use the bottom of a measuring cup to pack it down tightly—this helps it hold its shape once chilled.

    Place the crust in the refrigerator for at least 30–45 minutes to firm up.

    Tip: The firmer you press the crust, the cleaner your slices will be later.


    Step 2: Prepare the Caramel Layer

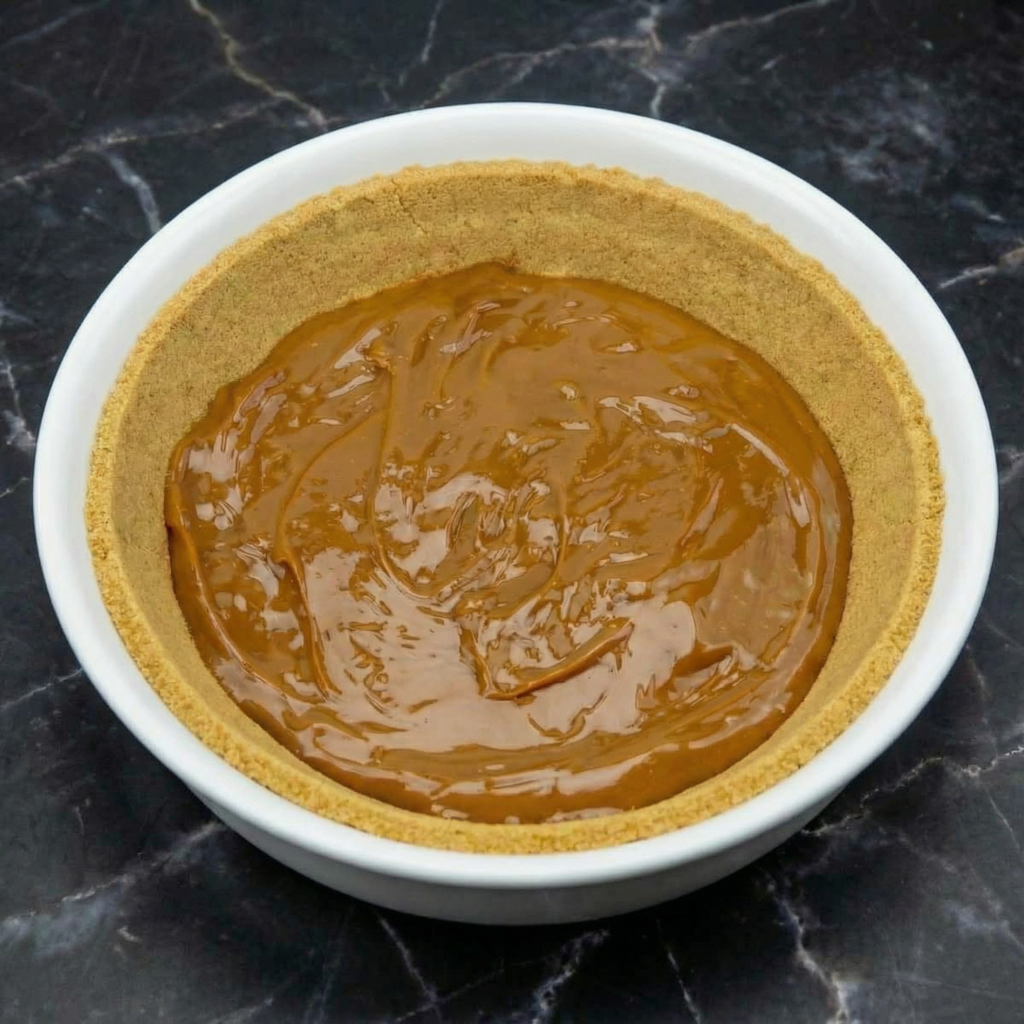
    While the crust chills, stir your dulce de leche until smooth and spreadable. If it’s too thick, warm it gently in the microwave for 10–15 seconds to loosen it.

    Once the crust is firm, spread the dulce de leche evenly across the base. Use an offset spatula or spoon to smooth it into an even layer.

    Return the pie to the refrigerator for about 15 minutes to let the caramel set slightly before adding bananas.

    This step keeps the layers neat and defined.


    Step 3: Slice and Layer the Bananas

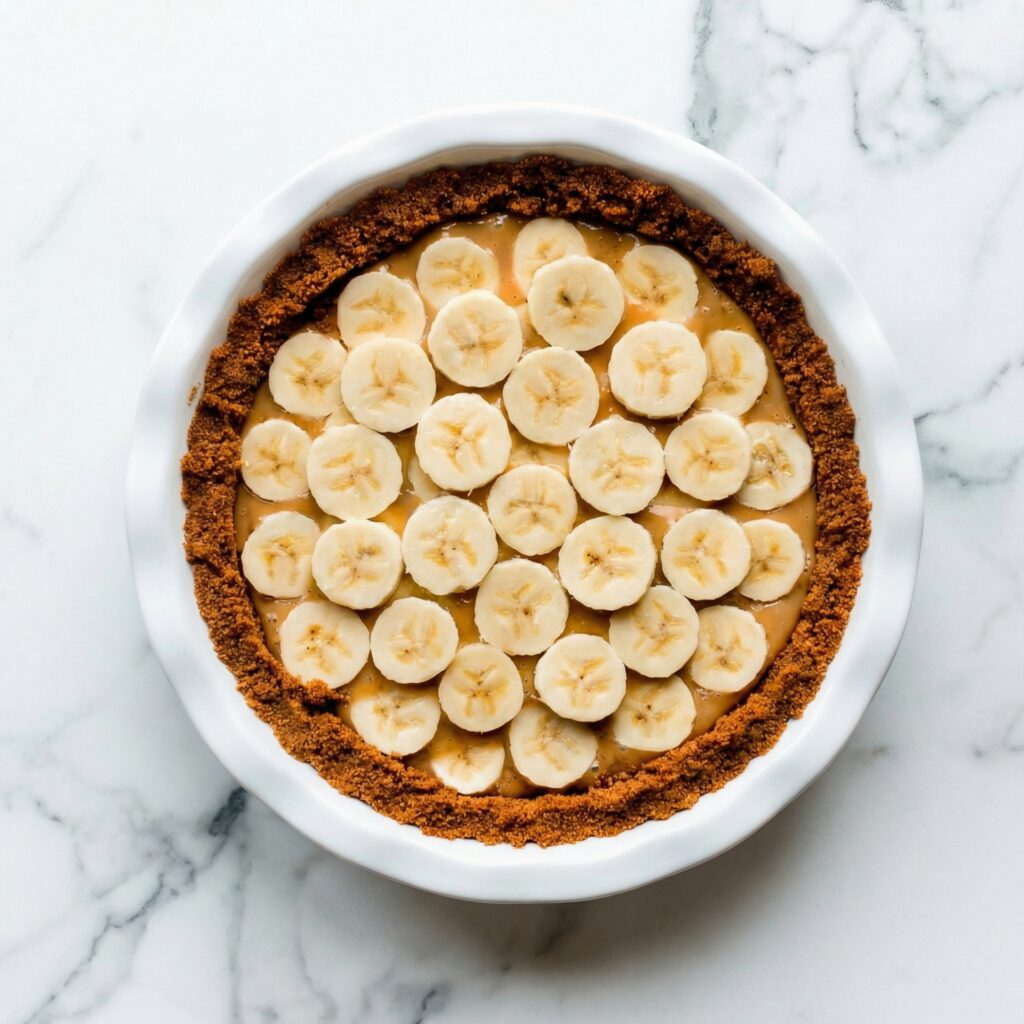
    Peel the bananas and slice them into even rounds, about ¼-inch thick.

    Arrange the banana slices evenly over the caramel layer. You can slightly overlap them, but aim for a consistent layer across the pie.

    Choose bananas that are ripe but still firm. Overripe bananas can become mushy and overly sweet.

    Optional tip: Lightly brush the banana slices with lemon juice to slow browning if making ahead.


    Step 4: Whip the Cream

    In a chilled mixing bowl, add the heavy whipping cream, powdered sugar, and vanilla extract.

    Using a hand mixer or stand mixer, beat on medium-high speed until soft peaks form. Continue whipping until stiff peaks form, meaning the cream holds its shape when you lift the beaters.

    Be careful not to overwhip, as it can turn grainy or begin separating.

    The whipped cream should be thick, fluffy, and smooth.


    Step 5: Add the Final Layer

    Spoon the whipped cream over the banana layer. Spread evenly, or create decorative swirls with the back of a spoon.

    For a polished finish, garnish with chocolate shavings, grated dark chocolate, or a light dusting of cocoa powder.

    This topping adds visual appeal and a subtle chocolate note that pairs beautifully with banana and caramel.


    Step 6: Chill to Set

    Refrigerate the assembled pie for at least 2 hours before serving. This allows the layers to firm up and makes slicing much easier.

    For best results, chill 3–4 hours if time allows.

    The longer it chills (within reason), the better the structure.


    Step 7: Slice and Serve

    Use a sharp knife dipped in warm water for clean slices. Wipe the blade between cuts for neat presentation.

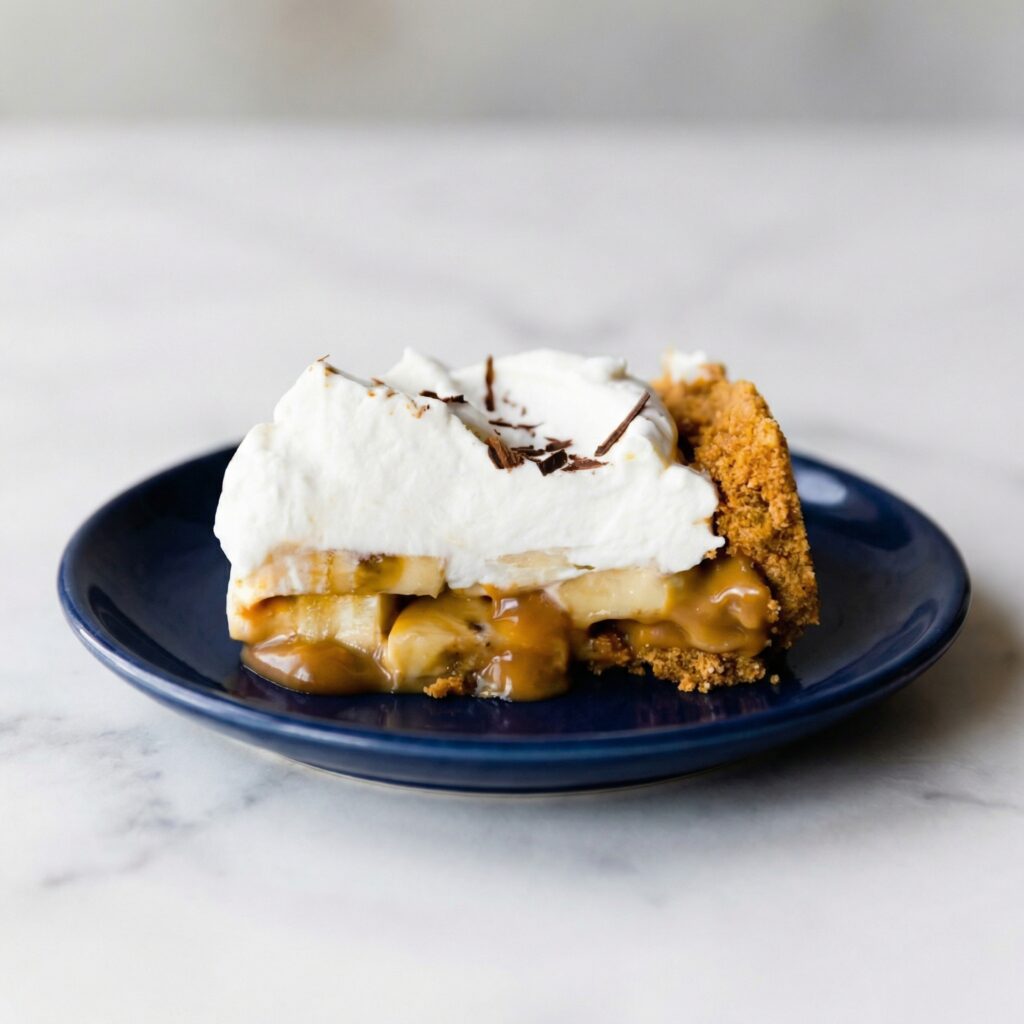
    Each slice should show distinct layers:

    • Firm, buttery crust
    • Thick caramel
    • Fresh banana
    • Cloud-like whipped cream

    Serve chilled for the best texture and flavor balance.


    Tips for the Perfect No-Bake Banoffee Pie

    • Press the crust very firmly to prevent crumbling.
    • Chill between layers to keep structure clean.
    • Use full-fat whipping cream for stable peaks.
    • Avoid overripe bananas.
    • Serve within 24 hours for the freshest appearance.

    Make-Ahead and Storage

    This pie can be made up to one day in advance. Store covered in the refrigerator.

    It’s best enjoyed within 1–2 days, as bananas may begin to brown and release moisture over time.

    Freezing is not recommended because whipped cream and bananas change texture when thawed.


    Optional Variations

    Want to customize it?

    • Add a thin layer of melted chocolate over the crust before caramel.
    • Sprinkle flaky sea salt over the caramel for a salted twist.
    • Use chocolate cookie crumbs instead of graham crackers.
    • Add a drizzle of chocolate sauce on top before serving.

    This No-Bake Banoffee Pie proves that you don’t need an oven to create a show-stopping dessert. With its buttery crust, silky caramel, fresh bananas, and fluffy whipped cream, it’s a guaranteed crowd-pleaser.

    It’s rich yet balanced, simple yet impressive, and easy enough for beginner bakers. Whether you’re hosting guests or treating yourself, this chilled dessert delivers comfort and indulgence in every bite.

    No baking. No stress. Just layers of sweet, creamy perfection.

  • Chewy, Chocolatey, and Irresistible: The Ultimate Homemade Revel Bars Recipe

    Chewy, Chocolatey, and Irresistible: The Ultimate Homemade Revel Bars Recipe

    If you love the combination of buttery oats and rich, fudgy chocolate, then Revel Bars are about to become your new favorite dessert.

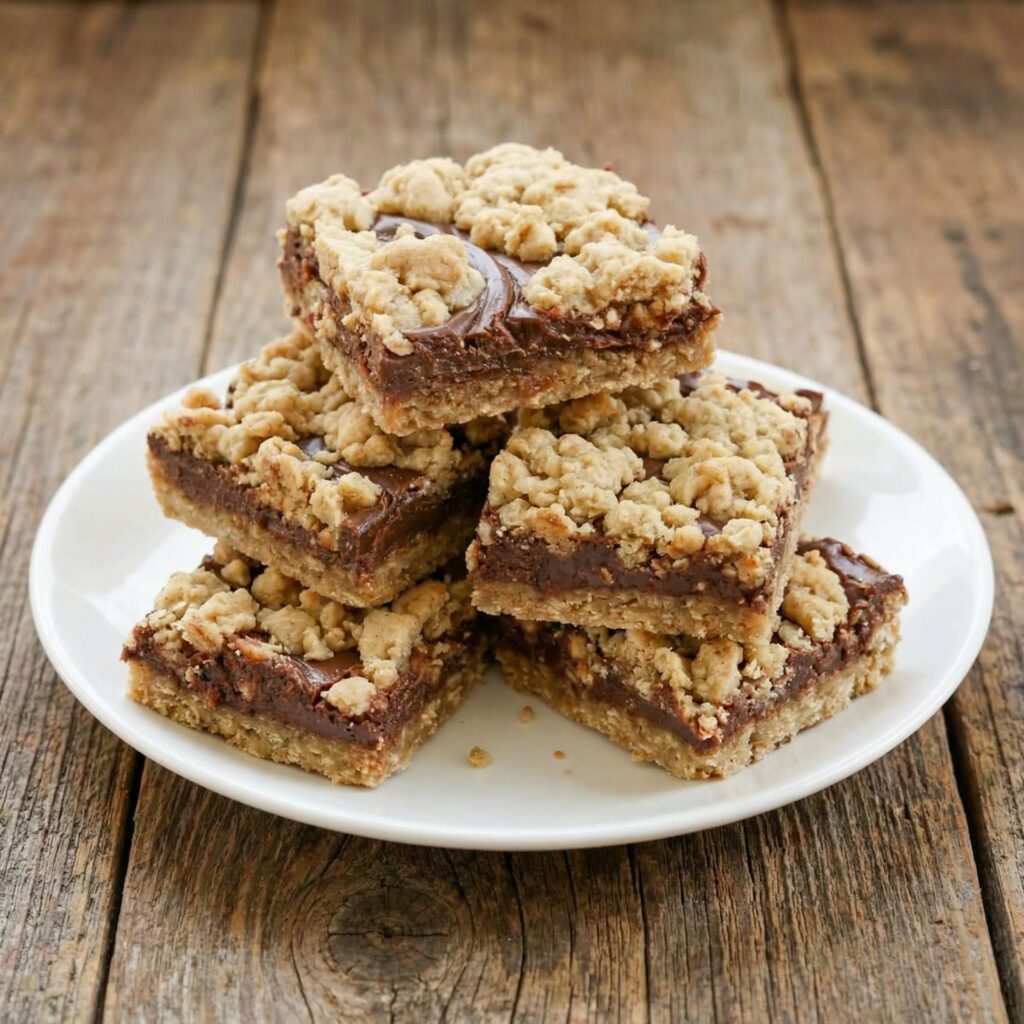
    These classic layered bars feature a soft oatmeal cookie crust and topping with a thick, gooey chocolate center that melts in your mouth.

    They’re simple enough for beginner bakers yet impressive enough for potlucks, bake sales, and family gatherings. Follow this detailed step-by-step guide to make perfectly chewy, chocolate-packed Revel Bars right in your own kitchen.


    What Are Revel Bars?

    Revel Bars are a vintage dessert bar made with a hearty oatmeal cookie dough that doubles as both the crust and crumb topping.

    The center is filled with a luscious chocolate mixture that bakes into a soft fudge-like layer. The contrast between chewy oats and silky chocolate is what makes these bars so special.


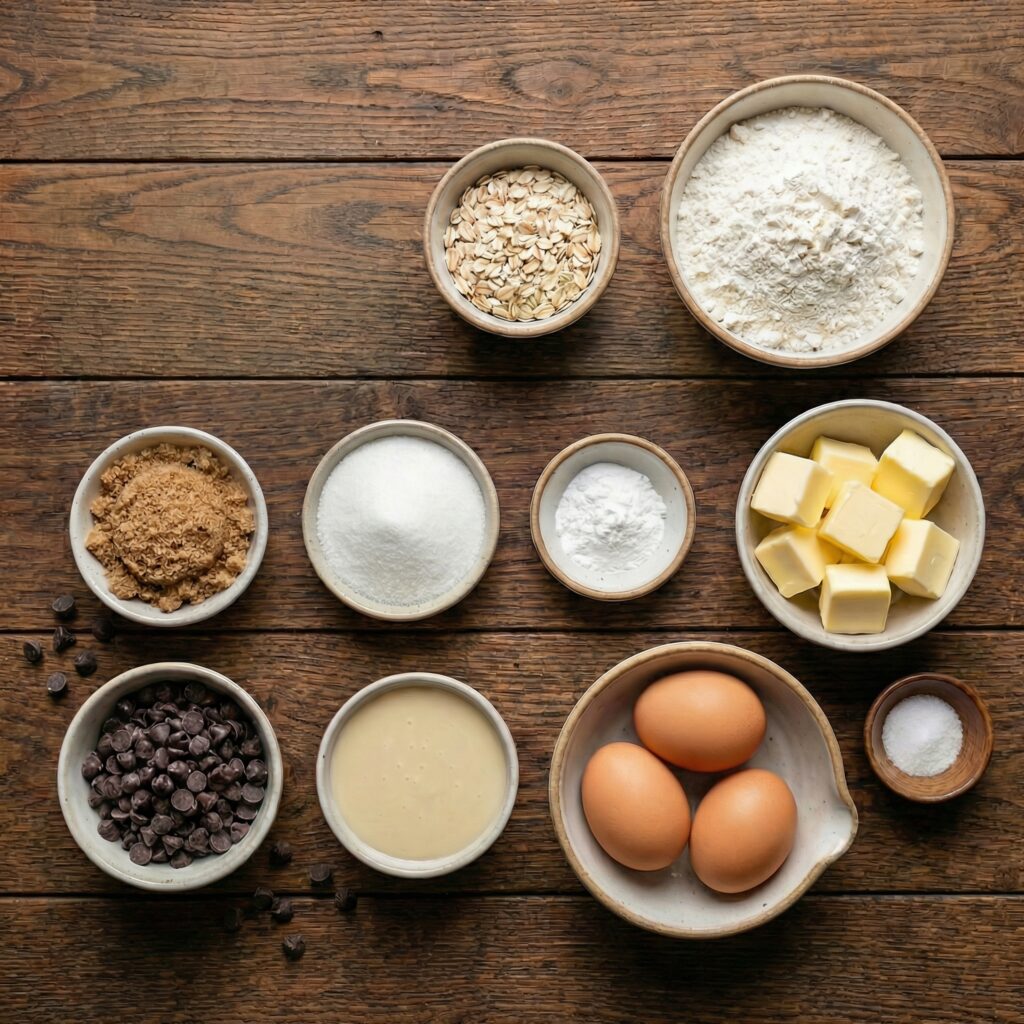
    Ingredients You’ll Need

    For the Oatmeal Cookie Base and Topping:

    • 1 cup (226g) unsalted butter, softened
    • 2 cups (400g) packed brown sugar
    • 2 large eggs
    • 1 teaspoon vanilla extract
    • 2½ cups (310g) all-purpose flour
    • 1 teaspoon baking soda
    • ½ teaspoon salt
    • 3 cups (270g) old-fashioned rolled oats

    For the Chocolate Filling:

    • 1 can (14 oz) sweetened condensed milk
    • 2 cups (340g) semi-sweet chocolate chips
    • 2 tablespoons unsalted butter
    • ½ teaspoon salt
    • 1 teaspoon vanilla extract

    Step 1: Preheat and Prepare the Pan

    Preheat your oven to 350°F (175°C).

    Grease a 9×13-inch baking pan or line it with parchment paper, leaving overhang on the sides for easy removal. Proper preparation ensures your bars release cleanly once cooled.


    Step 2: Cream Butter and Sugar

    In a large mixing bowl, beat the softened butter and brown sugar together until light and fluffy.

    This step incorporates air into the mixture, helping create a soft and chewy texture. Cream for about 2–3 minutes using a hand mixer or stand mixer.


    Step 3: Add Eggs and Vanilla

    Add the eggs one at a time, beating well after each addition. Stir in the vanilla extract.

    The mixture should be smooth and slightly creamy at this stage.


    Step 4: Combine Dry Ingredients

    In a separate bowl, whisk together the flour, baking soda, and salt.

    Gradually add the dry ingredients to the wet mixture, mixing just until combined. Avoid overmixing to keep the bars tender.


    Step 5: Fold in the Oats

    Stir in the old-fashioned rolled oats until evenly distributed.

    The dough will be thick and hearty—this is exactly what you want for that classic chewy texture.


    Step 6: Press the Base Layer

    Press about two-thirds of the oatmeal dough evenly into the bottom of the prepared baking pan.

    Use a spatula or lightly damp fingers to smooth it into an even layer. This will serve as the sturdy base for your chocolate filling.

    Set aside the remaining dough for the topping.


    Step 7: Prepare the Chocolate Filling

    In a medium saucepan over low heat, combine the sweetened condensed milk, chocolate chips, and butter. Stir continuously until the chocolate is fully melted and smooth.

    Remove from heat and stir in the salt and vanilla extract. The filling should be glossy, thick, and rich.


    Step 8: Spread the Chocolate Layer

    Pour the warm chocolate filling evenly over the oatmeal base in the pan. Use a spatula to spread it into an even layer, making sure it reaches all corners.


    Step 9: Add the Oatmeal Topping

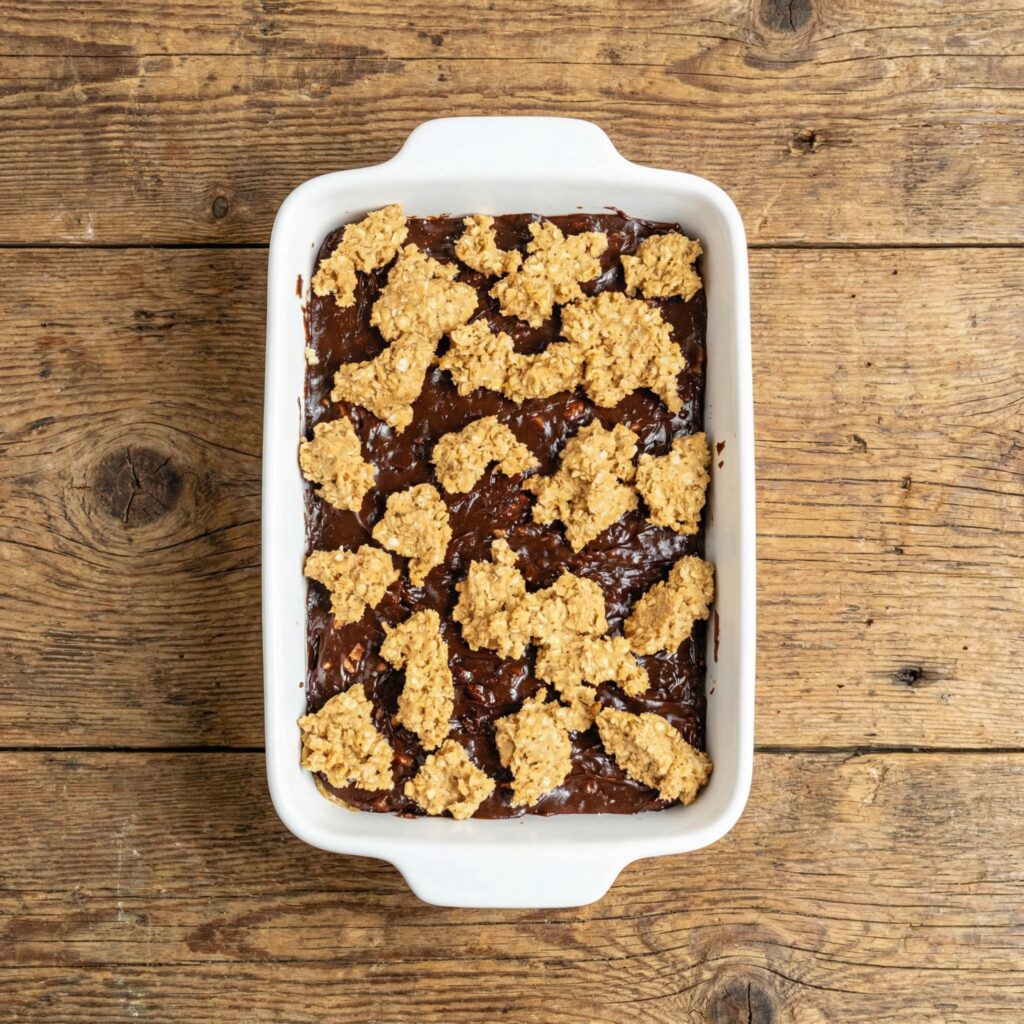
    Crumble the remaining oatmeal dough evenly over the chocolate layer. Don’t worry about covering every inch—the chocolate peeking through creates that classic rustic look.


    Step 10: Bake to Perfection

    Bake in the preheated oven for 25–30 minutes, or until the top is lightly golden brown and set.

    The center may still look slightly soft, but it will firm up as it cools.

    Avoid overbaking, as this can dry out the bars.


    Step 11: Cool Completely

    Remove the pan from the oven and allow the bars to cool completely in the pan.

    This step is crucial—cutting them too early can cause the chocolate layer to ooze and fall apart.

    For clean slices, refrigerate the cooled bars for 1–2 hours before cutting.


    Step 12: Slice and Serve

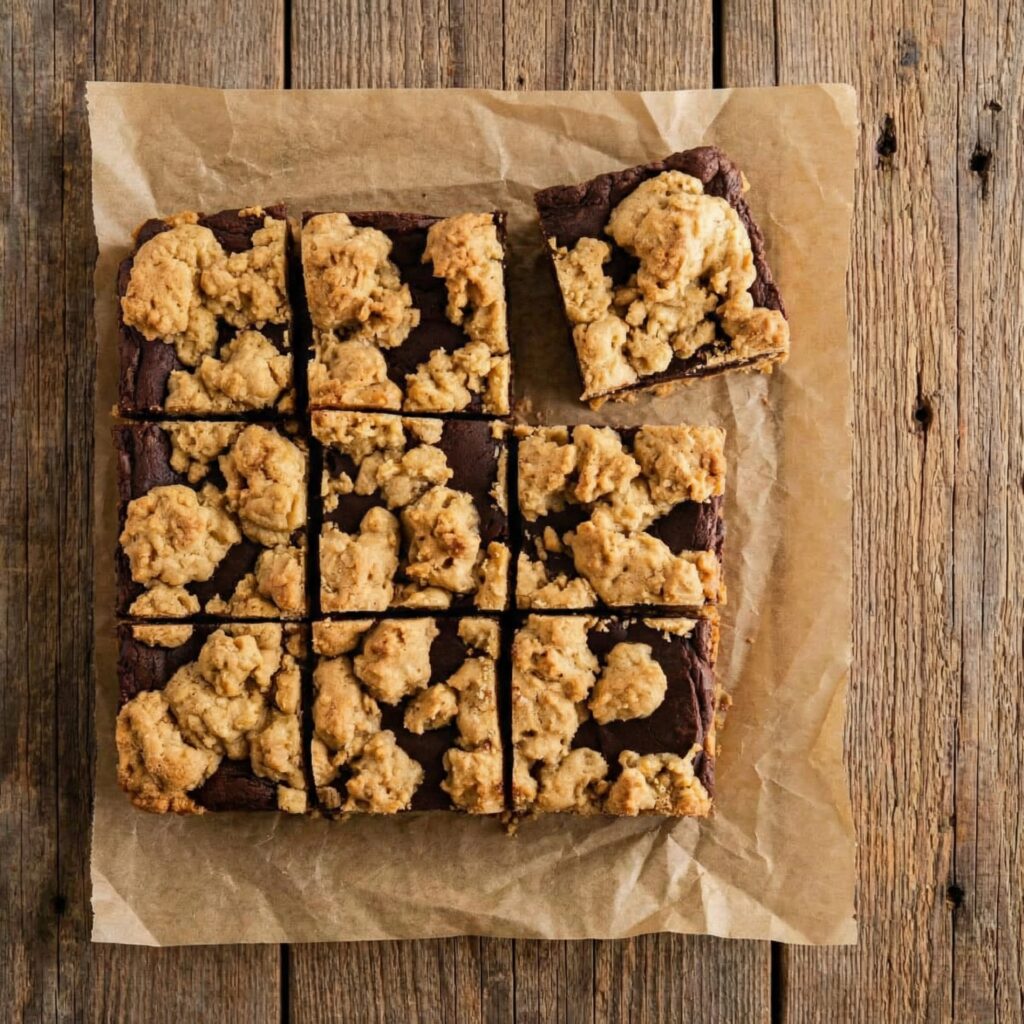
    Use the parchment overhang to lift the bars out of the pan. With a sharp knife, cut into squares or rectangles.

    Wipe the knife clean between cuts for neat edges.

    Serve at room temperature for the perfect balance of chewy oatmeal and fudgy chocolate.


    Tips for Perfect Revel Bars

    1. Use old-fashioned oats, not quick oats, for the best texture.
    2. Line the pan with parchment for easy removal.
    3. Don’t overbake—slightly soft centers ensure a fudgy filling.
    4. Chill before slicing for cleaner cuts.
    5. Add chopped nuts like walnuts or pecans for extra crunch if desired.

    Storage and Freezing

    • Store Revel Bars in an airtight container at room temperature for up to 4 days.
    • Refrigerate for a firmer texture and longer freshness.
    • Freeze individually wrapped bars for up to 3 months. Thaw at room temperature before serving.

    Revel Bars are the perfect combination of nostalgic comfort and indulgent flavor.

    The chewy oatmeal layers contrast beautifully with the rich chocolate center, creating a dessert that feels both homey and decadent. Whether you’re baking for a gathering or simply satisfying a chocolate craving, these bars deliver every time.

    Once you try homemade Revel Bars, you’ll understand why this classic recipe has stood the test of time. With simple ingredients and easy steps, you can create a batch of irresistible bars that disappear almost as quickly as they cool.

  • Decadent & Delicate: How to Make Perfect Chocolate Macarons from Scratch

    Decadent & Delicate: How to Make Perfect Chocolate Macarons from Scratch

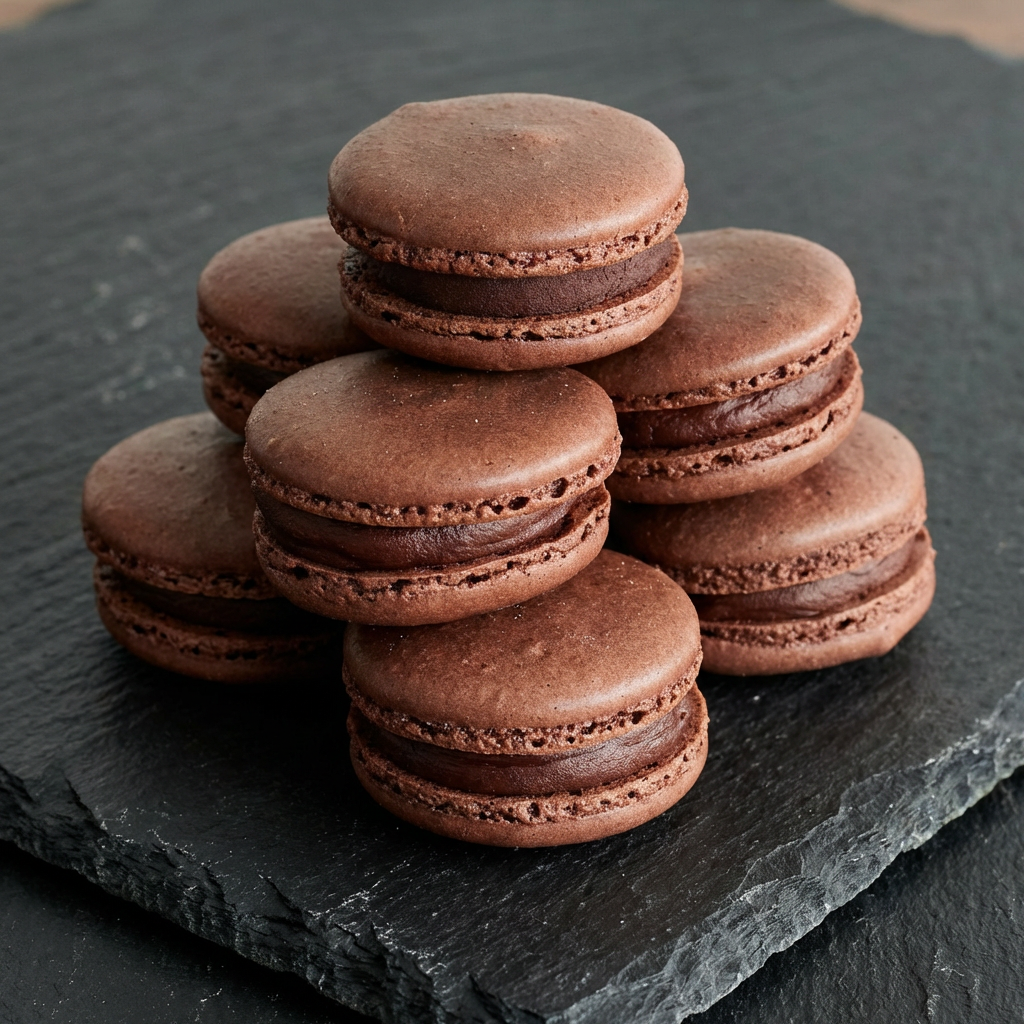
    Chocolate macarons are the ultimate show-stopping treat—crisp on the outside, chewy in the center, and filled with luscious chocolate ganache.

    These elegant French sandwich cookies may seem intimidating, but with careful technique and attention to detail, you can absolutely master them at home.

    This step-by-step guide will walk you through everything you need to know to create beautiful, bakery-style chocolate macarons with smooth tops, ruffled “feet,” and rich chocolate flavor in every bite.


    Ingredients You’ll Need

    For the Chocolate Macaron Shells:

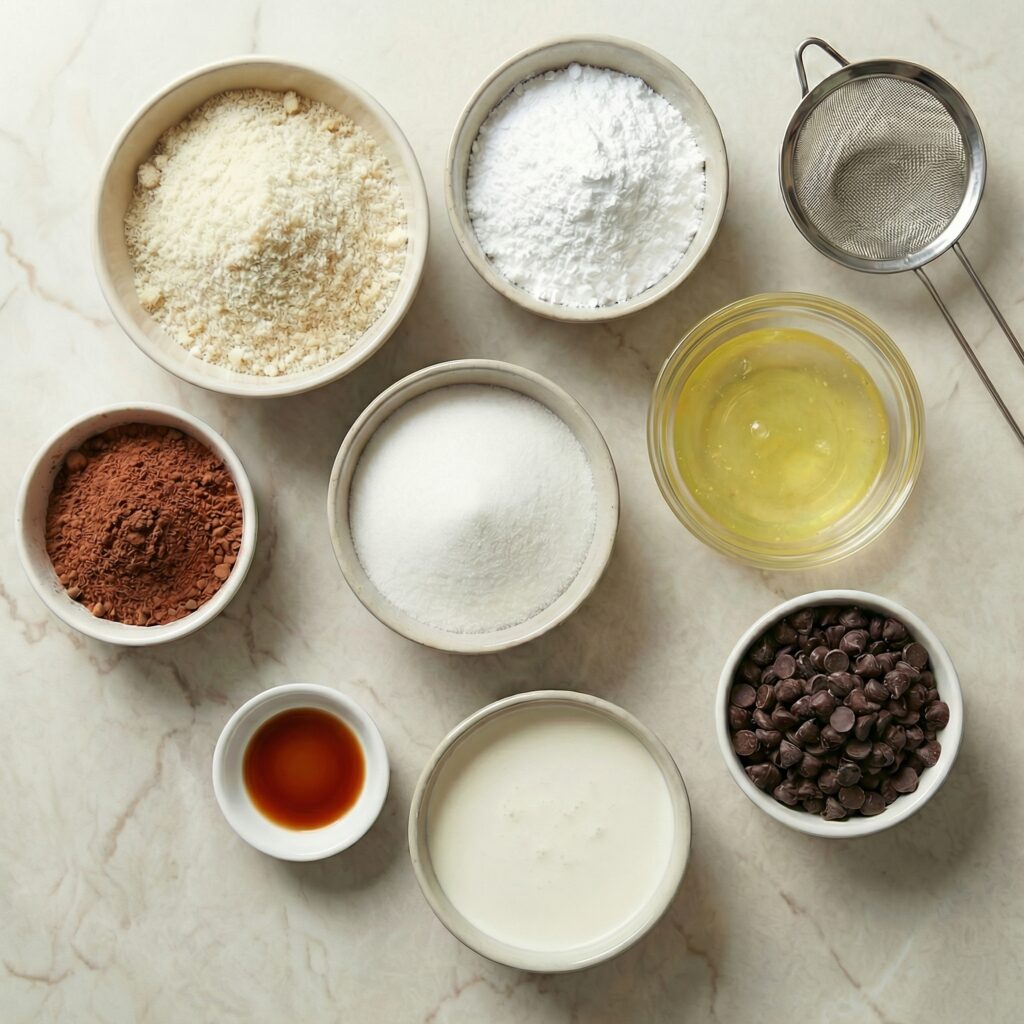
    • 1 cup (100g) almond flour, finely sifted
    • 1 ¾ cups (200g) powdered sugar
    • 2 tablespoons unsweetened cocoa powder
    • 3 large egg whites (room temperature)
    • ¼ cup (50g) granulated sugar
    • ¼ teaspoon cream of tartar (optional, stabilizes meringue)
    • ½ teaspoon vanilla extract

    For the Chocolate Ganache Filling:

    • ¾ cup (120g) semi-sweet chocolate chips or chopped chocolate
    • ½ cup (120ml) heavy cream
    • 1 tablespoon unsalted butter (optional, for shine)

    Step 1: Prepare Your Workspace

    Macarons require precision. Line two baking sheets with parchment paper or silicone mats.

    If you want evenly sized macarons, place a printed template underneath the parchment as a guide.

    Make sure your mixing bowls and beaters are completely clean and grease-free—any oil can prevent the egg whites from whipping properly.


    Step 2: Sift the Dry Ingredients

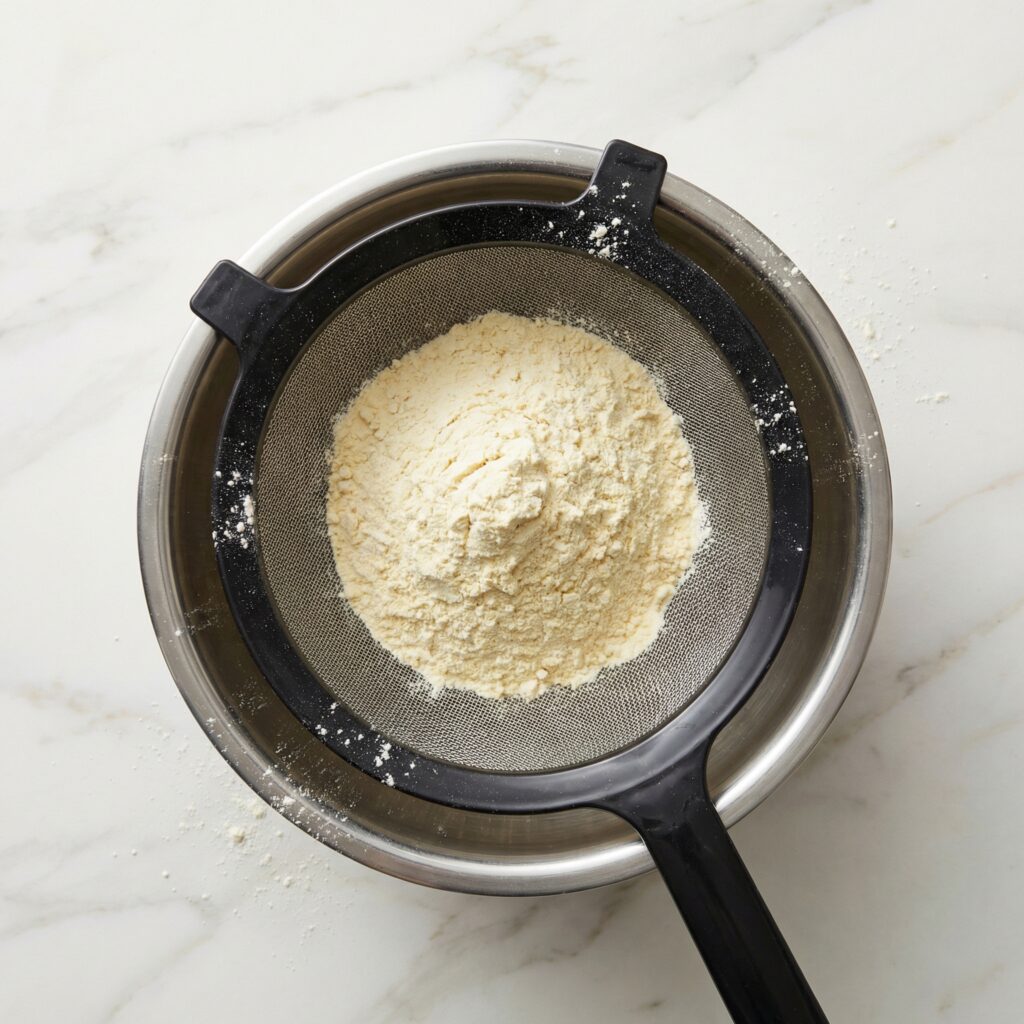
    In a large bowl, sift together the almond flour, powdered sugar, and cocoa powder.

    Sifting is crucial to remove lumps and ensure smooth macaron shells. If needed, pulse the mixture briefly in a food processor before sifting to achieve a fine texture.

    Set aside while you prepare the meringue.


    Step 3: Make the Meringue

    In a clean mixing bowl, beat the room-temperature egg whites on medium speed until foamy. Add the cream of tartar if using. Gradually sprinkle in the granulated sugar while continuing to beat.

    Increase the speed to medium-high and whip until stiff, glossy peaks form. The meringue should hold its shape firmly when you lift the beaters. Add vanilla extract and mix briefly to combine.


    Step 4: The Macaronage (Folding Process)

    Add the sifted dry ingredients to the meringue in two additions. Using a silicone spatula, gently fold the mixture by sweeping around the bowl and cutting through the center. Rotate the bowl as you fold.

    This step—called macaronage—is critical. The batter should flow slowly like lava when lifted with a spatula. If it’s too thick, the shells will be lumpy; if overmixed, they will spread too much. Aim for a smooth, glossy batter that forms ribbons and settles back into itself within 10–15 seconds.


    Step 5: Pipe the Macarons

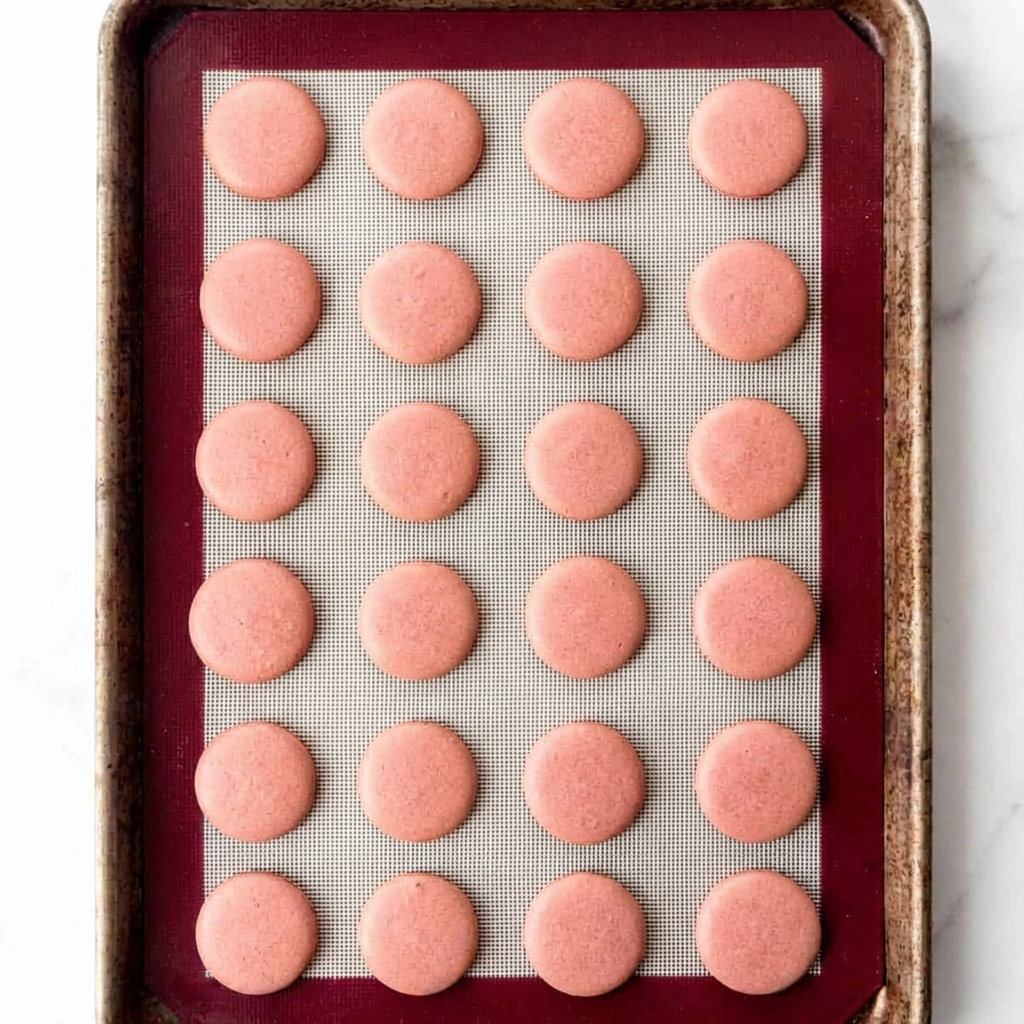
    Transfer the batter to a piping bag fitted with a round tip. Hold the bag vertically and pipe small, even circles onto the prepared baking sheets. Leave space between each macaron.

    Once piped, tap the baking sheets firmly on the counter several times to release air bubbles. Use a toothpick to pop any visible bubbles on the surface.


    Step 6: Rest the Shells

    Allow the piped macarons to rest at room temperature for 30–60 minutes, or until a thin skin forms on the surface. Gently touch the tops—if the batter doesn’t stick to your finger, they are ready to bake.

    This resting period helps develop the iconic “feet” at the base of each macaron.


    Step 7: Bake to Perfection

    Preheat your oven to 300°F (150°C). Bake one tray at a time on the center rack for 15–18 minutes. The macarons are done when they have risen with visible feet and do not wobble when gently touched.

    Remove from the oven and allow them to cool completely before attempting to remove them from the parchment. Trying to lift them too early may cause sticking.


    Step 8: Make the Chocolate Ganache

    While the shells cool, heat the heavy cream in a small saucepan until just simmering (do not boil). Pour the hot cream over the chopped chocolate in a heatproof bowl. Let sit for 1–2 minutes, then stir until smooth and glossy.

    Add butter if desired for extra shine and richness. Let the ganache cool until thick enough to pipe.


    Step 9: Assemble the Macarons

    Match similar-sized shells together. Pipe a small amount of ganache onto the flat side of one shell, then gently press another shell on top to form a sandwich.

    Repeat with remaining shells and filling.


    Step 10: Mature for Best Flavor

    For the best texture and flavor, place the assembled macarons in an airtight container and refrigerate for 24 hours. This resting period allows the filling to soften the shells slightly, creating the perfect chewy center.

    Bring to room temperature before serving.


    Tips for Perfect Chocolate Macarons

    1. Weigh your ingredients for accuracy. Macarons are sensitive to measurement errors.
    2. Avoid humidity—moist air can affect how shells dry and bake.
    3. Don’t skip resting time—it’s essential for developing feet.
    4. Use room-temperature egg whites for better volume.
    5. Practice patience—macarons improve with experience.

    Storage

    • Store filled macarons in the refrigerator for up to 5 days.
    • Freeze for up to 1 month in an airtight container. Thaw in the refrigerator before serving.

    Chocolate macarons are delicate, elegant, and deeply satisfying. With crisp shells, chewy centers, and silky ganache filling, they strike the perfect balance between texture and flavor.

    While they require attention to detail, the reward is a tray of bakery-worthy treats that look as stunning as they taste.

    Once you master these Chocolate Macarons, you’ll feel confident experimenting with flavors, fillings, and colors—turning your kitchen into your very own French pâtisserie.

  • Classic Beef Wellington Recipe: The Ultimate Step-by-Step Guide for Perfect Results

    Classic Beef Wellington Recipe: The Ultimate Step-by-Step Guide for Perfect Results

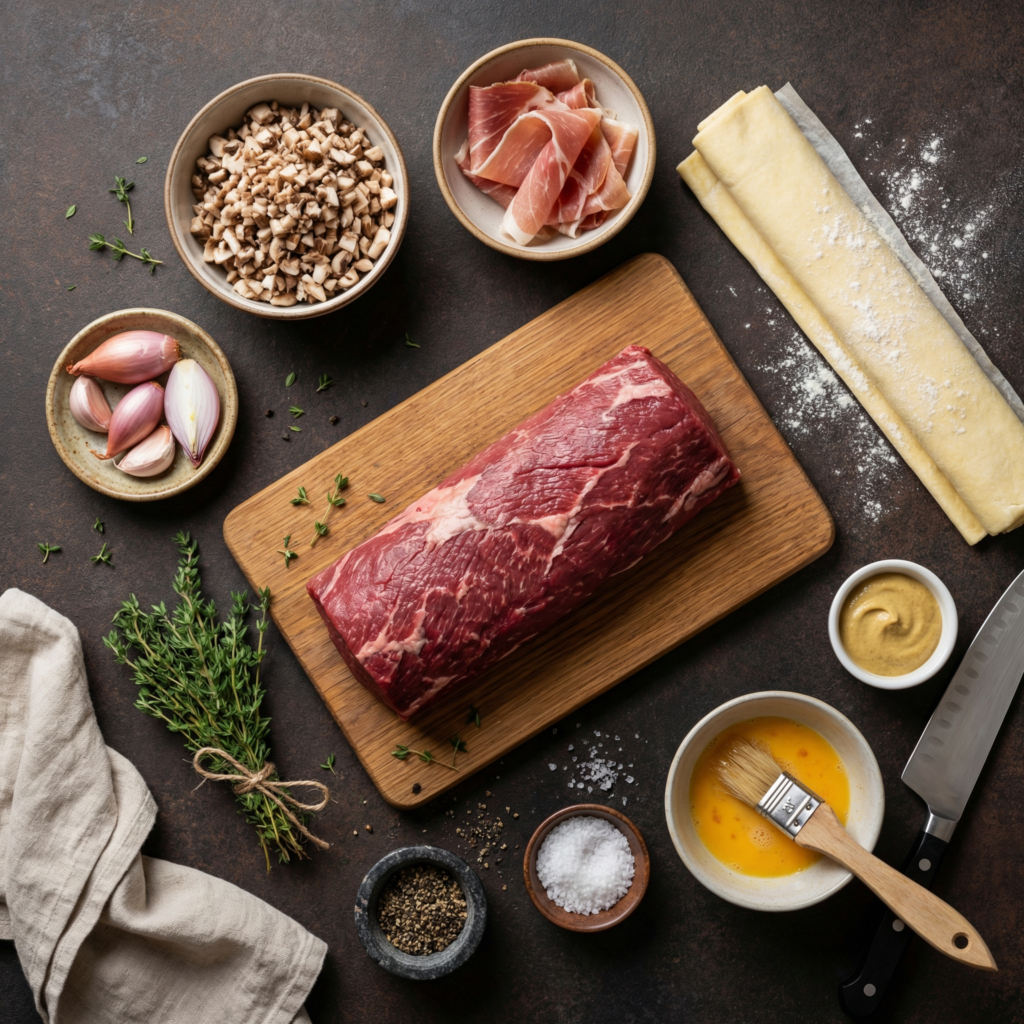
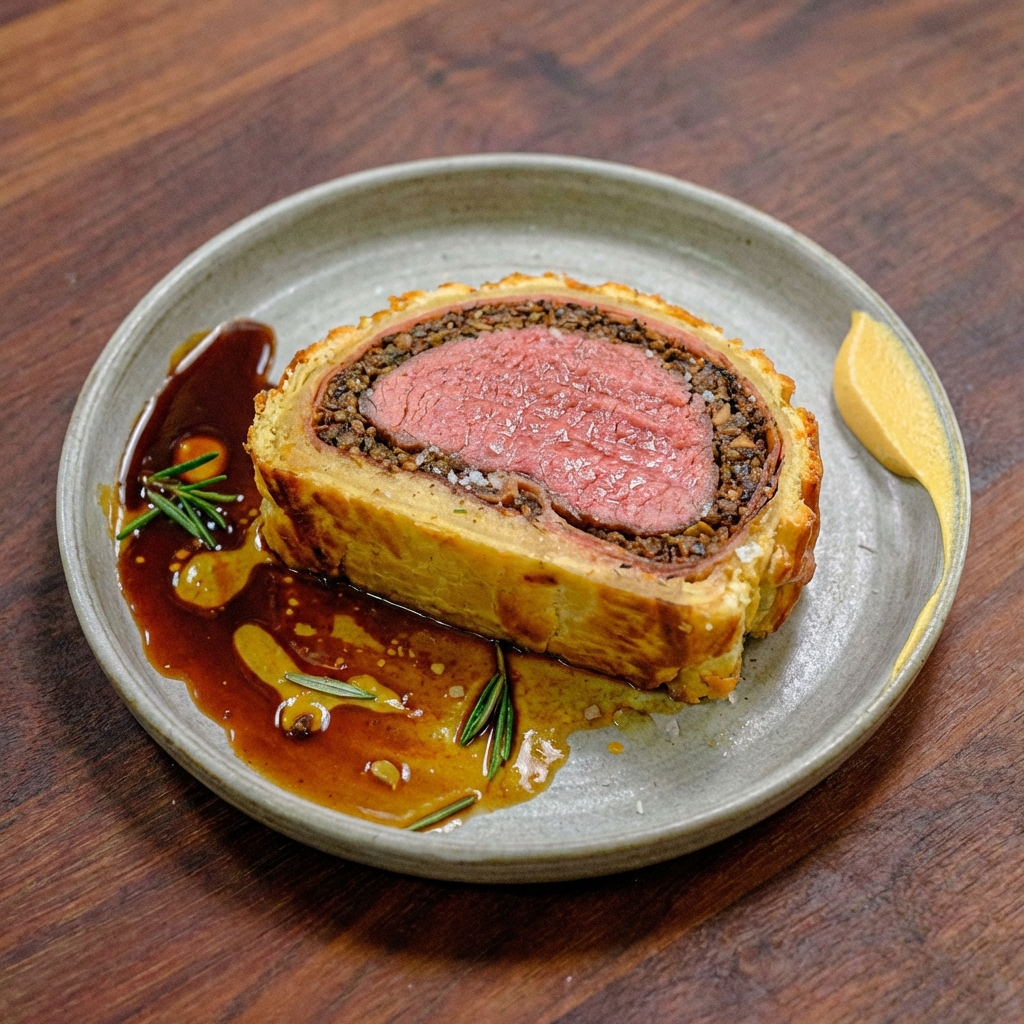
    If you’ve ever wanted to make a restaurant-quality Beef Wellington, this step-by-step recipe shows you exactly how to create a perfectly cooked beef tenderloin wrapped in mushroom duxelles, prosciutto, and golden puff pastry.

    This classic Beef Wellington recipe delivers a juicy center, crisp pastry exterior, and rich savory flavor that makes it ideal for holidays, dinner parties, or special occasions.

    This easy Beef Wellington guide simplifies every step so even home cooks can confidently prepare this elegant centerpiece.

    Why This Is the Best Beef Wellington Recipe

    Beef Wellington is famous for its luxurious flavor and impressive presentation. When done correctly, the contrast between flaky pastry and tender beef creates one of the most iconic dishes in classic French and British cuisine.

    Reasons to love this recipe:

    • Step-by-step instructions for beginners
    • Perfect medium-rare beef every time
    • Crispy puff pastry that doesn’t get soggy
    • Ideal for holidays, Christmas, and celebrations
    • Restaurant-style gourmet dinner at home

    Ingredients for Beef Wellington

    Using high-quality ingredients ensures the best flavor and texture.

    Main Ingredients

    • 2–3 lb beef tenderloin (center-cut)
    • Salt and freshly ground black pepper
    • 2 tablespoons olive oil
    • 2 tablespoons Dijon mustard

    Mushroom Duxelles

    • 1 lb mushrooms, finely chopped
    • 2 tablespoons butter
    • 2 cloves garlic, minced
    • 2 shallots, finely chopped
    • Salt and pepper to taste
    • Fresh thyme leaves

    Assembly

    • 8–10 slices prosciutto
    • 1 sheet puff pastry, thawed
    • 1 egg, beaten (egg wash)

    How to Make Beef Wellington (Step-by-Step)

    Step 1: Prepare the Beef Tenderloin

    Pat the beef dry with paper towels and season generously with salt and pepper.

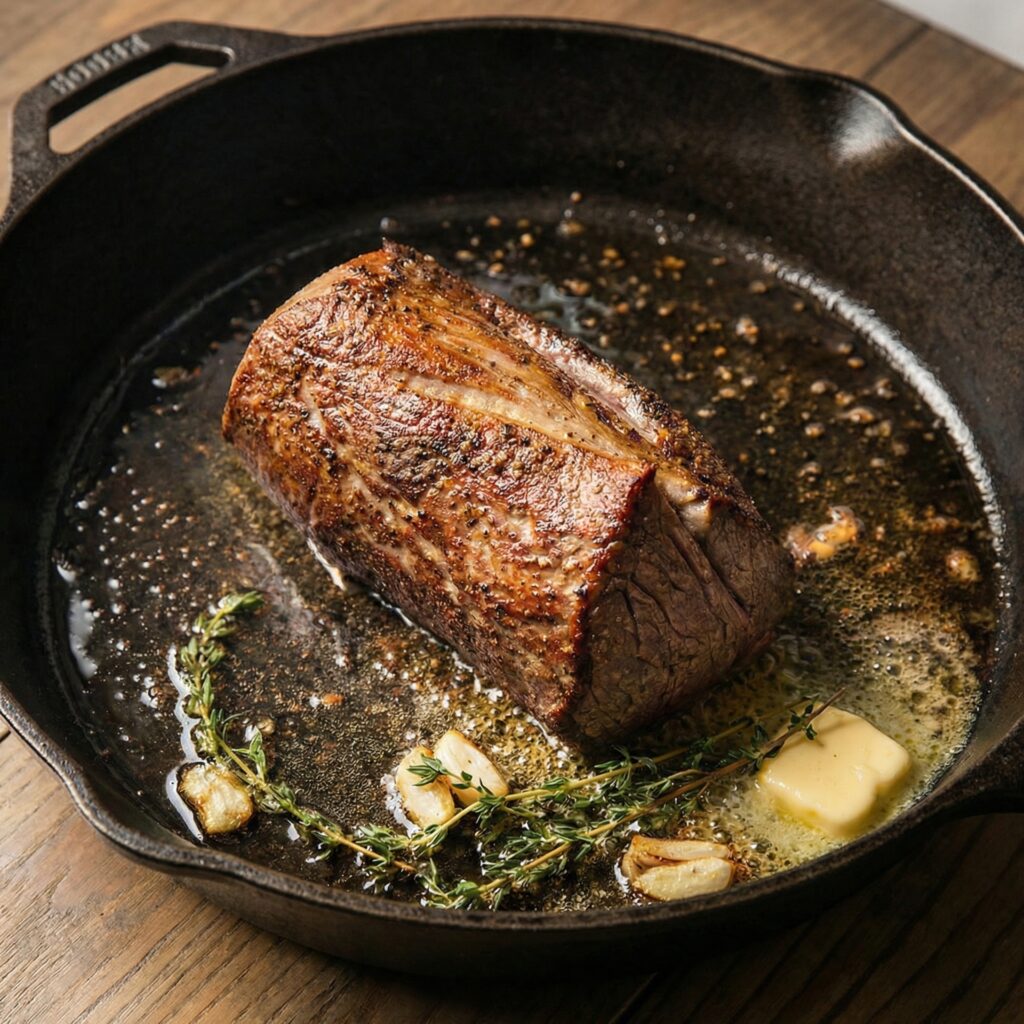
    Heat olive oil in a large skillet over high heat and sear the beef on all sides until browned, about 1–2 minutes per side. This locks in flavor and creates a rich crust.

    Remove from heat and brush the tenderloin with Dijon mustard while still warm. Let cool completely before assembling.

    Step 2: Make the Mushroom Duxelles

    In the same pan, melt butter over medium heat. Add chopped mushrooms, shallots, garlic, thyme, salt, and pepper.

    Cook until the mixture becomes dry and paste-like, about 10–15 minutes. Removing excess moisture is essential to prevent soggy pastry.

    Transfer to a plate and allow the mixture to cool fully.

    Step 3: Wrap with Prosciutto

    Lay plastic wrap on your work surface and arrange prosciutto slices slightly overlapping to form a rectangle large enough to wrap the beef. Spread the cooled mushroom duxelles evenly over the prosciutto.

    Place the seared tenderloin on top and use the plastic wrap to roll everything tightly into a cylinder. Twist the ends to secure and refrigerate for 20–30 minutes to help maintain shape.

    Step 4: Wrap in Puff Pastry

    Roll out the puff pastry on a lightly floured surface until large enough to enclose the beef completely. Remove the beef from the plastic wrap and place it in the center of the pastry.

    Fold the pastry over the beef, sealing the edges tightly. Trim any excess pastry and place the Wellington seam-side down on a baking sheet lined with parchment paper.

    Brush the entire surface with egg wash for a glossy golden finish.

    Step 5: Chill Before Baking

    Refrigerate the assembled Wellington for another 15–20 minutes. Chilling helps the pastry stay crisp and prevents shrinking during baking.

    Step 6: Bake to Perfection

    Preheat the oven to 400°F (200°C). Bake the Beef Wellington for 40–45 minutes, or until the pastry is deep golden brown and an internal thermometer reads:

    • 125°F for rare
    • 135°F for medium-rare
    • 145°F for medium

    Let the Wellington rest for at least 10 minutes before slicing to retain juices.

    Pro Tips for Perfect Beef Wellington

    • Use center-cut beef tenderloin for even cooking.
    • Ensure the mushroom duxelles is dry to keep pastry crisp.
    • Chill between wrapping steps for better structure.
    • Use a meat thermometer for precise doneness.
    • Rest the meat before slicing to prevent juice loss.

    Serving Suggestions

    Beef Wellington pairs beautifully with classic steakhouse sides, including:

    • Garlic mashed potatoes
    • Roasted asparagus or green beans
    • Red wine reduction sauce
    • Creamy mushroom sauce
    • Buttered carrots or roasted root vegetables

    These sides balance the richness of the pastry and tender beef.

    Make-Ahead and Storage Tips

    You can assemble Beef Wellington up to 24 hours ahead and refrigerate until ready to bake. This makes it an excellent option for holiday meal preparation.

    Leftovers can be stored in the refrigerator for up to 3 days and reheated gently in the oven at 325°F to maintain pastry texture.

    Frequently Asked Questions

    What cut of beef is best for Beef Wellington?
    Beef tenderloin is ideal because of its tenderness and uniform shape, ensuring even cooking.

    How do I keep the pastry from getting soggy?
    Cook the mushroom mixture until dry, chill the wrapped beef before baking, and avoid excess moisture.

    Can I make individual Beef Wellingtons?
    Yes, smaller individual portions cook faster and are perfect for elegant dinner parties.

    Final Thoughts

    This classic Beef Wellington recipe is one of the most impressive dishes you can prepare at home.

    With tender beef, flavorful mushroom duxelles, savory prosciutto, and buttery puff pastry, it delivers a gourmet dining experience that rivals fine restaurants.

    By following these step-by-step Beef Wellington instructions, you can confidently create a stunning holiday centerpiece or celebratory meal that will leave guests truly impressed.

  • Marry Me Shrimp Pasta: Creamy Tuscan Garlic Shrimp You’ll Fall in Love With

    Marry Me Shrimp Pasta: Creamy Tuscan Garlic Shrimp You’ll Fall in Love With

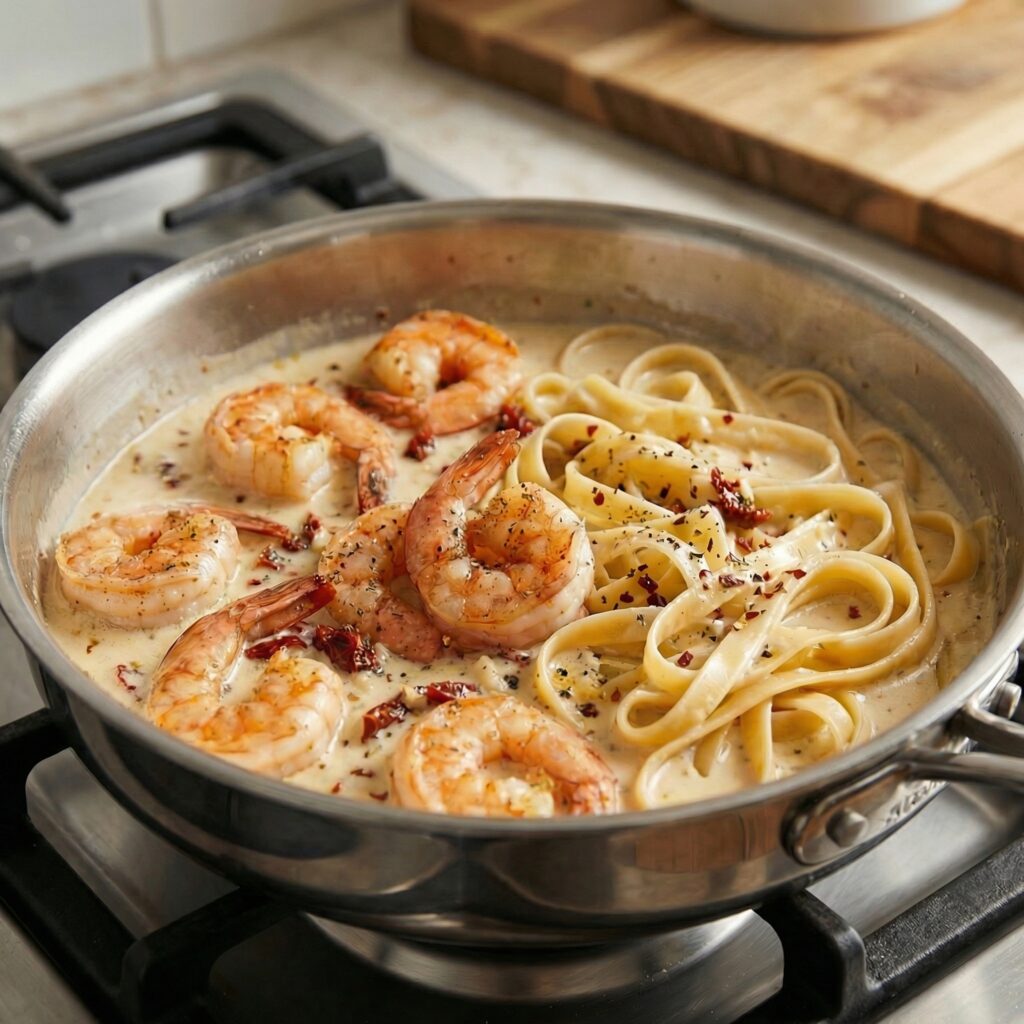
    If you’re searching for the best Marry Me Shrimp Pasta recipe, you’re in the right place.

    This creamy shrimp pasta is rich, garlicky, and loaded with sun-dried tomatoes and parmesan—so good it might just inspire a proposal.

    Inspired by the viral Marry Me Chicken Pasta, this shrimp version is faster, lighter, and perfect for weeknight dinners, date nights, or special occasions.

    Why You’ll Love This Marry Me Shrimp Pasta

    • Ready in 30 minutes
    • Uses simple pantry ingredients
    • Restaurant-quality creamy garlic shrimp pasta
    • Perfect for date night, family dinners, or entertaining
    • High-protein and customizable

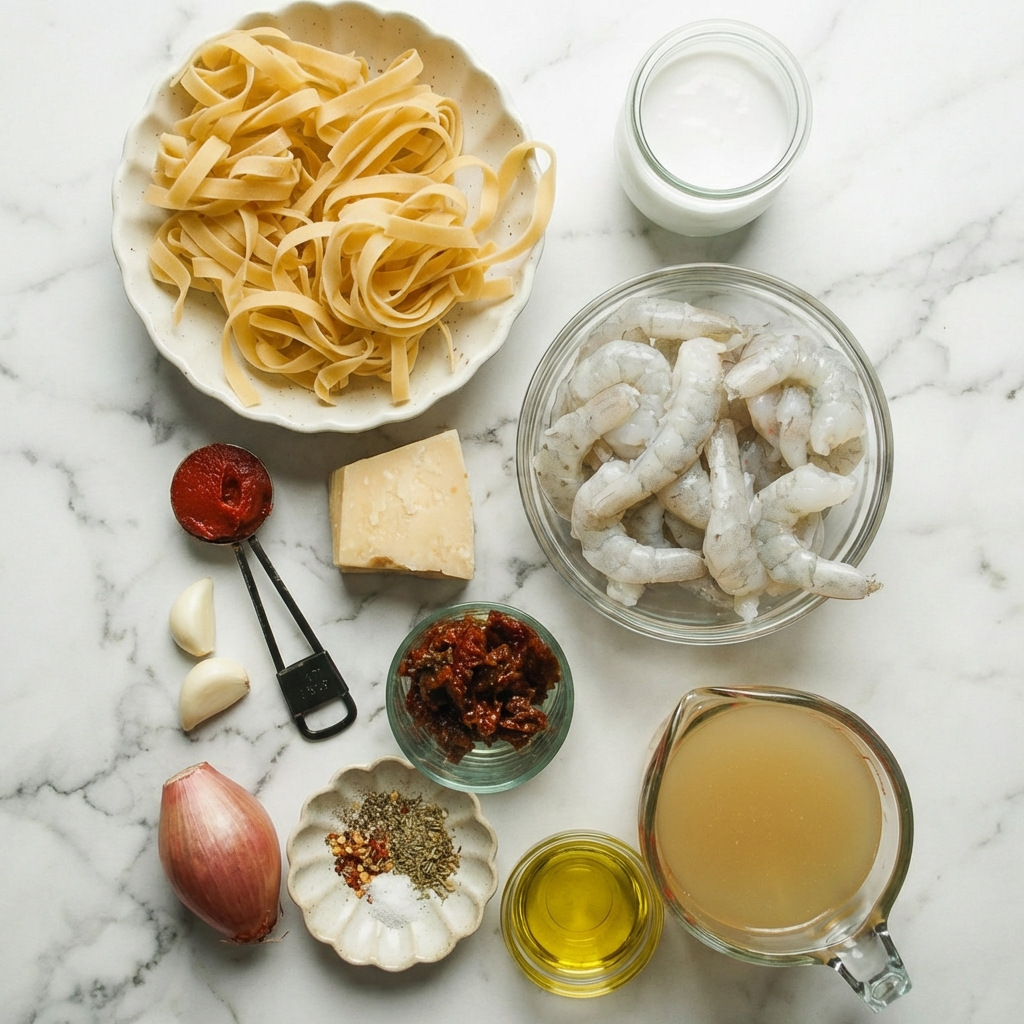
    Ingredients for Marry Me Shrimp Pasta

    For the Pasta

    • 12 oz pasta (fettuccine, linguine, or penne)
    • Salt (for boiling water)

    For the Shrimp

    • 1 lb large shrimp, peeled and deveined
    • 1 tsp paprika
    • ½ tsp Italian seasoning
    • Salt and black pepper, to taste
    • 1 tbsp olive oil

    For the Creamy Sauce

    • 2 tbsp butter
    • 4 cloves garlic, minced
    • ½ cup sun-dried tomatoes (in oil), chopped
    • 1 cup heavy cream
    • ½ cup chicken broth
    • ¾ cup freshly grated parmesan cheese
    • 1 tsp red pepper flakes (optional)
    • 1 tsp Italian seasoning

    Garnish

    • Fresh basil or parsley
    • Extra parmesan cheese

    How to Make Marry Me Shrimp Pasta (Step-by-Step)

    Step 1: Cook the Pasta

    Bring a large pot of salted water to a boil.

    Cook pasta according to package instructions until al dente.

    Reserve ½ cup of pasta water, then drain and set aside.

    Step 2: Season and Sear the Shrimp

    Pat shrimp dry and season with paprika, Italian seasoning, salt, and pepper.

    Heat olive oil in a large skillet over medium-high heat.

    Sear shrimp for 1–2 minutes per side until pink and opaque.

    Remove and set aside.

    Step 3: Build the Flavor Base

    In the same skillet, melt butter over medium heat.

    Add minced garlic and sauté for 30 seconds until fragrant.

    Stir in chopped sun-dried tomatoes.

    Step 4: Make the Creamy Marry Me Sauce

    Pour in chicken broth and heavy cream. Stir well and bring to a gentle simmer.

    Add parmesan cheese, Italian seasoning, and red pepper flakes. Stir until the sauce thickens.

    Step 5: Combine Everything

    Add cooked pasta and shrimp back into the skillet.

    Toss to coat evenly.

    If the sauce is too thick, add reserved pasta water a little at a time until silky smooth.

    Step 6: Garnish and Serve

    Remove from heat. Garnish with fresh basil or parsley and extra parmesan.

    Serve immediately while hot and creamy.

    Pro Tips for the Best Marry Me Shrimp Pasta

    • Use freshly grated parmesan (pre-shredded won’t melt as smoothly)
    • Don’t overcook shrimp—they turn rubbery fast
    • Add spinach or mushrooms for extra veggies
    • Swap cream for half-and-half for a lighter version

    What to Serve with Marry Me Shrimp Pasta

    • Garlic bread or focaccia
    • Caesar salad or arugula salad
    • Roasted asparagus or broccoli

    FAQs About Marry Me Shrimp Pasta

    Can I use frozen shrimp?
    Yes—just thaw completely and pat dry before cooking.

    Can I make this ahead of time?
    It’s best fresh, but leftovers can be stored in the fridge for up to 2 days.

    Is Marry Me Shrimp Pasta spicy?
    Only mildly. Skip red pepper flakes if you prefer no heat.

    Final Thoughts

    This Marry Me Shrimp Pasta recipe is creamy, indulgent, and irresistibly flavorful.

    Whether you’re cooking for someone special or treating yourself, this dish delivers serious “wow” factor with minimal effort.

    If you loved this recipe, save it, share it, and don’t be surprised if someone asks for your hand after one bite