Tag: Rice Krispie treats

  • Perfect Rice Krispie Treats (Buttery, Gooey, Irresistible)

    Perfect Rice Krispie Treats (Buttery, Gooey, Irresistible)

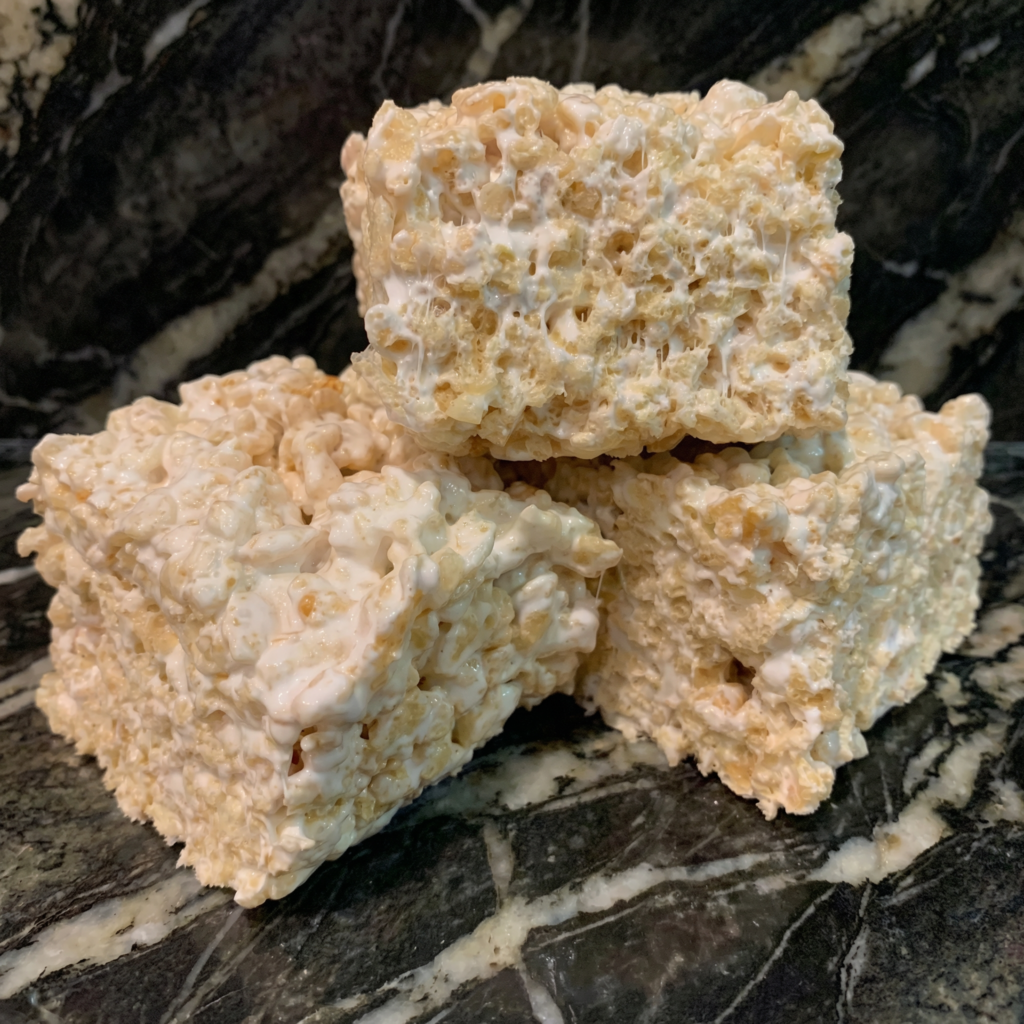
    Rice Krispie treats are pure nostalgia—the no-bake classic that everyone loves. But there’s a world of difference between a good Rice Krispie treat and a perfect one. The perfect version is buttery, impossibly gooey, and perfectly chewy with that signature marshmallow pull in every bite.

    It’s not too hard, not too soft, and absolutely packed with that toasty cereal flavor. This recipe delivers that perfection every time, with a few simple tricks: using good butter, a touch of vanilla, and a sprinkle of flaky salt to balance the sweetness. They come together in minutes, disappear even faster, and are guaranteed to make everyone smile.

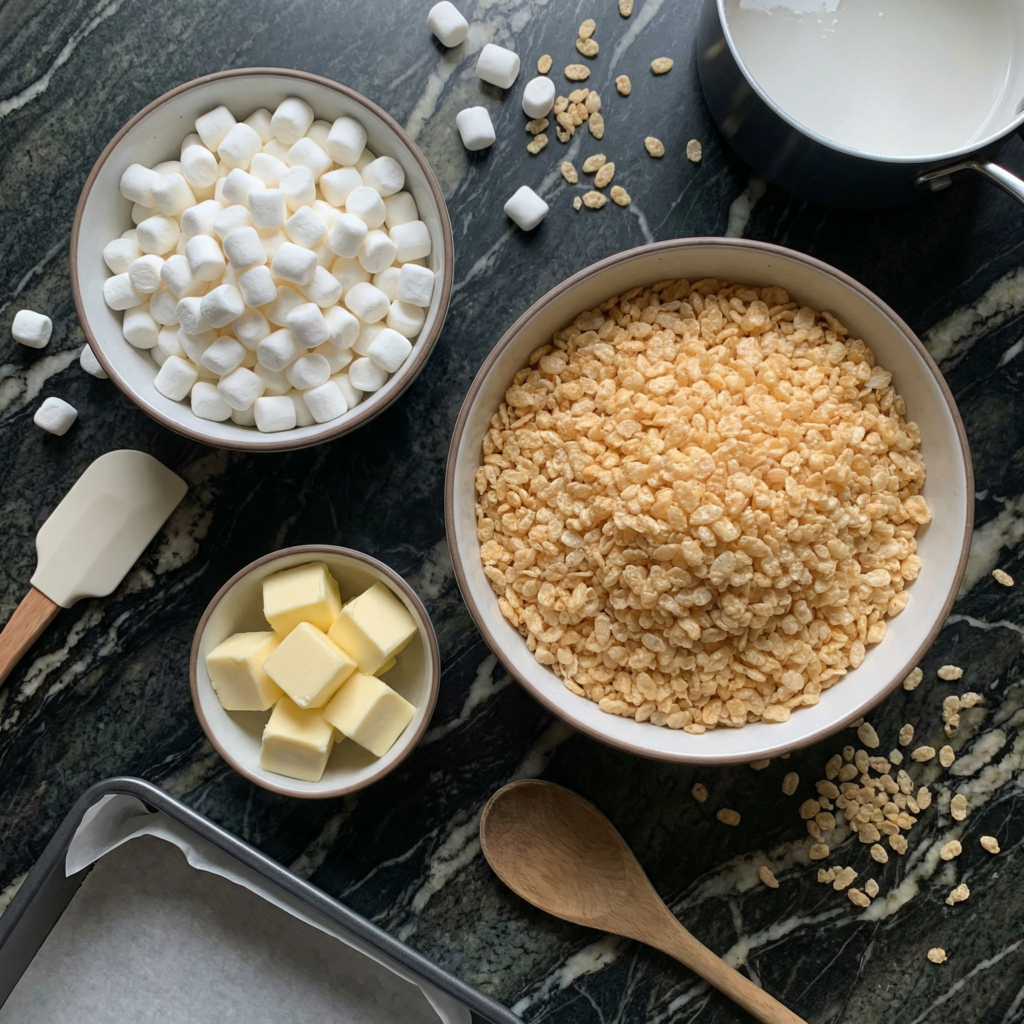
    Ingredients
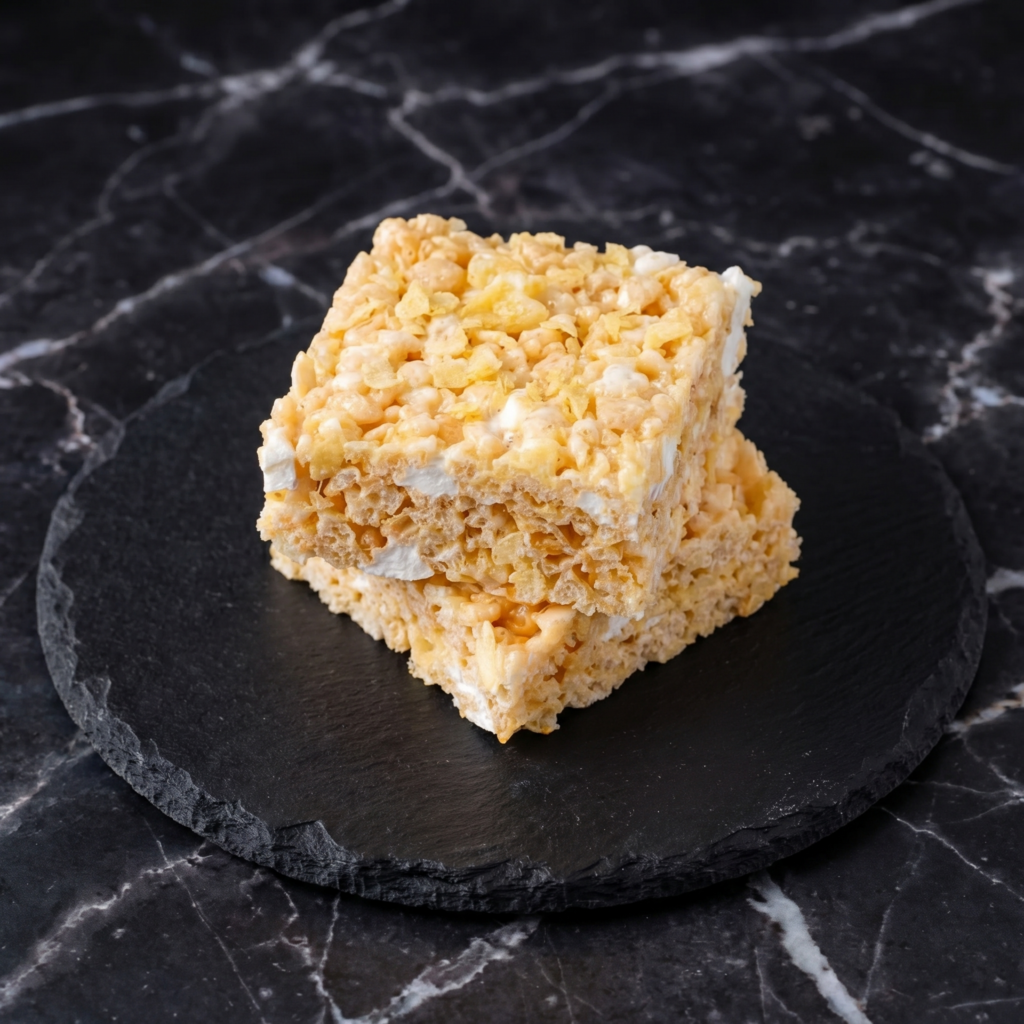
    For the Rice Krispie Treats (makes one 9×13 pan, about 12-16 treats):

    • ¼ cup (60g) unsalted butter
    • 1 package (10 oz / 280g) mini marshmallows (about 6 cups)
    • ½ teaspoon vanilla extract
    • ¼ teaspoon salt (if using unsalted butter)
    • 6 cups (about 180g) Rice Krispies cereal
    • Flaky sea salt, for sprinkling

    Instructions

    1. Prep the Pan: Grease a 9×13-inch baking dish with butter or non-stick spray. Set aside.

    2. Melt the Butter: In a large pot or Dutch oven over low heat, melt the butter completely.

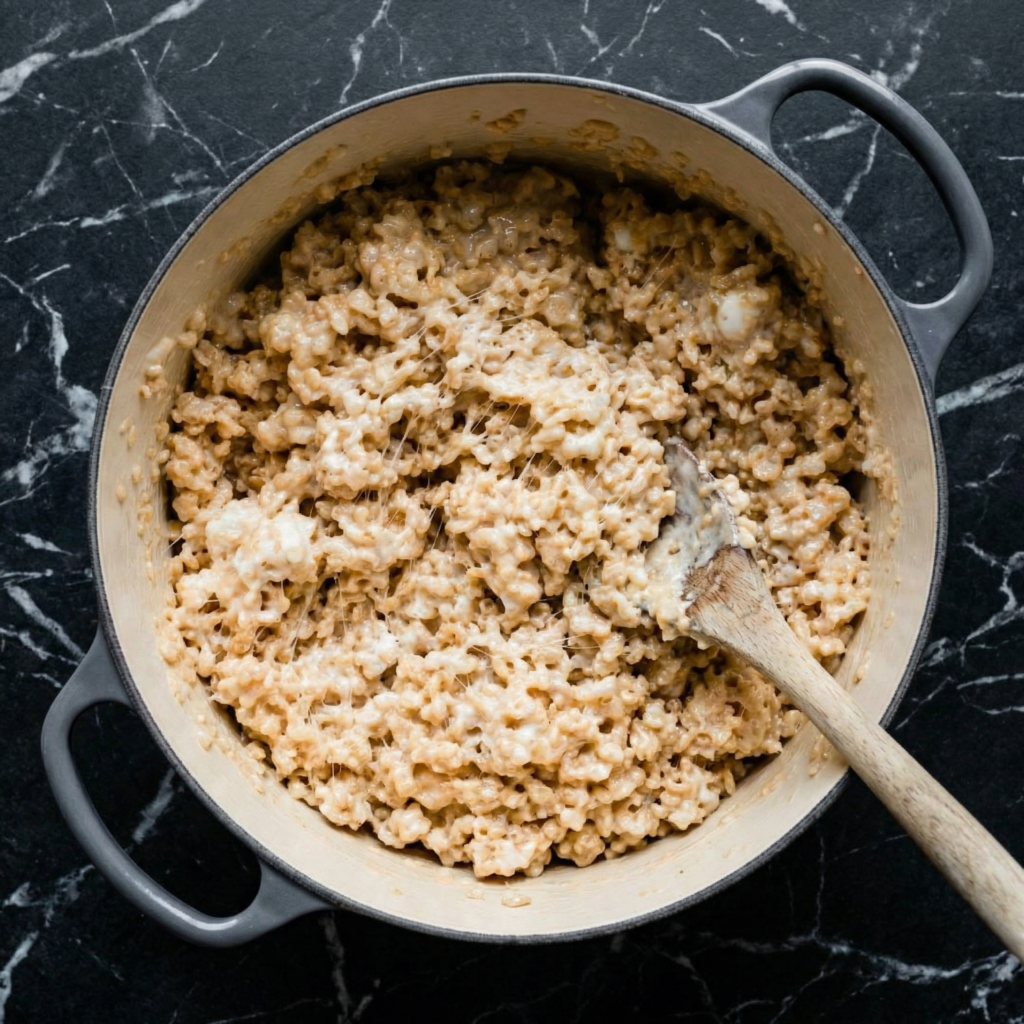
    3. Add Marshmallows: Add the mini marshmallows to the melted butter. Stir constantly with a silicone spatula or wooden spoon until the marshmallows are completely melted and the mixture is smooth. Remove from heat immediately.

    4. Add Vanilla and Salt: Stir in the vanilla extract and salt (if using) until combined.

    5. Add Cereal: Add the Rice Krispies cereal all at once. Fold gently until the cereal is evenly coated with the marshmallow mixture. Be careful not to crush the cereal—you want those crispy pieces intact.

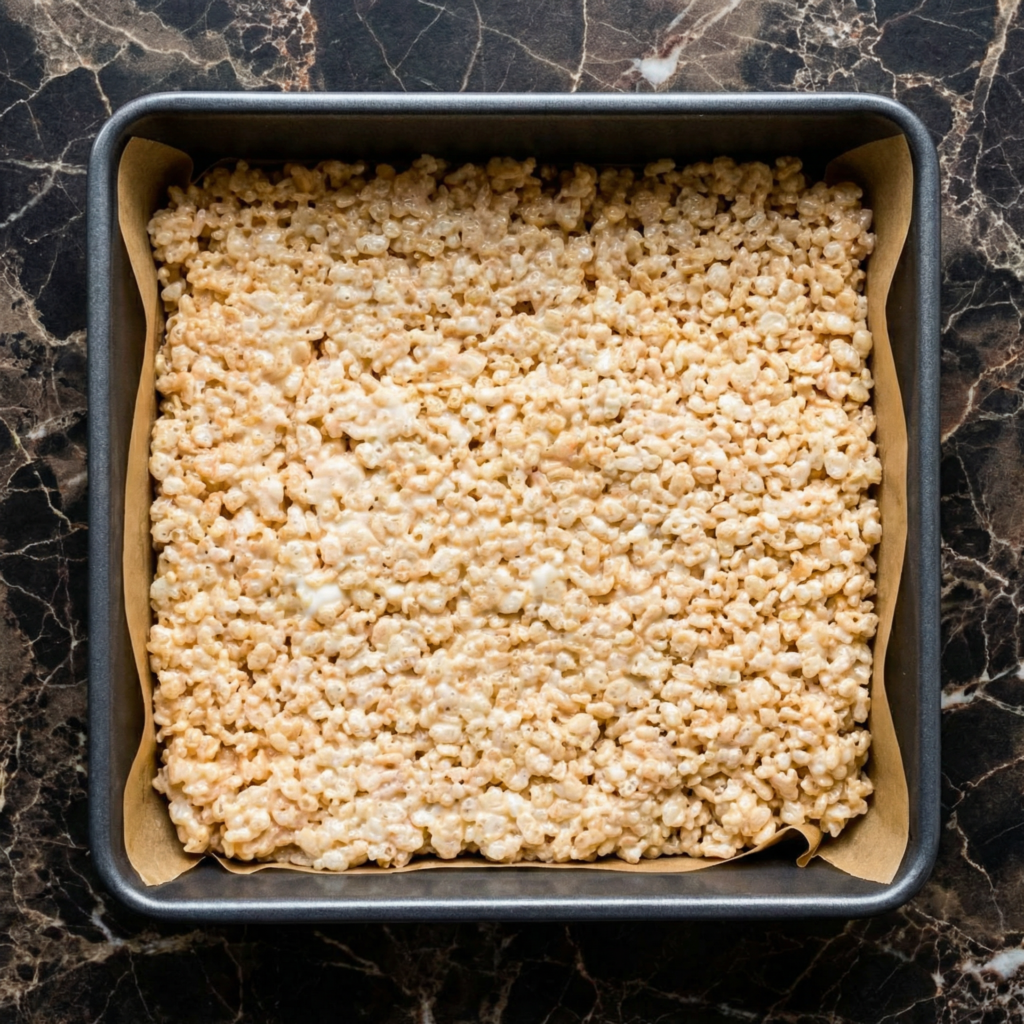
    6. Transfer to Pan: Scrape the mixture into the prepared pan. Using a lightly buttered spatula or your buttered hands, gently press the mixture into an even layer. Don’t press too hard—you want them chewy, not dense.

    7. Sprinkle with Salt: Immediately sprinkle the top with flaky sea salt.

    8. Cool and Set: Let the treats cool completely at room temperature until set, about 1 hour.

    9. Cut and Serve: Cut into squares with a sharp knife. Serve and enjoy!

    Pro-Tips for Rice Krispie Treat Perfection

    • Use Fresh Marshmallows: Stale marshmallows won’t melt smoothly and can result in grainy treats. Use a fresh bag for best results.
    • Low Heat Is Key: Melting over low heat prevents the sugar from crystallizing and ensures a smooth, gooey texture.
    • Work Quickly: The marshmallow mixture sets up fast. Have your cereal measured and pan ready before you start melting.
    • Don’t Overpress: Pressing too firmly creates dense, hard treats. Gentle pressure keeps them light and chewy.
    • Butter Your Utensils: A lightly buttered spatula or buttered hands prevent sticking when pressing the mixture into the pan.
    • Flaky Salt Finish: Don’t skip this—the salt balances the sweetness and adds sophistication.
    • Customize: Add mix-ins like chocolate chips, sprinkles, or peanut butter chips after removing from heat. Swirl in some peanut butter or Nutella for extra indulgence.
    • Storage: Keep in an airtight container at room temperature for up to 3 days. They’ll stay soft and chewy.

    These Perfect Rice Krispie Treats are buttery, gooey, and absolutely irresistible.
  • Rice Krispie Treats (The 3-Ingredient Magic You Never Outgrow)

    Rice Krispie Treats (The 3-Ingredient Magic You Never Outgrow)

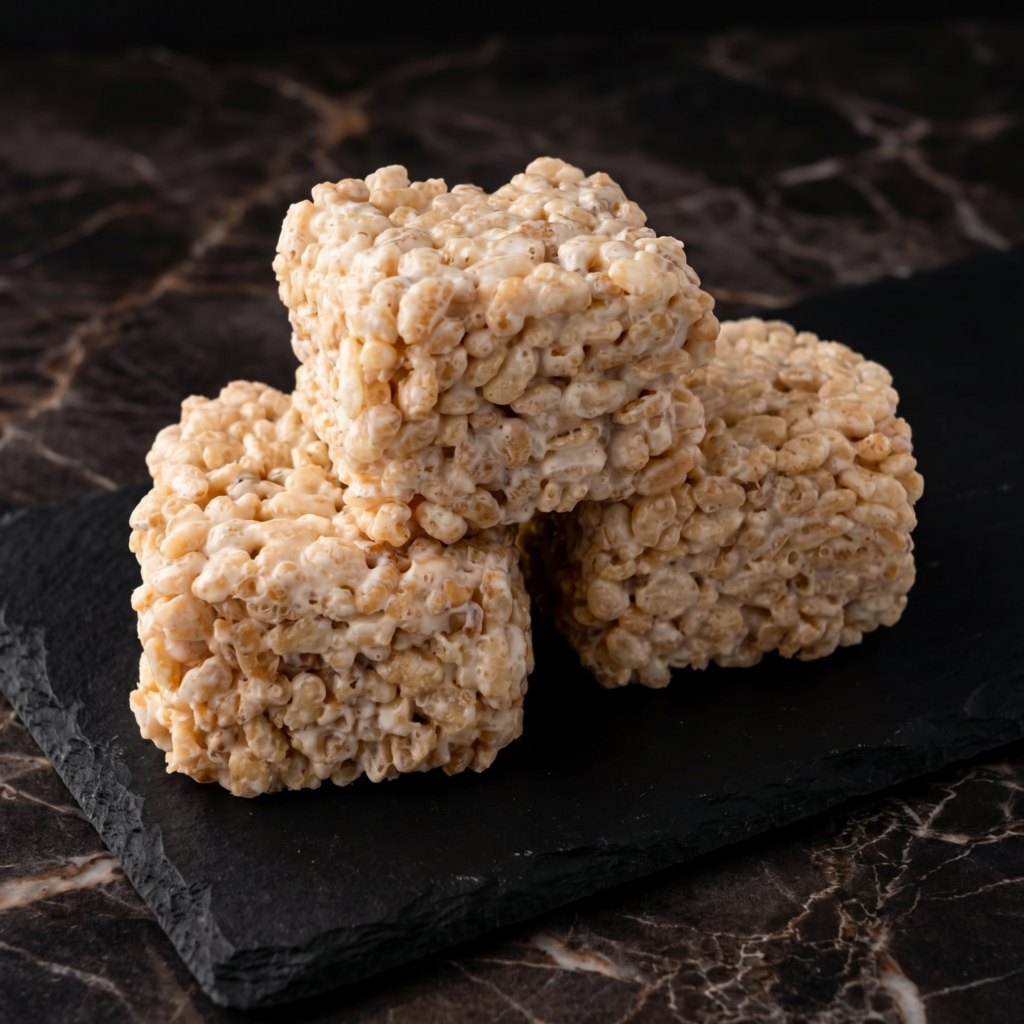
    Some things never get old. Rice Krispie treats are one of them. They’re the taste of childhood birthdays, after-school snacks, and bake sales. They’re the treat you begged your mom to make, and now you can make them yourself—in about 10 minutes, with three ingredients, and zero stress.

    Buttery, marshmallowy, perfectly crispy, and impossibly gooey, these treats are pure nostalgia in every bite. The secret? Don’t overcomplicate them. Quality butter, fresh marshmallows, and a gentle hand are all you need. Go ahead, eat the whole pan. We won’t tell.

    The Secret to Perfectly Gooey, Never-Hard Rice Krispie Treats

    The line between perfect Rice Krispie treats and sad, hard, brick-like blocks is a thin one. The secret is low heat and gentle handling. Melt your butter and marshmallows over low heat, stirring constantly. High heat will make the marshmallows seize up and turn tough.

    The other secret? Use fresh marshmallows. Stale marshmallows won’t melt smoothly and can lead to gritty treats. And here’s the pro tip: add a pinch of salt. It balances the sweetness and makes the butter flavor sing.

    Finally, press the mixture gently into the pan—don’t smash it down or your treats will be dense and hard. Light hands, low heat, perfect treats.

    Ingredients

    For the Rice Krispie Treats (Makes 12-16 squares):

    • 6 cups (180g) Rice Krispies cereal (or any crispy rice cereal)
    • 3 tablespoons (42g) unsalted butter
    • 1 package (10 oz, about 40 large) marshmallows (or 4 cups mini marshmallows)
    • ¼ teaspoon salt (optional, but highly recommended)
    • ½ teaspoon vanilla extract (optional, but lovely)

    Optional Add-Ins:

    • Chocolate chips, drizzled on top
    • Sprinkles, for fun
    • Peanut butter (stir in ¼ cup with the marshmallows)

    Instructions

    1. Prep Your Pan: Generously butter a 9×13-inch baking pan or line it with parchment paper, leaving overhang on the long sides for easy removal. Set aside.

    2. Measure the Cereal: Measure 6 cups of Rice Krispies cereal into a large bowl. Having it ready ensures you can work quickly once the marshmallow mixture is ready.

    3. Melt the Butter: In a large pot or Dutch oven, melt the butter over low heat. Stir occasionally until completely melted.

    4. Add Marshmallows: Add the marshmallows to the pot. Stir constantly with a spatula over low heat until the marshmallows are completely melted and smooth. Remove from heat immediately. Do not overheat—this is crucial for soft treats.

    5. Add Salt and Vanilla: Stir in the salt and vanilla extract (if using) until combined.

    6. Combine with Cereal: Pour the Rice Krispies cereal into the pot with the marshmallow mixture. Fold gently with a spatula until all the cereal is evenly coated. Work quickly but gently to avoid crushing the cereal.

    7. Transfer to Pan: Scrape the mixture into the prepared pan. Using a buttered spatula or buttered hands, gently press the mixture into an even layer. Don’t smash it down hard—just gently coax it into place.

    8. Add Toppings (Optional): If adding chocolate chips or sprinkles, sprinkle them on top now and press in gently.

    9. Cool: Let the treats cool completely at room temperature, about 30-60 minutes. Do not refrigerate—they’ll get hard.

    10. Slice and Serve: Use the parchment overhang to lift the treats out of the pan. Place on a cutting board and slice into squares with a sharp knife. A buttered knife helps prevent sticking.

    11. Store: Store in an airtight container at room temperature for up to 3 days. If they last that long.

    Pro-Tips for Rice Krispie Treat Greatness

    • Low Heat is Non-Negotiable: High heat makes marshmallows tough and grainy. Keep it low, keep it gentle.
    • Use Fresh Marshmallows: Stale marshmallows won’t melt smoothly. For extra gooey treats, use mini marshmallows—they melt faster and more evenly.
    • Don’t Overwork the Cereal: Fold just until combined. Crushed cereal leads to dense, sad treats.
    • Press Gently: Light hands create light, airy treats. Smashing them down makes them hard.
    • Customize Endlessly: Add peanut butter, Nutella, chocolate chips, sprinkles, or even Fruity Pebbles for a colorful twist.