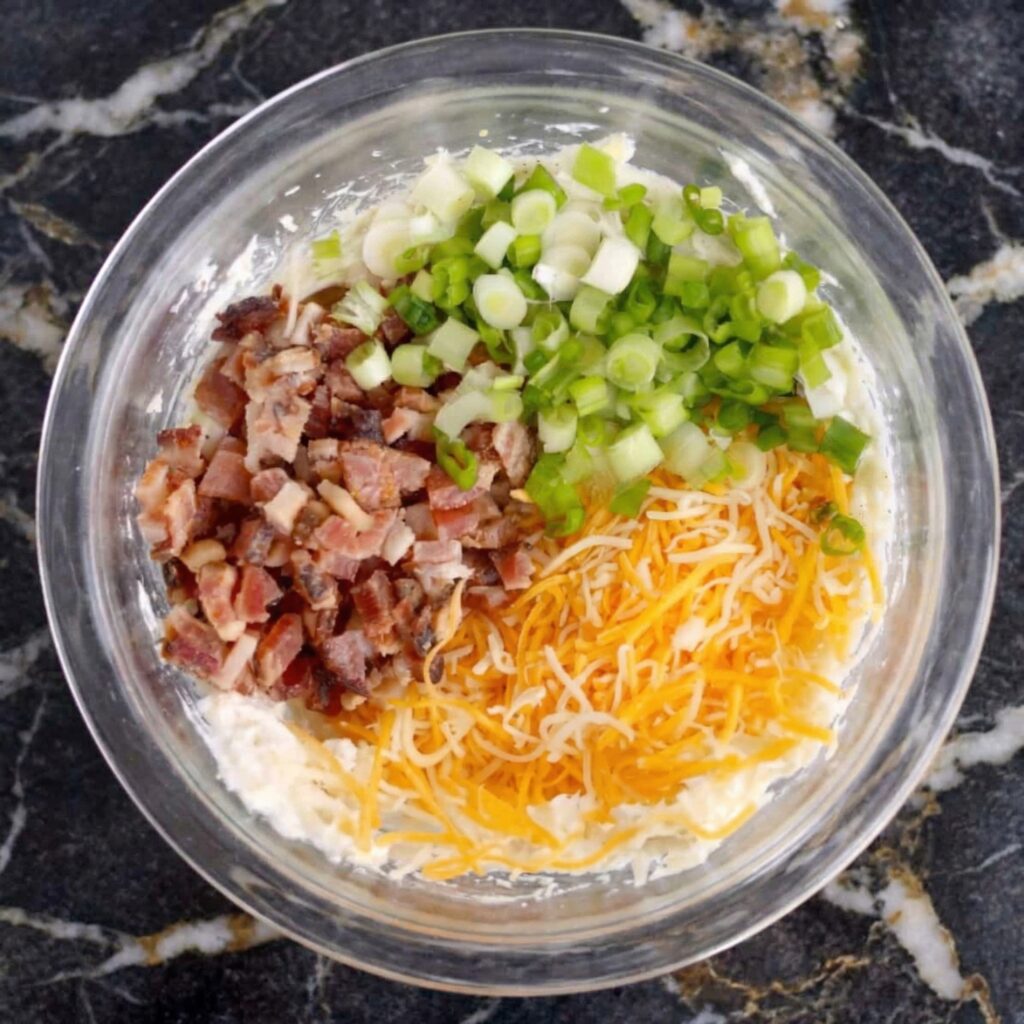
Imagine the creamy, savory comfort of classic spinach dip—now nestled inside a crispy, golden phyllo cup. These Cheesy Spinach Dip Bites are the ultimate party appetizer: portable, poppable, and packed with flavor.
With a rich filling of spinach, cream cheese, Parmesan, and mozzarella, all baked into pre-made phyllo shells, they come together in minutes and disappear even faster. Perfect for holiday gatherings, game day spreads, or any occasion that calls for an irresistible bite-sized treat.
Ingredients
For the Spinach Filling:
1 (10 oz) package frozen chopped spinach, thawed
4 oz (113g) cream cheese, softened
¼ cup (60g) sour cream
¼ cup (25g) grated Parmesan cheese
½ cup (56g) shredded mozzarella cheese, plus extra for topping
1 small clove garlic, minced (or ¼ teaspoon garlic powder)
¼ teaspoon salt
⅛ teaspoon black pepper
Pinch of red pepper flakes (optional, for heat)
For the Assembly:
24 pre-made frozen mini phyllo cups (such as Athens brand), thawed
Optional garnish: chopped fresh parsley or chives
Instructions
1. Prepare the Spinach: Place the thawed frozen spinach in a clean kitchen towel or several layers of paper towels. Squeeze firmly to remove as much liquid as possible. You should have a dry, compact ball of spinach. This step is essential for preventing soggy cups.
2. Make the Filling: In a medium bowl, combine the squeezed spinach, softened cream cheese, sour cream, Parmesan cheese, mozzarella cheese, minced garlic, salt, pepper, and red pepper flakes (if using). Mix until fully combined and creamy. The filling should be thick and spreadable.
3. Assemble the Bites: Preheat your oven to 375°F (190°C). Arrange the thawed phyllo cups on a baking sheet. Spoon about 1 to 1½ teaspoons of the spinach filling into each cup, filling just to the top. Sprinkle a pinch of additional mozzarella cheese over each bite for a golden, bubbly finish.
4. Bake: Bake for 10 to 12 minutes, until the filling is hot and bubbly and the edges of the phyllo cups are golden brown. Watch closely toward the end to prevent over-browning.
5. Cool and Serve: Let the bites cool on the baking sheet for 5 minutes before transferring to a serving platter. The filling will be very hot immediately out of the oven. Garnish with chopped parsley or chives if desired. Serve warm.
Pro-Tips for Perfect Spinach Dip Bites
Squeeze the Spinach Thoroughly: This is non-negotiable. Even slightly damp spinach will release water during baking, creating a pool at the bottom of the cup. Use a potato ricer or your hands to wring it dry.
Soften Your Cream Cheese: Softened cream cheese blends smoothly and prevents lumps. If you’re short on time, microwave it for 10 to 15 seconds.
Don’t Overfill: The filling doesn’t expand much, but overfilled cups can overflow and create a mess. A level fill to the rim is perfect.
Work with Thawed Phyllo Cups: Keep the phyllo cups in their tray until just before filling to prevent them from drying out or cracking.
Make Ahead: You can prepare the filling up to 2 days in advance and refrigerate it. Assemble and bake just before serving for the freshest results.
These Cheesy Spinach Dip Bites are guaranteed to be the first thing to disappear from any appetizer table.
Bacon-Wrapped Scallops are an elegant and irresistible appetizer—crispy, smoky bacon wrapped around sweet, tender scallops. Ready in under 20 minutes, they’re perfect for holiday parties, New Year’s Eve, or any special occasion.
Ingredients
12 large sea scallops (about 1 lb / 450g)
6 slices bacon, cut in half crosswise
Salt and black pepper, to taste
2 tablespoons maple syrup or honey (optional, for glaze)
Fresh parsley, chopped (for garnish)
Lemon wedges, for serving
Instructions
1. Prepare the Scallops: Pat scallops completely dry with paper towels. Remove the small side muscle if attached. Season lightly with salt and pepper.
2. Partially Cook the Bacon: In a skillet over medium heat, cook bacon for 2 to 3 minutes until some fat renders but bacon is still pliable. Drain on paper towels.
3. Wrap the Scallops: Wrap each scallop with a half-slice of partially cooked bacon. Secure with a toothpick.
4. Sear the Scallops: Heat a large skillet over medium-high heat. Place scallops seam-side down in the skillet. Cook for 2 to 3 minutes per side until bacon is crispy and scallops are opaque and caramelized. If using maple syrup, brush on during the last minute of cooking.
5. Serve: Transfer to a serving platter. Garnish with fresh parsley and serve with lemon wedges.
Pro-Tips for Picture-Perfect Bacon-Wrapped Scallops
Pat Scallops Dry: Essential for a good sear.
Partially Cook the Bacon: Prevents undercooked bacon or overcooked scallops.
Don’t Overcrowd the Pan: Sear in batches for best results.
Serve Immediately: Best fresh from the pan.
These Bacon-Wrapped Scallops are crispy, smoky, sweet, and juicy—a perfect party appetizer.
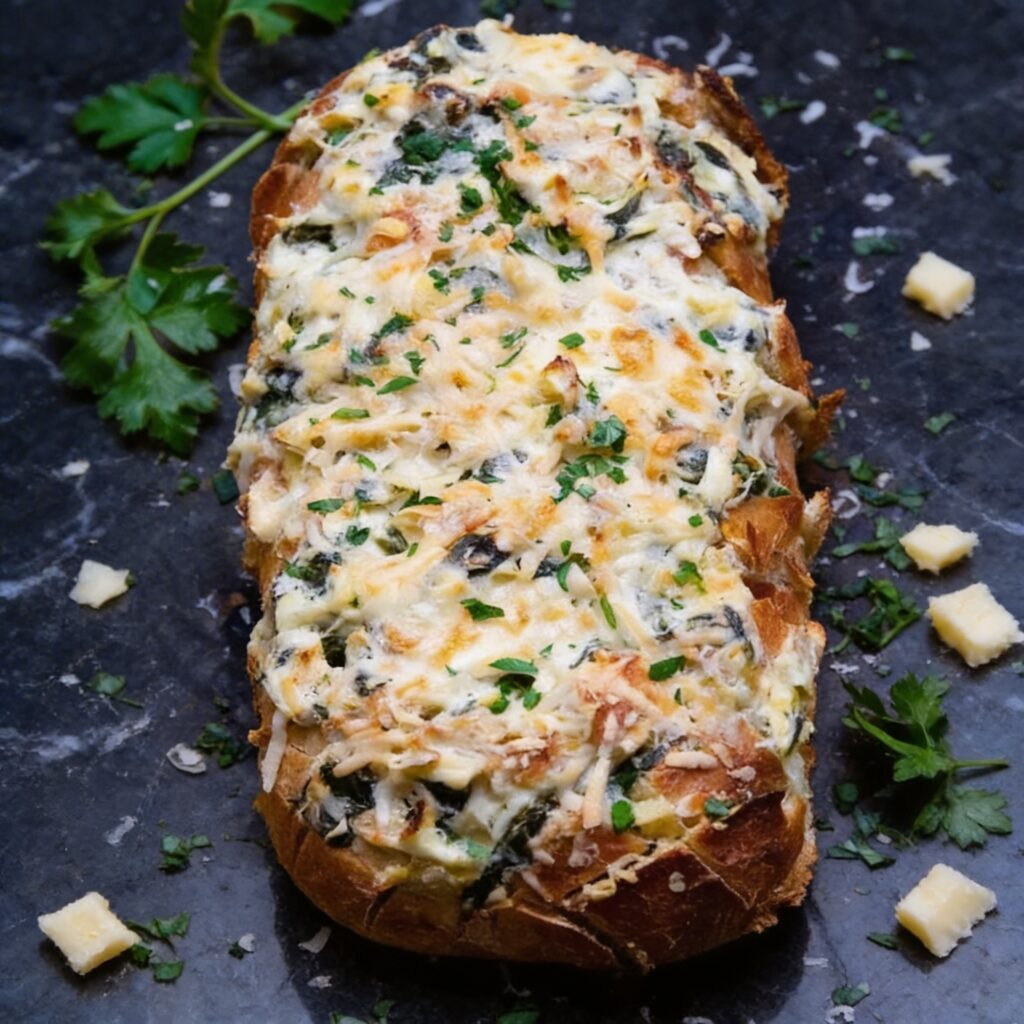
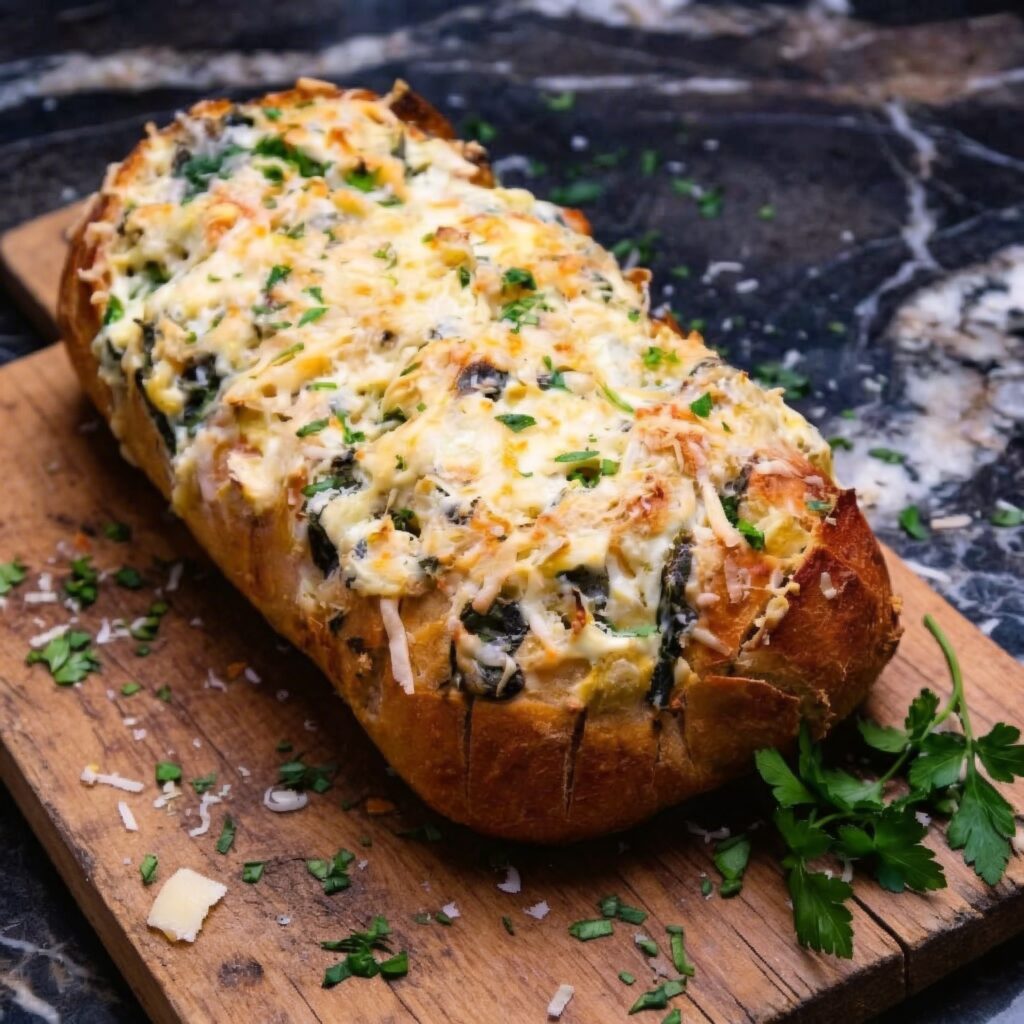
Imagine a crusty loaf of bread, hollowed out and filled with warm, creamy spinach artichoke dip, then baked until the cheese is bubbly and the bread is toasty. That’s spinach artichoke stuffed bread—the ultimate pull-apart appetizer.
It’s everything you love about spinach artichoke dip, but nestled inside chunks of bread for the perfect bite. This crowd-pleasing appetizer is perfect for game day, parties, or any gathering where you want to impress. Serve it with extra dip on the side and watch it disappear.
Ingredients
For the Spinach Artichoke Dip:
1 package (10 oz / 280g) frozen chopped spinach, thawed
1 can (14 oz / 400g) artichoke hearts, drained and chopped
8 oz (225g) cream cheese, softened
½ cup (120g) sour cream
½ cup (120g) mayonnaise
1 cup (100g) grated Parmesan cheese
1 cup (100g) shredded mozzarella cheese
2 cloves garlic, minced
½ teaspoon salt
¼ teaspoon black pepper
¼ teaspoon red pepper flakes (optional)
For the Bread:
1 large round crusty bread loaf (about 8-10 inches in diameter)
1. Prepare the Spinach: Place the thawed spinach in a clean kitchen towel and squeeze out as much liquid as possible. This is crucial for a thick, non-watery dip.
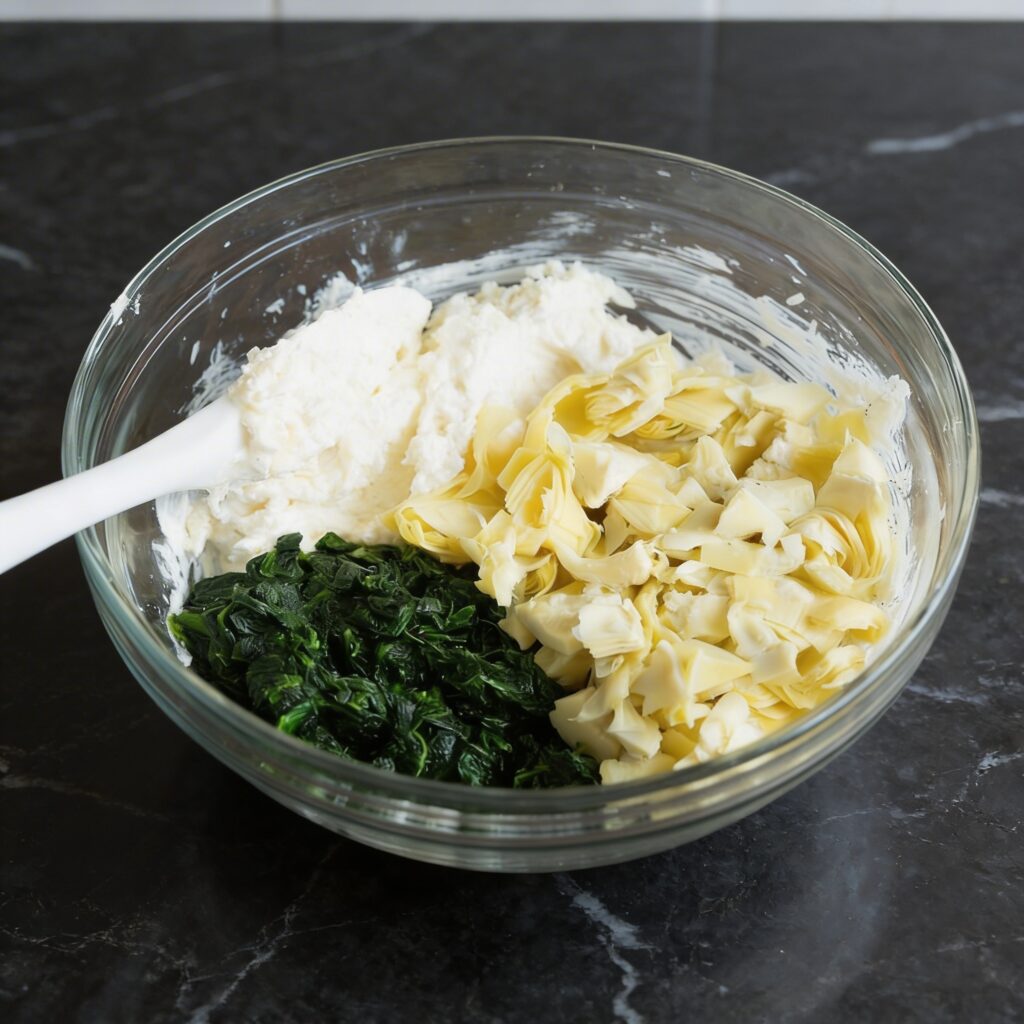
2. Make the Dip: In a large bowl, combine the softened cream cheese, sour cream, and mayonnaise. Mix until smooth. Add the Parmesan, mozzarella, garlic, salt, pepper, and red pepper flakes. Stir in the squeezed spinach and chopped artichoke hearts until well combined.
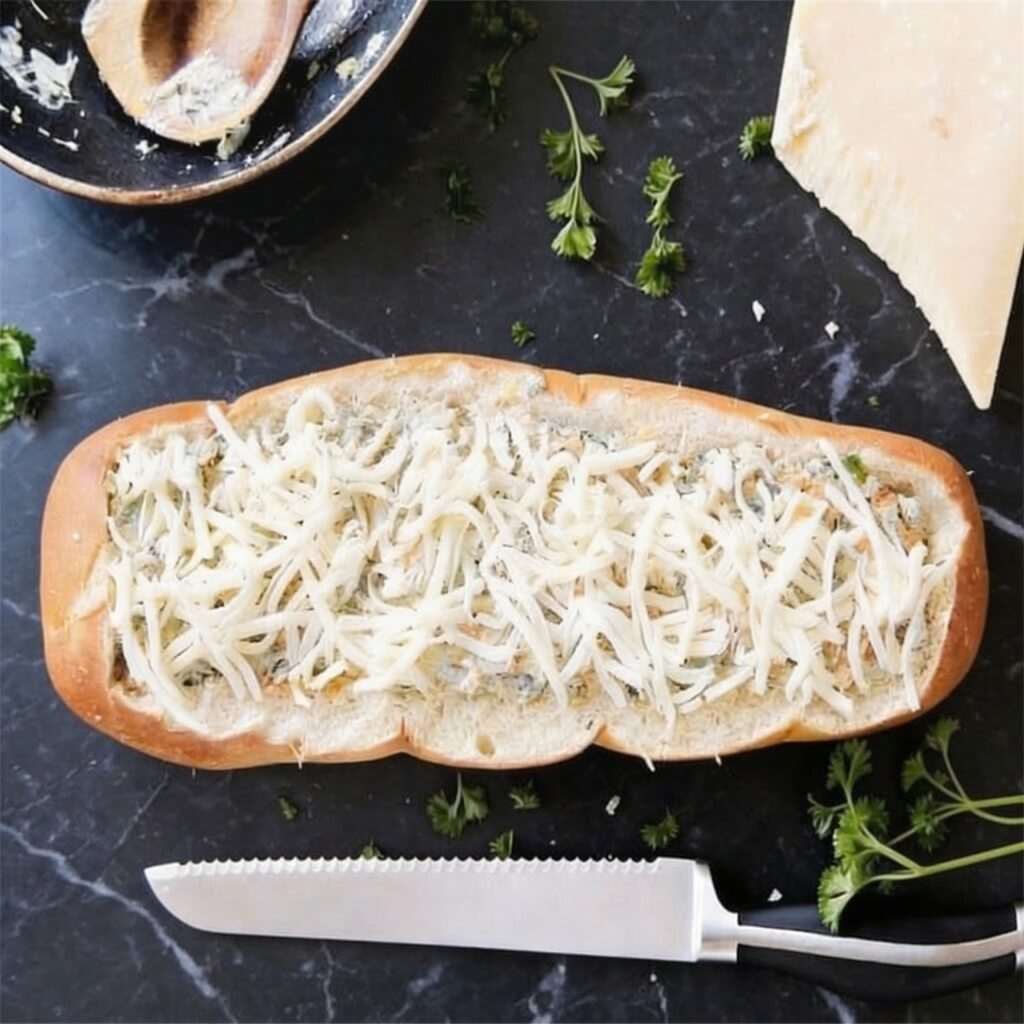
3. Prepare the Bread: Preheat your oven to 350°F (175°C). Using a serrated knife, cut a circle in the top of the bread loaf, about 1 inch from the edge. Remove the top and set aside. Hollow out the inside of the bread, tearing the soft interior into bite-sized pieces. Reserve the bread pieces for dipping.
4. Fill the Bread: Spoon the spinach artichoke dip into the hollowed-out bread loaf, packing it in generously. Place the top back on the loaf.
5. Wrap and Bake: Wrap the entire loaf tightly in foil. Place on a baking sheet and bake for 20 minutes. Open the foil and bake for another 10-15 minutes, until the dip is hot and bubbly and the bread is toasty.
6. Serve: Remove from the oven and let cool slightly. Garnish with fresh parsley. Serve warm with the reserved bread pieces for dipping.
Pro-Tips for Spinach Artichoke Stuffed Bread Perfection
Squeeze the Spinach Thoroughly: This is the most important step. Any moisture in the spinach will make your dip watery. Really squeeze!
Use Quality Artichokes: Canned artichoke hearts in water are fine, just drain and chop them well.
Don’t Overbake: You want the dip hot and bubbly, but not dried out.
Reserve Extra Bread: The bread pieces you removed are perfect for dipping. Toast them alongside the loaf for extra crunch.
Make Ahead: You can assemble the stuffed bread (without baking) up to 24 hours ahead, cover, and refrigerate. Add 10-15 minutes to baking time.
Customize the Cheese: Try adding Gruyère, fontina, or pepper jack for a different flavor.
Add Protein: Stir in cooked bacon, chicken, or sausage for a heartier version.
Serve with Extra Dip: Make a little extra dip to serve on the side for maximum dipping potential.
This Spinach Artichoke Stuffed Bread is cheesy, pull-apart perfection—absolutely delicious.
Jalapeño poppers are the ultimate spicy appetizer—fresh jalapeños stuffed with a creamy, cheesy filling, wrapped in smoky bacon, and baked until the bacon is crisp and the cheese is bubbly. They’re everything you want in a party snack: spicy, creamy, smoky, and utterly addictive.
Whether you’re watching the big game, hosting a backyard BBQ, or just craving something indulgent, these poppers deliver. This recipe gives you options—classic cream cheese filling, extra cheesy with cheddar, or even a spicy chorizo version. However you make them, they’ll disappear fast.
Ingredients
For the Jalapeño Poppers (makes about 20-24 poppers):
12 large fresh jalapeño peppers (look for straight, uniform peppers)
8 oz (225g) cream cheese, softened
1 cup (100g) shredded sharp cheddar cheese
¼ cup (25g) grated Parmesan cheese
2 cloves garlic, minced
¼ cup chopped fresh cilantro or parsley
1 teaspoon chili powder
½ teaspoon cumin
¼ teaspoon salt
12-16 slices thin-cut bacon, cut in half crosswise
Optional Add-Ins:
¼ cup cooked and crumbled chorizo or breakfast sausage
2 green onions, thinly sliced
Pickled jalapeños for extra heat
For Serving:
Ranch dressing or sour cream
Fresh cilantro, chopped
Lime wedges
Instructions
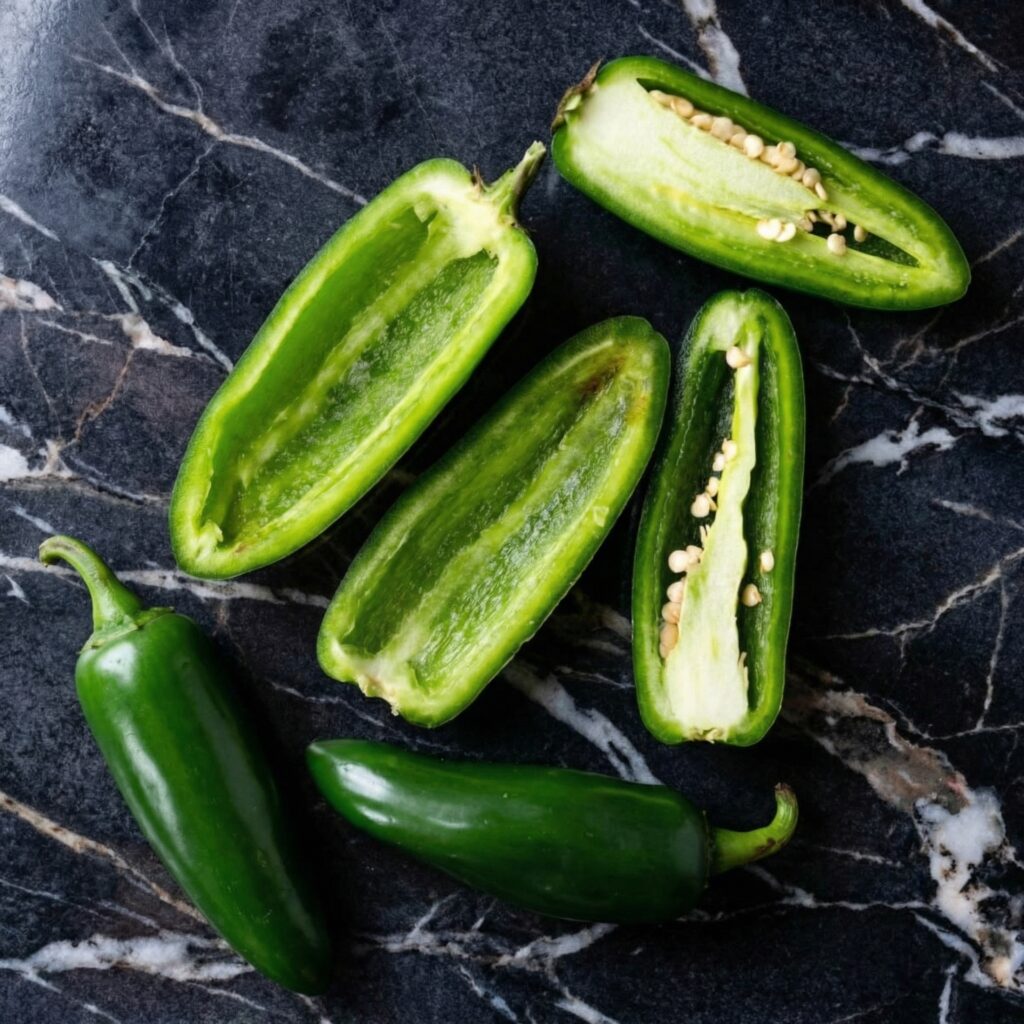
1. Prep the Jalapeños: Preheat your oven to 400°F (200°C). Line a baking sheet with foil and place a wire rack on top. Wearing gloves (highly recommended!), cut each jalapeño in half lengthwise. Use a small spoon to scrape out the seeds and white membranes. For milder poppers, remove all membranes; for spicier, leave some. Set aside.
2. Make the Filling: In a medium bowl, combine the softened cream cheese, shredded cheddar, Parmesan, minced garlic, chopped cilantro, chili powder, cumin, and salt. Mix until well combined. If using any optional add-ins, fold them in now.
3. Fill the Jalapeños: Using a small spoon or a piping bag, fill each jalapeño half generously with the cream cheese mixture. Slightly overfill—it will create a nice dome.
4. Wrap with Bacon: Wrap each filled jalapeño half with a half-slice of bacon, stretching it slightly as you wrap to cover as much of the pepper as possible. Secure with a toothpick if needed. Place on the wire rack, seam-side down.
5. Bake: Bake for 20-25 minutes, until the bacon is crispy and browned and the filling is bubbly. For extra crispy bacon, broil for 1-2 minutes at the end, watching carefully to avoid burning.
6. Cool Slightly: Let the poppers rest on the rack for 5-10 minutes before serving—the filling will be extremely hot.
7. Serve: Arrange on a platter, garnish with fresh cilantro and lime wedges. Serve warm with ranch dressing or sour cream for dipping.
Pro-Tips for Jalapeño Popper Perfection
Wear Gloves: Jalapeño oils can burn your skin and eyes. Wear disposable gloves when handling and seeding the peppers.
Choose Straight Peppers: Straight jalapeños are easier to fill and wrap evenly.
Uniform Size: Pick peppers of similar size so they cook evenly.
Don’t Skip the Wire Rack: A rack allows air to circulate around the poppers, ensuring crispy bacon on all sides.
Use Thin-Cut Bacon: Thick bacon may not cook through before the peppers overcook. Thin-cut works best.
Stretch the Bacon: Gently stretching each bacon slice makes it thinner and helps it wrap more completely.
Make Ahead: You can assemble poppers up to 24 hours ahead, cover, and refrigerate. Add 5-10 minutes to baking time.
Air Fryer Option: Cook at 375°F for 10-12 minutes for extra crispy results.
These Ultimate Jalapeño Poppers are spicy, cheesy, and absolutely irresistible.