Tag: oreo crust

  • The Ultimate Oreo Cheesecake: Creamy, Crunchy, and Impossible to Resist

    The Ultimate Oreo Cheesecake: Creamy, Crunchy, and Impossible to Resist

    If you’re looking for a dessert that guarantees wide eyes and empty plates, Oreo cheesecake is it.

    This indulgent classic combines a buttery Oreo crust, an ultra-creamy vanilla cheesecake filling, and generous chunks of chocolate sandwich cookies in every bite. It’s rich without being heavy, sweet without being overwhelming, and impressive enough for special occasions while still being totally achievable at home.

    Whether you’re baking for a celebration or simply craving something decadent, this step-by-step guide will help you create a smooth, crack-free Oreo cheesecake that looks as good as it tastes.


    Why Oreo Cheesecake Always Wins

    Oreo cheesecake works because it balances textures and flavors beautifully:

    • A crunchy chocolate cookie crust
    • A silky, tangy cream cheese filling
    • Chunks of Oreos that soften slightly as they bake

    The contrast between creamy and crunchy makes every forkful exciting, while the familiar Oreo flavor keeps it comforting and nostalgic.
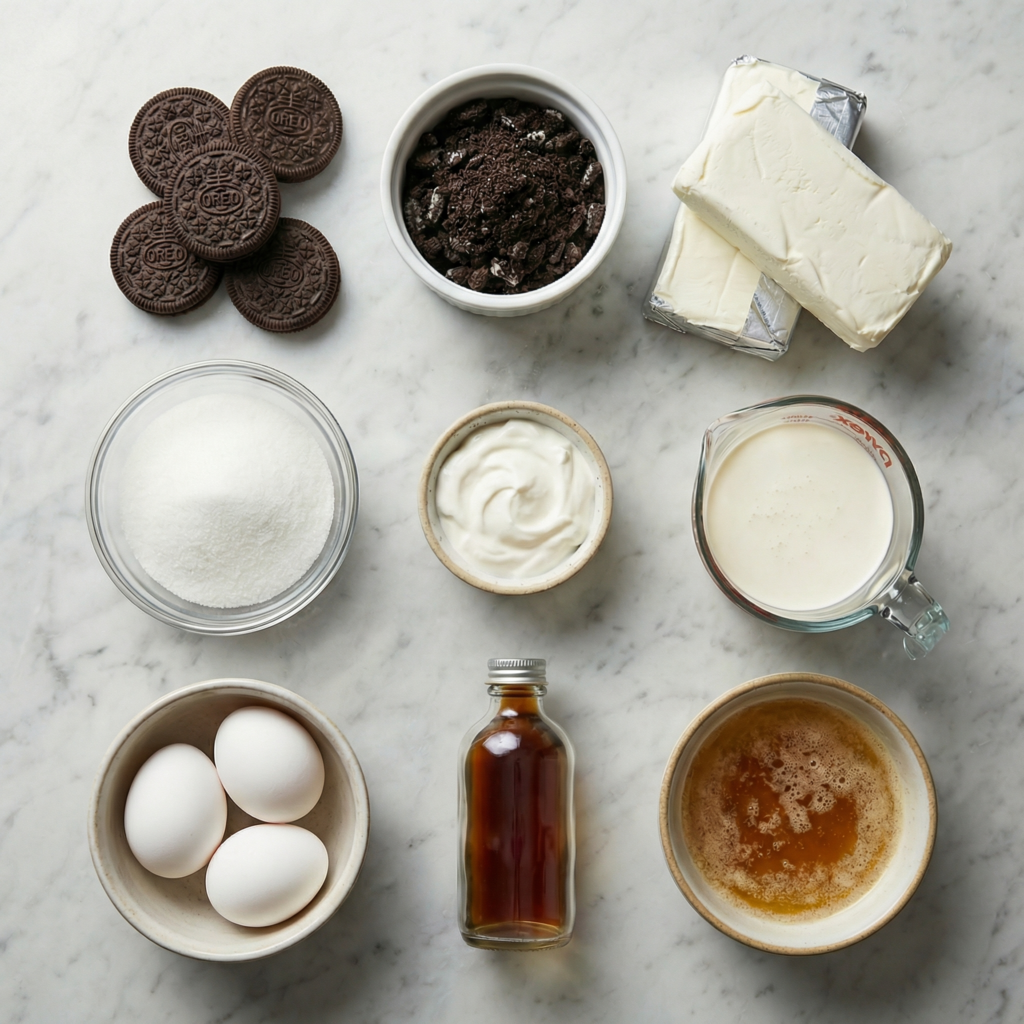

    Ingredients You’ll Need

    Before you begin, make sure all ingredients are at room temperature for the smoothest batter.

    For the crust:

    • 24 Oreo cookies, finely crushed (filling included)
    • 5 tablespoons unsalted butter, melted

    For the cheesecake filling:

    • 3 packages (8 oz / 225 g each) cream cheese
    • ¾ cup granulated sugar
    • 3 large eggs
    • 1 cup sour cream
    • 1 teaspoon vanilla extract
    • 12 Oreo cookies, roughly chopped

    Optional topping:

    • Whipped cream
    • Extra crushed Oreos

    Step-by-Step Instructions

    Step 1: Prepare the Pan and Oven

    Preheat your oven to 160°C / 325°F. Lightly grease a 9-inch springform pan and wrap the outside with foil to protect against leaks during baking.

    This small step prevents soggy crusts and ensures even baking.


    Step 2: Make the Oreo Crust

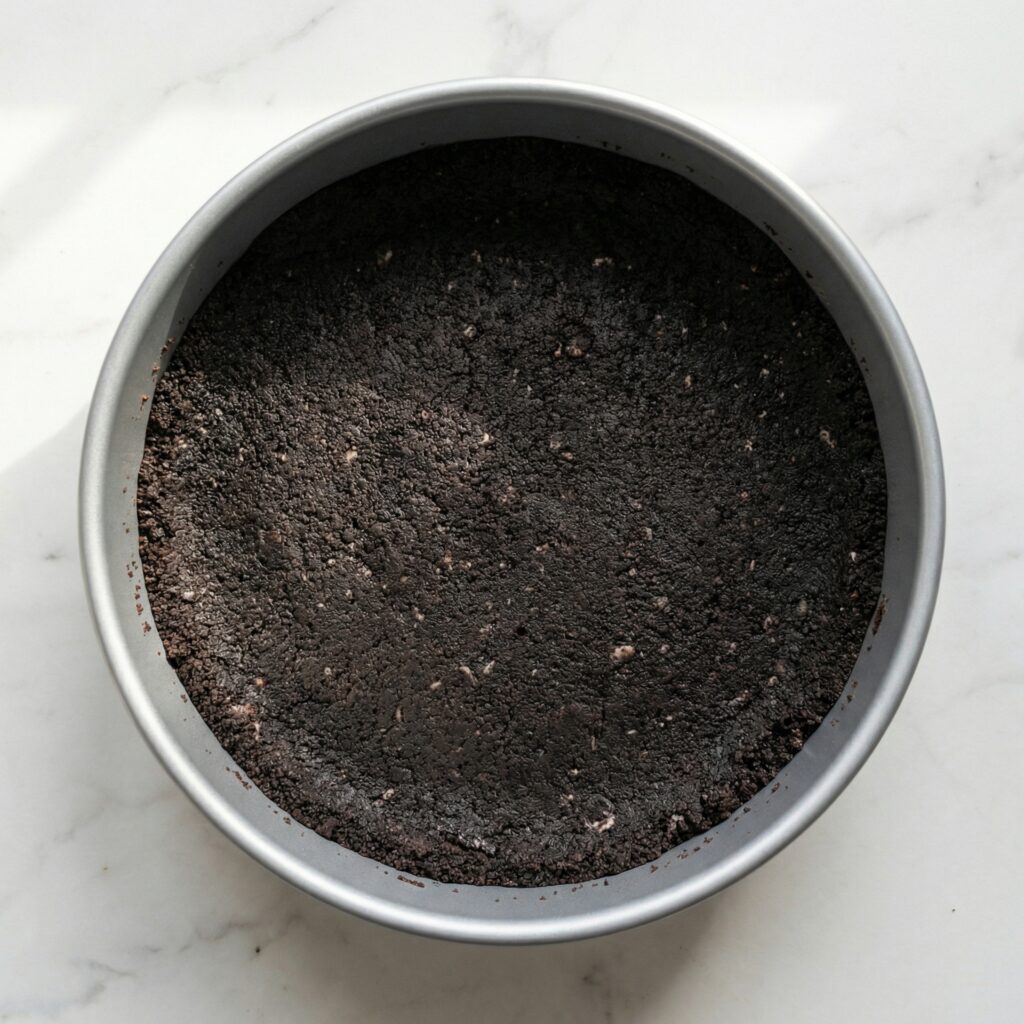
    Combine the crushed Oreos and melted butter in a bowl until the mixture resembles wet sand. Press it firmly into the bottom of the prepared pan using the bottom of a glass.

    Bake the crust for 10 minutes, then set aside to cool. Pre-baking helps the crust stay crisp under the creamy filling.

    Step 3: Beat the Cream Cheese

    In a large bowl, beat the cream cheese on low speed until smooth and creamy. Scrape down the sides of the bowl to remove lumps.

    Mixing on low speed prevents excess air, which helps avoid cracks later.


    Step 4: Add Sugar and Eggs

    Add the sugar and mix until just combined. Then add the eggs one at a time, mixing gently after each addition.

    Avoid overmixing—this keeps the cheesecake dense and velvety rather than airy.


    Step 5: Add Sour Cream and Vanilla

    Mix in the sour cream and vanilla extract until smooth. The sour cream adds richness and a subtle tang that balances the sweetness of the Oreos.

    Fold in the chopped Oreos gently, distributing them evenly throughout the batter.


    Step 6: Assemble and Bake

    Pour the cheesecake batter over the cooled crust and smooth the top.

    Place the pan in a large roasting pan and carefully add hot water halfway up the sides to create a water bath. Bake for 55–65 minutes, until the edges are set but the center still jiggles slightly.


    Step 7: Cool Gradually

    Turn off the oven, crack the door open, and let the cheesecake cool inside for 1 hour. This gradual cooling prevents sudden temperature changes that cause cracks.

    Afterward, remove from the oven and let it cool completely at room temperature.


    Step 8: Chill for Best Texture

    Refrigerate the cheesecake for at least 4 hours, preferably overnight. Chilling allows the flavors to develop and the texture to set properly.

    Tips for a Perfect Oreo Cheesecake

    • Room-temperature ingredients ensure smooth batter
    • Low oven temperature prevents overbaking
    • Water bath keeps the cheesecake creamy
    • Patience during chilling makes slicing clean and beautiful

    These details turn a good cheesecake into a great one.


    Serving Suggestions

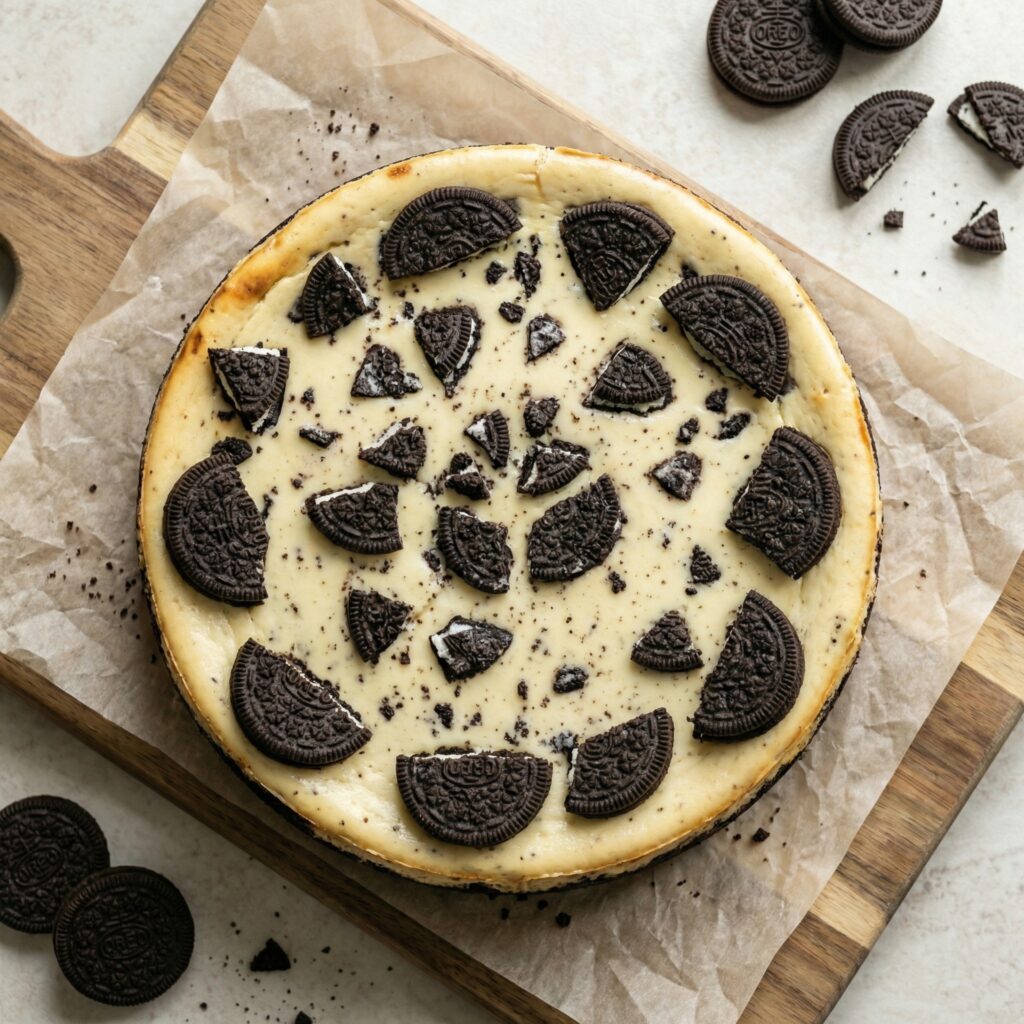
    Before serving, top the cheesecake with whipped cream and extra crushed Oreos for a bakery-style finish. Use a sharp knife wiped clean between slices for perfect presentation.

    Serve plain, or drizzle with chocolate sauce for extra indulgence.


    Final Thoughts

    This Oreo cheesecake recipe is the kind of dessert that never goes out of style. It’s rich, creamy, and packed with cookies and cream flavor in every bite. Best of all, it’s surprisingly simple when you follow the steps carefully.

    Once you master this recipe, it’s bound to become your go-to cheesecake for birthdays, holidays, and everything in between.

  • Chocolate Pudding Pie: The Ultimate No-Bake, Make-Ahead Dessert

    Chocolate Pudding Pie: The Ultimate No-Bake, Make-Ahead Dessert

    This pie is the epitome of comfort and elegance, all in one no-bake package. It starts with a simple, crunchy cookie crust that requires just minutes to make.

    The star is the pudding—a luxurious, from-scratch chocolate custard cooked on the stovetop until it’s thick enough to coat a spoon. Poured into the waiting crust and chilled, it sets into a sliceable, intensely chocolatey filling that’s far superior to any mix.

    Topped with freshly whipped cream, it’s a dessert that feels special enough for a dinner party but is straightforward enough for a weeknight treat. The best part? It must be made ahead, taking all the stress out of dessert timing.

    The Science of the Set & The Crust

    The perfection of this pie relies on two types of setting: chemical and physical. The cookie crust sets through the melting and re-solidification of butter. When mixed with fine cookie crumbs and baked (or chilled), the butter acts as a binder, creating a firm, cohesive base as it cools.

    The homemade pudding is a starch-thickened custard. Cornstarch granules swell and burst when heated with liquid, creating a gel network that traps water and milk, resulting in a thick, smooth texture. The egg yolks add richness and a velvety mouthfeel, while the chocolate contributes both flavor and additional structure as its cocoa butter solidifies upon chilling.

    This combination of starch gelatinization and fat solidification creates a filling that is firm enough to slice cleanly yet melts luxuriously on the tongue.

    Ingredients

    For the Cookie Crust:

    • 24 chocolate sandwich cookies (like Oreos)
    • 5 tablespoons (70g) unsalted butter, melted
    • Pinch of salt

    For the Chocolate Pudding Filling:

    • ¾ cup (150g) granulated sugar
    • ⅓ cup (40g) cornstarch
    • ⅓ cup (30g) unsweetened cocoa powder
    • ½ teaspoon salt
    • 3 cups (720ml) whole milk
    • 4 large egg yolks
    • 4 oz (115g) semi-sweet or bittersweet chocolate, finely chopped
    • 2 tablespoons (28g) unsalted butter
    • 2 teaspoons vanilla extract

    For the Topping:

    • 1 cup (240ml) heavy whipping cream, cold
    • 2 tablespoons powdered sugar
    • Chocolate shavings or grated chocolate, for garnish

    Instructions

    1. The Prepared Crumb Crust: In a food processor, pulse the cookies (creams and all) into fine, uniform crumbs. Mix with melted butter and salt until it resembles wet sand. Press firmly and evenly into the bottom and up the sides of a 9-inch pie plate.

    2. The Chilled or Baked Crust: For a no-bake option, chill the crust in the freezer for 15 minutes to set. For a firmer crust, bake at 350°F (175°C) for 8-10 minutes, then cool completely.

    3. The Cooked, Thickened Pudding Base: In a medium saucepan, whisk together sugar, cornstarch, cocoa, and salt. Gradually whisk in the milk until smooth. Cook over medium heat, whisking constantly, until the mixture thickens, becomes glossy, and reaches a low boil.

    4. The Tempered Egg Mixture: In a separate bowl, whisk the egg yolks. While whisking constantly, slowly pour about 1 cup of the hot pudding mixture into the yolks to temper them. Then, whisk this yolk mixture back into the saucepan.

    5. The Finished, Enriched Pudding: Return the saucepan to low heat. Cook for 2 more minutes, whisking constantly. Remove from heat. Whisk in the chopped chocolate, butter, and vanilla until completely smooth, melted, and glossy.

    6. The Filled Pie Shell: Immediately pour the hot pudding into the prepared crust. Smooth the top with a spatula. Press plastic wrap directly onto the surface of the pudding to prevent a skin from forming.

    7. The Fully Chilled & Set Pie: Refrigerate the pie for at least 4 hours, or preferably overnight, until the pudding is completely cold and firmly set.

    8. The Topped & Finished Pie: Just before serving, whip the cream and powdered sugar to stiff peaks. Spread or pipe it over the chilled pie. Garnish with chocolate shavings.

    Pro-Tips for Pie Perfection

    • Use a Food Processor: For the most uniform, fine crumbs that pack into a solid crust.
    • Press the Crust Firmly: Use a flat-bottomed cup to press the crumbs firmly into the plate, especially in the corners, to prevent crumbling when sliced.
    • Constant Whisking is Key: When cooking the pudding, never stop whisking to prevent lumps and scorching on the bottom of the pan.
    • Temper the Eggs: This gradual heating prevents the eggs from scrambling when added to the hot mixture.
    • Chop Chocolate Finely: Smaller pieces melt instantly into the hot pudding, ensuring a smooth finish.
    • Press Plastic Directly: This crucial step prevents a rubbery skin from forming on the pudding surface.
    • Chill Thoroughly: Patience is essential for a clean slice. Overnight chilling is best.
    • Whip Cream Cold: Chill your bowl and beaters for the fluffiest whipped cream.
    • Make Ahead: This pie is perfect for making 1-2 days in advance. Add the whipped cream topping just a few hours before serving.
    • Storage: Store covered in the refrigerator for up to 3 days. The crust will soften over time but will still be delicious.

    This Chocolate Pudding Pie is a timeless, foolproof dessert that never goes out of style.