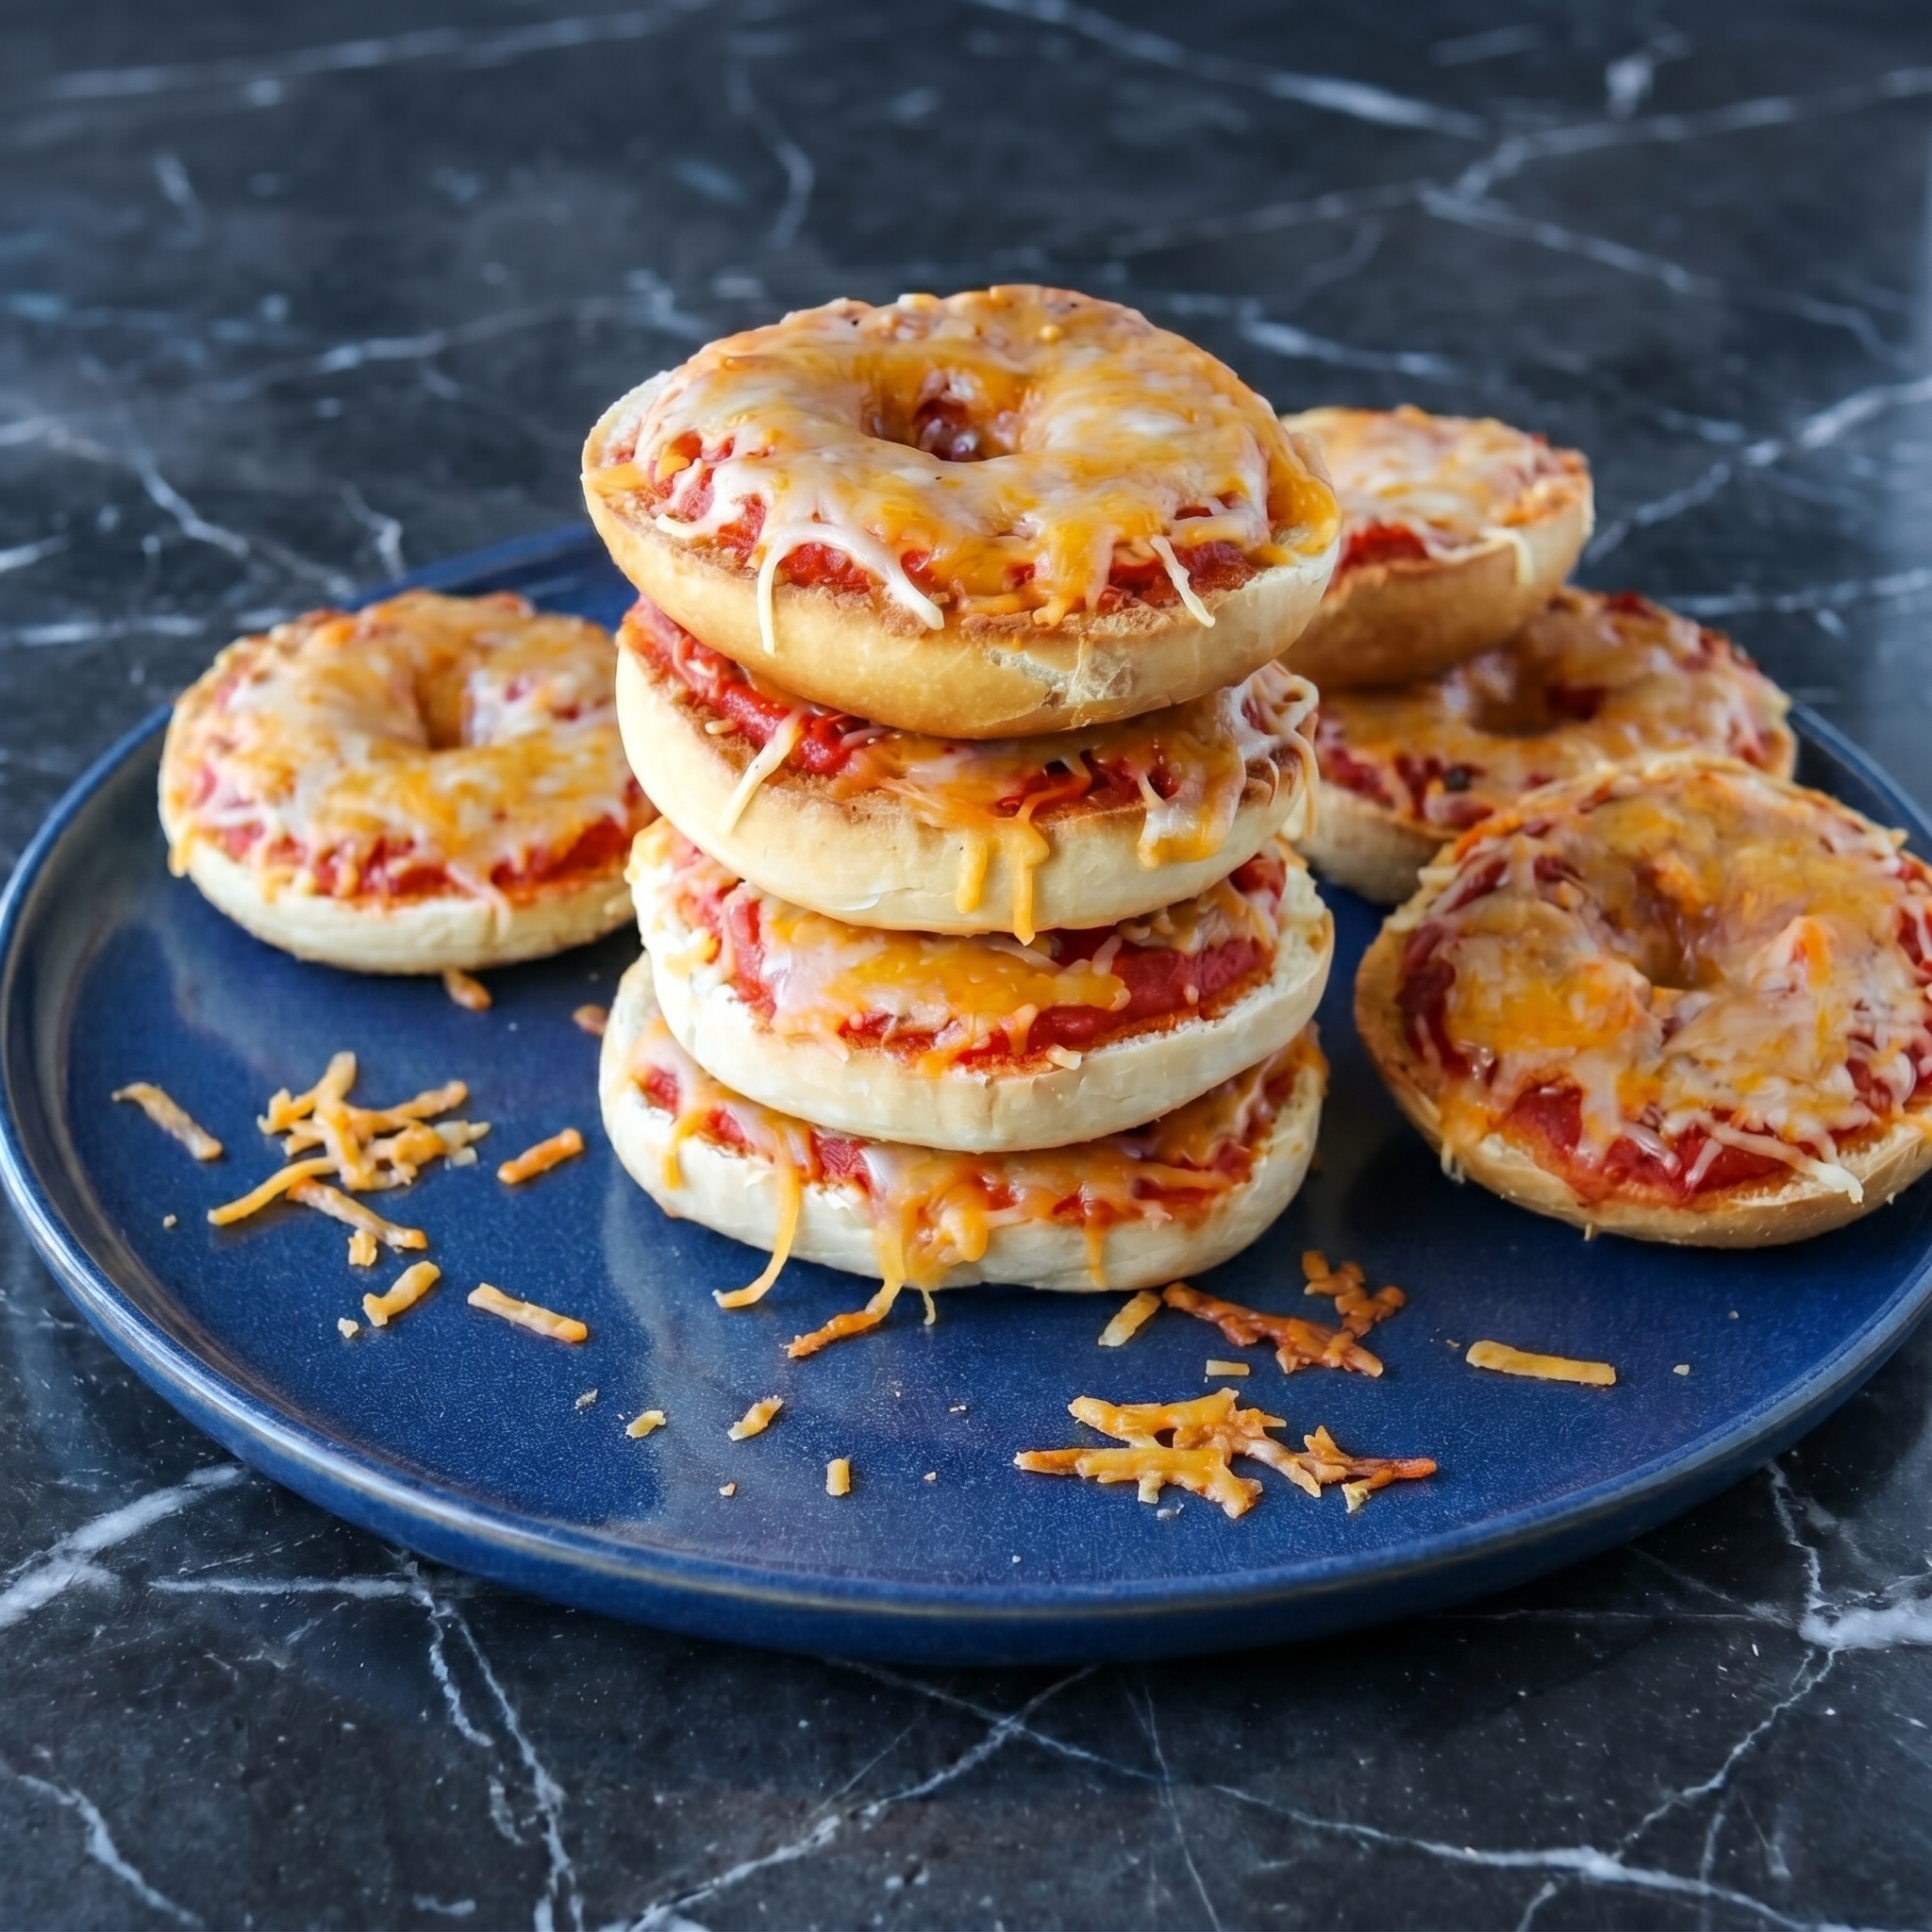
Pizza bagels are the greatest lazy food. Toasty bagel. Sauce. Cheese. Pepperoni. 10 minutes. Better than any frozen version. Make them for lunch. Make them for dinner. Make them because pizza.
Ingredients
Serves 2-4 (makes 4 pizza bagels).
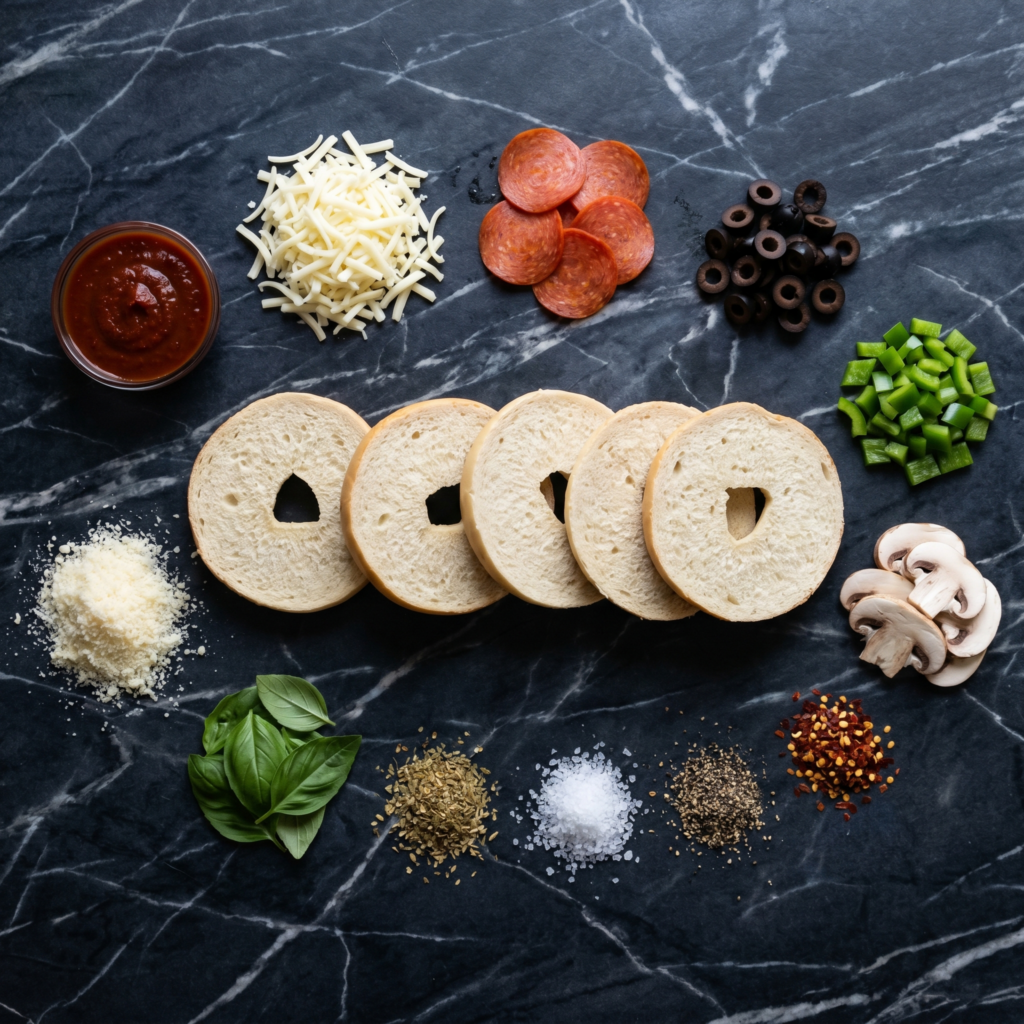
2 bagels (any variety), sliced in half
½ cup pizza sauce or marinara
1½ cups shredded mozzarella cheese
¼ cup grated Parmesan cheese
24 slices pepperoni (or any toppings: sausage, olives, mushrooms, bell peppers)
1 tsp dried oregano (optional)
Red pepper flakes (optional)
Fresh basil for garnish (optional)
Step-by-Step Instructions
Step 1: Preheat & Prep
Preheat oven to 400°F (200°C) or toaster oven to toast setting. Line a baking sheet with parchment.
Arrange bagel halves cut-side up on the baking sheet.
Step 2: Toast First (Optional But Recommended)
Toast bagel halves for 2-3 minutes until lightly golden (prevents soggy bottoms).
Step 3: Assemble
Spread about 1 tablespoon of sauce on each bagel half.
Sprinkle with mozzarella and Parmesan. Top with pepperoni and other toppings.
Sprinkle with oregano.
Step 4: Bake
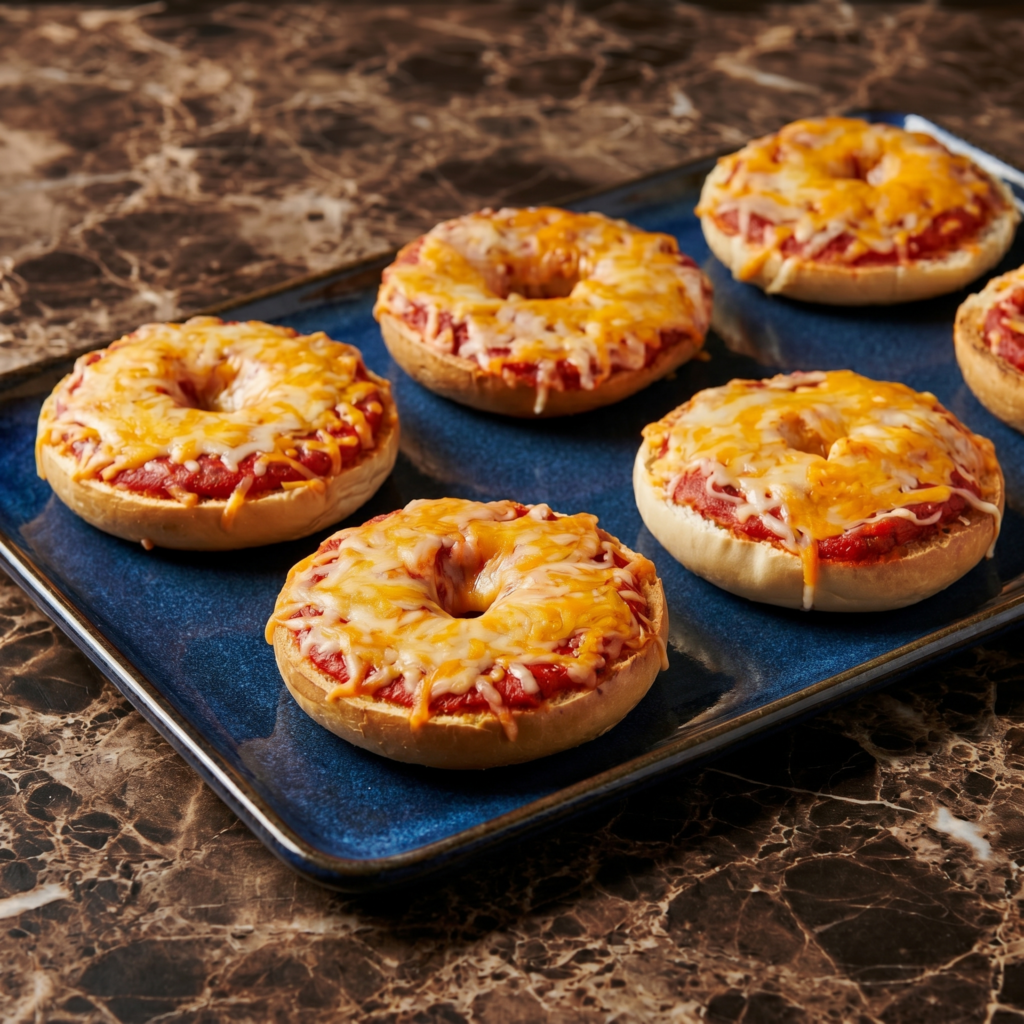
Bake 8-10 minutes until cheese is melted and bubbly and edges are crispy.
Step 5: Serve
Garnish with basil and red pepper flakes. Serve hot. Eat with your hands.
Summary
Prep Time: 5 min | Bake Time: 10 min | Total: 15 min
Yield: 4 pizza bagels | Difficulty: Easy
Storage Notes
Best fresh. Fridge 2 days. Reheat in oven or air fryer at 375°F for 5-7 minutes (crispy returns). Microwave makes them chewy — avoid. Great for meal prep — assemble and refrigerate unbaked, then bake fresh.
Some things never get old. Rice Krispie treats are one of them. They’re the taste of childhood birthdays, after-school snacks, and bake sales. They’re the treat you begged your mom to make, and now you can make them yourself—in about 10 minutes, with three ingredients, and zero stress.
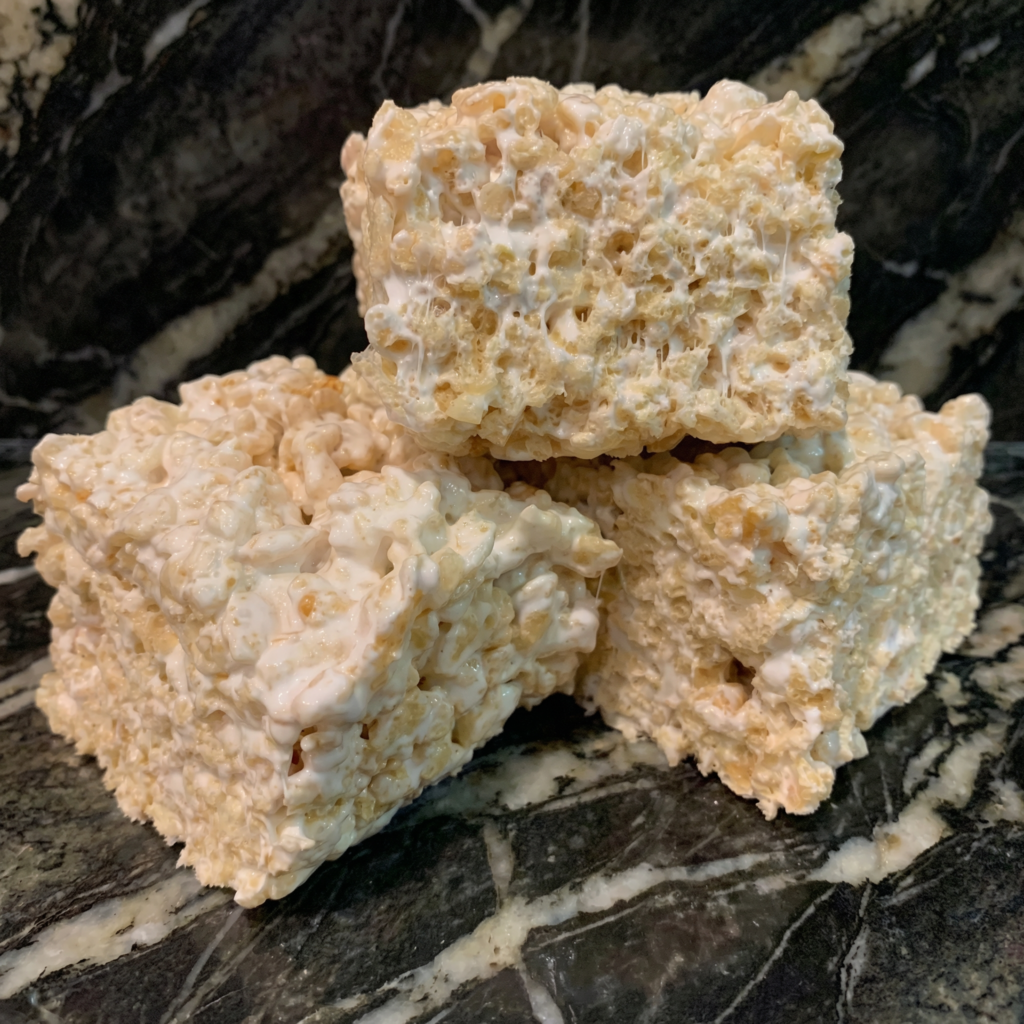
Buttery, marshmallowy, perfectly crispy, and impossibly gooey, these treats are pure nostalgia in every bite. The secret? Don’t overcomplicate them. Quality butter, fresh marshmallows, and a gentle hand are all you need. Go ahead, eat the whole pan. We won’t tell.
The Secret to Perfectly Gooey, Never-Hard Rice Krispie Treats
The line between perfect Rice Krispie treats and sad, hard, brick-like blocks is a thin one. The secret is low heat and gentle handling. Melt your butter and marshmallows over low heat, stirring constantly. High heat will make the marshmallows seize up and turn tough.
The other secret? Use fresh marshmallows. Stale marshmallows won’t melt smoothly and can lead to gritty treats. And here’s the pro tip: add a pinch of salt. It balances the sweetness and makes the butter flavor sing.
Finally, press the mixture gently into the pan—don’t smash it down or your treats will be dense and hard. Light hands, low heat, perfect treats.
Ingredients
For the Rice Krispie Treats (Makes 12-16 squares):
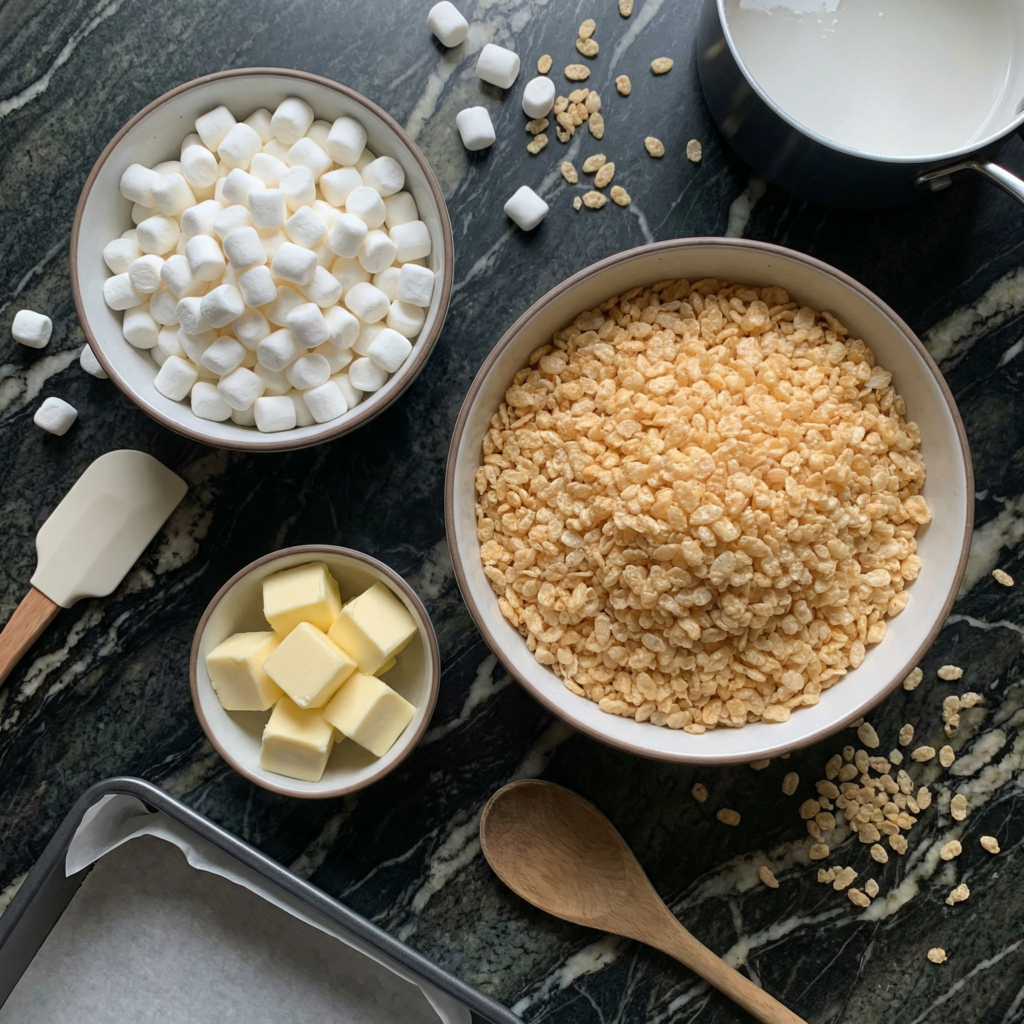
1 package (10 oz, about 40 large) marshmallows (or 4 cups mini marshmallows)
¼ teaspoon salt (optional, but highly recommended)
½ teaspoon vanilla extract (optional, but lovely)
Optional Add-Ins:
Chocolate chips, drizzled on top
Sprinkles, for fun
Peanut butter (stir in ¼ cup with the marshmallows)
Instructions
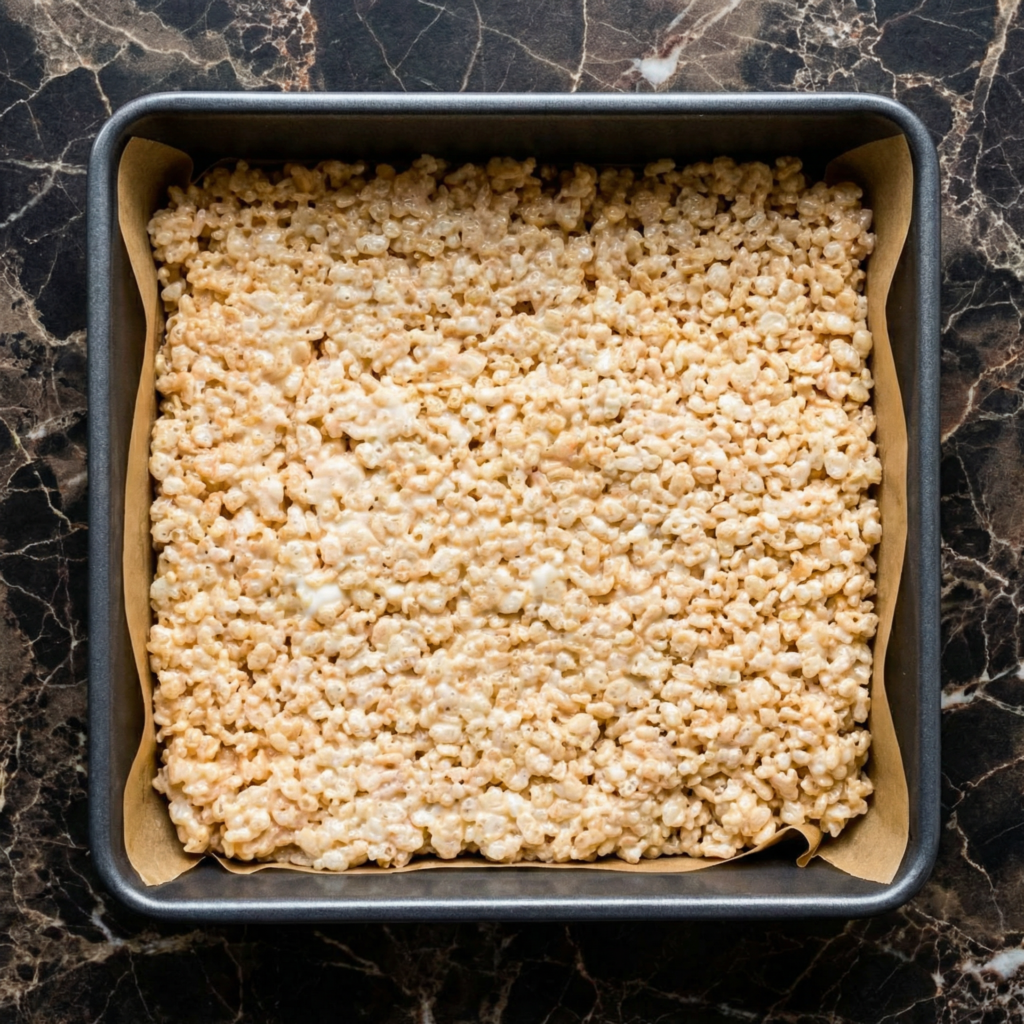
1. Prep Your Pan: Generously butter a 9×13-inch baking pan or line it with parchment paper, leaving overhang on the long sides for easy removal. Set aside.
2. Measure the Cereal: Measure 6 cups of Rice Krispies cereal into a large bowl. Having it ready ensures you can work quickly once the marshmallow mixture is ready.
3. Melt the Butter: In a large pot or Dutch oven, melt the butter over low heat. Stir occasionally until completely melted.
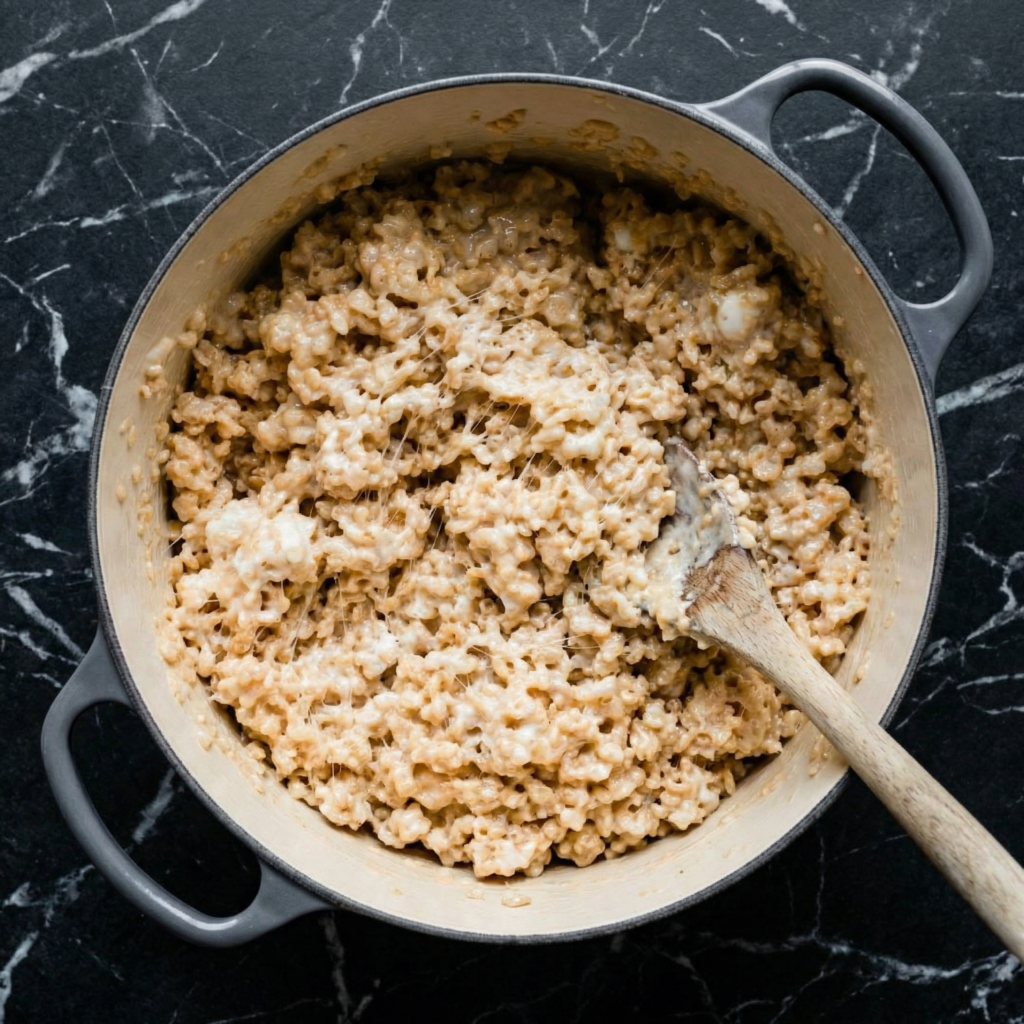
4. Add Marshmallows: Add the marshmallows to the pot. Stir constantly with a spatula over low heat until the marshmallows are completely melted and smooth. Remove from heat immediately. Do not overheat—this is crucial for soft treats.
5. Add Salt and Vanilla: Stir in the salt and vanilla extract (if using) until combined.
6. Combine with Cereal: Pour the Rice Krispies cereal into the pot with the marshmallow mixture. Fold gently with a spatula until all the cereal is evenly coated. Work quickly but gently to avoid crushing the cereal.
7. Transfer to Pan: Scrape the mixture into the prepared pan. Using a buttered spatula or buttered hands, gently press the mixture into an even layer. Don’t smash it down hard—just gently coax it into place.
8. Add Toppings (Optional): If adding chocolate chips or sprinkles, sprinkle them on top now and press in gently.
9. Cool: Let the treats cool completely at room temperature, about 30-60 minutes. Do not refrigerate—they’ll get hard.
10. Slice and Serve: Use the parchment overhang to lift the treats out of the pan. Place on a cutting board and slice into squares with a sharp knife. A buttered knife helps prevent sticking.
11. Store: Store in an airtight container at room temperature for up to 3 days. If they last that long.
Pro-Tips for Rice Krispie Treat Greatness
Low Heat is Non-Negotiable: High heat makes marshmallows tough and grainy. Keep it low, keep it gentle.
Use Fresh Marshmallows: Stale marshmallows won’t melt smoothly. For extra gooey treats, use mini marshmallows—they melt faster and more evenly.
Don’t Overwork the Cereal: Fold just until combined. Crushed cereal leads to dense, sad treats.
Press Gently: Light hands create light, airy treats. Smashing them down makes them hard.
Customize Endlessly: Add peanut butter, Nutella, chocolate chips, sprinkles, or even Fruity Pebbles for a colorful twist.