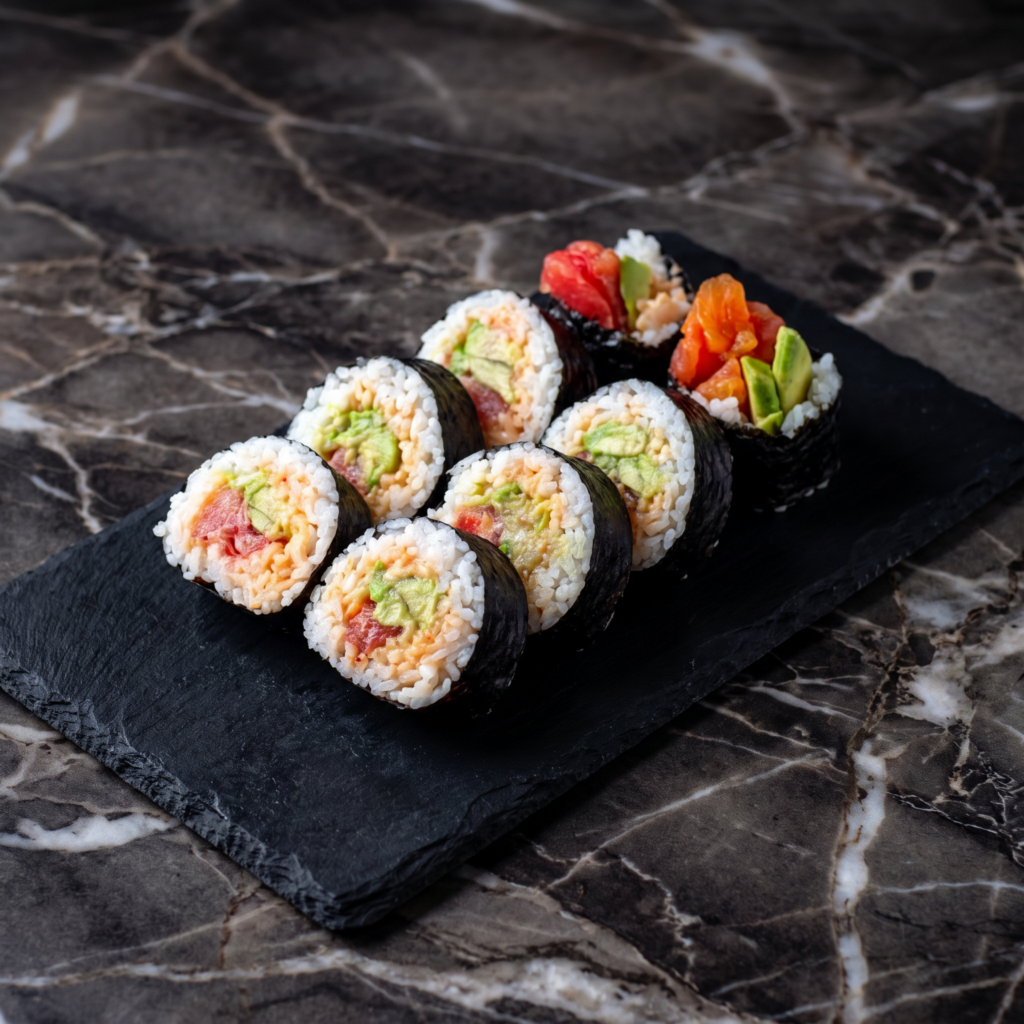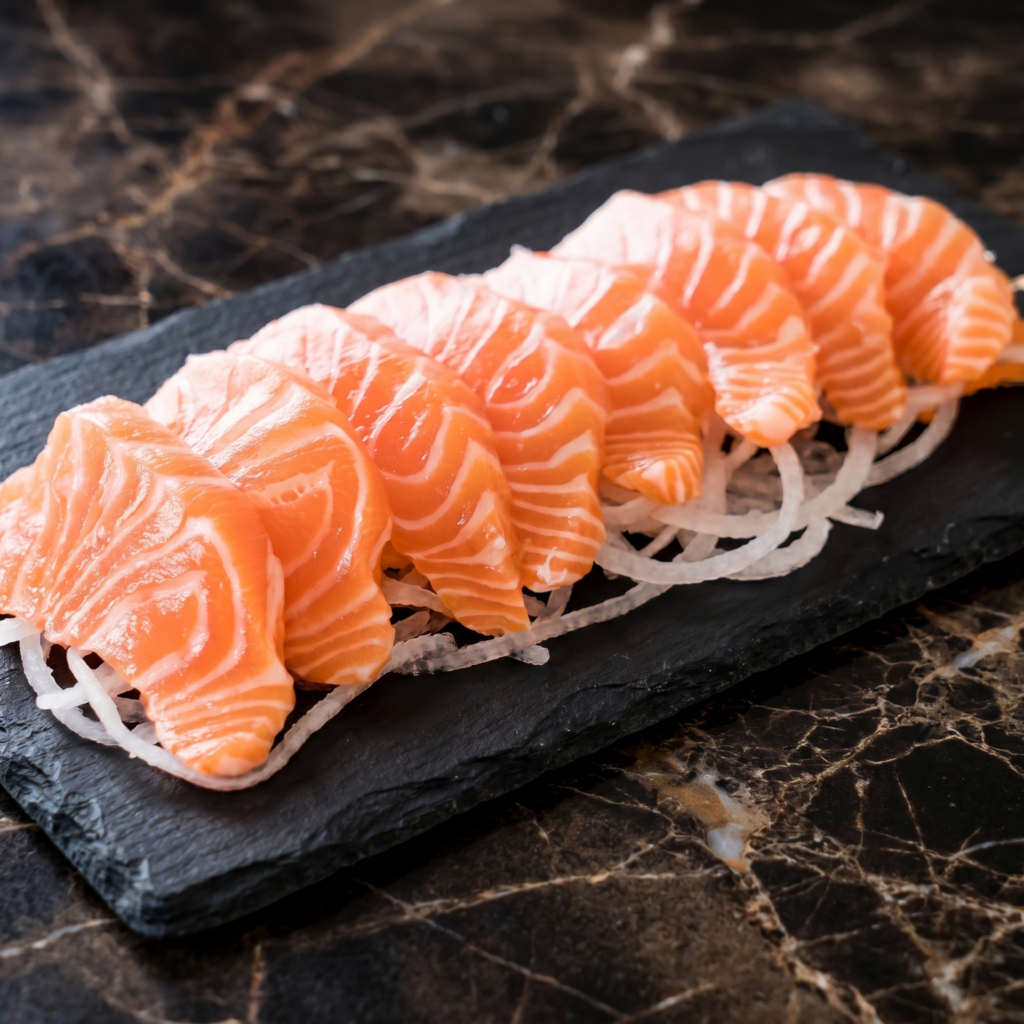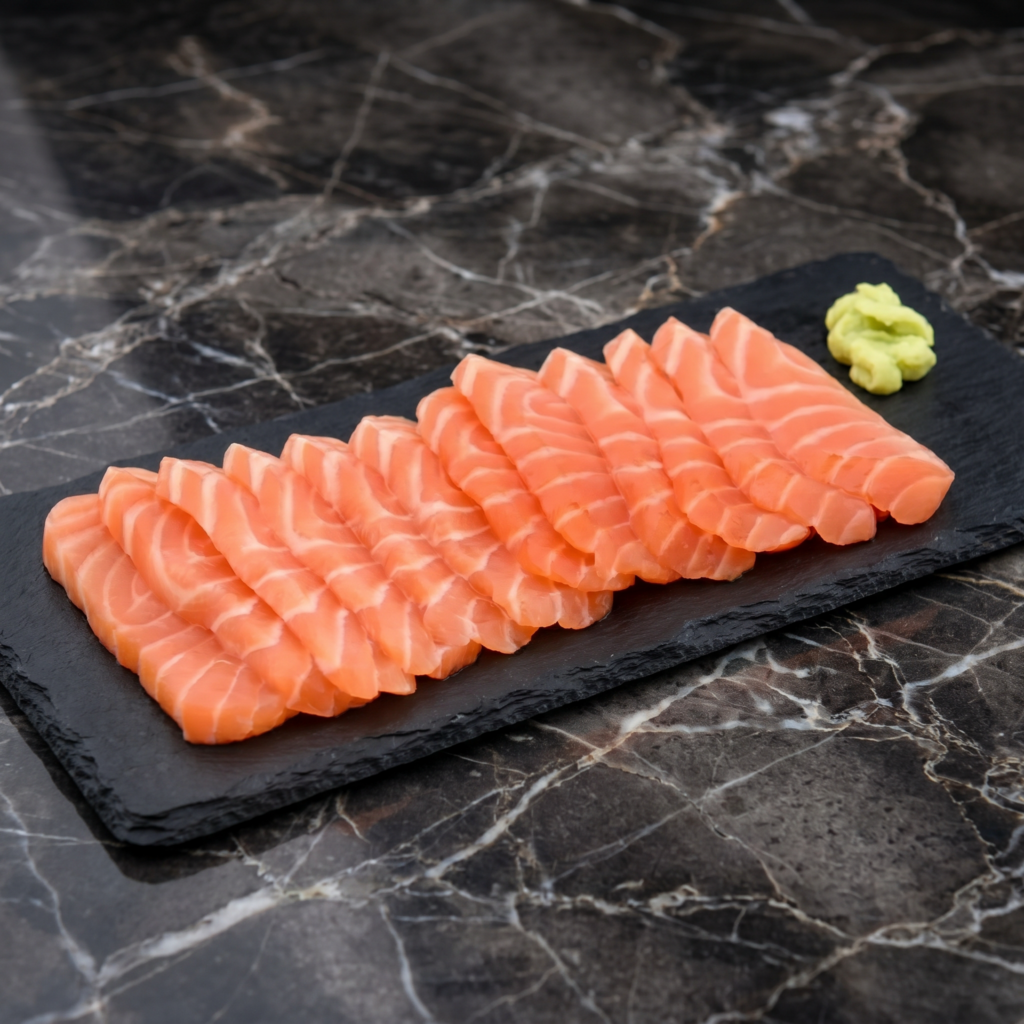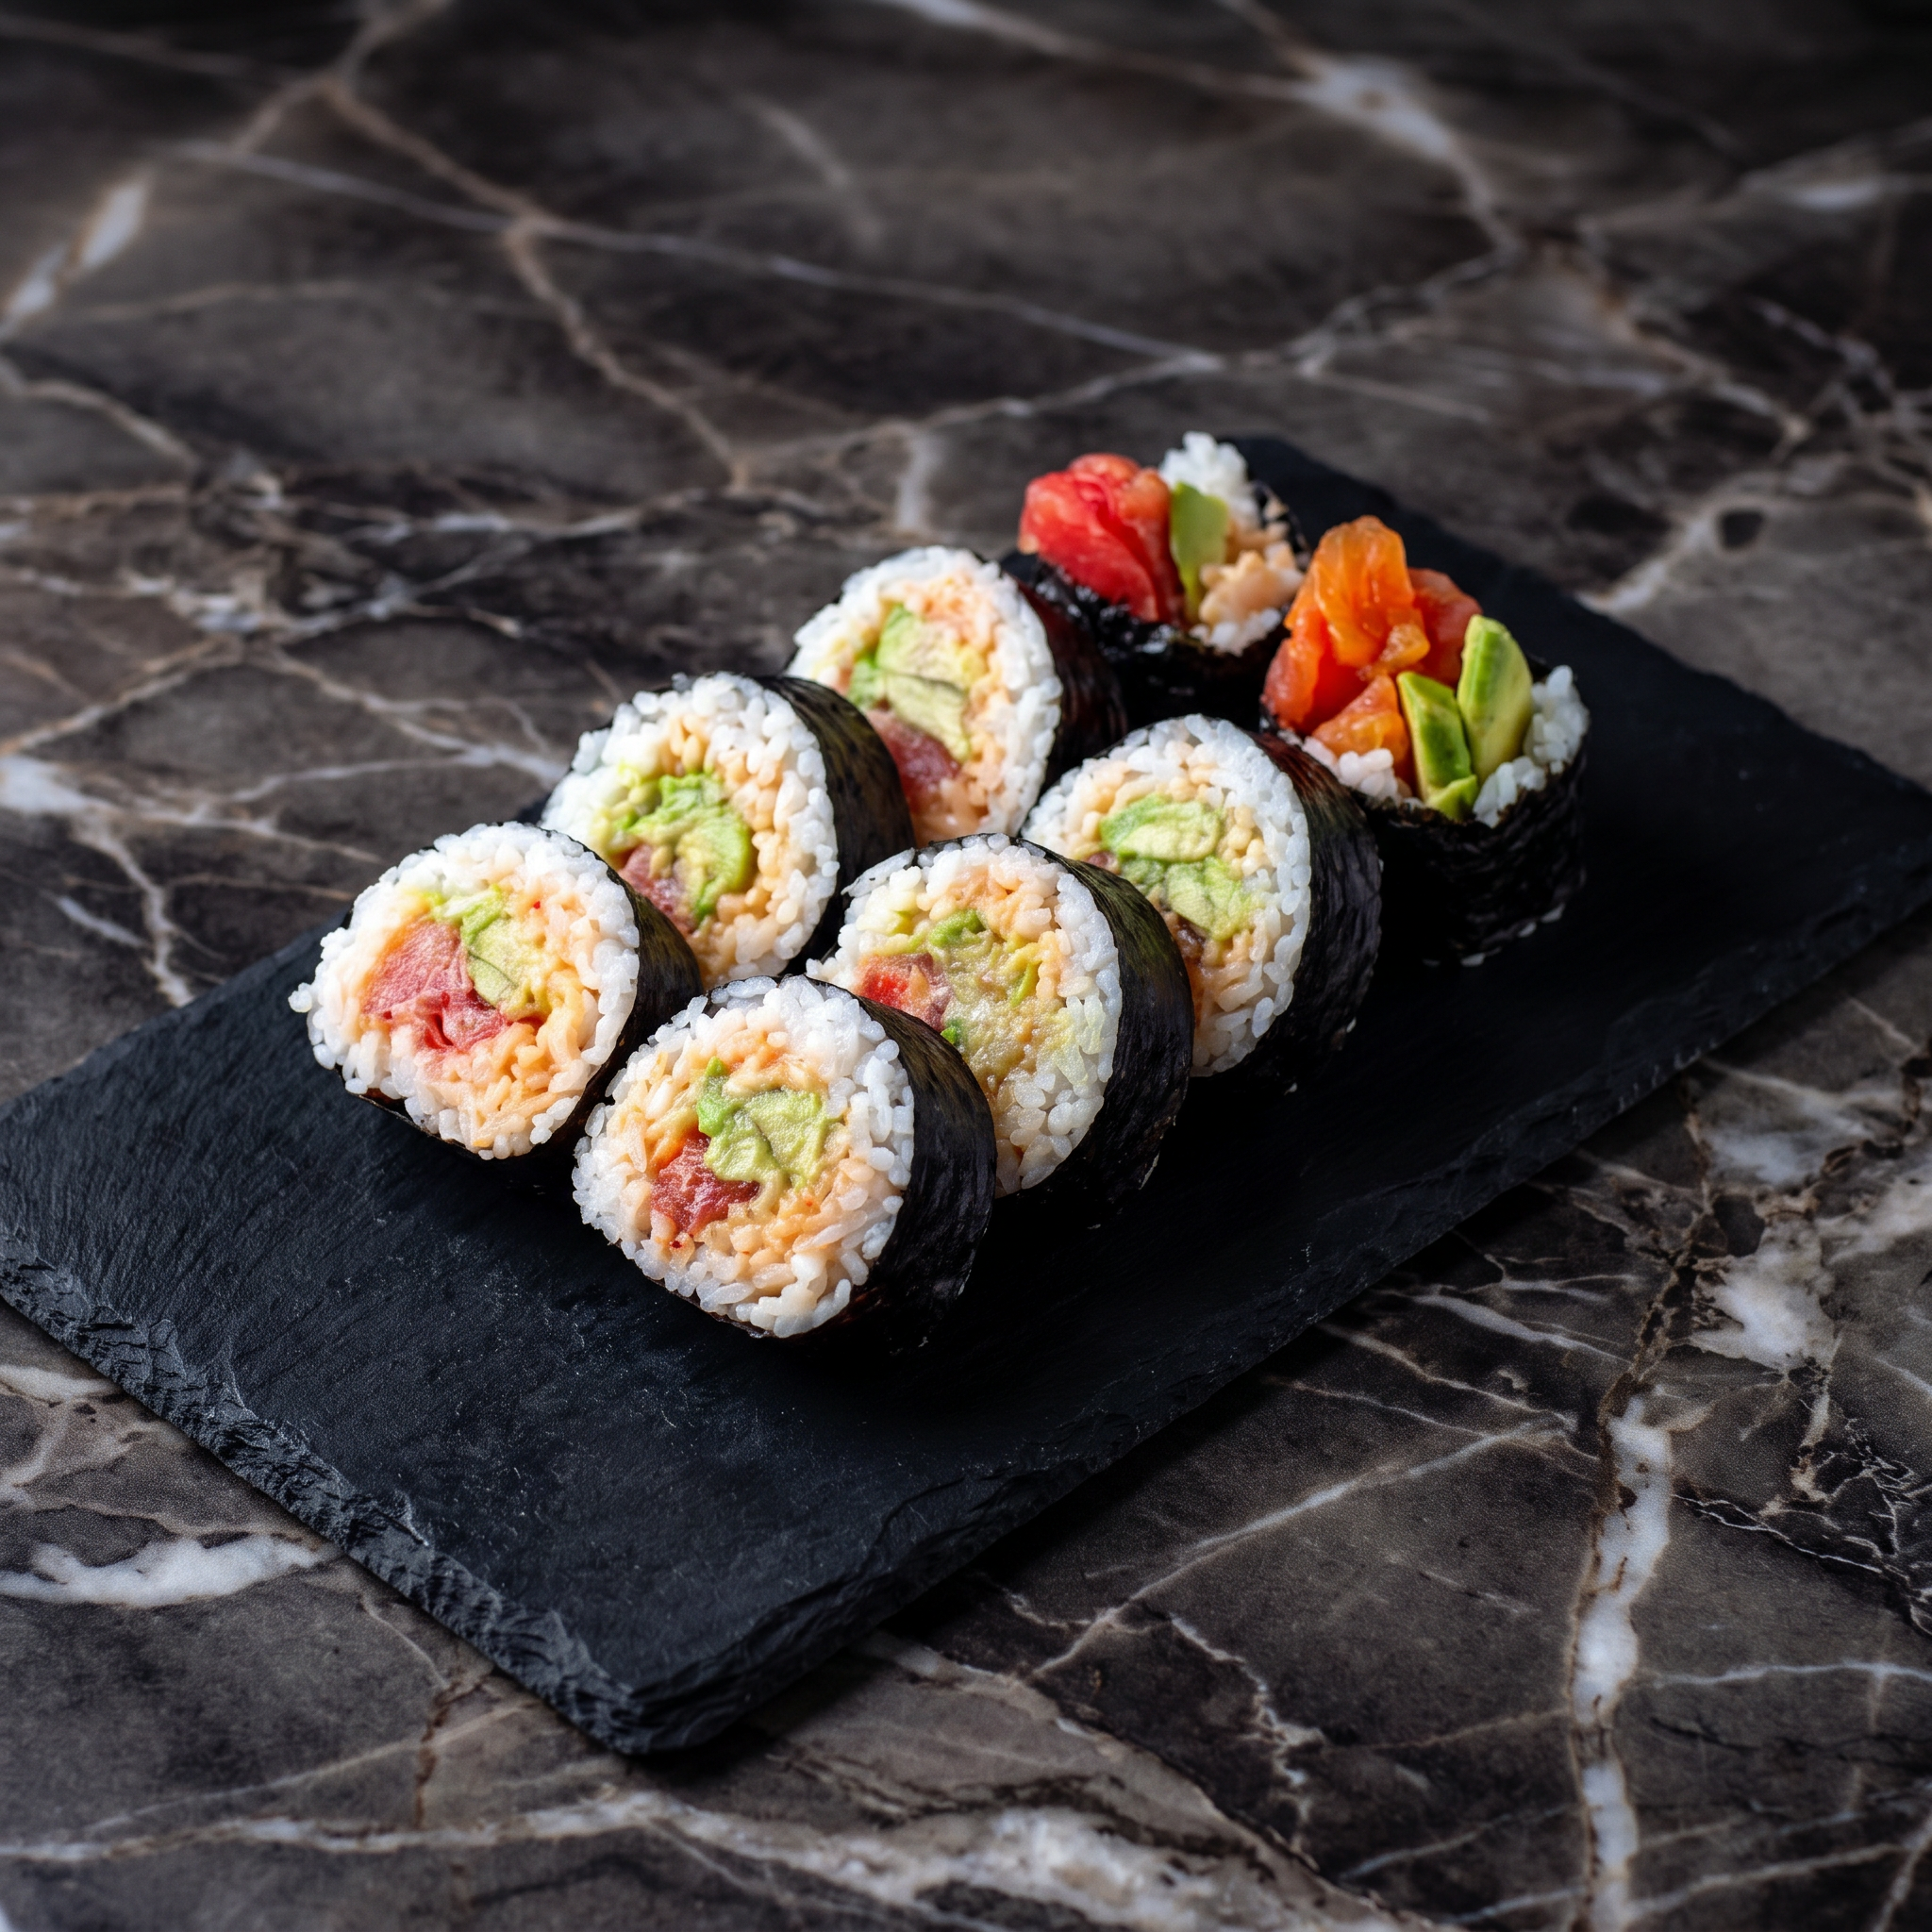
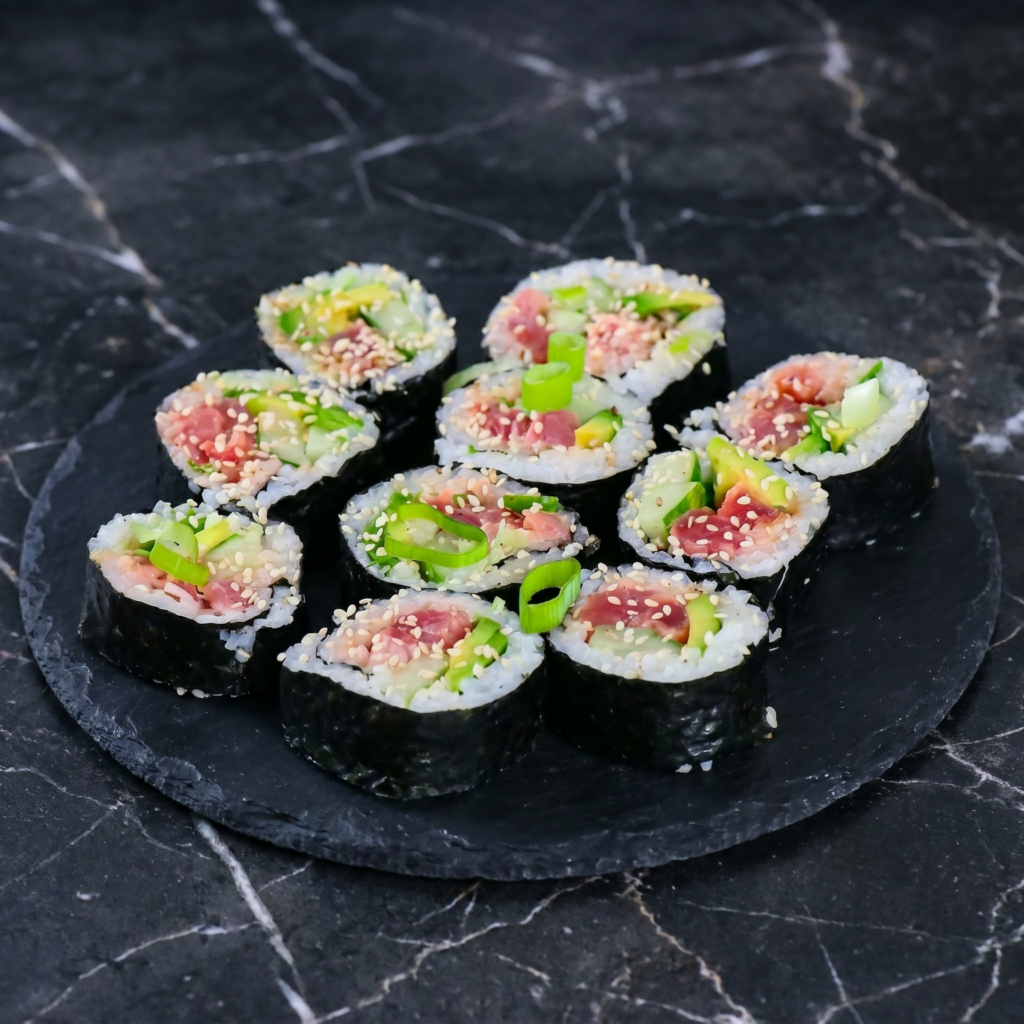
The spicy tuna roll is a sushi bar classic—creamy, spicy, and utterly satisfying. Chunks of fresh sashimi-grade tuna are mixed with spicy mayo and sometimes cucumber or avocado, then rolled up in perfectly seasoned sushi rice and nori.
Each bite offers a contrast of textures: the tender rice, the crisp nori, the creamy, spicy tuna, and the cool crunch of cucumber. Making them at home is easier than you might think, and the result rivals any restaurant.
This guide walks you through everything: selecting the right tuna, making the spicy mayo, preparing the rice, and rolling like a pro.
Ingredients
For the Sushi Rice:
- 2 cups (360g) short-grain Japanese rice (sushi rice)
- 2 ¼ cups (540ml) water
- ⅓ cup (80ml) rice vinegar
- 3 tablespoons granulated sugar
- 1 teaspoon salt
For the Spicy Tuna Filling:
- 8 oz (225g) sashimi-grade tuna
- ¼ cup (60ml) Japanese mayonnaise (Kewpie preferred)
- 1-2 tablespoons sriracha or chili garlic sauce (to taste)
- 1 teaspoon sesame oil
- 1 teaspoon soy sauce (optional)
- 2 green onions, thinly sliced
- Optional: 2 tablespoons tempura bits (tenkasu) for crunch
For the Rolls:
- 4 sheets nori (dried seaweed)
- ½ cucumber, seeded and cut into thin strips
- 1 avocado, sliced (optional)
- Sesame seeds (white or black), for garnish
For Serving:
- Soy sauce
- Wasabi paste
- Pickled ginger (gari)
- Extra spicy mayo for drizzling
Equipment:
- Bamboo rolling mat (makisu), wrapped in plastic wrap
- Sharp knife
- Rice paddle
Instructions
1. Cook the Sushi Rice: Rinse the rice in a fine-mesh strainer under cold water until the water runs clear (about 2-3 minutes). Drain well. Combine rice and water in a rice cooker or heavy-bottomed pot. If using a pot, bring to a boil, cover, reduce heat to low, and simmer for 15 minutes. Remove from heat and let steam, covered, for 10 minutes. Do not lift the lid!
2. Season the Rice: While the rice cooks, combine rice vinegar, sugar, and salt in a small saucepan. Warm over low heat, stirring, until sugar and salt dissolve. Do not boil. Transfer the cooked rice to a large bowl or hangiri (wooden sushi tub).
Gradually add the vinegar mixture while gently folding with a rice paddle using a slicing motion. Be gentle—you want to separate the grains, not mash them. Fan the rice as you mix to cool it quickly and give it a glossy sheen. Cover with a damp towel and set aside.
3. Prepare the Tuna: Using a very sharp knife, cut the tuna into small pieces (about ¼-inch chunks). You can chop it finely or leave it slightly chunky—your preference. Place in a bowl.
4. Make the Spicy Mayo Mixture: In a small bowl, combine the Japanese mayonnaise, sriracha, sesame oil, and soy sauce (if using). Mix well. Adjust spice level to your taste.
5. Combine the Tuna Filling: Add the spicy mayo mixture to the chopped tuna, along with the sliced green onions and tempura bits (if using). Fold gently until well combined. Be careful not to mash the tuna—you want distinct pieces. Refrigerate until ready to use.
6. Prep the Vegetables: Cut the cucumber into thin strips, about ¼ inch thick and 3-4 inches long. If using avocado, slice thinly.
7. Set Up Your Rolling Station: Place your bamboo mat on a clean work surface, with the slats running horizontally. Have a small bowl of water with a little vinegar for wetting your hands nearby.
8. Roll the Spicy Tuna Rolls (Inside-Out Style): Place a sheet of nori shiny-side down on the mat. Wet your hands and spread about ¾ cup of sushi rice evenly over the nori, leaving a ½-inch border at the top. Flip the nori over so the rice is now facing down on the mat. This creates an inside-out roll (rice on the outside).
9. Add Fillings: Arrange a line of spicy tuna mixture along the center of the nori, about 1 inch wide. Add cucumber strips alongside.
10. Roll: Lift the bottom edge of the mat with your thumbs, holding the fillings in place with your fingers. Roll the mat over the fillings, tucking the edge of the nori under. Apply even pressure to shape the roll. Continue rolling until the roll is complete. Gently squeeze the mat along the length to firm it up.
11. Slice the Roll: Using a very sharp knife, wipe the blade with a damp cloth. Cut the roll in half, then cut each half into thirds (for 6-8 pieces total). Wipe the knife clean between cuts for clean slices.
12. Garnish and Serve: Arrange the sushi pieces on a platter. Drizzle with extra spicy mayo, sprinkle with sesame seeds, and garnish with additional green onions if desired. Serve immediately with soy sauce, wasabi, and pickled ginger.
Pro-Tips for Perfect Spicy Tuna Rolls
- Sashimi-Grade Tuna Is Essential: Always use fish labeled for raw consumption from a trusted source.
- Chill the Tuna: Slightly cold tuna is easier to chop cleanly.
- Kewpie Mayo Makes a Difference: Japanese mayonnaise is creamier and tangier than American mayo—it’s worth seeking out.
- Don’t Overmix: Fold the tuna gently to keep some texture—chunky is good.
- Keep Hands Wet: A bowl of vinegar-water prevents rice from sticking to your hands.
- Sharp Knife: A dull knife will squish the roll instead of slicing cleanly. Wet the blade between cuts.
- Inside-Out vs. Traditional: Spicy tuna rolls are often served as inside-out rolls (rice on the outside). This recipe uses that style, but you can also make traditional nori-on-the-outside rolls.
- Get Creative: Add avocado, cream cheese, or mango for fusion variations.
These Homemade Spicy Tuna Rolls will make your sushi night legendary.