Tag: Japanese appetizer

  • Perfect Sashimi (Fresh Fish, Simply Served)

    Perfect Sashimi (Fresh Fish, Simply Served)

    Sashimi is Japanese cuisine at its most pure and elegant—exceptional fish, sliced with precision, and served with minimal accompaniment to let the natural flavors shine. There’s nowhere to hide: the quality of the fish, the sharpness of the knife, the angle of the cut—everything matters. But here’s the secret: with the right knowledge and a little practice, you can create stunning sashimi at home.

    This guide covers everything: how to select sashimi-grade fish, how to handle it safely, the essential knives and techniques, and how to slice different types of fish for the perfect texture and presentation. Whether you’re serving tuna, salmon, hamachi, or scallops, you’ll learn to slice like a pro.

    Ingredients
    For the Sashimi:

    • Assorted sashimi-grade fish (choose 2-3 varieties):
    • Tuna (maguro or toro) – block or fillet
    • Salmon (sake) – fillet, skin removed
    • Yellowtail (hamachi) – fillet
    • Sea scallops (hotate) – fresh, raw
    • Mackerel (saba) – prepared
    • Octopus (tako) – cooked
    • Shrimp (amaebi or botan ebi) – raw, shelled

    For Serving:

    • Fresh wasabi root or quality prepared wasabi
    • Pickled ginger (gari)
    • Shiso leaves
    • High-quality soy sauce
    • Daikon radish, finely shredded (optional garnish)
    • Fresh lemon wedges

    Equipment:

    • Extremely sharp knife (yanagiba or long thin-bladed knife)
    • Sharpening stone (for touch-ups)
    • Clean kitchen towels
    • Chilled serving platter

    Instructions

    1. Source Your Fish: Purchase sashimi-grade fish from a trusted fishmonger or Japanese market. Ask for fish specifically labeled for raw consumption. If unavailable, look for the freshest possible fish and freeze it at -4°F (-20°C) for 7 days to ensure safety.

    2. Prepare Your Workspace: Clean your work surface thoroughly. Ensure your knife is razor-sharp—a dull knife will crush the fish instead of slicing cleanly. Have a damp towel nearby to wipe the blade between cuts.

    3. Prepare the Fish: If using fillets, check for any remaining bones with tweezers and remove them. Pat the fish dry with paper towels. For tuna blocks, you may need to trim any dark, bloody parts (they have a stronger flavor).

    4. Chill the Fish: Place the prepared fish in the refrigerator for 15-20 minutes before slicing. Slightly chilled fish is firmer and easier to slice cleanly, but don’t let it freeze.

    5. Slice Tuna (Maguro): For tuna, use a clean, perpendicular cut (hira-zukuri). Hold the knife at a 90-degree angle to the fish. Draw the knife toward you in one smooth motion, slicing pieces about ¼ to ⅓ inch thick. Wipe the blade with a damp towel between cuts.

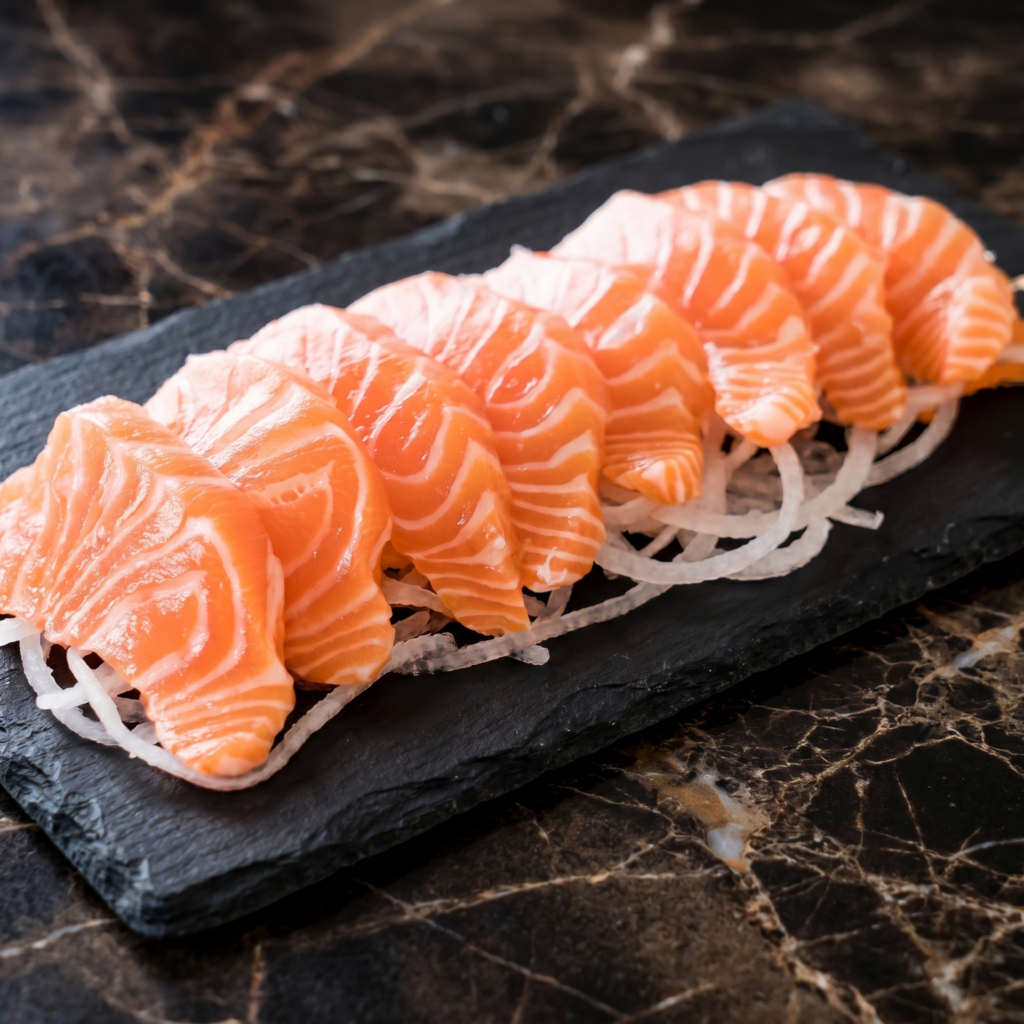
    6. Slice Salmon (Sake): For salmon, use a slightly angled cut (about 45 degrees) to create more surface area and a more tender bite. Slice against the grain for the best texture. Pieces should be about ¼ inch thick.

    7. Slice Yellowtail (Hamachi): Hamachi is typically sliced similarly to tuna—perpendicular cuts about ¼ inch thick. The flesh is more delicate, so use a gentle touch.

    8. Slice Scallops (Hotate): If using large sea scallops, slice horizontally into ¼-inch thick rounds. If using small scallops, they can be served whole or halved.

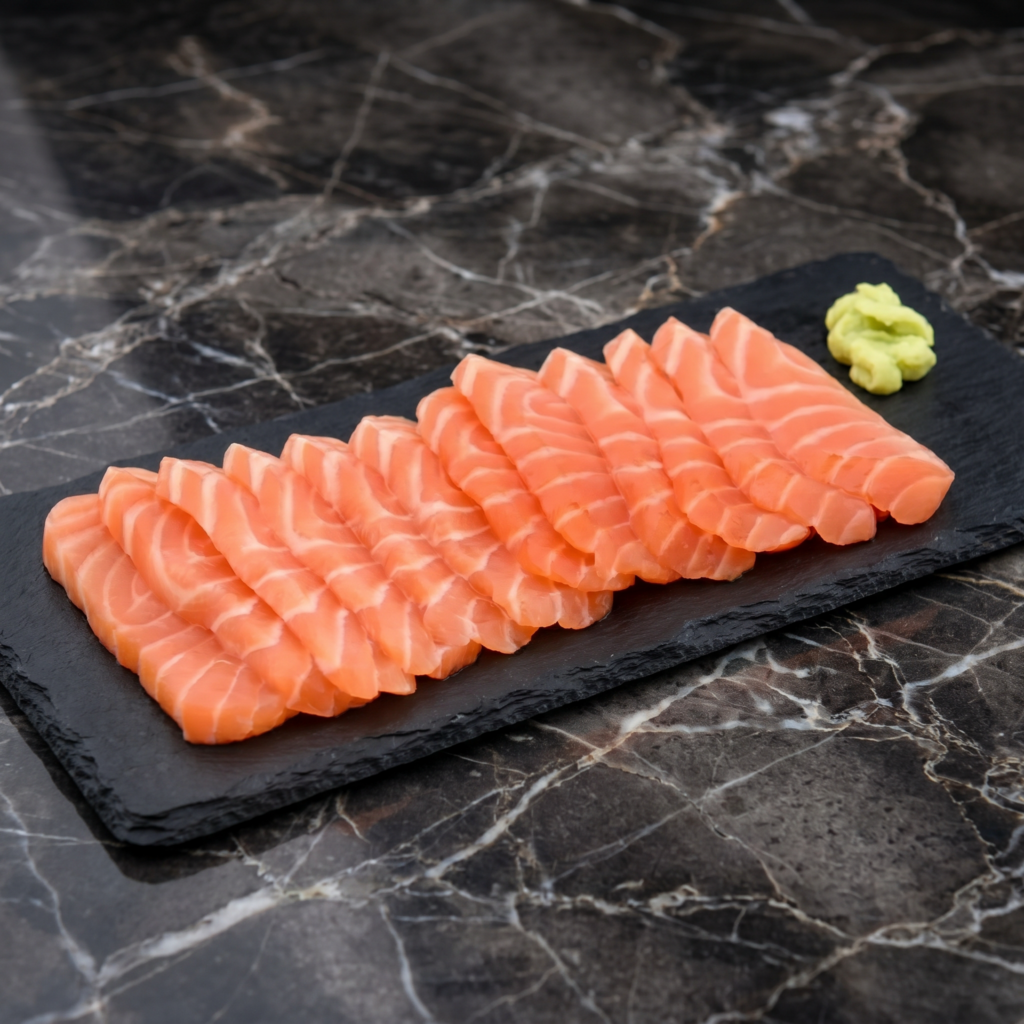
    9. Arrange the Sashimi: Arrange the sliced sashimi on a chilled platter. Traditional presentation is artful and minimalist—overlap slices slightly, vary colors and shapes, and leave negative space. Garnish with shiso leaves, shredded daikon, and fresh wasabi.

    10. Serve Immediately: Serve the sashimi immediately with small dishes of soy sauce, pickled ginger, and wasabi on the side. Provide instructions: a little wasabi can be mixed into the soy sauce, or placed directly on the fish before dipping.

    Pro-Tips for Sashimi Perfection

    • Sashimi-Grade Is Non-Negotiable: Never use regular supermarket fish for sashimi. It must be specifically labeled for raw consumption.
    • Keep Everything Cold: Fish should be kept refrigerated until just before slicing, and the serving platter should be chilled.
    • Sharpen Your Knife: A truly sharp knife is essential—dull knives crush the flesh and ruin the texture. Learn to sharpen or have it professionally sharpened.
    • One Smooth Motion: Slice in a single, smooth draw of the knife—no sawing back and forth.
    • Wipe Between Cuts: A damp cloth wiped on the blade between cuts prevents sticking and ensures clean slices.
    • Know Your Fish: Different fish have different textures and require different cutting techniques. Practice on less expensive fish first. T
    • emperature Matters: Sashimi should be served slightly chilled, not ice-cold, to allow the flavors to develop.
    • Fresh Wasabi: If you can find fresh wasabi root, grate it yourself—it’s a revelation compared to the prepared paste.

    This Perfect Sashimi guide will have you slicing like a Japanese master in no time.
  • Gyoza: Crispy, Juicy, Japanese Pan-Fried Dumplings

    Gyoza: Crispy, Juicy, Japanese Pan-Fried Dumplings

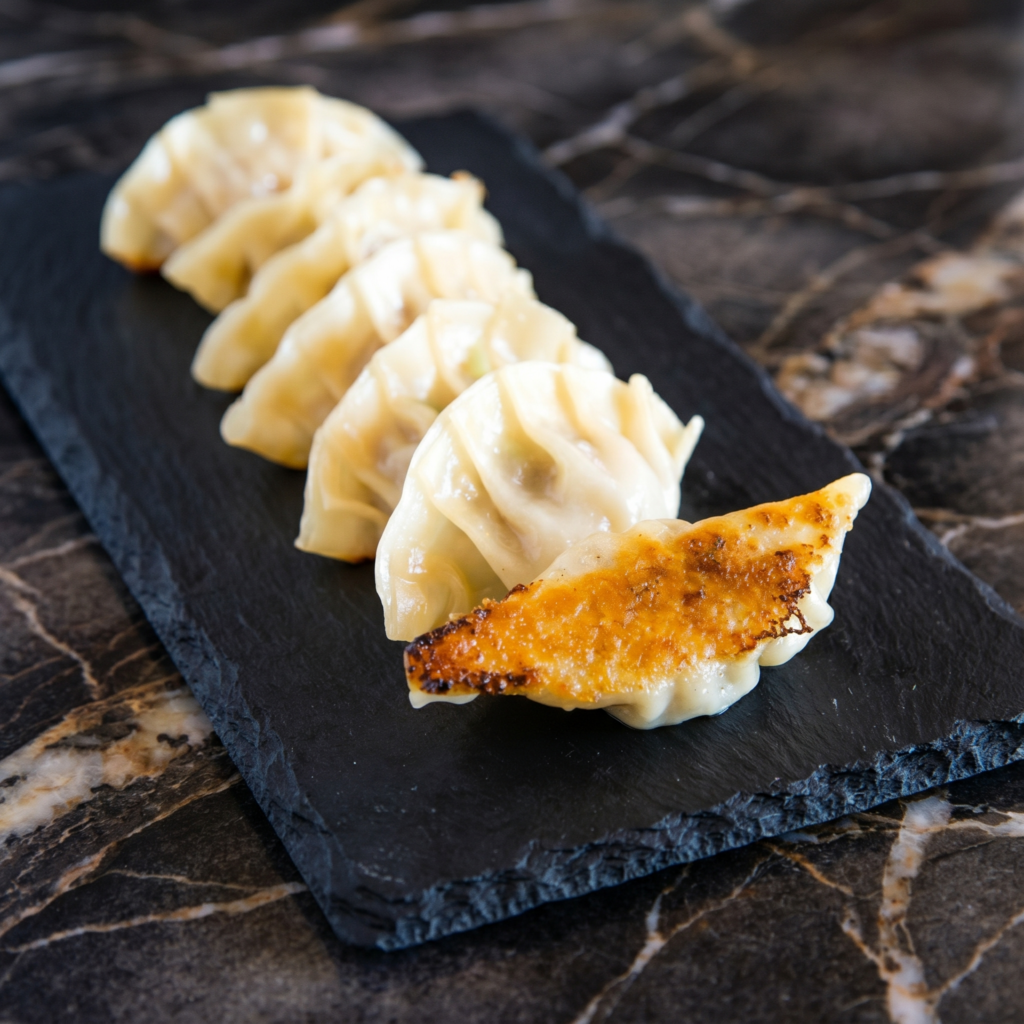
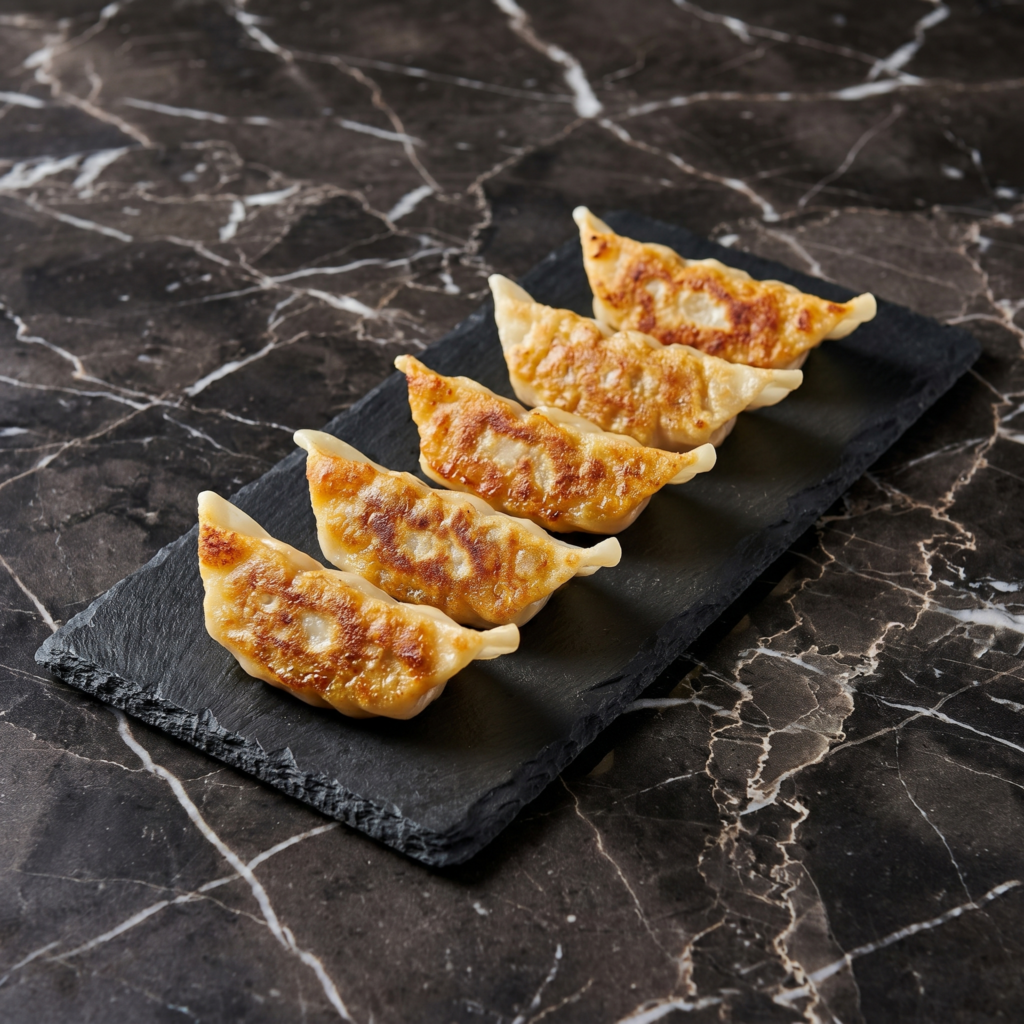
    Gyoza are the perfect food. A thin, chewy wrapper envelops a juicy, savory filling of pork, cabbage, garlic, and ginger. They’re pan-fried to create a golden, crispy lace crust on the bottom while the top stays soft and tender. Steam finishes the cooking, ensuring the filling stays moist. Dip them in a simple sauce of soy sauce, rice vinegar, and chili oil, and you have a dish that’s impossible to stop eating. Yes, folding takes practice. No, they don’t have to be perfect. Make a big batch, freeze half, and thank yourself later.

    The Science of the Crispy Lace Bottom & Why Cabbage Needs Salt

    The signature gyoza crust comes from a starch slurry—a mixture of water, flour, and sometimes potato starch—that’s added to the pan during steaming. As the water evaporates, the starch left behind crisps into a golden, lacy network that fuses the dumplings together. This crust is the best part. The filling’s juiciness depends on cabbage preparation. Raw cabbage contains a lot of water. If added directly to the filling, that water will release during cooking, turning the interior soggy and causing the wrappers to tear. The solution: salt the shredded cabbage, let it sit for 15 minutes, then squeeze out the excess water. This removes moisture while keeping the cabbage’s texture and flavor. The pork fat provides juiciness—don’t use lean ground pork. The fat renders during cooking and bastes the filling from the inside.

    Ingredients

    For the Filling:

    • 1 lb (450g) ground pork (not lean — 80/20 is ideal)
    • 2 cups (150g) green cabbage, finely shredded
    • ½ cup (60g) garlic chives (nira) or green onions, finely chopped
    • 2 cloves garlic, minced
    • 1 tablespoon fresh ginger, grated
    • 2 tablespoons soy sauce
    • 1 tablespoon sake (or dry sherry)
    • 1 tablespoon sesame oil
    • 1 teaspoon salt (for the cabbage)
    • ¼ teaspoon white pepper

    For the Gyoza Wrappers:

    • 1 package (about 40–50) round gyoza wrappers (available frozen or refrigerated)
    • Small bowl of water for sealing

    For Cooking:

    • 2 tablespoons vegetable oil
    • ½ cup (120 ml) water
    • 1 teaspoon flour or potato starch (optional, for extra crispy lace)

    For the Dipping Sauce:

    • ¼ cup (60 ml) soy sauce
    • ¼ cup (60 ml) rice vinegar
    • 1 teaspoon chili oil (rayu) or to taste
    • 1 clove garlic, thinly sliced (optional)

    Instructions

    1. Prep the Cabbage: Finely shred the cabbage. Place it in a bowl, sprinkle with 1 teaspoon of salt, and toss to combine. Let sit for 15 minutes. This draws out excess moisture. After 15 minutes, squeeze handfuls of cabbage over the sink to remove as much liquid as possible. Use your hands—really squeeze. Transfer the squeezed cabbage to a clean bowl.

    2. Make the Filling: To the squeezed cabbage, add the ground pork, chopped garlic chives (or green onions), minced garlic, grated ginger, soy sauce, sake, sesame oil, and white pepper. Mix vigorously with your hands or a spatula until the mixture becomes sticky and slightly paste-like. This kneading step is important—it develops the protein structure that keeps the filling moist and cohesive. The filling should be uniform, with no dry spots.

    3. Set Up Your Folding Station: Lay out a clean, dry surface. Place the gyoza wrappers nearby (cover with a damp cloth to prevent drying). Put the filling in a bowl. Place a small bowl of water for sealing. Have a baking sheet lined with parchment paper ready for finished gyoza.

    4. Fold the Gyoza: Hold a wrapper in your non-dominant hand. Place 1 teaspoon of filling in the center (don’t overfill). Dip your fingertip in water and moisten the outer half of the wrapper’s edge. Fold the wrapper in half over the filling, creating a half-moon. Press the edges together to seal, but leave the top edge open. With your thumbs and index fingers, create 4–6 pleats along one side, pressing each pleat against the flat side to seal. The finished dumpling should stand upright slightly on its flat bottom. Place on the parchment-lined baking sheet, pleat-side up, making sure dumplings don’t touch. Repeat with remaining wrappers.

    5. Make the Dipping Sauce: In a small bowl, combine soy sauce, rice vinegar, chili oil, and sliced garlic (if using). Set aside.

    6. Pan-Fry the Gyoza (First Batch): Heat a large nonstick skillet or cast-iron pan over medium-high heat. Add 1 tablespoon of vegetable oil and swirl to coat. Carefully place gyoza in the pan, flat-bottom side down, in a single layer. Do not crowd—leave a little space between each dumpling. Fry for 2–3 minutes until the bottoms are golden-brown and crispy. Peek underneath to check.

    7. Steam the Gyoza: Once the bottoms are golden, add ¼ cup of water to the pan (and ½ teaspoon flour if you want extra crispy lace). Cover immediately with a lid. Reduce heat to medium-low. Steam for 3–4 minutes until the water has mostly evaporated and the wrappers are translucent and cooked through.

    8. Crisp the Bottoms (Final Step): Remove the lid. Increase heat back to medium-high. Let any remaining water evaporate, then cook for another 30–60 seconds until the bottoms become dark golden-brown and extra crispy. The starch from the flour (if added) will create a lacy, crackling crust.

    9. Serve: Carefully slide a spatula under the gyoza to release them. Invert the pan onto a plate to serve them bottom-side up (showing off the crispy crust) or transfer them directly. Serve immediately with the dipping sauce. Repeat with remaining gyoza or freeze the uncooked ones for later (see pro-tips).

    Pro-Tips for Gyoza Greatness

    • Squeeze the cabbage firmly: This is the most important step for juicy dumplings. Wet cabbage = soggy filling and broken wrappers. Don’t be shy.
    • Knead the filling well: The mixture should feel sticky and almost paste-like. This binds the ingredients together and prevents the filling from crumbling.
    • Don’t overfill the wrappers: 1 teaspoon is plenty. Overfilled dumplings burst during cooking and won’t seal properly.
    • Keep wrappers covered: Gyoza wrappers dry out fast. Cover the stack with a damp paper towel while you work.
    • Pleating takes practice: Your first few gyoza will be ugly. By dumpling #20, you’ll see improvement. By #40, you’ll be a pro. Ugly gyoza still taste amazing.
    • Freeze uncooked gyoza: Place them on a parchment-lined baking sheet (not touching) and freeze until solid, then transfer to a freezer bag. Cook from frozen—add 1–2 minutes to the steam time.
    • Don’t skip the starch slurry for extra crunch: Adding a little flour to the steaming water creates a lacy, crispy “wing” (hane) that connects the dumplings—this is how restaurants do it.
    • Nonstick pan is your friend: Gyoza are sticky. A good nonstick skillet makes release much easier.
    • Leftover gyoza: Reheat in a dry pan over medium heat—never microwave (makes them rubbery). These dumplings are a project, but a fun one. Make them with friends, make a mess, and eat standing over the pan. That’s the gyoza way.

  • Authentic Karaage (Japanese Fried Chicken)

    Authentic Karaage (Japanese Fried Chicken)

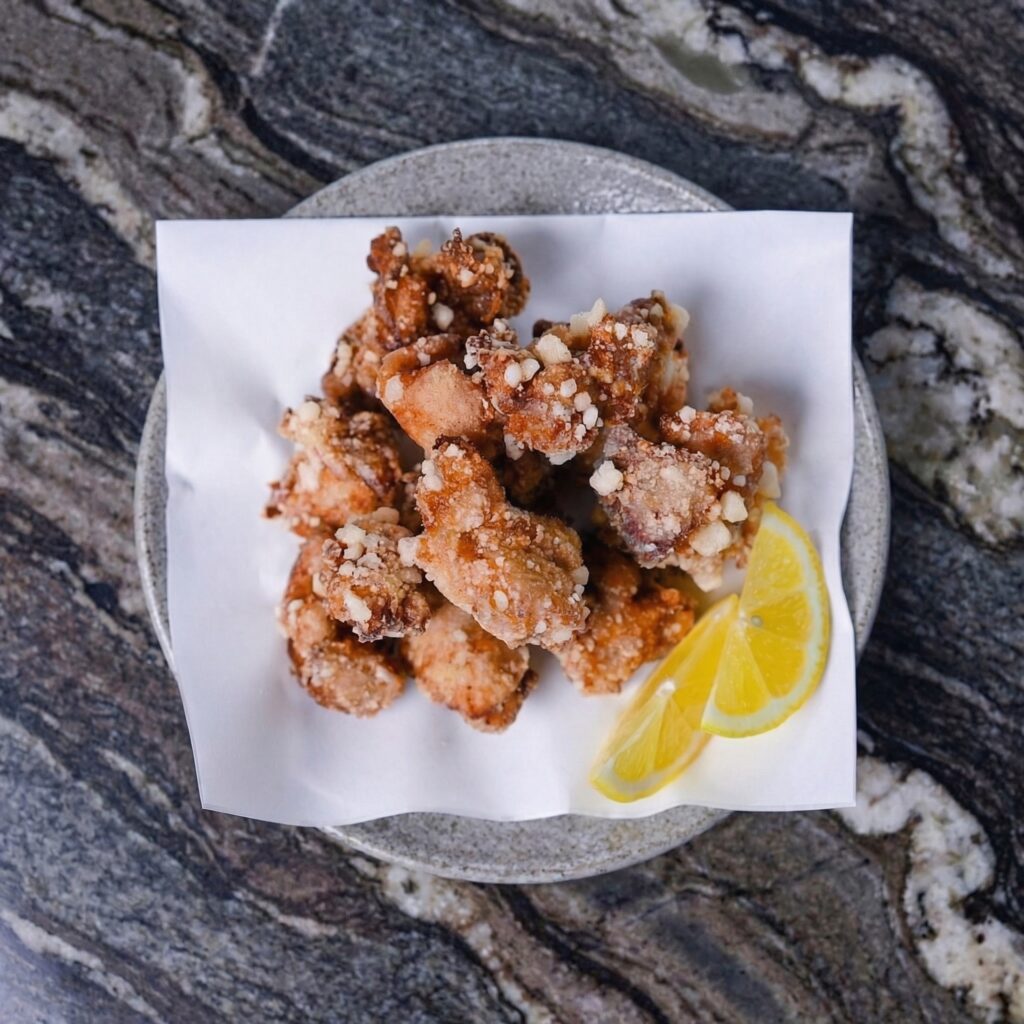
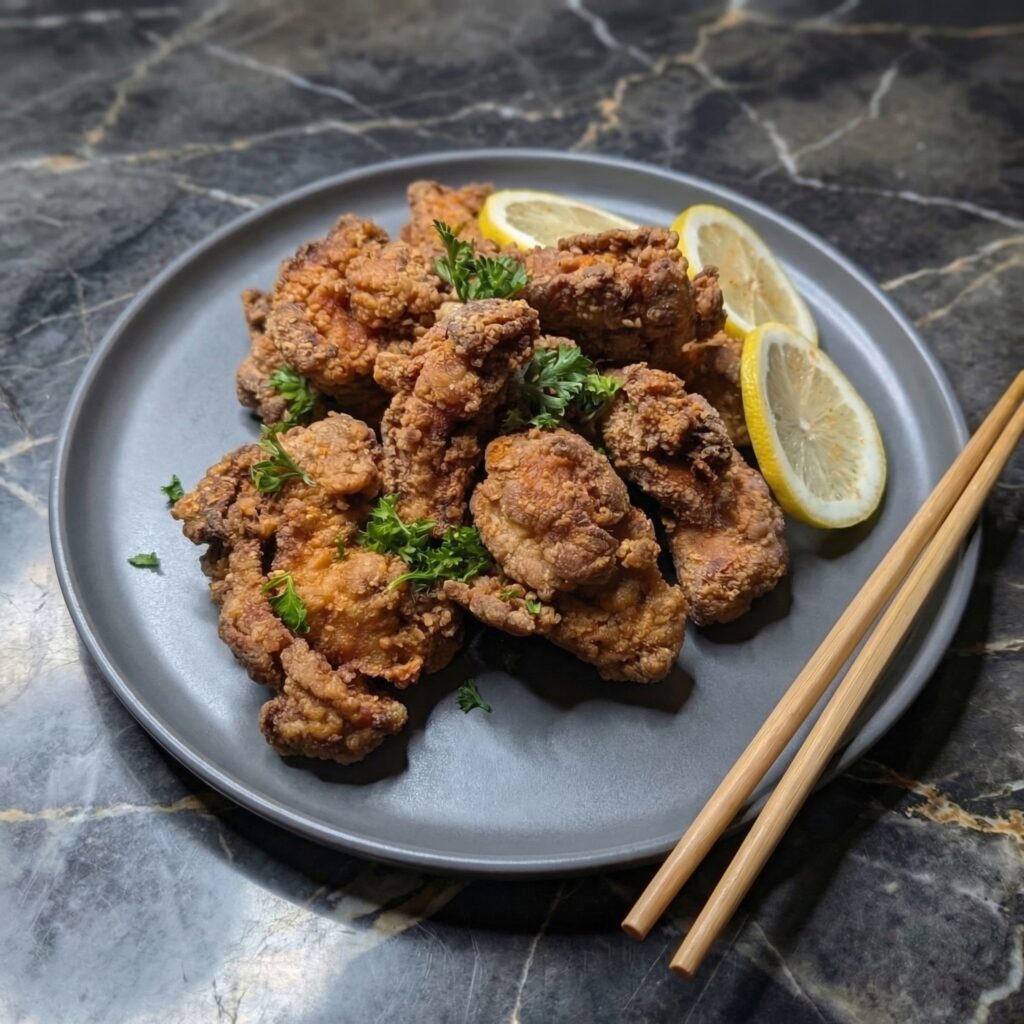
    Karaage is Japan’s beloved fried chicken—and once you try it, you’ll understand why. Bite-sized pieces of chicken are marinated in a savory mixture of soy sauce, sake, ginger, and garlic, then coated in potato starch and fried to golden, shatteringly crispy perfection.

    The result is chicken that’s impossibly juicy inside and outrageously crunchy outside. Served with a wedge of lemon and maybe a dollop of mayonnaise, it’s the perfect snack, appetizer, or main course. Whether you’re making it for a party, a bento box, or just because you deserve something amazing, karaage delivers.

    Ingredients

    For the Karaage (serves 4 as an appetizer):

    • 1 lb (450g) boneless, skinless chicken thighs
    • 2 tablespoons soy sauce
    • 1 tablespoon sake
    • 1 tablespoon mirin (optional, for sweetness)
    • 1 teaspoon grated fresh ginger
    • 2 cloves garlic, minced
    • ½ teaspoon salt
    • Freshly ground black pepper, to taste
    • ½ cup (about 70g) potato starch or cornstarch
    • Vegetable or peanut oil, for frying

    For Serving:

    • Lemon wedges
    • Japanese mayonnaise (Kewpie)
    • Shichimi togarashi (Japanese seven spice)
    • Fresh shiso leaves (optional)

    Instructions

    1. Prep the Chicken: Cut the chicken thighs into bite-sized pieces, about 1½ inches. Pat dry with paper towels.

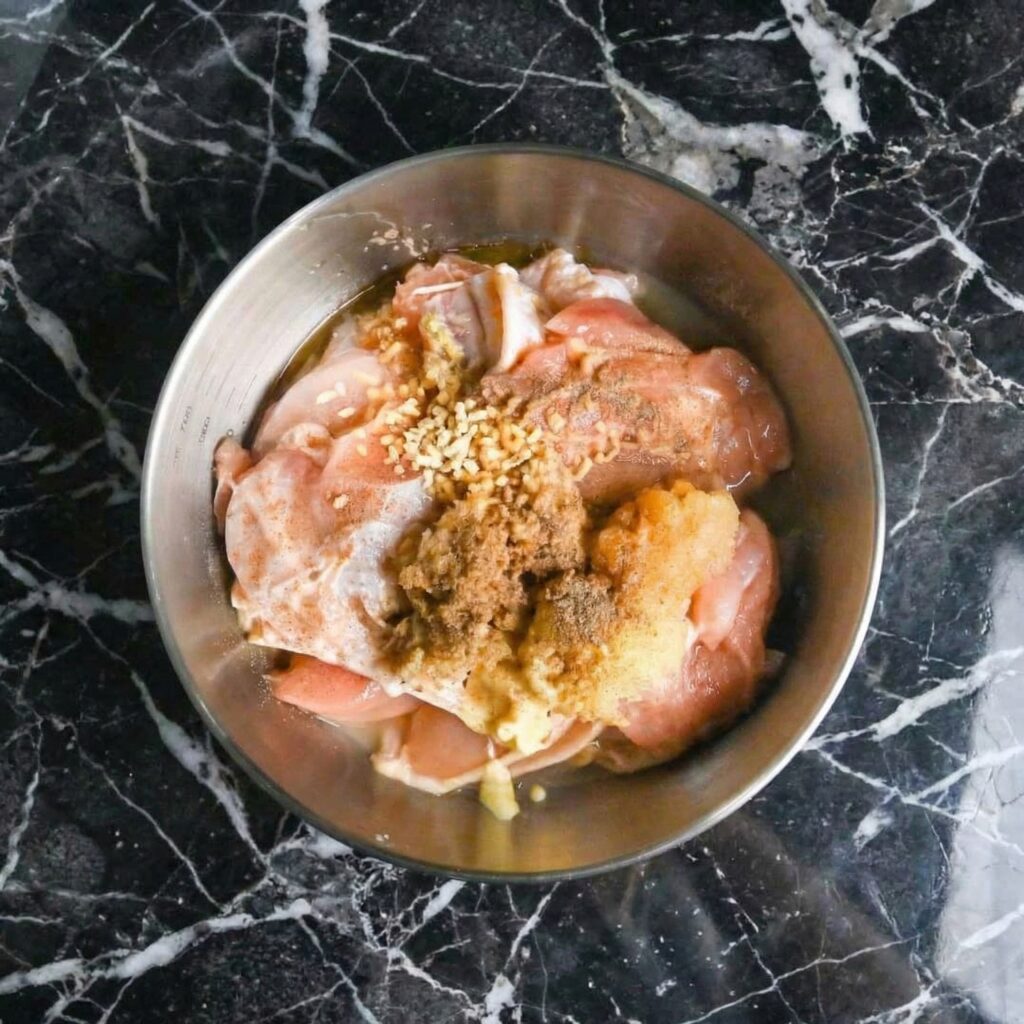
    2. Make the Marinade: In a medium bowl, combine the soy sauce, sake, mirin (if using), grated ginger, minced garlic, salt, and pepper.

    3. Marinate the Chicken: Add the chicken pieces to the marinade and toss to coat. Cover and refrigerate for at least 30 minutes, or up to 4 hours. The longer, the more flavorful.

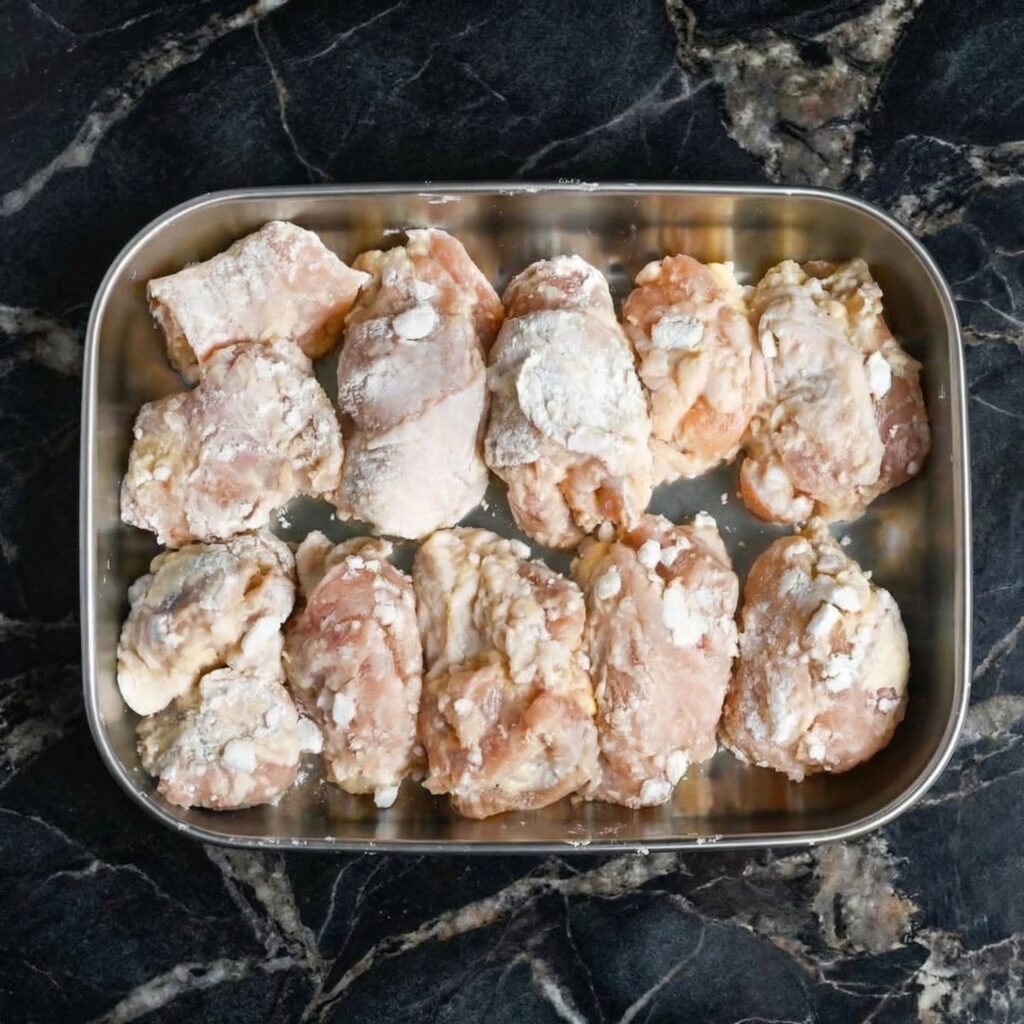
    4. Drain and Coat: Remove the chicken from the marinade, letting excess drip off. Place the potato starch in a shallow dish. Dredge each piece of chicken in the starch, coating completely, and shake off excess. Place on a wire rack while you heat the oil.

    5. Heat the Oil: In a heavy-bottomed pot or deep fryer, heat about 2 inches of oil to 325°F (160°C). Use a thermometer to maintain temperature.

    6. First Fry: Working in small batches to avoid overcrowding, carefully add the chicken to the hot oil. Fry for 2-3 minutes until lightly golden and cooked through. The chicken should not brown too much at this stage. Remove with a slotted spoon and drain on a wire rack. Repeat with all chicken.

    7. Rest: Let the chicken rest for 5-10 minutes. This allows the carryover cooking to finish and ensures juiciness.

    8. Second Fry: Increase the oil temperature to 375°F (190°C). Working in batches again, fry the chicken for 1-2 minutes until deep golden brown and incredibly crispy. Remove and drain on a wire rack.

    9. Serve: Serve immediately, hot and crispy, with lemon wedges, Japanese mayonnaise, and a sprinkle of shichimi togarashi. Garnish with shiso leaves if desired.

    Pro-Tips for Karaage Perfection

    • Use Chicken Thighs: Thighs stay juicier and more flavorful than breasts. Don’t substitute.
    • Marinate Long Enough: At least 30 minutes, but 4 hours is even better. The marinade tenderizes and flavors the chicken.
    • Don’t Skip the Double-Fry: This is the secret to ultra-crispy karaage. The first fry cooks the chicken; the second fry creates the crunch.
    • Use Potato Starch: Potato starch creates a lighter, crispier coating than cornstarch or flour. Look for it at Asian markets or online.
    • Drain on a Wire Rack: Paper towels trap steam and make the coating soggy. A wire rack keeps it crispy.
    • Serve Immediately: Karaage is best hot and fresh. Have your lemon wedges and sauces ready.
    • Make It a Meal: Serve with rice, a simple salad, and miso soup for a complete Japanese meal.
    • Bento Perfect: Karaage is a classic bento box addition. Make extra for lunch the next day.

    This Authentic Karaage is crispy, juicy, and absolutely perfect.