Tag: Italian dessert

  • Authentic Italian Zeppole (Italian Doughnuts)

    Authentic Italian Zeppole (Italian Doughnuts)

    Zeppole are the quintessential Italian treat—light, pillowy balls of fried dough, crispy on the outside and impossibly airy within, dusted generously with powdered sugar. They’re the kind of dessert that disappears within minutes, everyone reaching for “just one more.”

    Whether you’re celebrating St. Joseph’s Day, attending a Italian festival, or just want to bring a little dolce vita into your kitchen, zeppole are the answer. This authentic recipe delivers zeppole just like those from Italian bakeries and street fairs—with that perfect texture and just a hint of lemon and vanilla.

    Ingredients

    For the Zeppole Dough (makes about 24-30 zeppole):

    • 2 cups (250g) all-purpose flour
    • ¼ cup (50g) granulated sugar
    • 2 ¼ teaspoons (1 packet) active dry yeast
    • ½ teaspoon salt
    • ¾ cup (180ml) warm water (110°F / 43°C)
    • 2 large eggs, room temperature
    • 2 tablespoons unsalted butter, melted and cooled
    • 1 teaspoon vanilla extract
    • Zest of 1 lemon (optional, but traditional)
    • Vegetable or peanut oil, for frying

    For the Coating:

    • 1 cup (120g) powdered sugar, for dusting
    • Additional granulated sugar with cinnamon (optional)

    Optional Fillings/Serving Suggestions:

    • Ricotta cream, pastry cream, or Nutella for filling
    • Marinated cherries or berries
    • Honey for drizzling

    Instructions

    1. Activate the Yeast: In a small bowl, combine the warm water, yeast, and a pinch of sugar. Let sit for 5-10 minutes until foamy and bubbly.

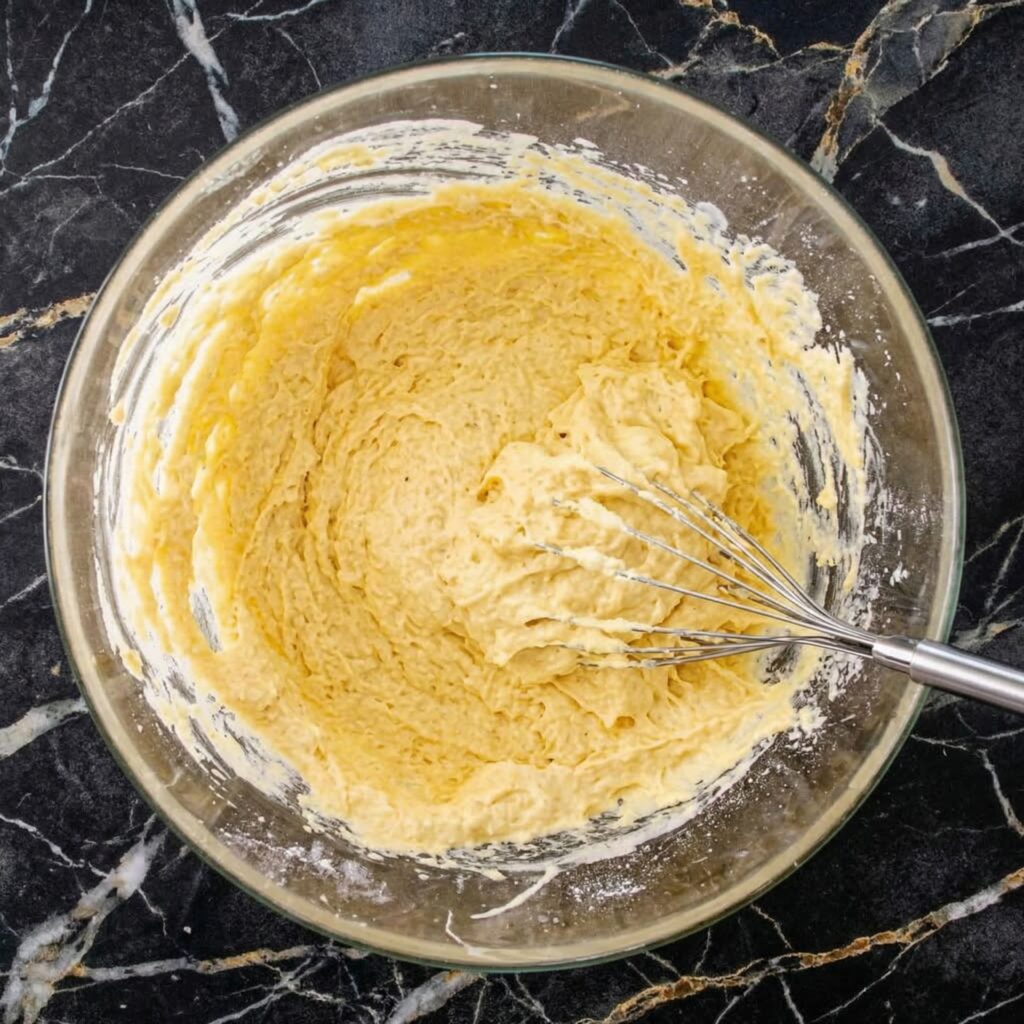
    2. Mix the Dough: In a large bowl or stand mixer fitted with the dough hook, combine the flour, sugar, and salt. Add the yeast mixture, eggs, melted butter, vanilla, and lemon zest.

    Mix on low speed until a shaggy dough forms, then knead on medium-low for 5-7 minutes until smooth, soft, and slightly sticky. The dough should be very soft and tacky.
    3. First Rise: Transfer the dough to a lightly oiled bowl, cover with plastic wrap or a damp towel, and let rise in a warm place until doubled in size, about 1-2 hours.

    4. Chill the Dough (Optional but Recommended): For easier handling and better flavor, refrigerate the dough for at least 2 hours or overnight. This step also makes the dough less sticky to work with.

    5. Shape the Zeppole: On a generously floured surface, gently turn out the dough. With floured hands, gently shape into a rough log. Pinch off small pieces (about 1½ tablespoons) and roll into balls. Place on a floured baking sheet, cover loosely, and let rest for 20-30 minutes while you heat the oil.

    6. Heat the Oil: In a heavy-bottomed pot or deep fryer, heat about 3 inches of oil to 350°F (175°C). Use a thermometer to maintain temperature.

    7. Fry the Zeppole: Working in small batches to avoid overcrowding, carefully drop the dough balls into the hot oil. Fry for 2-3 minutes per side, turning occasionally, until puffed and golden brown all over.

    8. Drain: Remove with a slotted spoon or spider strainer and drain on a wire rack set over a baking sheet (not paper towels—they’ll get soggy).

    9. Dust and Serve: While still warm, generously dust the zeppole with powdered sugar. Serve immediately—they’re best fresh and warm.

    Pro-Tips for Zeppole Perfection

    • Soft Dough Is Key: The dough should be quite soft and slightly sticky—this creates that airy, light texture. Resist the urge to add too much flour.
    • Chill for Easier Handling: Cold dough is much less sticky and easier to shape. The overnight rest also develops flavor.
    • Keep Oil Temperature Steady: Use a thermometer and adjust the heat as needed. Too cool = greasy zeppole; too hot = burnt outside, raw inside.
    • Don’t Overcrowd: Fry in small batches to maintain oil temperature and ensure even cooking.
    • Drain on a Rack: Paper towels trap steam and make zeppole soggy. A wire rack keeps them crisp.
    • Dust Generously: Zeppole should be buried in powdered sugar—don’t be shy.
    • Serve Warm: Zeppole are at their absolute best fresh from the fryer. Have your powdered sugar ready before you start frying.
    • Variations: Try rolling in cinnamon sugar instead of powdered sugar, or fill with pastry cream, ricotta, or Nutella using a piping bag.

    These Authentic Italian Zeppole are light, pillowy, and absolutely irresistible.

  • Tiramisu Magic: How to Make This Classic Italian Dessert at Home

    Tiramisu Magic: How to Make This Classic Italian Dessert at Home

    Few desserts can match the luxurious, melt-in-your-mouth appeal of Tiramisu.

    This iconic Italian treat combines coffee-soaked ladyfingers, creamy mascarpone filling, and a dusting of cocoa powder to create a dessert that feels both indulgent and elegant.

    Many assume Tiramisu is complicated, but with the right ingredients and clear steps, anyone can master it at home. Whether you’re impressing guests or treating yourself, this guide will walk you through the process, step by step.


    Ingredients You’ll Need

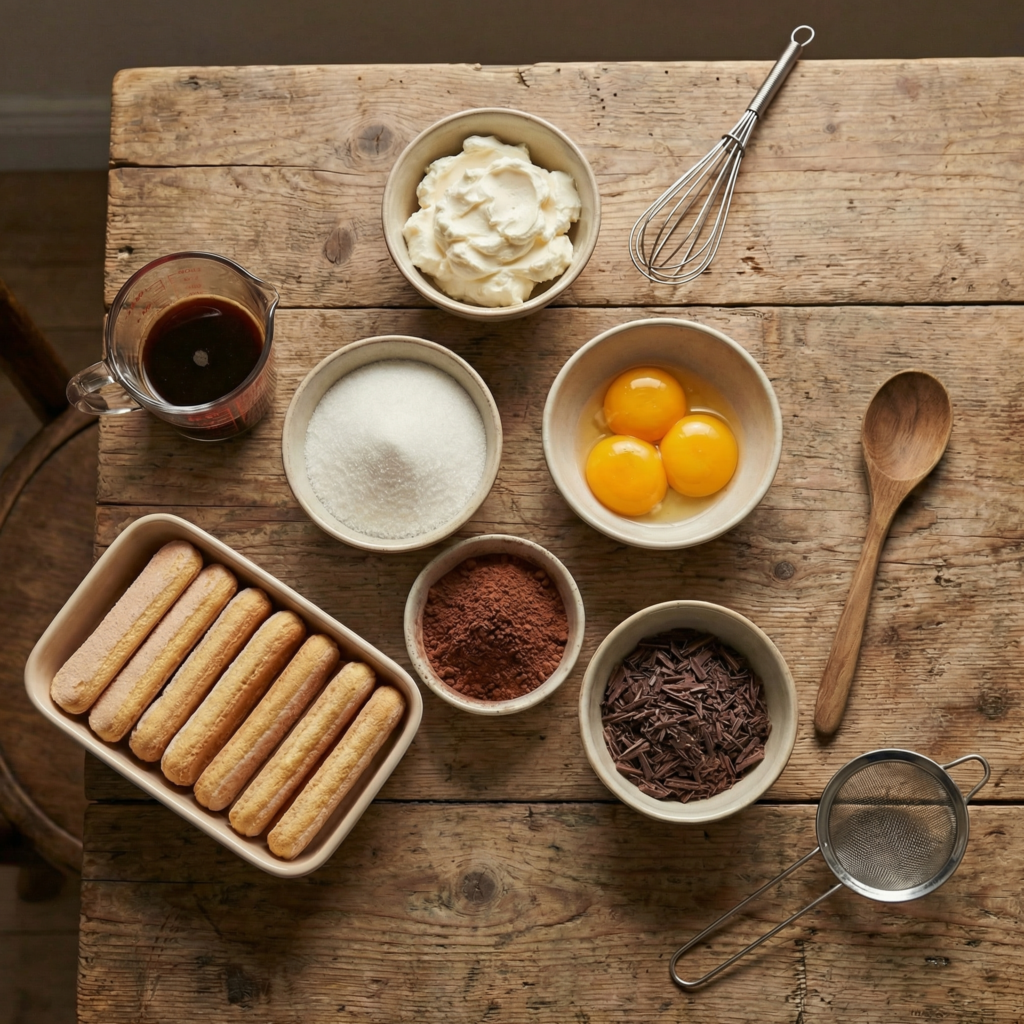
    Before you start, gather all the ingredients. Quality matters, as Tiramisu is all about simple components coming together perfectly. Here’s what you’ll need:

    • 6 large egg yolks, room temperature
    • 3/4 cup granulated sugar
    • 1 cup mascarpone cheese, room temperature
    • 1 1/2 cups heavy cream
    • 2 cups strong brewed espresso or coffee, cooled
    • 1/4 cup coffee liqueur (optional, like Kahlua)
    • 24–30 ladyfinger cookies (savoiardi)
    • Unsweetened cocoa powder for dusting
    • Dark chocolate shavings (optional garnish)

    Step 1: Brew Your Coffee

    Start by brewing strong espresso or coffee. The coffee flavor is essential because it infuses the ladyfingers, giving Tiramisu its characteristic taste. Allow the coffee to cool completely before using. If you’re adding coffee liqueur, mix it into the cooled coffee now for an extra depth of flavor.


    Step 2: Make the Egg Mixture

    In a heatproof bowl, whisk together the egg yolks and sugar. Place the bowl over a pot of simmering water to create a double boiler. Continuously whisk for 5–7 minutes until the mixture becomes pale, smooth, and slightly thickened. This process gently cooks the eggs, making them safe to eat while incorporating air for a light texture.


    Step 3: Add the Mascarpone

    Remove the egg mixture from heat and let it cool slightly. Gently fold in the mascarpone cheese until fully combined. The mixture should be smooth and creamy, without lumps. This mascarpone filling is what makes Tiramisu rich and indulgent, so handle it carefully to maintain its silky texture.


    Step 4: Whip the Cream

    In a separate bowl, whip the heavy cream until soft peaks form. Gently fold the whipped cream into the mascarpone mixture. Folding instead of stirring keeps the mixture light and airy. This step ensures your Tiramisu has a delicate, melt-in-your-mouth consistency rather than a dense heaviness.


    Step 5: Prepare the Ladyfingers

    Quickly dip each ladyfinger into the cooled coffee. Avoid soaking them for too long—they should be moist but not soggy. A quick 1–2 second dip on each side is perfect. The coffee flavor penetrates the cookies without making them fall apart during assembly.


    Step 6: Assemble Your Tiramisu

    Begin by laying a layer of coffee-dipped ladyfingers in the bottom of your serving dish or individual cups. Spread half of the mascarpone mixture evenly over the cookies. Repeat the process: another layer of soaked ladyfingers followed by the remaining mascarpone cream. Proper layering ensures that each bite has the perfect balance of coffee-soaked cookies and creamy filling.


    Step 7: Chill and Set

    Cover your Tiramisu with plastic wrap and refrigerate for at least 4 hours, ideally overnight. Chilling allows the flavors to meld and the dessert to firm up, giving you the classic creamy yet structured texture. Don’t rush this step—proper chilling is key to achieving authentic Tiramisu.


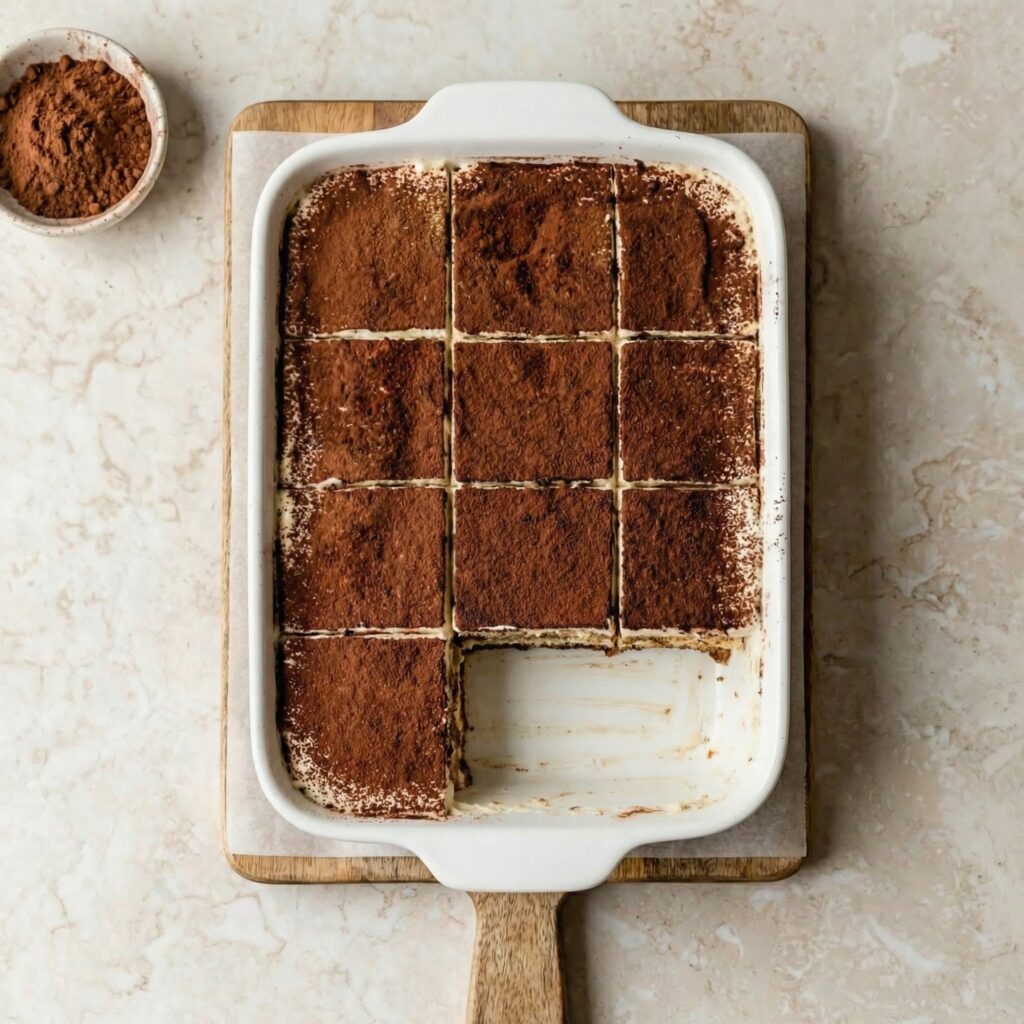
    Step 8: Dust with Cocoa Powder

    Before serving, generously sift unsweetened cocoa powder over the top. For an extra touch of elegance, add dark chocolate shavings. The cocoa adds a slightly bitter contrast to the sweet mascarpone, balancing the flavors perfectly while giving your Tiramisu a stunning presentation.


    Step 9: Serve and Enjoy

    Slice carefully and serve chilled. Each bite should reveal the distinct layers of coffee-soaked ladyfingers and creamy mascarpone, topped with a dusting of cocoa.

    Tiramisu is best enjoyed fresh but can be stored in the fridge for up to three days if properly covered. Every spoonful delivers the perfect combination of richness, sweetness, and coffee flavor that makes Tiramisu irresistible.


    Tips for the Perfect Tiramisu

    1. Use fresh, high-quality ingredients – mascarpone, espresso, and cocoa powder make a big difference.
    2. Avoid over-soaking ladyfingers – quick dips prevent sogginess and maintain structure.
    3. Fold, don’t stir – folding preserves the airy texture of the whipped cream.
    4. Chill properly – flavors develop and textures improve after refrigeration.
    5. Customize flavors – add vanilla extract, orange zest, or a sprinkle of cinnamon for a unique twist.

    Tiramisu is more than just a dessert—it’s a classic Italian experience. Its layers of creamy mascarpone, coffee-soaked ladyfingers, and cocoa make it a sophisticated yet comforting treat.

    With this step-by-step guide, you can confidently create the perfect Tiramisu at home that will impress anyone lucky enough to taste it. Whether you’re serving it at a dinner party, celebrating a special occasion, or indulging on a quiet evening, this Tiramisu is guaranteed to delight.


    Get ready to wow your friends and family with your homemade Tiramisu. Brew the coffee, whip the cream, and enjoy every decadent bite of this classic Italian masterpiece!

  • Chocolate Tiramisu: Decadent No-Bake Dessert with Mascarpone & Cocoa

    Chocolate Tiramisu: Decadent No-Bake Dessert with Mascarpone & Cocoa

    This is tiramisu reimagined through a chocolate lover’s lens. We keep the soul of the classic—silky mascarpone cream, coffee-soaked ladyfingers—but infuse every layer with rich chocolate. The mascarpone filling is lightened with whipped cream and deepened with melted chocolate, creating a mousse-like cloud.

    Layered with espresso-dipped Savoiardi biscuits and finished with a dramatic dusting of cocoa, it’s a sophisticated, do-ahead dessert that requires no baking and guarantees rave reviews.

    The Science of a Stable, No-Bake Cream

    The magic of tiramisu lies in its ethereal yet sliceable texture. The key is the mascarpone base—a fresh Italian cheese high in fat and low in moisture, which provides richness without making the cream watery.

    To incorporate chocolate without seizing or weighing it down, we use a chocolate custard (zabaglione) base made by gently cooking egg yolks, sugar, and marsala with melted chocolate. This cooked egg base is safe and adds stability. Lightly whipped cream is then folded in for volume.

    The ladyfingers (Savoiardi) are dipped in cold, strong espresso just briefly—a quick “dip and flip”—to absorb flavor without becoming soggy and collapsing. Chilling overnight is non-negotiable, as it allows the flavors to marry and the dessert to set into perfect, clean layers.

    Ingredients

    For the Espresso Dip:

    • 1 ½ cups (360ml) strong brewed espresso or very strong coffee, cooled to room temperature
    • 2 tablespoons coffee liqueur (e.g., Kahlúa) or marsala wine (optional)
    • 1 tablespoon granulated sugar (optional)

    For the Chocolate Mascarpone Cream:

    • 4 large egg yolks
    • ½ cup (100g) granulated sugar
    • ⅓ cup (80ml) marsala wine or coffee liqueur (or strong coffee for alcohol-free)
    • 6 oz (170g) dark chocolate (60-70%), finely chopped
    • 16 oz (450g) mascarpone cheese, cold
    • 1 ½ cups (360ml) heavy whipping cream, cold
    • 1 teaspoon vanilla extract
    • Pinch of salt

    For Assembly:

    • 24-30 ladyfinger cookies (Savoiardi)
    • ½ cup (50g) unsweetened cocoa powder, for dusting (Dutch-process preferred)
    • Dark chocolate shavings for garnish (optional)

    Instructions

    1. The Cooled Espresso Mixture: Combine the cooled espresso, optional liqueur, and sugar (if using) in a shallow bowl or pie plate. Stir until the sugar dissolves. The mixture should be at room temperature or cooler.

    2. The Thick, Cooked Chocolate Zabaglione: Create a double boiler: simmer an inch of water in a saucepan, place a heatproof bowl on top (ensure the bottom doesn’t touch the water). Whisk egg yolks, sugar, and marsala in the bowl.

    Cook, whisking constantly, for 8-10 minutes until thick, pale, and doubled in volume (ribbon stage). Remove from heat. Add the chopped dark chocolate and whisk until completely melted and smooth. Let this chocolate custard cool to room temperature, stirring occasionally.

    3. The Lightened Chocolate Mascarpone Mixture: In a large bowl, whisk the cold mascarpone just until smooth and loosened. Gently fold the cooled chocolate zabaglione into the mascarpone until uniform. In a separate chilled bowl, whip the cold heavy cream with vanilla and salt to medium-stiff peaks.

    Fold one-third of the whipped cream into the chocolate-mascarpone to lighten it, then gently fold in the remaining cream until no white streaks remain. The mixture will be thick, fluffy, and mousse-like.

    4. The Dipped Ladyfingers: Working one at a time, quickly dip each ladyfinger into the espresso mixture for 1-2 seconds per side. They should be moistened but not saturated or they will fall apart. Immediately arrange them in a single layer in the bottom of a 9×13-inch dish or your serving vessel.

    5. The Layered & Chilled Dessert: Spread half of the chocolate mascarpone cream evenly over the layer of dipped ladyfingers. Repeat with a second layer of dipped ladyfingers, then the remaining cream. Cover with plastic wrap directly on the surface. Refrigerate for at least 6 hours, preferably overnight.

    6. The Finished Tiramisu: Just before serving, using a fine-mesh sieve, dust the entire surface generously and evenly with cocoa powder. For a clean design, you can use a stencil. Garnish with chocolate shavings if desired. Slice or scoop to serve, revealing the beautiful layers.

    Pro-Tips for Elegant Layers

    • Cold Ingredients are Key: Use cold mascarpone and cream straight from the fridge for best whipping results.
    • Don’t Over-soften Mascarpone: Just whisk it briefly; over-whipping can cause it to separate and become grainy.
    • Dip Ladyfingers Quickly: The goal is flavor, not saturation. They will soften further as they chill.
    • Cool Everything: The espresso dip and chocolate zabaglione must be at room temp or cooler before assembling to prevent melting the cream.
    • Chill Thoroughly: Overnight chilling is essential for the dessert to set, allowing clean cuts and melded flavors.
    • Dust Cocoa at the End: Dusting with cocoa powder right before serving prevents it from absorbing moisture and becoming blotchy.
    • Use a Hot Knife: For clean slices, dip your knife in hot water and wipe it dry between each cut.
    • Make it Alcohol-Free: Simply omit the liqueur/marsala and use all strong coffee in both the dip and the zabaglione.