Tag: healthy snack

  • Baked Sweet Potato Fries (Crispy, Salty, and Actually Healthy)

    Baked Sweet Potato Fries (Crispy, Salty, and Actually Healthy)

    Let’s be honest: sweet potato fries are the best kind of fries. They’re sweet, they’re salty, they’re satisfying, and they feel just a little bit healthier than regular fries. But getting them crispy in the oven can be a challenge—too often they turn out limp and soggy. Not these.

    These baked sweet potato fries are the real deal: crispy on the outside, tender on the inside, and perfectly seasoned with salt, pepper, and a touch of smoked paprika. They’re baked, not fried, so you can feel good about eating a whole batch. Serve them with your favorite dipping sauce and prepare to be amazed. Oven-baked perfection.

    Ingredients
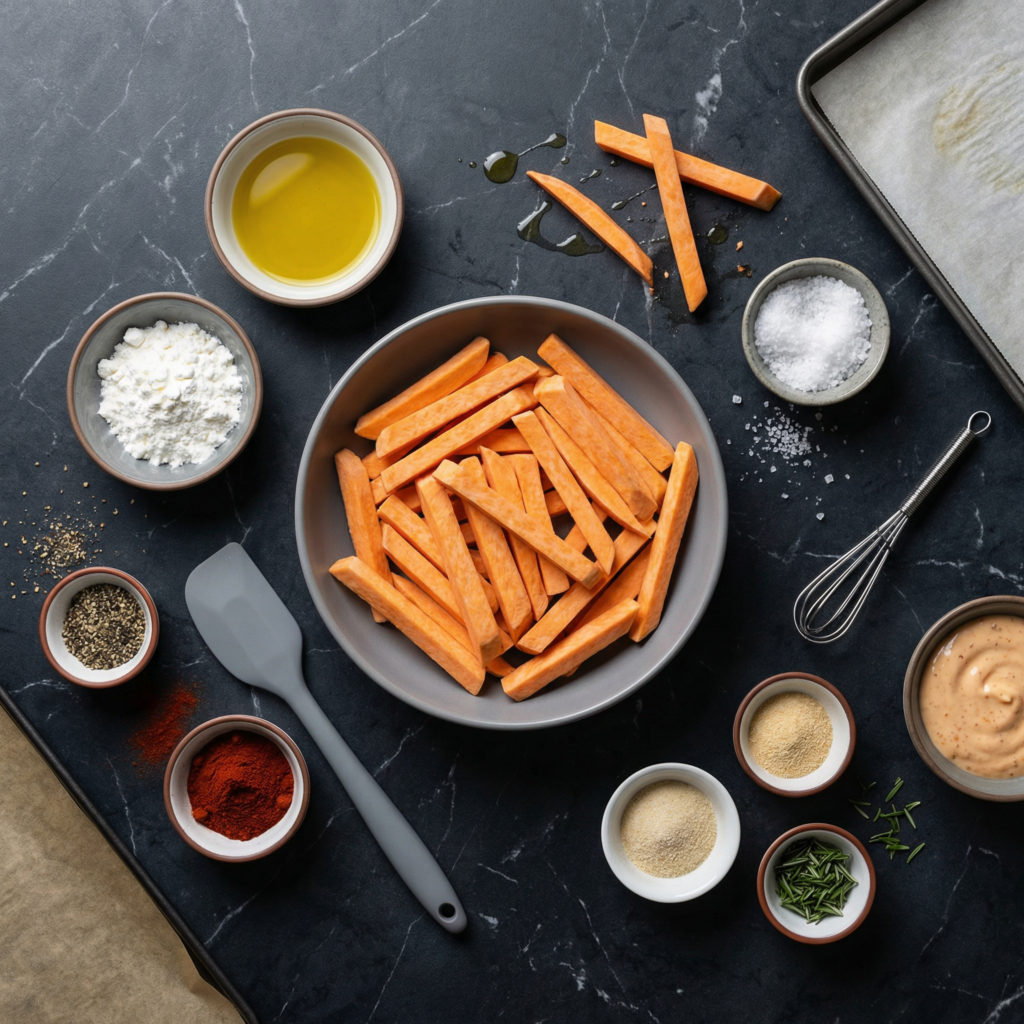
    For the Baked Sweet Potato Fries (Serves 4):

    • 3 large sweet potatoes (about 2 pounds)
    • 2 tablespoons olive oil or avocado oil
    • 1 tablespoon cornstarch (optional, but helps with crispiness)
    • 1 teaspoon smoked paprika
    • ½ teaspoon garlic powder
    • ½ teaspoon salt (plus more for finishing)
    • ¼ teaspoon black pepper
    • Pinch of cayenne pepper (optional, for heat)
    • Fresh parsley, chopped, for garnish

    For Dipping (Choose Your Adventure):

    • Garlic aioli
    • Sriracha mayo
    • Honey mustard
    • Chipotle sauce
    • Plain ketchup (classic!)

    Instructions

    1. Prep the Sweet Potatoes: Scrub the sweet potatoes well (peeling is optional—skin adds texture and nutrients). Cut them into even sticks, about ¼ to ½ inch thick. Try to keep them uniform for even baking.
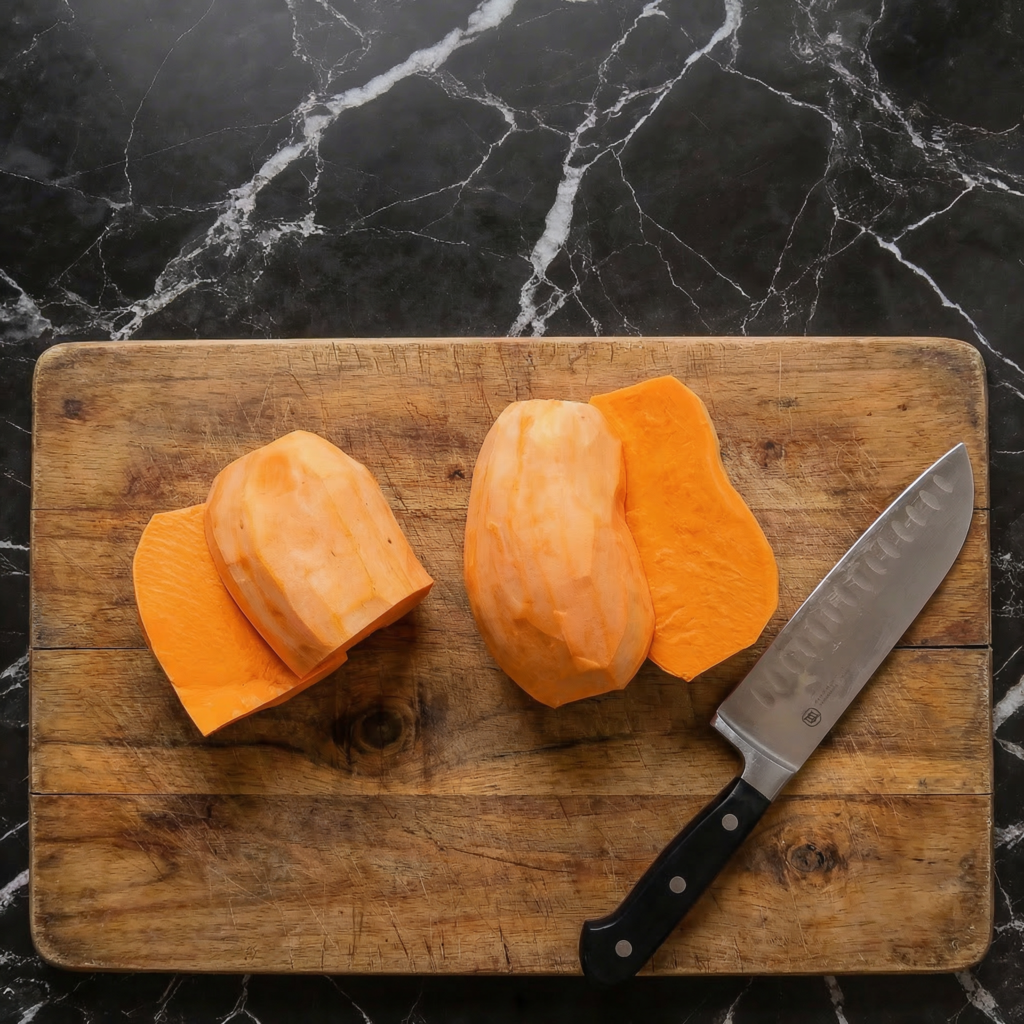
    2. Soak the Fries: Place the cut fries in a large bowl and cover with cold water. Let them soak for at least 30 minutes, or up to overnight in the refrigerator. This removes excess starch and is the secret to crispiness.

    3. Preheat and Prep: Preheat your oven to 425°F (220°C). Line two large baking sheets with parchment paper (for easy cleanup).

    4. Dry Thoroughly: Drain the fries and spread them on a clean kitchen towel or several layers of paper towels. Pat them completely dry. Any moisture left will prevent crispiness.

    5. Season the Fries: In a large bowl, combine the dried fries with olive oil, cornstarch (if using), smoked paprika, garlic powder, salt, pepper, and cayenne. Toss well until every fry is evenly coated.
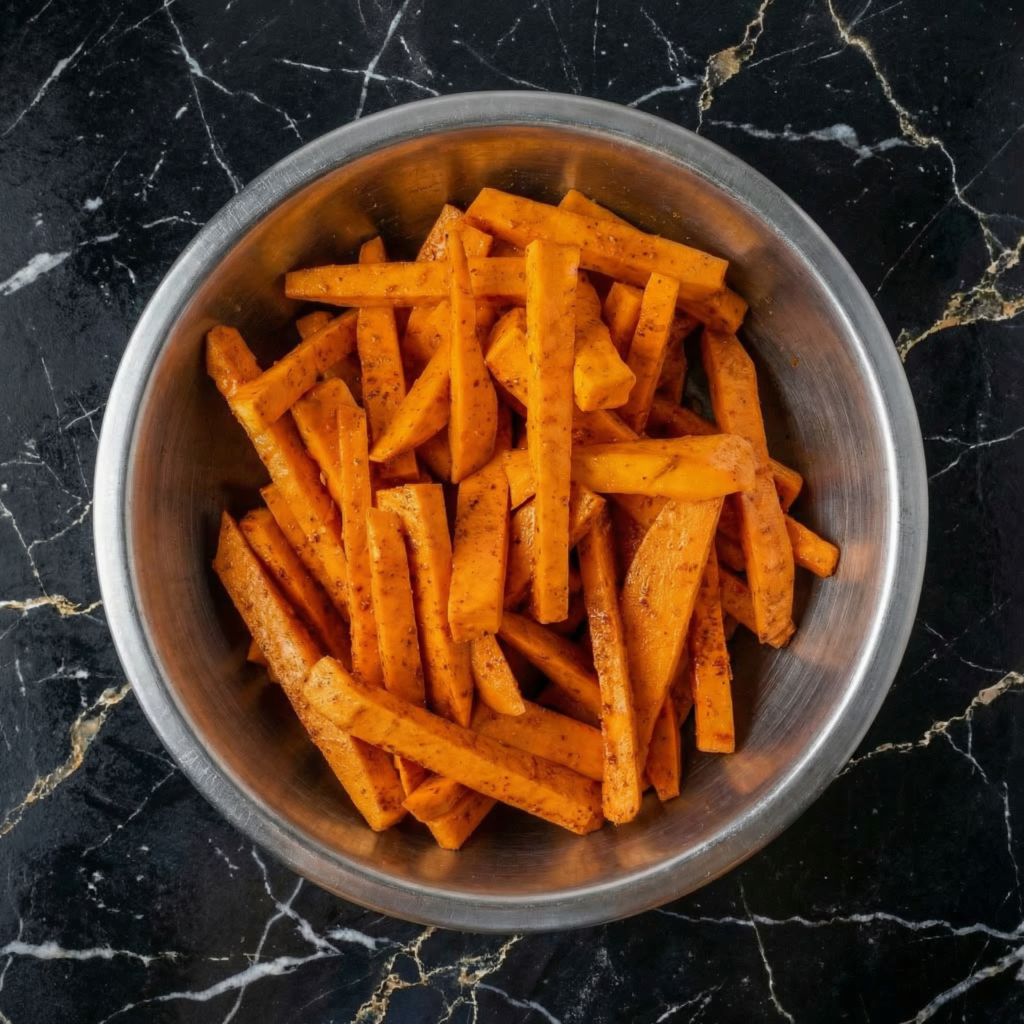
    6. Arrange on Baking Sheets: Spread the fries in a single layer on the prepared baking sheets, making sure they’re not touching or overlapping. Give them space—crowding leads to steaming, not crisping.

    7. Bake: Bake for 15 minutes, then flip the fries with a spatula. Rotate the pans and bake for another 10-15 minutes until the fries are golden brown and crispy on the edges.

    8. Cool Slightly: Let the fries cool on the baking sheets for 5 minutes—they’ll continue to crisp up as they cool.

    9. Season and Garnish: Sprinkle with additional salt to taste and fresh chopped parsley.

    10. Serve: Serve immediately with your favorite dipping sauces.

    Pro-Tips for Sweet Potato Fry Greatness

    • Don’t Skip the Soak: This step removes excess starch and is the number one secret to crispy fries. At least 30 minutes, longer is better.
    • Dry Thoroughly: Any moisture left behind will steam your fries instead of crisping them. Pat them bone-dry.
    • Don’t Overcrowd: Give each fry room to breathe. Use two pans if needed.
    • Flip Halfway: Flipping ensures even browning on all sides.
    • Customize Your Spices: Try cumin, chili powder, or cinnamon for different flavor profiles.

  • Classic Zucchini Bread: The Secret to a Perfectly Moist, Spiced Loaf

    Classic Zucchini Bread: The Secret to a Perfectly Moist, Spiced Loaf

    Zucchini bread is the ultimate culinary sleight of hand: a vegetable transformed into a sweet, tender, and irresistibly spiced treat. This classic recipe is the one you’ll return to year after year—a forgiving, one-bowl wonder that yields loaves with a beautiful domed top, a crackly sugar crust, and an impossibly moist interior that stays fresh for days.

    The secret lies not just in the shredded zucchini, but in the perfect balance of oil, sugar, and warm spices that let the vegetable’s subtle sweetness shine. Whether you’re looking for a clever way to use up a garden glut, a portable breakfast, or a comforting afternoon snack, this zucchini bread is the delicious, versatile answer.

    The Science of “Hidden” Moisture & Structure

    The magic of zucchini bread is a brilliant manipulation of moisture. Grated zucchini is about 95% water. When baked, this water slowly steams out, but not before it hydrates the surrounding flour and creates an exceptionally moist crumb.

    However, moisture alone would make a soggy, dense loaf. The structure comes from the careful balance of oil and eggs. The oil coats the flour proteins, inhibiting gluten development and ensuring tenderness, while the eggs provide proteins that coagulate to set the loaf’s structure as it bakes.

    The sugar does triple duty: it sweetens, it tenderizes by interfering with gluten, and it caramelizes at the edges to create that beautiful, crisp crust.

    The moderate oven temperature is key—it’s hot enough to create a good rise and set the structure before the zucchini releases all its water, but not so hot that the crust burns before the center is done.

    Ingredients

    For Two 9×5-inch Loaves or One 10-inch Bundt:

    • 3 cups (about 1 lb / 450g) grated zucchini (2-3 medium), unpeeled*
    • 3 cups (375g) all-purpose flour
    • 2 teaspoons baking soda
    • ½ teaspoon baking powder
    • 1 teaspoon salt
    • 2 teaspoons ground cinnamon
    • ½ teaspoon ground nutmeg
    • 3 large eggs, at room temperature
    • 1 cup (200g) granulated sugar
    • 1 cup (200g) packed light brown sugar
    • 1 cup (240ml) vegetable oil or melted coconut oil
    • 1 tablespoon vanilla extract
    • 1 cup (120g) chopped walnuts or pecans (optional)
    • 1 cup (170g) chocolate chips (optional)

    *Do not drain the zucchini after grating. The moisture is essential.

    Instructions

    1. Prep: Preheat oven to 350°F (175°C). Grease and flour two 9×5-inch loaf pans. Grate the zucchini using the large holes of a box grater. No need to squeeze it dry.

    2. Whisk Dry Ingredients: In a large bowl, whisk together the flour, baking soda, baking powder, salt, cinnamon, and nutmeg.

    3. Mix Wet Ingredients: In another large bowl, whisk the eggs vigorously until frothy. Add both sugars and whisk until combined and slightly pale. Slowly stream in the oil while whisking constantly, then whisk in the vanilla.

    4. Combine & Fold: Add the dry ingredients to the wet ingredients. Stir with a spatula until just combined and no dry flour remains—do not overmix. Fold in the grated zucchini, and the nuts or chocolate chips if using. The batter will be thick.

    5. Bake: Divide the batter evenly between the prepared pans. Bake for 50-65 minutes, or until a toothpick inserted into the center of a loaf comes out clean or with a few moist crumbs. The tops will be deeply golden brown and spring back when lightly pressed.

    6. Cool Completely: Let the loaves cool in the pans on a wire rack for 20 minutes. Then, run a knife around the edges and carefully turn them out onto the rack to cool completely before slicing. This prevents a gummy texture.

    7. Storage: Once completely cool, wrap tightly in plastic wrap or store in an airtight container at room temperature for up to 4 days, or freeze for up to 3 months.

    8. Pro-Tip: For an extra-special touch, sprinkle the top of the batter in the pans with a tablespoon of turbinado sugar before baking for a sparkling, crunchy crust.

    Pro-Tips for Zucchini Bread Perfection

    • Don’t Drain the Zucchini: The natural moisture is your secret weapon for a moist loaf. Draining it will result in dry bread.
    • Room Temperature Eggs: They incorporate more easily into the batter, creating a better emulsion for a uniform rise.
    • Measure Flour Correctly: For accuracy, spoon flour into your measuring cup and level it off. Packing the cup can lead to a dense loaf.
    • The Toothpick Test: Check a few minutes before the minimum bake time. Overbaking is the enemy of moisture.
    • The Long Cool-Down: Slicing into warm zucchini bread is tempting, but it will be gummy. The structure needs time to set as it cools.
    • Grating Size: Large shreds give visible texture and moisture pockets; fine shreds will virtually disappear.
    • Flavor Boosters: Add 1 teaspoon of orange zest or replace ½ cup of oil with applesauce for a lighter version.
    • Freezing for Later: Slice the cooled loaf, wrap slices individually, and freeze for instant, ready-to-toast portions.

    This Classic Zucchini Bread is more than a recipe—it’s a delicious tradition.