Tag: Healthy Meals

  • Perfectly Seared Sesame Tuna with Fluffy Rice: A Restaurant-Style Dinner at Home

    Perfectly Seared Sesame Tuna with Fluffy Rice: A Restaurant-Style Dinner at Home

    If you’re craving a light, flavorful, and elegant dinner, Sesame Seared Tuna with Rice is a showstopper.

    With a tender, pink center, a nutty sesame crust, and perfectly cooked rice on the side, this dish feels gourmet without requiring hours in the kitchen. It’s fresh, healthy, and bursting with umami, making it ideal for weeknight dinners, date nights, or any time you want a meal that impresses both the eyes and the palate.

    In this step-by-step guide, you’ll learn how to sear tuna perfectly, create a crisp sesame crust, and pair it with fluffy rice for a balanced, restaurant-quality plate.


    Why You’ll Love This Sesame Seared Tuna

    • Quick and easy: ready in under 30 minutes
    • Tender tuna with a crisp, nutty crust
    • Balanced, healthy meal with protein and grains
    • Elegant enough for entertaining
    • Customizable with vegetables or sauces

    This recipe proves that a few high-quality ingredients, treated with care, can produce a dish that tastes extraordinary.

    Ingredients You’ll Need

    For the Tuna:

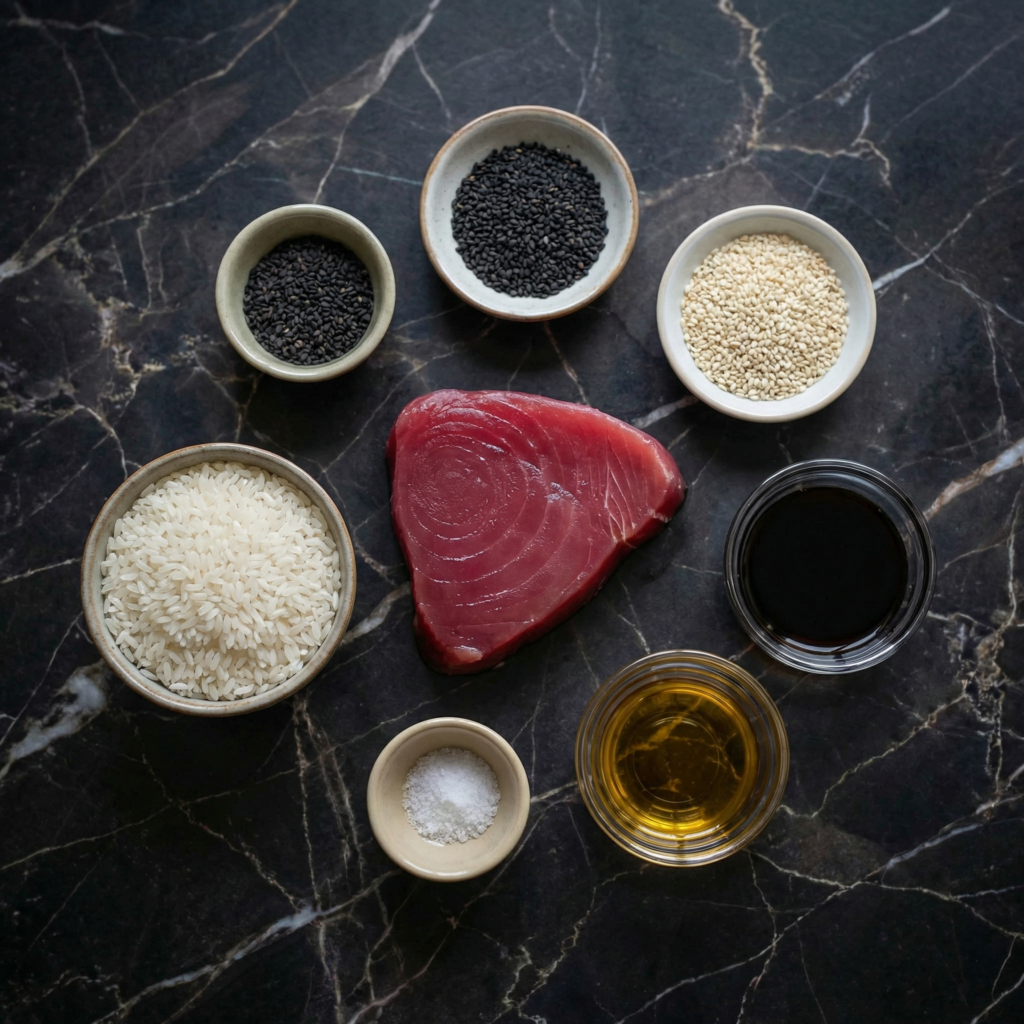
    • 2 tuna steaks (about 6 ounces each)
    • 2 tablespoons sesame seeds (white, black, or a mix)
    • 1 tablespoon olive oil
    • Salt and pepper to taste

    For the Rice:

    • 1 cup jasmine or sushi rice
    • 2 cups water or low-sodium chicken/vegetable broth
    • Pinch of salt

    Optional Accompaniments:

    • Soy sauce or tamari
    • Sliced avocado
    • Steamed or sautéed vegetables (like bok choy, snap peas, or carrots)
    • Pickled ginger

    Step 1: Prepare the Rice

    Rinse 1 cup of rice under cold water until the water runs clear. This removes excess starch, ensuring fluffy, separate grains.

    In a medium saucepan, combine the rice with 2 cups of water or broth and a pinch of salt. Bring to a boil over medium-high heat.

    Once boiling, reduce the heat to low, cover, and simmer for 15–18 minutes, or until all liquid is absorbed. Turn off the heat and let it sit, covered, for 5 minutes. Fluff with a fork before serving.

    Perfectly cooked rice serves as the neutral, slightly fragrant base for the rich, savory tuna.


    Step 2: Prepare the Tuna

    Pat the tuna steaks dry with paper towels. Moisture will prevent a proper sear.

    Season both sides lightly with salt and pepper.

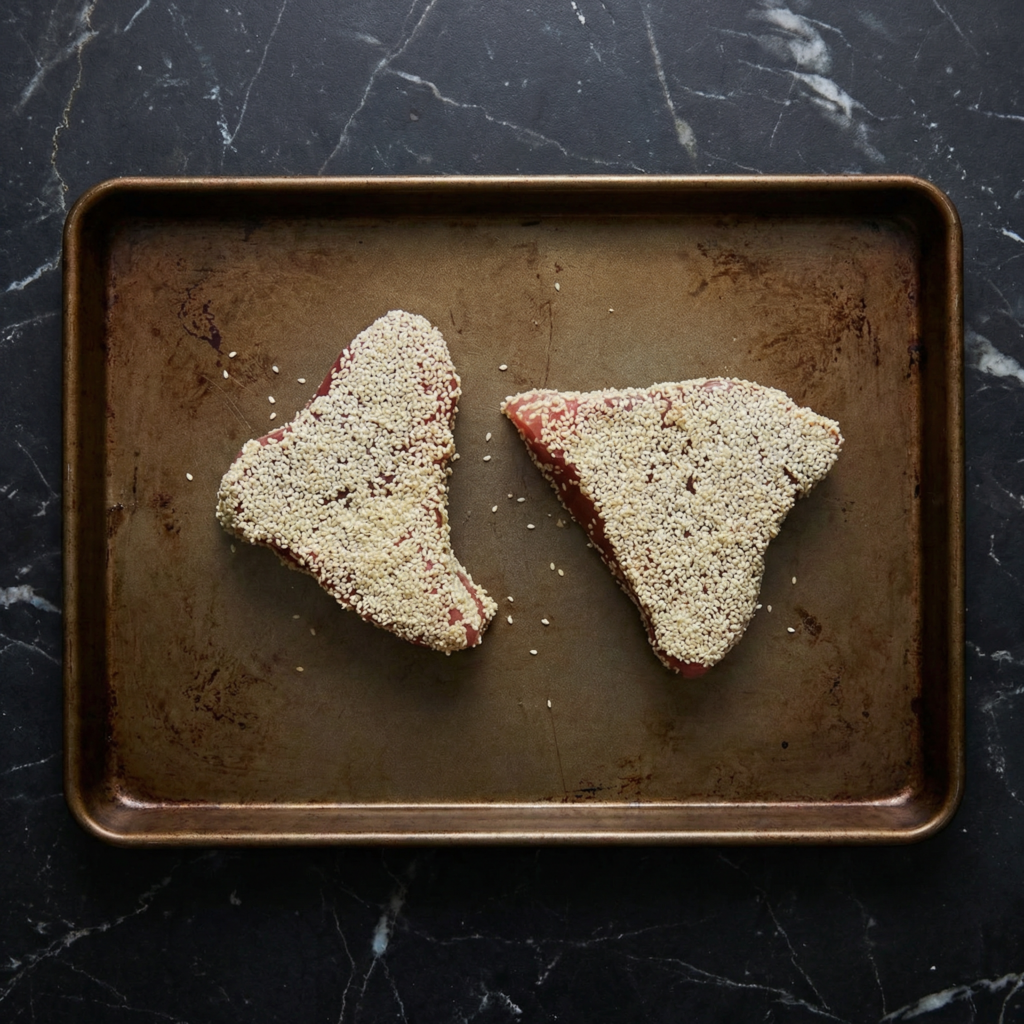
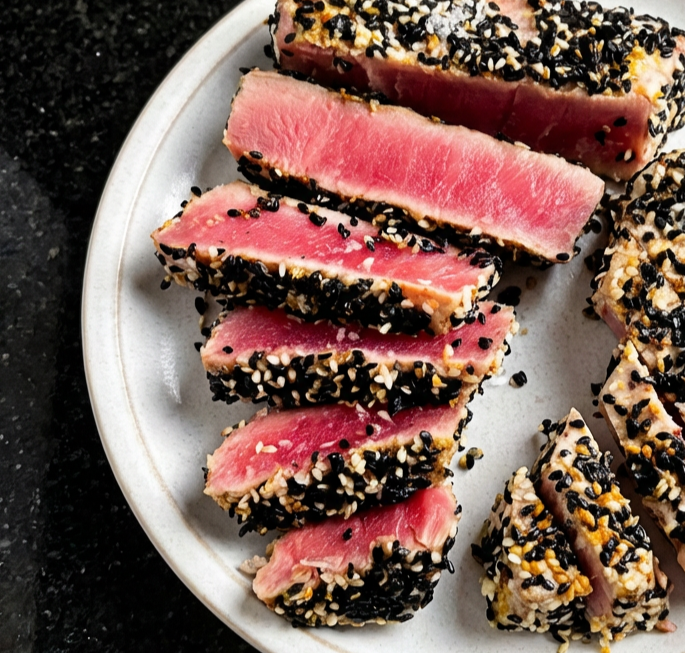
    Place sesame seeds on a shallow plate. Press each side of the tuna steak into the sesame seeds so that both sides are evenly coated. The sesame seeds create a nutty crust and add visual appeal.

    Step 3: Heat the Pan

    Heat a non-stick or cast-iron skillet over medium-high heat.

    Add 1 tablespoon of olive oil and allow it to shimmer but not smoke.

    The pan must be hot enough to sear quickly, locking in juices while creating a crisp, golden crust.


    Step 4: Sear the Tuna

    Place the tuna steaks in the hot pan. Sear without moving for about 1–2 minutes per side, depending on thickness.

    For a rare center, aim for 1 minute per side. For medium-rare, cook 2 minutes per side. Avoid overcooking—tuna is best served pink in the center for tenderness.

    Remove the tuna from the pan and let it rest for a few minutes. Resting allows juices to redistribute for maximum flavor.


    Step 5: Slice and Plate

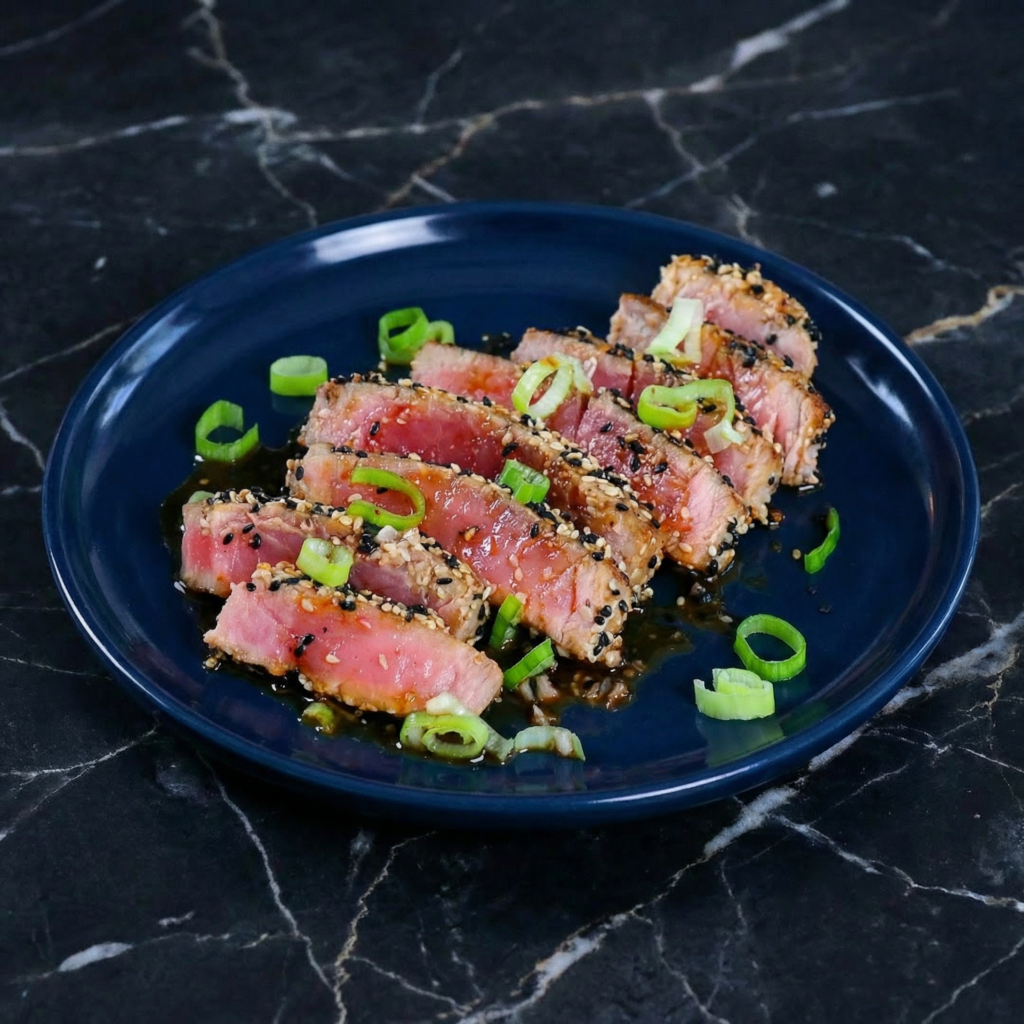
    Using a sharp knife, slice the tuna against the grain into ¼-inch thick slices. Arrange neatly over a bed of fluffy rice.
    If desired, add steamed or sautéed vegetables alongside. Top with soy sauce, a drizzle of sesame oil, or pickled ginger for added flavor complexity.

    Flavor and Texture Highlights

    • Crispy sesame crust adds nutty flavor and crunch
    • Tender, juicy tuna melts in your mouth
    • Fluffy, aromatic rice balances the rich protein
    • Optional vegetables add freshness and texture contrast

    Every bite delivers layers of flavor: savory, nutty, slightly salty, and fresh.


    Tips for Perfect Sesame Seared Tuna

    • Use sushi-grade tuna: Ensures safety and optimal flavor for rare preparation.
    • Pat dry: Moisture prevents proper searing.
    • Don’t overcook: Tuna cooks quickly; aim for rare to medium-rare for tenderness.
    • Even sesame coating: Press firmly so seeds stick well.
    • Hot pan: Quick sear ensures crisp crust without overcooking the center.

    Optional Variations

    • Spicy Tuna: Brush with sriracha or chili oil before searing.
    • Ginger Soy Glaze: Drizzle a mixture of soy sauce, rice vinegar, and grated ginger over tuna.
    • Sesame Rice: Stir a teaspoon of toasted sesame oil into the rice for extra flavor.
    • Avocado & Cucumber Salad: Serve alongside for a fresh, creamy element.
    • Ponzu Sauce: Add a citrusy, tangy ponzu drizzle for a light, zesty twist.

    Storage and Meal Prep

    • Tuna is best enjoyed fresh, but rice can be cooked in advance and stored in an airtight container for up to 3 days.
    • Leftover rice pairs well with eggs, vegetables, or stir-fries.
    • If you need to prep ahead, sear tuna last and slice just before serving for best texture.

    Why This Recipe Works

    This Sesame Seared Tuna with Rice works because of contrast: the crunchy, nutty sesame crust meets the silky, rare tuna, and fluffy, slightly seasoned rice provides a neutral base.

    Cooking tuna quickly at high heat preserves moisture and natural flavor, while sesame seeds add texture and aromatic richness. A few simple seasonings and fresh accompaniments elevate this dish to restaurant quality without complicated techniques.


    Serving Suggestions

    • Serve as a light, elegant weeknight dinner.
    • Pair with a crisp white wine like Sauvignon Blanc or a light sake.
    • Add a small side salad for balance.
    • Garnish with sesame seeds, microgreens, or thinly sliced scallions for presentation.

    With its delicate, seared exterior, nutty sesame flavor, and perfectly cooked rice, this Sesame Seared Tuna with Rice is a dish that looks impressive and tastes incredible.

    Minimal ingredients, maximum flavor, and quick preparation make it ideal for busy nights, special dinners, or when you want to treat yourself to a healthy, gourmet meal at home.

    Tender, seared, nutty, and fresh—each bite is a perfectly balanced combination of textures and flavors, proving that restaurant-quality meals can be effortlessly recreated in your own kitchen.

  • Fresh, Zesty & Vibrant: How to Make Lemongrass Vermicelli Salad at Home

    Fresh, Zesty & Vibrant: How to Make Lemongrass Vermicelli Salad at Home

    There’s nothing quite like a dish that feels light, refreshing, and packed with bold flavors all at once.

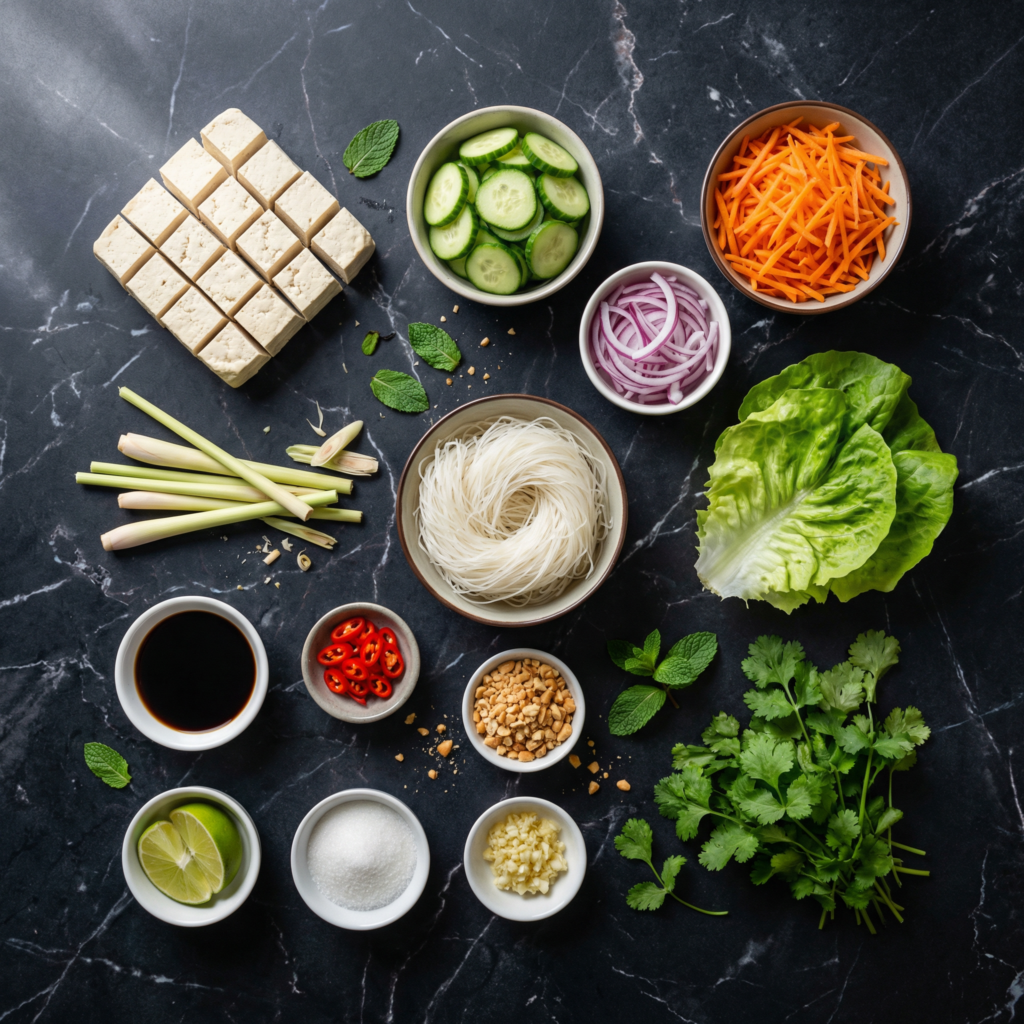
    Enter the Lemongrass Vermicelli Salad—a Vietnamese-inspired bowl that combines tender vermicelli noodles, fragrant lemongrass, crisp vegetables, fresh herbs, and a tangy, savory dressing. Perfect for lunch, dinner, or even a make-ahead meal, this salad is an explosion of texture and flavor in every bite.

    Whether you’re a fan of Asian cuisine or just looking for a vibrant, healthy dish, this step-by-step guide will help you assemble a restaurant-quality Lemongrass Vermicelli Salad that’s fresh, balanced, and utterly delicious.


    Why You’ll Love This Salad

    • Light, healthy, and refreshing
    • Perfectly balanced flavors: tangy, savory, and slightly sweet
    • Quick to prepare with simple ingredients
    • Fully customizable with proteins or extra vegetables
    • Ideal for meal prep, parties, or solo lunches

    The magic of this salad lies in the lemongrass—its fragrant, citrusy aroma infuses the noodles and dressing for a uniquely bright flavor profile.


    Ingredients You’ll Need

    For the Vermicelli Salad:

    • 6 oz (170 g) rice vermicelli noodles
    • 1 cup shredded carrots
    • 1 cup cucumber, julienned
    • 1 red bell pepper, thinly sliced
    • ½ cup bean sprouts (optional)
    • ½ cup fresh herbs: mint, cilantro, and Thai basil
    • Optional protein: grilled chicken, shrimp, or tofu

    For the Lemongrass:

    • 2 stalks lemongrass, finely minced (white parts only)
    • 1 teaspoon vegetable oil
    • 1 clove garlic, minced
    • 1 teaspoon sugar

    For the Dressing (Nuoc Cham-inspired):

    • 3 tablespoons fish sauce (or soy sauce for vegetarian)
    • 2 tablespoons lime juice
    • 1 tablespoon sugar
    • 1 garlic clove, minced
    • 1 small chili, minced (optional for heat)
    • 2 tablespoons water

    For Garnish:

    • Crushed roasted peanuts
    • Lime wedges
    • Extra herbs

    Step 1: Prepare the Vermicelli Noodles

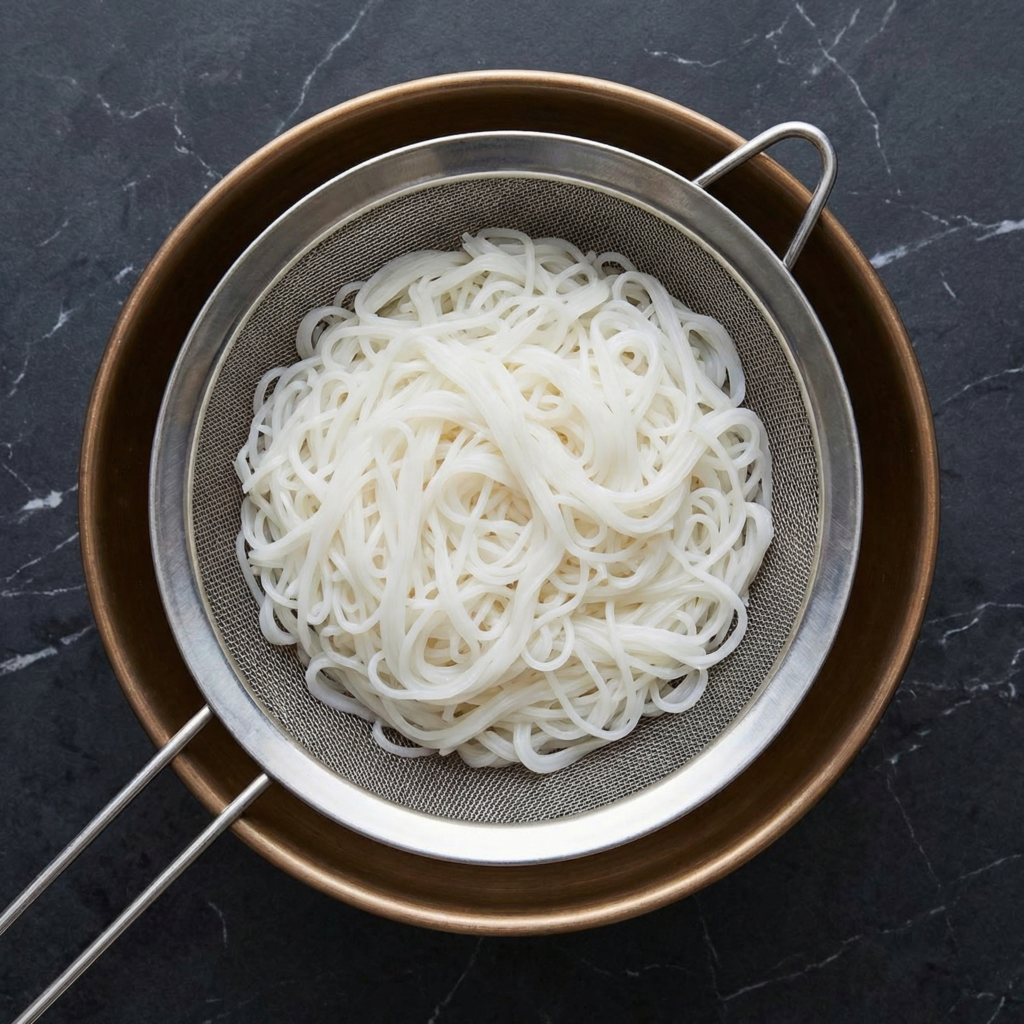
    Bring a large pot of water to a boil. Remove from heat, add the rice vermicelli noodles, and let them soak for 4–5 minutes or until tender but firm.

    Drain and rinse under cold water to stop the cooking process. Toss lightly with a teaspoon of vegetable oil to prevent sticking and set aside.


    Step 2: Sauté the Lemongrass

    Heat 1 teaspoon vegetable oil in a small skillet over medium heat. Add minced lemongrass, garlic, and sugar.

    Sauté for 1–2 minutes until fragrant, being careful not to burn the garlic.

    This lemongrass mixture will add a fragrant, citrusy note to your noodles and enhance the salad’s overall flavor.


    Step 3: Make the Dressing

    In a small bowl, whisk together fish sauce, lime juice, sugar, minced garlic, chili (if using), and water until the sugar dissolves.

    Taste and adjust balance—add more lime for acidity, sugar for sweetness, or fish sauce for saltiness.


    Step 4: Prep the Vegetables and Herbs

    While the noodles soak and the lemongrass sautés, prepare the vegetables:

    • Shred carrots
    • Julienne cucumber
    • Thinly slice red bell pepper
    • Wash and roughly chop fresh herbs

    For proteins, grill or pan-sear chicken, shrimp, or tofu until fully cooked and flavorful. Slice into bite-sized pieces for easy mixing.


    Step 5: Combine the Noodles and Lemongrass

    Place the drained noodles in a large mixing bowl. Add the sautéed lemongrass and garlic mixture, tossing gently to coat the noodles evenly.

    This step infuses the noodles with subtle citrusy aroma and sweetness, creating the base for the salad.


    Step 6: Assemble the Salad

    Add the prepared vegetables, herbs, and optional protein to the noodles. Pour the dressing over the top and toss gently to combine, ensuring everything is coated evenly.

    Balance is key—each forkful should have noodles, vegetables, herbs, and a hint of protein.


    Step 7: Garnish and Serve

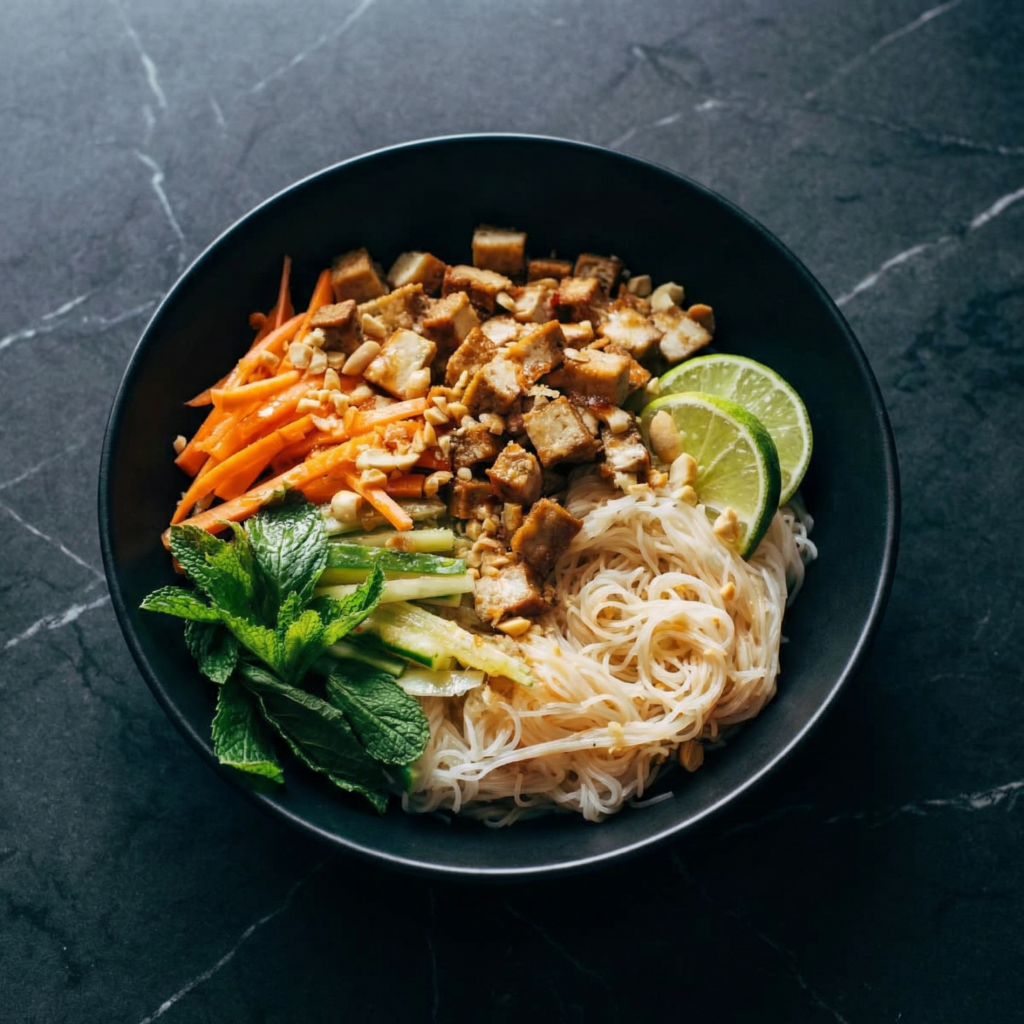
    Transfer the salad to serving bowls. Sprinkle with crushed roasted peanuts and additional fresh herbs for extra flavor and crunch.

    Serve immediately with lime wedges for a fresh citrus boost.

    Optional: drizzle extra dressing on top if desired for more tanginess.


    Flavor and Texture Highlights

    A perfect Lemongrass Vermicelli Salad balances:

    • Tender, fragrant noodles
    • Crisp, fresh vegetables
    • Bright, citrusy lemongrass aroma
    • Savory-sweet-tangy dressing
    • Crunchy peanuts and fresh herbs

    Every bite combines soft, crunchy, and aromatic elements for an unforgettable experience.


    Tips for the Perfect Salad

    • Use only the white, tender parts of lemongrass for the best flavor.
    • Rinse noodles under cold water to stop cooking and prevent clumping.
    • Chop vegetables uniformly for even texture and visual appeal.
    • Make dressing ahead of time—flavors deepen as it sits.
    • Adjust heat by adding more chili or leaving it out entirely.

    Optional Variations

    • Protein Swap: Add grilled shrimp, pork, or marinated tofu.
    • Noodle Alternatives: Try soba noodles, rice sticks, or spiralized vegetables for a low-carb option.
    • Extra Crunch: Toasted cashews or sesame seeds make a delicious topping.
    • Vegan Dressing: Use soy sauce or tamari instead of fish sauce for vegetarian or vegan versions.
    • Spicy Kick: Add sriracha, chili oil, or fresh chilies to elevate heat.

    Storage and Meal Prep

    Store noodles, vegetables, and protein separately in airtight containers in the fridge for up to 2–3 days.

    Assemble bowls when ready to eat to maintain freshness and crispness of the vegetables.

    Dressing can be stored in a sealed container for up to a week.


    Why This Recipe Works

    The Lemongrass Vermicelli Salad works because it balances bright, fragrant, and savory flavors with multiple textures. The tender noodles, crisp vegetables, fresh herbs, and zesty dressing create a harmony that feels light yet satisfying.

    It’s customizable, quick to prepare, and ideal for any occasion—from weekday lunches to dinner parties.


    With fresh herbs, zesty lemongrass, and vibrant vegetables, this Lemongrass Vermicelli Salad is a refreshing, crave-worthy dish you can make at home.

    Perfectly balanced, customizable, and full of color, it proves that healthy meals can be just as exciting and flavorful as indulgent ones.