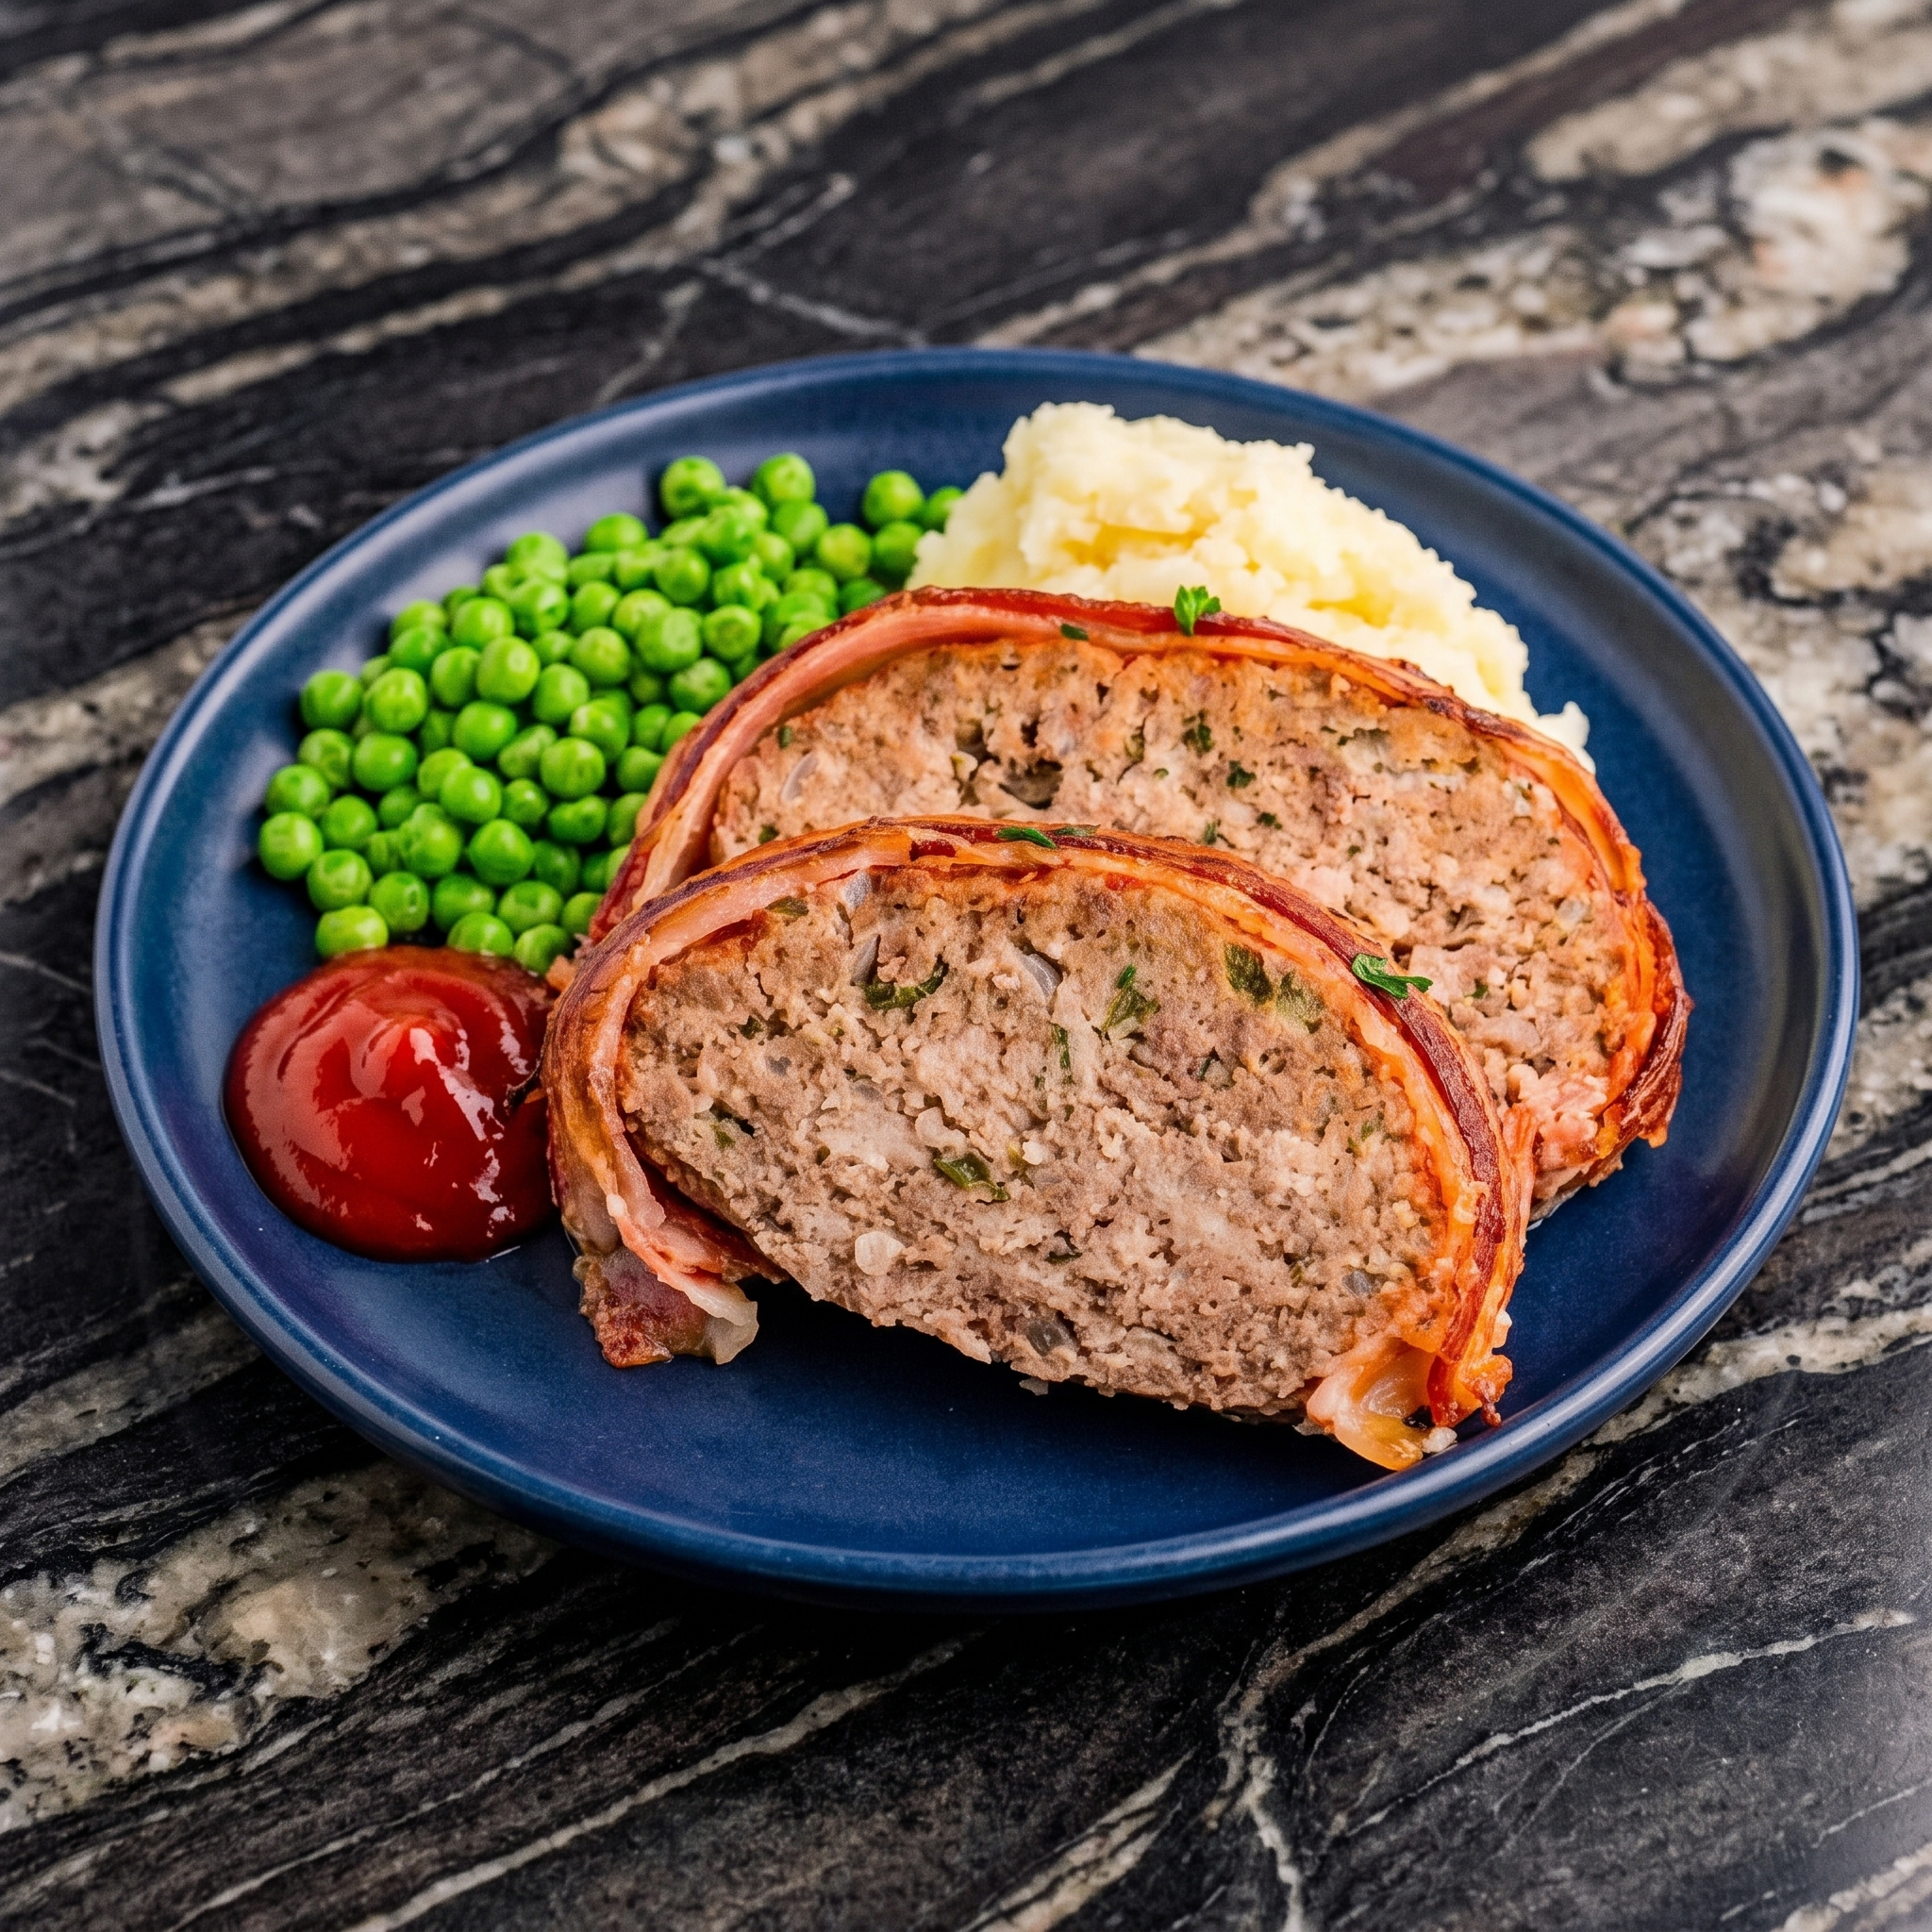
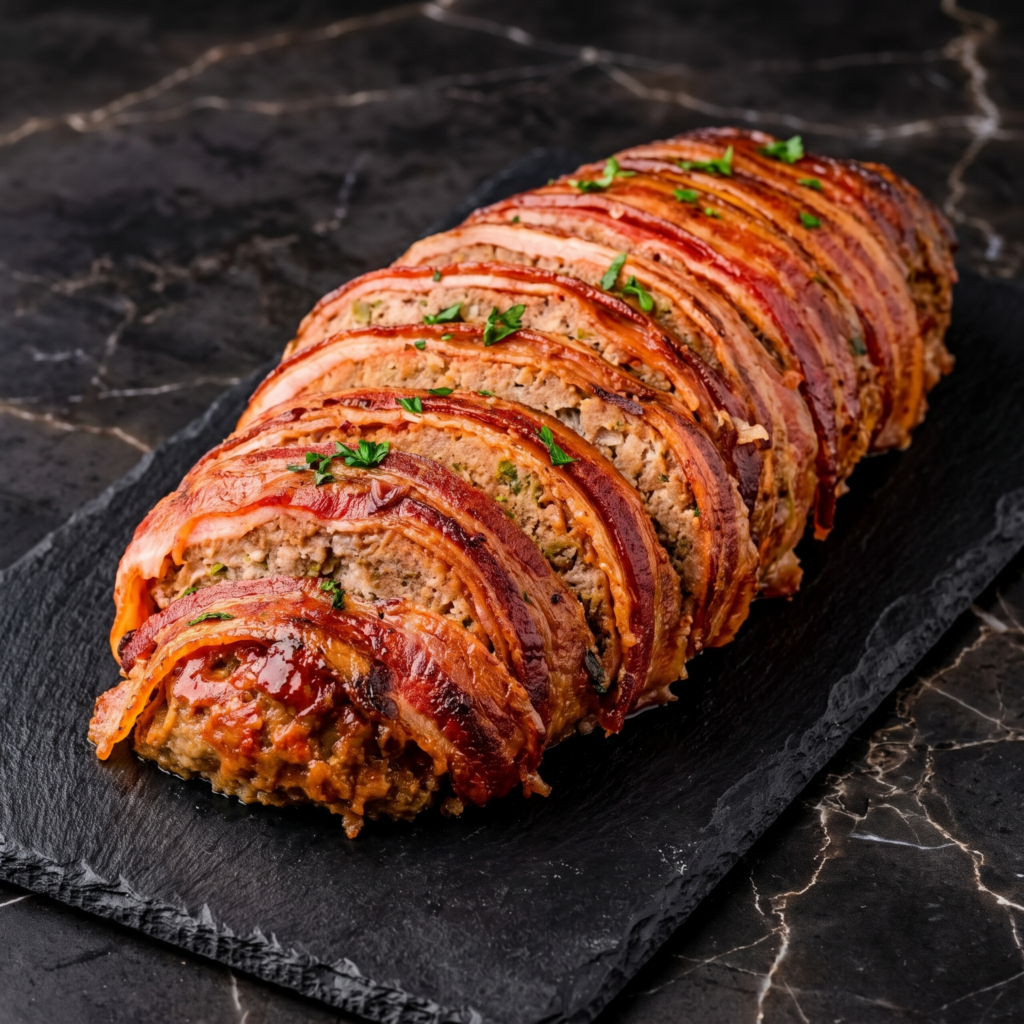
Bacon wrapped meatloaf is the comfort food you deserve. Juicy, tender meatloaf. Crispy bacon on top. Sweet, tangy glaze. Smoky. Unforgettable. Sunday dinner just got an upgrade.
Ingredients
Serves 6-8.
For the Meatloaf:
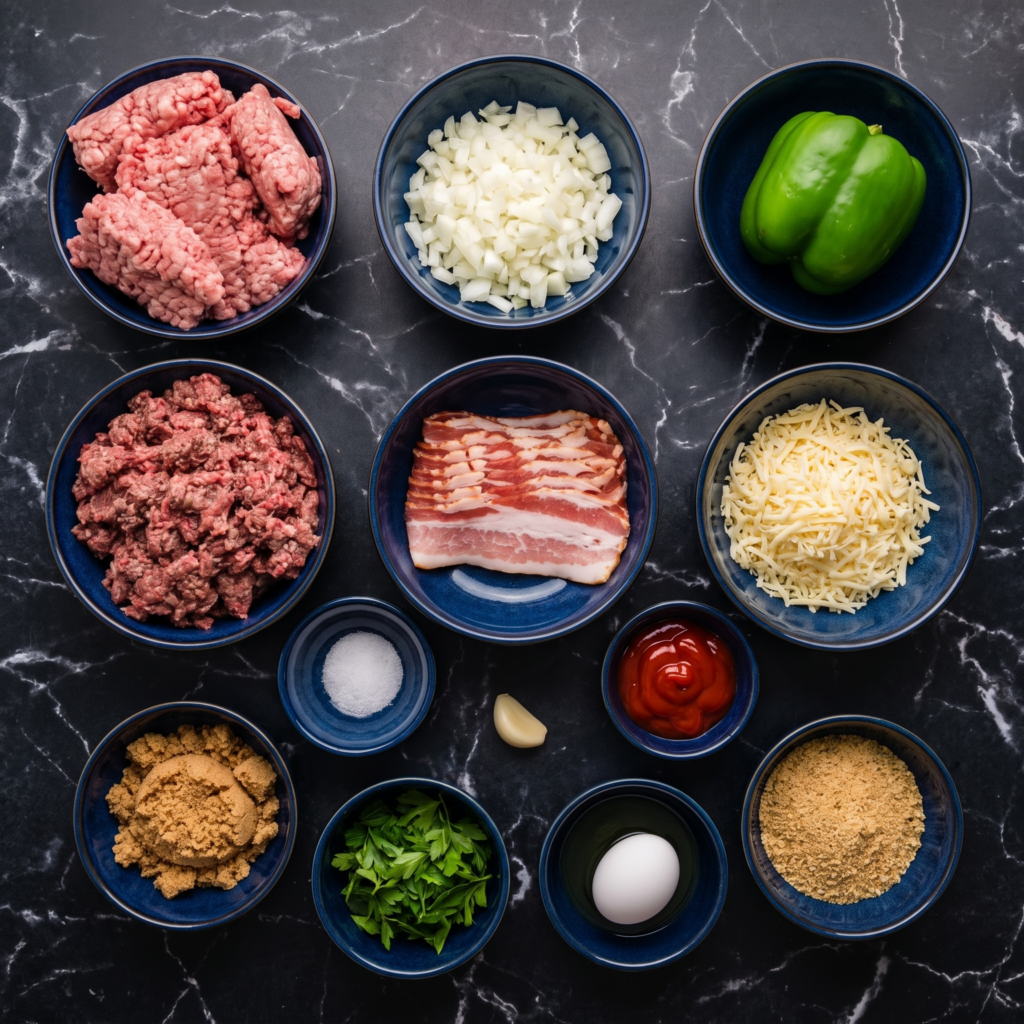
2 lbs (900g) ground beef
1 cup breadcrumbs
1 onion, finely chopped
2 cloves garlic, minced
2 large eggs
½ cup milk
2 tbsp Worcestershire sauce
1 tsp salt
½ tsp black pepper
For the Bacon & Glaze:
12 slices bacon
½ cup ketchup
¼ cup brown sugar
1 tbsp apple cider vinegar
1 tsp mustard (optional)
Step-by-Step Instructions
Step 1: Make Meatloaf Mixture
In a large bowl, mix ground beef, breadcrumbs, onion, garlic, eggs, milk, Worcestershire sauce, salt, and pepper until just combined (don’t overmix).
Step 2: Shape & Wrap
Shape meat mixture into a loaf (about 9×5 inches). Place on a foil-lined baking sheet. Wrap bacon slices around the loaf, tucking ends underneath.
Step 3: Make Glaze
In a small bowl, mix ketchup, brown sugar, vinegar, and mustard.
Step 4: Bake
Preheat oven to 375°F (190°C). Bake meatloaf 45 minutes. Brush with glaze. Bake 15-20 more minutes until internal temp reaches 160°F (71°C).
Step 5: Rest & Serve
Rest 10 minutes. Slice and serve. Juicy, smoky, glazed to perfection.
Summary
Prep Time: 15 min | Cook Time: 1 hour | Total: 1 hour 15 min
Yield: 6-8 servings | Difficulty: Easy
Storage Notes
Fridge: 5 days. Reheat in oven at 350°F for 10-15 minutes or microwave. Freezer (sliced): 3 months. Great for leftovers on sandwiches.
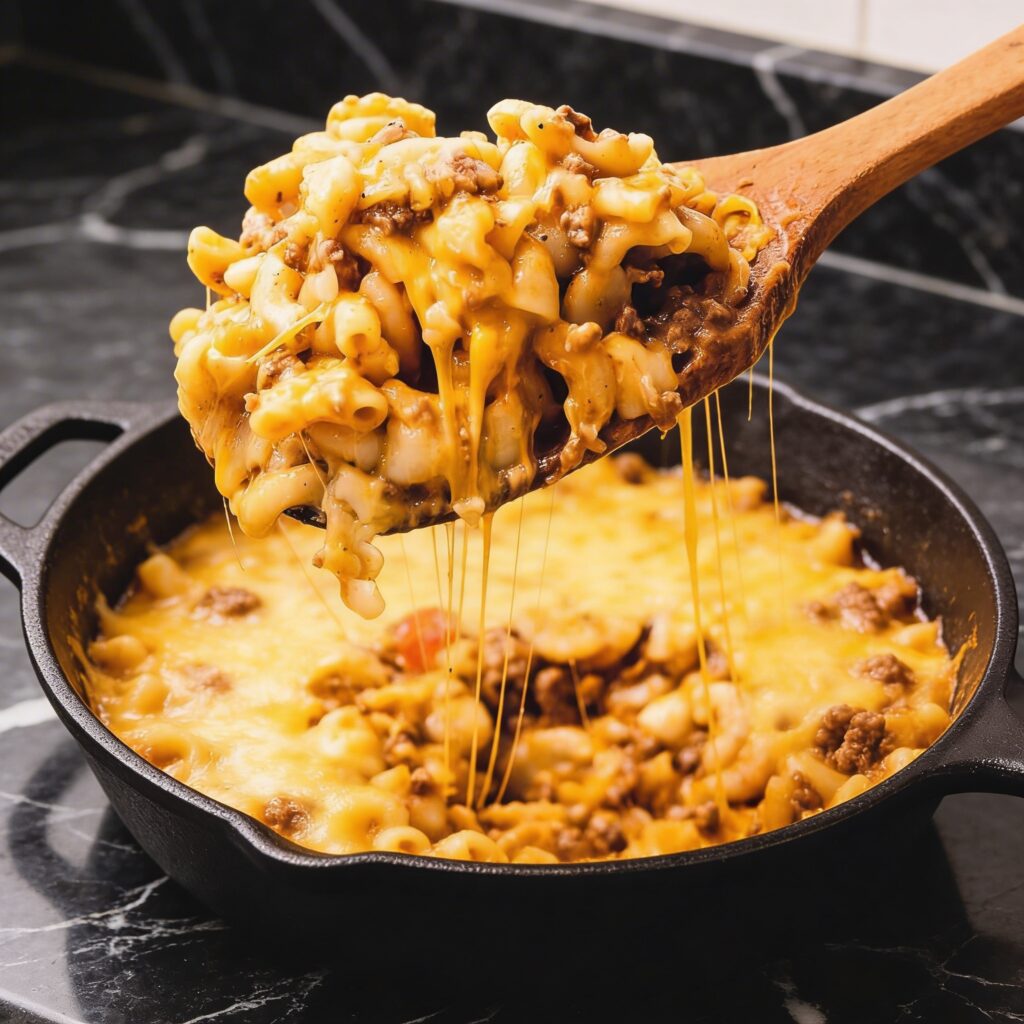
If you grew up loving those cozy boxed dinners, you’re going to adore this upgraded version of Classic Hamburger Helper made completely from scratch.
Creamy, cheesy, hearty, and packed with savory beef flavor, this one-pot meal is the definition of comfort food.
The best part?
You control the ingredients—no preservatives, no mystery powders—just real pantry staples transformed into a rich, satisfying dinner.
This homemade classic hamburger helper comes together in about 30 minutes, making it perfect for busy weeknights.
Let’s walk through it step by step so you can master this nostalgic favorite.
Why You’ll Love This Recipe
One pot, easy cleanup
Ready in 30 minutes
Rich and creamy texture
Family-friendly flavor
Made with simple pantry ingredients
It’s hearty, affordable, and endlessly comforting.
Ingredients You’ll Need
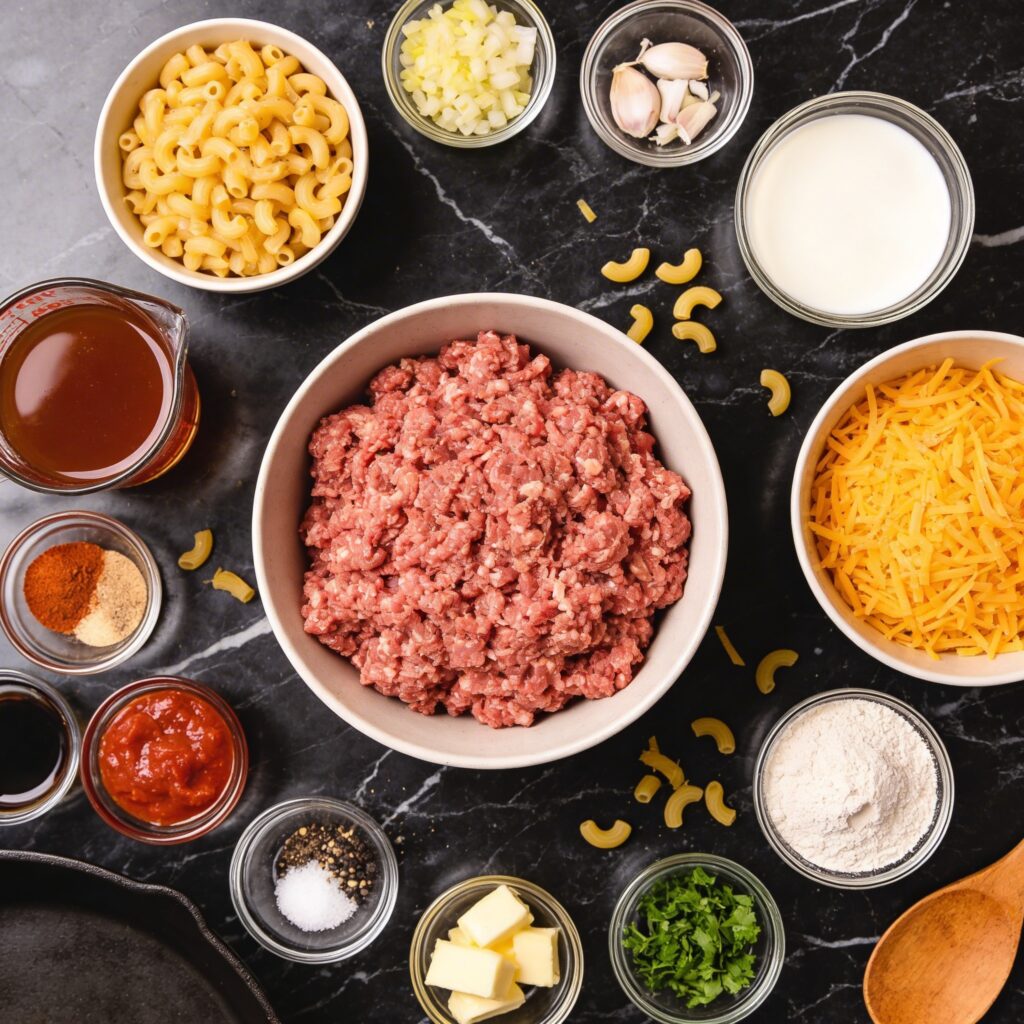
1 pound ground beef (80/20 for best flavor)
1 small yellow onion, diced
3 cloves garlic, minced
2 cups beef broth
1 ½ cups milk
2 cups elbow macaroni (uncooked)
1 tablespoon tomato paste
1 teaspoon paprika
½ teaspoon dried oregano
½ teaspoon salt (adjust to taste)
½ teaspoon black pepper
1 ½ cups shredded sharp cheddar cheese
1 tablespoon olive oil (if needed)
Optional additions:
½ teaspoon chili powder for heat
½ cup diced bell peppers
2 tablespoons cream cheese for extra creaminess
Step 1: Brown the Ground Beef
Heat a large deep skillet or Dutch oven over medium-high heat.
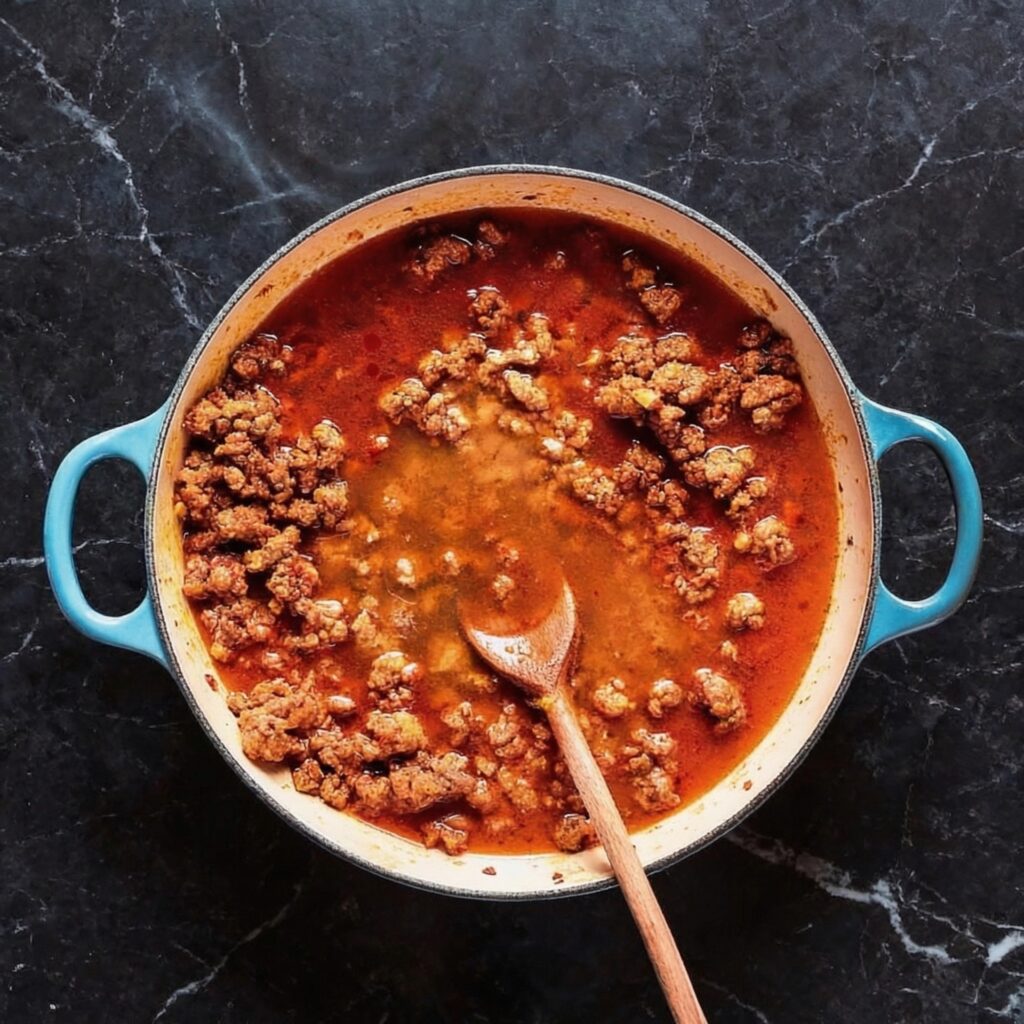
Add the ground beef and break it apart with a wooden spoon.
Cook for 5–7 minutes until fully browned and no pink remains.
If there’s excessive grease, drain most of it, leaving about a tablespoon for flavor.
Proper browning builds the foundation of rich flavor in this dish.
Step 2: Add Onion and Garlic
Add diced onion directly to the browned beef.
Cook for 3–4 minutes until softened and translucent.
Stir in the minced garlic and cook for 30 seconds until fragrant.
The aromatics elevate the dish beyond the boxed version.
Step 3: Build the Flavor Base
Stir in tomato paste, paprika, oregano, salt, and black pepper.
Cook for 1–2 minutes to allow the tomato paste to caramelize slightly.
This deepens the overall flavor and adds subtle richness.
If using chili powder or bell peppers, add them now.
Step 4: Add Liquids and Pasta
Pour in the beef broth and milk.
Stir well, scraping up any browned bits from the bottom of the pan.
Add the uncooked elbow macaroni and stir to combine.
Bring the mixture to a gentle boil.
Step 5: Simmer Until Tender
Reduce heat to medium-low and cover.
Simmer for 10–12 minutes, stirring occasionally to prevent sticking.
The pasta will absorb the liquid as it cooks, creating a thick, creamy sauce.
If the mixture becomes too thick before pasta is tender, add a splash of milk or broth.
The goal is tender pasta coated in a creamy sauce—not dry, not soupy.
Step 6: Add the Cheese
Once the pasta is fully cooked, reduce heat to low.
Stir in the shredded cheddar cheese.
Continue stirring until completely melted and smooth.
For extra creaminess, add cream cheese at this stage.
The sauce should be velvety and coat the pasta evenly.
Step 7: Taste and Adjust
Taste the mixture and adjust seasoning as needed.
Add more salt, pepper, or a pinch of paprika depending on preference.
Balance is key—savory, cheesy, and slightly tangy.
Step 8: Rest Before Serving
Turn off the heat and let the dish sit uncovered for 3–5 minutes.
This allows the sauce to thicken further and settle.
The texture will become even creamier as it rests.
Step 9: Serve and Garnish
Spoon into bowls and serve hot.
Optional garnishes:
Fresh chopped parsley
Extra shredded cheese
Cracked black pepper
A sprinkle of red pepper flakes
Pair with a simple side salad or steamed vegetables for a complete meal.
Tips for Perfect Homemade Classic Hamburger Helper
Use freshly shredded cheese for smoother melting.
Stir occasionally while simmering to prevent sticking.
Keep heat moderate to avoid scorching milk.
Adjust liquid if pasta absorbs too quickly.
Don’t overcook pasta—it should be tender but not mushy.
Small adjustments make a big difference in final texture.
Customization Ideas
This recipe is incredibly flexible.
Try adding:
Sautéed mushrooms
Spinach stirred in at the end
Pepper jack cheese for spice
Ground turkey instead of beef
A dash of Worcestershire sauce for depth
You can even turn it into a baked casserole by transferring it to a baking dish, topping with cheese, and broiling briefly.
Storage and Reheating
Store leftovers in an airtight container in the refrigerator for up to 4 days.
Reheat gently on the stove with a splash of milk to restore creaminess.
Avoid high microwave heat, which can dry out the sauce.
This dish also freezes well for up to 2 months.
Final Thoughts
Homemade classic hamburger helper brings nostalgic comfort to the table—but better. By using real ingredients and building flavor step by step, you get a richer, creamier, more satisfying version of the beloved classic.
It’s hearty without being heavy, simple without being boring, and customizable to suit your tastes. Whether you’re cooking for a busy family dinner or craving a cozy bowl of comfort, this one-pot meal delivers every time.
Savory beef, tender pasta, and melty cheddar come together in perfect harmony—proof that sometimes the simplest meals are the most satisfying.
Some dinners are more than just food—they’re a warm hug on a cold night, a table full of happy faces, the kind of meal that makes everyone slow down and savor.
This Easy Shepherd’s Pie is that dinner. It’s everything you want in comfort food: savory ground beef and vegetables simmered in a rich, flavorful gravy, all topped with a blanket of creamy mashed potatoes that get beautifully golden and crisp in the oven.
It’s hearty, satisfying, and comes together in one dish with minimal fuss. Whether it’s a busy weeknight or a lazy Sunday, this shepherd’s pie delivers big flavor and even bigger smiles.
The Secret to Rich, Flavorful Filling (No Canned Soup Required)
The best shepherd’s pie doesn’t need canned soup to taste amazing. The secret to a deeply savory filling is layering flavors. Start by browning the beef well—don’t rush this step. Those brown bits on the bottom of the pan are pure flavor.
Next, tomato paste adds concentrated umami, and a good glug of Worcestershire sauce brings tangy depth. A little flour thickens the mixture, and beef broth simmers into a rich, glossy gravy that coats every bite. The other secret? Don’t skip simmering.
Letting the filling bubble away for 10-15 minutes concentrates the flavors and ensures you don’t end up with a watery pie. Trust the process, and you’ll be rewarded with filling so good you’ll want to eat it with a spoon before it even hits the dish.
Ingredients
For the Mashed Potato Topping:
2 pounds (about 900g) Russet or Yukon Gold potatoes, peeled and cut into chunks
½ cup (120ml) milk, warmed
¼ cup (60g) unsalted butter
Salt and pepper to taste
½ cup (60g) shredded cheddar cheese (optional, but highly recommended)
For the Savory Meat Filling:
1 ½ pounds (680g) ground beef (or ground lamb for traditional shepherd’s pie)
1 tablespoon olive oil
1 large onion, finely chopped
2 carrots, peeled and finely diced
2 cloves garlic, minced
2 tablespoons tomato paste
1 tablespoon Worcestershire sauce
2 tablespoons all-purpose flour
1 ½ cups (360ml) beef broth
1 cup (150g) frozen peas and corn (or mixed vegetables)
1 teaspoon fresh or dried thyme
Salt and pepper to taste
Instructions
1. Boil the Potatoes: Place the peeled and chopped potatoes in a large pot and cover with cold water. Add a generous pinch of salt. Bring to a boil, then reduce heat and simmer for 15-20 minutes until the potatoes are fork-tender .
2. Drain and Mash: Drain the potatoes well and return them to the pot. Let them sit for a minute to steam dry. Add the warm milk and butter, then mash until smooth and creamy. Season with salt and pepper. Stir in the shredded cheddar if using. Set aside .
3. Brown the Beef: While the potatoes cook, heat the olive oil in a large skillet over medium-high heat. Add the ground beef and cook, breaking it up with a spoon, until well browned. Don’t rush this step—browning equals flavor. Drain any excess fat if needed .
4. Cook the Vegetables: Add the chopped onion and carrots to the skillet with the beef. Cook for 5-6 minutes until the vegetables begin to soften. Add the minced garlic and cook for another minute until fragrant .
5. Build the Flavor: Stir in the tomato paste and Worcestershire sauce, coating the meat and vegetables. Cook for 1-2 minutes to deepen the flavor. Sprinkle the flour over the mixture and stir, cooking for another minute to cook out the raw flour taste .
6. Simmer the Filling: Pour in the beef broth, stirring constantly to combine. Bring to a simmer, then reduce heat and let it bubble gently for 8-10 minutes until the gravy thickens. Stir in the frozen peas, corn, and thyme. Cook for another 2-3 minutes. Season with salt and pepper to taste .
7. Preheat Oven: While the filling simmers, preheat your oven to 400°F (200°C) .
8. Assemble the Pie: Pour the meat filling into a 9×9-inch (or similar) baking dish and spread it evenly. Spoon the mashed potatoes over the top, starting from the edges and working your way in to prevent the filling from bubbling up.
Use a spatula to spread them gently, then create peaks with a fork—these will get beautifully golden and crisp in the oven .
9. Bake: Place the baking dish on a baking sheet (to catch any bubbles) and bake for 20-25 minutes until the filling is bubbly and the potato topping is golden brown. If you want extra color, broil for 1-2 minutes at the end, watching carefully .
10. Rest and Serve: Let the shepherd’s pie rest for 10 minutes before serving. This allows it to set and makes serving easier. Scoop into bowls and enjoy the cozy perfection .
Pro-Tips for Shepherd’s Pie Greatness
Use Starchy Potatoes: Russet or Yukon Gold potatoes make the fluffiest, creamiest mash. Waxy potatoes won’t give you the same texture .
Don’t Skip Browning the Meat: That deep, savory flavor comes from a good sear. Let the beef develop some color before stirring .
Simmer the Filling: A few extra minutes of simmering thickens the gravy and concentrates flavors. A watery filling is the enemy of great shepherd’s pie .
Fork Texture = Extra Crisp: Raking a fork across the mashed potatoes creates peaks and valleys that brown beautifully in the oven. It’s not just decorative—it’s functional .
Make Ahead: Assemble the pie completely, then cover and refrigerate for up to 2 days, or freeze for up to 3 months. Bake from chilled, adding 10-15 minutes to the cooking time .