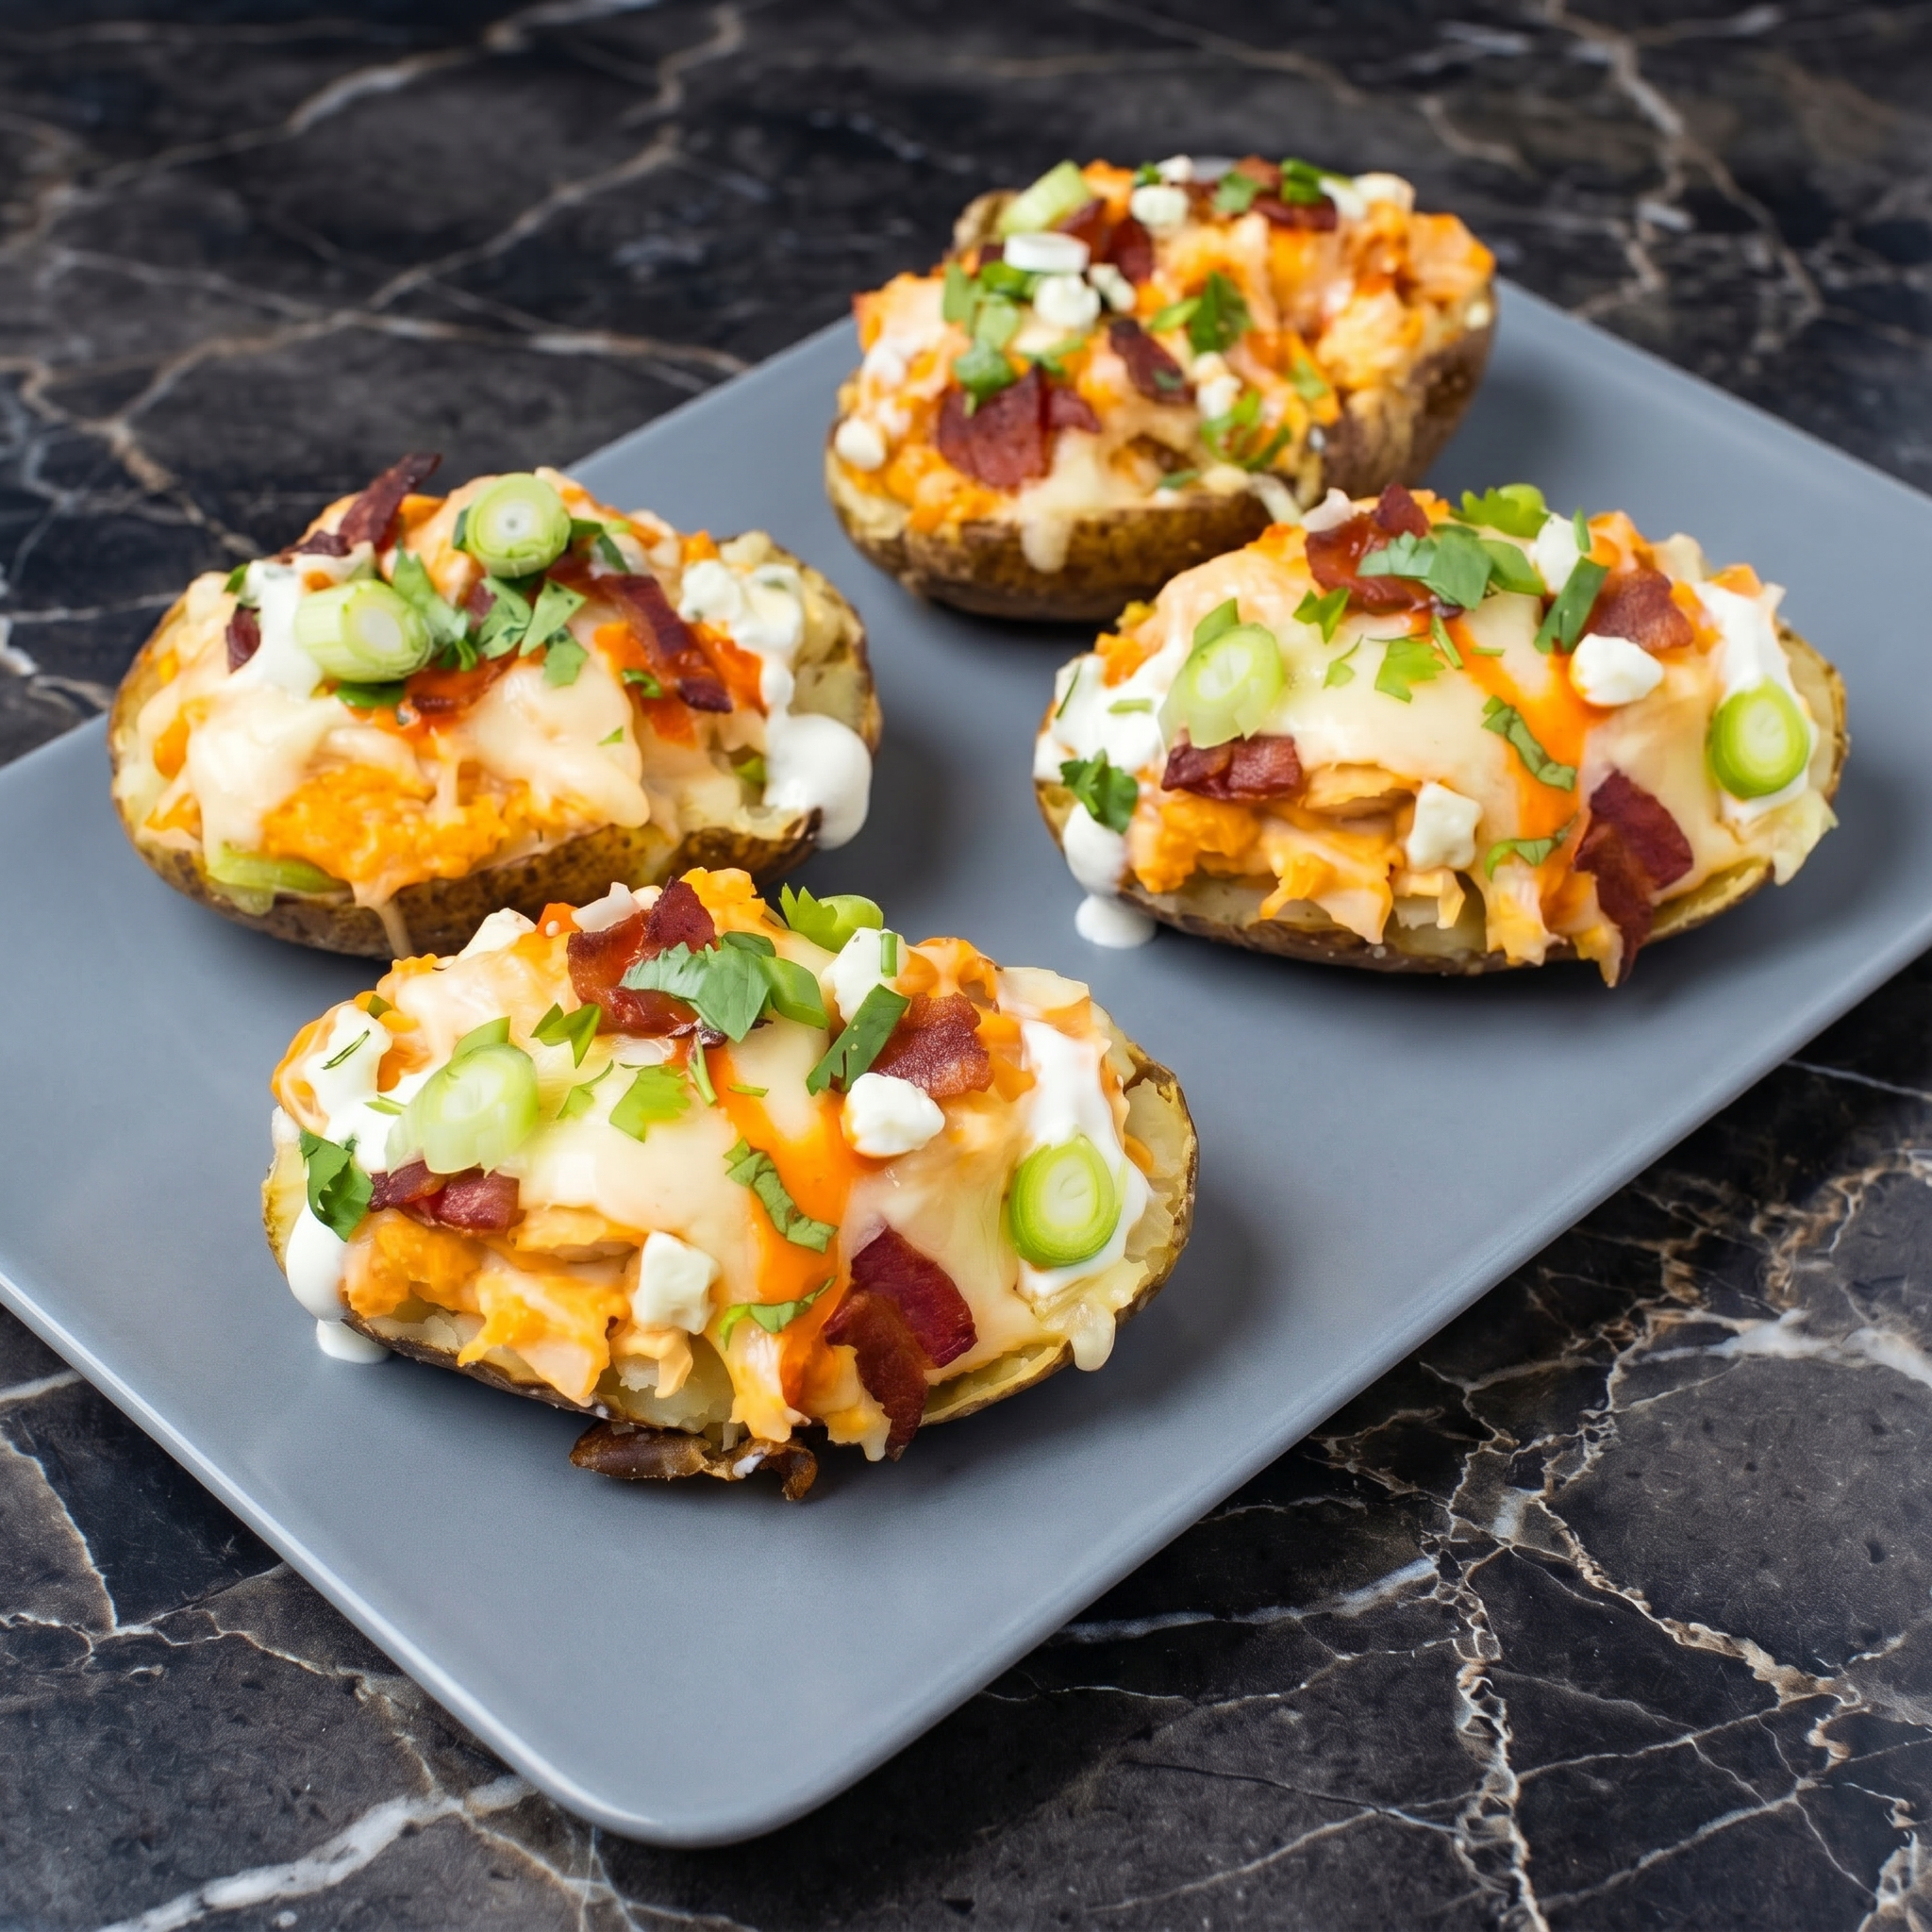
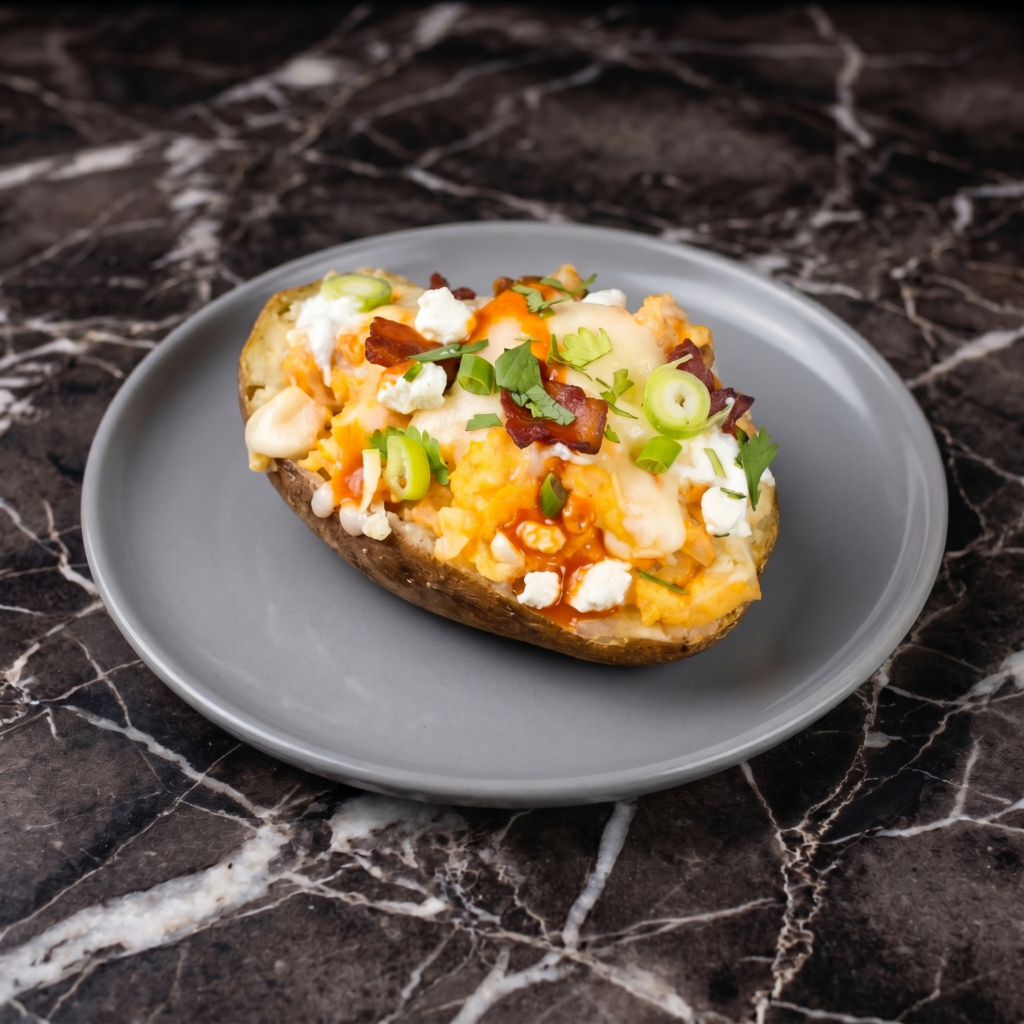
Baked potatoes are a blank canvas. This version paints with buffalo chicken. Spicy, buttery, cheesy, topped with cool ranch and green onions. All the game day flavors. Fork required. Napkins encouraged.
Ingredients
Serves 4.
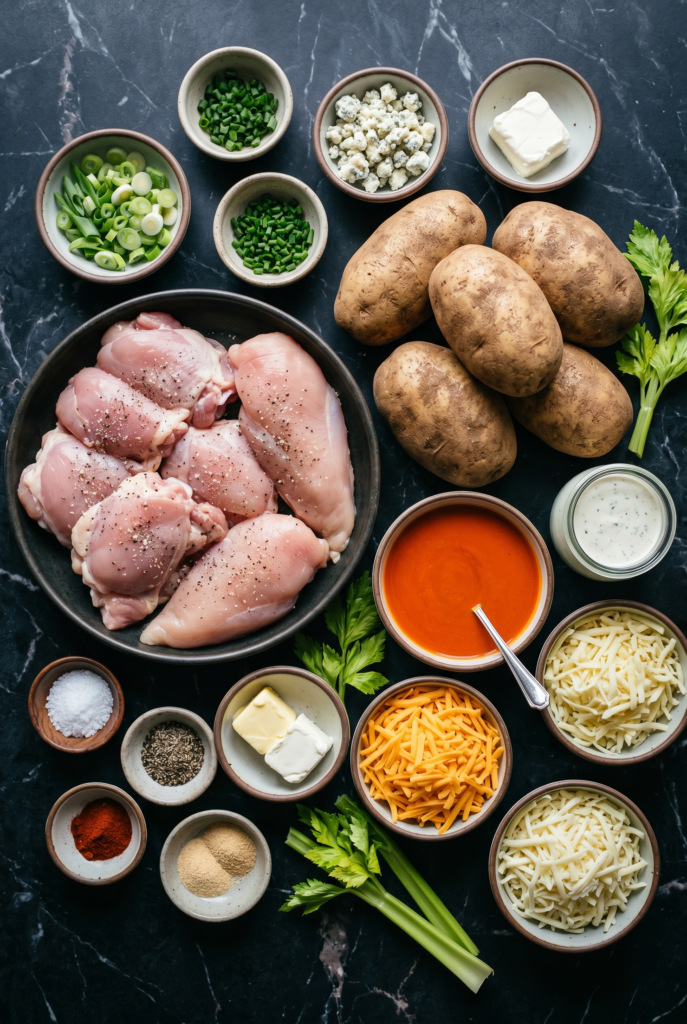
4 large russet potatoes
2 cups cooked chicken, shredded (rotisserie works great)
½ cup buffalo sauce (like Frank’s RedHot)
2 tbsp butter, melted
1 cup shredded cheddar or Monterey Jack cheese
¼ cup ranch or blue cheese dressing
2 green onions, sliced
Salt and pepper to taste
Optional Toppings:
Sour cream
Crumbled blue cheese
Fresh cilantro
Celery, finely chopped
Step-by-Step Instructions
Step 1: Bake Potatoes
Preheat oven to 400°F (200°C).
Scrub potatoes. Poke several times with a fork. Rub with oil and salt.
Bake directly on oven rack for 50-60 minutes until tender.
Step 2: Make Buffalo Chicken
In a bowl, mix shredded chicken with buffalo sauce and melted butter.
Step 3: Prep Potatoes
Let potatoes cool slightly. Cut a slit down the middle. Fluff the insides with a fork.
Step 4: Assemble
Stuff each potato with buffalo chicken. Top with shredded cheese. Return to oven for 3-5 minutes until cheese melts.
Step 5: Finish & Serve
Drizzle with ranch or blue cheese. Sprinkle with green onions and any other toppings.
Serve hot. Eat with a fork. Or just dig in.
Summary
Prep Time: 10 min | Bake Time: 60 min | Total: 70 min
Yield: 4 stuffed potatoes | Difficulty: Easy
Storage Notes
Fridge (components separate): Potatoes 5 days, buffalo chicken 4 days. Reheat: Assemble and bake at 375°F for 15-20 minutes. Avoid microwaving potatoes alone — they get rubbery. Best assembled fresh.
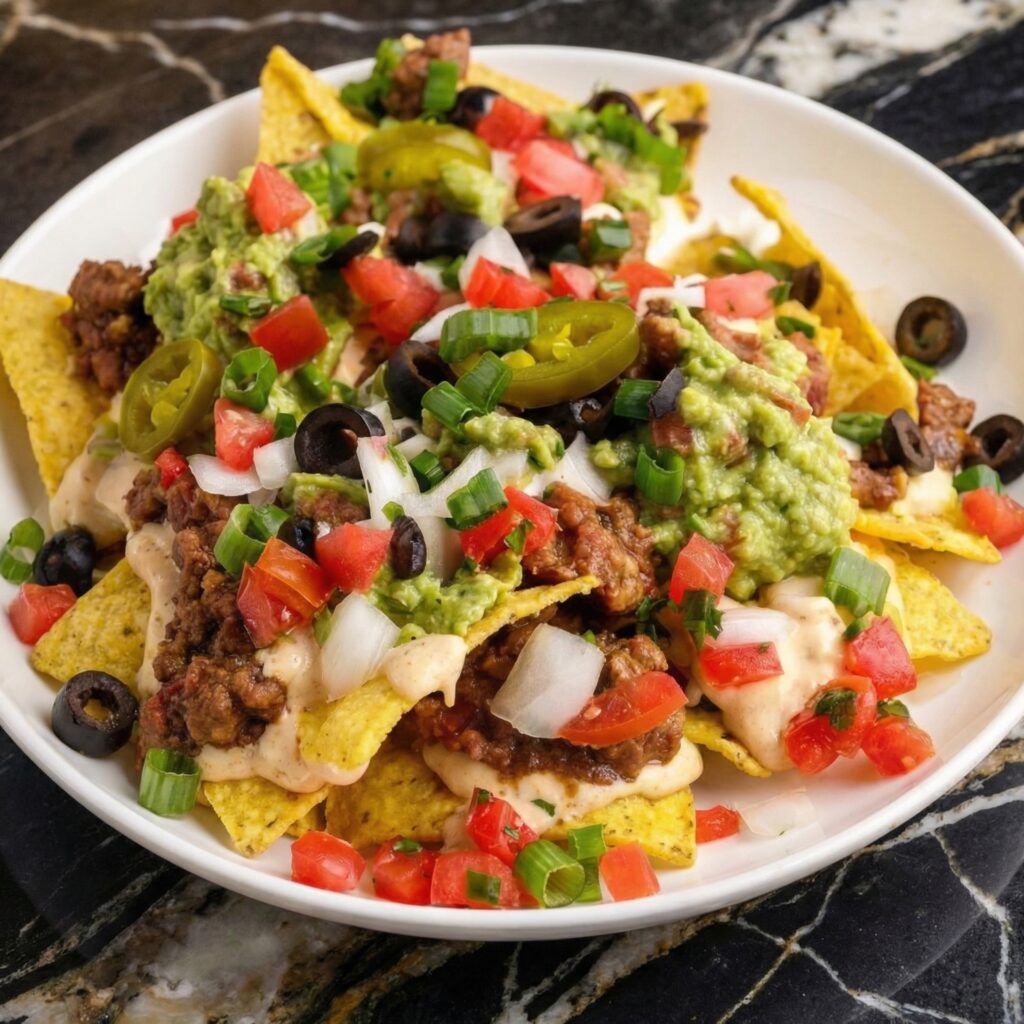
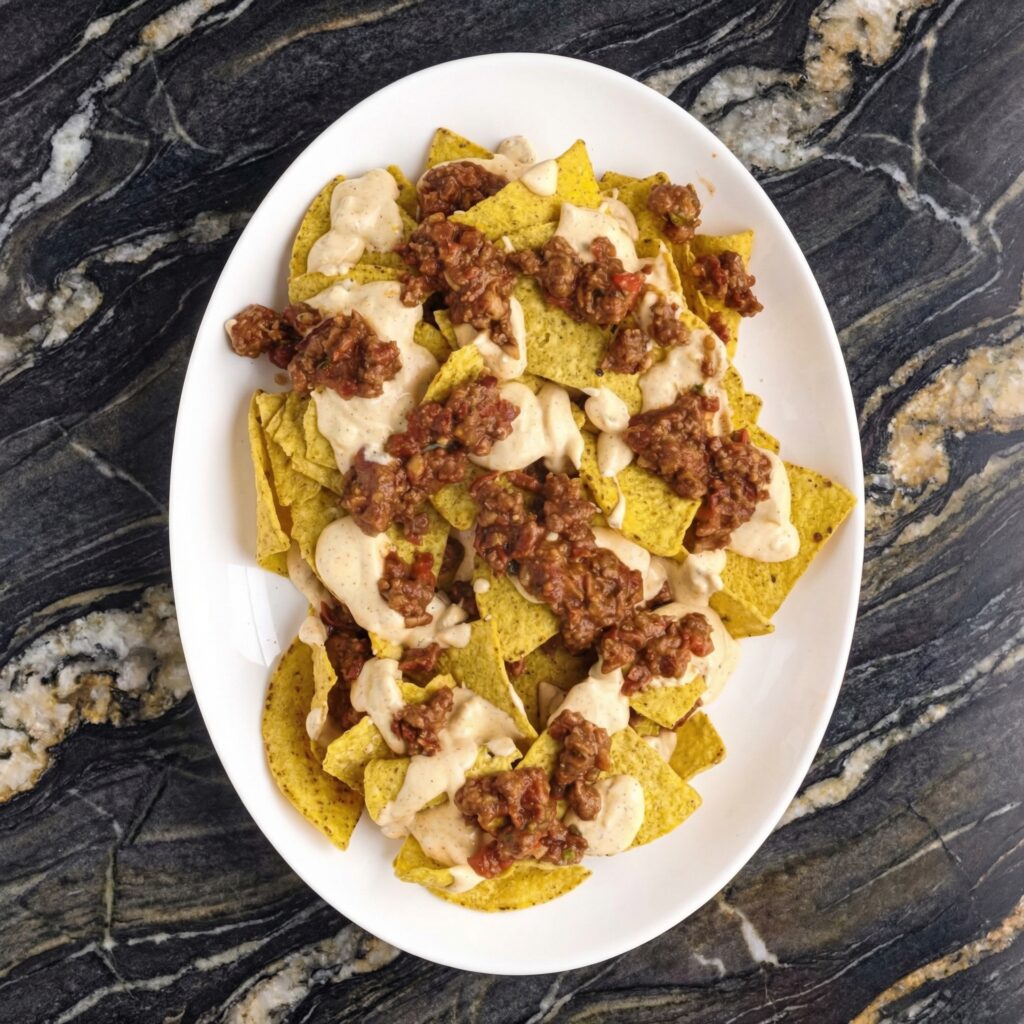
Nachos are more than just a snack—they’re an event. A massive platter of crispy tortilla chips loaded with seasoned meat, melted cheese, refried beans, and all the fresh toppings, served right in the middle of the table for everyone to dig in. Whether it’s game day, movie night, or just a Tuesday that needs some excitement, loaded nachos deliver.
The key is layering: every chip should get some of the good stuff. Not just cheese on top, but cheese throughout, so every bite is perfect. This recipe walks you through building the ultimate nacho platter, with seasoned ground beef, a silky cheese sauce (or melted shredded cheese), and all the classic toppings.
Ingredients
For the Seasoned Ground Beef:
1 lb (450g) ground beef (80/20)
1 small onion, finely diced
2 cloves garlic, minced
1 tablespoon chili powder
1 teaspoon ground cumin
1 teaspoon smoked paprika
½ teaspoon salt
¼ teaspoon black pepper
¼ cup (60ml) water or beef broth
For the Cheese Sauce (Optional, but amazing):
2 tablespoons unsalted butter
2 tablespoons all-purpose flour
1 cup (240ml) whole milk
2 cups (200g) shredded sharp cheddar cheese
½ cup (50g) shredded Monterey Jack cheese
¼ teaspoon salt
Pinch of cayenne pepper (optional)
For Assembly:
1 large bag (13-16 oz) restaurant-style tortilla chips (sturdy chips are essential)
1 can (15 oz) refried beans, warmed
2 cups (200g) shredded cheese (cheddar, Monterey Jack, or a mix) if not using cheese sauce
Pickled jalapeño slices, to taste
½ cup black olives, sliced
For Fresh Toppings:
Pico de gallo or fresh salsa
Sour cream
Guacamole or sliced avocado
Fresh cilantro, chopped
Green onions, sliced
Lime wedges
Instructions
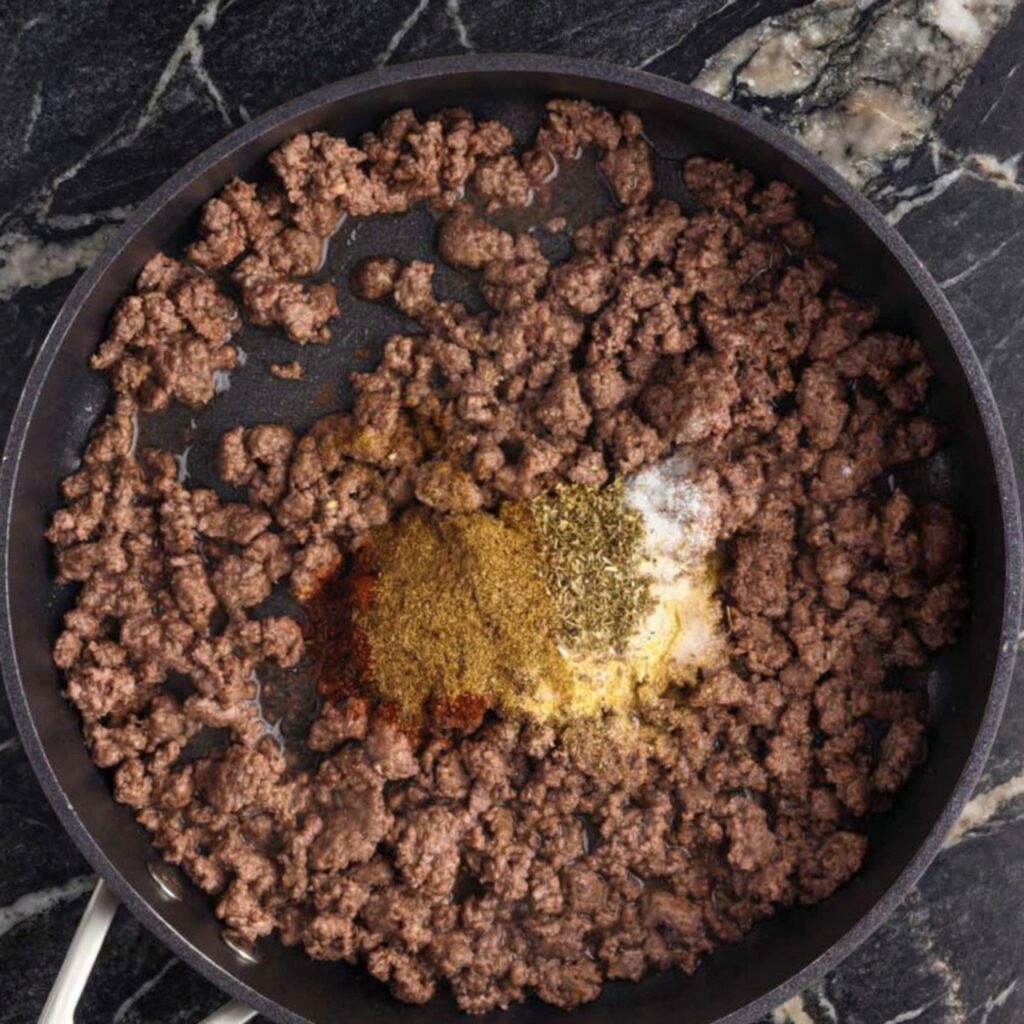
1. Cook the Ground Beef: In a large skillet over medium-high heat, cook the ground beef, breaking it up with a spoon, until browned and cooked through, about 5-7 minutes. Add the diced onion and cook until softened, about 3-4 minutes. Add the garlic and cook for 1 minute until fragrant. Drain excess fat if needed.
2. Season the Beef: Add the chili powder, cumin, smoked paprika, salt, and pepper to the beef. Stir to coat. Add the water or broth and simmer until the liquid reduces and the beef is nicely coated, about 2-3 minutes. Remove from heat and set aside.
3. Make the Cheese Sauce (Optional): In a medium saucepan over medium heat, melt the butter. Whisk in the flour and cook for 1-2 minutes until golden and bubbly. Gradually whisk in the milk, stirring constantly until thickened, about 3-4 minutes. Reduce heat to low and add the shredded cheeses, a handful at a time, stirring until smooth. Season with salt and cayenne. Keep warm.
4. Warm the Refried Beans: In a small saucepan or microwave-safe bowl, warm the refried beans until soft and spreadable. Add a tablespoon of water if needed to thin.
5. Preheat the Oven: Preheat your oven to 375°F (190°C). Line a large baking sheet with parchment paper or foil.
6. First Layer of Chips: Spread half the tortilla chips in an even layer on the prepared baking sheet.
7. Add First Layer of Toppings: Dollop half the refried beans in small spoonfuls over the chips. Sprinkle half the seasoned ground beef over the beans. If using shredded cheese, sprinkle half over this layer. If using cheese sauce, drizzle half over everything. Add half the jalapeños and olives.
8. Second Layer of Chips: Top with the remaining chips.
9. Add Second Layer of Toppings: Repeat with remaining refried beans, ground beef, cheese, jalapeños, and olives.
10. Bake: Bake for 8-10 minutes, until the cheese is melted and bubbly and the edges of the chips are just starting to brown. Watch carefully—chips can burn quickly.
11. Add Fresh Toppings: Remove from the oven and immediately drizzle with cheese sauce (if using) and add dollops of sour cream, pico de gallo, and guacamole. Sprinkle with fresh cilantro and green onions.
12. Serve Immediately: Serve hot, with lime wedges on the side for squeezing. Place the baking sheet right on the table for everyone to dig in.
Pro-Tips for Nacho Perfection
Use Sturdy Chips: Thin, flimsy chips will break under the weight of toppings. Look for “restaurant-style” or “thick-cut” tortilla chips.
Layer, Layer, Layer: Don’t just pile toppings on top—layer chips and toppings so every chip gets some love.
Warm the Beans: Cold, stiff beans are hard to spread and don’t melt well. Warm them until soft and spreadable.
Don’t Overbake: Chips go from perfectly crisp to burnt quickly. Watch closely and pull when cheese is melted.
Fresh Toppings at the End: Add cold toppings like sour cream, guacamole, and pico after baking so they stay fresh and cool.
Serve on the Baking Sheet: Nachos are meant to be shared. Bring the whole baking sheet to the table for that authentic experience.
Customize: Try shredded chicken, carnitas, or black beans. Add corn, pickled red onions, or cotija cheese.
These Ultimate Loaded Nachos are game day perfection.
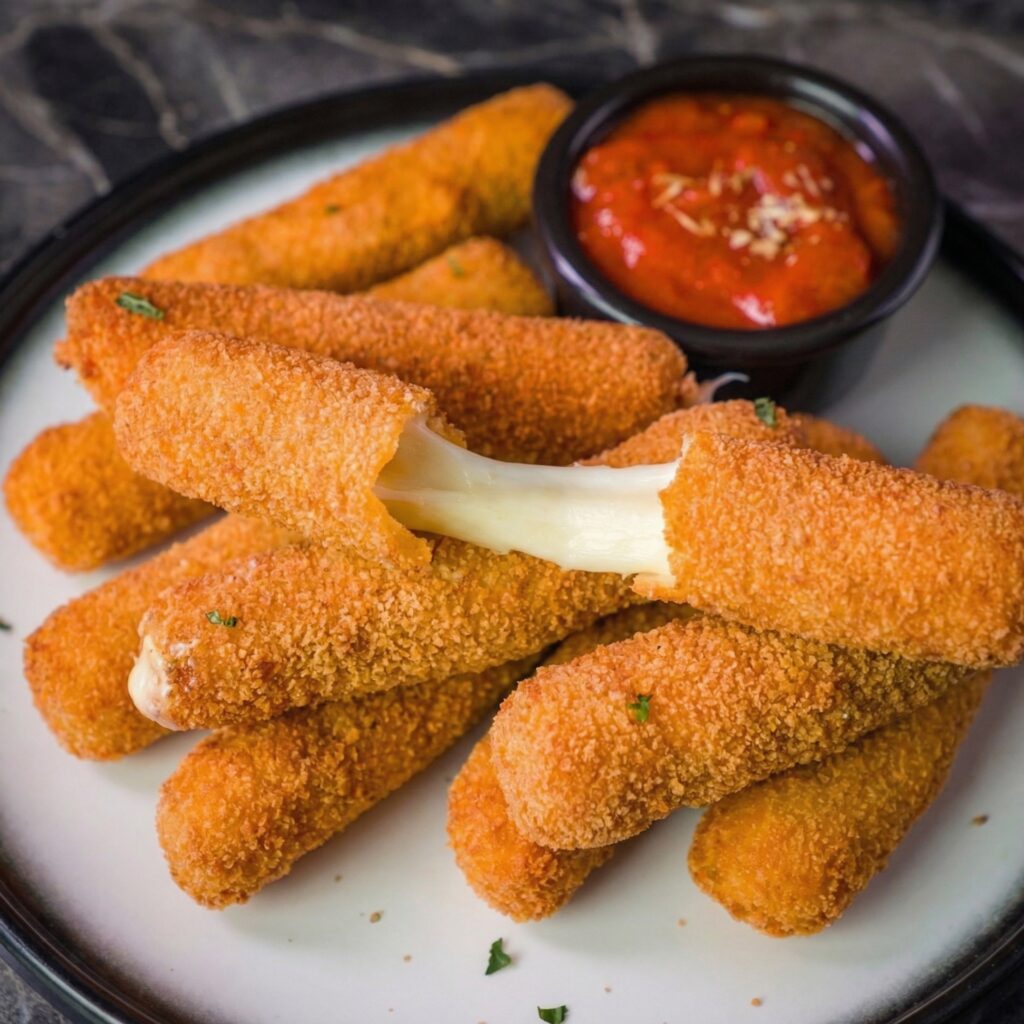
Let’s be honest—mozzarella sticks are the appetizer everyone fights over. That moment when you pull one apart and the cheese stretches for what seems like forever, the crispy, seasoned coating giving way to hot, melty, glorious cheese inside. Making them at home is easier than you think, and the result is so much better than anything from the freezer aisle.
The secret is a triple-coating process that creates an extra-crunchy shell that won’t leak, and freezing the sticks long enough that the cheese stays inside while it melts. Serve them with warm marinara, and you’ve got pure magic.
Ingredients
For the Mozzarella Sticks (makes about 16-20 sticks):
1 lb (450g) block of low-moisture mozzarella cheese
1 cup (125g) all-purpose flour
2 teaspoons salt, divided
1 teaspoon black pepper
3 large eggs
2 tablespoons water or milk
2 cups (200g) Italian-seasoned breadcrumbs (or plain breadcrumbs mixed with 1 tsp Italian seasoning)
½ cup (50g) grated Parmesan cheese
Vegetable or peanut oil, for frying
For Serving:
2 cups marinara sauce, warmed
Fresh basil leaves, for garnish
Additional grated Parmesan
Instructions
1. Cut the Cheese: Cut the mozzarella block into sticks about ½ inch thick and 3-4 inches long. You should get about 16-20 sticks depending on the size of the block.
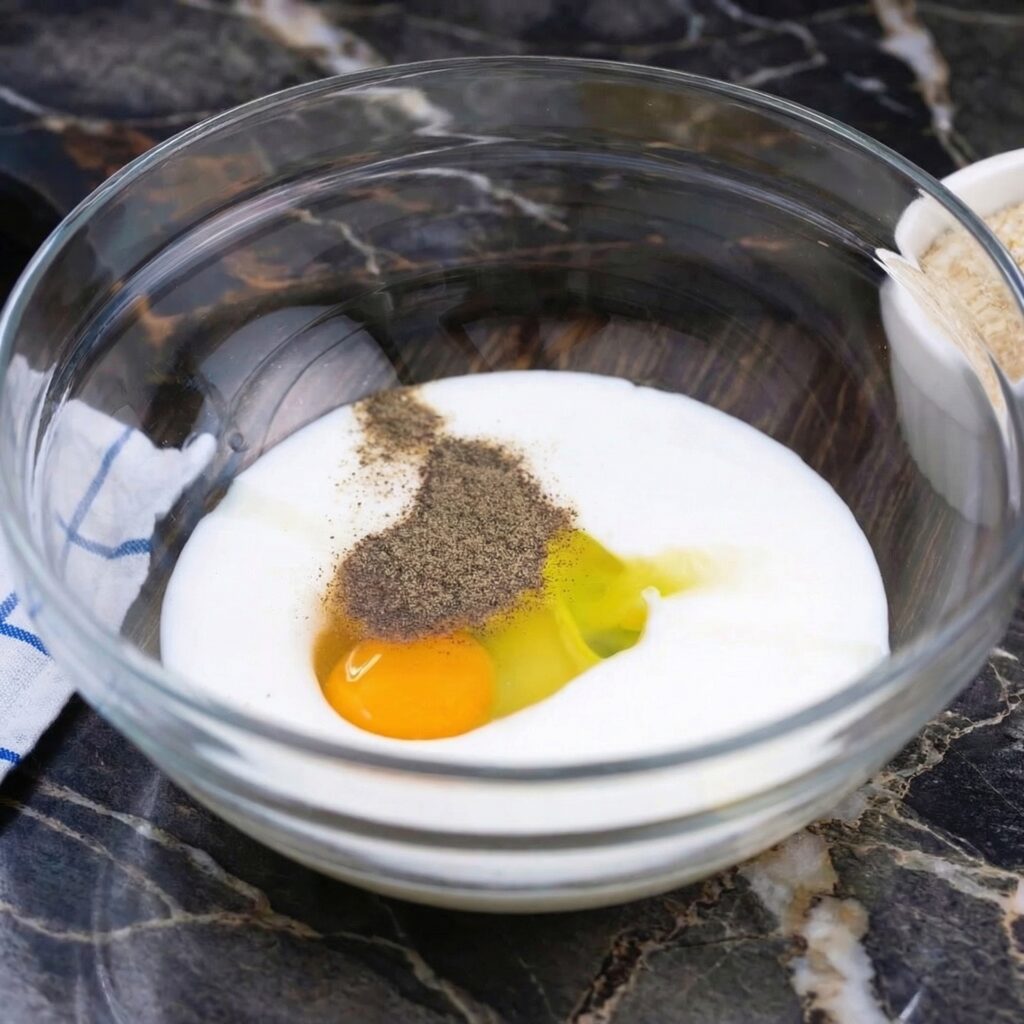
2. Set Up Your Dredging Station: In a shallow dish, combine the flour with 1 teaspoon salt and ½ teaspoon pepper. In a second shallow dish, beat the eggs with the water or milk. In a third shallow dish, combine the breadcrumbs, grated Parmesan, remaining 1 teaspoon salt, and ½ teaspoon pepper.
3. First Dredge: Working in batches, dredge each mozzarella stick in the flour mixture, shaking off excess. Dip in the egg mixture, allowing excess to drip off. Roll in the breadcrumb mixture, pressing gently to adhere.
4. Second Dredge (for extra crunch): For a thicker, extra-crispy coating, repeat the process: dip back into the egg mixture, then back into the breadcrumb mixture for a second coating. Press firmly to ensure the breadcrumbs stick.
5. Freeze: Place the coated sticks on a parchment-lined baking sheet in a single layer, making sure they’re not touching. Freeze for at least 2 hours, preferably 3-4 hours, until completely solid. This step is essential—do not skip!
6. Heat the Oil: In a heavy-bottomed pot or deep fryer, heat about 3 inches of oil to 350°F (175°C). Use a thermometer to maintain temperature.
7. Fry in Batches: Working in small batches to avoid overcrowding, carefully add frozen mozzarella sticks to the hot oil. Fry for 2-3 minutes, turning occasionally, until golden brown and crispy. Do not overcook or the cheese will burst.
8. Drain: Remove with a slotted spoon or spider strainer and drain on a wire rack (not paper towels—they’ll get soggy). Immediately sprinkle with a little salt while hot.
9. Keep Warm: Keep finished sticks in a warm oven (200°F) while frying remaining batches.
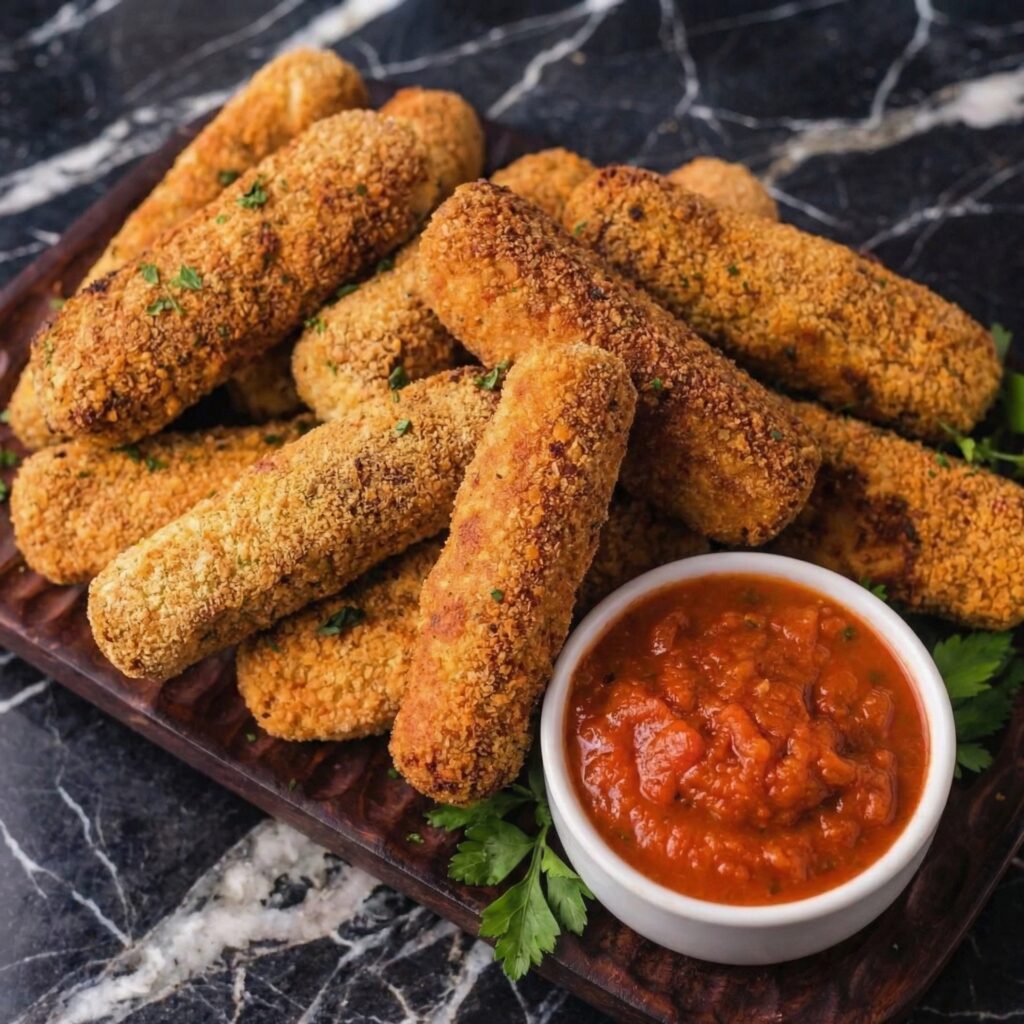
10. Serve: Arrange on a platter with warm marinara sauce for dipping. Garnish with fresh basil and additional Parmesan. Serve immediately—the cheese stretch is waiting!
Pro-Tips for Mozzarella Stick Perfection
Use Low-Moisture Mozzarella: Fresh mozzarella contains too much water and will leak everywhere. Use the block-style low-moisture mozzarella.
Freeze Solid: This is non-negotiable. Frozen cheese ensures the coating crisps before the cheese melts.
Double Coat for Extra Crunch: The second coating creates a thicker, more durable crust that’s less likely to leak.
Don’t Overcrowd the Fryer: Too many sticks at once lowers oil temperature, resulting in greasy, soggy coatings.
Fry from Frozen: Never thaw—they go straight from freezer to fryer.
Watch the Clock: Overcooking causes the cheese to burst. As soon as they’re golden, they’re done.
Serve Immediately: Mozzarella sticks wait for no one. The cheese stretch is best right out of the fryer.
Spice It Up: Add red pepper flakes to the breadcrumbs for heat, or try different herbs.
These Ultimate Mozzarella Sticks are crispy, cheesy, and absolutely stretchy perfection.
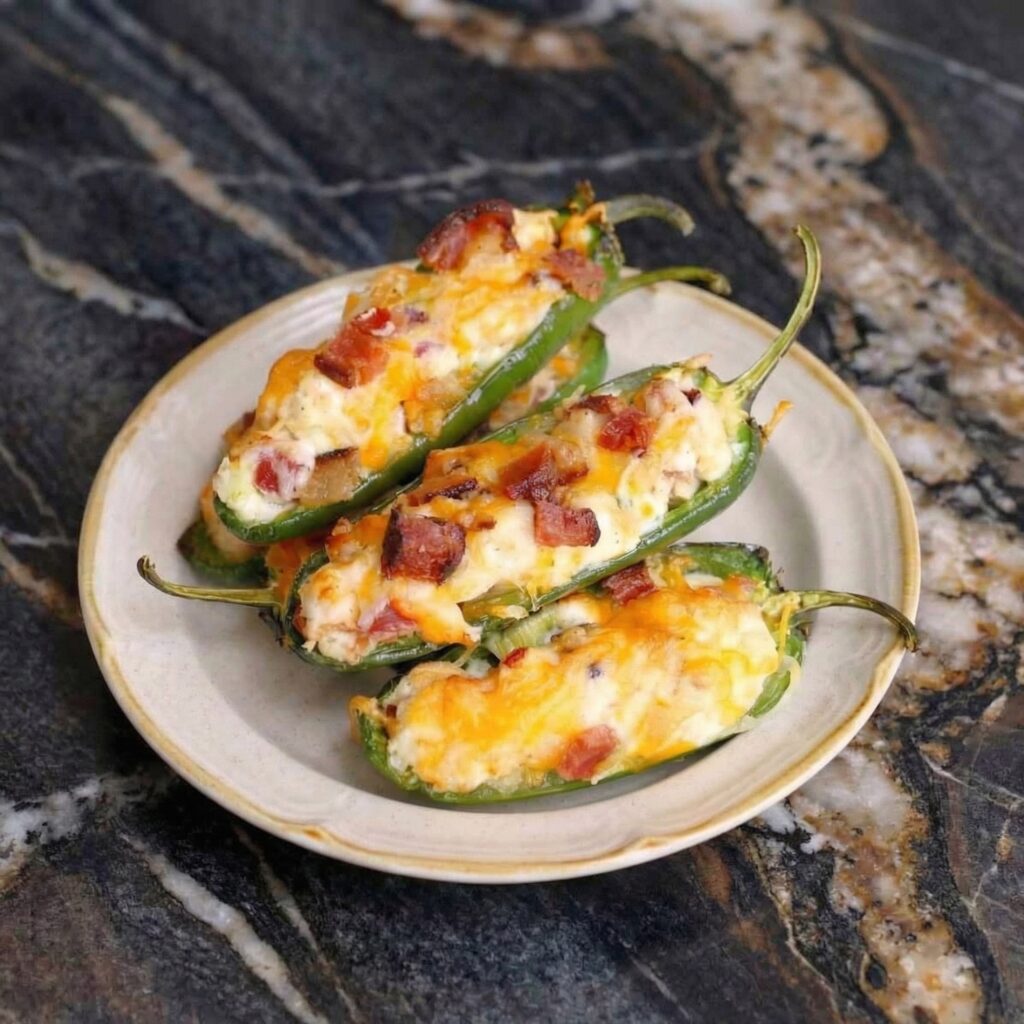
Jalapeño poppers are the ultimate spicy appetizer—fresh jalapeños stuffed with a creamy, cheesy filling, wrapped in smoky bacon, and baked until the bacon is crisp and the cheese is bubbly. They’re everything you want in a party snack: spicy, creamy, smoky, and utterly addictive.
Whether you’re watching the big game, hosting a backyard BBQ, or just craving something indulgent, these poppers deliver. This recipe gives you options—classic cream cheese filling, extra cheesy with cheddar, or even a spicy chorizo version. However you make them, they’ll disappear fast.
Ingredients
For the Jalapeño Poppers (makes about 20-24 poppers):
12 large fresh jalapeño peppers (look for straight, uniform peppers)
8 oz (225g) cream cheese, softened
1 cup (100g) shredded sharp cheddar cheese
¼ cup (25g) grated Parmesan cheese
2 cloves garlic, minced
¼ cup chopped fresh cilantro or parsley
1 teaspoon chili powder
½ teaspoon cumin
¼ teaspoon salt
12-16 slices thin-cut bacon, cut in half crosswise
Optional Add-Ins:
¼ cup cooked and crumbled chorizo or breakfast sausage
2 green onions, thinly sliced
Pickled jalapeños for extra heat
For Serving:
Ranch dressing or sour cream
Fresh cilantro, chopped
Lime wedges
Instructions
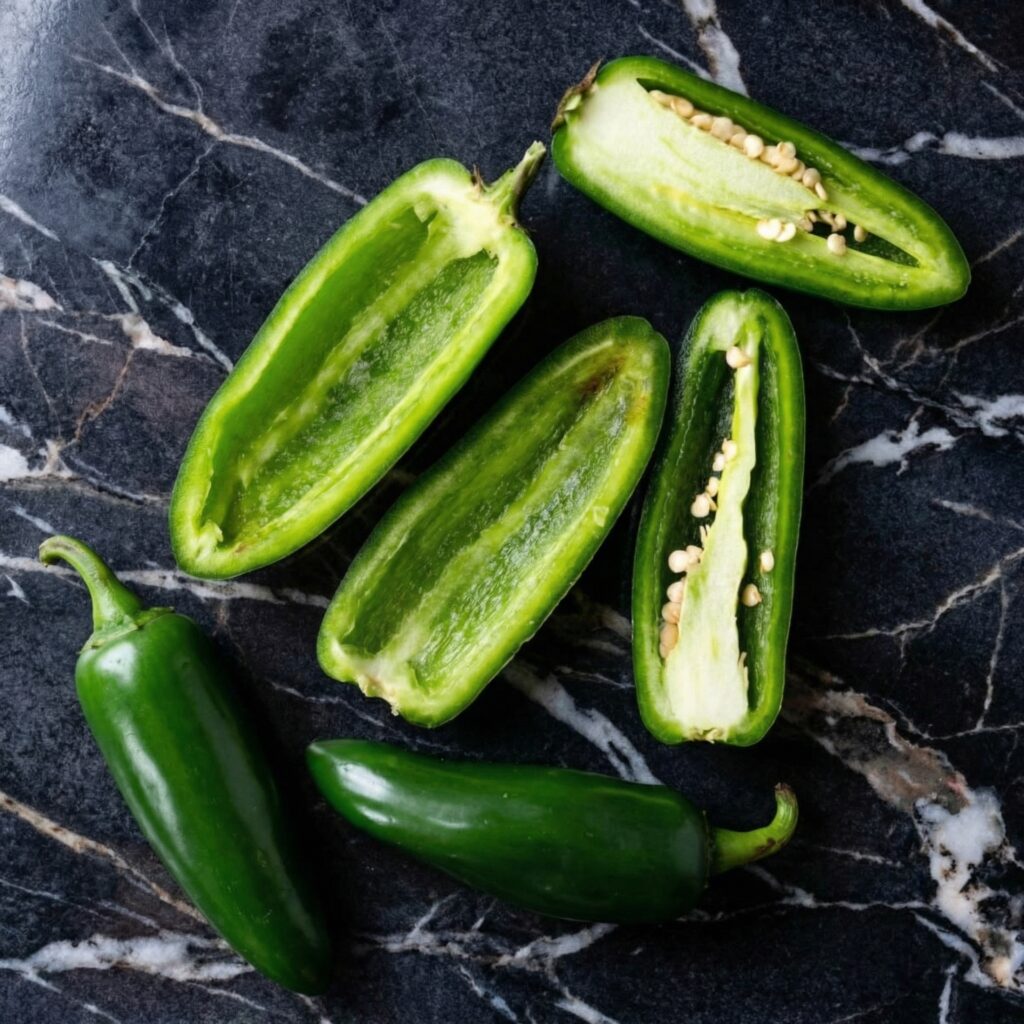
1. Prep the Jalapeños: Preheat your oven to 400°F (200°C). Line a baking sheet with foil and place a wire rack on top. Wearing gloves (highly recommended!), cut each jalapeño in half lengthwise. Use a small spoon to scrape out the seeds and white membranes. For milder poppers, remove all membranes; for spicier, leave some. Set aside.
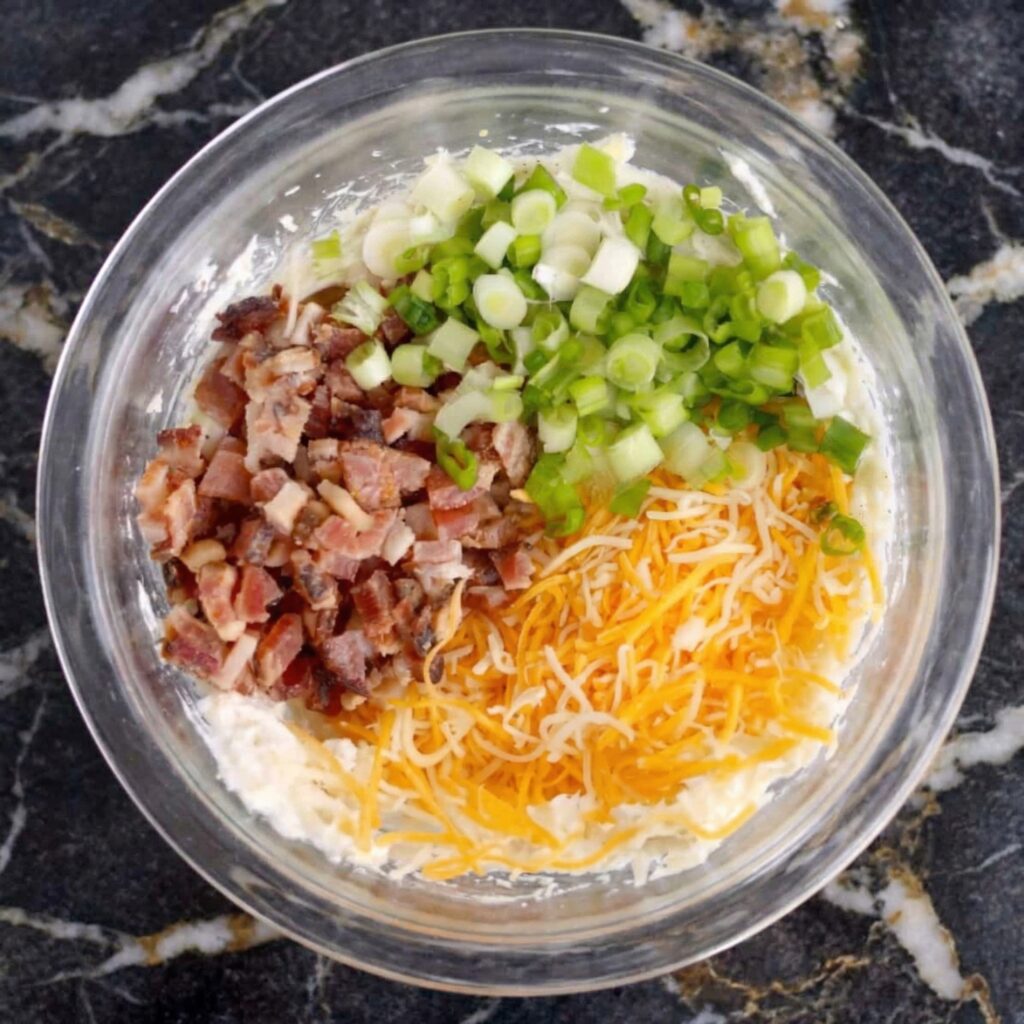
2. Make the Filling: In a medium bowl, combine the softened cream cheese, shredded cheddar, Parmesan, minced garlic, chopped cilantro, chili powder, cumin, and salt. Mix until well combined. If using any optional add-ins, fold them in now.
3. Fill the Jalapeños: Using a small spoon or a piping bag, fill each jalapeño half generously with the cream cheese mixture. Slightly overfill—it will create a nice dome.
4. Wrap with Bacon: Wrap each filled jalapeño half with a half-slice of bacon, stretching it slightly as you wrap to cover as much of the pepper as possible. Secure with a toothpick if needed. Place on the wire rack, seam-side down.
5. Bake: Bake for 20-25 minutes, until the bacon is crispy and browned and the filling is bubbly. For extra crispy bacon, broil for 1-2 minutes at the end, watching carefully to avoid burning.
6. Cool Slightly: Let the poppers rest on the rack for 5-10 minutes before serving—the filling will be extremely hot.
7. Serve: Arrange on a platter, garnish with fresh cilantro and lime wedges. Serve warm with ranch dressing or sour cream for dipping.
Pro-Tips for Jalapeño Popper Perfection
Wear Gloves: Jalapeño oils can burn your skin and eyes. Wear disposable gloves when handling and seeding the peppers.
Choose Straight Peppers: Straight jalapeños are easier to fill and wrap evenly.
Uniform Size: Pick peppers of similar size so they cook evenly.
Don’t Skip the Wire Rack: A rack allows air to circulate around the poppers, ensuring crispy bacon on all sides.
Use Thin-Cut Bacon: Thick bacon may not cook through before the peppers overcook. Thin-cut works best.
Stretch the Bacon: Gently stretching each bacon slice makes it thinner and helps it wrap more completely.
Make Ahead: You can assemble poppers up to 24 hours ahead, cover, and refrigerate. Add 5-10 minutes to baking time.
Air Fryer Option: Cook at 375°F for 10-12 minutes for extra crispy results.
These Ultimate Jalapeño Poppers are spicy, cheesy, and absolutely irresistible.
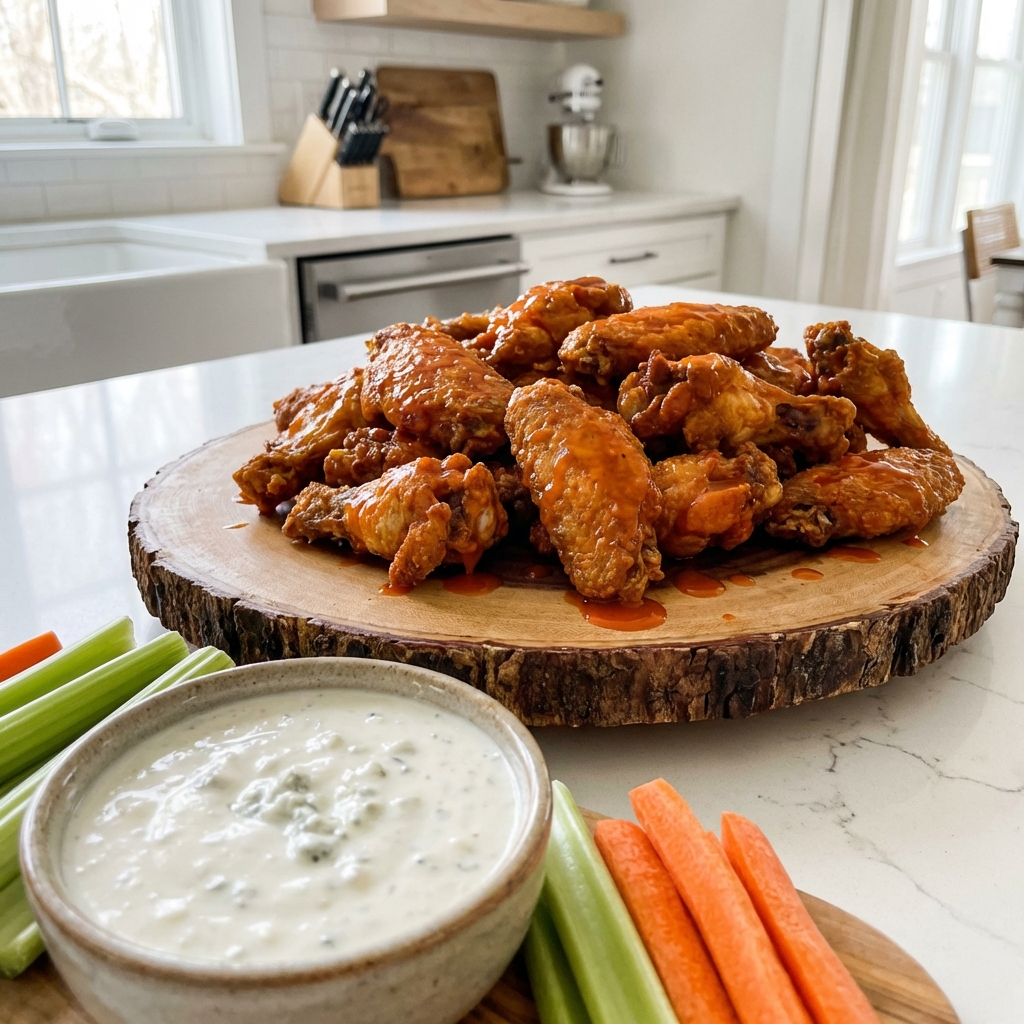
Bring the authentic sports bar experience home with these Classic Buffalo Chicken Wings. This recipe guarantees wings with shatteringly crisp skin and juicy meat, perfectly coated in the iconic balance of spicy, tangy, and buttery sauce. Paired with cool, creamy blue cheese dressing and crisp celery, they’re the ultimate crowd-pleasing appetizer for game day, parties, or any craving for legendary wings.
The Science of Crispy Skin & Balanced Sauce
The secret to wings that stay crispy even after saucing lies in a two-step cooking process: thorough drying and a dual-temperature fry. Patting the wings completely dry and letting them air-uncovered in the fridge removes surface moisture, which is the enemy of crispness.
The first fry at a lower temperature (275°F / 135°C) gently renders out the fat under the skin without aggressively browning the exterior. The second fry at high heat (400°F / 205°C) then rapidly blisters and crisps the skin, creating a sturdy, crackly exterior that can hold sauce without turning soggy.
The classic Buffalo sauce itself is an emulsion of Frank’s RedHot sauce and melted butter—the butter rounds out the vinegar’s sharpness and helps the sauce cling to the wings, while the cayenne pepper-based hot sauce provides the authentic flavor foundation that cannot be replicated with other brands.
Ingredients
For the Wings:
2 lbs (900g) chicken wings, split into drumettes and flats, tips removed
2 teaspoons baking powder (NOT baking soda)
1 teaspoon kosher salt
½ teaspoon garlic powder
½ teaspoon black pepper
Vegetable or peanut oil, for frying (4-6 cups)
For the Classic Buffalo Sauce:
½ cup (120ml) Frank’s RedHot Original Cayenne Pepper Sauce
6 tablespoons (85g) unsalted butter
1 tablespoon white vinegar
½ teaspoon Worcestershire sauce
¼ teaspoon garlic powder
¼ teaspoon cayenne pepper (optional, for extra heat)
For Serving:
Blue cheese or ranch dressing
Celery sticks
Carrot sticks
Instructions
1. Dry & Season the Wings: Pat the wing pieces completely dry with paper towels—this is critical. Place them in a large bowl. In a small bowl, mix the baking powder, salt, garlic powder, and black pepper. Sprinkle the mixture over the wings and toss thoroughly until each piece is evenly coated.
Arrange the wings in a single layer on a wire rack set over a baking sheet. Refrigerate, uncovered, for at least 4 hours, or ideally overnight. This drying step is non-negotiable for crispness.
2. First Fry (Low-Temperature Render): Heat oil in a large, heavy pot or Dutch oven to 275°F (135°C). Working in batches to avoid crowding, fry the wings for 10-12 minutes. They will not be browned at this stage; this step cooks them through and starts to render fat. Remove with a slotted spoon or spider and drain on a fresh wire rack. Let the oil return to temperature between batches.
3. Second Fry (High-Temperature Crisp): Increase the oil temperature to 400°F (205°C). Fry the wings again, in batches, for 6-8 minutes until deeply golden brown and extremely crisp. Drain on the wire rack. The wings should feel very light and sound hollow when tapped.
4. Make the Buffalo Sauce: While the wings fry for the second time, combine the Frank’s RedHot, butter, vinegar, Worcestershire, and garlic powder in a small saucepan. Heat over low, stirring until the butter melts and the sauce is smooth and emulsified. Keep warm.
5. Sauce & Serve: Place the hot, crispy wings in a large, clean bowl. Pour the warm sauce over them. Toss vigorously until evenly coated. Transfer to a platter and serve immediately with blue cheese dressing and celery sticks.
Pro-Tips for Wing Mastery
Baking Powder, Not Soda: Baking powder alkalizes the skin’s surface, helping it crisp and brown without any soapy taste.
Dry Thoroughly: The overnight fridge dry is the single best thing you can do for crispy wings.
Double-Fry Method: Don’t skip the two-temperature fry—it’s the professional technique for wings that stay crispy for hours.
Use a Thermometer: Maintaining correct oil temperatures is essential. A deep-fry/candy thermometer is your best tool.
Frank’s is Non-Negotiable: The original Buffalo wing sauce was made with Frank’s RedHot. Its unique flavor profile is key to authenticity.
Butter Ratio: The butter should mellow the heat but not make the sauce greasy. Adjust to your taste.
Sauce While Hot: Toss the wings in sauce the moment they come out of the fryer for maximum adhesion.
Baking Option: For an oven method, after the overnight dry, bake on a wire rack at 425°F (220°C) for 40-50 minutes, flipping halfway, until very crisp.
These Classic Buffalo Chicken Wings are a guaranteed hit.