Tag: fudgy brownies

  • Fudgy Brownies with Pecans: Rich, Nutty and Decadent

    Fudgy Brownies with Pecans: Rich, Nutty and Decadent

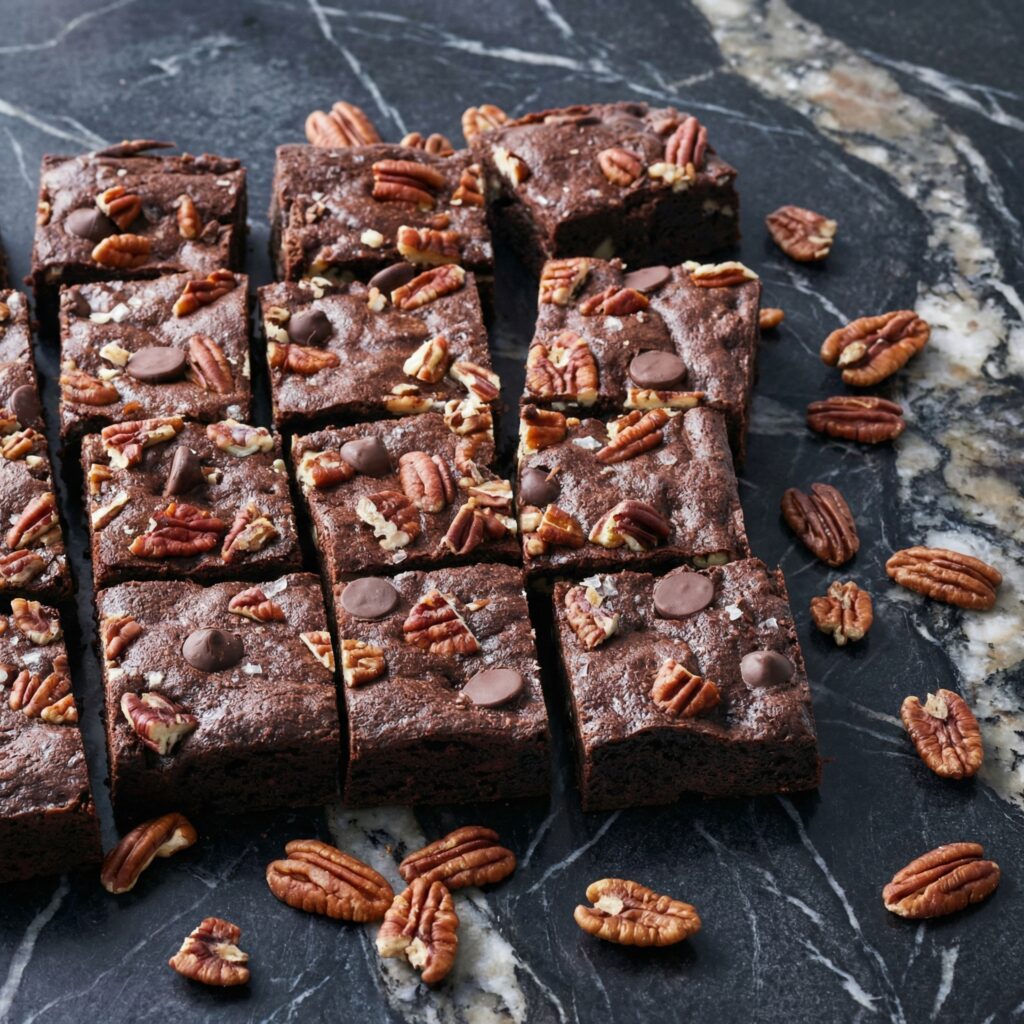
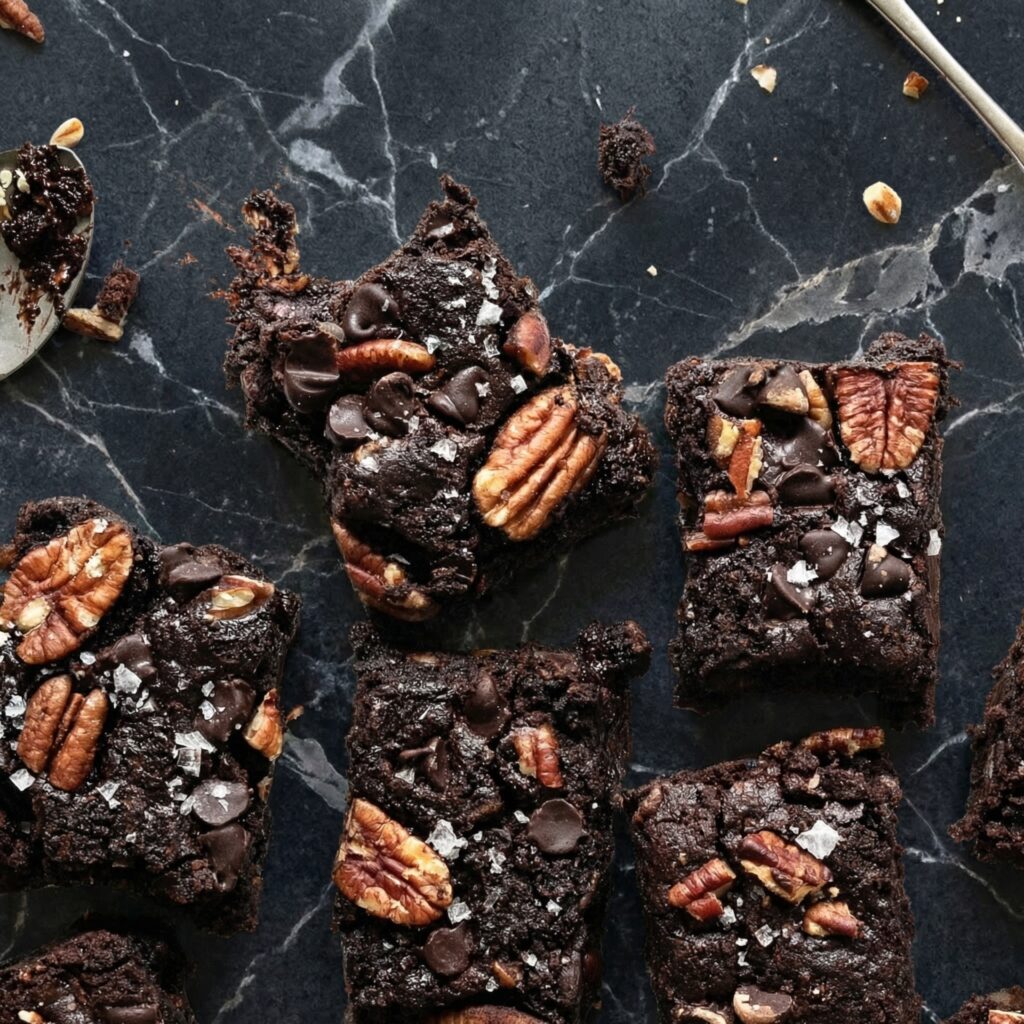
    These fudgy brownies are the ultimate indulgence—intensely chocolatey, dense, and fudgy, with a crackly, paper-thin top crust and a generous amount of toasted pecans in every bite. The pecans add a wonderful nutty crunch that perfectly complements the rich chocolate.

    Made with both cocoa powder and melted chocolate for maximum depth, and just the right amount of flour to hold it together without compromising that fudgy texture. This is the brownie recipe for true chocolate lovers.

    Ingredients
    For the Fudgy Brownies (makes one 8×8 or 9×9 pan):

    • ½ cup (1 stick / 113g) unsalted butter
    • 4 oz (115g) bittersweet or semi-sweet chocolate, roughly chopped
    • 1 cup (200g) granulated sugar
    • 2 large eggs, room temperature
    • 1 teaspoon vanilla extract
    • ⅓ cup (40g) unsweetened cocoa powder (Dutch-process preferred)
    • ½ cup (65g) all-purpose flour
    • ¼ teaspoon salt
    • 1 cup (120g) pecans, toasted and roughly chopped

    Instructions

    1. Toast the Pecans: Preheat your oven to 350°F (175°C). Spread the pecans on a baking sheet and toast for 5-7 minutes until fragrant. Let cool, then roughly chop.

    2. Prep and Preheat: Keep oven at 350°F (175°C). Line an 8×8 or 9×9-inch baking pan with parchment paper, leaving overhang on two sides for easy removal.

    3. Melt Butter and Chocolate: In a medium saucepan over low heat, melt the butter and chopped chocolate together, stirring constantly until smooth. Remove from heat and let cool slightly.

    4. Add Sugar: Whisk the granulated sugar into the melted chocolate mixture until well combined. The mixture will be grainy—that’s fine.

    5. Add Eggs and Vanilla: Add the eggs one at a time, whisking vigorously after each addition until the batter becomes smooth, glossy, and thickened.

    This is crucial for that crackly top—beat until the mixture pulls away from the sides of the pan slightly and looks lightened in color. Whisk in the vanilla.

    6. Sift in Dry Ingredients: Sift the cocoa powder, flour, and salt over the batter. Fold gently with a spatula until just combined—do not overmix.

    7. Fold in Pecans: Fold in the toasted chopped pecans until evenly distributed.

    8. Transfer to Pan: Pour the batter into the prepared pan and spread evenly. The batter will be thick.

    9. Bake: Bake for 20-25 minutes (for 8×8) or 18-22 minutes (for 9×9), until a toothpick inserted in the center comes out with a few moist crumbs attached—not wet batter, but not clean. For fudgy brownies, slightly underbake.

    10. Cool Completely: Let the brownies cool completely in the pan on a wire rack. This allows them to set properly. For clean slices, refrigerate for 1-2 hours before cutting.

    11. Slice and Serve: Use the parchment overhang to lift the brownies out of the pan. Place on a cutting board and slice into squares with a sharp knife. Wipe the knife clean between cuts for clean edges.
    Pro-Tips for Fudgy Brownie Perfection

    • Don’t Overbake: Fudgy brownies are all about underbaking. Pull them when a toothpick comes out with moist crumbs, not clean.
    • Toast the Pecans: Toasting brings out their nutty flavor and keeps them crunchy in the brownies.
    • Beat the Eggs Well: That crackly top comes from beating eggs and sugar until thick and ribbony. Don’t skimp on this step.
    • Use Good Chocolate: Since chocolate is the star, use high-quality chocolate. It makes a difference.
    • Room Temperature Eggs: Cold eggs can seize the chocolate mixture. Let them warm up first.
    • Line with Parchment: Parchment overhang makes removal and slicing infinitely easier.
    • Chill Before Slicing: For clean, perfect squares, refrigerate the cooled brownies before cutting.
    • Customize: Add chocolate chips, swirl in caramel, or top with flaky sea salt.

    These Fudgy Brownies with Pecans are rich, nutty, and absolutely decadent.
  • Red Velvet Brownies (Fudgy, Dreamy, and Swirled with Cream Cheese)

    Red Velvet Brownies (Fudgy, Dreamy, and Swirled with Cream Cheese)

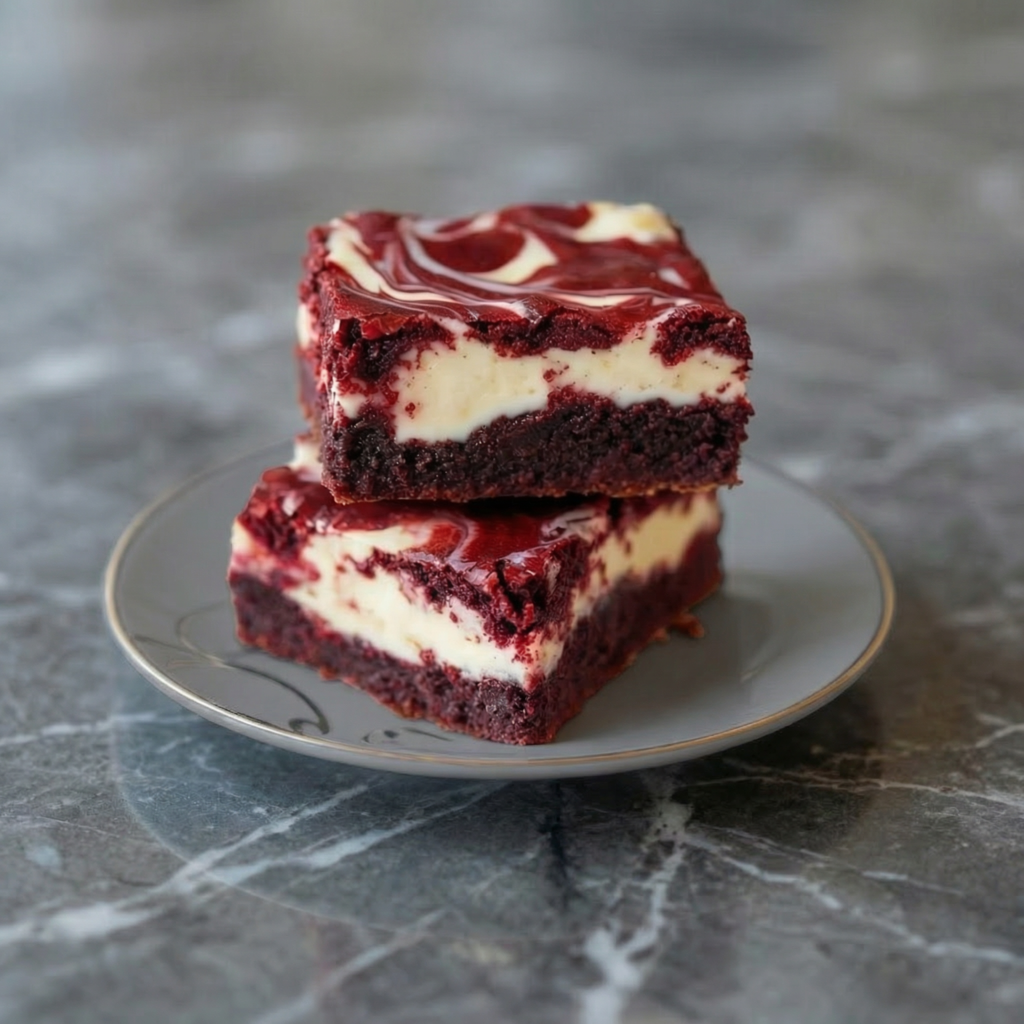
    Let’s talk about the perfect marriage of two desserts: red velvet cake and fudgy brownies. These red velvet brownies are everything you could want—rich, chocolatey, strikingly beautiful, and swirled with creamy cheesecake goodness.

    They have the signature tang of red velvet, the fudgy texture of a perfect brownie, and a gorgeous cream cheese swirl that makes every bite irresistible. They’re perfect for Valentine’s Day, Christmas, or any time you want to impress with something stunning and delicious. And the best part? They’re easier to make than you’d think. Let’s get swirling.

    Ingredients

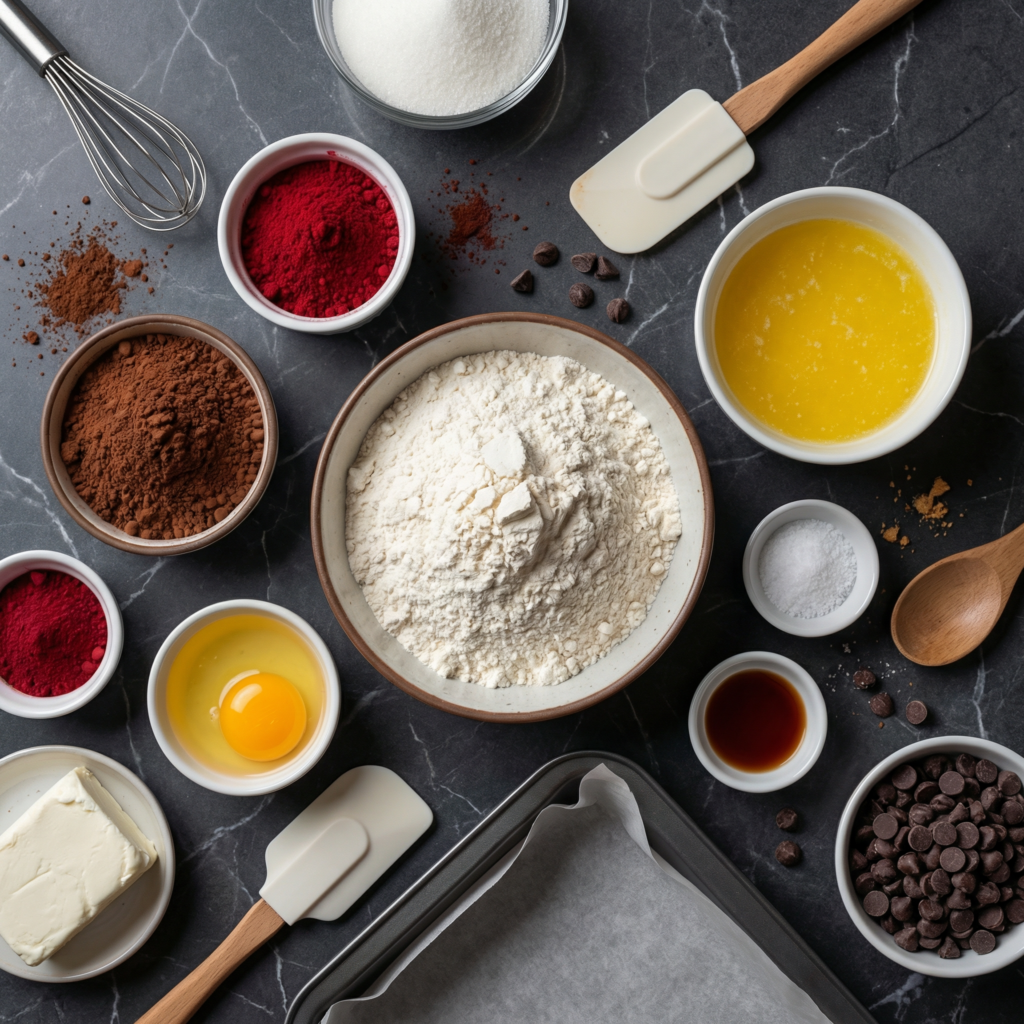
    For the Red Velvet Brownies (Makes 16 brownies):

    • ¾ cup (170g) unsalted butter
    • 1 cup (200g) granulated sugar
    • ½ cup (100g) packed brown sugar
    • 2 large eggs, at room temperature
    • 2 teaspoons vanilla extract
    • 1 tablespoon red gel food coloring
    • 1 teaspoon white vinegar
    • 1 cup (125g) all-purpose flour
    • ¼ cup (25g) unsweetened cocoa powder
    • ½ teaspoon salt

    For the Cream Cheese Swirl:

    • 8 oz (225g) cream cheese, softened to room temperature
    • ¼ cup (50g) granulated sugar
    • 1 large egg yolk
    • ½ teaspoon vanilla extract

    For Serving (Optional):

    • Powdered sugar, for dusting

    Instructions

    1. Preheat and Prep: Preheat your oven to 350°F (175°C). Grease an 8×8 or 9×9-inch baking pan and line it with parchment paper, leaving overhang on two sides for easy removal .

    2. Melt Butter: In a medium saucepan or microwave-safe bowl, melt the butter. Let it cool slightly .

    3. Combine Wet Ingredients: In a large bowl, whisk together the melted butter, granulated sugar, and brown sugar until well combined. Whisk in the eggs one at a time, then the vanilla extract, red gel food coloring, and white vinegar until smooth and uniformly red .

    4. Add Dry Ingredients: Sift the flour, cocoa powder, and salt into the wet mixture. Fold gently with a spatula until just combined. Do not overmix .

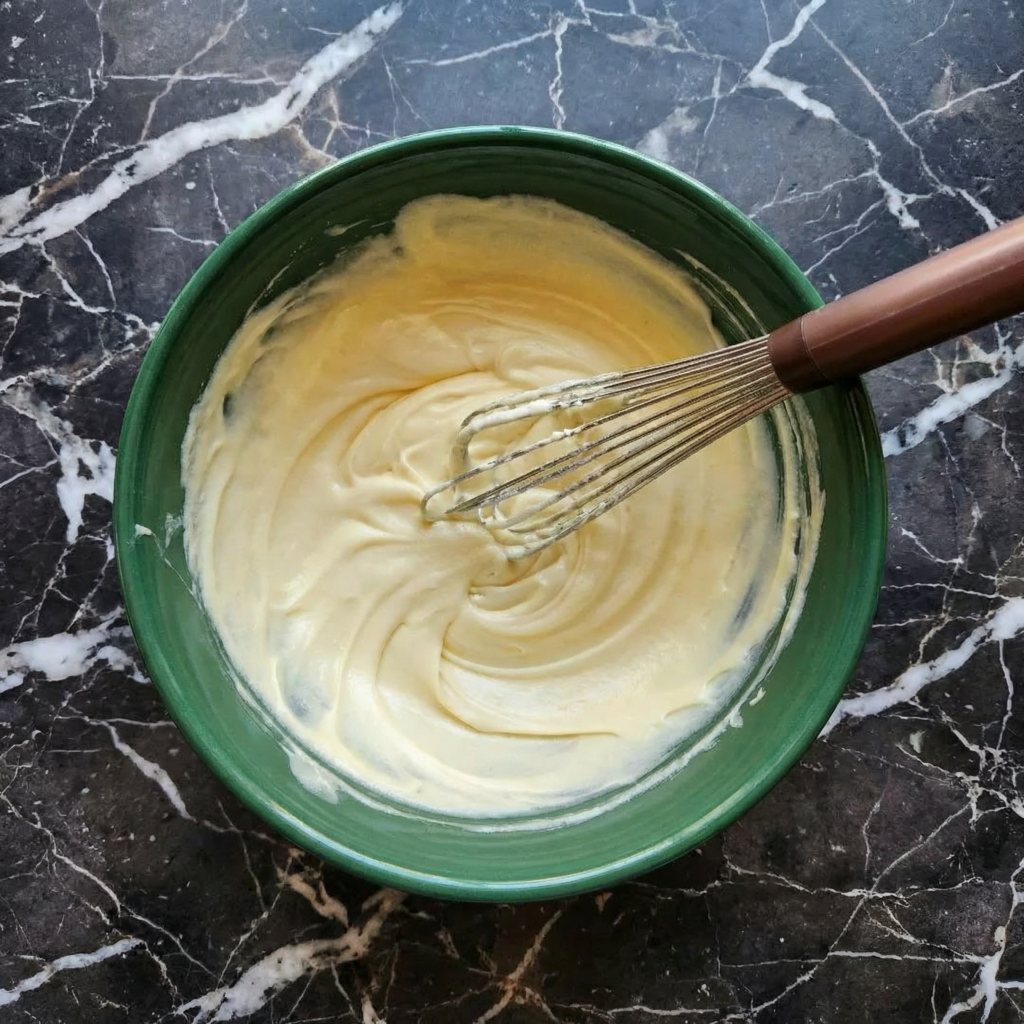
    5. Make Cream Cheese Swirl: In a separate bowl, beat the softened cream cheese and granulated sugar until smooth. Add the egg yolk and vanilla extract, beating until well combined and creamy .

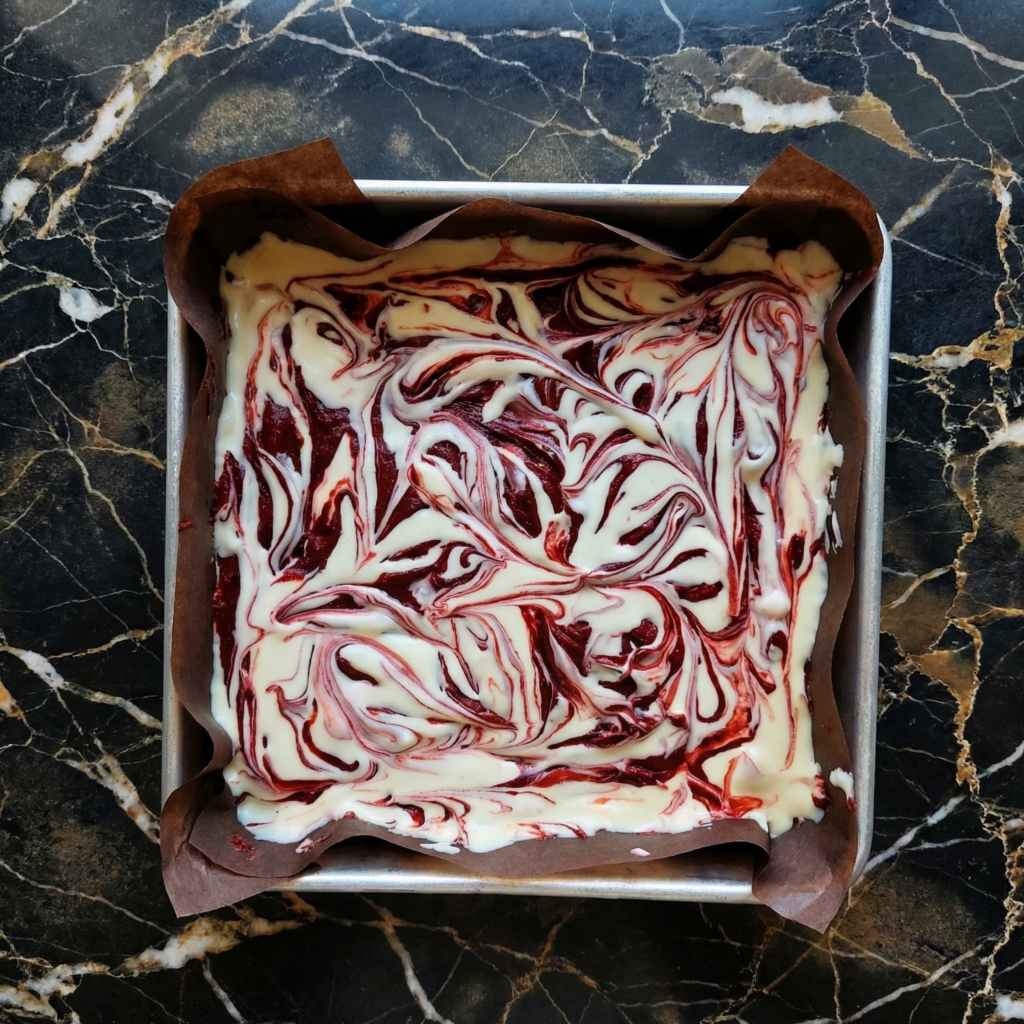
    6. Assemble: Pour the red velvet batter into the prepared pan and spread evenly. Drop spoonfuls of the cream cheese mixture over the batter. Use a knife or toothpick to gently swirl the cream cheese into the red velvet batter, creating a marbled effect. Don’t over-swirl—you want distinct pockets of cream cheese .

    7. Bake: Bake for 30-35 minutes until the edges are set and a toothpick inserted into the center comes out with a few moist crumbs (not wet batter). The center should still look slightly soft .

    8. Cool Completely: Let the brownies cool completely in the pan on a wire rack. This is essential for clean slices—at least 2 hours .

    9. Chill (Optional but Recommended): For the cleanest cuts, refrigerate the cooled brownies for 1-2 hours before slicing .

    10. Slice: Use the parchment overhang to lift the brownies out of the pan. Place on a cutting board and slice into squares with a sharp knife, wiping clean between cuts .

    11. Serve: Dust with powdered sugar just before serving if desired .

    12. Store: Store in an airtight container in the refrigerator for up to 5 days .

    Pro-Tips for Red Velvet Brownie Greatness

    • Use Gel Food Coloring: Liquid food coloring can thin the batter and won’t give you that vibrant red color. Gel is the way to go .
    • Room Temperature Ingredients: For the cream cheese swirl, make sure the cream cheese is softened to avoid lumps .
    • Don’t Over-Swirl: A few gentle swirls are enough. Over-swirling will muddy the beautiful red and white contrast .
    • Cool Completely: These brownies need time to set up. Don’t rush the cooling process .
    • Chill Before Slicing: For picture-perfect squares, refrigerate before cutting. A warm knife helps too .
  • Peanut Butter Brownies: The Ultimate Swirled Fudgy Dessert

    Peanut Butter Brownies: The Ultimate Swirled Fudgy Dessert

    Why choose between chocolate and peanut butter when you can have both in every bite? These brownies start with an incredibly rich, one-bowl fudgy chocolate base. A simple, creamy peanut butter mixture is then swirled on top, creating pockets of salty-sweet flavor that perfectly complement the deep chocolate.

    The result is a brownie that’s visually stunning, supremely moist, and hits all the right notes of sweet, salty, and decadent. They’re surprisingly easy to make but look and taste like they came from a professional bakery, making them the ultimate treat for any occasion.

    The Science of the Swirl & Fudgy Texture

    The magic of these brownies lies in two areas: fat content and viscosity. The fudgy brownie base gets its dense, moist texture from a higher fat-to-flour ratio, using both butter and chocolate, and minimal leavening. This creates a batter that sets firmly but remains tender.

    The peanut butter swirl is engineered to have a slightly thicker consistency than the brownie batter. This difference in viscosity allows the two batters to remain distinct when swirled together with a knife or skewer. As they bake, the peanut butter mixture softens and sinks slightly but doesn’t fully incorporate, creating those beautiful marbled pockets.

    The salt in the peanut butter layer also heightens the flavor of the chocolate, making it taste even richer through the principle of taste contrast. This careful balance ensures every square delivers the perfect ratio of chocolate to peanut butter.

    Ingredients

    For the Fudgy Brownie Base:

    • ½ cup (1 stick / 113g) unsalted butter
    • 6 oz (170g) semi-sweet chocolate, chopped
    • ¾ cup (150g) granulated sugar
    • ⅓ cup (70g) packed brown sugar
    • 2 large eggs + 1 egg yolk, room temperature
    • 1 teaspoon vanilla extract
    • ½ cup (63g) all-purpose flour
    • 2 tablespoons unsweetened cocoa powder
    • ½ teaspoon salt

    For the Peanut Butter Swirl:

    • ½ cup (125g) creamy peanut butter
    • 3 tablespoons powdered sugar
    • 1 tablespoon all-purpose flour
    • 1 tablespoon milk or cream
    • ¼ teaspoon vanilla extract
    • Pinch of salt

    Instructions

    1. The Melted Chocolate & Butter: In a medium heatproof bowl set over a saucepan of simmering water (or using a microwave in short bursts), melt the butter and chopped chocolate together. Stir until completely smooth and glossy. Remove from heat and let cool slightly.

    2. The Thickened Brownie Batter: Whisk the granulated sugar, brown sugar, eggs, egg yolk, and vanilla into the slightly cooled chocolate mixture until the batter is thick, smooth, and slightly paler in color. Gently fold in the flour, cocoa powder, and salt until just combined.

    3. The Spread Brownie Base: Line an 8×8 inch baking pan with parchment paper. Pour the brownie batter into the pan and use a spatula to spread it into an even layer.

    4. The Mixed Peanut Butter Swirl: In a small bowl, stir together the peanut butter, powdered sugar, flour, milk, vanilla, and salt until completely smooth and slightly thickened.

    5. The Dolloped & Ready-to-Swirl Pan: Drop spoonfuls of the peanut butter mixture randomly over the surface of the brownie batter.

    6. The Swirled Pan Before Baking: Use a knife or a skewer to gently swirl the peanut butter dollops into the brownie batter. Drag the tool in wide arcs and figure-eights to create a marbled pattern, being careful not to over-mix.

    7. The Baked & Cooled Brownies: Bake at 350°F (175°C) for 25-30 minutes, until the edges are set and a toothpick inserted into a chocolatey part comes out with a few moist crumbs. The center should still look slightly soft. Let cool completely in the pan on a wire rack.

    8. The Cut & Served Brownies: Once completely cool, lift the brownie slab from the pan using the parchment paper. Place on a cutting board and slice into squares with a sharp knife.

    Pro-Tips for Brownie Perfection

    • Don’t Overmix the Batter: Once you add the flour, fold gently until just combined to avoid developing gluten, which would make the brownies cakey.
    • Cool the Chocolate Slightly: Adding eggs to very hot chocolate can cook them. Let the mixture cool for 5-10 minutes.
    • Room Temperature Eggs: They incorporate more easily and help create a shiny, crackly top.
    • Consistent Peanut Butter: Use a standard, creamy commercial peanut butter (not natural/oily) for the most reliable swirl consistency.
    • Swirl, Don’t Mix: The goal is a marbled effect. Use a gentle hand and make just 4-5 passes with the knife.
    • Undercook Slightly: For the fudgiest texture, err on the side of under-baking. The brownies will continue to set as they cool.
    • Cool Completely: Cutting warm brownies leads to a messy, crumbly result. Patience is key for clean squares.
    • Storage: Store in an airtight container at room temperature for 3 days, or freeze for up to 3 months.
    • Flavor Boost: Add ½ cup of chocolate chips to the brownie batter, or a pinch of espresso powder to deepen the chocolate flavor.
    • Serving: For an extra treat, serve slightly warm with a scoop of vanilla ice cream.

    These Peanut Butter Brownies are a guaranteed crowd-pleaser and a testament to a perfect flavor pairing.