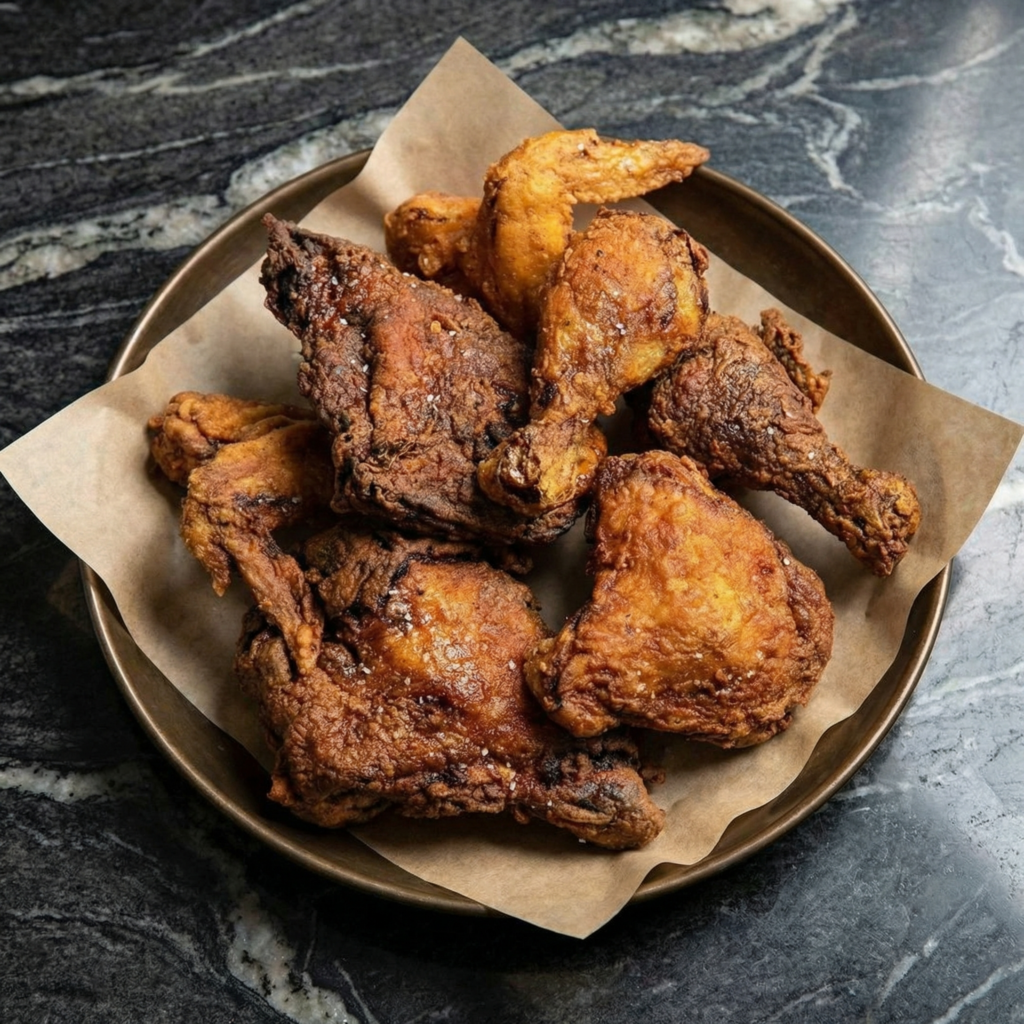
Few dishes can match the irresistible combination of crispy skin, juicy meat, and bold, fiery flavor that defines classic spicy fried chicken. From backyard cookouts to late-night cravings, this dish is comfort food elevated with a kick.
Making it at home allows you to control every element—from the heat level to the crunch—resulting in a perfectly golden, mouthwatering masterpiece.
This step-by-step guide will teach you how to make classic spicy fried chicken that’s crunchy on the outside, tender on the inside, and packed with flavor.
Whether you’re a beginner or a seasoned cook, you’ll love how achievable this iconic dish is.
Why You’ll Love This Recipe
- Extra-crispy coating with a perfect crunch
- Juicy, flavorful chicken with a spicy kick
- Perfect for dinners, gatherings, or meal prep
- Simple pantry ingredients with big flavor
- Completely customizable heat level
Classic spicy fried chicken is all about technique and seasoning, and once mastered, it becomes an all-time favorite.
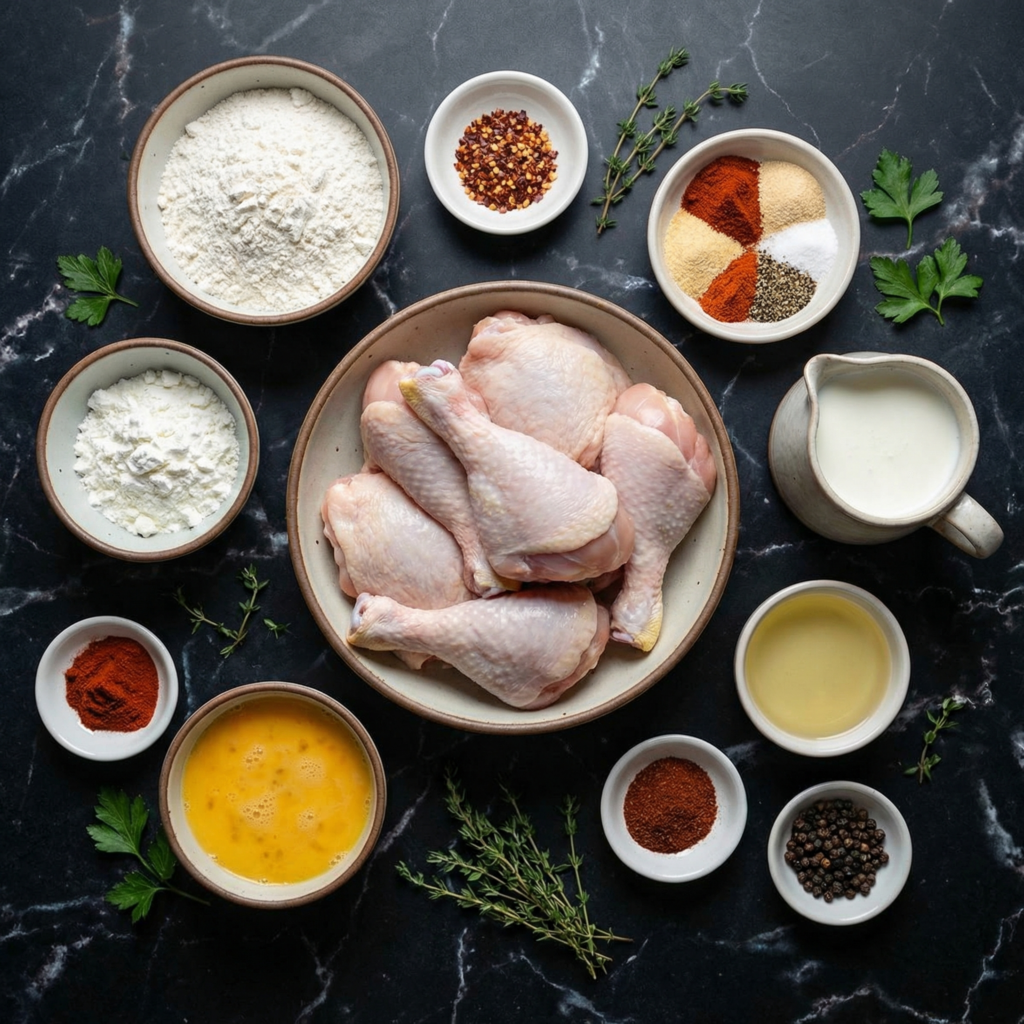
Ingredients You’ll Need
For the Chicken:
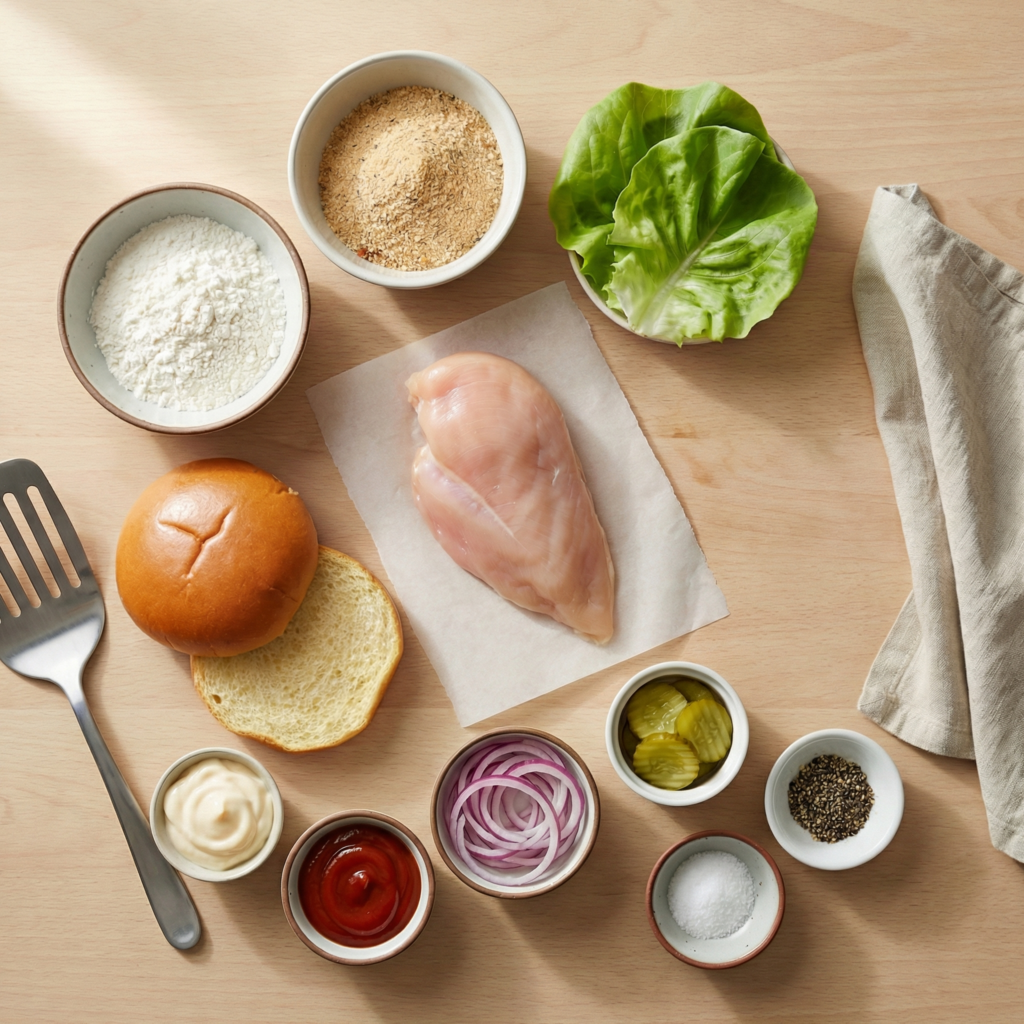
- 3–4 pounds chicken pieces (legs, thighs, wings, or breasts)
- 2 cups buttermilk
- 1 teaspoon hot sauce (optional, for extra heat)
- Salt and black pepper to taste
For the Coating:
- 2 cups all-purpose flour
- 1 tablespoon paprika
- 1 tablespoon cayenne pepper (adjust to taste)
- 1 teaspoon garlic powder
- 1 teaspoon onion powder
- 1 teaspoon dried thyme or oregano
- ½ teaspoon black pepper
- 1 teaspoon salt
For Frying:
- Vegetable oil or canola oil, for deep frying (enough to fill 2–3 inches in a heavy skillet or Dutch oven)
Optional for serving: lemon wedges, honey, or hot sauce for drizzling.
Step 1: Brine the Chicken (Optional but Recommended)
For extra juiciness, soak the chicken in a simple brine for 1–2 hours or overnight.
A basic brine can be made with 4 cups water, ¼ cup salt, and ¼ cup sugar. Rinse the chicken after brining and pat dry.
Brining ensures each bite is tender and flavorful all the way through.
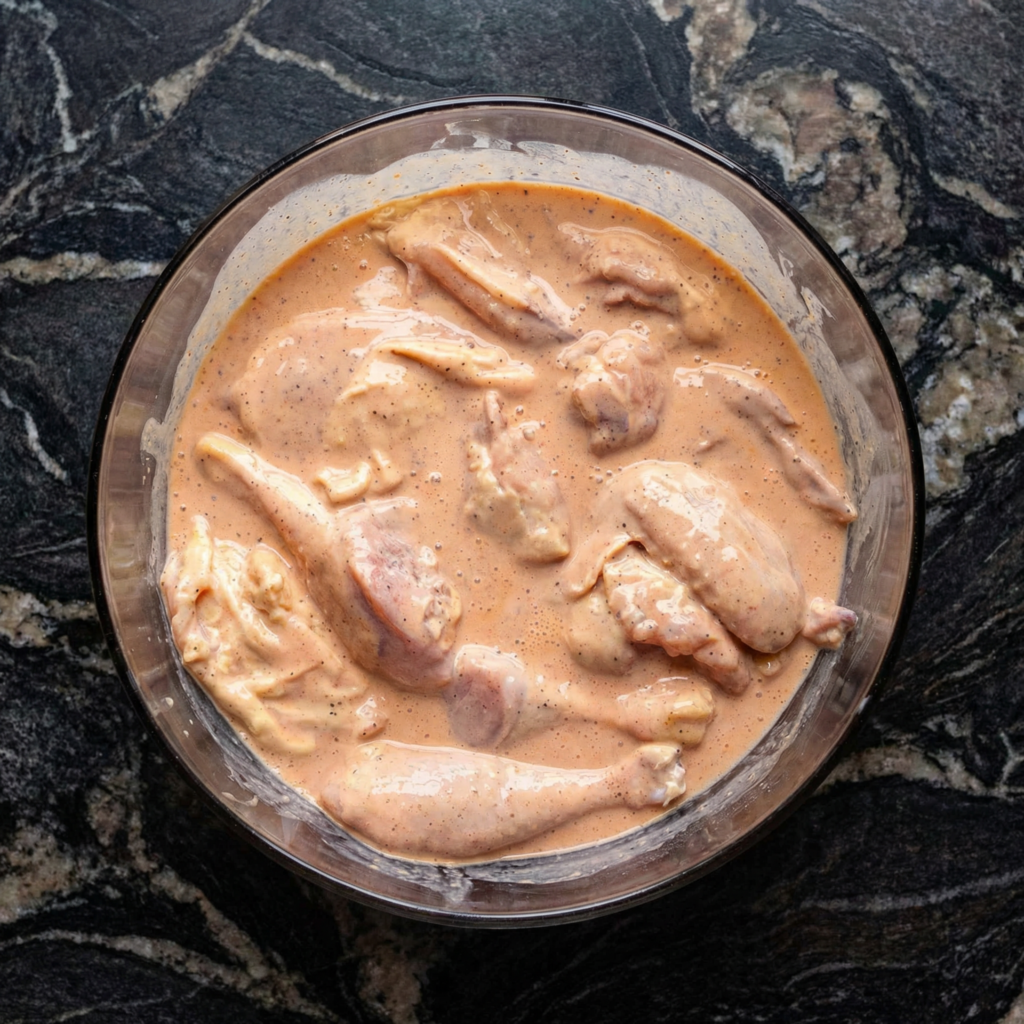
Step 2: Marinate in Buttermilk
In a large bowl, mix the buttermilk with 1 teaspoon hot sauce and a pinch of salt and pepper.
Submerge the chicken pieces completely and refrigerate for at least 2 hours, preferably overnight.
The acidity of the buttermilk tenderizes the meat while imparting subtle tang that complements the spicy coating.
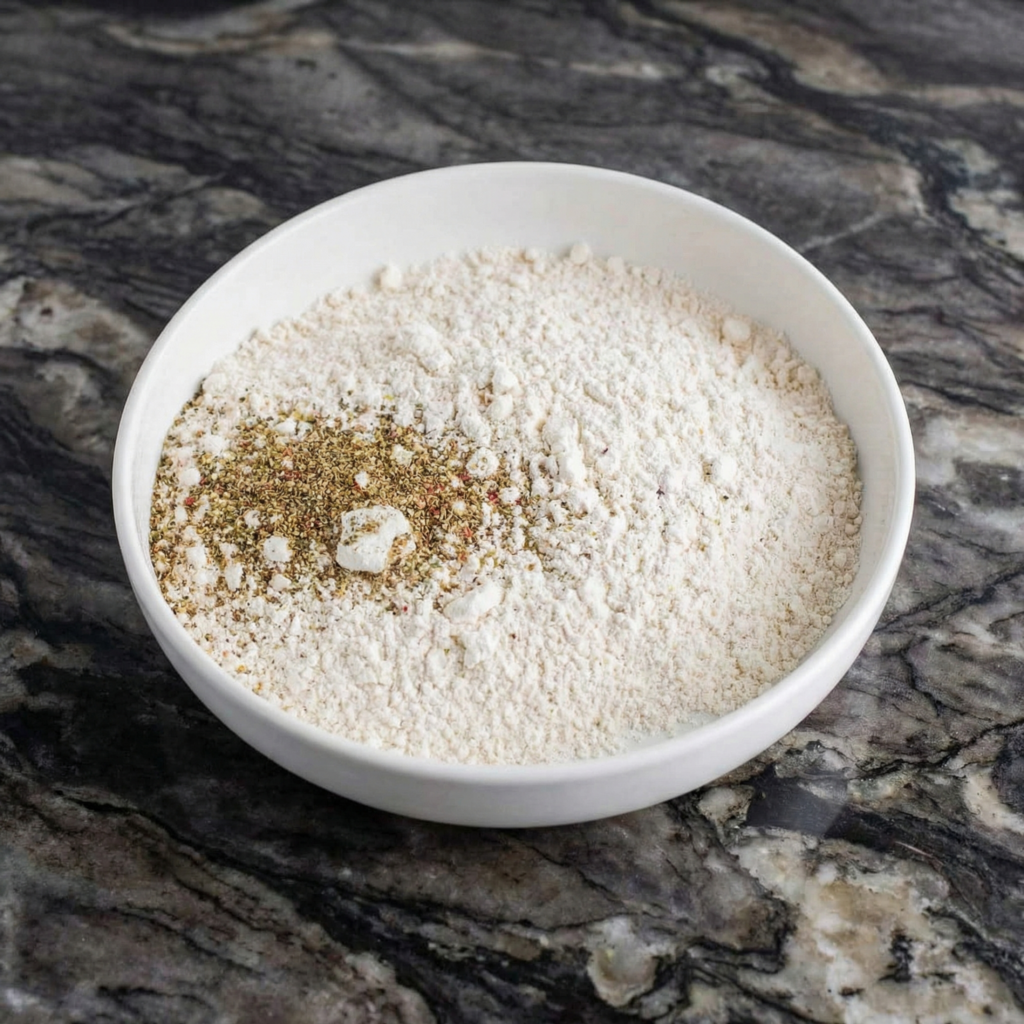
Step 3: Prepare the Flour Coating
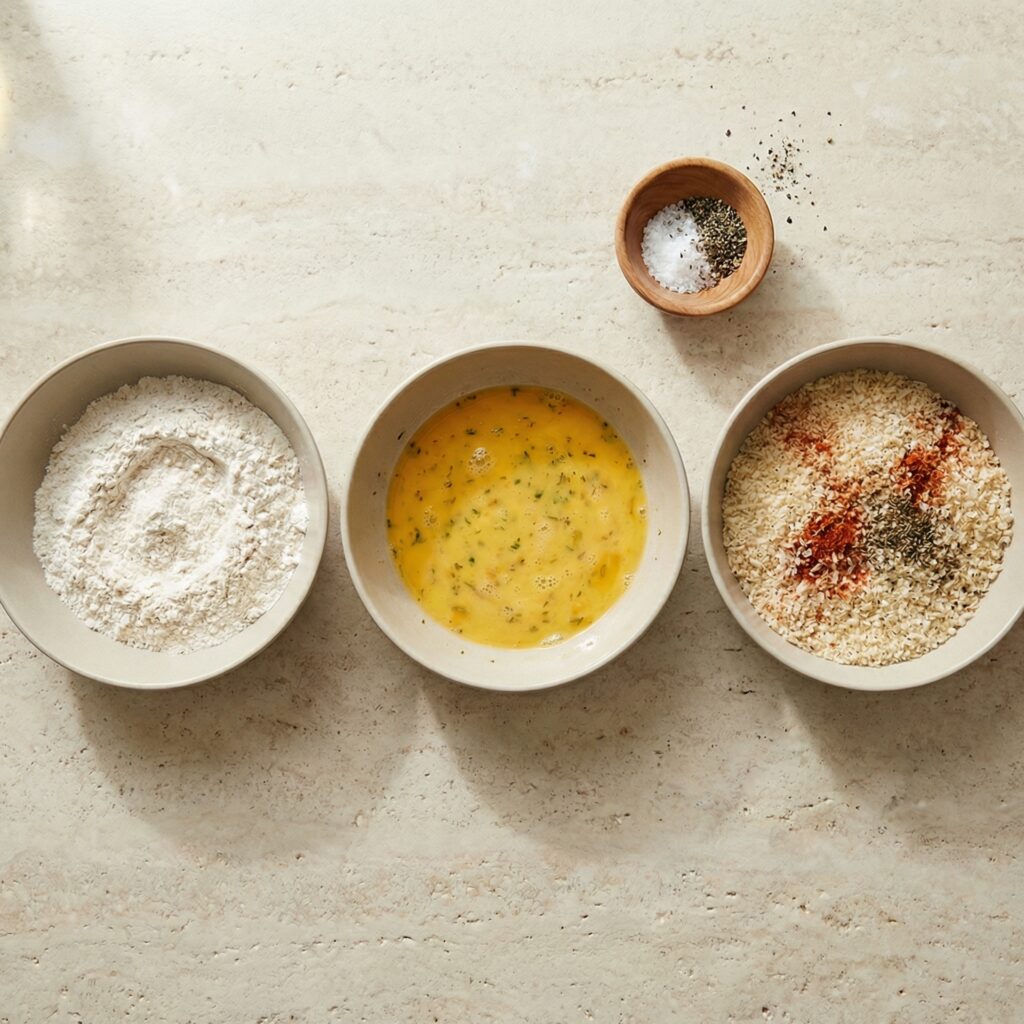
In a shallow dish, combine flour, paprika, cayenne pepper, garlic powder, onion powder, dried thyme, salt, and black pepper.
Mix thoroughly so that all spices are evenly distributed.
This seasoned flour is the secret to achieving that flavorful, fiery crust.
Step 4: Dredge the Chicken
Remove the chicken from the buttermilk, allowing excess to drip off.
Coat each piece thoroughly in the seasoned flour mixture. Press gently so the flour adheres well.
For extra crunch, double dredge by dipping back into the buttermilk and then into the flour again.
Place coated pieces on a wire rack while preparing the oil. Avoid stacking to prevent sticking.
Step 5: Heat the Oil
Pour oil into a heavy skillet, deep frying pan, or Dutch oven until it reaches 2–3 inches deep.
Heat to 350°F (175°C) using a candy or deep-fry thermometer.
Maintaining the proper temperature is crucial: too low and the chicken absorbs oil; too high and the coating burns before the meat cooks.
Step 6: Fry the Chicken
Carefully lower a few pieces of chicken into the hot oil. Do not overcrowd the pan.
Fry for 12–15 minutes for wings or smaller pieces, and 18–20 minutes for larger thighs or breasts, turning occasionally for even browning.
The crust should turn golden brown, crispy, and flavorful.
Check doneness with a thermometer: chicken should reach an internal temperature of 165°F (74°C).
Step 7: Drain and Rest
Remove chicken from the oil and place on a wire rack set over a baking sheet.
This allows excess oil to drain and keeps the crust crunchy. Avoid paper towels, which can make the coating soggy.
Let rest for 5–10 minutes before serving.
Step 8: Serve and Enjoy
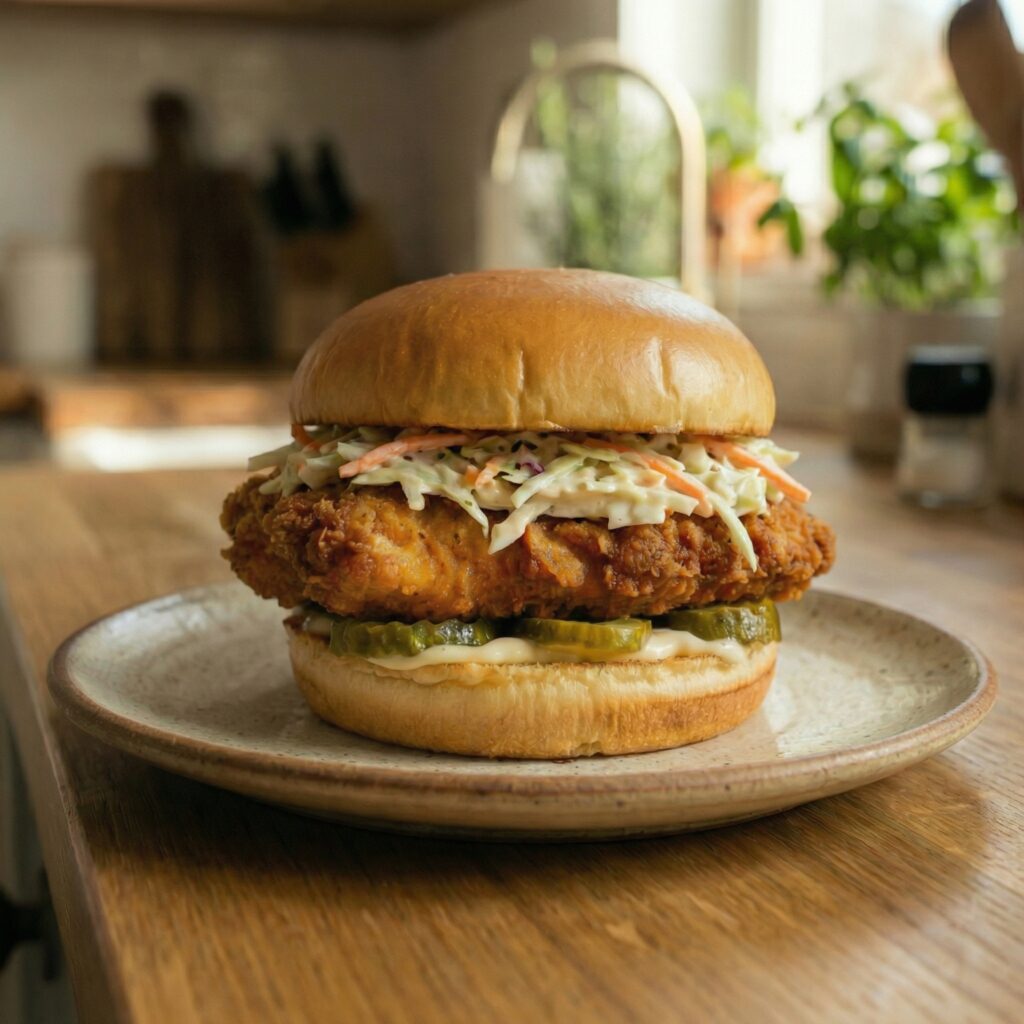
Serve your classic spicy fried chicken hot with your favorite sides: coleslaw, mashed potatoes, cornbread, or pickles.
Optional extras: drizzle honey for a sweet-spicy contrast or squeeze fresh lemon for brightness.
The combination of heat, crunch, and juicy meat makes this dish irresistible.
Tips for Extra Crispy, Spicy Chicken
- Keep the chicken cold before frying for better crust adherence.
- Maintain oil temperature for even cooking.
- Double dredge for extra crunchy exterior.
- Use a wire rack instead of paper towels to preserve crispiness.
- Adjust cayenne pepper to control heat level.
Small adjustments can make a big difference in texture and flavor.
Make-Ahead and Storage
Cooked fried chicken can be stored in the refrigerator for up to 3 days.
Reheat in a 375°F oven for 10–12 minutes to restore crispiness.
Avoid microwaving, which can make the coating soft and chewy.
Leftover chicken also makes excellent sandwiches or salads.
Variations
Once you’ve mastered the classic version, try these variations:
- Honey Hot Chicken: drizzle honey over the fried chicken before serving.
- Buttermilk-Brined Extra Hot: increase cayenne and add hot sauce to the brine.
- Southern Style: add a teaspoon of smoked paprika and a pinch of cayenne for deeper flavor.
- Crunchy Cornflake Coating: mix crushed cornflakes with the flour for extra crunch.
The possibilities are endless while maintaining the crispy, spicy foundation.
Final Thoughts
Classic spicy fried chicken is a dish that never goes out of style. With its crispy, golden exterior, tender, juicy interior, and bold kick of spice, it’s comfort food at its finest.
While it might seem intimidating, this recipe shows that with proper preparation, attention to temperature, and seasoning, you can make restaurant-quality fried chicken at home.
Whether for family dinners, parties, or a weekend indulgence, this spicy fried chicken will become a go-to favorite. Crispy, flavorful, and fiery, it’s a dish that will leave everyone coming back for seconds.
Golden, spicy, and utterly irresistible—classic fried chicken done right.