Tag: French dessert

  • Classic French Éclairs (Pastry Cream & Chocolate)

    Classic French Éclairs (Pastry Cream & Chocolate)

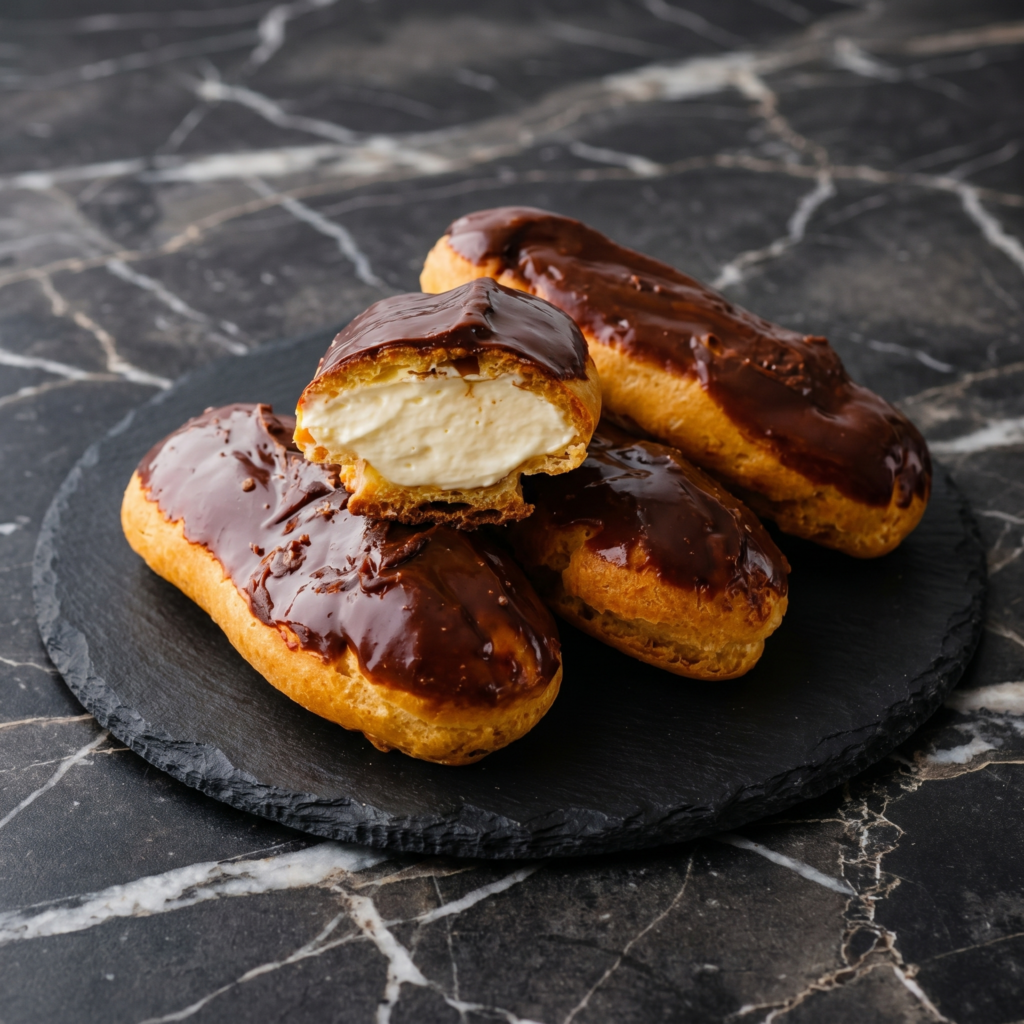
    Éclairs are the epitome of French patisserie—elegant, refined, and absolutely delicious. A perfect éclair is a study in contrasts: the shell is crisp and hollow, made from pâte à choux that puffs into a light, airy casing. Inside, it’s filled with silky vanilla pastry cream that’s rich but not heavy. And on top, a glossy chocolate glaze adds the finishing touch of sweetness and sophistication.

    Making éclairs at home is a project, but it’s also one of the most rewarding things you’ll ever bake. This step-by-step guide walks you through each component, from the choux pastry to the pastry cream to the glaze. Your kitchen is about to smell like a French patisserie.

    Ingredients
    For the Choux Pastry (makes about 12 éclairs):

    • ½ cup (120ml) water
    • ½ cup (120ml) whole milk
    • ½ cup (1 stick / 113g) unsalted butter, cut into pieces
    • 1 tablespoon granulated sugar
    • ¼ teaspoon salt
    • 1 cup (125g) all-purpose flour
    • 4 large eggs, room temperature

    For the Vanilla Pastry Cream:

    • 2 cups (480ml) whole milk
    • ½ cup (100g) granulated sugar
    • ¼ cup (30g) cornstarch
    • ¼ teaspoon salt
    • 4 large egg yolks
    • 2 tablespoons unsalted butter
    • 2 teaspoons vanilla extract (or 1 vanilla bean, scraped)

    For the Chocolate Glaze:

    • 4 oz (115g) semi-sweet or bittersweet chocolate, finely chopped
    • ½ cup (120ml) heavy cream
    • 1 tablespoon unsalted butter (optional, for shine)

    Instructions

    1. Make the Pastry Cream (Day Before): In a medium saucepan, heat the milk until steaming (do not boil). In a separate bowl, whisk together the sugar, cornstarch, and salt. Whisk in the egg yolks until the mixture is smooth and pale. Gradually whisk the hot milk into the egg mixture (tempering), then return everything to the saucepan.

    Cook over medium heat, whisking constantly, until the mixture thickens and comes to a boil. Boil for 1-2 minutes while whisking vigorously. Remove from heat and whisk in the butter and vanilla until smooth. Pour through a fine-mesh sieve into a bowl, press plastic wrap directly onto the surface, and refrigerate until completely cold, at least 4 hours or overnight.

    2. Make the Choux Pastry: Preheat your oven to 425°F (220°C). Line two baking sheets with parchment paper. In a medium saucepan, combine water, milk, butter, sugar, and salt. Bring to a boil over medium heat.

    Remove from heat, add the flour all at once, and stir vigorously with a wooden spoon until the mixture forms a smooth ball and pulls away from the sides of the pan. Return to low heat and cook for 1-2 minutes, stirring constantly, to dry out the dough. A thin film will form on the bottom of the pan.

    3. Add the Eggs: Transfer the dough to a stand mixer fitted with the paddle attachment. Beat on low speed for 1 minute to release steam. With the mixer running, add the eggs one at a time, beating well after each addition until fully incorporated. The dough should be smooth, glossy, and fall from the paddle in a thick ribbon that holds a V-shape.

    4. Pipe the Éclairs: Transfer the dough to a piping bag fitted with a large plain tip (about ½ inch). Pipe 4-inch long logs onto the prepared baking sheets, leaving about 2 inches between them. Use a wet finger to gently smooth any peaks.

    5. Bake: Bake for 15 minutes at 425°F, then reduce the temperature to 375°F (190°C) and bake for another 15-20 minutes until deep golden brown and crisp. Do not open the oven during baking. Turn off the oven, prop the door open slightly, and let the éclairs cool completely in the oven. This ensures they stay crisp.

    6. Make the Glaze: Place the chopped chocolate in a heatproof bowl. Heat the heavy cream in a small saucepan until just simmering. Pour the hot cream over the chocolate. Let sit for 2 minutes, then whisk gently until smooth and glossy. Stir in the butter if using.

    7. Fill the Éclairs: Fit a piping bag with a small tip. Whisk the chilled pastry cream until smooth. Use a small knife or the tip of the piping bag to poke three small holes in the bottom of each éclair. Pipe the pastry cream into each hole until the éclair feels heavy and full.

    8. Glaze the Éclairs: Dip the top of each filled éclair into the chocolate glaze, allowing excess to drip off. Alternatively, spread the glaze with a small offset spatula. Place on a wire rack to set.

    9. Chill and Serve: Refrigerate the éclairs for at least 30 minutes to set the glaze. Serve chilled or at room temperature. Best eaten the same day.

    Pro-Tips for Éclair Perfection

    • Dry the Dough Properly: Cooking the dough after adding flour removes excess moisture, which helps the éclairs puff and become crisp. Look for a thin film on the bottom of the pan.
    • Eggs at Room Temperature: Cold eggs can shock the dough and make it difficult to incorporate. Let them warm up first.
    • Pipe Evenly: Uniform size ensures even baking. Practice piping straight lines.
    • Don’t Open the Oven: The steam inside creates the puff. Opening the door lets steam escape and can cause collapse.
    • Cool in the Oven: Leaving éclairs in the cooling oven with the door ajar allows them to dry out completely and stay crisp.
    • Fill Just Before Serving: Filled éclairs can soften over time. For best results, fill within a few hours of serving.
    • Glaze Consistency: The glaze should be thick enough to coat but thin enough to drip slightly. Adjust with a little more cream if needed.
    • Make Ahead: Unfilled choux shells can be stored in an airtight container for 2 days or frozen for a month. Crisp in a 350°F oven for 5 minutes before filling.

    These Classic French Éclairs are a labor of love—and absolutely worth every moment.
  • Decadent & Delicate: How to Make Perfect Chocolate Macarons from Scratch

    Decadent & Delicate: How to Make Perfect Chocolate Macarons from Scratch

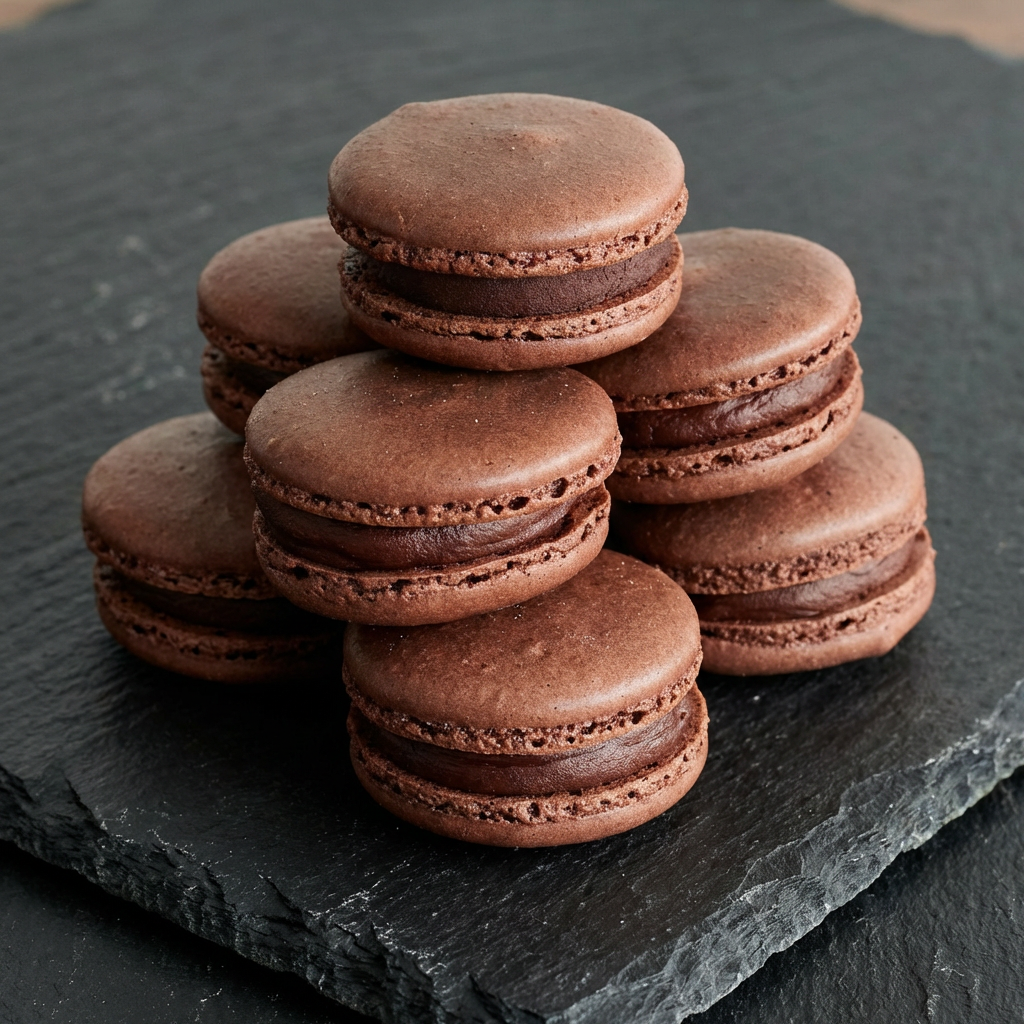
    Chocolate macarons are the ultimate show-stopping treat—crisp on the outside, chewy in the center, and filled with luscious chocolate ganache.

    These elegant French sandwich cookies may seem intimidating, but with careful technique and attention to detail, you can absolutely master them at home.

    This step-by-step guide will walk you through everything you need to know to create beautiful, bakery-style chocolate macarons with smooth tops, ruffled “feet,” and rich chocolate flavor in every bite.


    Ingredients You’ll Need

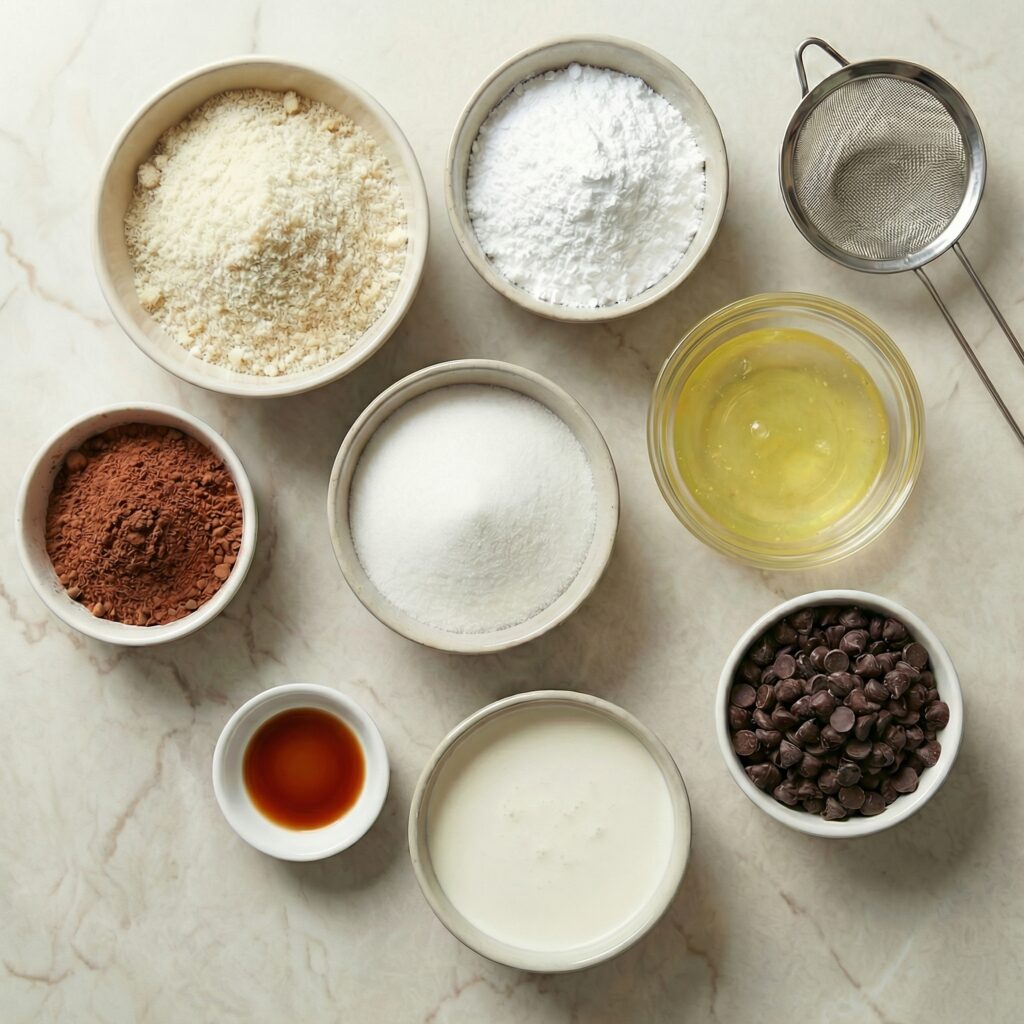
    For the Chocolate Macaron Shells:

    • 1 cup (100g) almond flour, finely sifted
    • 1 ¾ cups (200g) powdered sugar
    • 2 tablespoons unsweetened cocoa powder
    • 3 large egg whites (room temperature)
    • ¼ cup (50g) granulated sugar
    • ¼ teaspoon cream of tartar (optional, stabilizes meringue)
    • ½ teaspoon vanilla extract

    For the Chocolate Ganache Filling:

    • ¾ cup (120g) semi-sweet chocolate chips or chopped chocolate
    • ½ cup (120ml) heavy cream
    • 1 tablespoon unsalted butter (optional, for shine)

    Step 1: Prepare Your Workspace

    Macarons require precision. Line two baking sheets with parchment paper or silicone mats.

    If you want evenly sized macarons, place a printed template underneath the parchment as a guide.

    Make sure your mixing bowls and beaters are completely clean and grease-free—any oil can prevent the egg whites from whipping properly.


    Step 2: Sift the Dry Ingredients

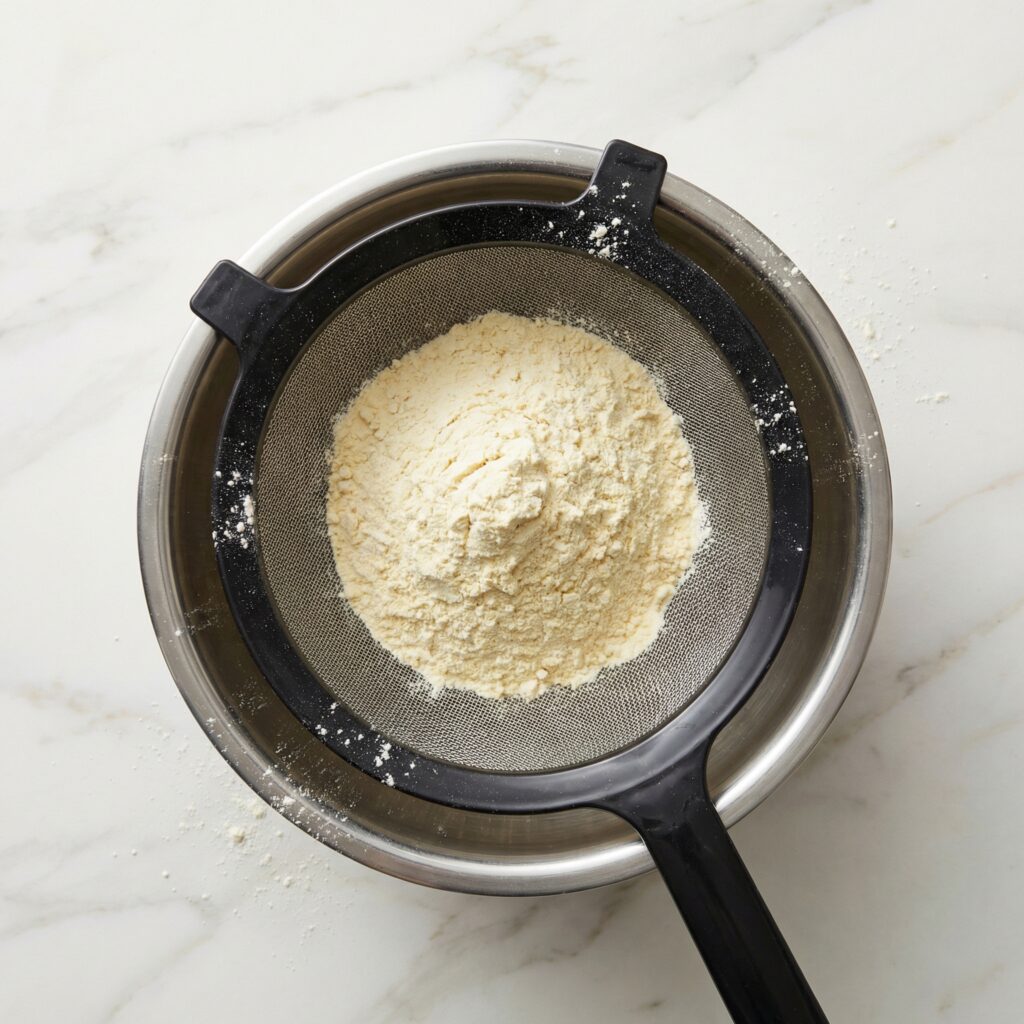
    In a large bowl, sift together the almond flour, powdered sugar, and cocoa powder.

    Sifting is crucial to remove lumps and ensure smooth macaron shells. If needed, pulse the mixture briefly in a food processor before sifting to achieve a fine texture.

    Set aside while you prepare the meringue.


    Step 3: Make the Meringue

    In a clean mixing bowl, beat the room-temperature egg whites on medium speed until foamy. Add the cream of tartar if using. Gradually sprinkle in the granulated sugar while continuing to beat.

    Increase the speed to medium-high and whip until stiff, glossy peaks form. The meringue should hold its shape firmly when you lift the beaters. Add vanilla extract and mix briefly to combine.


    Step 4: The Macaronage (Folding Process)

    Add the sifted dry ingredients to the meringue in two additions. Using a silicone spatula, gently fold the mixture by sweeping around the bowl and cutting through the center. Rotate the bowl as you fold.

    This step—called macaronage—is critical. The batter should flow slowly like lava when lifted with a spatula. If it’s too thick, the shells will be lumpy; if overmixed, they will spread too much. Aim for a smooth, glossy batter that forms ribbons and settles back into itself within 10–15 seconds.


    Step 5: Pipe the Macarons

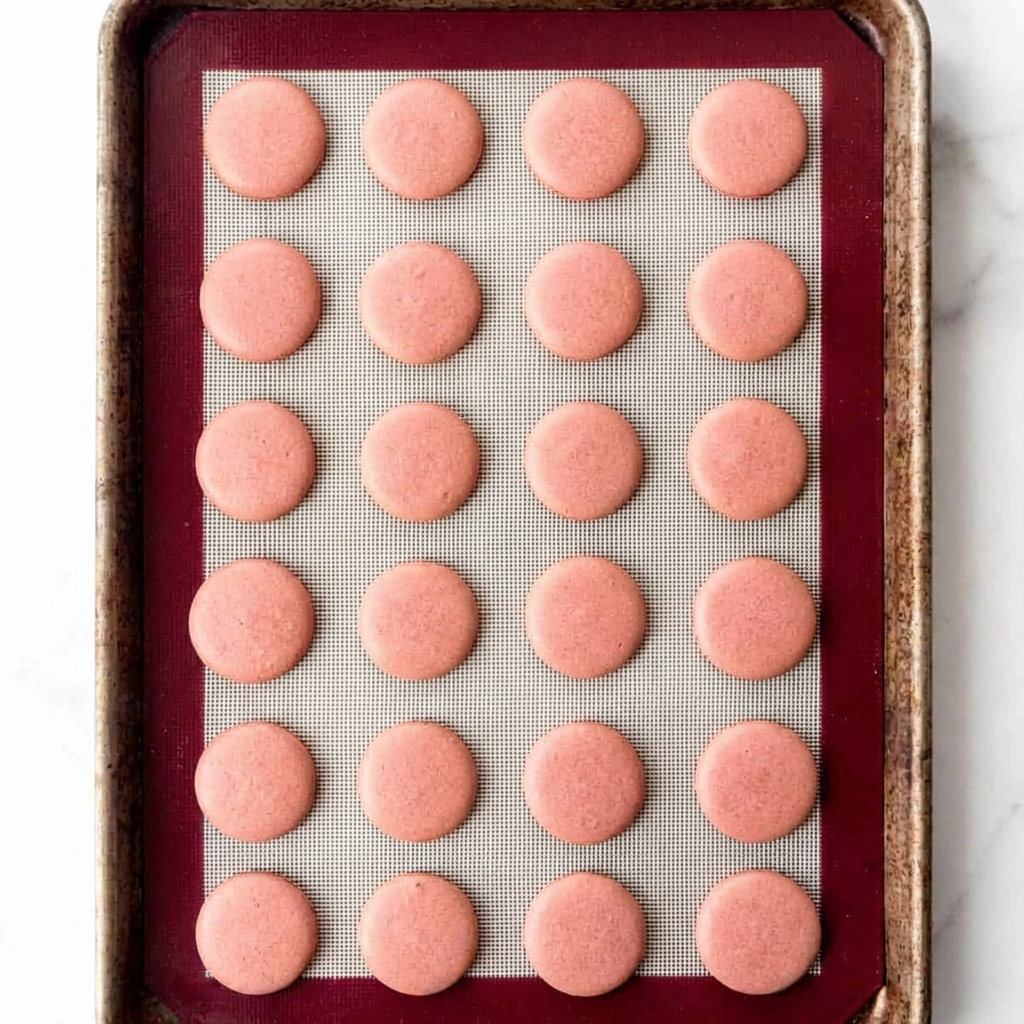
    Transfer the batter to a piping bag fitted with a round tip. Hold the bag vertically and pipe small, even circles onto the prepared baking sheets. Leave space between each macaron.

    Once piped, tap the baking sheets firmly on the counter several times to release air bubbles. Use a toothpick to pop any visible bubbles on the surface.


    Step 6: Rest the Shells

    Allow the piped macarons to rest at room temperature for 30–60 minutes, or until a thin skin forms on the surface. Gently touch the tops—if the batter doesn’t stick to your finger, they are ready to bake.

    This resting period helps develop the iconic “feet” at the base of each macaron.


    Step 7: Bake to Perfection

    Preheat your oven to 300°F (150°C). Bake one tray at a time on the center rack for 15–18 minutes. The macarons are done when they have risen with visible feet and do not wobble when gently touched.

    Remove from the oven and allow them to cool completely before attempting to remove them from the parchment. Trying to lift them too early may cause sticking.


    Step 8: Make the Chocolate Ganache

    While the shells cool, heat the heavy cream in a small saucepan until just simmering (do not boil). Pour the hot cream over the chopped chocolate in a heatproof bowl. Let sit for 1–2 minutes, then stir until smooth and glossy.

    Add butter if desired for extra shine and richness. Let the ganache cool until thick enough to pipe.


    Step 9: Assemble the Macarons

    Match similar-sized shells together. Pipe a small amount of ganache onto the flat side of one shell, then gently press another shell on top to form a sandwich.

    Repeat with remaining shells and filling.


    Step 10: Mature for Best Flavor

    For the best texture and flavor, place the assembled macarons in an airtight container and refrigerate for 24 hours. This resting period allows the filling to soften the shells slightly, creating the perfect chewy center.

    Bring to room temperature before serving.


    Tips for Perfect Chocolate Macarons

    1. Weigh your ingredients for accuracy. Macarons are sensitive to measurement errors.
    2. Avoid humidity—moist air can affect how shells dry and bake.
    3. Don’t skip resting time—it’s essential for developing feet.
    4. Use room-temperature egg whites for better volume.
    5. Practice patience—macarons improve with experience.

    Storage

    • Store filled macarons in the refrigerator for up to 5 days.
    • Freeze for up to 1 month in an airtight container. Thaw in the refrigerator before serving.

    Chocolate macarons are delicate, elegant, and deeply satisfying. With crisp shells, chewy centers, and silky ganache filling, they strike the perfect balance between texture and flavor.

    While they require attention to detail, the reward is a tray of bakery-worthy treats that look as stunning as they taste.

    Once you master these Chocolate Macarons, you’ll feel confident experimenting with flavors, fillings, and colors—turning your kitchen into your very own French pâtisserie.

  • Chocolate Soufflé: The Ultimate Light & Airy Dessert

    Chocolate Soufflé: The Ultimate Light & Airy Dessert

    The chocolate soufflé represents the pinnacle of baking elegance: a dessert that’s simultaneously rich and ethereal. Far from the intimidating challenge it’s often made out to be, a successful soufflé relies on mastering a few key techniques.

    This recipe breaks it down into simple steps, resulting in a dessert with a dark, intense chocolate flavor, a delicate crust, and that magical, cloud-like interior. Serve it warm with a dusting of sugar or a dollop of crème anglaise for an unforgettable experience.

    The Science of the Rise & Preventing Collapse

    The dramatic rise of a soufflé is powered by one thing: expanding air bubbles in whipped egg whites. As the soufflé bakes, the air trapped in the meringue heats and expands, causing the entire structure to lift.

    The chocolate base (panade) provides flavor and stability; its thickness helps support the air bubbles. Two critical factors prevent collapse: properly whipped whites and thoroughly greased and sugared ramekins. The whites must be whipped to stiff, glossy peaks to provide maximum structure.

    Coating the ramekins with butter and sugar gives the rising batter a rough surface to “climb,” ensuring an even, vertical rise. A final key is baking the soufflés in a water bath, which provides gentle, even heat for a stable ascent.

    Ingredients

    For Preparing the Ramekins:

    • 2 tablespoons unsalted butter, softened
    • ¼ cup (50g) granulated sugar (for coating)

    For the Chocolate Soufflé Base:

    • 4 oz (115g) high-quality bittersweet or semisweet chocolate, finely chopped
    • 2 tablespoons (28g) unsalted butter
    • ¼ cup (60ml) strong brewed coffee or water (hot)
    • 1 teaspoon vanilla extract
    • Pinch of salt
    • 3 large egg yolks, room temperature
    • 1 tablespoon (8g) all-purpose flour or cornstarch (for gluten-free)

    For the Meringue:

    • 5 large egg whites, room temperature
    • ¼ teaspoon cream of tartar
    • ¼ cup (50g) granulated sugar

    For Serving: Confectioners’ sugar, vanilla ice cream, or crème anglaise.

    Instructions

    1. Prepare the Ramekins & Oven: Generously butter the insides of four 6-ounce ramekins. Coat the buttered surfaces evenly with granulated sugar, tapping out any excess. Place the prepared ramekins on a rimmed baking sheet. Position an oven rack in the lower third and preheat oven to 375°F (190°C). Place a shallow pan (like a 9×13) on the oven rack to heat for the water bath.

    2. Make the Chocolate Base (Panade): In a heatproof bowl set over a pan of simmering water (double boiler), melt the chopped chocolate, 2 tablespoons butter, and hot coffee/water together, stirring until smooth.

    Remove from heat and whisk in vanilla and salt. Let cool for 5 minutes, then whisk in the egg yolks one at a time until fully incorporated. Sift the flour or cornstarch over the mixture and whisk until smooth. The base should be thick and glossy.

    3. Whip the Egg Whites to Stiff Peaks: In a perfectly clean, grease-free bowl, combine the egg whites and cream of tartar. Using an electric mixer, beat on medium speed until foamy. Gradually add the ¼ cup sugar while increasing speed to high. Beat until the whites are thick, glossy, and hold very stiff peaks when the beater is lifted.

    4. Fold the Meringue into the Base: Gently stir about one-third of the whipped egg whites into the chocolate base to lighten it. Using a large silicone spatula, carefully fold in the remaining whites in two additions. Fold just until no large white streaks remain, being careful not to deflate the mixture.

    5. Fill, Bake, and Serve Immediately: Divide the batter evenly among the prepared ramekins, smoothing the tops. Run your thumb around the inside rim of each ramekin to create a “moat” (this encourages an even rise). Carefully place the baking sheet with the ramekins onto the preheated shallow pan in the oven.

    Pour hot water into the outer pan until it comes halfway up the sides of the ramekins. Bake for 16-20 minutes, until the soufflés have risen dramatically, the tops are dry and crackly, but the centers still have a slight jiggle.

    6. Serve at Once: Remove from the oven and water bath. Dust immediately with confectioners’ sugar and serve within 2-3 minutes, as they will begin to deflate. Provide spoons and optional accompaniments at the table.

    Pro-Tips for Soufflé Success

    • Room Temperature Eggs are Essential: Cold egg whites won’t whip to their full volume. Separate eggs when cold, then let whites and yolks come to room temperature separately.
    • Grease and Sugar Thoroughly: Don’t skimp on coating the ramekins. This is the “ladder” for your soufflé’s rise.
    • A Clean, Dry Bowl for Whites: Any trace of grease or yolk will inhibit the egg whites from whipping properly.
    • Don’t Over-fold: It’s better to have a few tiny streaks of white than to over-mix and deflate the batter.
    • The “Moat” Technique: Wiping a clean rim helps the soufflé rise straight up rather than curling over.
    • Timing is Everything: Have your guests seated and ready before the soufflés go into the oven. They wait for no one.

    This Chocolate Soufflé is a spectacular dessert that proves elegance can be achieved in your own kitchen.