Tag: enriched dough

  • Homemade Brioche (Buttery, Flaky, and So Worth the Effort)

    Homemade Brioche (Buttery, Flaky, and So Worth the Effort)

    Let’s talk about brioche. It’s the crown jewel of enriched breads—rich, tender, and impossibly buttery, with a golden crust that shatters slightly and a soft, fluffy interior that melts in your mouth. It’s the bread of French bakeries, of leisurely weekend breakfasts, of the most incredible French toast you’ve ever tasted. And yes, you can make it at home.

    Brioche takes time and a little patience, but the result is so worth it. The smell alone as it bakes will transport you to a Parisian pâtisserie. Slather it with jam, turn it into the ultimate bread pudding, or just eat it warm from the oven with a generous pat of butter. This is bread worth waiting for.

    Ingredients
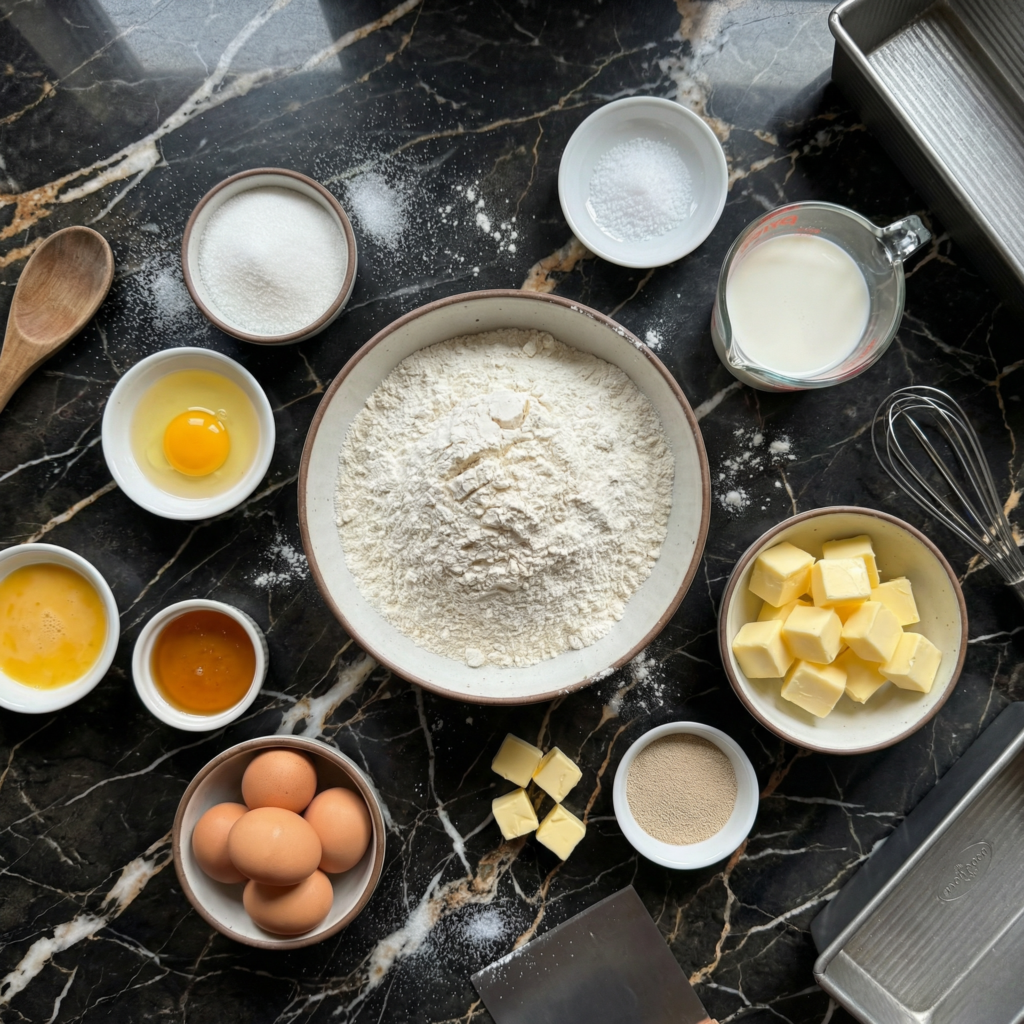
    For the Homemade Brioche (Makes 1 large loaf or 12 brioche buns):

    • 4 cups (500g) all-purpose or bread flour
    • ¼ cup (50g) granulated sugar
    • 2 ¼ teaspoons (1 packet) instant yeast
    • 1 ½ teaspoons salt
    • 4 large eggs, at room temperature
    • ½ cup (120ml) whole milk, warmed to about 110°F
    • 1 cup (226g) unsalted butter, cold, cut into small cubes

    For Egg Wash:

    • 1 large egg, beaten with 1 tablespoon water or milk

    Instructions

    1. Combine Dry Ingredients: In the bowl of a stand mixer, whisk together the flour, sugar, yeast, and salt.

    2. Add Eggs and Milk: Add the eggs and warm milk to the dry ingredients. Mix with the dough hook on low speed until a shaggy dough forms.

    3. Knead: Knead on medium-low speed for 5-7 minutes until the dough becomes smoother and starts to come together. It will still be quite stiff.
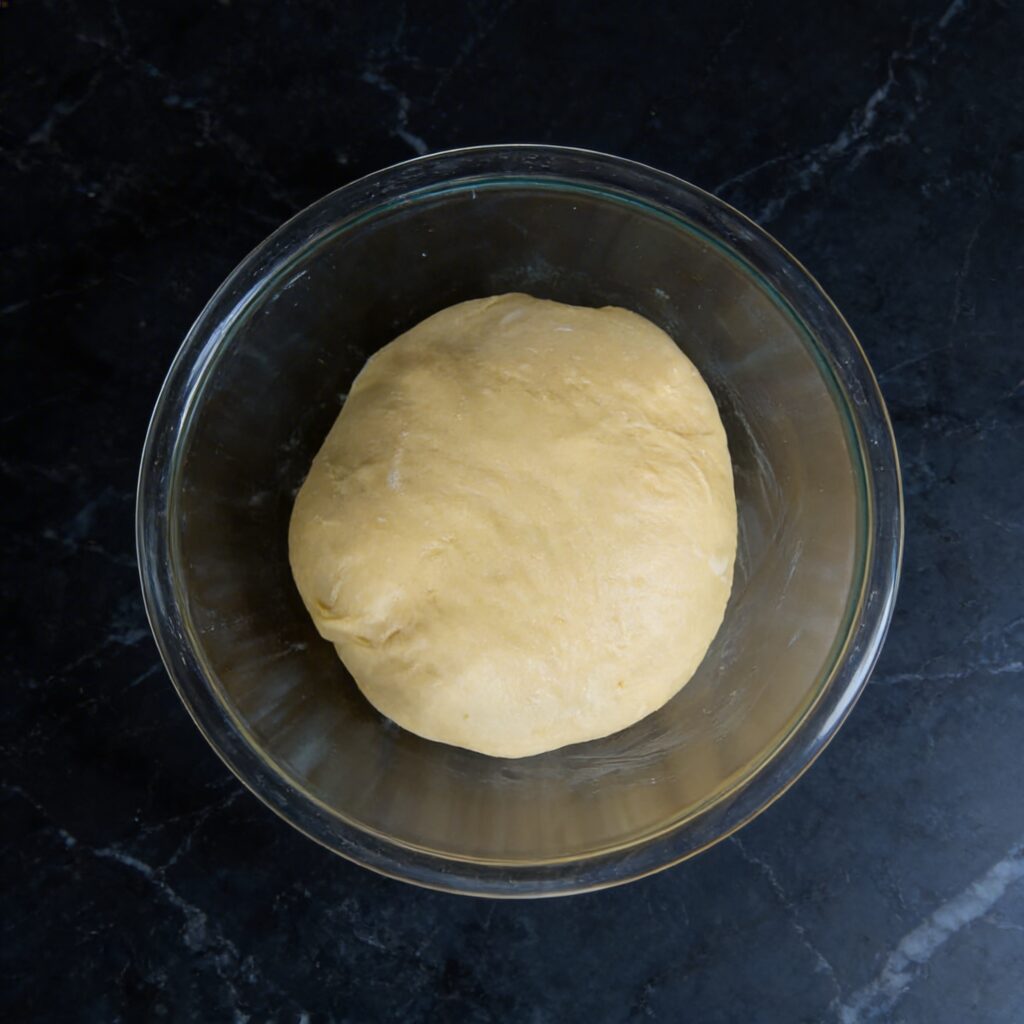
    4. Add Butter Gradually: With the mixer running on medium-low, add the cold butter cubes a few at a time, waiting until each addition is mostly incorporated before adding more. This process takes time—be patient.

    The dough will look messy and may seem to fall apart, but keep mixing. After all the butter is added, continue kneading for another 10-15 minutes until the dough is smooth, elastic, and pulls away from the sides of the bowl. It should be silky and shiny.

    5. First Rise: Place the dough in a lightly oiled bowl, cover, and let rise at room temperature for 1-2 hours until doubled in size.

    6. Chill Overnight: Punch down the dough, cover tightly, and refrigerate for at least 4 hours, preferably overnight. This step develops flavor and makes the dough easier to shape.

    7. Shape the Dough: Turn the chilled dough out onto a lightly floured surface. For a loaf, shape it into a rectangle and place in a greased 9×5-inch loaf pan. For buns, divide into 12 equal pieces, shape into balls, and place in a greased baking dish or on a baking sheet.
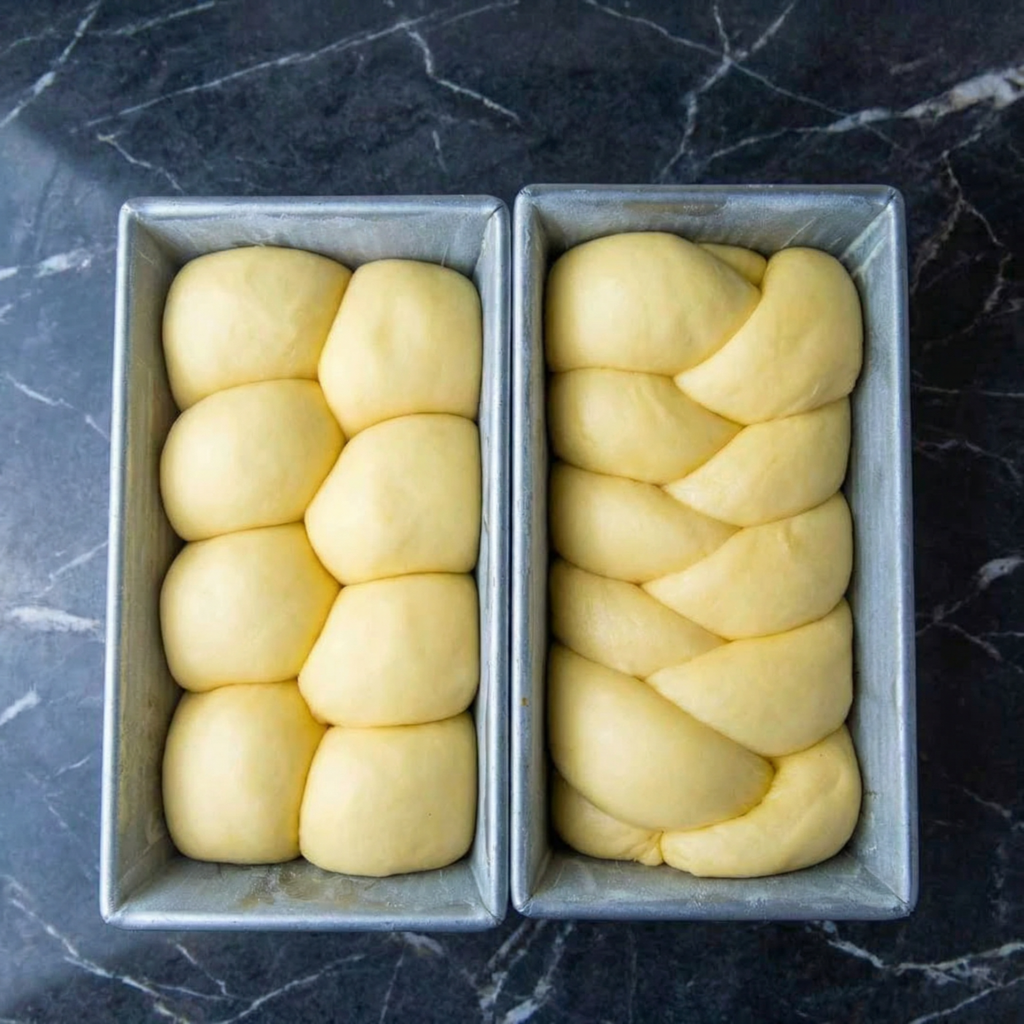
    8. Second Rise: Cover loosely and let rise at room temperature for 1-2 hours until puffy and almost doubled.

    9. Preheat and Egg Wash: Preheat your oven to 375°F (190°C). Brush the top of the brioche gently with egg wash.

    10. Bake: Bake for 25-35 minutes (depending on shape) until deep golden brown and the internal temperature reaches 190°F (88°C). If the top browns too quickly, tent with foil.

    11. Cool: Let cool in the pan for 10 minutes, then transfer to a wire rack to cool completely.

    12. Serve and Store: Serve warm or at room temperature. Store in an airtight container at room temperature for up to 3 days, or freeze for up to 3 months.

    Pro-Tips for Brioche Greatness

    • Use Cold Butter: Cold butter cubes incorporate better and prevent the dough from becoming greasy.
    • Be Patient with Butter Addition: Adding the butter gradually is crucial. Don’t rush this step.
    • Chill the Dough: The overnight rest in the fridge develops flavor and makes shaping much easier.
    • Don’t Rush the Rises: Brioche needs time to develop its signature texture. Let it rise fully.
    • Egg Wash Gently: A gentle hand with the egg wash prevents deflating the dough.
  • Egg Bread: A Beautiful, Braided Loaf for Any Table

    Egg Bread: A Beautiful, Braided Loaf for Any Table

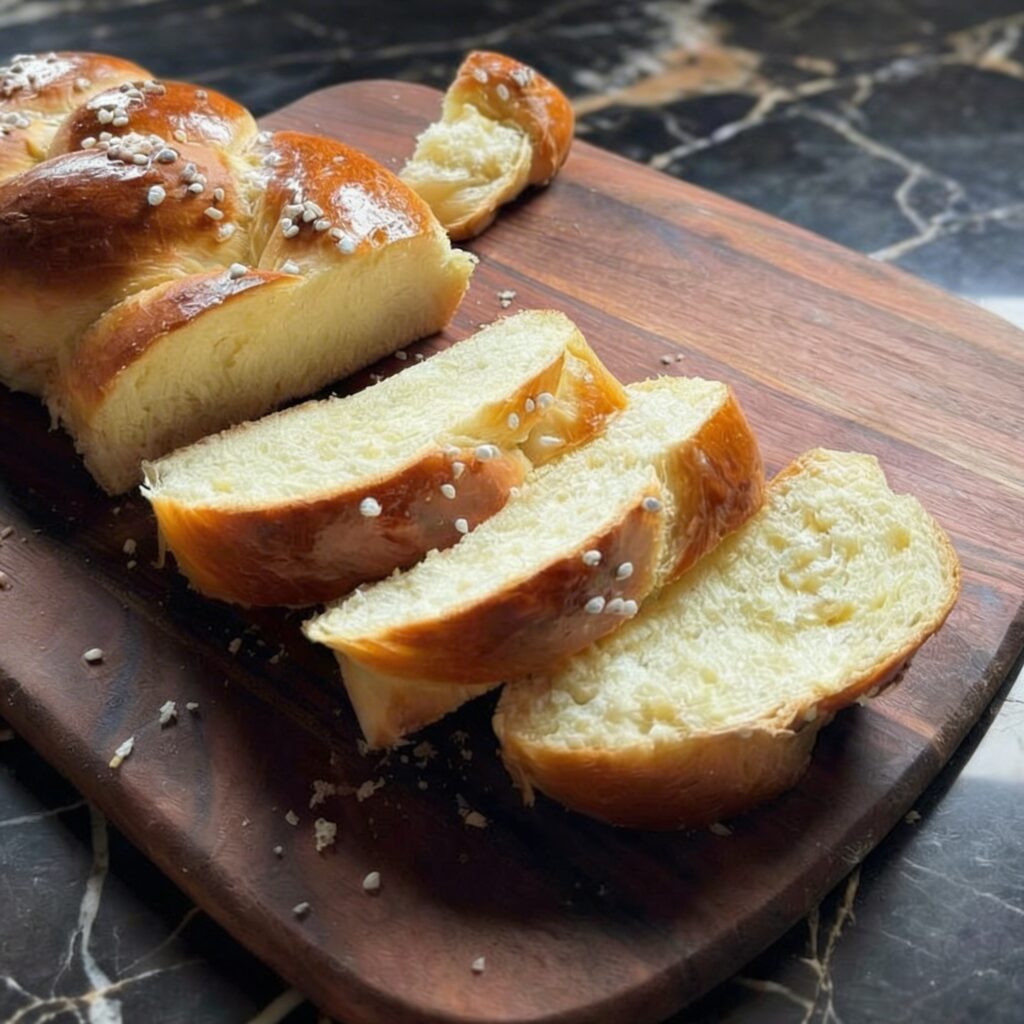
    Challah is more than just bread—it’s a centerpiece. This enriched Jewish egg bread is known for its soft, slightly sweet, and tender interior, its beautiful braided shape, and its deeply golden, glossy crust. Baking challah is a deeply satisfying ritual.

    The process of kneading the supple dough, mastering the braid, and watching it transform in the oven yields a loaf that’s as impressive to look at as it is delicious to eat. Whether for a Friday night Shabbat dinner, French toast on Sunday morning, or simply to elevate any meal, homemade challah is a gift from the oven.

    The Science of the Rich, Tender Crumb & Shiny Crust

    Challah’s distinct texture and appearance come from its enriched dough. The high proportion of eggs and oil (or sometimes butter) adds fat, which coats the flour proteins, tenderizing the gluten and creating a soft, rich crumb with a slight yellow hue.

    The sugar feeds the yeast for a robust rise and contributes to browning. The key to challah’s signature shine is the egg wash applied before baking. The proteins in the egg coagulate quickly in the oven’s heat, creating a thin, sealed layer that traps steam, allowing the loaf to expand fully before setting. Meanwhile, the sugars in the egg caramelize, producing that deep, mahogany brown, glossy crust.

    The braiding isn’t just for beauty; it creates a structured loaf that bakes evenly and offers a delightful pull-apart texture.

    Ingredients

    For One Large Loaf:

    • 4 ½ cups (563g) bread flour or all-purpose flour, plus more as needed
    • ¼ cup (50g) granulated sugar
    • 2 ¼ teaspoons instant yeast (1 packet)
    • 2 teaspoons salt
    • 2 large eggs, room temperature
    • 1 large egg yolk (save the white for the wash)
    • ¾ cup (180ml) warm water (110°F/43°C)
    • ¼ cup (60ml) vegetable or neutral oil
    • Optional: ¼ cup (85g) honey (replace the sugar for a deeper flavor)

    For the Egg Wash & Topping:

    • 1 egg white + 1 tablespoon water, beaten
    • Sesame seeds or poppy seeds for sprinkling

    Instructions

    1. Make the Dough: In the bowl of a stand mixer fitted with the dough hook, combine flour, sugar, yeast, and salt. In a separate bowl or measuring cup, whisk together the 2 whole eggs, 1 egg yolk, warm water, and oil (and honey, if using).

    2. Knead: With the mixer on low, gradually pour the wet ingredients into the dry. Once combined, increase speed to medium and knead for 6-8 minutes until the dough is smooth, elastic, and slightly tacky but not sticky. Add a tablespoon of flour if needed, but avoid a dry dough.

    3. First Rise: Place dough in a lightly oiled bowl, turn to coat, and cover with a damp towel or plastic wrap. Let rise in a warm place until doubled in size, about 1.5 to 2 hours.

    4. Divide & Braid: Punch down the dough. Turn it out onto a lightly floured surface. For a classic 3-strand braid, divide the dough into 3 equal pieces. Roll each piece into a long rope, about 18 inches long, thicker in the middle and tapered at the ends.

    5. Braid the Loaf: Pinch the tops of the three ropes together. Braid them tightly, then pinch the ends together and tuck both pinched ends under the loaf. Transfer the braid to a parchment-lined baking sheet.

    6. Second Rise: Cover the braided loaf loosely and let rise until puffy and nearly doubled, about 45 minutes to 1 hour. Preheat oven to 375°F (190°C).

    7. Bake: Gently brush the loaf all over with the egg wash. Sprinkle with seeds if desired. Bake for 25-35 minutes, until the crust is a deep, glossy golden brown and the loaf sounds hollow when tapped on the bottom.

    8. Cool: Transfer the challah to a wire rack and let it cool completely before slicing.

    Pro-Tips for Challah Mastery

    • Flour Choice: Bread flour gives a chewier, more structured loaf; all-purpose yields a more tender crumb. Both work.
    • Proper Hydration: The dough should be soft and slightly tacky. Resist the urge to add too much flour during kneading, as this will make the bread dry.
    • Even Rolling: When forming the ropes, roll them evenly so your braid is uniform. Let the ropes rest for 5 minutes if they keep snapping back.
    • Tight Braid, Loose Proof: Braid tightly so it holds its shape, but don’t pull too hard. The final proof will relax and expand the braid.
    • The Egg Wash Secret: For maximum shine, do a double wash: apply a thin coat 10 minutes into the final proof, then a second coat right before baking.
    • Testing for Doneness: The hollow sound is the best test. An internal temperature of 190°F (88°C) is perfect.
    • Braid Variations: Challenge yourself with a 4 or 6-strand braid for an even more impressive look.
    • Storage: Keep challah in a bread bag or wrapped in foil at room temp for 2-3 days. It makes phenomenal French toast or bread pudding.

    Baking Challah is a rewarding craft that fills your home with warmth and your table with beauty.