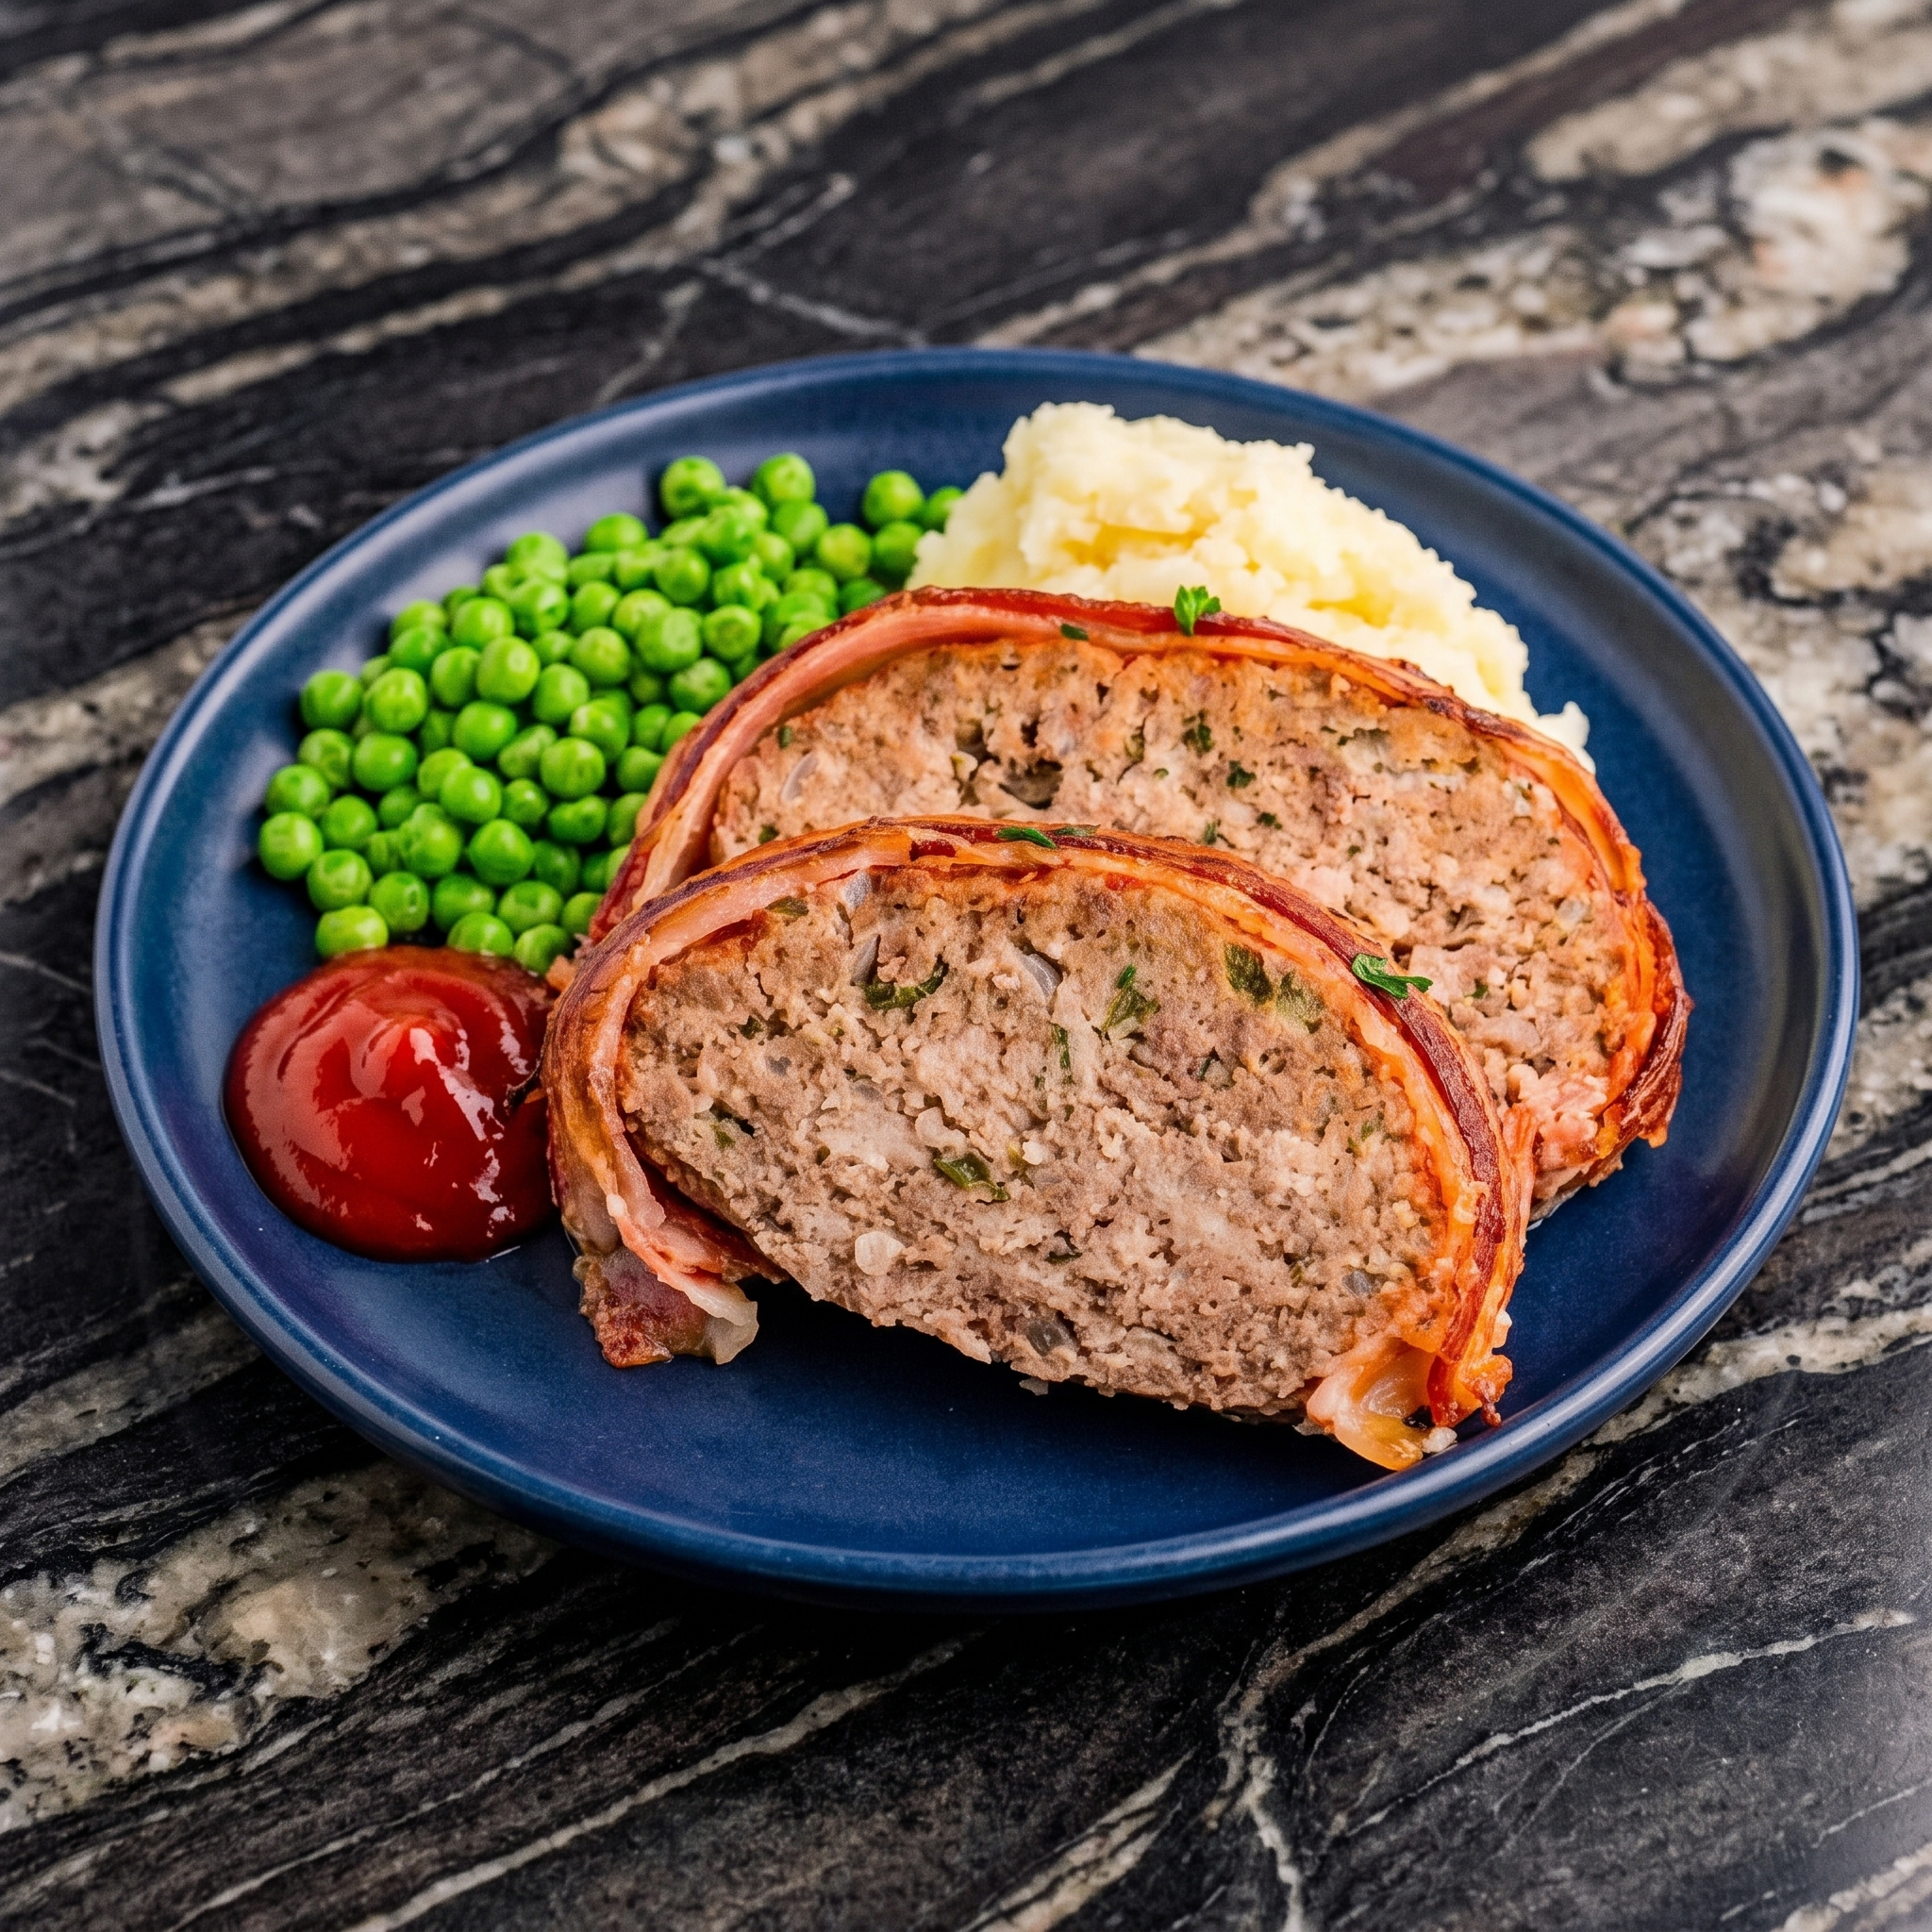
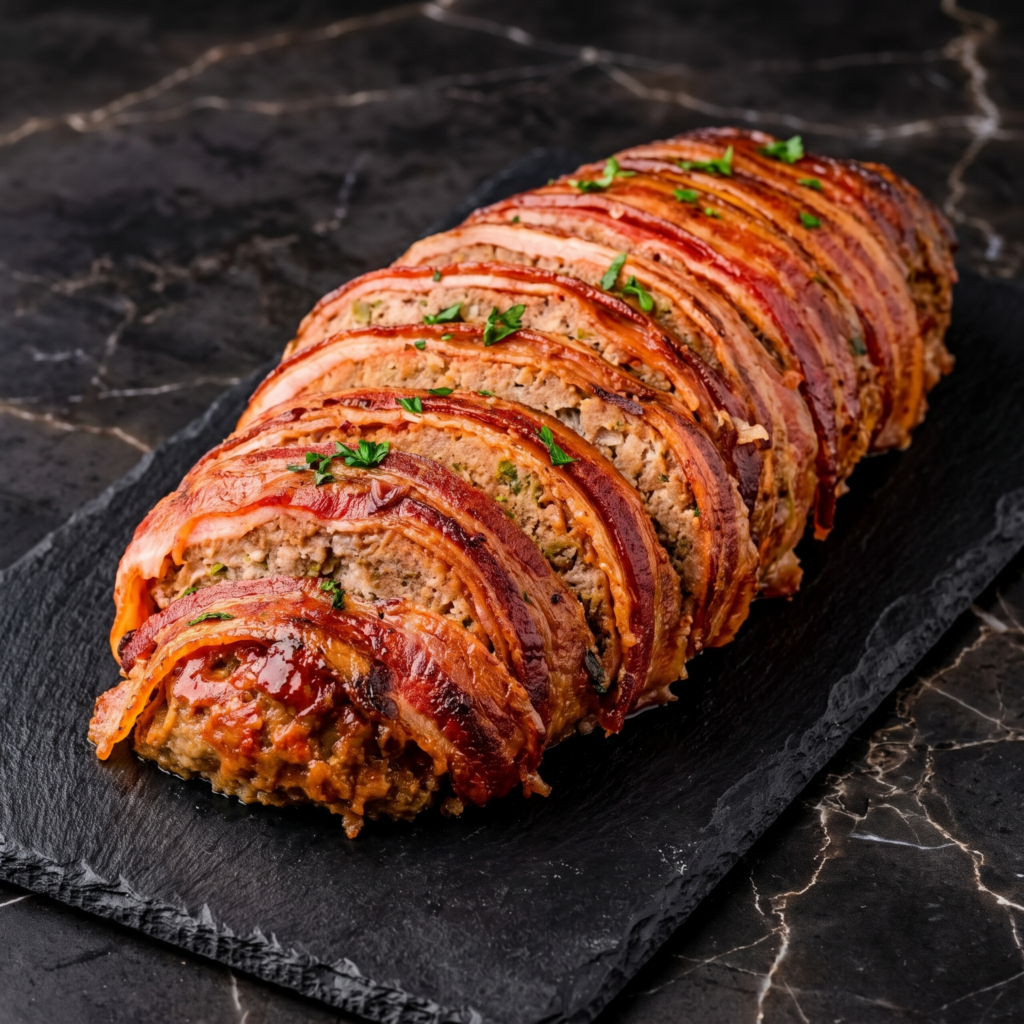
Bacon wrapped meatloaf is the comfort food you deserve. Juicy, tender meatloaf. Crispy bacon on top. Sweet, tangy glaze. Smoky. Unforgettable. Sunday dinner just got an upgrade.
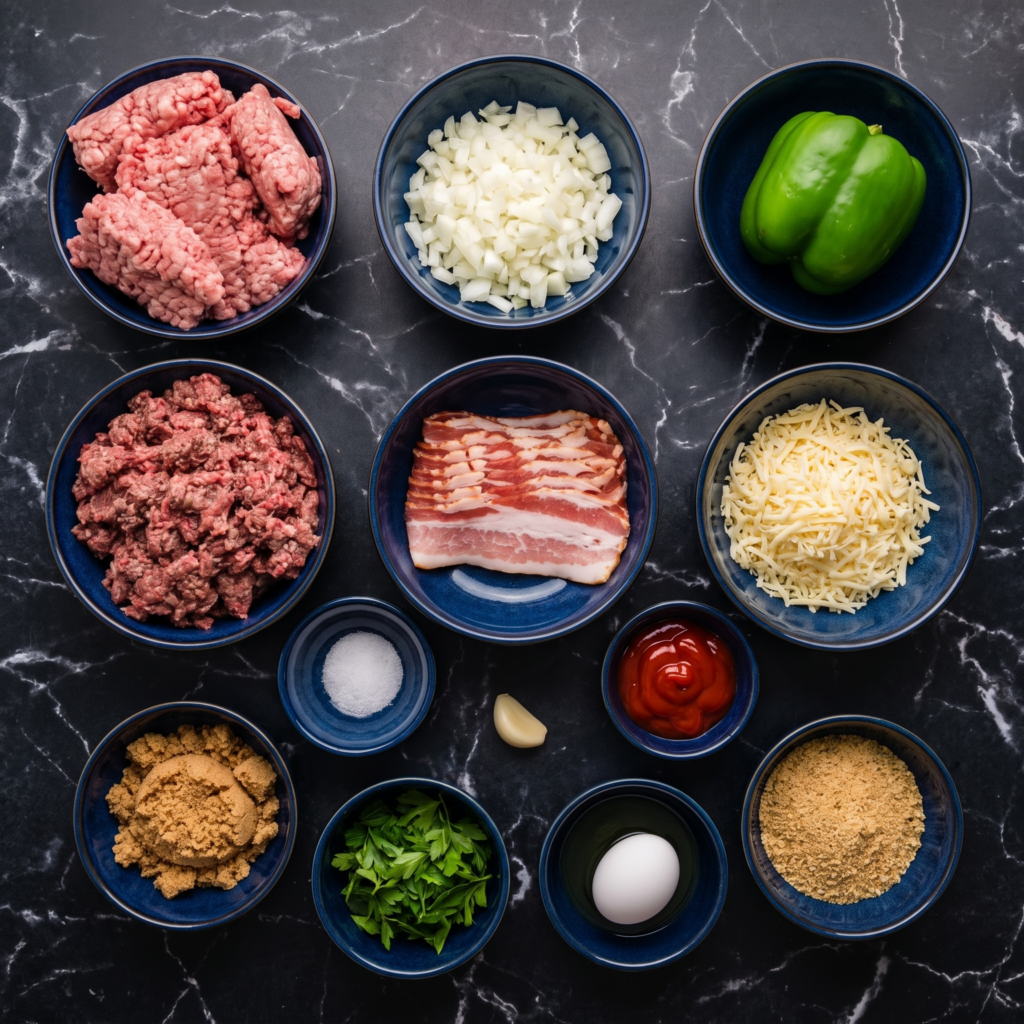
Ingredients
Serves 6-8.
For the Meatloaf:
2 lbs (900g) ground beef
1 cup breadcrumbs
1 onion, finely chopped
2 cloves garlic, minced
2 large eggs
½ cup milk
2 tbsp Worcestershire sauce
1 tsp salt
½ tsp black pepper
For the Bacon & Glaze:
12 slices bacon
½ cup ketchup
¼ cup brown sugar
1 tbsp apple cider vinegar
1 tsp mustard (optional)
Step-by-Step Instructions
Step 1: Make Meatloaf Mixture
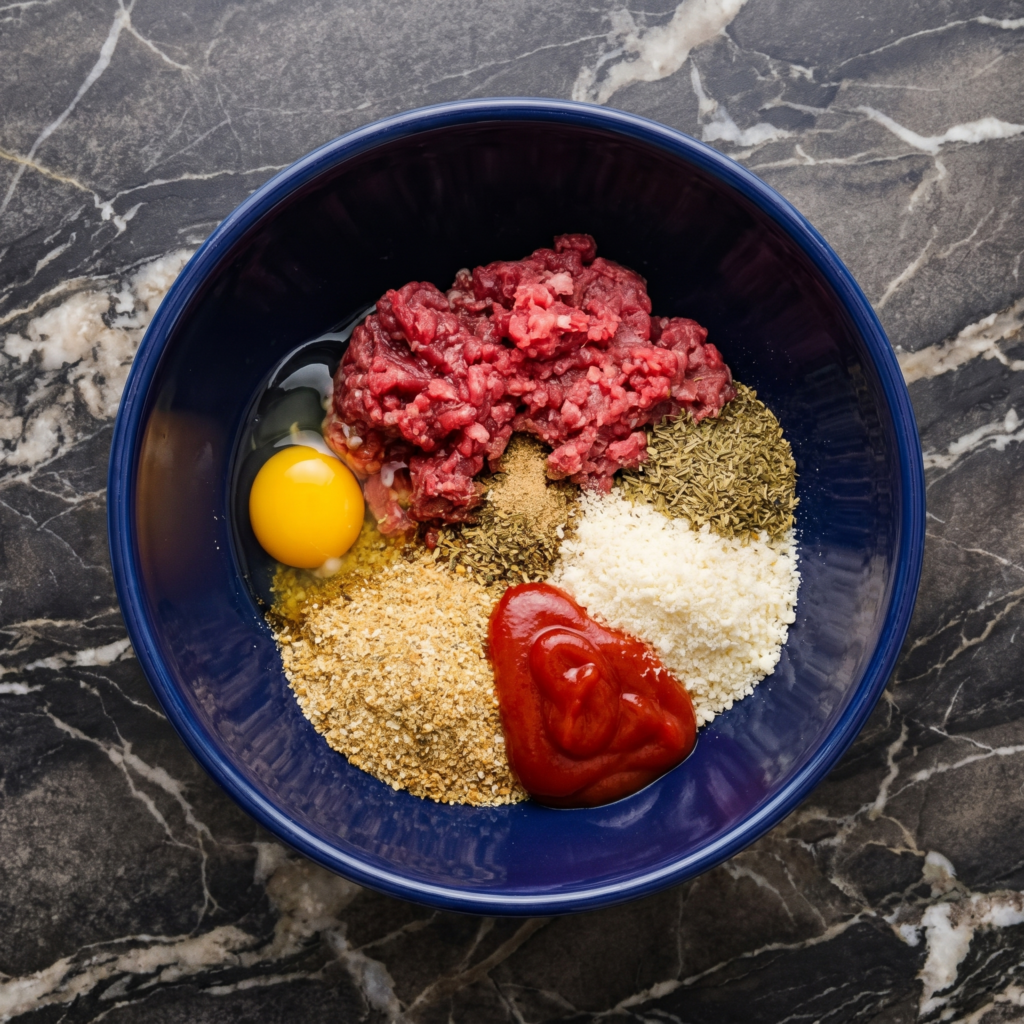
In a large bowl, mix ground beef, breadcrumbs, onion, garlic, eggs, milk, Worcestershire sauce, salt, and pepper until just combined (don’t overmix).
Step 2: Shape & Wrap
Shape meat mixture into a loaf (about 9×5 inches). Place on a foil-lined baking sheet. Wrap bacon slices around the loaf, tucking ends underneath.
Step 3: Make Glaze
In a small bowl, mix ketchup, brown sugar, vinegar, and mustard.
Step 4: Bake
Preheat oven to 375°F (190°C). Bake meatloaf 45 minutes. Brush with glaze. Bake 15-20 more minutes until internal temp reaches 160°F (71°C).
Step 5: Rest & Serve
Rest 10 minutes. Slice and serve. Juicy, smoky, glazed to perfection.
Summary
Prep Time: 15 min | Cook Time: 1 hour | Total: 1 hour 15 min
Yield: 6-8 servings | Difficulty: Easy
Storage Notes
Fridge: 5 days. Reheat in oven at 350°F for 10-15 minutes or microwave. Freezer (sliced): 3 months. Great for leftovers on sandwiches.
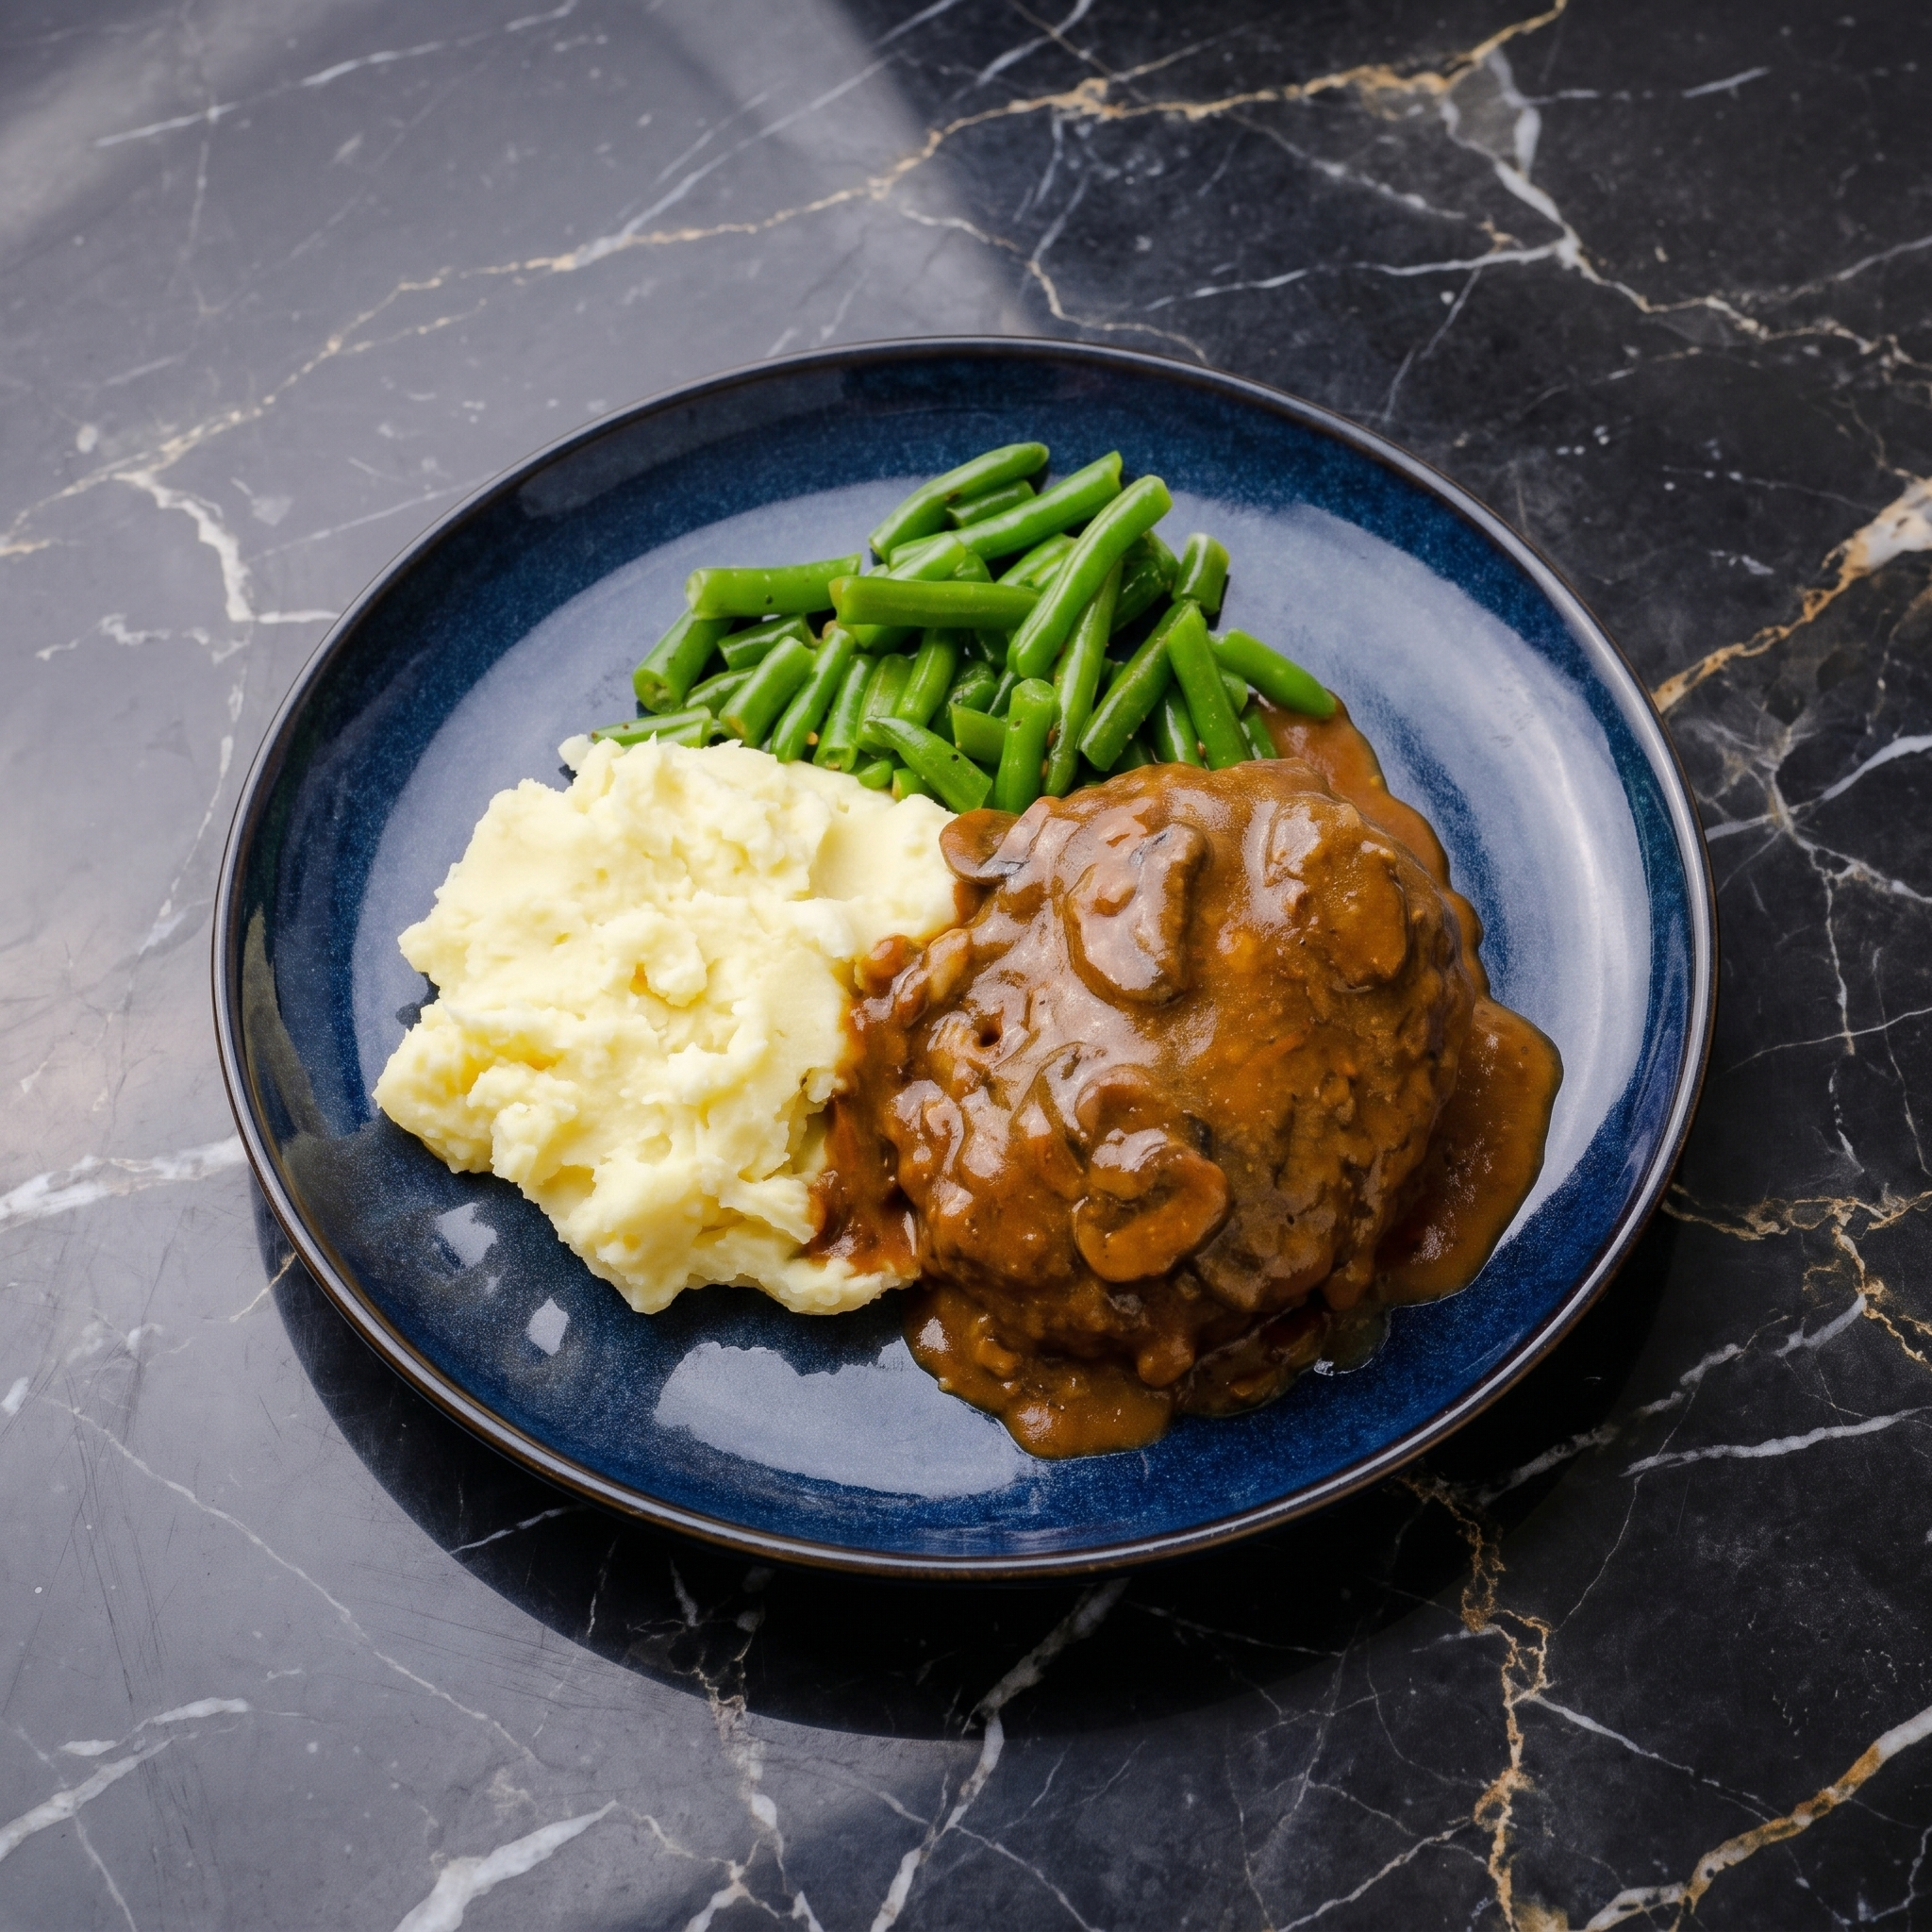
Salisbury steak is the ultimate comfort food. Juicy, pan-seared beef patties. Rich mushroom and onion gravy. 30 minutes. Serve with mashed potatoes. Hits the spot every time.
Ingredients
Serves 4.
For the Patties:
1½ lbs (675g) ground beef
½ cup breadcrumbs
1 large egg
2 tbsp ketchup or Worcestershire sauce
1 tsp garlic powder
1 tsp onion powder
½ tsp salt
¼ tsp black pepper
2 tbsp olive oil (for frying)
For the Gravy:
1 large onion, sliced
8 oz (225g) mushrooms, sliced
2 cloves garlic, minced
2 tbsp butter
2 tbsp all-purpose flour
2 cups beef broth
1 tbsp Worcestershire sauce
1 tsp salt
½ tsp black pepper
Fresh parsley for garnish
Step-by-Step Instructions
Step 1: Make Patties
In a bowl, mix ground beef, breadcrumbs, egg, ketchup, garlic powder, onion powder, salt, and pepper. Form into 4 oval patties.
Step 2: Pan-Sear
Heat olive oil in a large skillet over medium-high heat. Cook patties 4-5 minutes per side until browned. Remove and set aside.
Step 3: Make Gravy
In the same skillet, melt butter. Add onion and mushrooms. Cook 5-7 minutes until softened and golden. Add garlic, cook 1 minute.
Sprinkle flour over the vegetables. Cook 1 minute. Slowly whisk in beef broth and Worcestershire sauce. Simmer until thickened (3-5 minutes). Season with salt and pepper.
Step 4: Finish
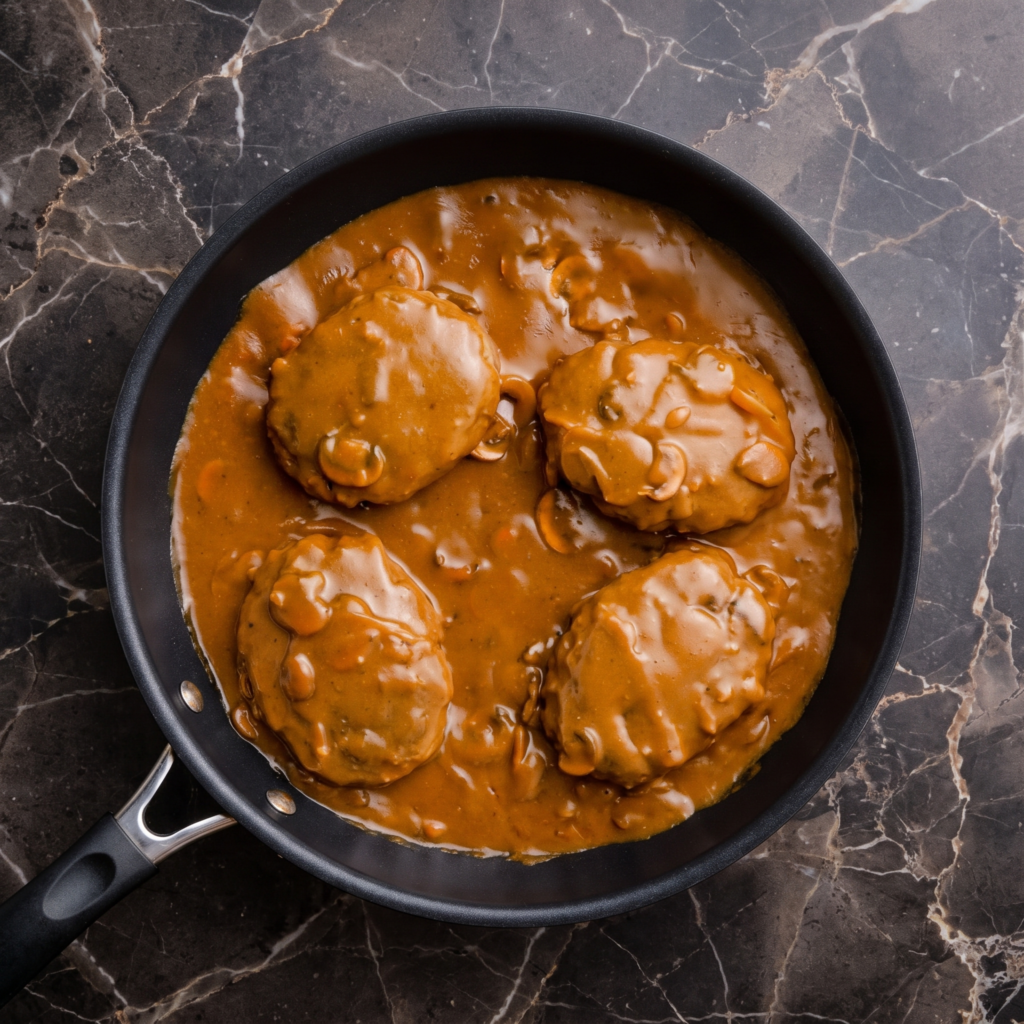
Return patties to the skillet. Spoon gravy over the top. Simmer 5-10 minutes until patties are cooked through.
Step 5: Serve
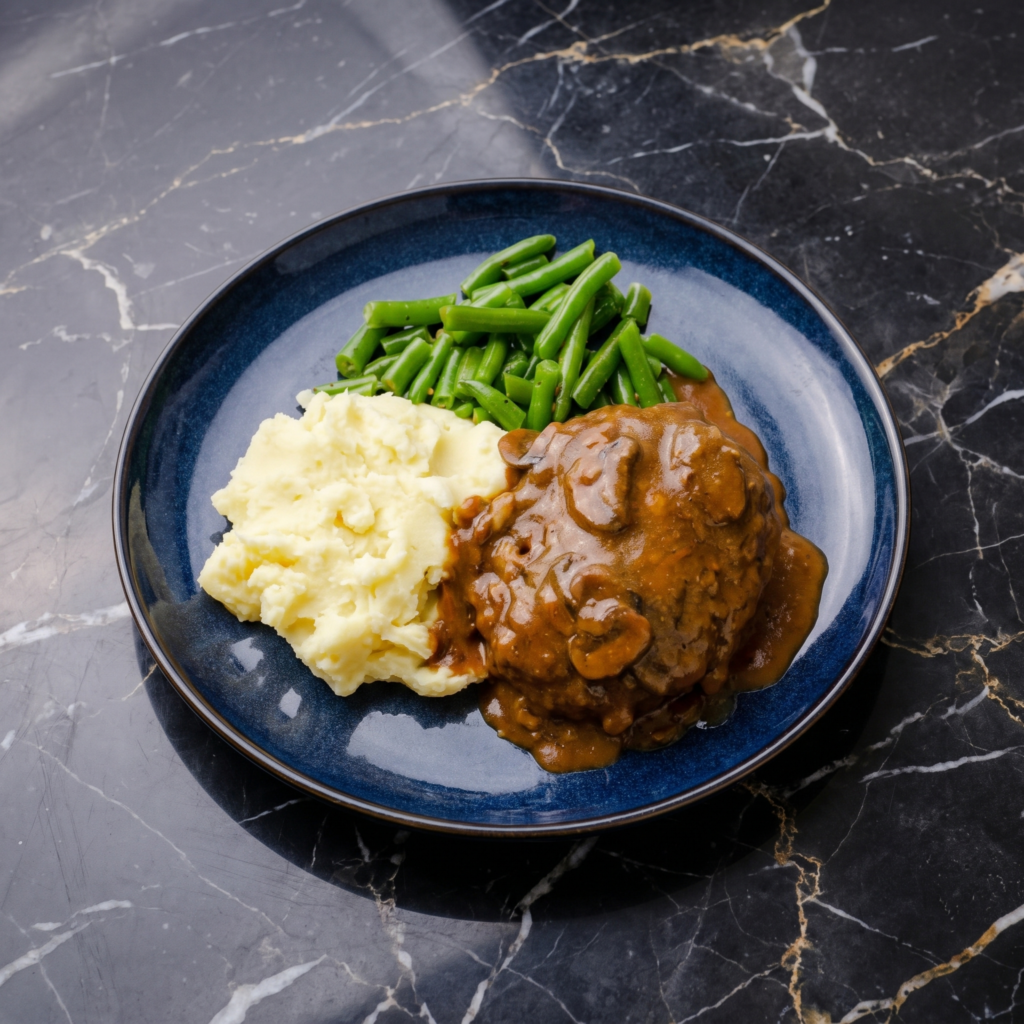
Garnish with parsley. Serve over mashed potatoes or noodles. Savory, saucy, comfort perfected.
Summary
Prep Time: 15 min | Cook Time: 25 min | Total: 40 min
Yield: 4 servings | Difficulty: Easy
Storage Notes
Fridge: 4 days. Reheat in skillet or microwave. Freezer: 3 months. Gravy may separate slightly — whisk while reheating. Great for meal prep.
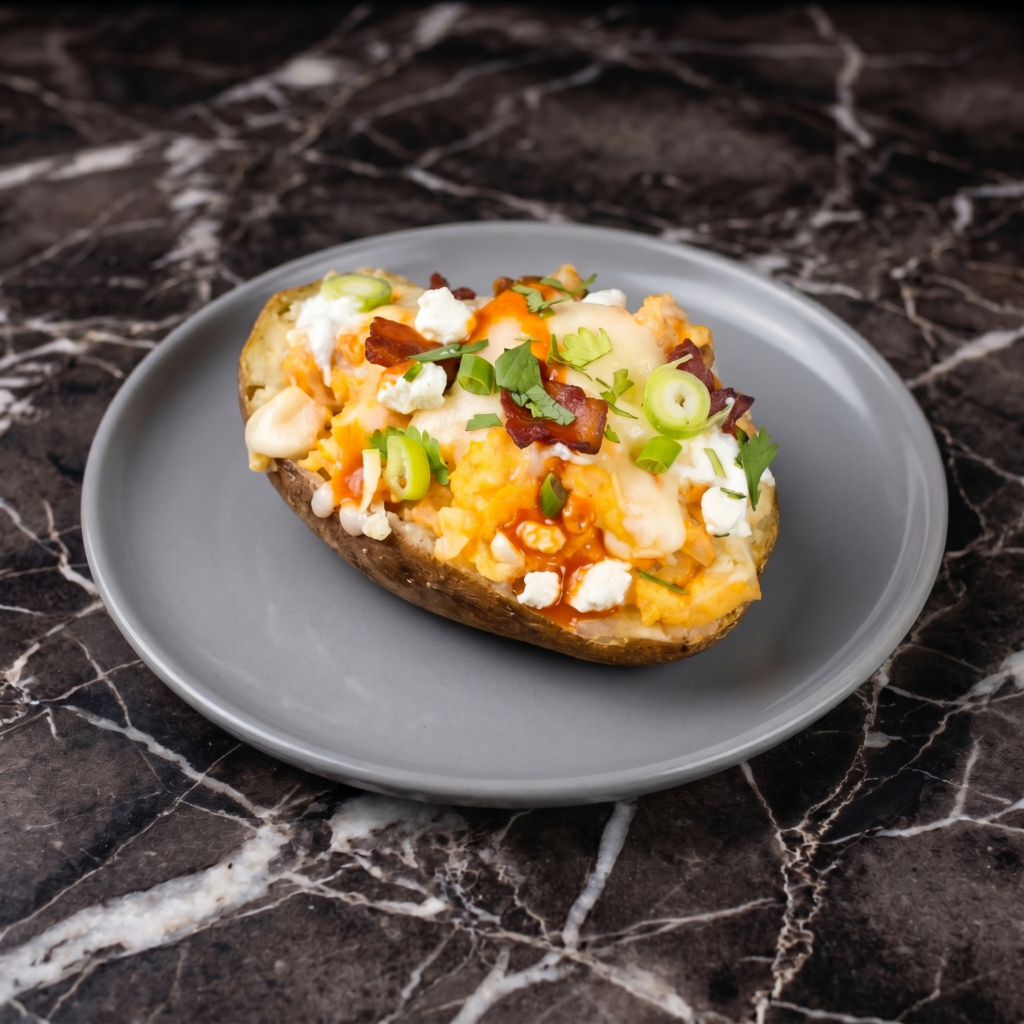
Baked potatoes are a blank canvas. This version paints with buffalo chicken. Spicy, buttery, cheesy, topped with cool ranch and green onions. All the game day flavors. Fork required. Napkins encouraged.
Ingredients
Serves 4.
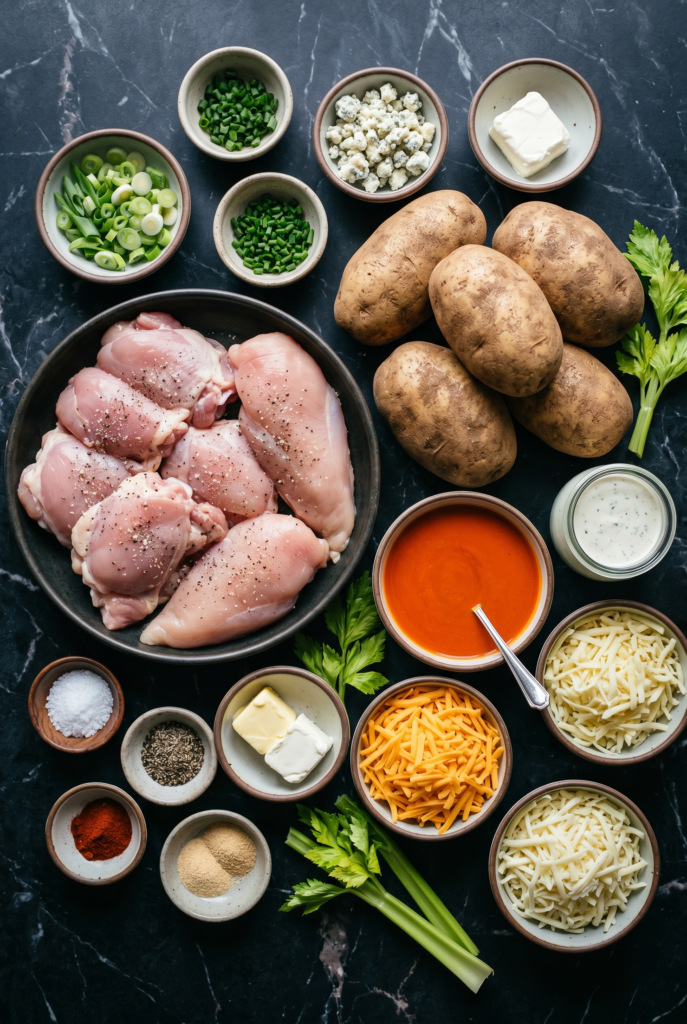
4 large russet potatoes
2 cups cooked chicken, shredded (rotisserie works great)
½ cup buffalo sauce (like Frank’s RedHot)
2 tbsp butter, melted
1 cup shredded cheddar or Monterey Jack cheese
¼ cup ranch or blue cheese dressing
2 green onions, sliced
Salt and pepper to taste
Optional Toppings:
Sour cream
Crumbled blue cheese
Fresh cilantro
Celery, finely chopped
Step-by-Step Instructions
Step 1: Bake Potatoes
Preheat oven to 400°F (200°C).
Scrub potatoes. Poke several times with a fork. Rub with oil and salt.
Bake directly on oven rack for 50-60 minutes until tender.
Step 2: Make Buffalo Chicken
In a bowl, mix shredded chicken with buffalo sauce and melted butter.
Step 3: Prep Potatoes
Let potatoes cool slightly. Cut a slit down the middle. Fluff the insides with a fork.
Step 4: Assemble
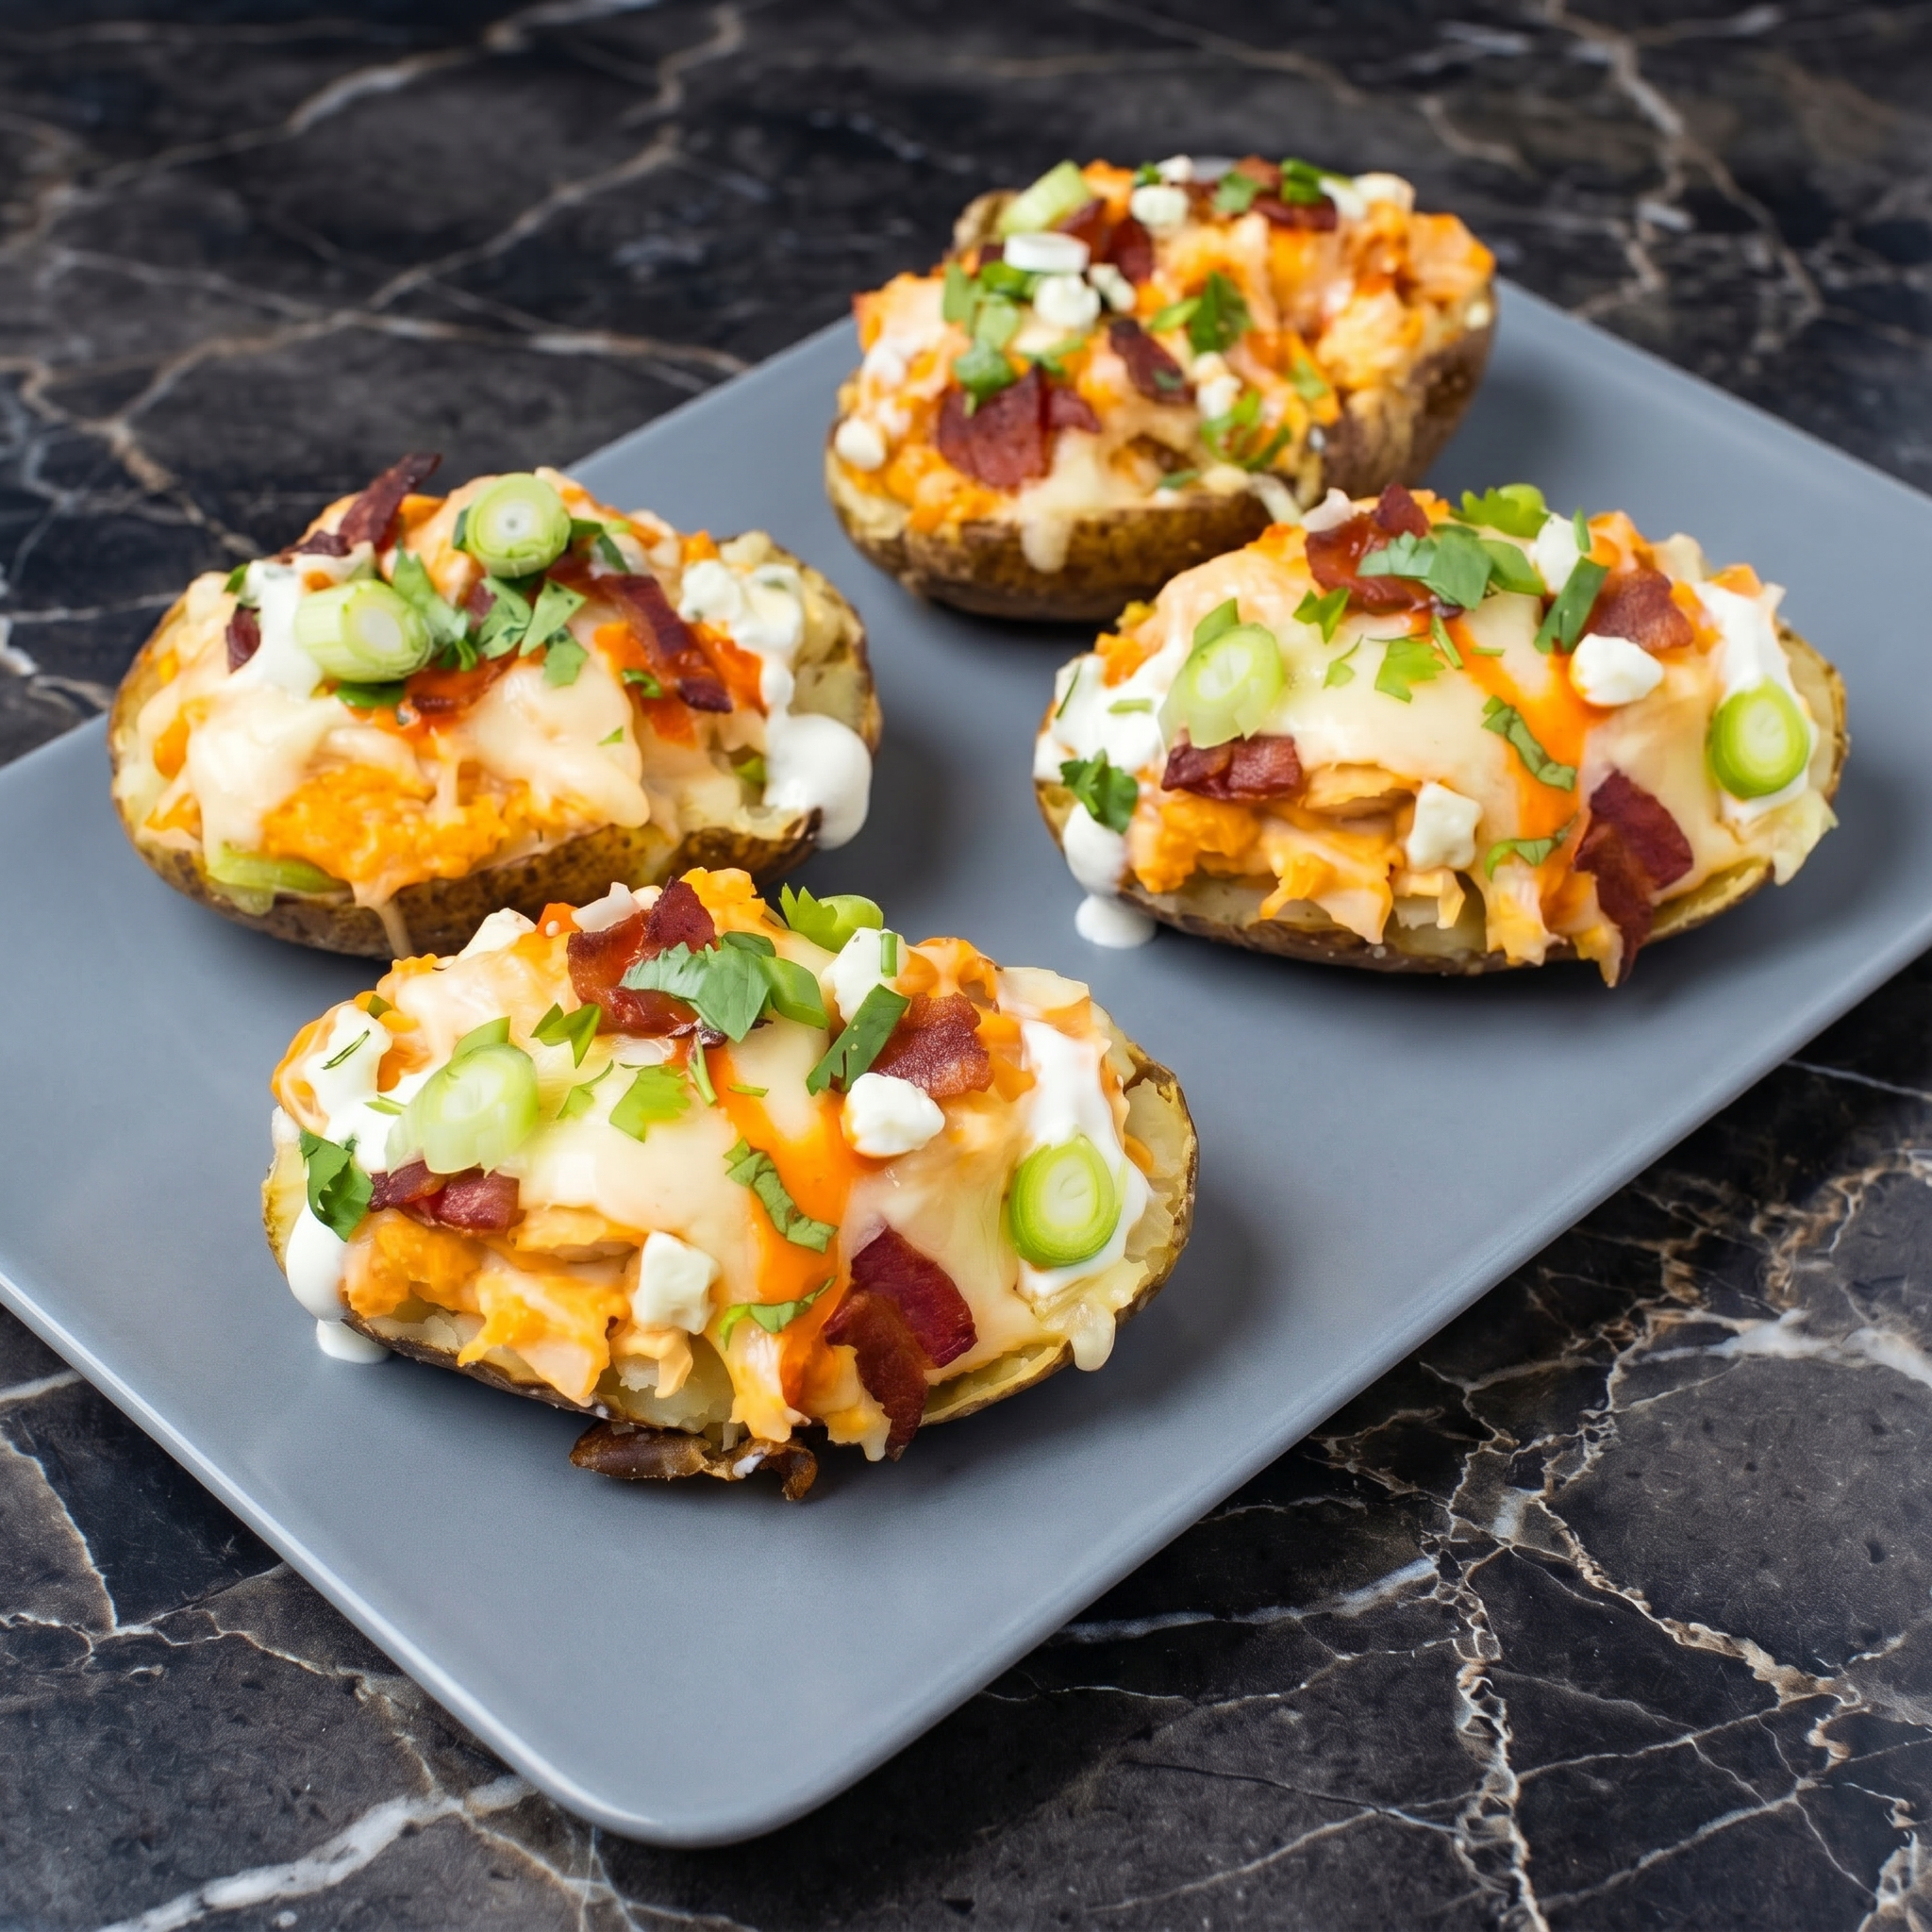
Stuff each potato with buffalo chicken. Top with shredded cheese. Return to oven for 3-5 minutes until cheese melts.
Step 5: Finish & Serve
Drizzle with ranch or blue cheese. Sprinkle with green onions and any other toppings.
Serve hot. Eat with a fork. Or just dig in.
Summary
Prep Time: 10 min | Bake Time: 60 min | Total: 70 min
Yield: 4 stuffed potatoes | Difficulty: Easy
Storage Notes
Fridge (components separate): Potatoes 5 days, buffalo chicken 4 days. Reheat: Assemble and bake at 375°F for 15-20 minutes. Avoid microwaving potatoes alone — they get rubbery. Best assembled fresh.
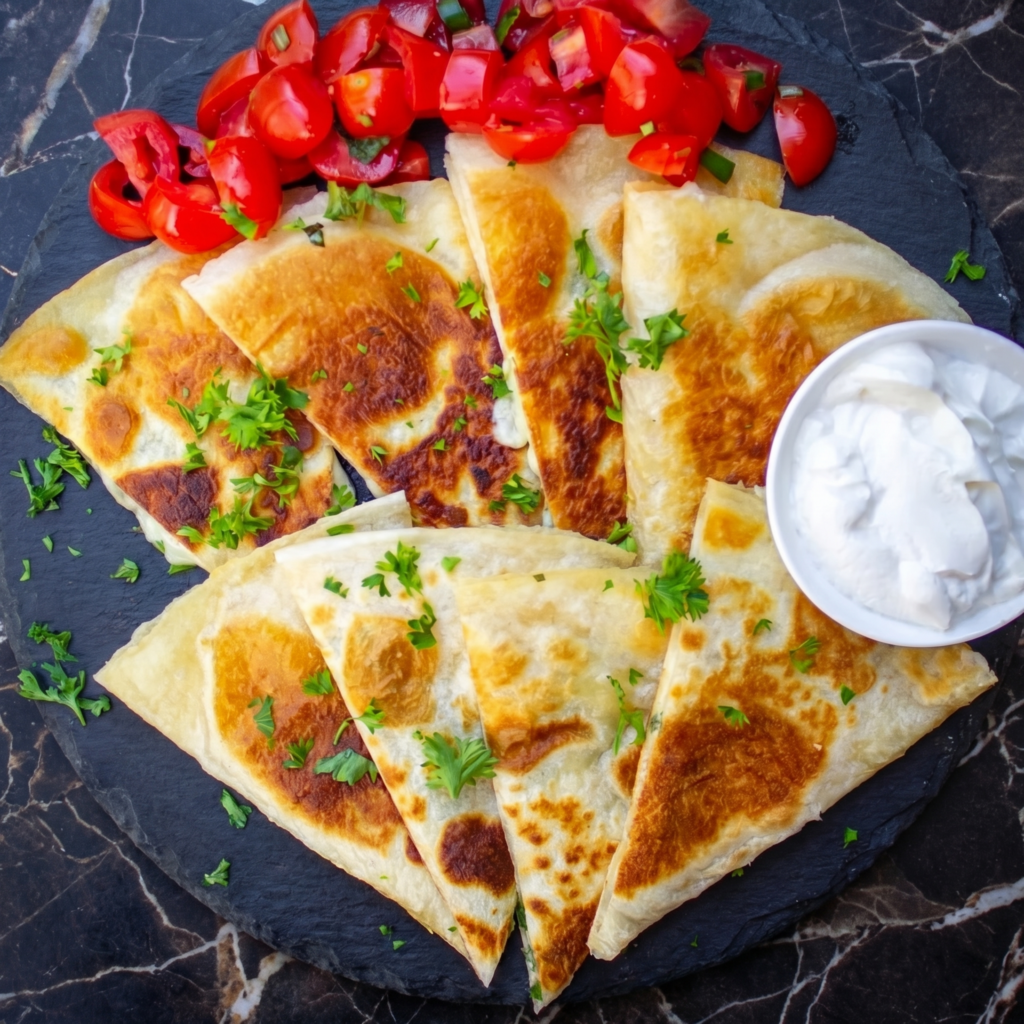
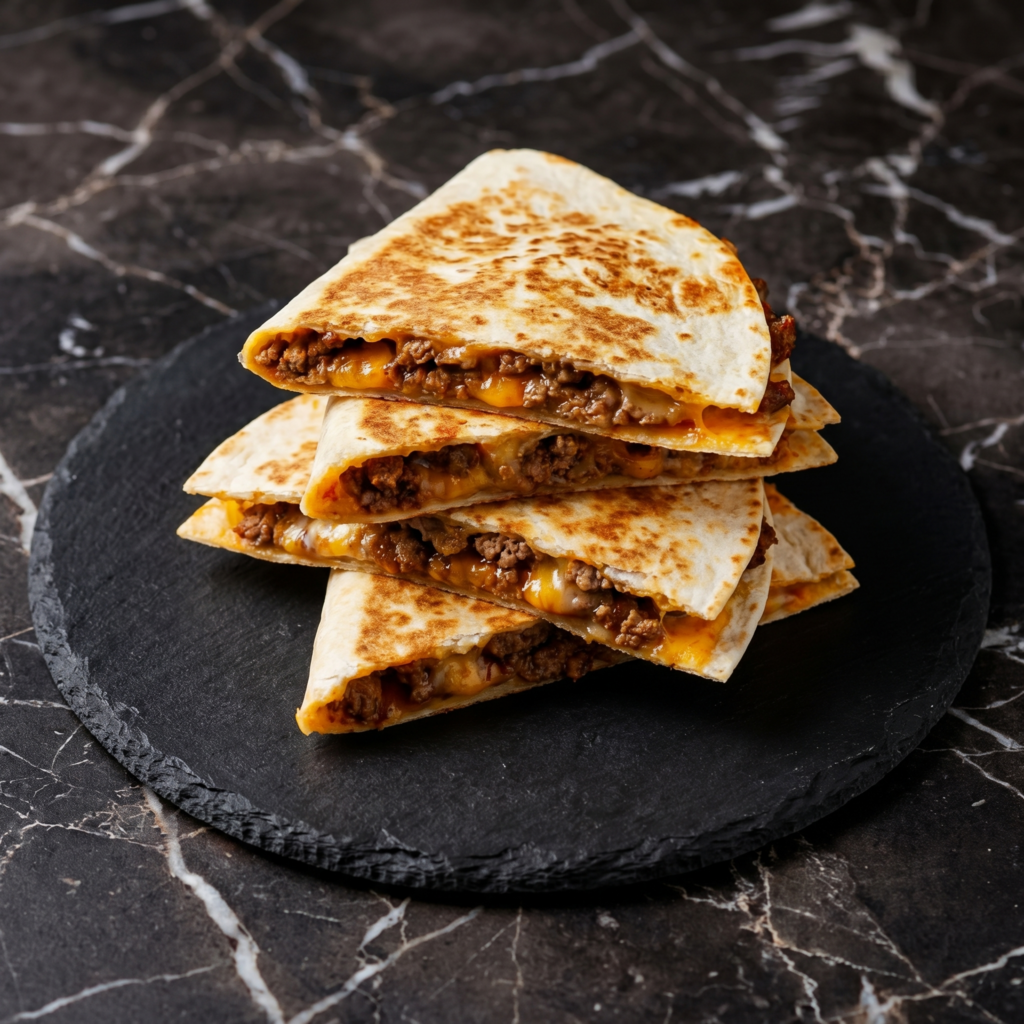
Is there anything more satisfying than a perfectly made quesadilla? A crispy, golden-brown tortilla wrapped around a core of melted, stretchy cheese, with whatever fillings your heart desires.
They’re the ultimate quick meal—ready in under 10 minutes, infinitely customizable, and loved by kids and adults alike. Whether you’re making a simple cheese quesadilla for a snack or loading it up with chicken, peppers, and onions for dinner, this guide will teach you how to achieve that perfect crispy exterior and perfectly melted interior every time.
Ingredients
For the Quesadillas (makes 2 large quesadillas, serving 2-4):
1. Prep Your Fillings: Ensure all fillings are cooked and ready to go. Shredded chicken, sautéed vegetables, etc. should be at room temperature or warm.
2. Assemble the Quesadilla: Lay one tortilla flat on a work surface. Sprinkle half the cheese evenly over half of the tortilla. Add your desired fillings over the cheese. Sprinkle a little more cheese on top of the fillings (this helps hold everything together). Fold the empty half of the tortilla over the fillings, creating a half-moon shape.
3. Repeat: Assemble the second quesadilla the same way.
4. Heat the Skillet: Place a large skillet or griddle over medium heat. Add 1 tablespoon of oil or butter and let it heat until shimmering.
5. Cook the First Quesadilla: Carefully place one assembled quesadilla in the hot skillet. Cook for 2-4 minutes, until the bottom is golden brown and crispy. Use a spatula to peek and check.
6. Flip and Cook the Other Side: Carefully flip the quesadilla and cook for another 2-4 minutes, until the second side is golden brown and the cheese is fully melted. Press down gently with the spatula to encourage even browning.
7. Keep Warm: Transfer the cooked quesadilla to a cutting board and repeat with the remaining quesadilla, adding more oil if needed.
8. Slice and Serve: Let the quesadillas rest for 1-2 minutes, then slice into wedges using a pizza cutter or sharp knife. Serve immediately with salsa, sour cream, guacamole, and any other desired toppings.
Pro-Tips for Quesadilla Perfection
Use a Cheese Blend: Monterey Jack or Oaxaca for meltability, cheddar for flavor. The combination gives you both stretch and taste.
Don’t Overstuff: Too many fillings make flipping difficult and can cause everything to spill out. Keep it moderate.
Pre-cook Fillings: Raw meat or veggies won’t cook through in the short time the tortilla needs. Everything should be cooked before assembling.
Medium Heat Is Key: Too hot and the tortilla burns before the cheese melts; too cool and it gets tough and dry. Medium heat is perfect.
Press Gently: Pressing with a spatula during cooking ensures even browning and helps the cheese melt.
Let It Rest: A minute or two rest before slicing prevents the fillings from falling out and allows the cheese to set slightly.
Customize Endlessly: Breakfast quesadillas with eggs and bacon, vegetarian with black beans and corn, or dessert with Nutella and strawberries—the possibilities are endless.
These Perfect Quesadillas are crispy, cheesy, and absolutely satisfying.
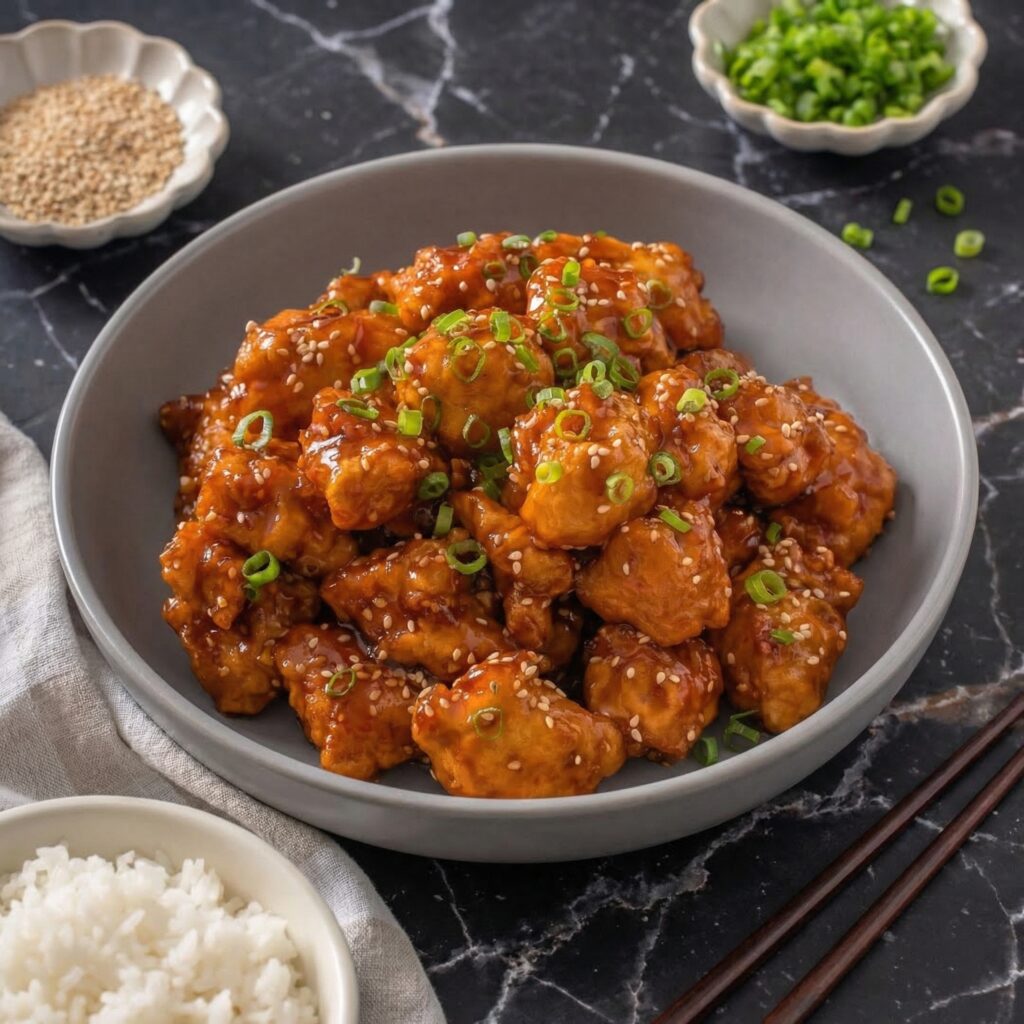
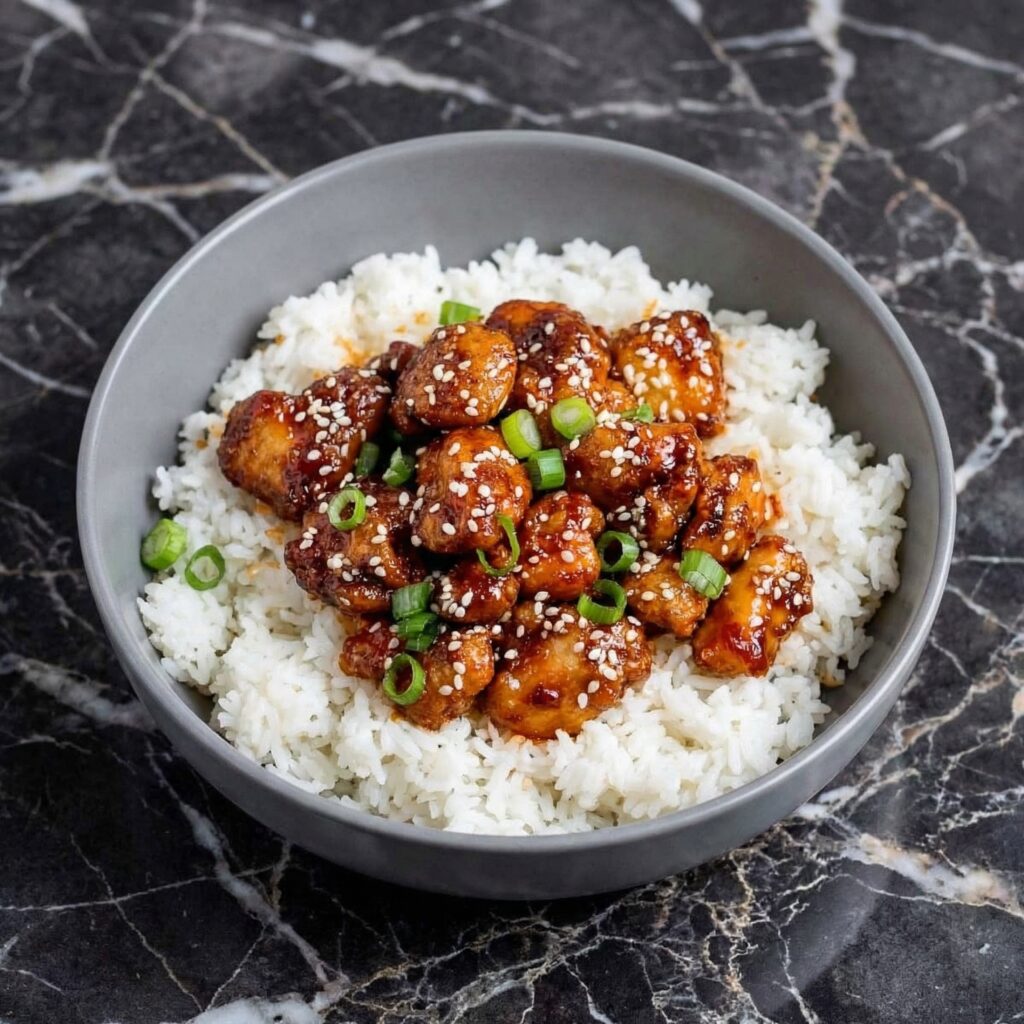
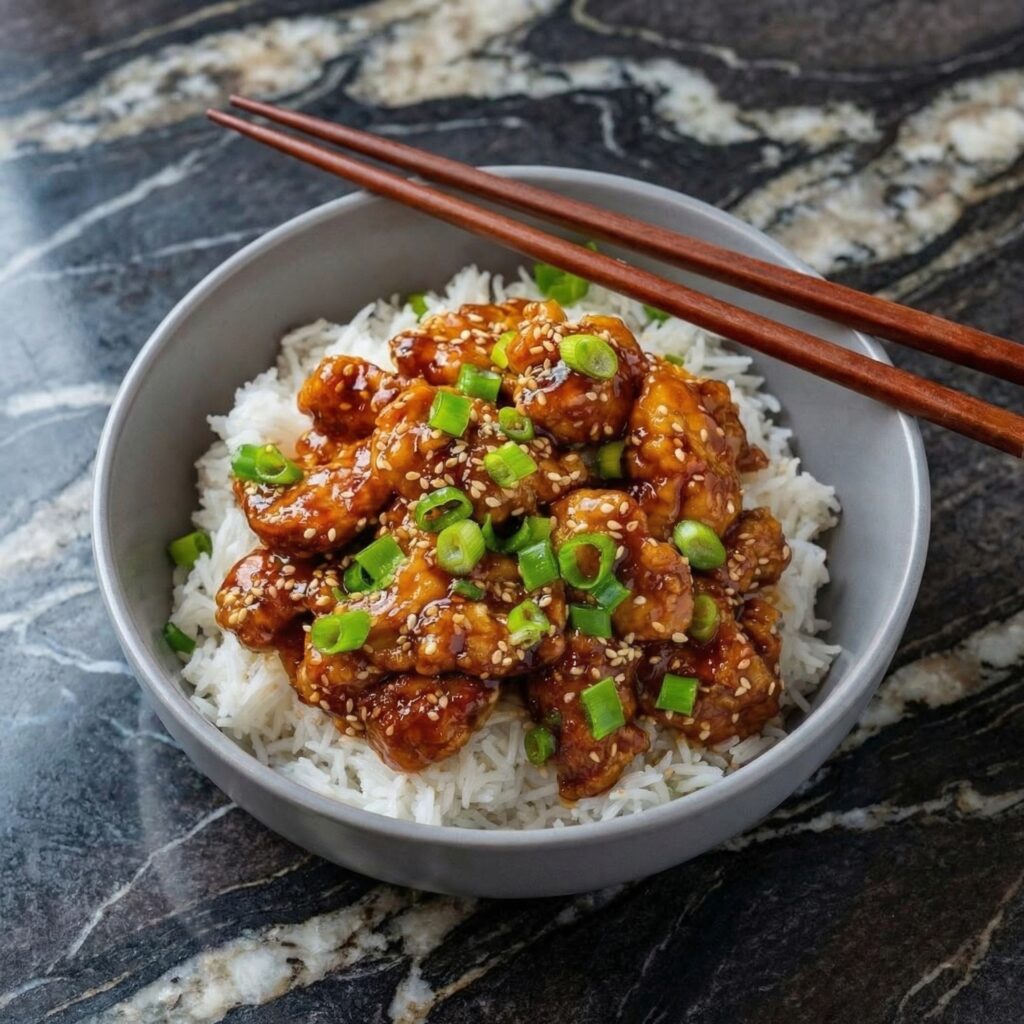
Sesame chicken is a takeout classic for good reason—crispy, golden chicken bites coated in a sticky, sweet-savory sauce, topped with toasted sesame seeds and green onions. It’s the dish everyone fights over.
This version is better than takeout: the chicken stays crispy even after saucing, the sauce is perfectly balanced (not too sweet, not too salty), and it comes together in under 30 minutes. No mystery ingredients, no deep fryer needed. Just delicious, restaurant-quality sesame chicken at home.
Ingredients
For the Chicken:
1½ lbs (680g) boneless, skinless chicken breasts or thighs, cut into 1-inch pieces
½ cup (65g) cornstarch
¼ cup (30g) all-purpose flour
½ teaspoon salt
¼ teaspoon white pepper (or black pepper)
2 large eggs, beaten
Vegetable oil, for frying
For the Sesame Sauce:
¼ cup (60ml) soy sauce (low sodium recommended)
¼ cup (60ml) honey
¼ cup (50g) brown sugar
2 tablespoons rice vinegar
2 cloves garlic, minced
1 teaspoon fresh ginger, grated
1 teaspoon sesame oil
½ cup (120ml) water
1 tablespoon cornstarch mixed with 2 tablespoons water (slurry)
For Garnish:
2 tablespoons sesame seeds, toasted
2 green onions, thinly sliced
For Serving:
Steamed rice
Steamed broccoli (optional)
Instructions
1. Prepare the Chicken: Pat the chicken pieces dry with paper towels. In a large bowl, combine the cornstarch, flour, salt, and pepper. Add the chicken pieces and toss to coat. Pour the beaten eggs over the chicken and stir until well combined and each piece is coated in a thick batter.
2. Heat the Oil: In a large skillet or wok, heat about ¼ inch of vegetable oil over medium-high heat until shimmering (about 350°F / 175°C).
3. Fry the Chicken: Working in batches to avoid overcrowding, carefully add the chicken pieces to the hot oil. Fry for 3-4 minutes per side, until golden brown and cooked through. Transfer to a wire rack to drain.
4. Make the Sauce: In a small bowl, whisk together the soy sauce, honey, brown sugar, rice vinegar, garlic, ginger, sesame oil, and water. In a separate tiny bowl, prepare the cornstarch slurry.
5. Cook the Sauce: Pour the sauce mixture into a clean skillet or wok over medium heat. Bring to a simmer and cook for 1-2 minutes. Stir the cornstarch slurry and add it to the sauce, stirring constantly until the sauce thickens and becomes glossy, about 30-60 seconds.
6. Coat the Chicken: Add the fried chicken to the skillet and toss quickly to coat evenly in the sauce. Do this just before serving to keep the chicken crispy.
7. Serve: Transfer to a serving platter and sprinkle with toasted sesame seeds and sliced green onions. Serve immediately with steamed rice.
Pro-Tips for Sesame Chicken Perfection
Use a Thermometer: Maintaining the right oil temperature (350°F) ensures crispy, non-greasy chicken.
Don’t Overcrowd the Pan: Fry in batches—overcrowding lowers the temperature and makes the chicken soggy.
Drain on a Rack: Paper towels can make the coating soggy. A wire rack keeps it crispy.
Toast the Sesame Seeds: Toasting brings out their nutty flavor. Do it in a dry skillet over medium heat for 2-3 minutes.
Sauce Consistency: The sauce should be thick enough to coat the chicken but not gloppy. Add the cornstarch slurry gradually.
Toss Just Before Serving: Adding the sauce too early will make the chicken lose its crispiness.
Make It Spicy: Add red pepper flakes or a drizzle of sriracha to the sauce.
Double the Sauce: This sauce is so good, you might want extra for rice.
This Better-Than-Takeout Sesame Chicken is crispy, sticky, and absolutely delicious.
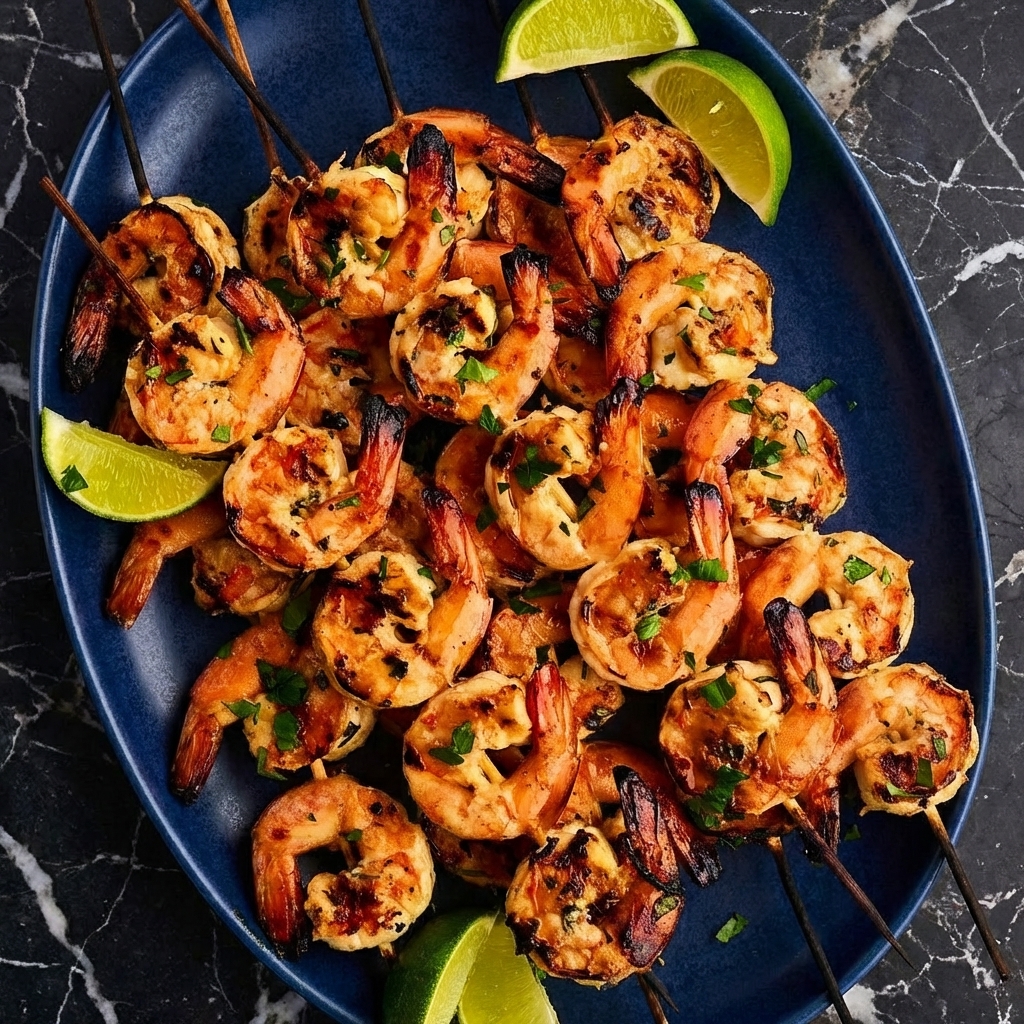
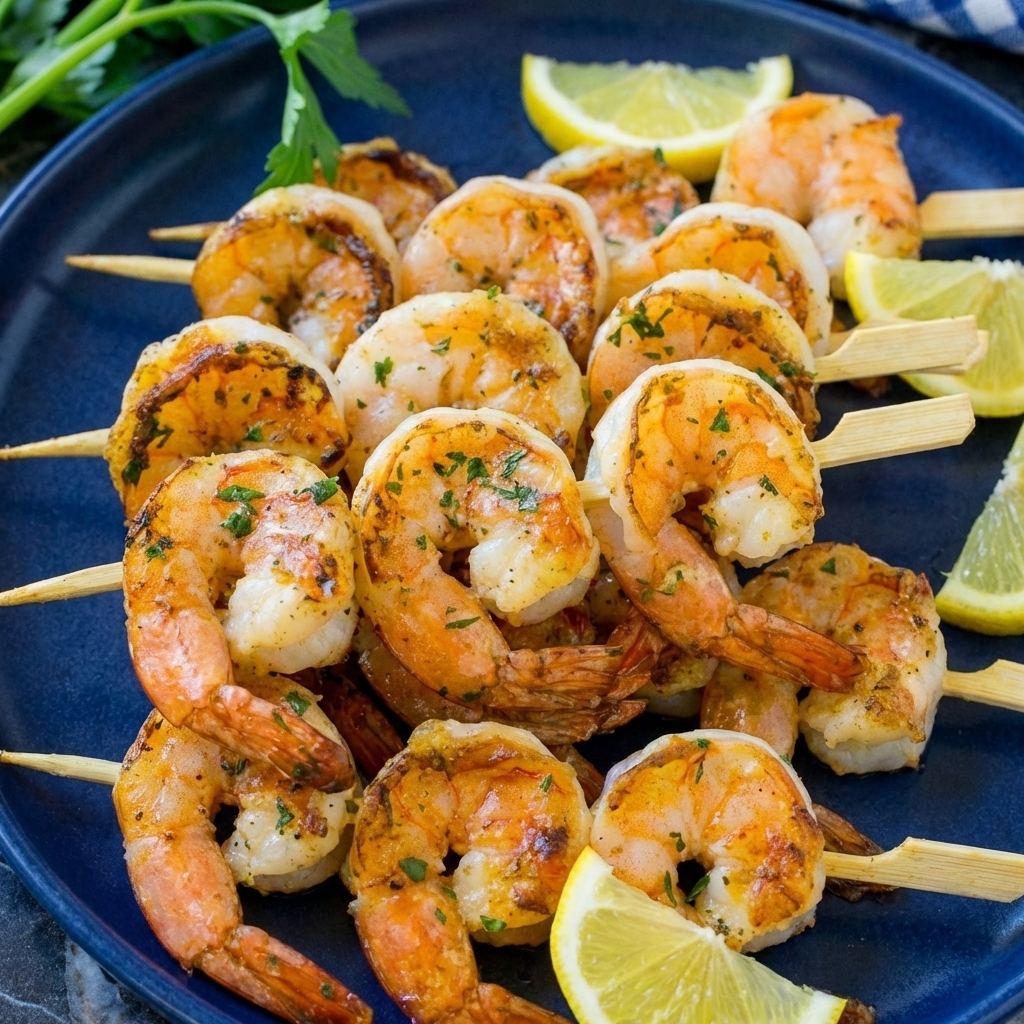
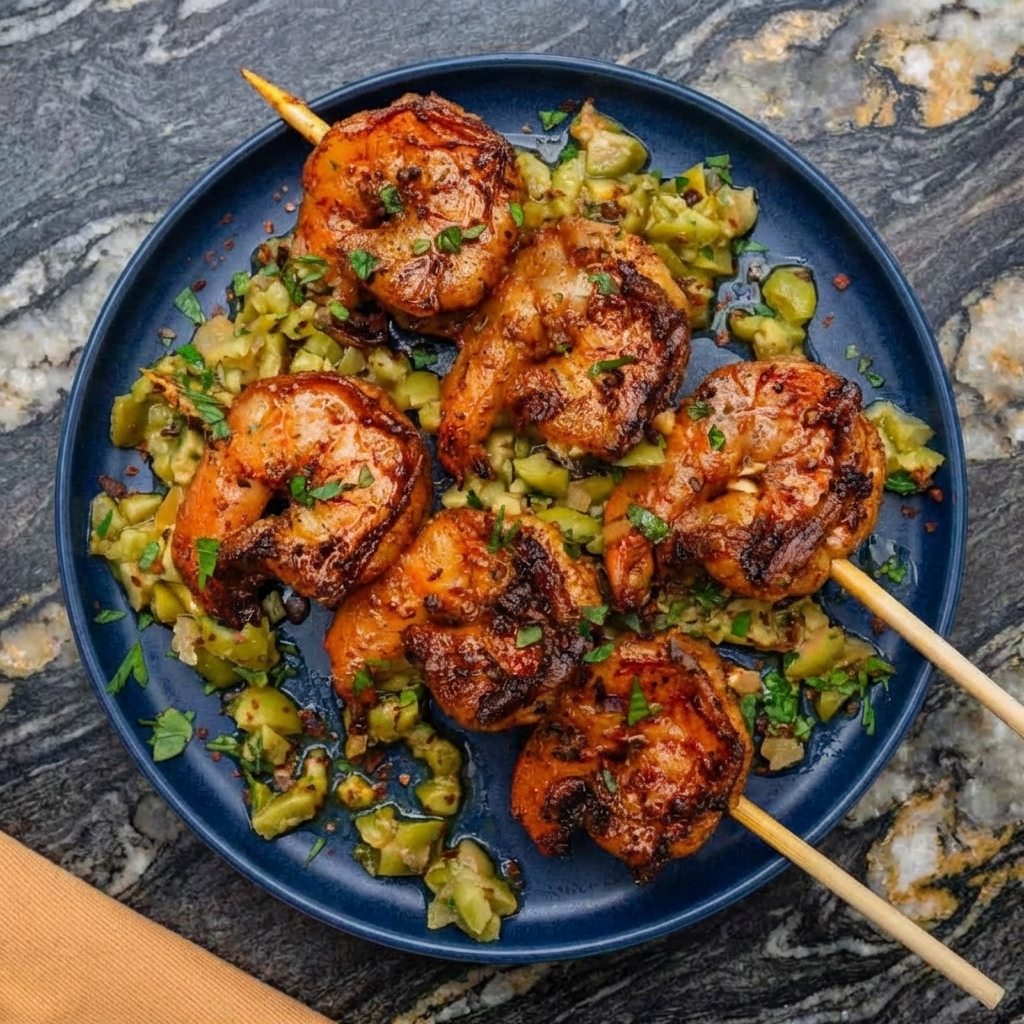
Grilled shrimp skewers are the perfect summer meal—quick, healthy, and absolutely bursting with flavor. Marinated in a bright mixture of garlic, lime, olive oil, and herbs, these shrimp cook in just minutes on the grill, developing beautiful char marks while staying juicy and tender.
Serve them as an appetizer, over rice or salad for a light meal, or tucked into tacos. This recipe comes together in under 30 minutes, making it perfect for busy weeknights or casual entertaining.
Ingredients
For the Shrimp Skewers (serves 4):
1½ lbs (680g) large shrimp (16-20 count), peeled and deveined, tails on or off
3 tablespoons olive oil
3 cloves garlic, minced
Zest of 1 lime
3 tablespoons fresh lime juice (about 1½ limes)
2 tablespoons fresh parsley or cilantro, chopped
1 teaspoon honey or sugar (optional)
½ teaspoon salt
¼ teaspoon black pepper
¼ teaspoon red pepper flakes (optional, for heat)
Wooden or metal skewers (if wooden, soak in water for 30 minutes)
For Serving:
Lime wedges
Fresh parsley or cilantro
Grilled vegetables, rice, or salad
Instructions
1. Prep the Skewers: If using wooden skewers, soak them in water for at least 30 minutes to prevent burning.
2. Make the Marinade: In a medium bowl, whisk together the olive oil, minced garlic, lime zest, lime juice, chopped herbs, honey (if using), salt, pepper, and red pepper flakes.
3. Marinate the Shrimp: Pat the shrimp dry with paper towels. Add them to the bowl with the marinade and toss to coat. Cover and refrigerate for 15-20 minutes—no longer, or the lime juice will start to cook the shrimp.
4. Thread the Skewers: Thread the shrimp onto the skewers, piercing through both the head and tail end so they lie flat. Leave a little space between each shrimp for even cooking.
5. Preheat the Grill: Preheat your grill to medium-high heat (about 400-450°F / 200-230°C). Clean and oil the grates well.
6. Grill the Shrimp: Place the skewers on the hot grill. Cook for 2-3 minutes per side, until the shrimp are opaque, pink, and have nice grill marks. Be careful not to overcook—they cook very quickly!
7. Serve: Remove from the grill and transfer to a serving platter. Garnish with fresh herbs and lime wedges. Serve immediately.
Pro-Tips for Grilled Shrimp Skewer Perfection
Use Large Shrimp: Larger shrimp (16-20 per pound) are easier to handle on the grill and less likely to overcook.
Don’t Over-Marinate: The acid in the lime juice can start to cook the shrimp, making them tough. 15-20 minutes is plenty.
Double-Skewer: For easier flipping, thread shrimp onto two parallel skewers—they’ll stay in place better.
Oil the Grates: A well-oiled grill prevents sticking and ensures those beautiful grill marks.
Watch Carefully: Shrimp cook in minutes—as soon as they turn opaque and pink, they’re done.
Don’t Overcrowd: Leave space between shrimp on the skewer for even cooking.
Serve Immediately: Grilled shrimp are best right off the grill.
Variations: Try different herbs (cilantro, oregano, dill) or add a teaspoon of cumin or chili powder to the marinade.
These Garlic Lime Grilled Shrimp Skewers are quick, juicy, and absolutely flavorful.