Tag: easy dessert bars

  • Cherry Pie Bars (All the Flavor, None of the Fuss)

    Cherry Pie Bars (All the Flavor, None of the Fuss)

    Pie is wonderful. But let’s be honest: pie can be a project. The rolling, the chilling, the crimping, the fear of a soggy bottom. These Cherry Pie Bars are the answer.

    They have everything you love about cherry pie—that sweet-tart filling, the buttery crust, the crumbly topping—but in an easy, sliceable bar form that comes together in minutes. A buttery shortbread crust, a generous layer of cherry pie filling, and a golden oat crumble topping bake into the most irresistible dessert.

    Serve them warm with vanilla ice cream, pack them for picnics, or just stand at the counter and eat one (or three). No judgment here.

    The Secret to Perfectly Layered Pie Bars

    The key to great cherry pie bars is building the layers correctly. Start with a sturdy shortbread crust that’s pressed firmly into the pan—this creates a solid base that won’t crumble when you cut.

    The cherry filling goes right on top, and here’s the secret: use high-quality cherry pie filling or make your own with fresh or frozen cherries. The filling should be thick, not runny, so it doesn’t soak into the crust.

    The oat topping is the final layer, and the secret there is cold butter, cut into the dry ingredients until you have craggy, buttery clumps. Bake until golden and bubbly, cool completely (this is crucial for clean cuts), and you’ve got bars that taste like pie without the fuss.

    Ingredients
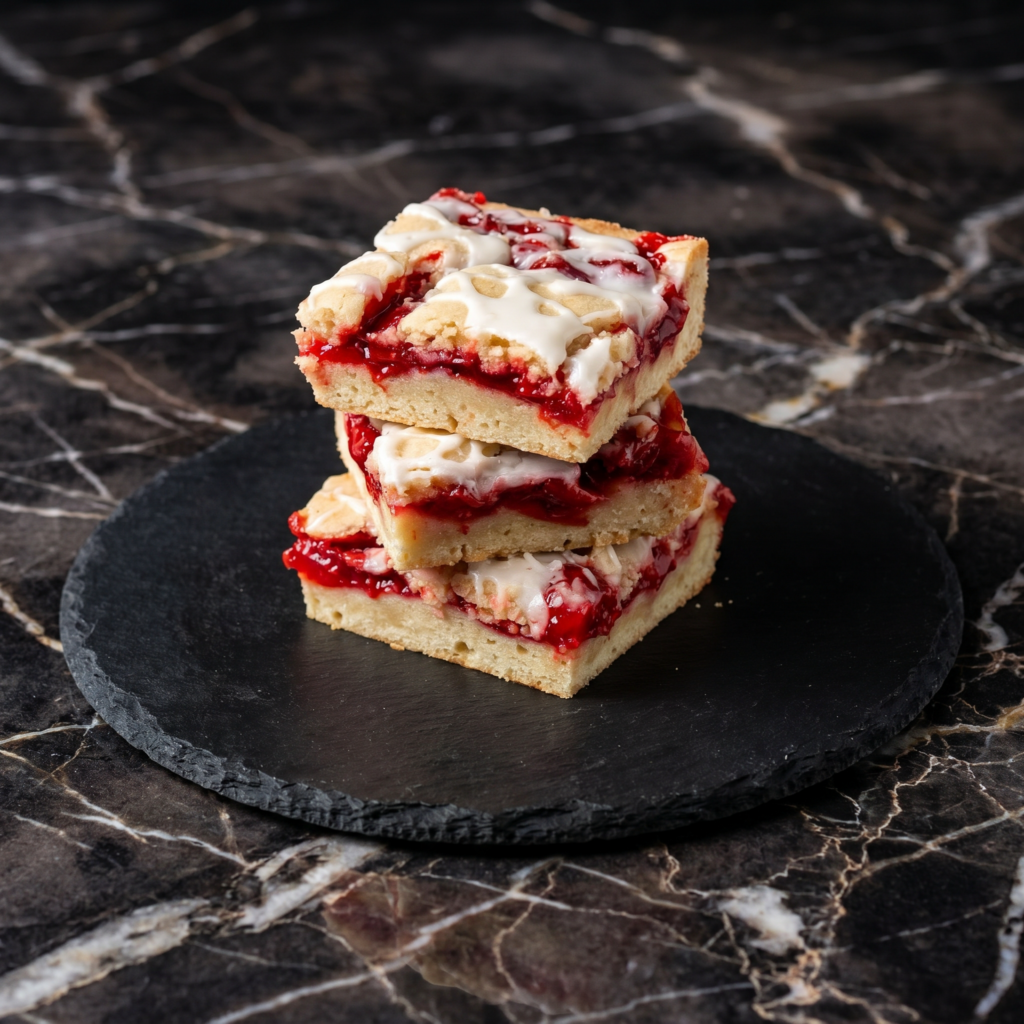
    For the Cherry Pie Bars (Makes 12-16 bars):

    • 2 cups (250g) all-purpose flour
    • ½ cup (100g) granulated sugar
    • ¼ teaspoon salt
    • 1 cup (226g) cold unsalted butter, cut into small cubes
    • 1 teaspoon vanilla extract
    • 1 can (21 oz) cherry pie filling (or about 2 cups homemade cherry filling)

    For the Oat Crumble Topping:

    • 1 cup (125g) all-purpose flour
    • ½ cup (100g) packed brown sugar
    • ½ cup (45g) old-fashioned rolled oats
    • ½ teaspoon cinnamon
    • ¼ teaspoon salt
    • ½ cup (113g) cold unsalted butter, cut into small cubes

    For Serving (Optional):

    • Powdered sugar, for dusting
    • Vanilla ice cream or whipped cream

    Instructions

    1. Preheat and Prep: Preheat your oven to 375°F (190°C). Grease a 9×13-inch baking pan or line it with parchment paper, leaving overhang on the long sides for easy removal.

    2. Make the Crust: In a large bowl, combine the flour, granulated sugar, and salt. Add the cold butter cubes and vanilla extract. Use a pastry blender, fork, or your fingertips to cut the butter into the flour until the mixture resembles coarse crumbs with pea-sized butter pieces. Press the mixture firmly and evenly into the bottom of the prepared pan.

    3. Pre-Bake the Crust: Bake the crust for 15-18 minutes until lightly golden around the edges. Remove from the oven (leave oven on).

    4. Make the Oat Topping: In a separate bowl, combine the flour, brown sugar, oats, cinnamon, and salt. Add the cold butter cubes and cut in until the mixture forms craggy, buttery clumps of various sizes.

    5. Add Cherry Filling: Spread the cherry pie filling evenly over the warm pre-baked crust.

    6. Add Topping: Sprinkle the oat crumble topping evenly over the cherry layer, covering as much as possible.

    7. Bake: Bake for 25-30 minutes until the topping is golden brown and the filling is bubbly around the edges.

    8. Cool Completely: Let the bars cool completely in the pan on a wire rack. This is essential for clean slices—at least 2 hours.

    9. Slice: Once completely cool, use the parchment overhang to lift the bars out of the pan. Place on a cutting board and slice into squares or bars with a sharp knife.

    10. Serve: Dust with powdered sugar if desired and serve. Extra delicious with vanilla ice cream.

    11. Store: Store in an airtight container at room temperature for up to 3 days, or in the refrigerator for up to 5 days.

    Pro-Tips for Cherry Pie Bar Greatness

    • Use Cold Butter: Cold butter is essential for a flaky crust and crumbly topping. If the butter softens, pop the dough in the fridge for 10 minutes.
    • Cool Completely Before Slicing: Warm bars will fall apart. Patience is rewarded with clean, beautiful squares.
    • Make Your Own Filling: For an extra-special treat, make your own cherry filling with fresh or frozen cherries, sugar, and a little cornstarch.
    • Customize the Fruit: Swap cherry for apple, blueberry, peach, or any pie filling you love.
    • Serve Warm with Ice Cream: If you can’t resist warm bars, serve them in bowls with vanilla ice cream—soggy bars don’t matter when they’re à la mode.
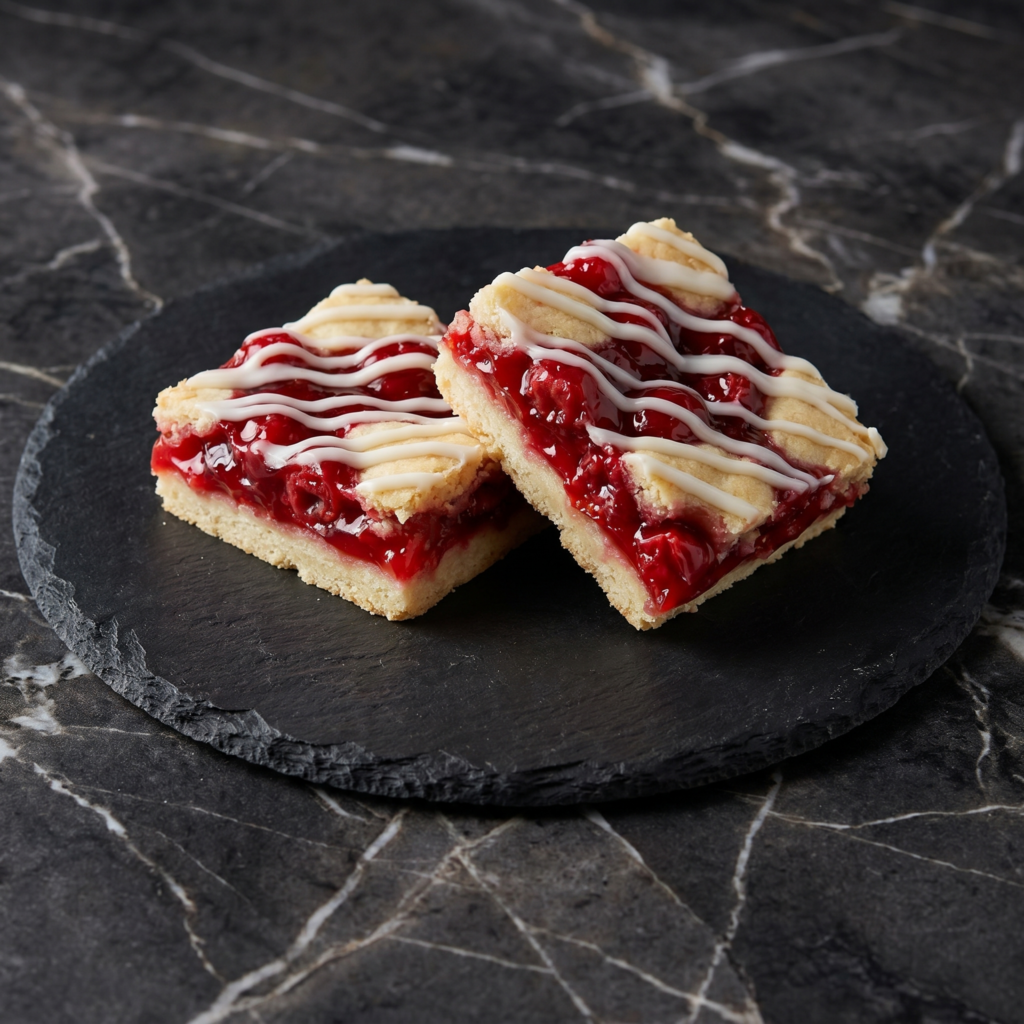
  • Chewy, Chocolatey, and Irresistible: The Ultimate Homemade Revel Bars Recipe

    Chewy, Chocolatey, and Irresistible: The Ultimate Homemade Revel Bars Recipe

    If you love the combination of buttery oats and rich, fudgy chocolate, then Revel Bars are about to become your new favorite dessert.

    These classic layered bars feature a soft oatmeal cookie crust and topping with a thick, gooey chocolate center that melts in your mouth.

    They’re simple enough for beginner bakers yet impressive enough for potlucks, bake sales, and family gatherings. Follow this detailed step-by-step guide to make perfectly chewy, chocolate-packed Revel Bars right in your own kitchen.


    What Are Revel Bars?

    Revel Bars are a vintage dessert bar made with a hearty oatmeal cookie dough that doubles as both the crust and crumb topping.

    The center is filled with a luscious chocolate mixture that bakes into a soft fudge-like layer. The contrast between chewy oats and silky chocolate is what makes these bars so special.


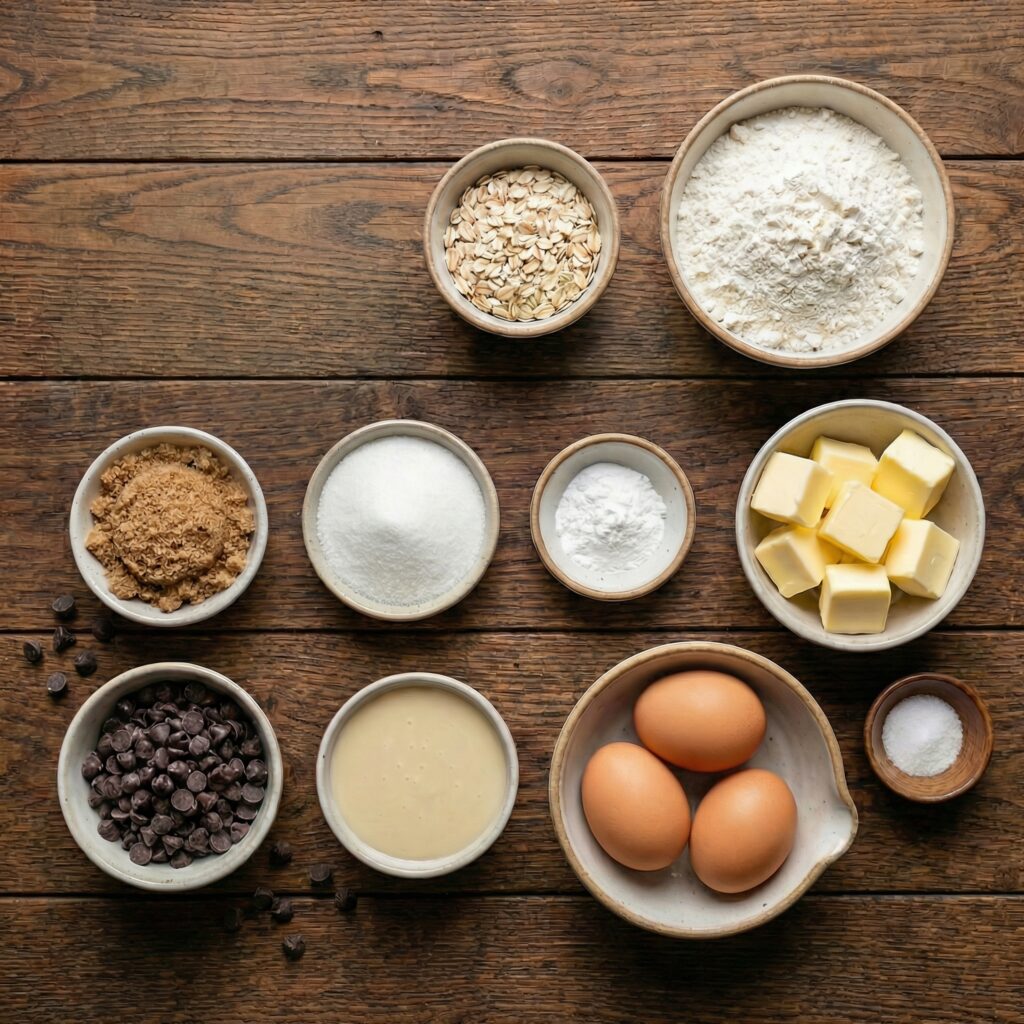
    Ingredients You’ll Need

    For the Oatmeal Cookie Base and Topping:

    • 1 cup (226g) unsalted butter, softened
    • 2 cups (400g) packed brown sugar
    • 2 large eggs
    • 1 teaspoon vanilla extract
    • 2½ cups (310g) all-purpose flour
    • 1 teaspoon baking soda
    • ½ teaspoon salt
    • 3 cups (270g) old-fashioned rolled oats

    For the Chocolate Filling:

    • 1 can (14 oz) sweetened condensed milk
    • 2 cups (340g) semi-sweet chocolate chips
    • 2 tablespoons unsalted butter
    • ½ teaspoon salt
    • 1 teaspoon vanilla extract

    Step 1: Preheat and Prepare the Pan

    Preheat your oven to 350°F (175°C).

    Grease a 9×13-inch baking pan or line it with parchment paper, leaving overhang on the sides for easy removal. Proper preparation ensures your bars release cleanly once cooled.


    Step 2: Cream Butter and Sugar

    In a large mixing bowl, beat the softened butter and brown sugar together until light and fluffy.

    This step incorporates air into the mixture, helping create a soft and chewy texture. Cream for about 2–3 minutes using a hand mixer or stand mixer.


    Step 3: Add Eggs and Vanilla

    Add the eggs one at a time, beating well after each addition. Stir in the vanilla extract.

    The mixture should be smooth and slightly creamy at this stage.


    Step 4: Combine Dry Ingredients

    In a separate bowl, whisk together the flour, baking soda, and salt.

    Gradually add the dry ingredients to the wet mixture, mixing just until combined. Avoid overmixing to keep the bars tender.


    Step 5: Fold in the Oats

    Stir in the old-fashioned rolled oats until evenly distributed.

    The dough will be thick and hearty—this is exactly what you want for that classic chewy texture.


    Step 6: Press the Base Layer

    Press about two-thirds of the oatmeal dough evenly into the bottom of the prepared baking pan.

    Use a spatula or lightly damp fingers to smooth it into an even layer. This will serve as the sturdy base for your chocolate filling.

    Set aside the remaining dough for the topping.


    Step 7: Prepare the Chocolate Filling

    In a medium saucepan over low heat, combine the sweetened condensed milk, chocolate chips, and butter. Stir continuously until the chocolate is fully melted and smooth.

    Remove from heat and stir in the salt and vanilla extract. The filling should be glossy, thick, and rich.


    Step 8: Spread the Chocolate Layer

    Pour the warm chocolate filling evenly over the oatmeal base in the pan. Use a spatula to spread it into an even layer, making sure it reaches all corners.


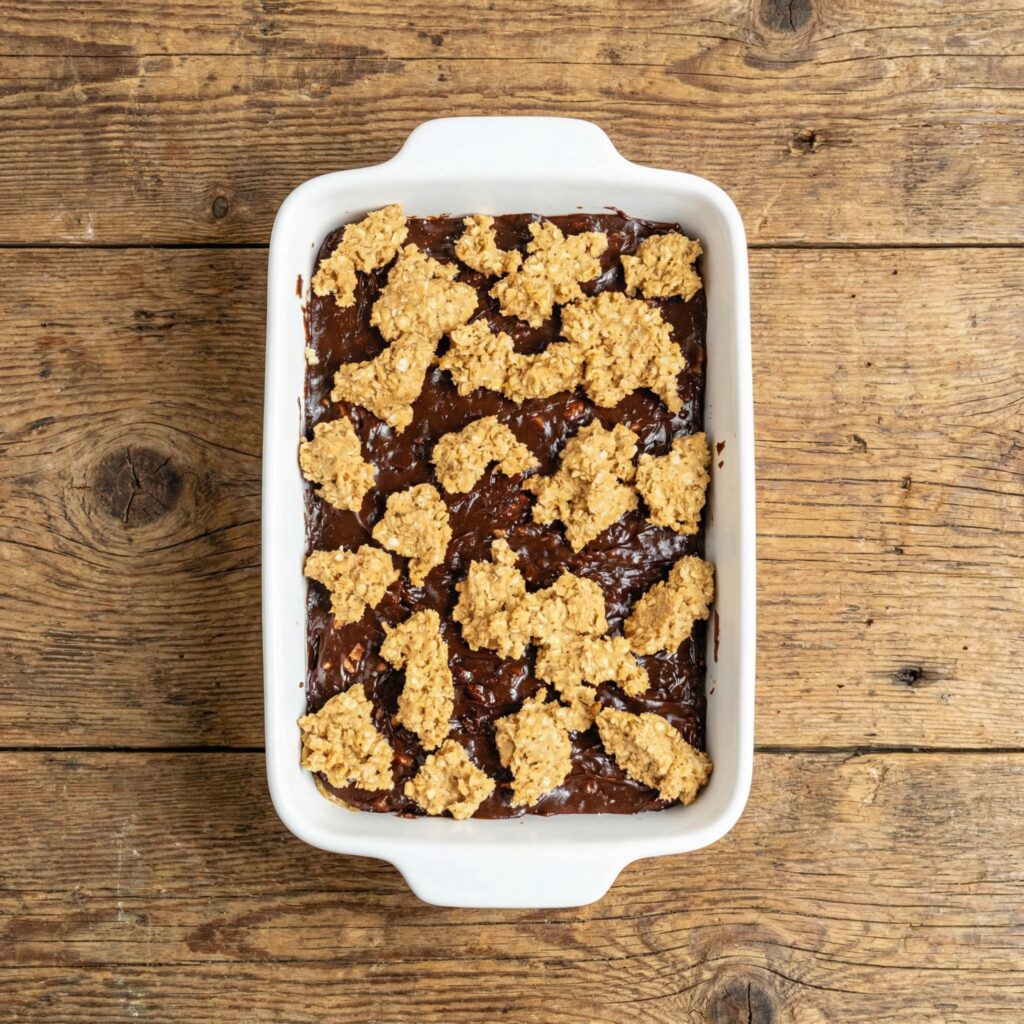
    Step 9: Add the Oatmeal Topping

    Crumble the remaining oatmeal dough evenly over the chocolate layer. Don’t worry about covering every inch—the chocolate peeking through creates that classic rustic look.


    Step 10: Bake to Perfection

    Bake in the preheated oven for 25–30 minutes, or until the top is lightly golden brown and set.

    The center may still look slightly soft, but it will firm up as it cools.

    Avoid overbaking, as this can dry out the bars.


    Step 11: Cool Completely

    Remove the pan from the oven and allow the bars to cool completely in the pan.

    This step is crucial—cutting them too early can cause the chocolate layer to ooze and fall apart.

    For clean slices, refrigerate the cooled bars for 1–2 hours before cutting.


    Step 12: Slice and Serve

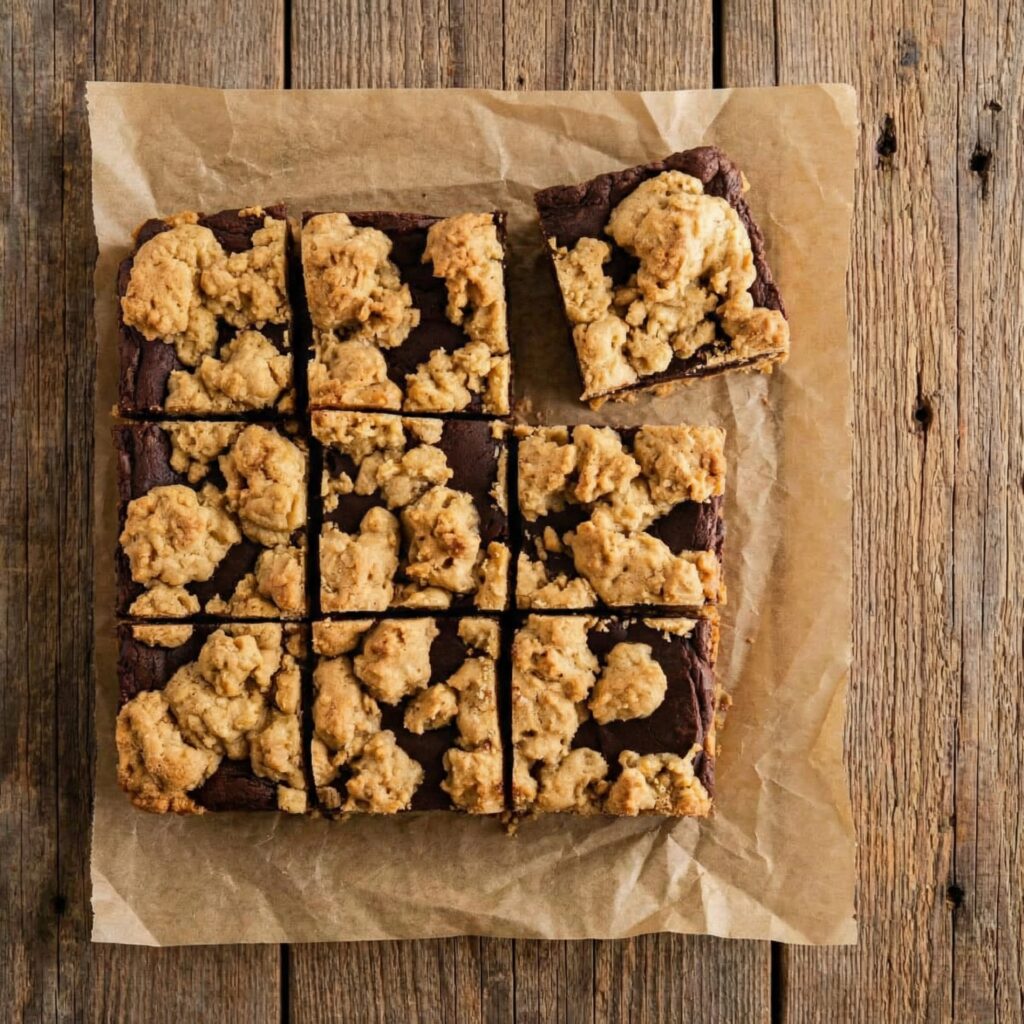
    Use the parchment overhang to lift the bars out of the pan. With a sharp knife, cut into squares or rectangles.

    Wipe the knife clean between cuts for neat edges.

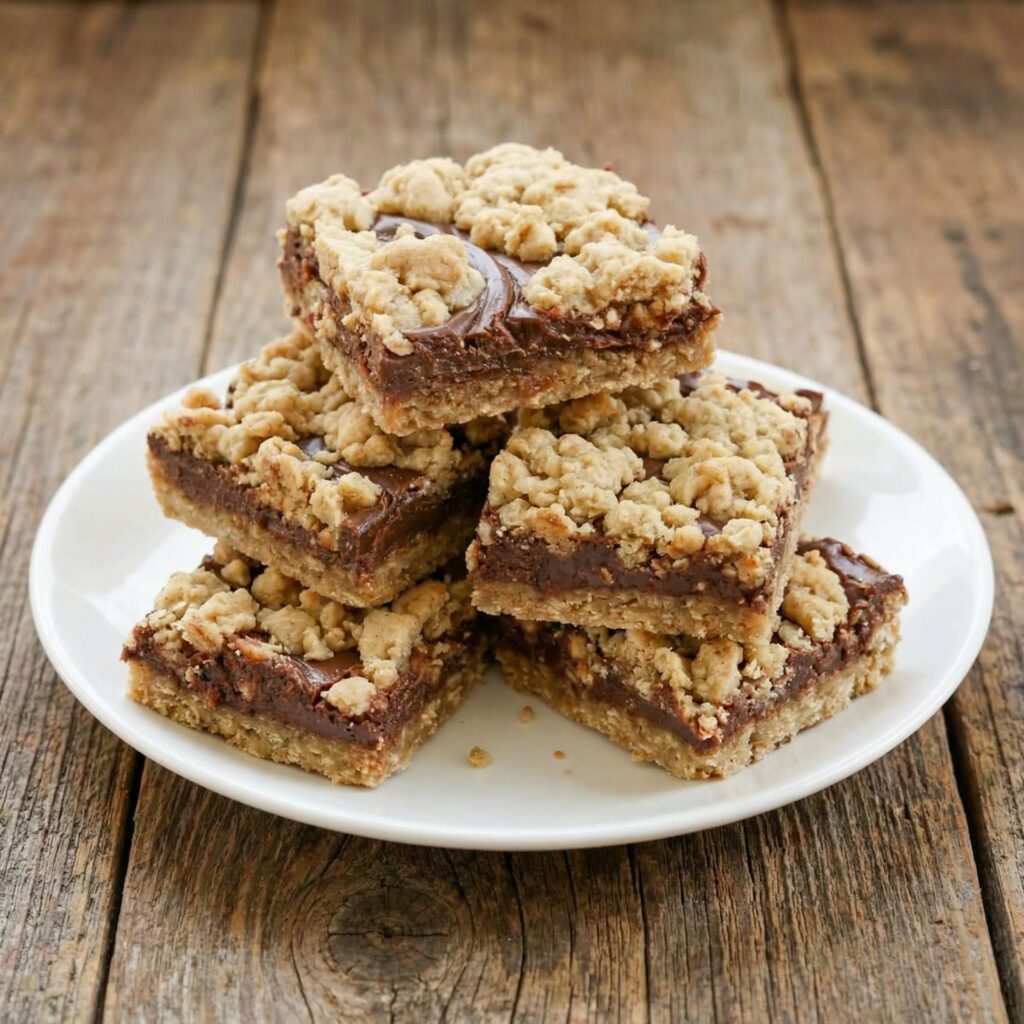
    Serve at room temperature for the perfect balance of chewy oatmeal and fudgy chocolate.


    Tips for Perfect Revel Bars

    1. Use old-fashioned oats, not quick oats, for the best texture.
    2. Line the pan with parchment for easy removal.
    3. Don’t overbake—slightly soft centers ensure a fudgy filling.
    4. Chill before slicing for cleaner cuts.
    5. Add chopped nuts like walnuts or pecans for extra crunch if desired.

    Storage and Freezing

    • Store Revel Bars in an airtight container at room temperature for up to 4 days.
    • Refrigerate for a firmer texture and longer freshness.
    • Freeze individually wrapped bars for up to 3 months. Thaw at room temperature before serving.

    Revel Bars are the perfect combination of nostalgic comfort and indulgent flavor.

    The chewy oatmeal layers contrast beautifully with the rich chocolate center, creating a dessert that feels both homey and decadent. Whether you’re baking for a gathering or simply satisfying a chocolate craving, these bars deliver every time.

    Once you try homemade Revel Bars, you’ll understand why this classic recipe has stood the test of time. With simple ingredients and easy steps, you can create a batch of irresistible bars that disappear almost as quickly as they cool.

  • White Apple Pie Bars: Easy, Sliceable Apple Crumble Bars

    White Apple Pie Bars: Easy, Sliceable Apple Crumble Bars

    Imagine the cozy, spiced flavor of a perfect apple pie, but in a handheld, easy-to-share bar form. That’s the magic of these White Apple Pie Bars. They start with a simple, press-in shortbread crust, get filled with a juicy, cinnamon-spiced apple layer, and are topped with a buttery crumble.

    Finished with a drizzle of sweet white icing, they deliver every element of the classic dessert without the fuss of pie dough. They’re the ultimate make-ahead treat for potlucks, school bake sales, or a delicious autumnal snack with coffee.

    The Science of the Perfect Bar Structure

    The success of these bars lies in the distinct, balanced layers. The shortbread crust is a 1:2:3 ratio of sugar, butter, and flour—a classic that bakes into a sturdy, crisp, and buttery base that can support the moist filling without getting soggy.

    The fat in the butter coats the flour proteins, inhibiting gluten formation for a tender, crumbly texture. The apple filling uses a combination of fresh apples and a small amount of flour or cornstarch. As the bars bake, the apples release their juices, which are immediately thickened by the starch, creating a cohesive, jam-like layer that slices cleanly.

    The crumble topping uses the same base as the crust but with less liquid, creating distinct clumps that bake up crisp and golden. The final powdered sugar icing is more than decoration; its slight acidity from milk or cream balances the sweetness, and as it sets, it adds a delicate, crackly textural contrast.

    Ingredients

    For the Crust & Crumble:

    • 2 cups (250g) all-purpose flour
    • ½ cup (100g) granulated sugar
    • ½ teaspoon baking powder
    • ¼ teaspoon salt
    • 1 cup (2 sticks / 226g) cold unsalted butter, cubed
    • 1 large egg yolk

    For the Apple Filling:

    • 4-5 medium tart apples (like Granny Smith), peeled and finely diced*
    • 3 tablespoons granulated sugar
    • 2 tablespoons all-purpose flour or cornstarch
    • 1 ½ teaspoons ground cinnamon
    • ¼ teaspoon ground nutmeg
    • 1 tablespoon lemon juice

    For the White Icing:

    • ½ cup (60g) powdered sugar, sifted
    • 1-2 tablespoons milk or cream
    • ¼ teaspoon vanilla extract

    *Finely dicing ensures the apples soften completely and the bars slice neatly.

    Instructions

    1. Prep: Preheat oven to 350°F (175°C). Line a 9×13 inch baking pan with parchment paper, leaving an overhang on two sides.

    2. Make Crust & Crumble: In a food processor or large bowl, combine flour, sugar, baking powder, and salt. Add the cold, cubed butter. Pulse or cut in with a pastry cutter until the mixture resembles coarse crumbs. Remove 1 heaping cup of this mixture and set aside for the crumble topping.

    3. Form the Crust: To the remaining mixture in the bowl, add the egg yolk. Mix with a fork or your hands until it comes together into a crumbly dough. Press this mixture firmly and evenly into the bottom of the prepared pan.

    4. Make Apple Filling: In a large bowl, toss the diced apples with sugar, flour (or cornstarch), cinnamon, nutmeg, and lemon juice until evenly coated.

    5. Assemble: Spread the apple mixture evenly over the pressed crust. Sprinkle the reserved crumble topping over the apples.

    6. Bake: Bake for 40-50 minutes, until the topping is golden brown and the filling is bubbly. Let the bars cool completely in the pan on a wire rack.

    7. Make Icing & Finish: Once cool, lift the bars out of the pan using the parchment overhang. Whisk powdered sugar, 1 tablespoon of milk, and vanilla until smooth. Add more milk if needed for a drizzling consistency. Drizzle over the bars in a zig-zag pattern.

    8. Slice & Serve: Let the icing set for 15 minutes, then slice into squares. Serve at room temperature.

    Pro-Tips for Bar Excellence

    • Use Cold Butter: This is essential for a flaky, crumbly crust and topping.
    • Finely Dice the Apples: Larger chunks can create gaps and make the bars harder to slice. A small, even dice ensures a uniform layer that bakes through.
    • Press the Crust Firmly: Use the bottom of a measuring cup to press the crust into a compact, even layer. This prevents it from crumbling when cut.
    • Don’t Skip the Lemon Juice: It prevents the apples from browning and adds a bright note that balances the sweetness.
    • Cool Completely: The filling needs time to set. Cutting into warm bars will result in a messy, crumbly slice.
    • Customize the Spice: Add a pinch of cardamom or cloves to the apple mixture for extra warmth.
    • Add Nuts: Mix ½ cup of chopped pecans or walnuts into the crumble topping before sprinkling.
    • Storage: Store bars in an airtight container at room temperature for up to 3 days, or refrigerate for up to 5 days.

    These White Apple Pie Bars are the effortless, crowd-feeding answer to your apple pie cravings.