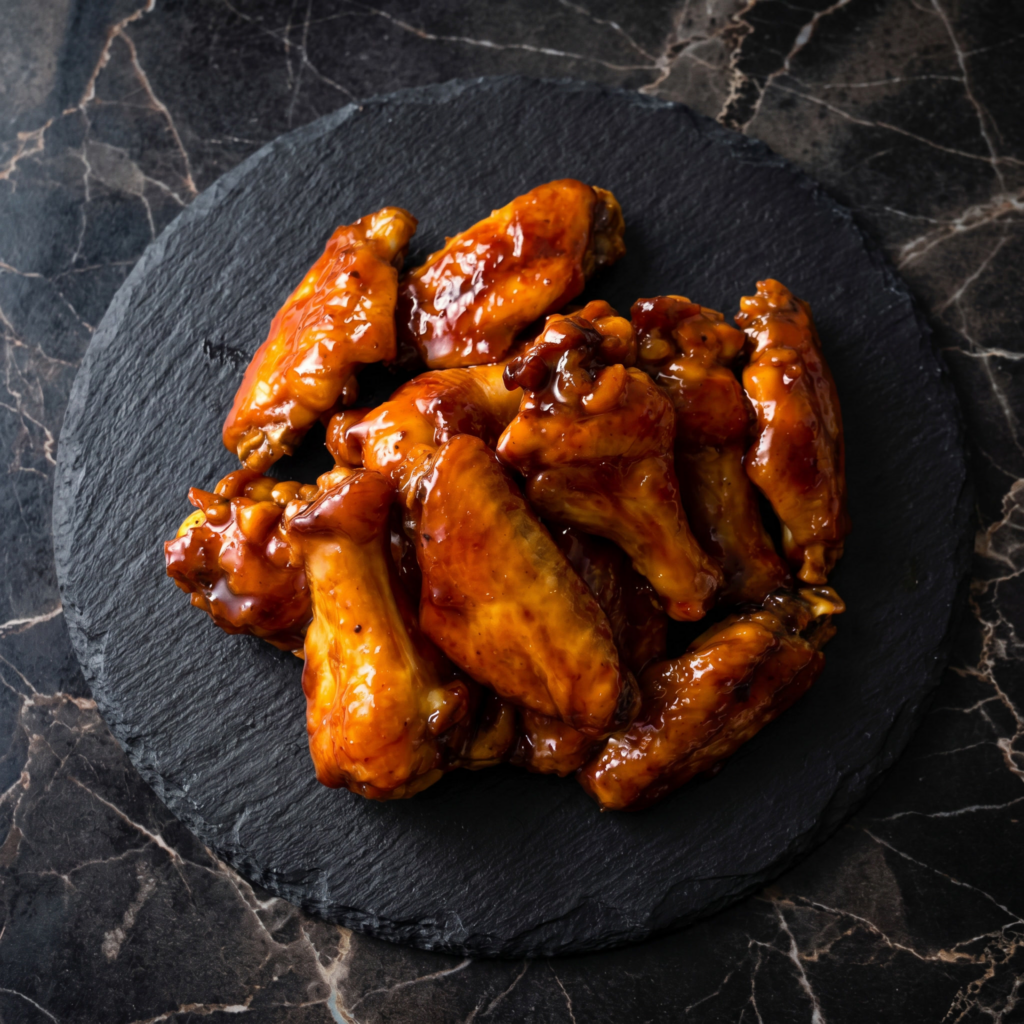
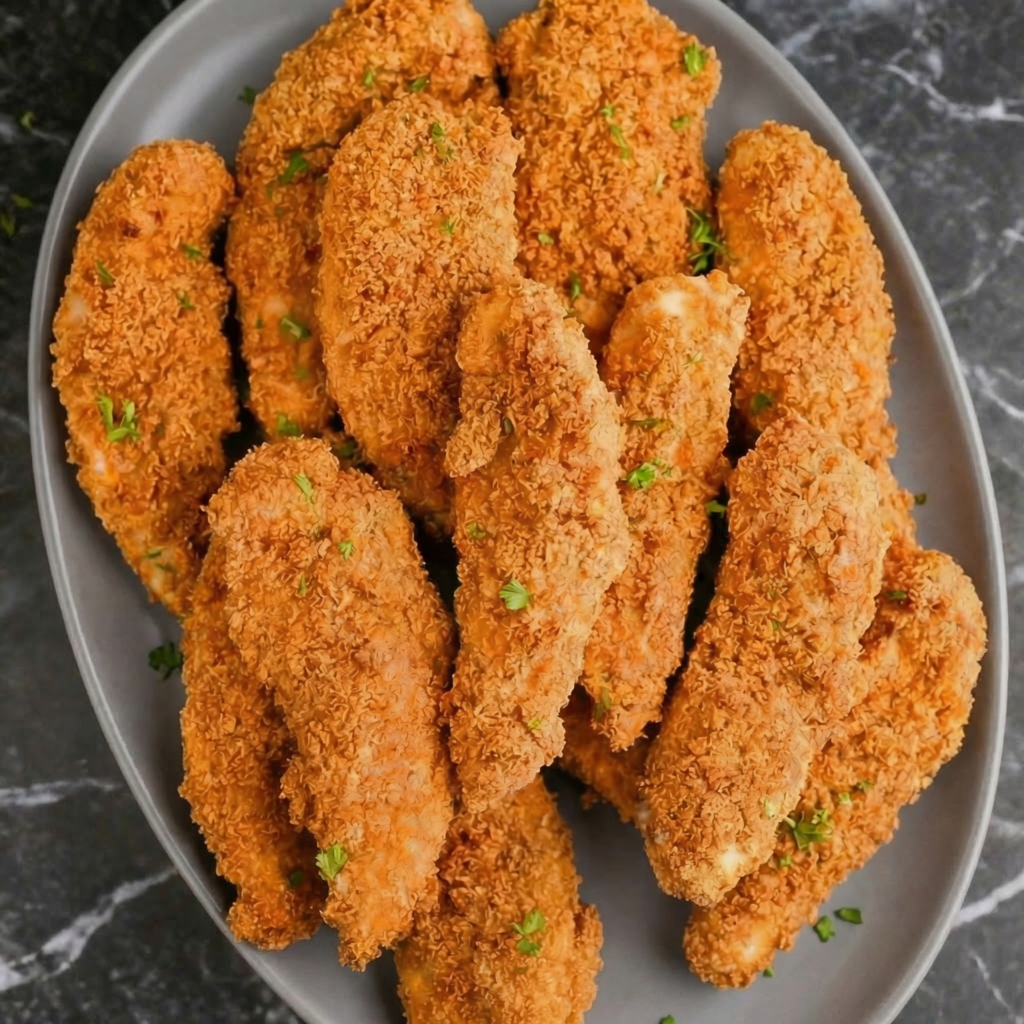
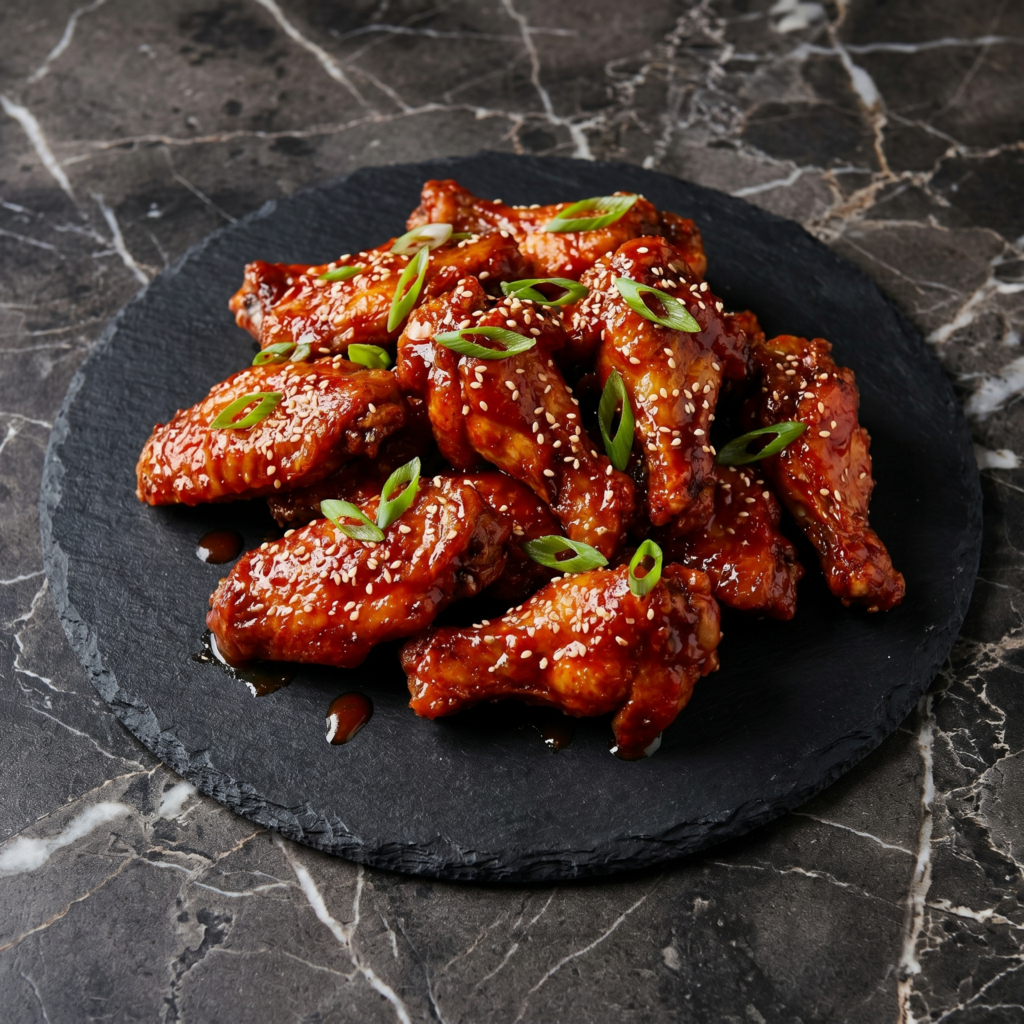
This is the chicken you make when you want something sticky, spicy, sweet, and completely addictive. The honey-sriracha glaze is a perfect balance—the honey brings floral sweetness and that signature sticky gloss, while the sriracha adds heat, garlic, and a tangy vinegar kick. The chicken itself is baked until crispy and caramelized at the edges, then tossed in the glaze just before serving. No deep frying. No complicated techniques. Just a sheet pan, a saucepan, and chicken that will have people licking their fingers.
The Science of Sticky Glaze & Why Baking Powder Creates Crispy Skin
The honey-sriracha glaze works because of sugar and acid. Honey is primarily fructose and glucose. When heated, these sugars caramelize, creating deep, complex flavors while the sauce thickens into a sticky syrup. The sriracha provides heat from chili peppers, but also vinegar and garlic, which add tang and savory depth. A touch of soy sauce and rice vinegar balance the sweetness and prevent the glaze from being cloying. The chicken gets its crispy skin from baking powder, not oil. Baking powder is alkaline. When combined with salt and applied to chicken skin, it raises the pH of the skin’s surface, which breaks down proteins and allows them to crisp and brown faster in the oven. It also creates tiny bubbles on the skin’s surface, increasing surface area for maximum crunch. This is the same technique used for oven-fried wings. Baking soda works too but is much stronger—use a quarter of the amount or the chicken will taste metallic.
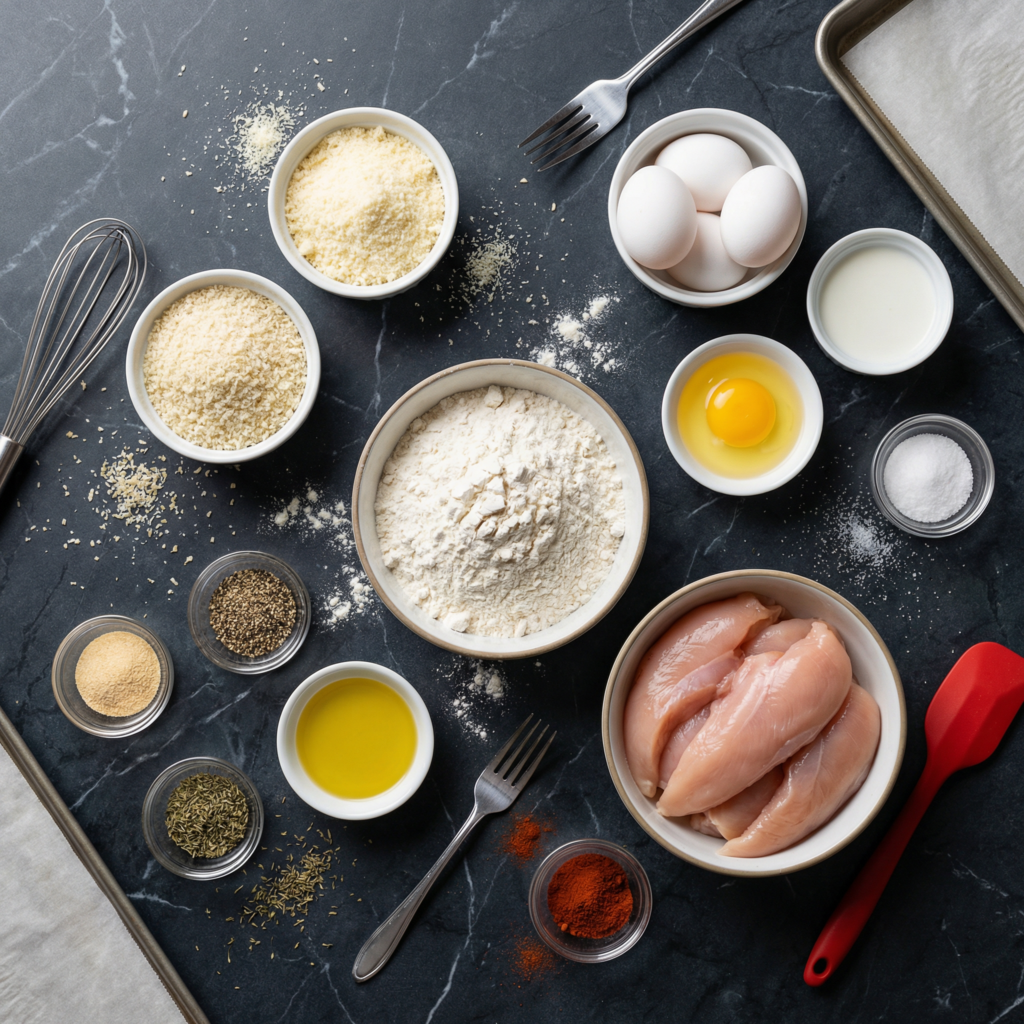
Ingredients
For the Chicken:
- 2 lbs (900g) chicken wings (drumettes and flats) or boneless skinless thighs
- 1 tablespoon baking powder (aluminum-free recommended)
- 1 teaspoon salt
- ½ teaspoon black pepper
- ½ teaspoon garlic powder (optional)
For the Honey Sriracha Glaze:
- ½ cup (120 ml) honey
- ¼ cup (60 ml) sriracha sauce
- 2 tablespoons soy sauce (low sodium recommended)
- 1 tablespoon rice vinegar (or apple cider vinegar)
- 2 cloves garlic, minced
- 1 teaspoon sesame oil
- 1 tablespoon cornstarch mixed with 2 tablespoons cold water (slurry, optional for thicker glaze)
For Serving:
- Sesame seeds, toasted (white or black)
- Green onions, thinly sliced
- Ranch or blue cheese dressing (optional, for dipping)
- Lime wedges (optional)
Instructions
1. Preheat the Oven: Preheat your oven to 425°F (220°C). Line a baking sheet with aluminum foil (for easy cleanup) and place a wire rack on top. The wire rack allows air to circulate under the chicken, making it crispy on all sides.
2. Prep the Chicken: Pat the chicken wings completely dry with paper towels. This is essential—moisture is the enemy of crispy skin. In a large bowl, whisk together the baking powder, salt, black pepper, and garlic powder (if using).
3. Coat the Chicken: Add the dried chicken wings to the bowl with the baking powder mixture. Toss with your hands until every wing is evenly coated in a thin, dusty layer. The baking powder should be visible as a light white dusting on the skin.
4. Arrange on the Rack: Place the coated chicken wings on the wire rack in a single layer, skin-side up, with a little space between each wing. Do not overcrowd—if wings are touching, they will steam instead of crisp.
5. Bake the Chicken: Bake for 40–45 minutes, rotating the pan halfway through, until the chicken is deep golden-brown, crispy, and the skin is crackly. For extra crispy wings, broil for the last 2–3 minutes (watch carefully—they burn fast).
6. Make the Honey Sriracha Glaze: While the chicken bakes, combine the honey, sriracha, soy sauce, rice vinegar, minced garlic, and sesame oil in a small saucepan. Whisk together. Bring to a simmer over medium heat, stirring occasionally. Cook for 2–3 minutes until the honey is fully incorporated and the mixture is fragrant.
7. Thicken the Glaze (Optional): If you prefer a thicker, stickier glaze, give the cornstarch slurry a quick stir and pour it into the simmering sauce while whisking constantly. Cook for 30–45 seconds until the sauce thickens. If you prefer a thinner glaze that soaks into the chicken more, skip the cornstarch.
8. Toss the Chicken in Glaze: Remove the chicken from the oven. Transfer the hot wings to a large bowl. Pour the warm honey sriracha glaze over the chicken. Toss gently with tongs or a spatula until every wing is evenly coated in the glossy, sticky sauce.
9. Garnish and Serve: Transfer the glazed wings to a serving platter. Sprinkle generously with toasted sesame seeds and sliced green onions. Serve immediately with ranch or blue cheese dressing for dipping (to cool the heat) and lime wedges on the side. Eat with your hands and plenty of napkins.
Pro-Tips for Honey Sriracha Chicken Greatness
- Pat the chicken bone-dry: This is the most important step for crispy skin. Use multiple paper towels and really press to absorb all surface moisture.
- Baking powder, not baking soda: Baking soda is much stronger and will leave a metallic taste. Use aluminum-free baking powder for the best results.
- Use a wire rack: Baking directly on the sheet pan traps steam underneath the chicken, making the bottom soggy. A wire rack allows air to circulate for 360-degree crispiness.
- Don’t overcrowd the pan: Wings need space for air to circulate. If your pan is small, bake in two batches.
- Adjust the heat level: ¼ cup sriracha gives a solid medium-high heat. For mild, use 2 tablespoons sriracha + 2 tablespoons ketchup. For extra spicy, add 1 teaspoon red pepper flakes or a splash of chili oil.
- Make it a meal: Serve over steamed rice with roasted broccoli or snap peas. The extra glaze soaks into the rice beautifully.
- Boneless thighs: This recipe works great with boneless, skinless chicken thighs. Cut into bite-sized pieces, coat with baking powder mixture, bake for 20–25 minutes (less time than wings), then toss in glaze.
- Double the glaze: If you love sauce (like I do), double the glaze ingredients. Keep the cornstarch slurry the same—you can always add more if needed.
- Leftovers: Reheat in an air fryer or oven (not microwave) to restore crispiness. The glaze will reliquefy and re-stick. These wings are sticky, spicy, sweet, and completely addictive. Make extra—they disappear fast.