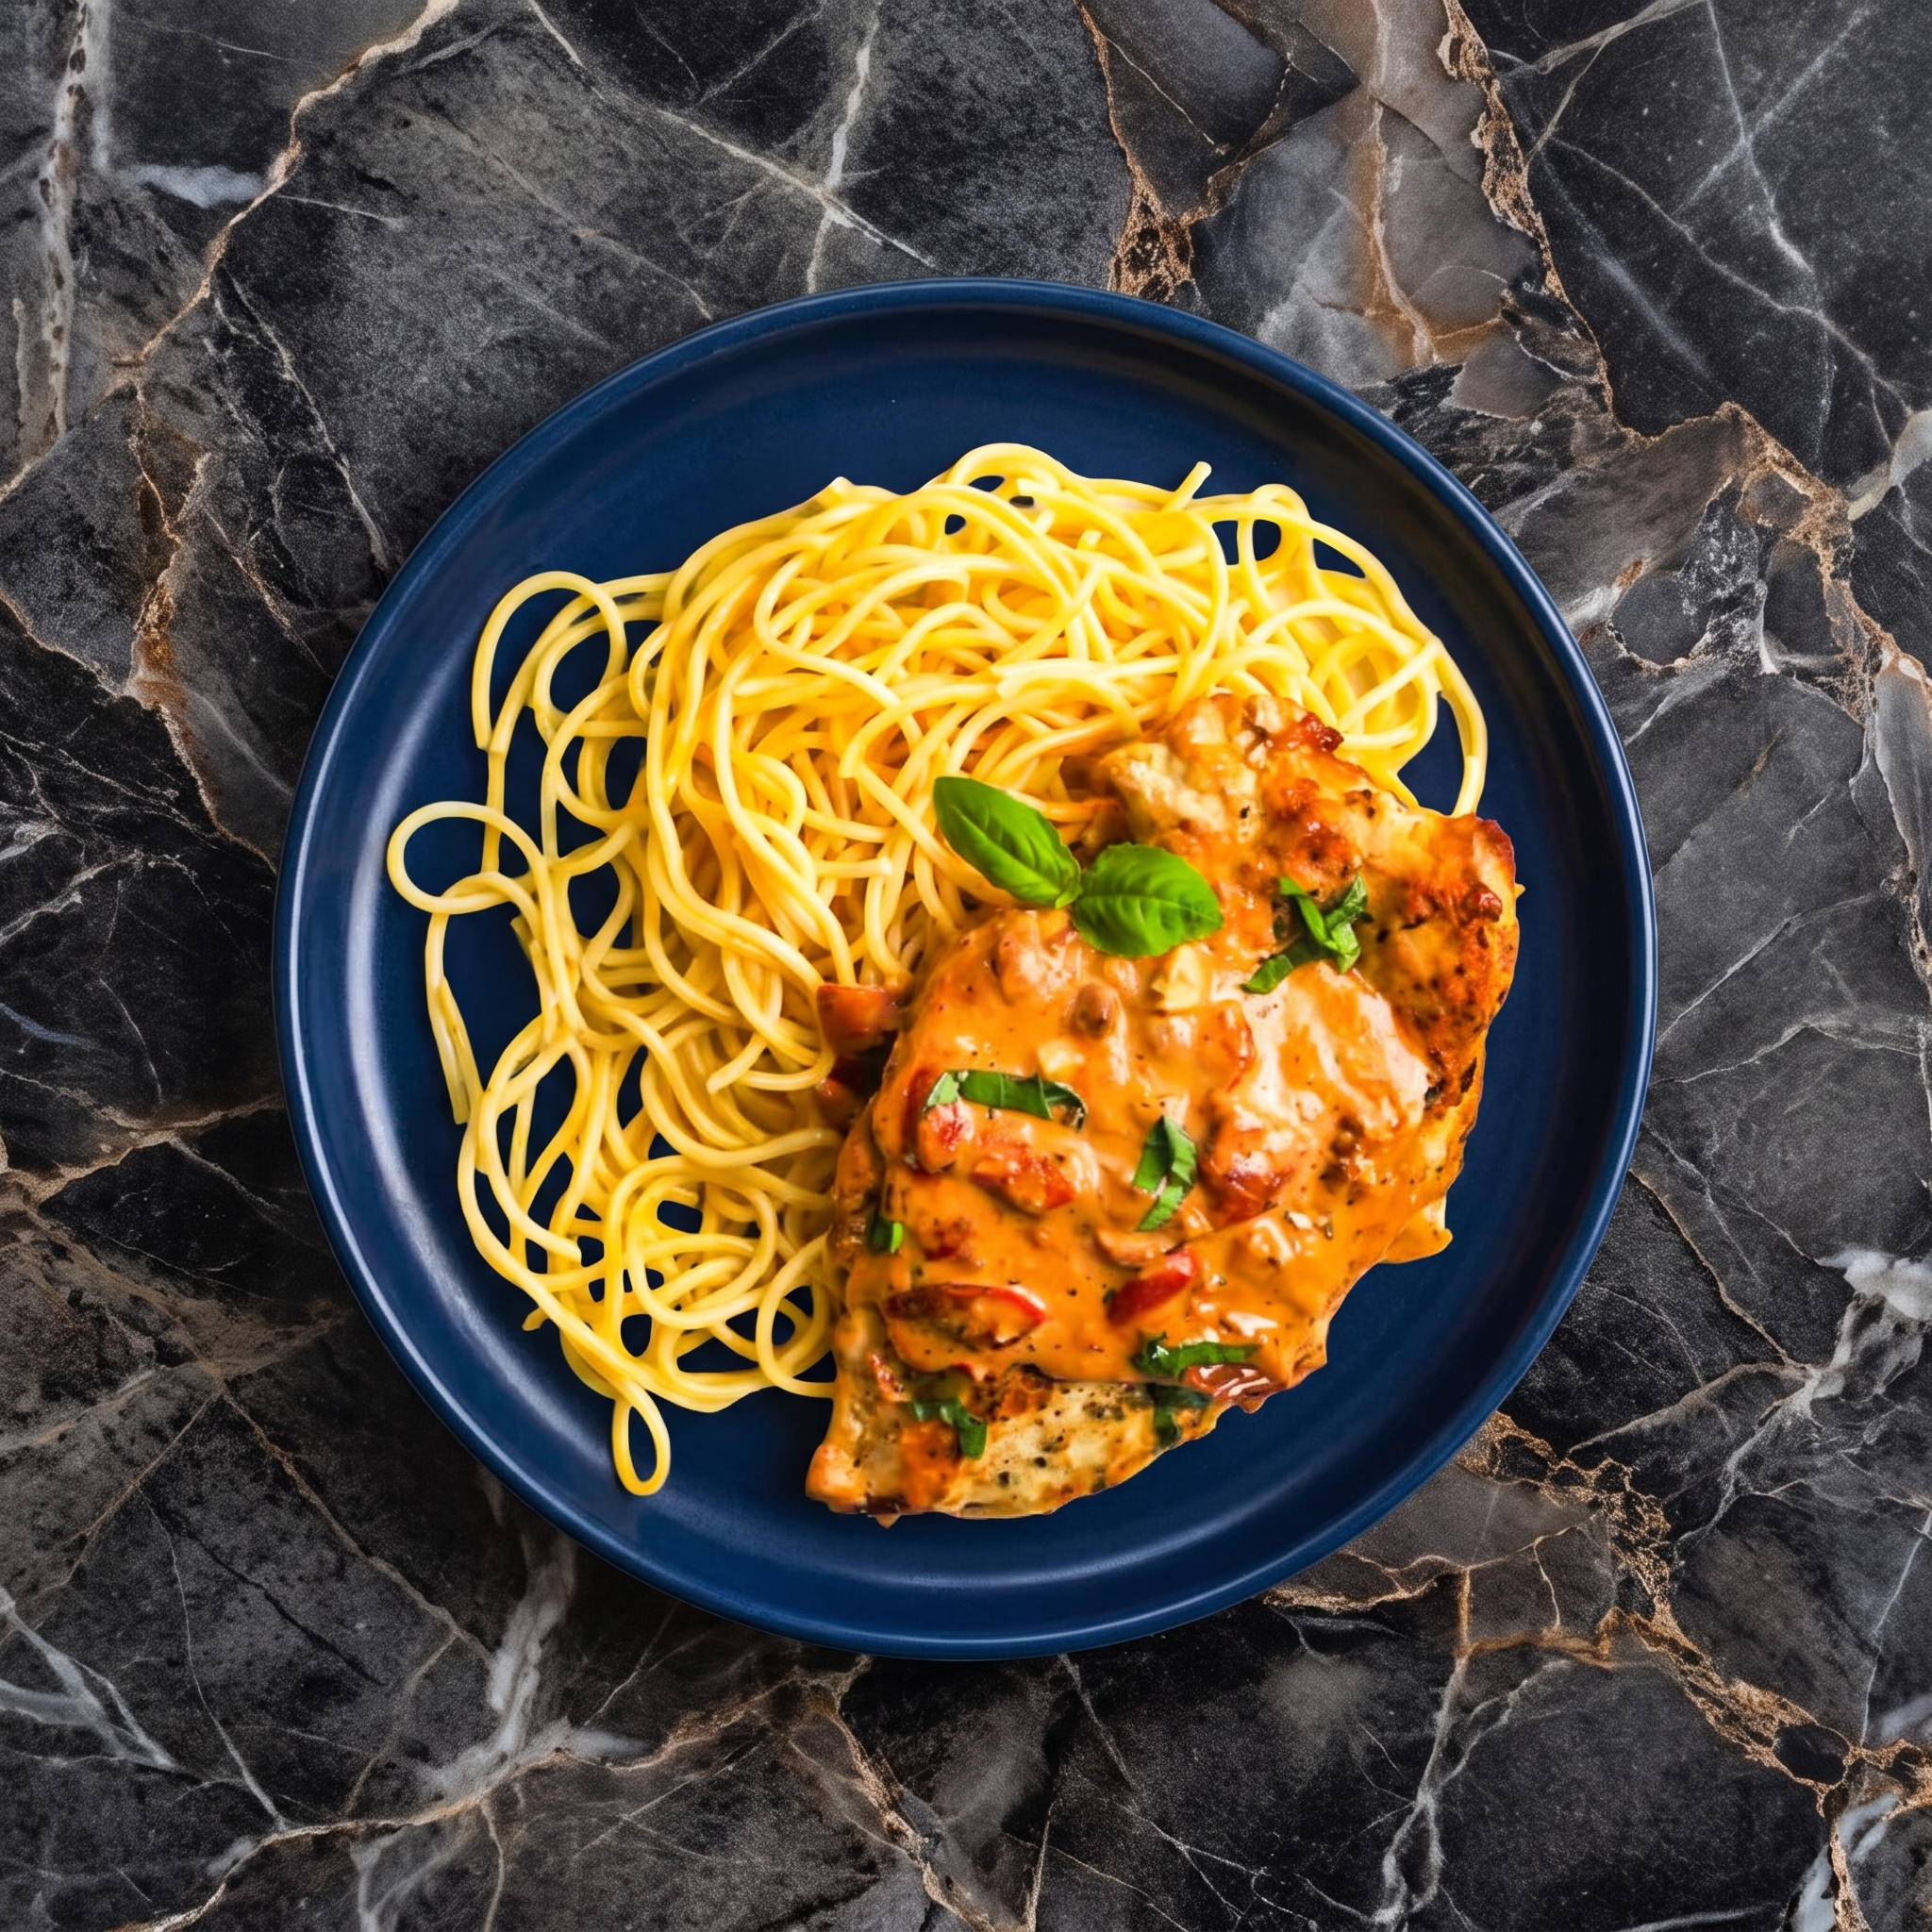
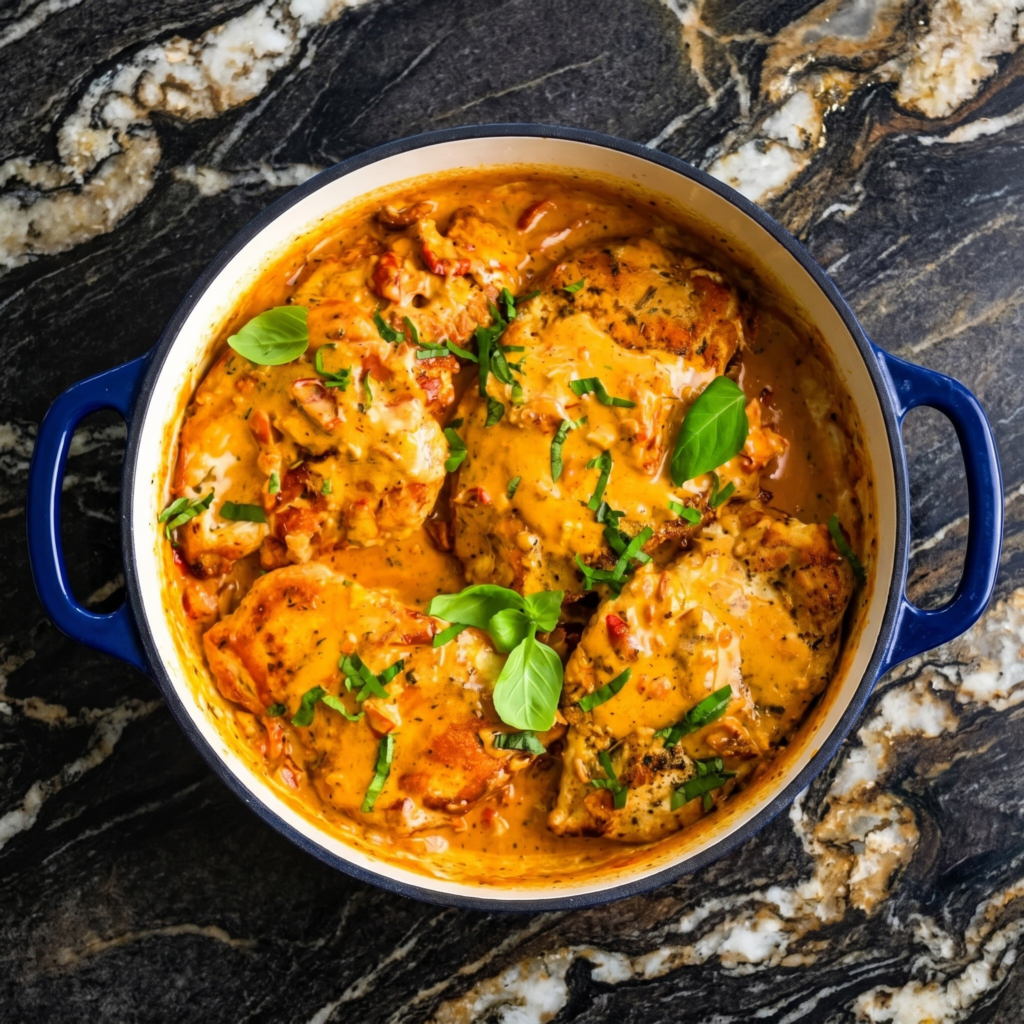
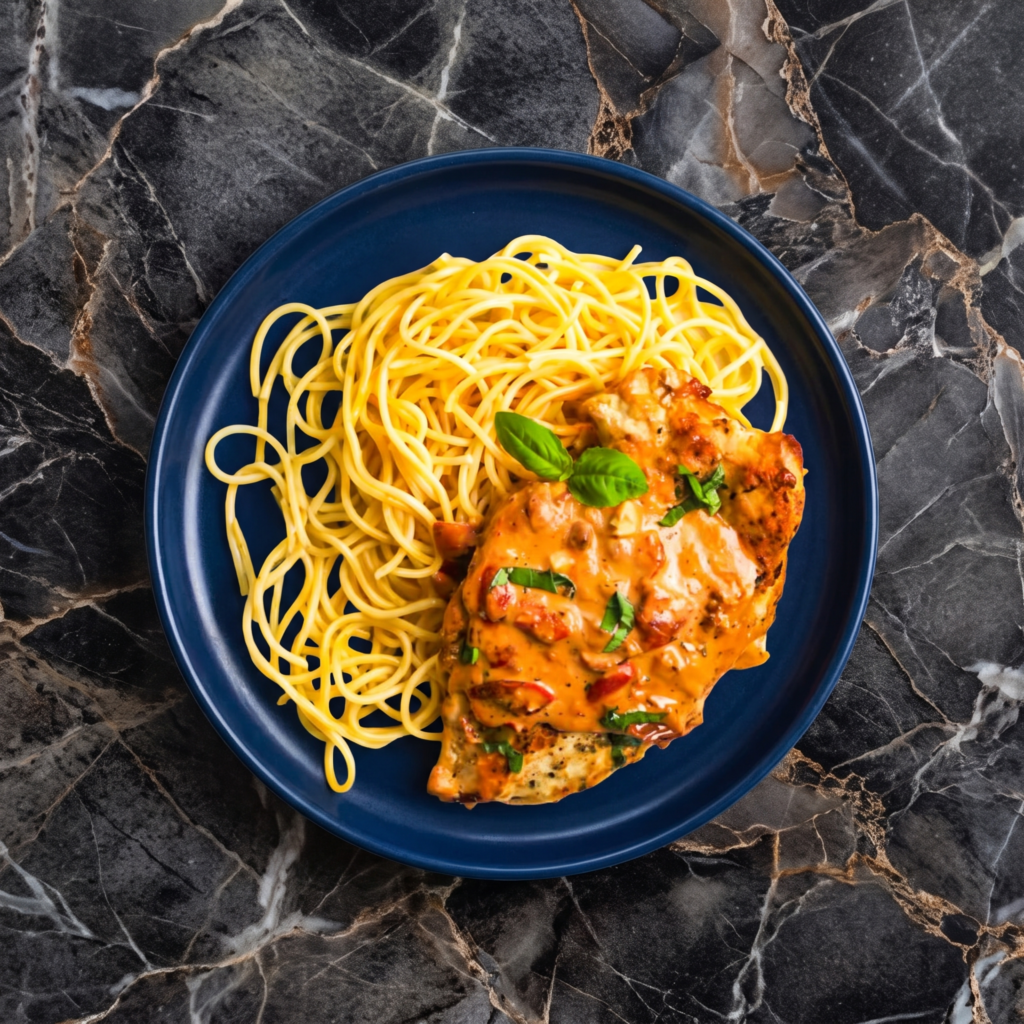
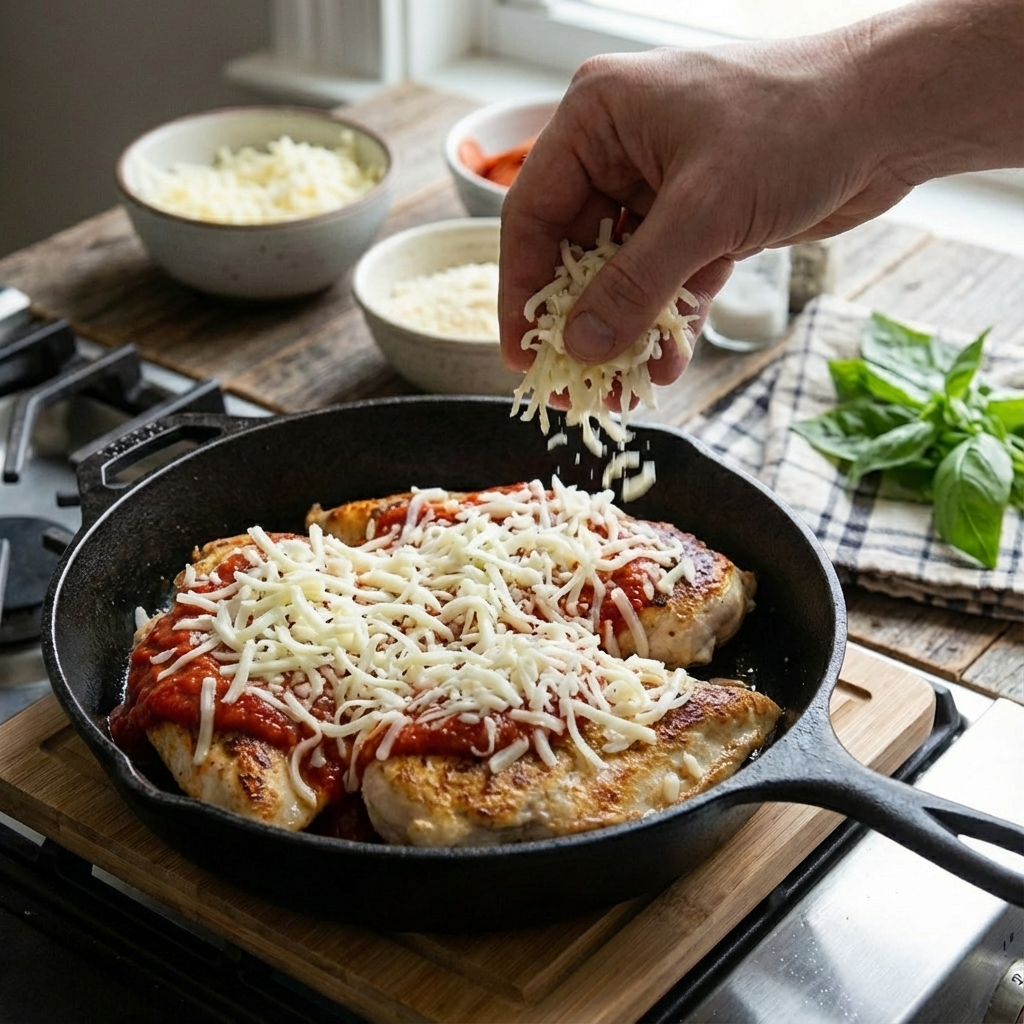
Marry Me Chicken is the dinner that gets a proposal. Juicy chicken. Creamy, garlicky sun-dried tomato sauce. Parmesan. Herbs. One skillet. 30 minutes. So good, they’ll say yes.
Ingredients
Serves 4.
4 boneless, skinless chicken breasts
2 tbsp olive oil
4 cloves garlic, minced
½ cup sun-dried tomatoes, chopped
1½ cups heavy cream
½ cup chicken broth
½ cup grated Parmesan cheese
1 tsp dried oregano
½ tsp red pepper flakes (optional)
Salt and pepper
Fresh basil for garnish
Step-by-Step Instructions
Step 1: Season & Sear Chicken
Season chicken with salt and pepper. Heat olive oil in a large skillet over medium-high heat. Cook chicken 5-7 minutes per side until golden. Remove and set aside.
Step 2: Make Sauce
Add garlic and sun-dried tomatoes to the skillet. Cook 1 minute. Pour in heavy cream and broth. Bring to a simmer. Stir in Parmesan, oregano, and red pepper flakes. Cook 3-5 minutes until thickened.
Step 3: Finish
Return chicken to the skillet. Simmer 5-7 minutes until chicken is cooked through (165°F / 74°C).
Step 4: Serve
Garnish with fresh basil. Serve over pasta, rice, or with crusty bread. Creamy, dreamy, proposal-worthy.
Summary
Prep Time: 10 min | Cook Time: 20 min | Total: 30 min
Yield: 4 servings | Difficulty: Easy
Storage Notes
Fridge: 4 days. Reheat gently in a skillet or microwave. Freezer: 3 months (cream sauces can separate — reheat slowly and stir). Great for meal prep and date night dinners.
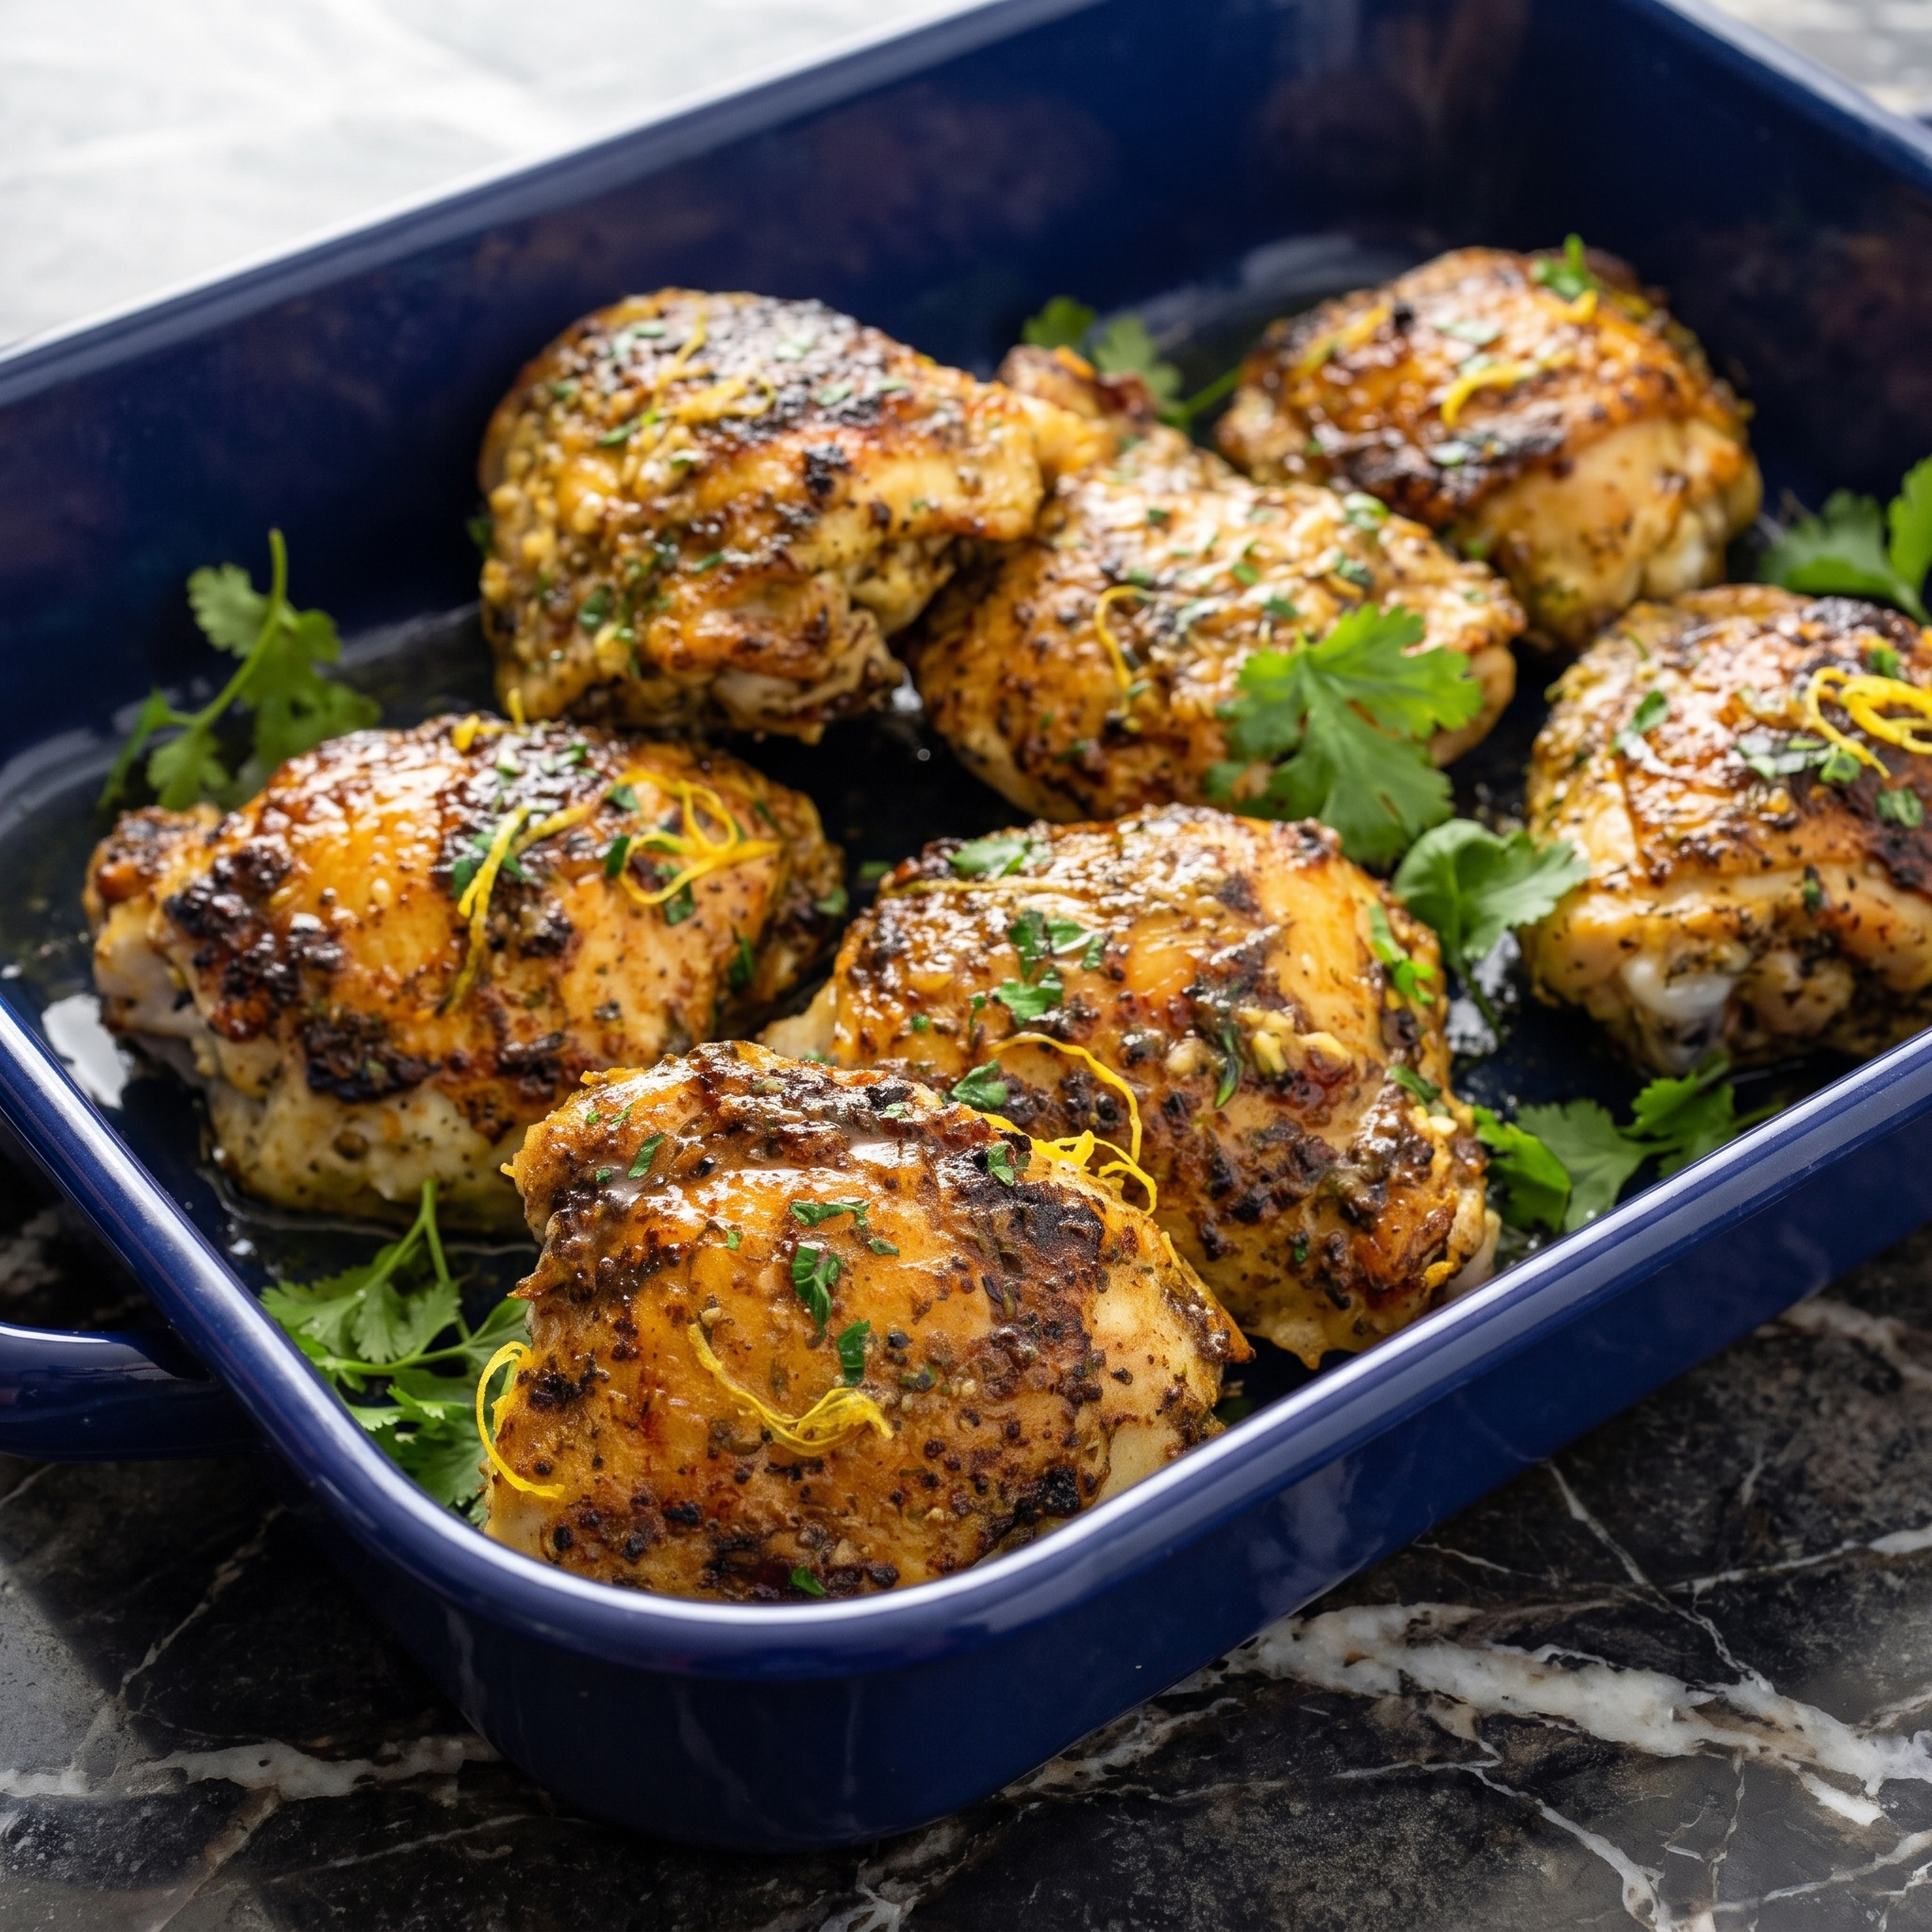
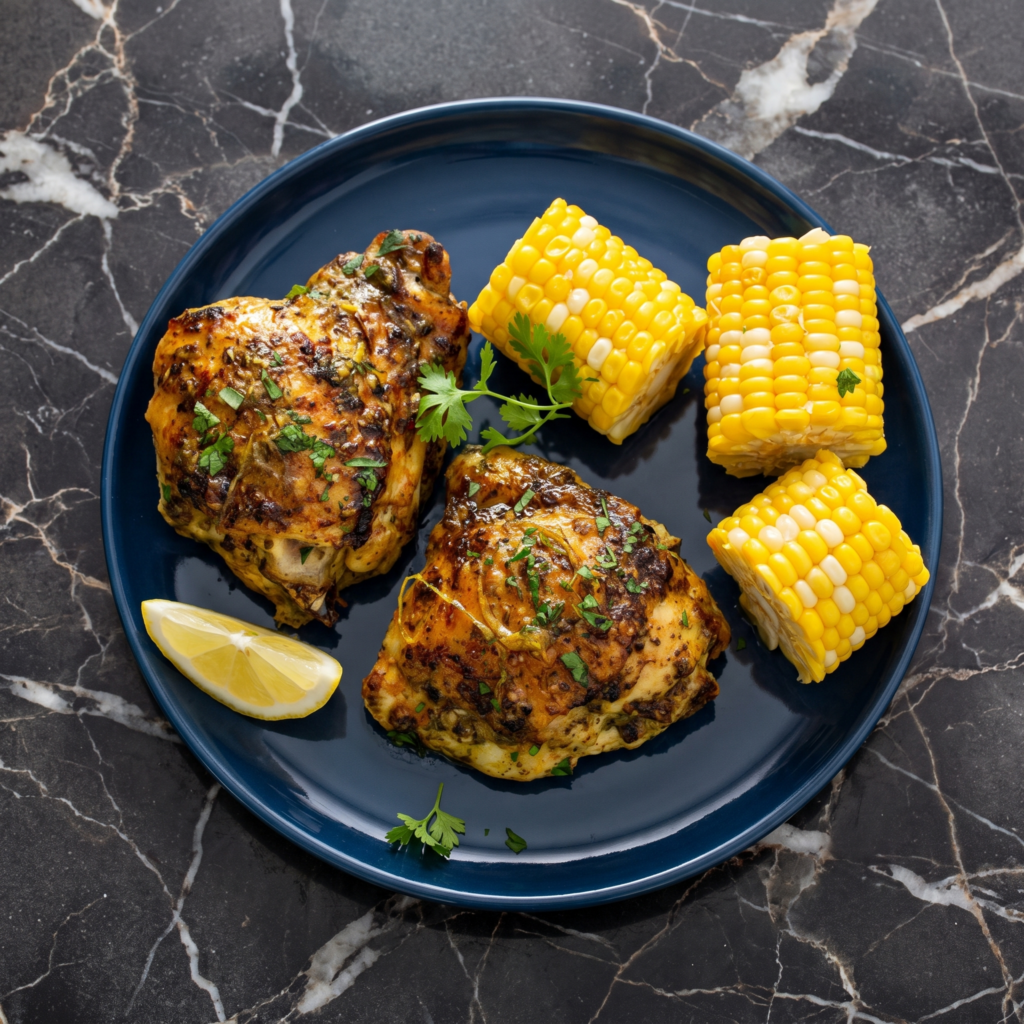
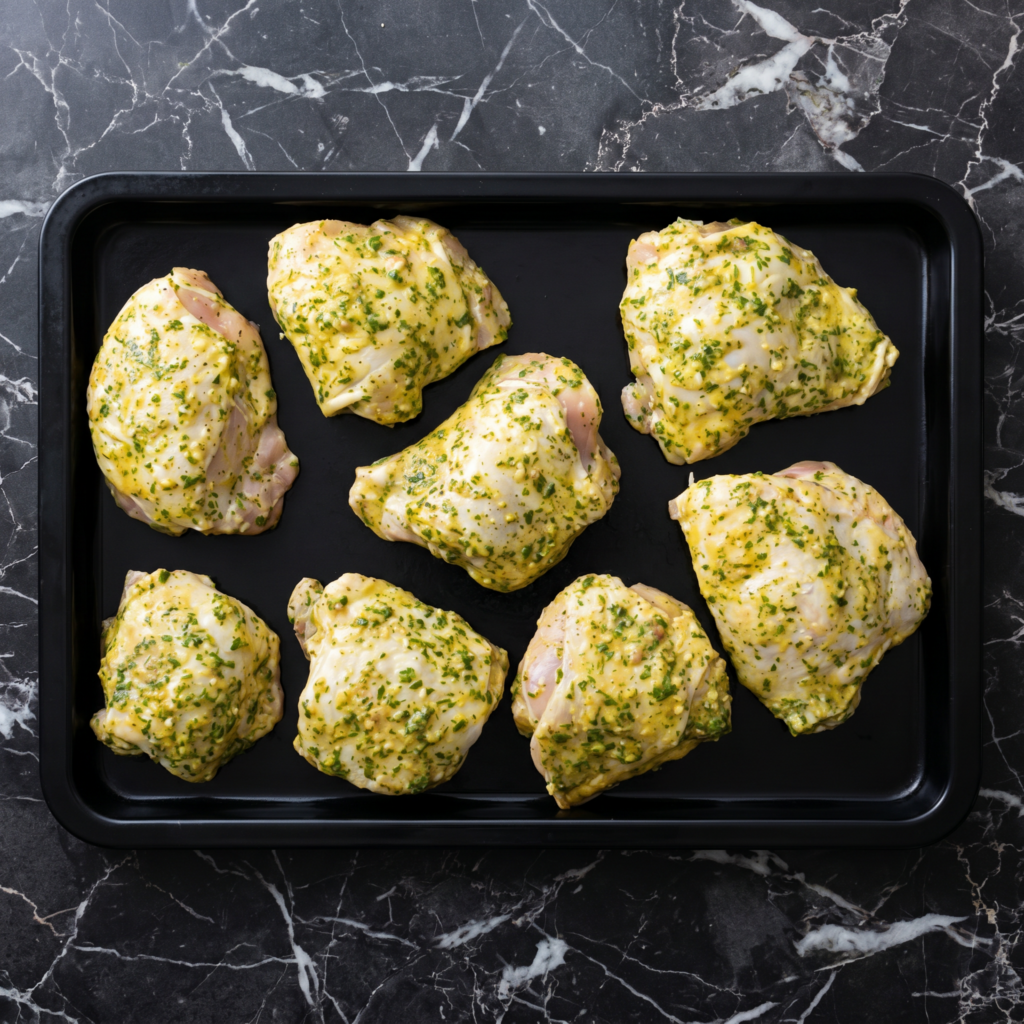
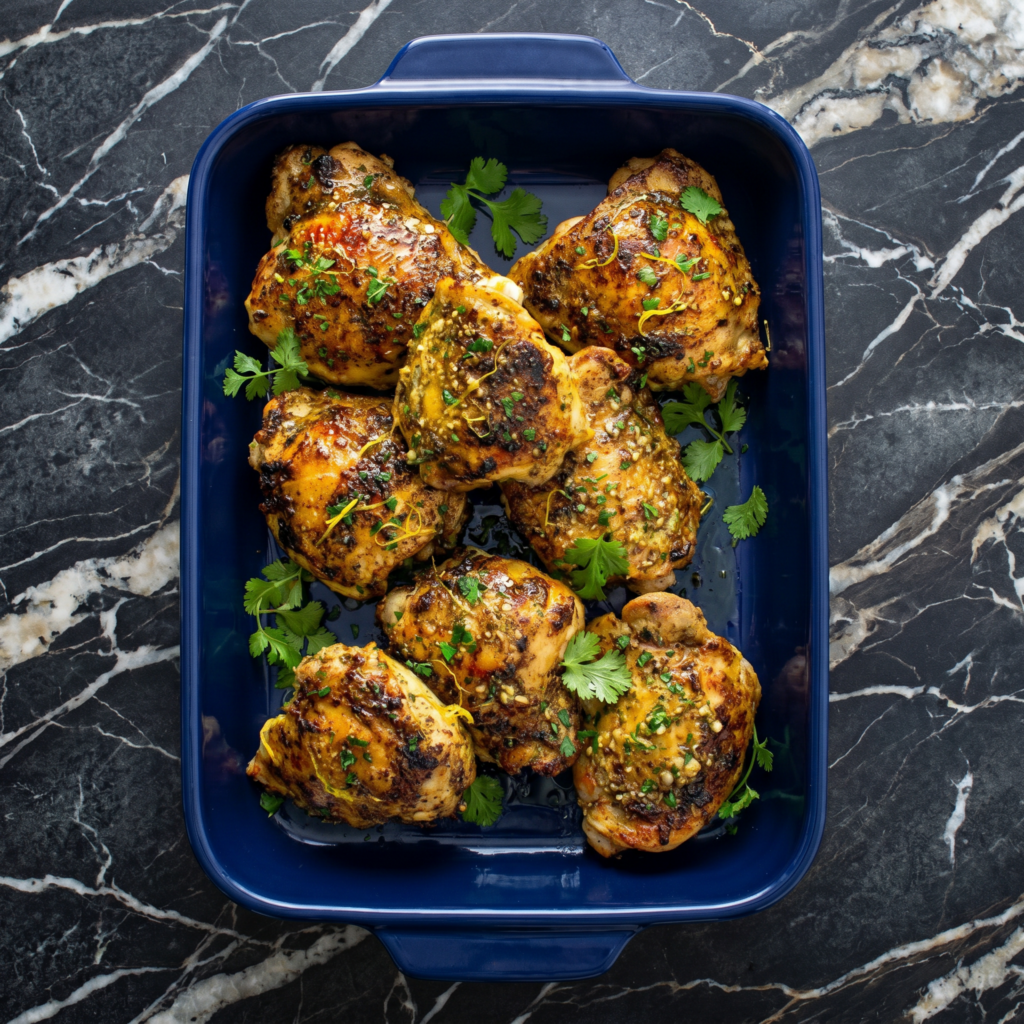
Lemon herb roasted chicken thighs are the weeknight dinner hero. Crispy, golden skin. Juicy, tender meat. Roasted with garlic, lemon, and fresh herbs. One pan. 30 minutes. Dinner done.
Preheat oven to 425°F (220°C). Line a baking sheet with foil. Place a wire rack on top (for extra crispy skin).
Step 2: Season Chicken
Pat chicken thighs completely dry with paper towels. In a small bowl, mix olive oil, garlic, lemon juice, lemon zest, rosemary, thyme, salt, pepper, and paprika. Rub mixture over both sides of each thigh.
Step 3: Roast
Place chicken skin-side up on the wire rack. Roast 30-35 minutes until skin is deep golden and crispy and internal temp reaches 185°F (85°C).
Step 4: Serve
Garnish with fresh parsley. Serve with lemon wedges. Squeeze generously. Crispy, juicy, 30-minute perfection.
Summary
Prep Time: 10 min | Cook Time: 35 min | Total: 45 min
Yield: 4 servings | Difficulty: Easy
Storage Notes
Fridge: 4 days. Reheat in oven or air fryer at 375°F for 10-12 minutes (crispy returns). Freezer: 3 months. Avoid microwave — skin gets floppy. Great for meal prep — roast ahead, reheat for easy dinners.
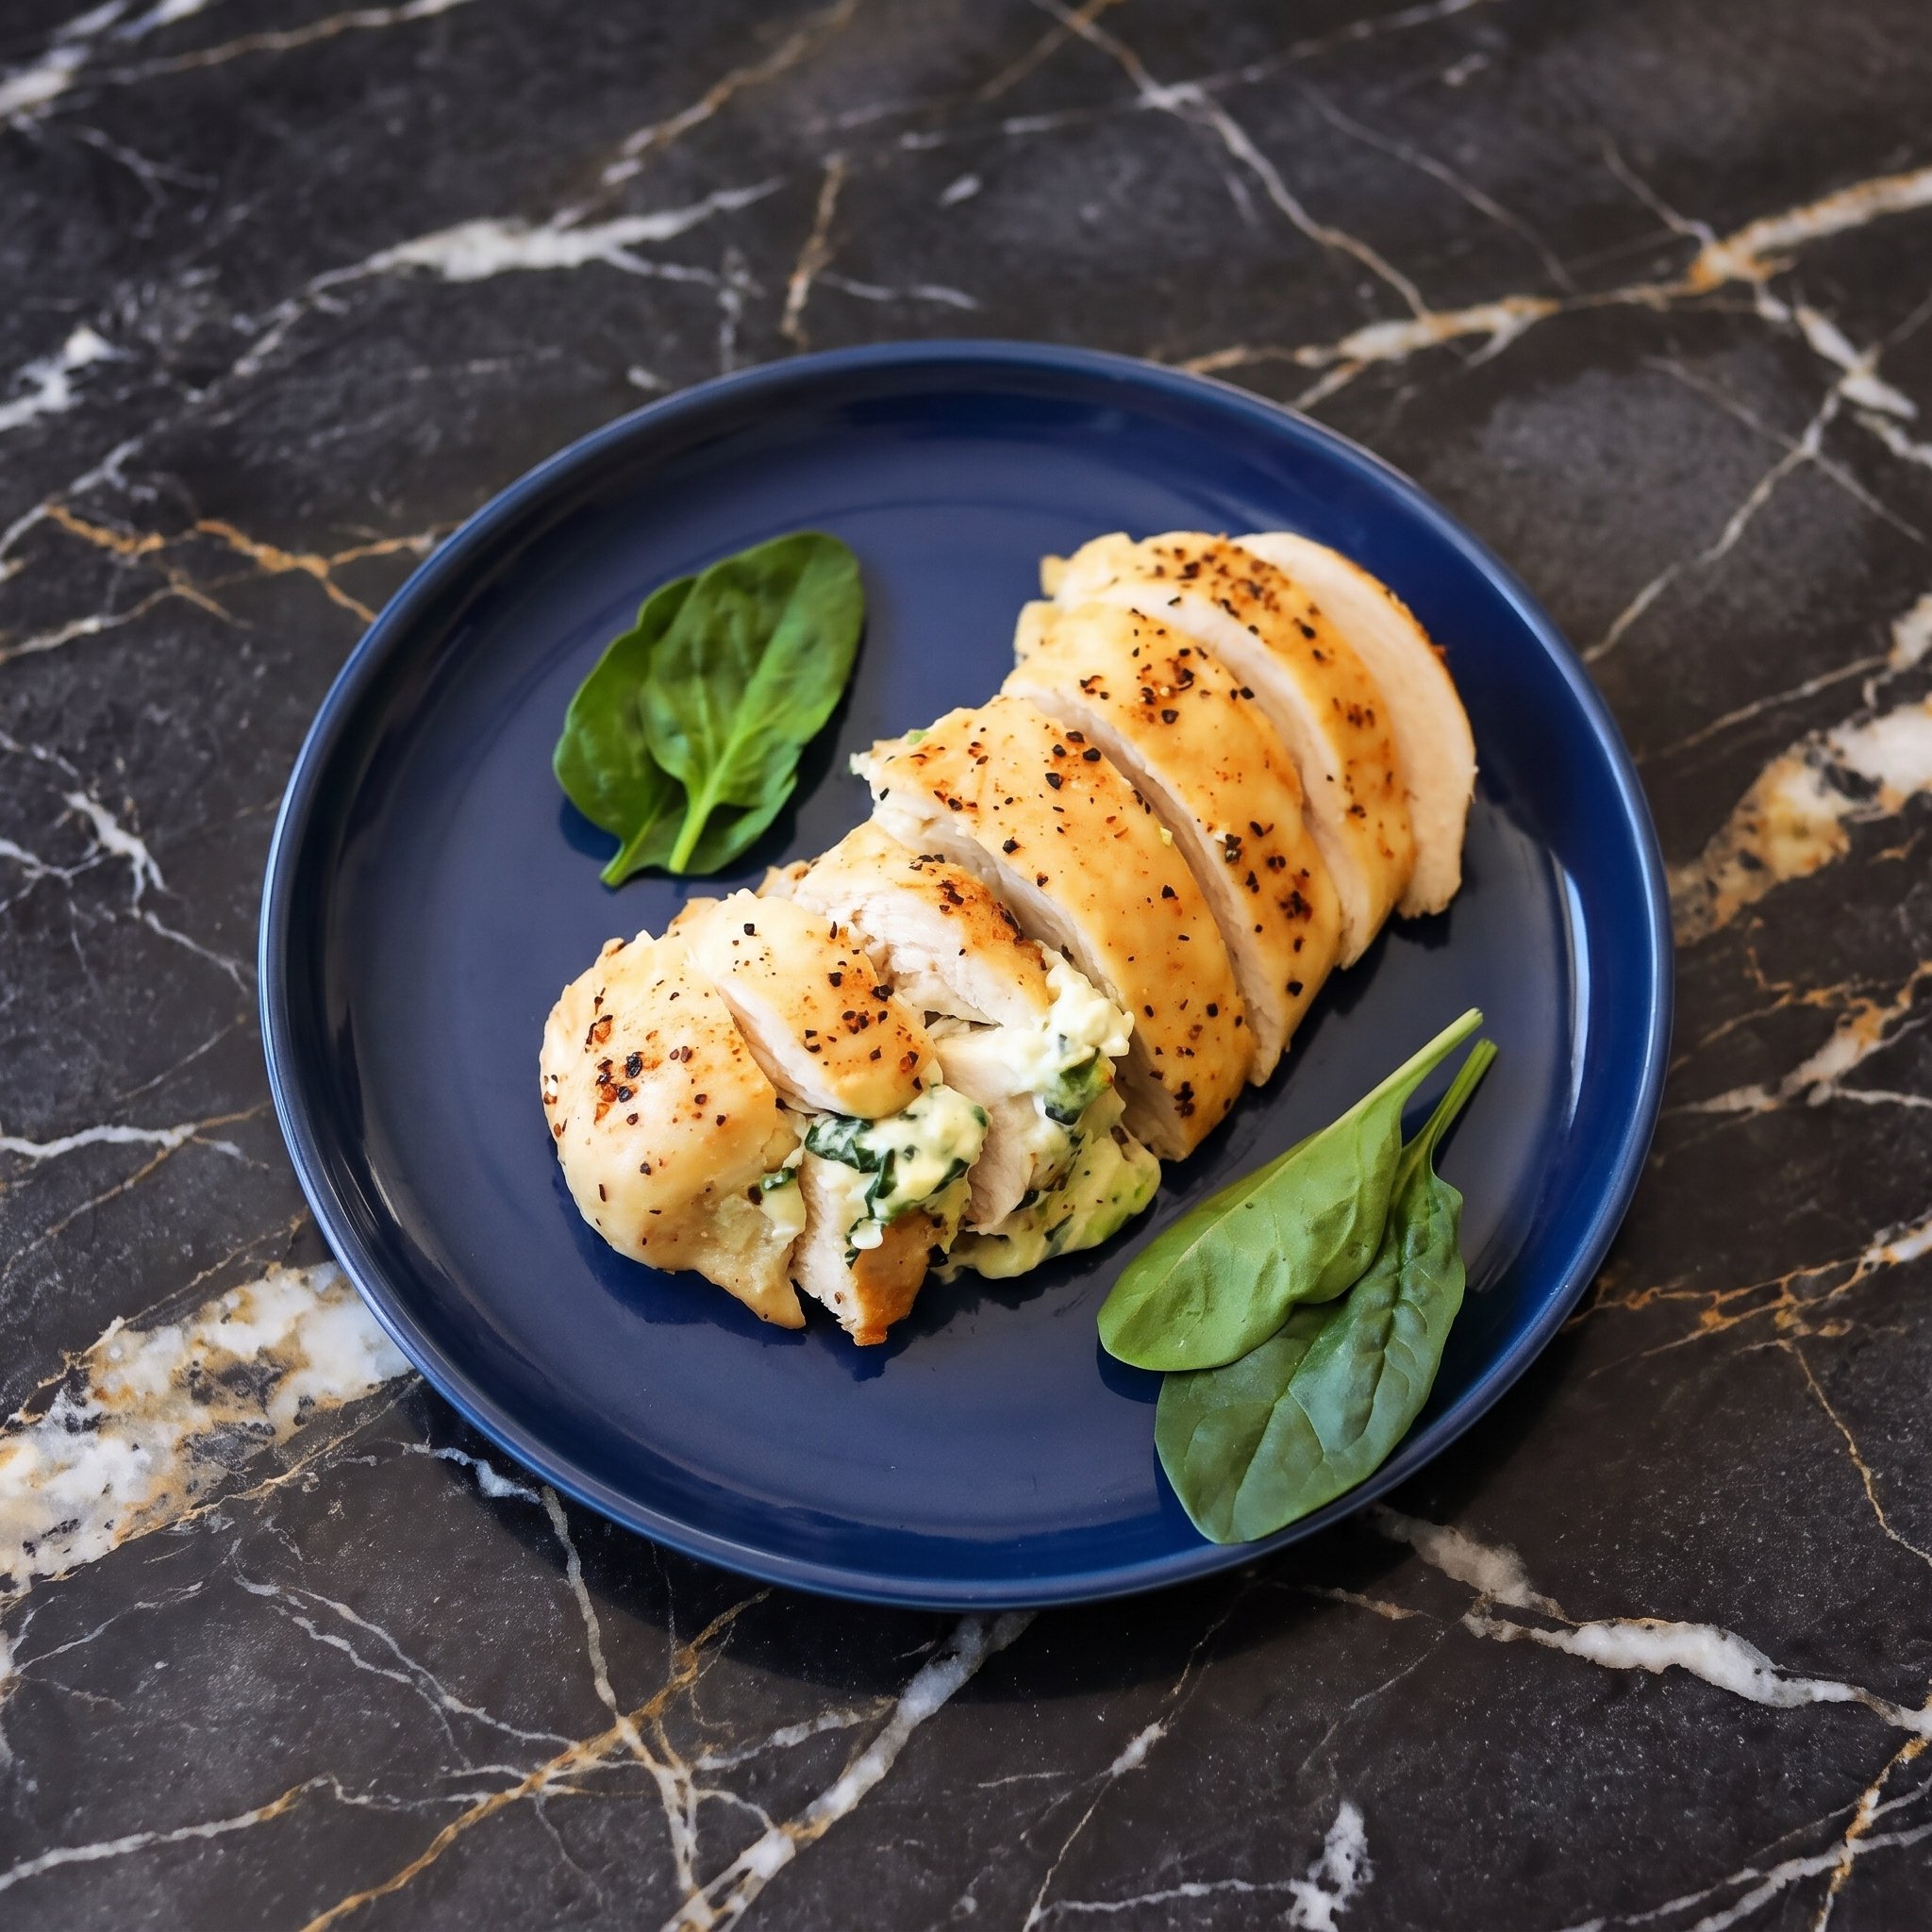
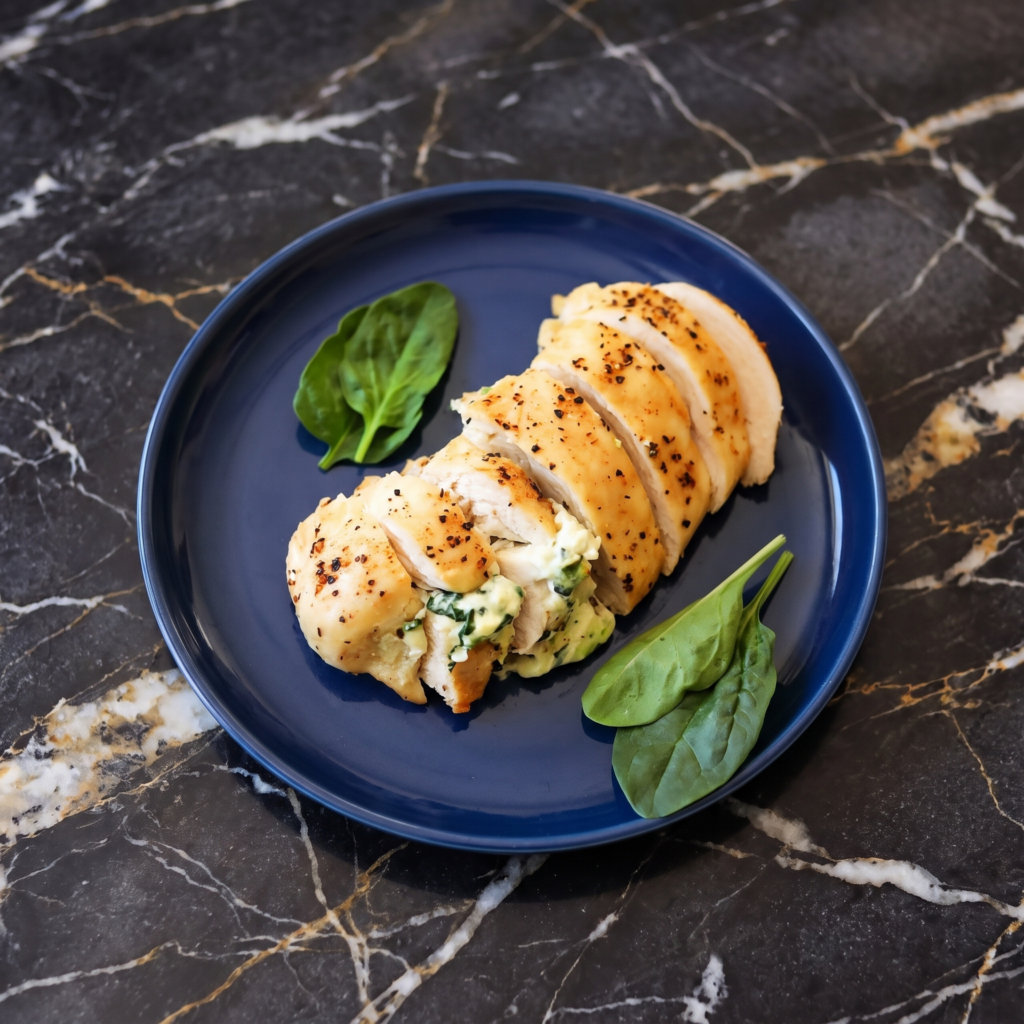
Spinach and feta stuffed chicken breasts are the dinner that looks like you tried all day. You didn’t. Juicy chicken. Creamy feta. Tender spinach. Pan-seared. Baked. 30 minutes. Impressive. Easy. Delicious.
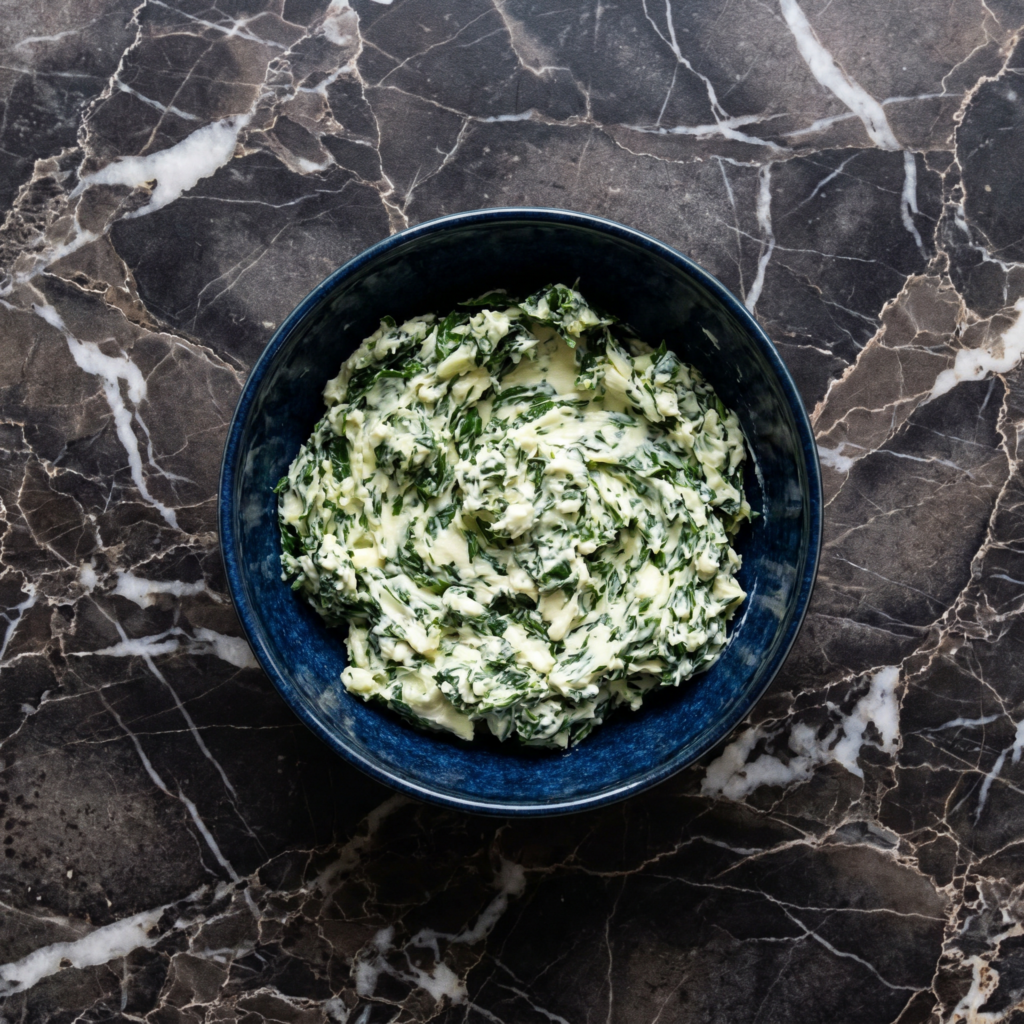
In a bowl, mix feta, spinach, garlic, 1 tbsp olive oil, and oregano.
Step 3: Stuff Chicken
Cut a pocket into each chicken breast (slice horizontally, not all the way through). Stuff with spinach-feta mixture. Secure with toothpicks if needed.
Season both sides with salt, pepper, and paprika.
Step 4: Sear & Bake
Heat remaining 1 tbsp olive oil in an oven-safe skillet over medium-high heat. Sear chicken 3-4 minutes per side until golden brown.
Transfer skillet to oven. Bake 12-15 minutes until chicken is cooked through (165°F / 74°C internal).
Step 5: Serve
Let rest 5 minutes. Garnish with parsley. Drizzle with lemon juice if desired. Fancy. Easy. Gone.
Summary
Prep Time: 15 min | Cook Time: 20 min | Total: 35 min
Yield: 4 servings | Difficulty: Medium
Storage Notes
Fridge: 4 days. Reheat in oven at 350°F for 10-12 minutes. Avoid microwave — chicken dries out. Not freezer-friendly (feta crumbles and spinach gets watery). Great for dinner parties — stuff ahead, sear and bake fresh.
Garlic butter chicken skewers are the perfect combination of simplicity and flavor—juicy, tender chicken basted with a rich, fragrant garlic butter sauce, grilled to golden perfection. They come together in minutes, making them ideal for busy weeknights or summer entertaining.
The garlic butter does double duty: it’s used as a marinade and then as a basting sauce while grilling. Serve them with rice, grilled vegetables, or a fresh salad for a complete meal.
Wooden or metal skewers (if wooden, soak in water for 30 minutes)
For the Garlic Butter Sauce:
½ cup (1 stick / 113g) unsalted butter
6 cloves garlic, minced
2 tablespoons fresh parsley, finely chopped
1 tablespoon fresh lemon juice
½ teaspoon red pepper flakes (optional)
¼ teaspoon salt
For Serving:
Lemon wedges
Fresh parsley for garnish
Grilled vegetables or rice
Instructions
1. Prep the Skewers: If using wooden skewers, soak them in water for at least 30 minutes to prevent burning. Pat the chicken pieces dry with paper towels and season with salt and pepper. Thread the chicken onto the skewers, leaving a little space between pieces for even cooking.
2. Make the Garlic Butter Sauce: In a small saucepan, melt the butter over low heat. Add the minced garlic and cook for 1-2 minutes until fragrant, but not browned.
Remove from heat and stir in the parsley, lemon juice, red pepper flakes (if using), and salt. Set aside half of the sauce for serving; reserve the other half for basting.
3. Preheat the Grill: Preheat your grill to medium-high heat (about 400-450°F / 200-230°C). Clean and oil the grates well.
4. Grill the Skewers: Place the chicken skewers on the hot grill. Cook for 4-5 minutes per side, basting with the reserved basting butter during the last few minutes of cooking, until the chicken is cooked through (internal temperature of 165°F / 74°C) and has nice char marks.
5. Rest and Serve: Remove the skewers from the grill and let rest for 5 minutes. Serve with the reserved garlic butter sauce for drizzling, lemon wedges, and fresh parsley.
Pro-Tips for Garlic Butter Chicken Skewer Perfection
Use Chicken Thighs: They’re more forgiving and stay juicier than breasts.
Soak Wooden Skewers: This prevents them from burning on the grill.
Don’t Overcrowd the Skewer: Leave a little space between chicken pieces for even cooking and browning.
Oil the Grates: A well-oiled grill prevents sticking and ensures beautiful grill marks.
Baste at the End: Adding the butter sauce early can cause flare-ups. Baste during the last few minutes of cooking.
Check Temperature: Chicken is done at 165°F (74°C). Use a meat thermometer to be sure.
Save Half the Sauce: Reserve some sauce for serving—it’s not just for basting.
Add Veggies: Thread bell peppers, onions, or zucchini onto the skewers with the chicken for a complete meal.
These Garlic Butter Chicken Skewers are juicy, flavorful, and absolutely delicious.
Pat the chicken pieces dry with paper towels and season generously with salt and black pepper. Proper seasoning before cooking ensures deeper flavor throughout the dish.
Step 2: Sear the Chicken
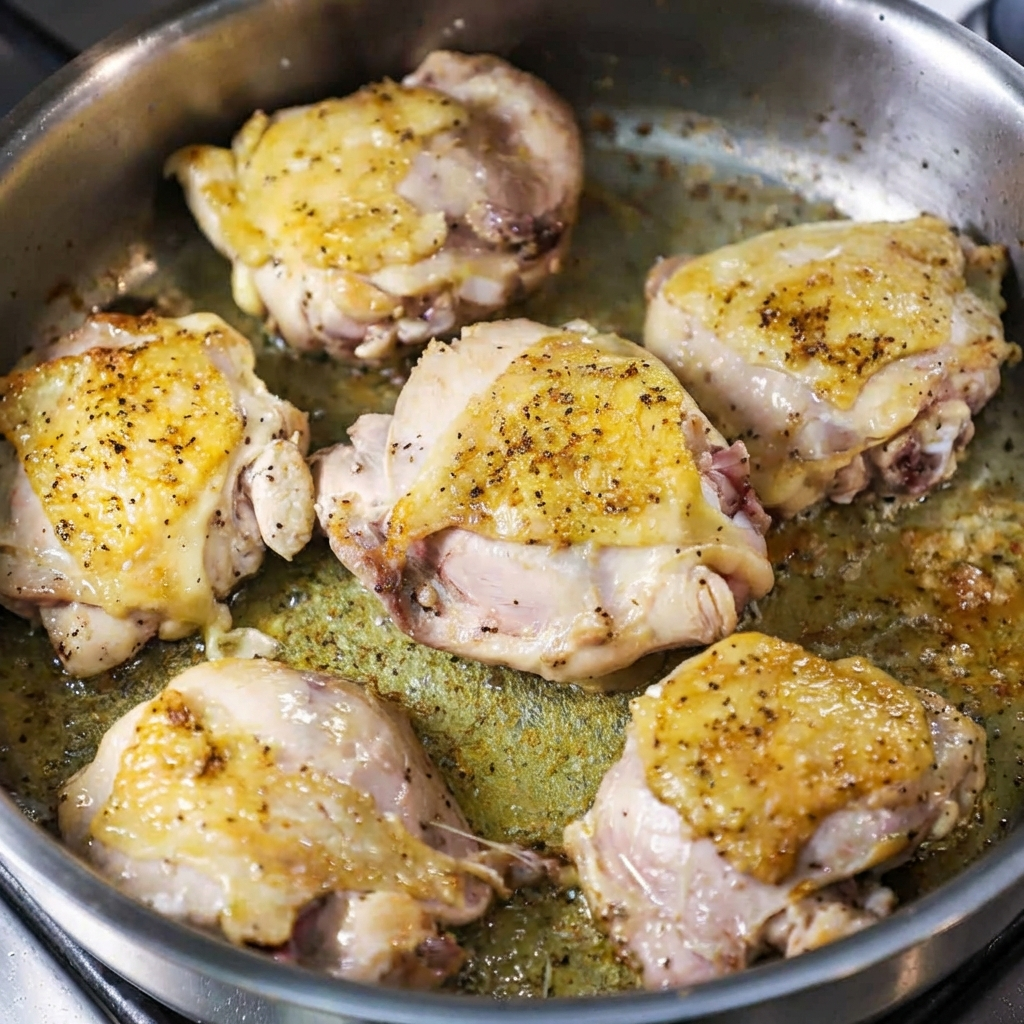
Heat olive oil in a large skillet or Dutch oven over medium-high heat. Place the chicken skin-side down and sear for 4–5 minutes until golden brown. Flip and cook another 3–4 minutes. Remove the chicken and set aside.
Searing locks in flavor and helps build the base of the sauce.
Step 3: Sauté the Vegetables
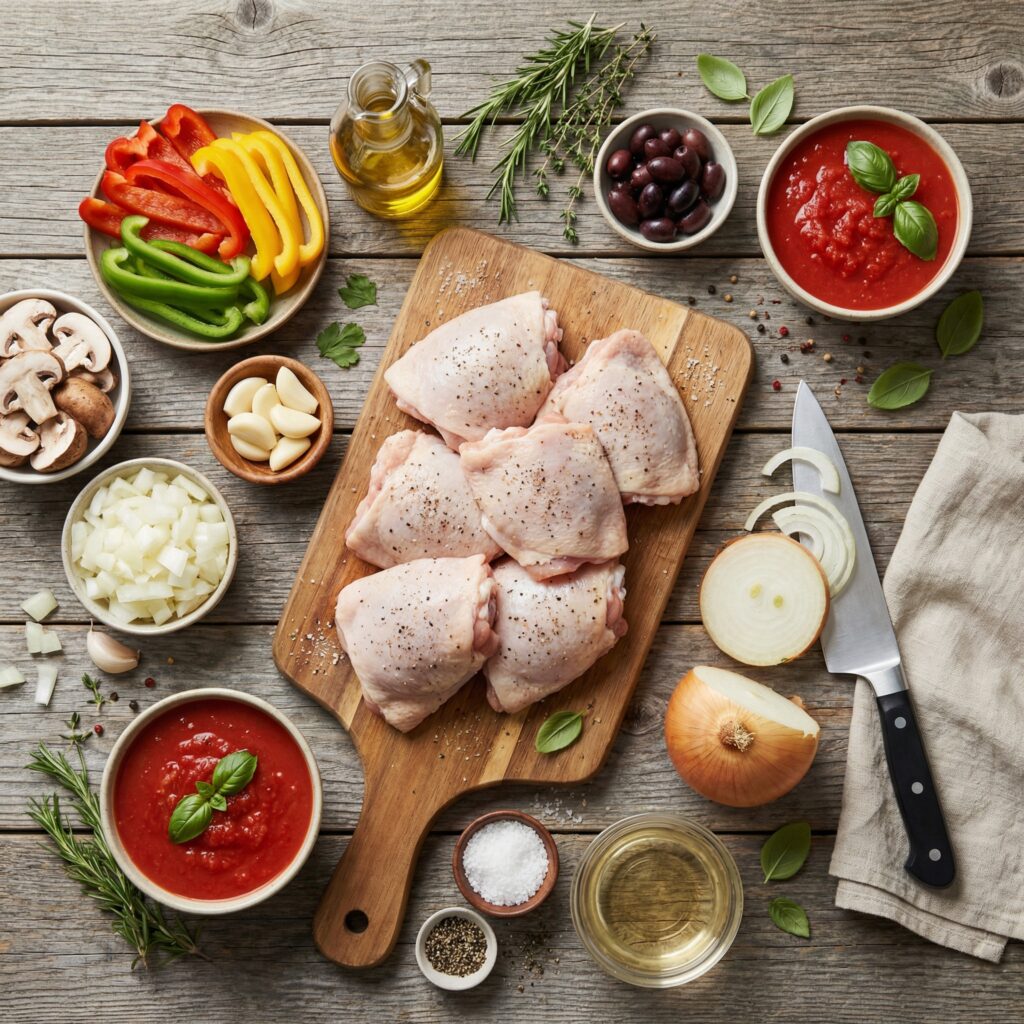
In the same pan, add sliced onions and bell peppers. Cook for 5 minutes until softened. Stir in minced garlic and cook for another 30 seconds until fragrant.
The browned bits left from the chicken add extra flavor to the vegetables.
Step 4: Deglaze the Pan
Pour in the red wine and scrape the bottom of the pan to release flavorful browned bits. Let the wine simmer for 2–3 minutes to cook off the alcohol while concentrating flavor.
If not using wine, substitute additional chicken broth.
Step 5: Add the Tomato Sauce
Stir in crushed tomatoes, chicken broth, oregano, basil, red pepper flakes, and bay leaf. Mix well and bring the sauce to a gentle simmer.
Step 6: Return the Chicken to the Pan
Place the seared chicken pieces back into the sauce, skin-side up. Reduce heat to low, cover, and simmer for 35–40 minutes, or until the chicken is fully cooked and tender.
Slow simmering allows the chicken to absorb the rich tomato herb flavors.
Step 7: Adjust Seasoning
Taste the sauce and adjust salt and pepper as needed. If the sauce is too thick, add a small splash of broth. For a thicker consistency, simmer uncovered for a few extra minutes.
Step 8: Garnish and Serve
Remove the bay leaf and garnish with freshly chopped parsley or basil. Serve hot over pasta, mashed potatoes, polenta, or crusty Italian bread for a complete classic Italian dinner.
Pro Tips for Perfect Chicken Cacciatore
Use bone-in chicken for deeper flavor.
Brown the chicken well before simmering.
Allow the sauce to simmer gently, not boil.
Use quality canned tomatoes for richer taste.
Let the dish rest 5 minutes before serving for best flavor.
Serving Suggestions
This homemade Chicken Cacciatore pairs beautifully with:
Spaghetti or fettuccine
Creamy polenta
Garlic bread
Roasted vegetables
Simple green salad
The rich tomato sauce also works perfectly spooned over rice or rustic country bread.
Make-Ahead and Storage Tips
Chicken Cacciatore tastes even better the next day as the flavors continue to develop.
Refrigerator: Store in an airtight container for up to 4 days
Freezer: Freeze portions for up to 2 months
Reheat: Warm gently on the stovetop with a splash of broth to loosen the sauce
This makes it an excellent meal prep Italian chicken recipe for busy weeks.
Easy Recipe Variations
Mushroom Chicken Cacciatore: Add sliced mushrooms when sautéing vegetables.
Slow Cooker Version: Transfer everything to a slow cooker and cook on low for 6–7 hours.
Boneless Chicken Option: Use boneless thighs for faster cooking.
Spicy Cacciatore: Increase red pepper flakes for extra heat.
Frequently Asked Questions
What does “Cacciatore” mean? “Cacciatore” means “hunter-style” in Italian, referring to rustic dishes cooked with tomatoes, herbs, onions, and peppers.
Can I make Chicken Cacciatore without wine? Yes, simply substitute chicken broth for the wine while maintaining great flavor.
What is the best cut of chicken for Chicken Cacciatore? Bone-in thighs are preferred because they remain juicy and flavorful during simmering.
Final Thoughts
This Classic Chicken Cacciatore recipe brings authentic Italian comfort food straight to your kitchen with minimal effort and maximum flavor.
Tender braised chicken simmered in a rich tomato herb sauce creates a satisfying meal perfect for weeknight dinners or special gatherings.
Once you try this easy homemade Chicken Cacciatore, it’s sure to become a staple recipe thanks to its hearty ingredients, simple cooking method, and timeless Italian taste.
Craving pizza but want something a little lighter, faster, and packed with protein? Enter Pizza Chicken—the genius weeknight dinner that delivers every bit of that crave-worthy pizza flavor without the dough. Imagine juicy, seasoned chicken breasts acting as your personal “pizza crust,” topped with tangy marinara, a blanket of gooey, browned cheese, and all your favorite toppings.
This one-pan wonder comes together in under 30 minutes and uses simple ingredients you likely already have. It’s the perfect solution for busy nights, a hit with kids and adults alike, and endlessly customizable. Whether you keep it classic with pepperoni or get creative with veggies, this dish proves you don’t need bread to have a pizza party. It’s comfort food that feels indulgent but fits perfectly into a balanced meal.
Why This Recipe Becomes an Instant Weeknight Favorite
The magic of this recipe lies in its simplicity and clever layering of flavors. By searing the chicken breasts first, you create a golden-brown crust that locks in juices and adds a ton of savory depth—no bland, baked chicken here. The searing also creates fond (those tasty browned bits) in the pan, which the marinara sauce deglazes, infusing it with even more flavor. Using a high-quality, flavorful marinara is key, as it acts as both a sauce and a steaming liquid to finish cooking the chicken through gently in the oven.
The cheese selection is crucial: a combination of low-moisture mozzarella for that iconic stretch and Parmesan for a salty, nutty punch. Baking it just until the cheese is molten and spotted with brown ensures the chicken stays tender. It’s a masterclass in efficient cooking, transforming basic chicken into a fun, shareable, and utterly satisfying meal with minimal cleanup.
2 tablespoons sliced fresh basil or parsley for garnish
Instructions
1. Prep Chicken & Oven: Preheat your oven to 400°F (200°C). Pat the chicken breasts completely dry with paper towels. This is essential for a good sear. In a small bowl, mix the Italian seasoning, garlic powder, salt, and pepper. Rub this seasoning mix evenly over both sides of each chicken breast.
2. Sear the Chicken: Heat the olive oil in a large, oven-safe skillet (like cast iron or stainless steel) over medium-high heat. Once the oil is shimmering, add the chicken breasts. Sear without moving for 4-5 minutes, until a deep golden-brown crust forms. Flip and sear the other side for 3-4 minutes. The chicken will not be fully cooked through.
3. Add Sauce & Toppings: Remove the skillet from heat. Spoon the marinara sauce over each chicken breast, spreading it evenly. Sprinkle the shredded mozzarella and Parmesan cheese over the sauce, covering the chicken completely. Artfully arrange the pepperoni and any other optional toppings (olives, peppers) over the cheese.
4. Bake: Carefully transfer the skillet to the preheated oven. Bake for 15-18 minutes, or until the chicken is cooked through (reaches 165°F internally) and the cheese is melted, bubbly, and has golden-brown spots.
5. Garnish & Serve: Remove the skillet from the oven (remember the handle is hot!). Let it rest for 5 minutes. The chicken will continue to cook slightly, and the juices will redistribute. Garnish with fresh basil or parsley. Serve directly from the skillet, with a side salad or roasted vegetables.
Tips for Perfect Pizza Chicken Every Time
Even Cooking: For best results, use chicken breasts of similar size and thickness. If they are very thick, you can pound them to an even ½-inch thickness before seasoning.
Pan Choice: An oven-safe skillet is non-negotiable for this one-pan method. Cast iron is ideal for the perfect sear and even baking.
Customize Your “Pizza”: This recipe is a blueprint! Make a “Hawaiian” version with ham and pineapple, a “Veggie Lovers” with mushrooms, onions, and bell peppers, or a “Margherita” with fresh mozzarella slices and basil after baking.
Keto/Low-Carb: This recipe is naturally low in carbs—just ensure your marinara sauce has no added sugar.
Storage: Leftovers keep well in an airtight container in the fridge for 3-4 days. Reheat gently in the oven or microwave.
This One-Pan Pizza Chicken Bake is more than a recipe; it’s a quick, delicious system for getting a fun, flavorful dinner on the table with a smile.