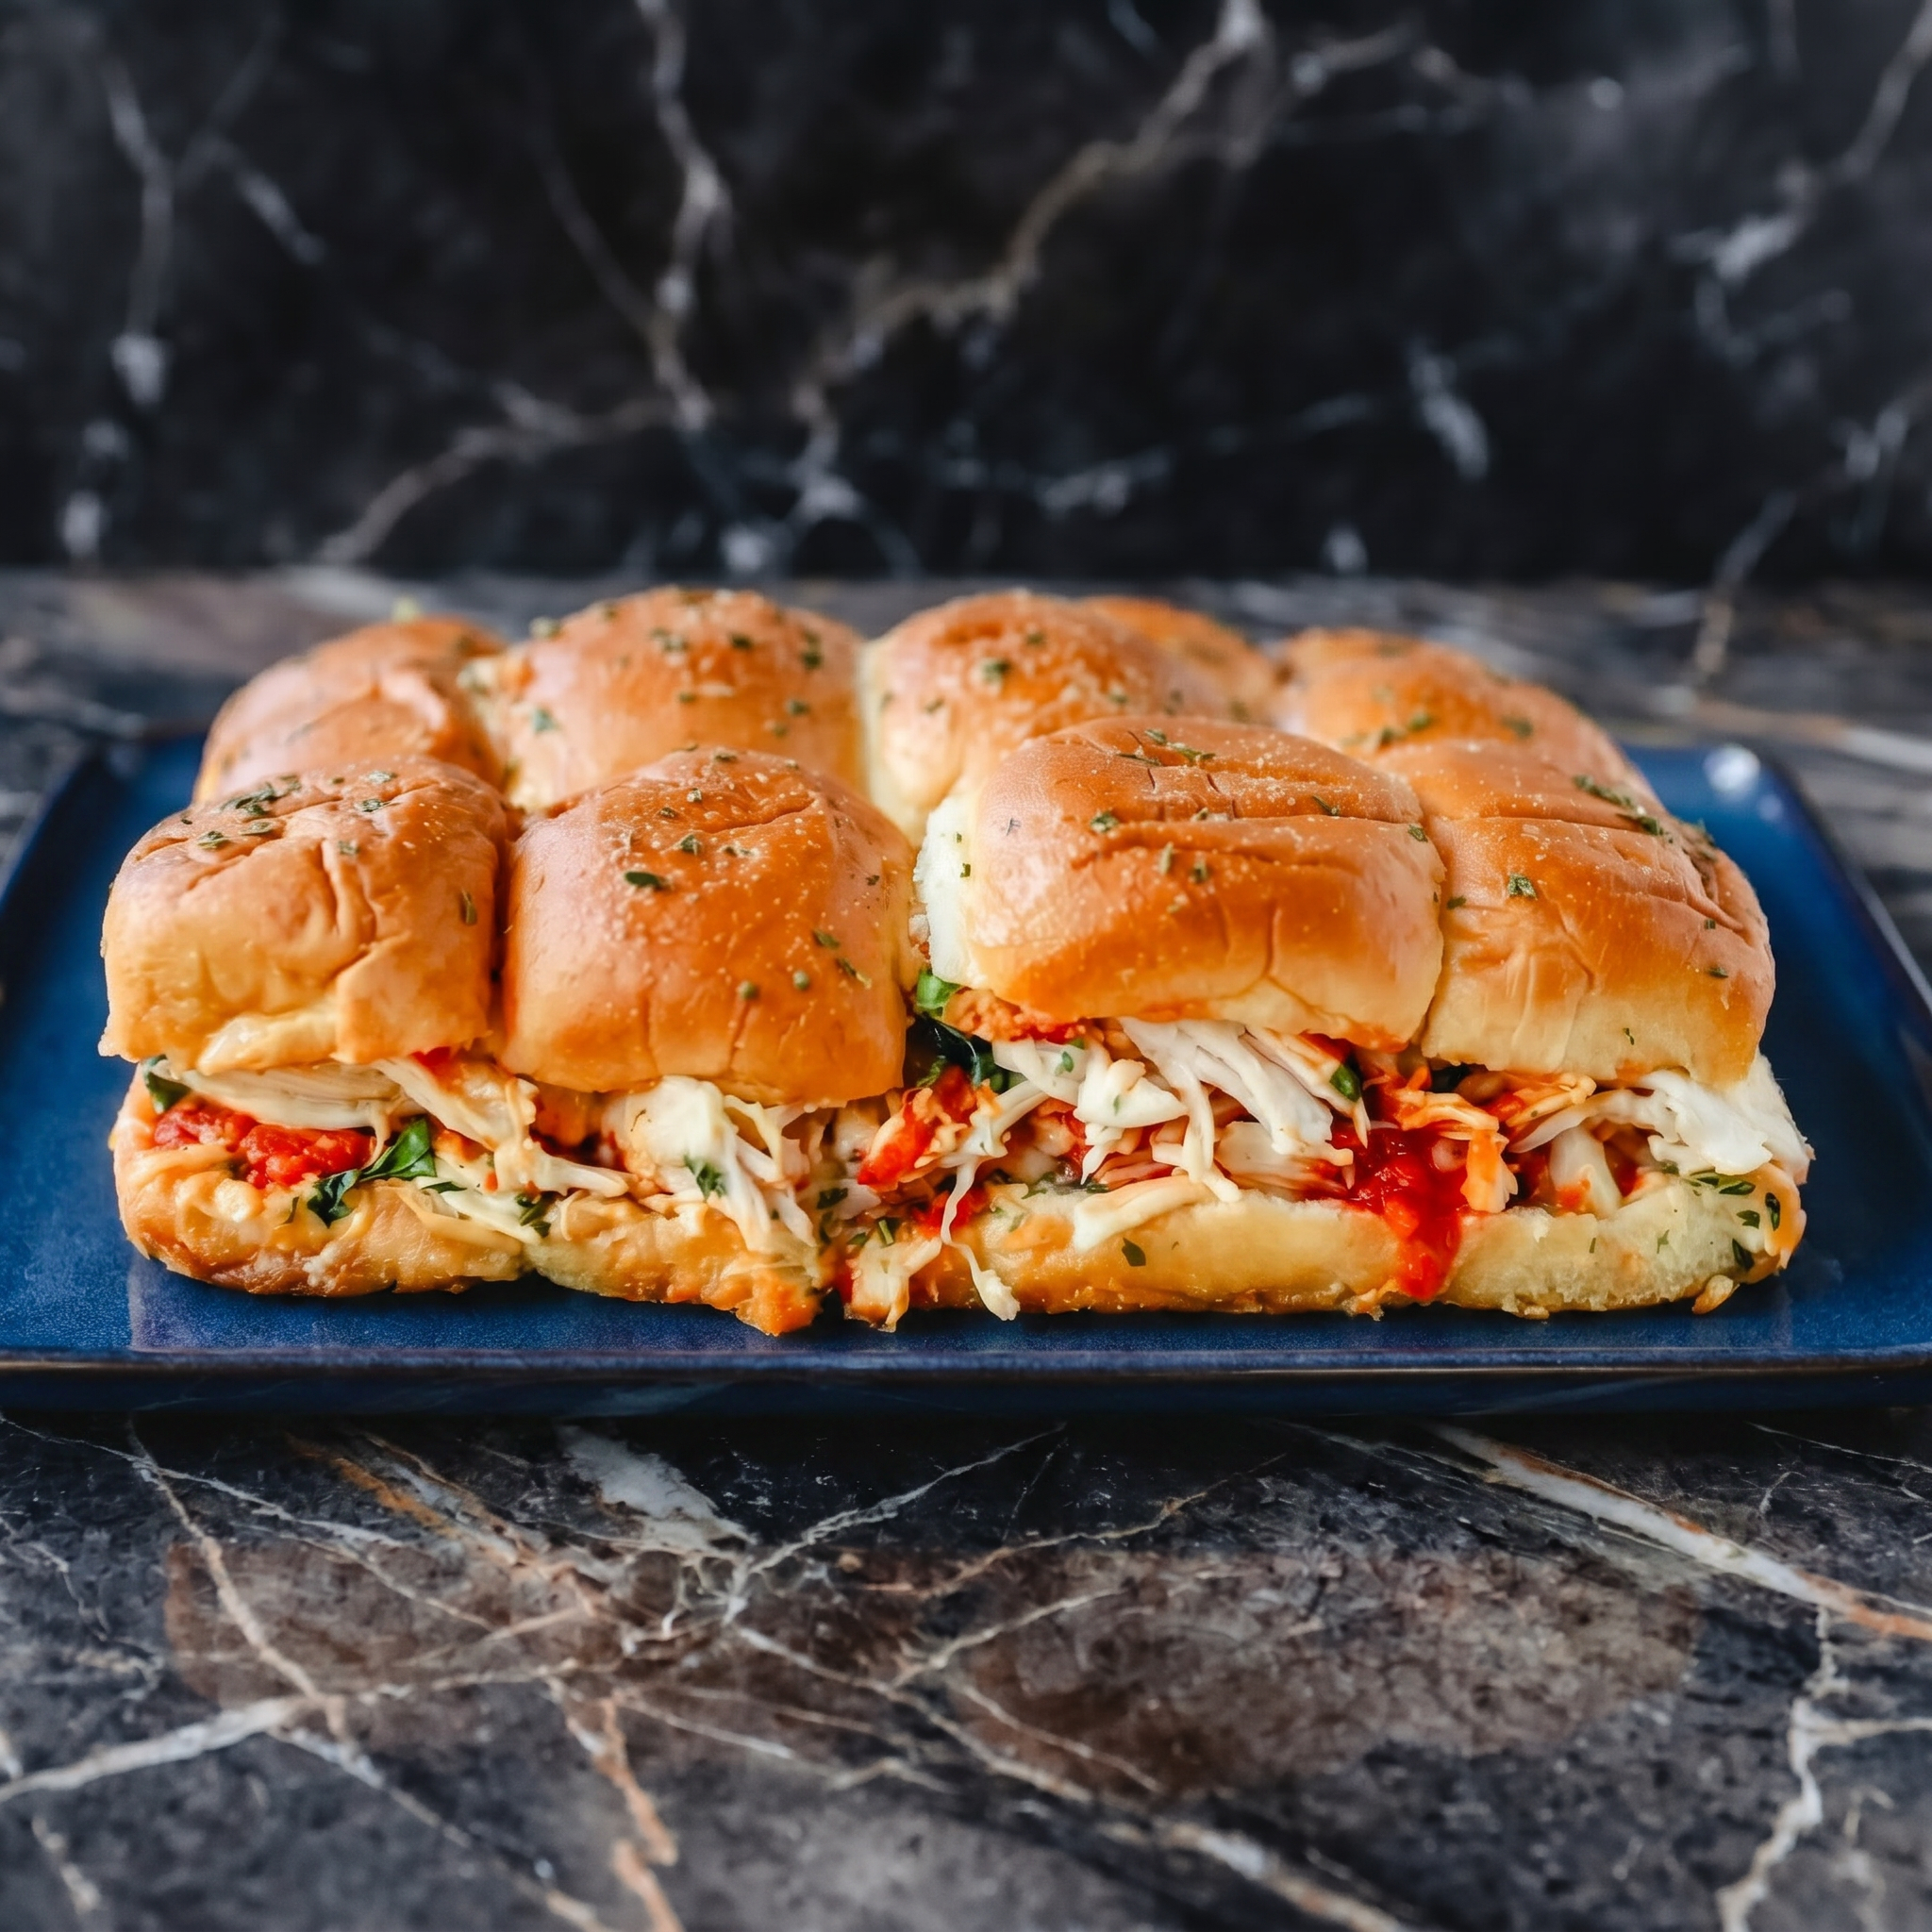
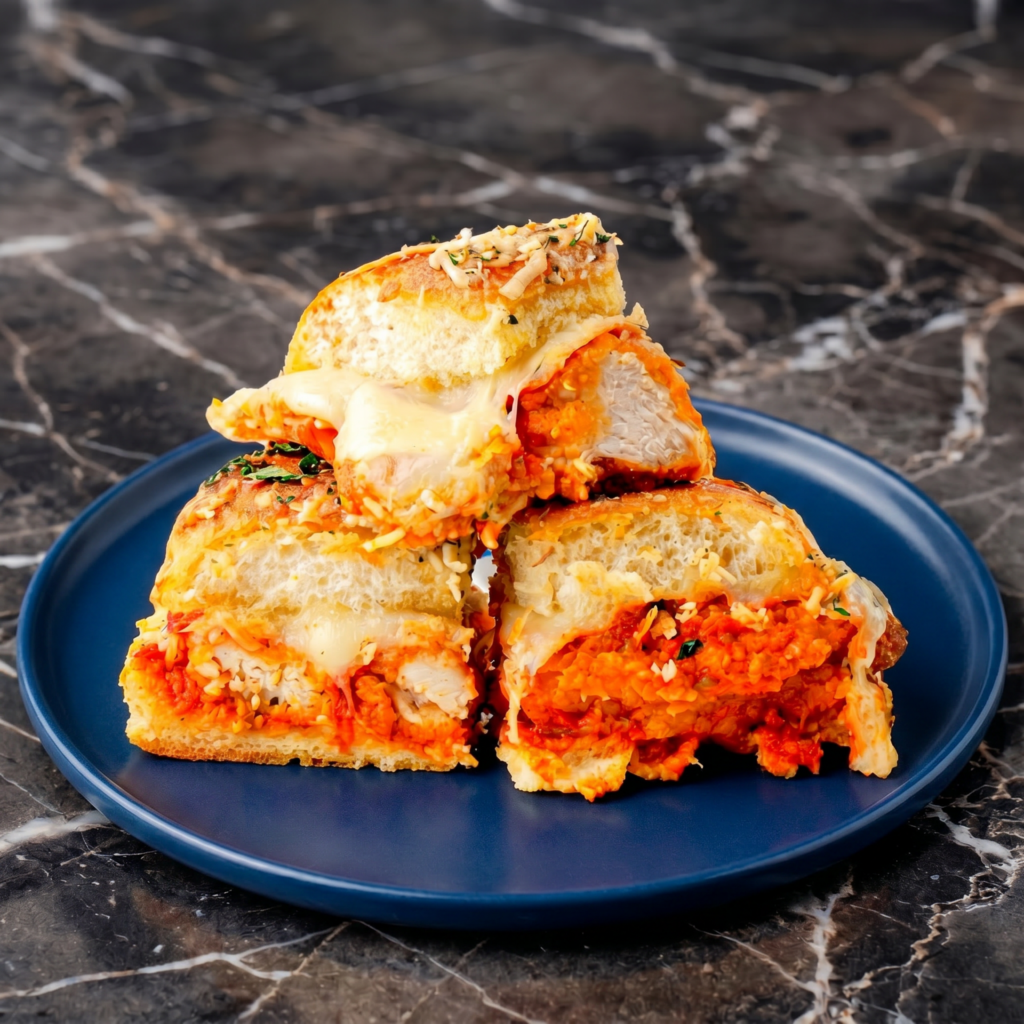
Chicken Parmesan is a fork-and-knife situation. These sliders are not. Crispy chicken, tangy marinara, gooey mozzarella, all tucked into buttery garlic-topped Hawaiian rolls. Pull apart. Eat with your hands. No plates required.
Ingredients
Makes 12 sliders (serves 4-6).
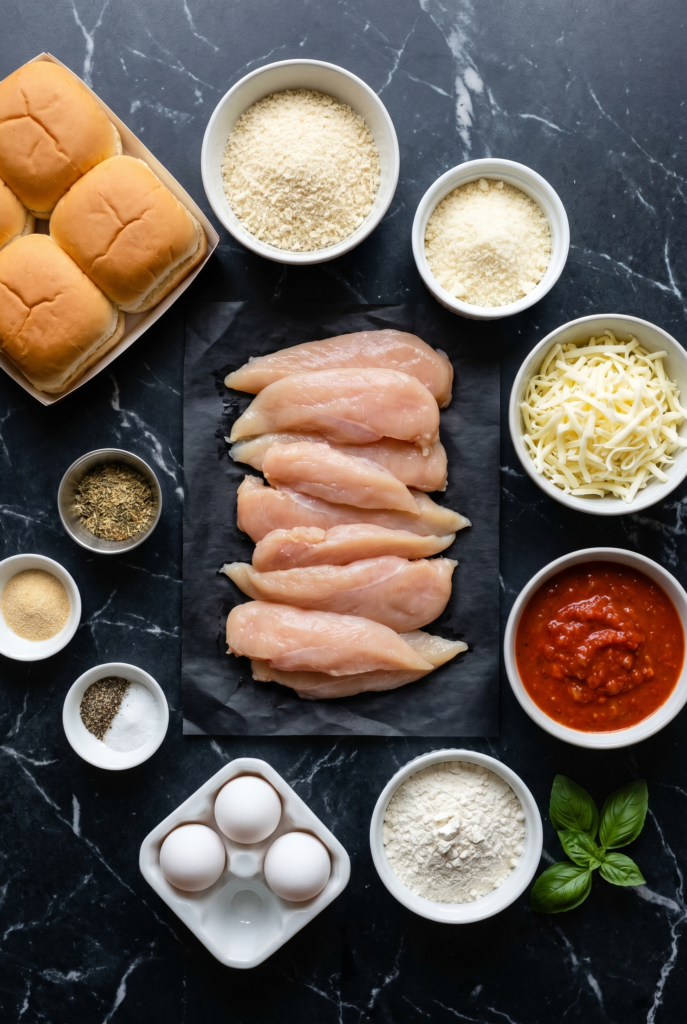
12 slider buns (Hawaiian rolls or small brioche buns)
12 frozen or refrigerated chicken tenders (or 2 large breaded chicken cutlets, cut to fit)
1 cup marinara sauce
1½ cups shredded mozzarella cheese
½ cup grated Parmesan cheese
¼ cup fresh basil, chopped (optional)
For the Garlic Butter Topping:
¼ cup (60g) unsalted butter, melted
2 cloves garlic, minced
1 tsp dried parsley or oregano
Step-by-Step Instructions
Step 1: Preheat & Cook Chicken
Preheat oven to 375°F (190°C). Cook chicken tenders according to package directions (or bake fresh cutlets at 400°F for 15-20 minutes).
Step 2: Prep Buns
Without separating individual rolls, slice the entire block of buns horizontally (like a top and bottom slab).
Place bottom bun slab in a 9×13 baking dish.
Step 3: Assemble Sliders
Arrange cooked chicken tenders on bottom buns (cut to fit if needed).
Spoon marinara sauce over chicken. Sprinkle with mozzarella and Parmesan.
Place top bun slab over the cheese.
Step 4: Garlic Butter
Mix melted butter, garlic, and parsley. Brush generously over the tops of the buns.
Step 5: Bake
Cover with foil. Bake 15 minutes.
Remove foil. Bake 5-10 more minutes until cheese is melted and buns are golden.
Step 6: Serve
Sprinkle with fresh basil. Pull apart. Eat immediately. Don’t share.
Summary
Prep Time: 10 min | Cook Time: 25 min | Total: 35 min
Yield: 12 sliders | Difficulty: Easy
Storage Notes
Fridge: 3 days. Reheat: Cover with foil and bake at 350°F for 10-12 minutes. Avoid microwaving — buns get rubbery. These sliders are best fresh but leftovers still hit.
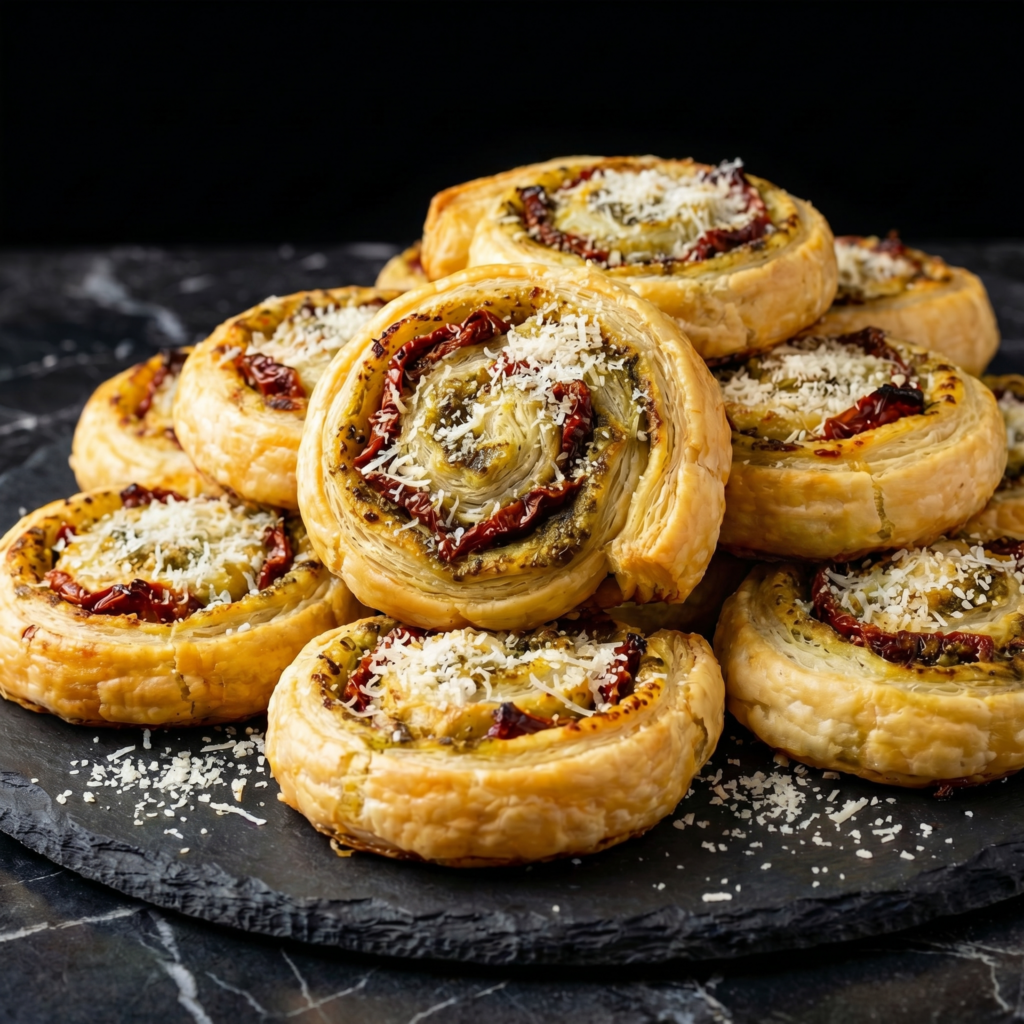
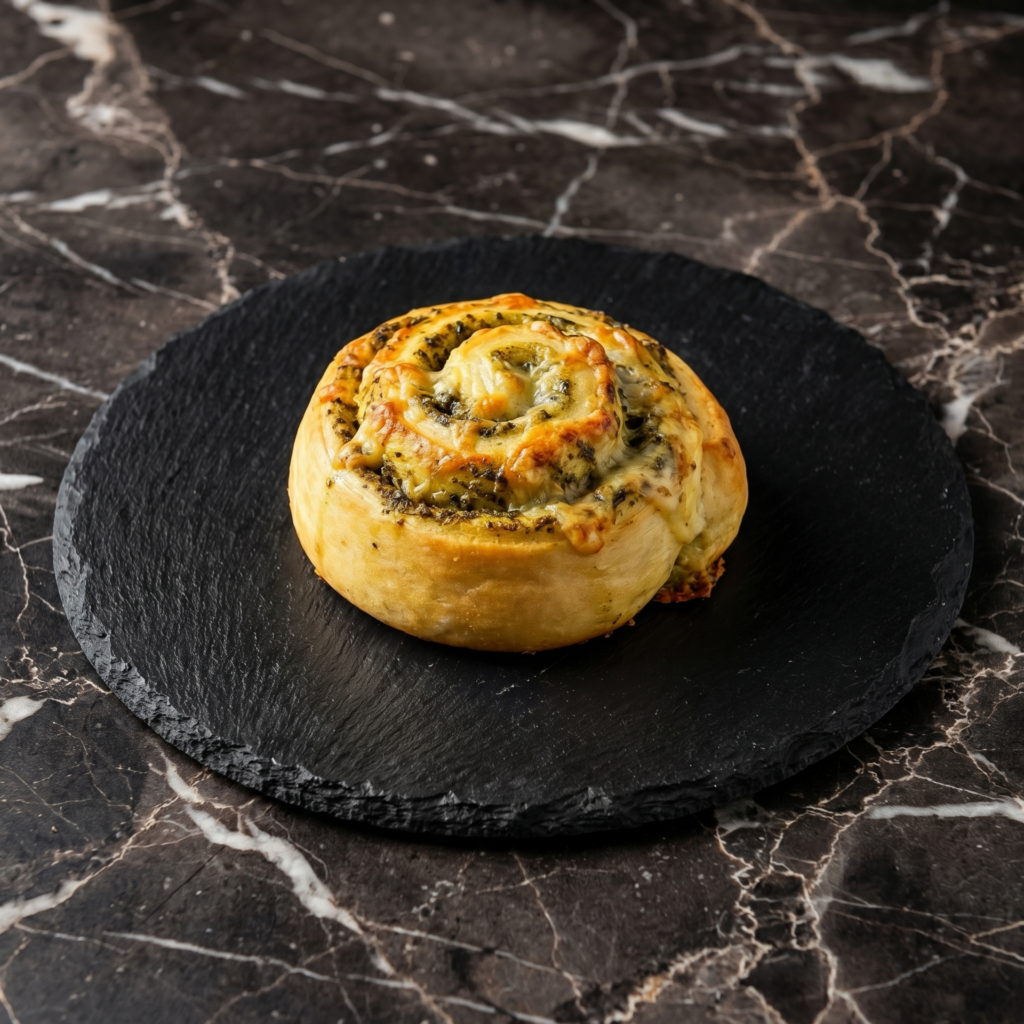
Pesto Pinwheels are an easy, elegant appetizer—flaky, buttery puff pastry swirled with vibrant pesto, Parmesan cheese, and pine nuts. Ready in under 30 minutes, they’re perfect for parties, holiday gatherings, or anytime you need a quick, delicious bite.
Ingredients
1 sheet (about 8 oz / 225g) puff pastry, thawed
¼ cup (60g) pesto (homemade or store-bought)
¼ cup (25g) grated Parmesan cheese
2 tablespoons pine nuts (optional)
1 large egg, beaten (for egg wash)
Instructions
1. Preheat and Prepare: Preheat oven to 375°F (190°C). Line a baking sheet with parchment paper.
2. Roll and Spread: On a lightly floured surface, roll the puff pastry into a 10×12-inch rectangle. Spread pesto evenly over the pastry, leaving a ½-inch border on one long edge. Sprinkle with Parmesan and pine nuts.
3. Roll and Chill: Starting from the long edge opposite the border, roll the pastry tightly into a log. Pinch the seam to seal. Wrap in plastic and refrigerate for 15 to 20 minutes.
4. Slice and Bake: Slice the log into ½-inch thick rounds. Place on the baking sheet, cut-side up. Brush with egg wash. Bake for 12 to 15 minutes until puffed and golden brown.
5. Serve: Serve warm or at room temperature.
Pro-Tips for Picture-Perfect Pesto Pinwheels
Keep Puff Pastry Cold: Cold pastry puffs better.
Chill Before Slicing: Prevents squishing.
Don’t Overfill: Too much filling can leak.
These Pesto Pinwheels are flaky, cheesy, and bursting with herby flavor—a perfect party snack.
Pico de Gallo, or Salsa Fresca, is the essence of fresh Mexican flavor. Unlike blended salsas, this condiment celebrates texture: a bright, chunky mixture of ripe tomatoes, crisp white onion, spicy jalapeño, and fragrant cilantro, all brought to life with a generous squeeze of lime juice.
It’s incredibly simple to make but requires a few key techniques to balance flavors and achieve the perfect consistency. This versatile salsa is more than a dip; it’s a fresh topping for tacos, grilled fish, scrambled eggs, and a vibrant side for any meal.
The Art of Freshness & Balance
The success of Pico de Gallo hinges on the quality of ingredients and textural contrast. Using ripe, in-season tomatoes is non-negotiable for sweet, deep flavor. The key to taming the raw bite of onion is a brief soak in cold water or a rinse under running water, which washes away the harsh sulfur compounds.
For consistent heat, remove the jalapeño seeds and ribs for mild salsa, or include them for more spice. The final, critical step is salting and resting. Salt draws moisture from the tomatoes and onions, creating a light, flavorful brine that coats every piece. Allowing the salsa to sit for 15-30 minutes before serving lets the flavors marry and mellow, transforming it from chopped ingredients into a cohesive, vibrant condiment.
Ingredients
For the Salsa (makes about 3 cups):
1 ½ lbs (about 4-5 medium) ripe Roma or vine-ripened tomatoes
½ medium white onion
1-2 jalapeño peppers
½ cup packed fresh cilantro leaves and tender stems, chopped
2-3 tablespoons fresh lime juice (from 1-2 limes)
¾ teaspoon fine sea salt, plus more to taste
Optional: 1 small clove garlic, minced
For Serving: Tortilla chips, on tacos, with grilled meats or fish.
Instructions
1. The Prepared & Rinsed Diced Onion: Finely dice the white onion. Place the diced onion in a fine-mesh strainer and rinse thoroughly under cold running water for about 30 seconds. Shake off excess water and pat lightly with a paper towel. This step removes the pungent, sulfuric bite, leaving a crisp, clean onion flavor.
2. The Diced & Seeded Ingredients: Core the tomatoes and cut them into a uniform ¼-inch dice. If desired, scoop out and discard some of the watery seed pulp for a less watery salsa. Finely dice the jalapeño(s), removing seeds and ribs for less heat. Roughly chop the cilantro.
3. The Combined, Unseasoned Mixture: In a medium glass or ceramic bowl (not metal, which can react with the acid), gently combine the diced tomatoes, rinsed diced onion, diced jalapeño, and chopped cilantro. The mixture will look bright and colorful but dry and distinct.
4. The Seasoned & Juicy Salsa: Drizzle the fresh lime juice over the vegetable mixture. Sprinkle the salt evenly over the top. Using a large spoon, gently fold everything together until just combined.
5. The Rested & Marinated Final Salsa: Let the salsa sit at room temperature for at least 15 minutes, or up to 1 hour, stirring once or twice. During this time, the salt will draw out the tomatoes’ juices, creating a light, flavorful liquid in the bottom of the bowl. The flavors will meld and mellow. Taste and adjust with more salt or lime juice as needed. Serve immediately, or refrigerate for up to 3 days (flavor is best within 24 hours).
Pro-Tips for Perfect Pico
Choose the Right Tomatoes: Firm Roma (plum) tomatoes are ideal as they have less watery pulp than beefsteaks.
Rinse the Onion: Don’t skip this step—it’s the secret to eliminating harsh onion breath and sharpness.
Control the Heat: For mild salsa, use only one jalapeño and remove all seeds and white ribs. For more heat, include the seeds or use serrano peppers.
Chop Consistently: Aim for a uniform dice so every scoop has a bit of everything.
Use Fresh Lime Juice: Bottled juice lacks the bright, floral notes of fresh lime.
Salt Liberally: Salt is what makes the flavors pop and draws out the juices. Don’t be shy.
Let it Rest: The resting period is when the magic happens, transforming chopped veggies into salsa.
Drain if Needed: If your tomatoes are very juicy, you can drain some of the excess liquid after resting before serving.
Make it Ahead: You can chop all ingredients (except salt and lime) a few hours ahead and store them separately in the fridge. Combine, season, and rest 30 minutes before serving.
Elegant, effortless, and exploding with flavor—these Cranberry Brie Bites are the holy grail of holiday entertaining. They combine all the beloved elements of a baked brie wheel (creamy, gooey cheese, sweet-tart cranberry, buttery pastry, and a nutty crunch) into perfectly portioned, mess-free finger food. Using store-bought puff pastry and cranberry sauce makes them incredibly simple to assemble, yet they bake up looking like they came from a gourmet caterer.
The warm, flaky pastry cups cradle the molten brie, which pairs magically with the bright pop of cranberry and the toasty pecan. Ready in under 30 minutes, these bites are guaranteed to be the first platter emptied at your Thanksgiving, Christmas, or New Year’s Eve gathering.
The Science of the Perfect Flaky Cup & Melted Cheese
The magic of this appetizer lies in the behavior of two key ingredients under heat: puff pastry and brie cheese. Puff pastry is a laminated dough with hundreds of alternating layers of dough and butter. In a hot oven, the water in the butter turns to steam, forcing the layers apart and creating a tall, airy, and shatteringly flaky cup.
Using a mini muffin tin is crucial—it contains the pastry’s dramatic rise, directing it upward to form a sturdy vessel. Brie, a soft-ripened cheese, has a high fat and moisture content. When baked, its proteins break down quickly, causing it to melt into a luxurious, creamy pool rather than turning oily or rubbery.
The rind is entirely edible and helps contain the melt, making it the perfect choice for a neat, contained filling. Baking them together allows the pastry to become crisp just as the cheese reaches its perfect molten state, creating an irresistible textural contrast in every bite.
Ingredients
For the Bites:
1 sheet frozen puff pastry, thawed (from a 17.3 oz box)
1 (8 oz) wheel or wedge of brie cheese
½ cup whole berry cranberry sauce (jellied or homemade)
24 pecan halves
Fresh rosemary or thyme, for garnish (optional)
Optional Additions:
1 tablespoon honey, for drizzling
A pinch of flaky sea salt
Instructions
1. Prep: Preheat oven to 400°F (200°C). Lightly grease a 24-cup mini muffin tin.
2. Cut the Pastry: On a lightly floured surface, roll the thawed puff pastry sheet out slightly to smooth any seams. Using a pizza cutter or sharp knife, cut the sheet into 24 equal squares (approx. 2×2 inches each).
3. Form the Cups: Gently press each pastry square into a cup of the prepared mini muffin tin, letting the corners point upwards. This creates the classic, rustic “cup” shape.
4. Prep the Brie: Cut the brie into 24 small cubes (about ½-inch). It’s easier to cube if the brie is cold. A small piece of the rind is fine on each cube—it adds flavor and structure.
5. Assemble: Place one cube of brie into each pastry cup. Top with about 1 teaspoon of cranberry sauce, then gently press one pecan half on top.
6. Bake: Bake for 12-15 minutes, or until the puff pastry is deeply golden brown and puffed, and the brie is visibly melted and bubbly around the edges.
7. Garnish & Serve: Let the bites cool in the tin for 2-3 minutes. Use a small offset spatula or spoon to carefully transfer them to a serving platter. Garnish with fresh rosemary or thyme, and drizzle with honey or sprinkle with flaky salt if desired. Serve warm.
8. Make Ahead Tip: Assemble the bites in the muffin tin up to 4 hours ahead. Cover and refrigerate until ready to bake. Bake directly from the fridge, adding 1-2 minutes to the baking time.
Pro-Tips for Flawless, Impressive Bites Every Time
Thaw Pastry Properly: Thaw puff pastry in the refrigerator overnight, or on the counter for about 40 minutes. It should be pliable but still cold to the touch for best results.
Don’t Overfill: The brie will expand as it melts. Use a cube no larger than ½-inch to prevent overflow.
Pecan Placement: Press the pecan lightly into the cranberry sauce so it adheres and toasts slightly during baking.
Grease the Tin Well: A light coating of butter or non-stick spray ensures the golden pastry cups release easily without breaking.
Serve Immediately: These bites are at their absolute peak within 10 minutes of leaving the oven, when the pastry is crisp and the cheese is gloriously gooey.
Variations: Substitute the cranberry sauce with fig jam, apricot preserves, or a spicy pepper jelly. Swap pecans for walnuts or a sprinkle of chopped pistachios. For a savory twist, add a tiny piece of prosciutto under the brie.
These Cranberry Brie Bites are the perfect marriage of simplicity and sophistication, making you look like a hosting pro with minimal effort.
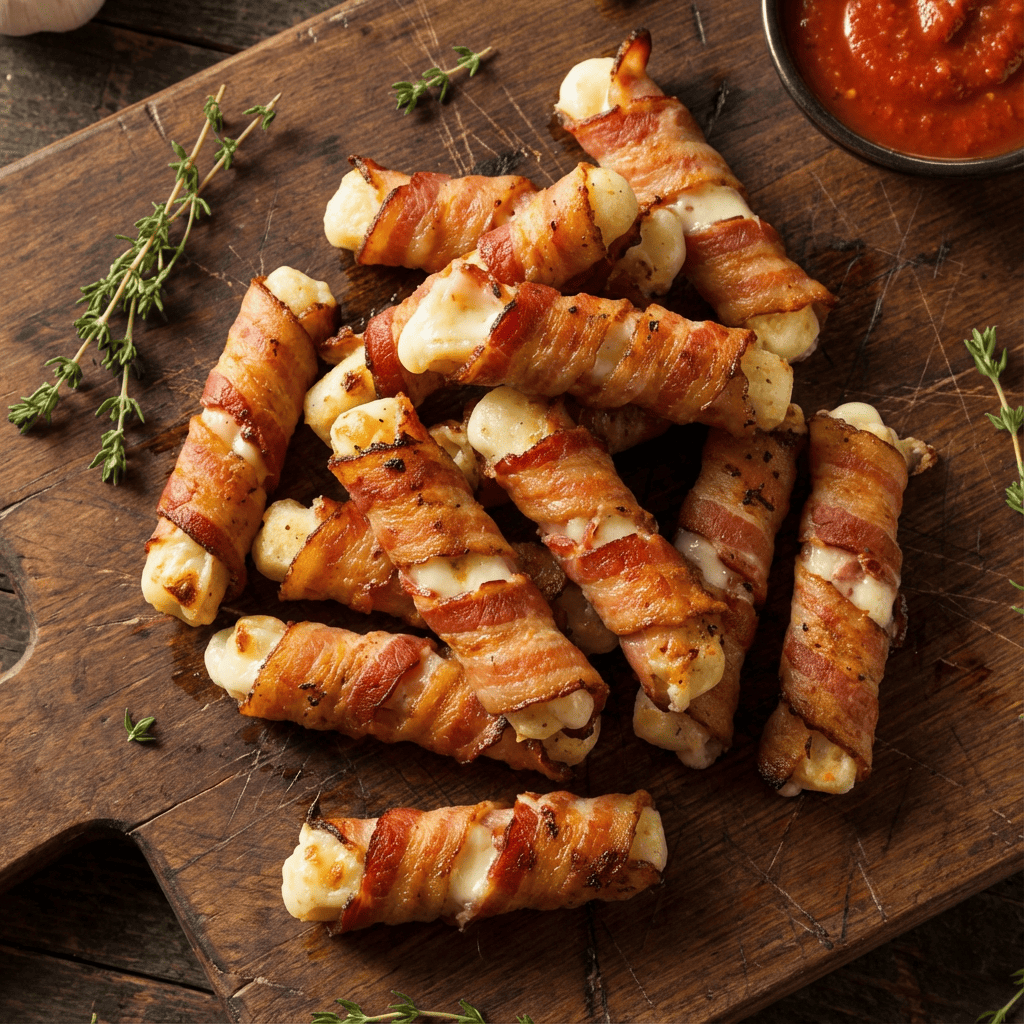
Let’s be honest: the classic mozzarella stick is a nearly perfect food. Crispy coating, molten cheese center—it’s a formula for success. But what if we could make it even better? What if we could inject it with the smoky, salty, universally adored magic of bacon? That’s exactly what these Bacon-Wrapped Mozzarella Sticks do. They are the ultimate fusion of two iconic appetizers, creating a single, irresistible bite that is greater than the sum of its parts. Imagine a strip of bacon, crisped to perfection, acting as the world’s most flavorful breading for a stick of high-quality mozzarella.
When baked or air-fried, the bacon renders its fat, basting the cheese from the outside in, resulting in a snack that’s crispy, savory, and delivers that iconic cheese pull with every single bite. These aren’t just an appetizer; they’re a statement piece for your party platter, a guaranteed conversation starter, and quite possibly the best reason to turn on your oven before the big game.
The Science of the Perfect Cheese Pull & Crispy Bacon
The challenge of any hot cheese dish is achieving that glorious melt without a total cheese breakout. The secret here is two-fold. First, using low-moisture, block mozzarella (the kind you shred for pizza) is non-negotiable. It has less water than fresh mozzarella, so it melts beautifully and holds its shape longer before becoming a puddle. Second, the bacon itself acts as a protective barrier. As it cooks and tightens around the cheese, it forms a crisp casing that contains the molten interior, giving you precious extra seconds between “perfectly melted” and “cheese explosion.”
For the crispiest bacon without burning the cheese, a two-step cooking method works wonders: a partial pre-cook of the bacon to render some fat and start the crisping process, followed by a quick, high-heat bake to finish the bacon and melt the cheese. This technique ensures every element—crispy bacon, gooey cheese—is at its absolute best at the same moment.
2 tablespoons brown sugar (optional, for a sweet-savory glaze)
1 teaspoon smoked paprika or black pepper (optional)
For Serving:
1 cup marinara sauce, warmed
Ranch dressing for dipping
Chopped fresh parsley for garnish (optional)
Instructions
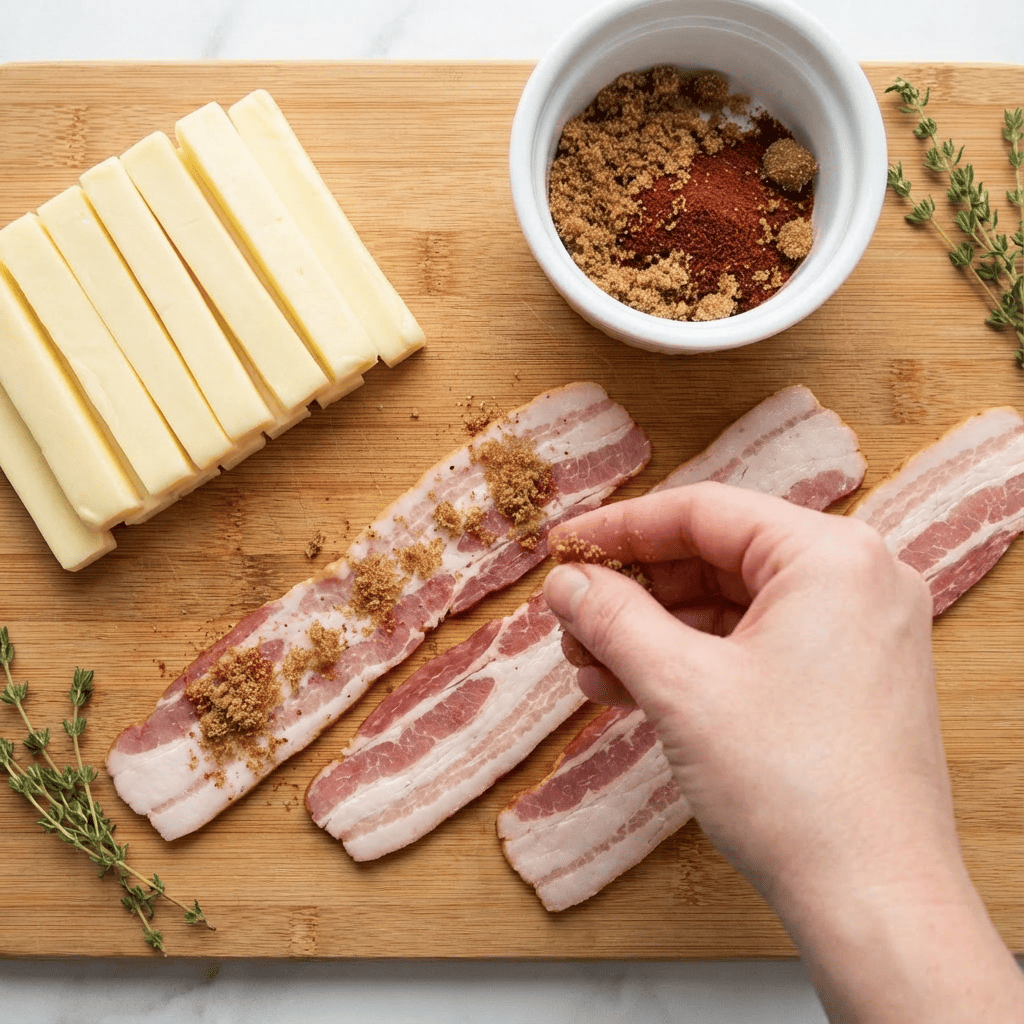
1. Prep the Cheese & Bacon: Unwrap the mozzarella sticks and pat them completely dry with a paper towel. If using the optional brown sugar and paprika, mix them together in a small bowl. Lay a slice of bacon flat on a cutting board. If desired, lightly sprinkle the bacon with the brown sugar mixture.
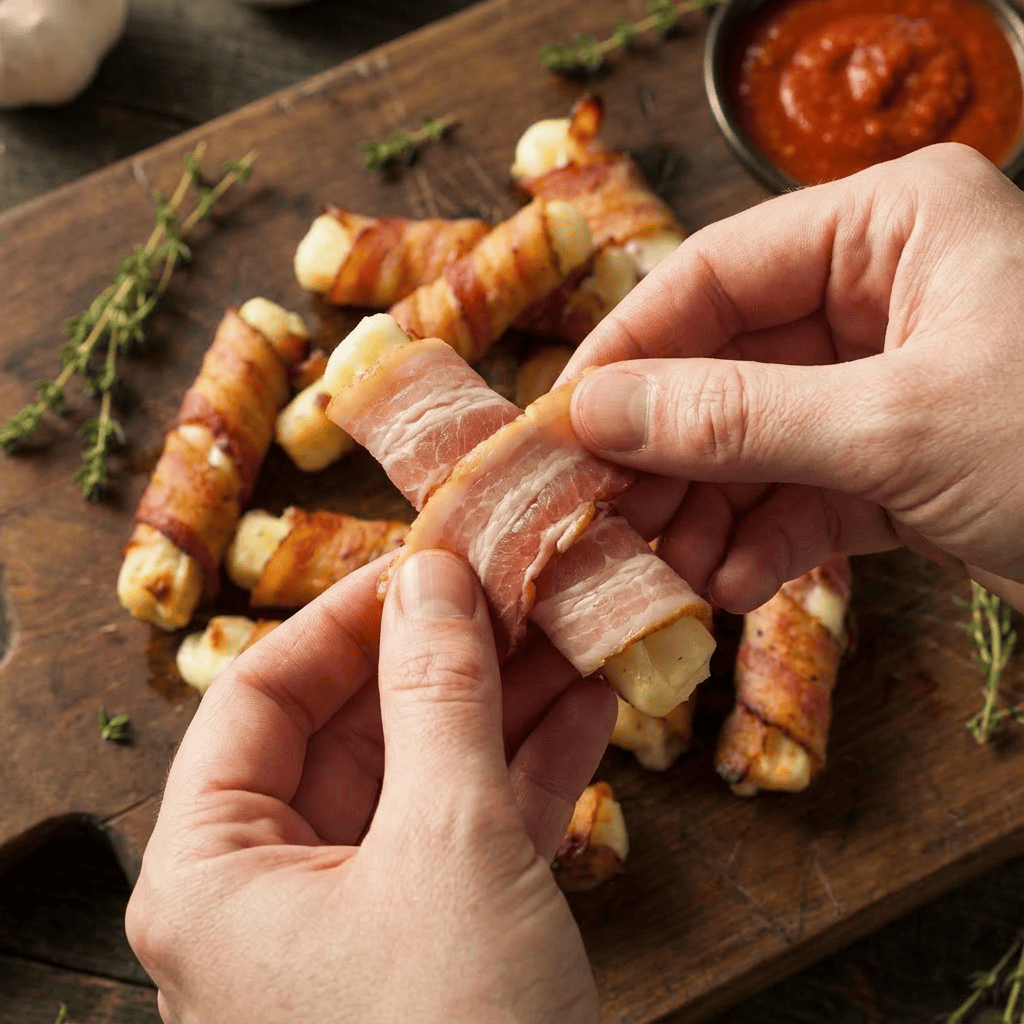
2. Wrap the Sticks: Place one mozzarella stick at the end of a bacon slice. Roll it up tightly, ensuring the bacon overlaps itself slightly. The entire cheese stick should be covered. If your bacon is very short, you can stretch it slightly as you roll. Place the wrapped stick seam-side down on a plate. Repeat with all cheese sticks and bacon. For best results, place the plate of wrapped sticks in the freezer for 20-30 minutes. This firms up the cheese and bacon, preventing a meltdown during cooking.
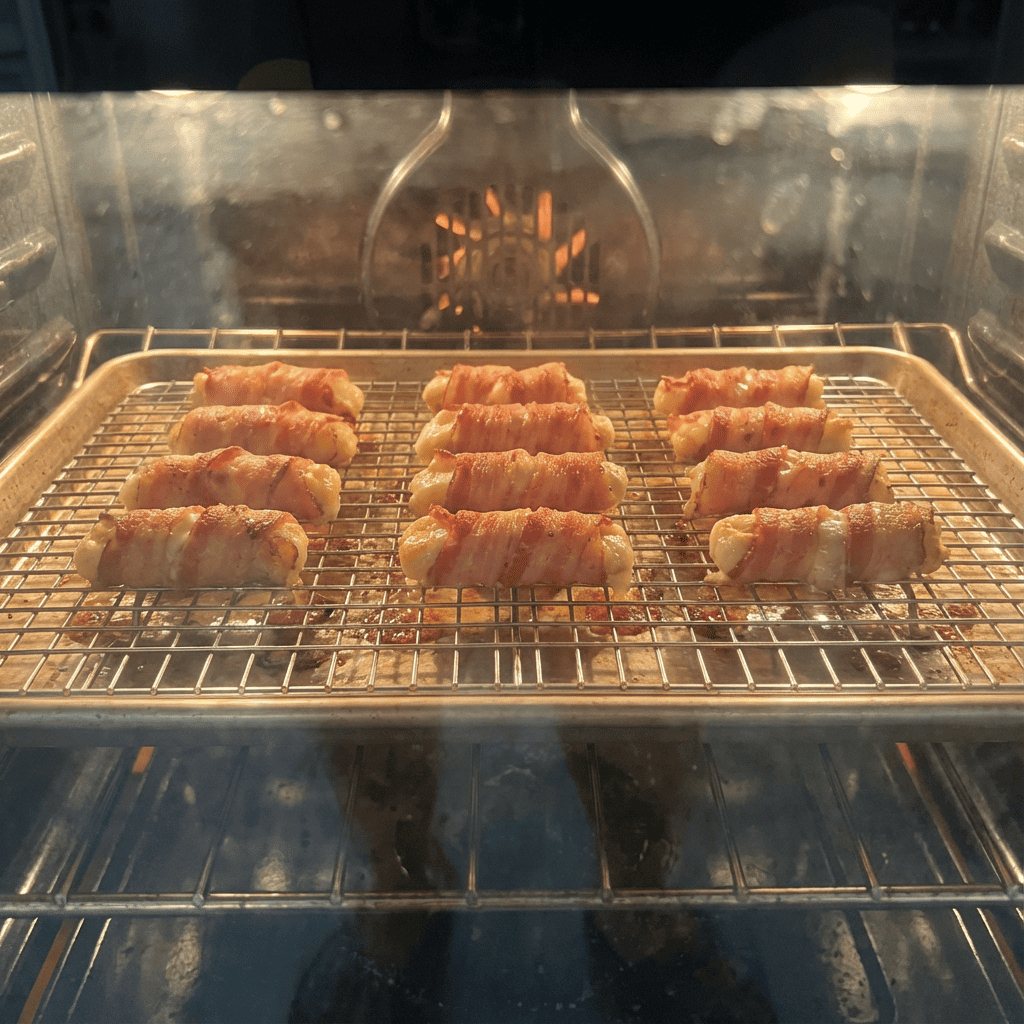
3. Cook (Oven Method): Preheat your oven to 400°F (200°C). Place a wire rack on top of a rimmed baking sheet (this allows air to circulate for even crisping). Arrange the chilled, bacon-wrapped sticks on the rack, seam-side down, leaving space between them. Bake for 12-16 minutes, turning halfway through, until the bacon is crispy and browned. Watch closely near the end to prevent burning.
4. Cook (Air Fryer Method): Preheat air fryer to 390°F (200°C). Arrange the chilled sticks in a single layer in the basket, seam-side down. Do not overcrowd; cook in batches if necessary. Air fry for 8-10 minutes, turning halfway, until the bacon is crisp.
5. Serve Immediately: Carefully transfer the hot bacon-wrapped mozzarella sticks to a serving platter using tongs. They will be very hot inside! Let them cool for exactly 1-2 minutes—this allows the cheese to set slightly for the perfect pull. Garnish with parsley and serve immediately with warm marinara and ranch dressing for dipping.
Pro-Tips for Appetizer Victory
Choose your bacon wisely: Thin-cut bacon works best as it crisps up quickly, wrapping the cheese tightly. Thick-cut bacon may not get fully crisp before the cheese overheats.
The freeze is key: Don’t skip the 20-minute freezer chill. This is your insurance policy against leaky cheese.
Dipping sauce matters: The cool, creamy tang of ranch dressing is the perfect contrast to the smoky, salty, rich sticks. Marinara is the classic, but don’t overlook other options like sriracha mayo or honey mustard.
Make-ahead strategy: You can wrap the sticks and freeze them solid on a baking sheet, then transfer to a freezer bag for up to a month. Cook from frozen, adding 2-4 extra minutes to the cooking time. These Bacon-Wrapped Mozzarella Sticks are the ultimate upgrade, turning a simple snack into a legendary party food that will have everyone asking for the recipe.