Tag: chocolate

  • Chewy, Chocolatey, and Irresistible: The Ultimate Homemade Revel Bars Recipe

    Chewy, Chocolatey, and Irresistible: The Ultimate Homemade Revel Bars Recipe

    If you love the combination of buttery oats and rich, fudgy chocolate, then Revel Bars are about to become your new favorite dessert.

    These classic layered bars feature a soft oatmeal cookie crust and topping with a thick, gooey chocolate center that melts in your mouth.

    They’re simple enough for beginner bakers yet impressive enough for potlucks, bake sales, and family gatherings. Follow this detailed step-by-step guide to make perfectly chewy, chocolate-packed Revel Bars right in your own kitchen.


    What Are Revel Bars?

    Revel Bars are a vintage dessert bar made with a hearty oatmeal cookie dough that doubles as both the crust and crumb topping.

    The center is filled with a luscious chocolate mixture that bakes into a soft fudge-like layer. The contrast between chewy oats and silky chocolate is what makes these bars so special.
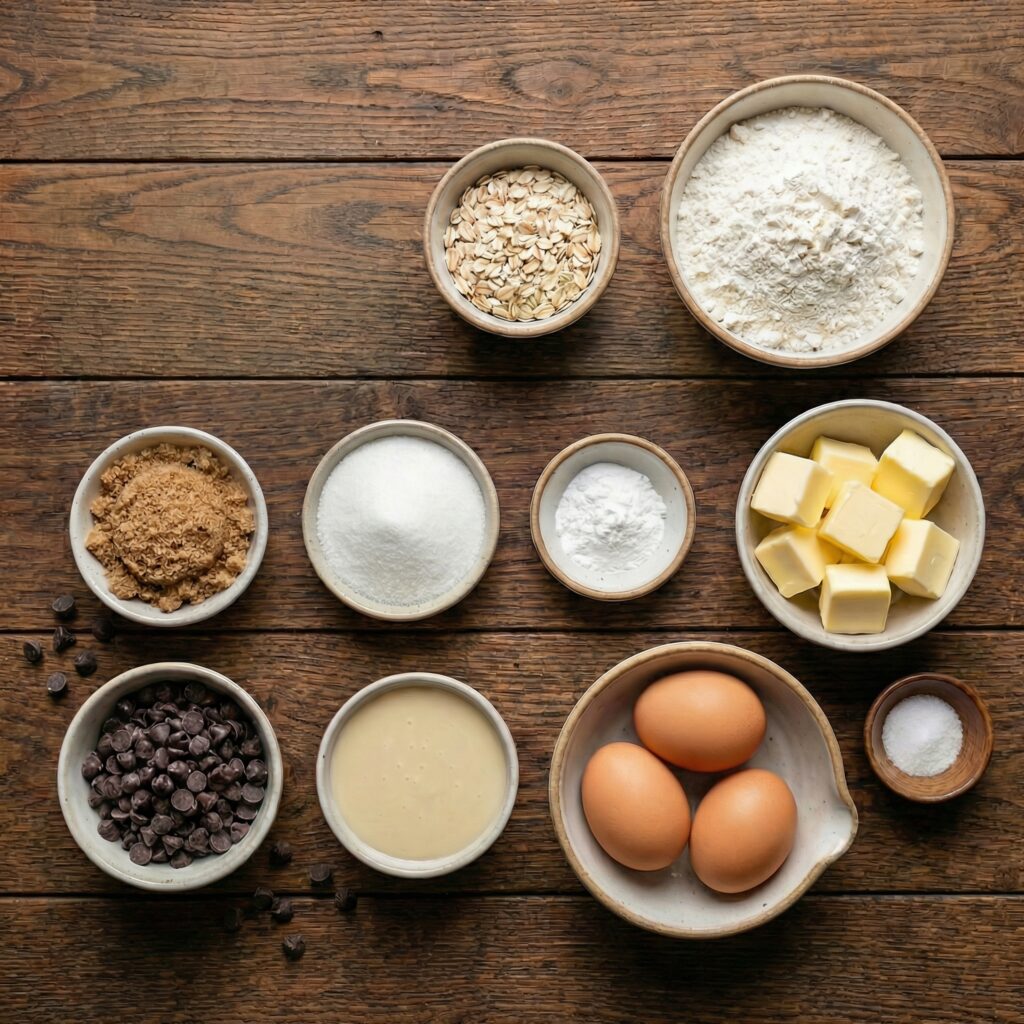

    Ingredients You’ll Need

    For the Oatmeal Cookie Base and Topping:

    • 1 cup (226g) unsalted butter, softened
    • 2 cups (400g) packed brown sugar
    • 2 large eggs
    • 1 teaspoon vanilla extract
    • 2½ cups (310g) all-purpose flour
    • 1 teaspoon baking soda
    • ½ teaspoon salt
    • 3 cups (270g) old-fashioned rolled oats

    For the Chocolate Filling:

    • 1 can (14 oz) sweetened condensed milk
    • 2 cups (340g) semi-sweet chocolate chips
    • 2 tablespoons unsalted butter
    • ½ teaspoon salt
    • 1 teaspoon vanilla extract

    Step 1: Preheat and Prepare the Pan

    Preheat your oven to 350°F (175°C).

    Grease a 9×13-inch baking pan or line it with parchment paper, leaving overhang on the sides for easy removal. Proper preparation ensures your bars release cleanly once cooled.


    Step 2: Cream Butter and Sugar

    In a large mixing bowl, beat the softened butter and brown sugar together until light and fluffy.

    This step incorporates air into the mixture, helping create a soft and chewy texture. Cream for about 2–3 minutes using a hand mixer or stand mixer.


    Step 3: Add Eggs and Vanilla

    Add the eggs one at a time, beating well after each addition. Stir in the vanilla extract.

    The mixture should be smooth and slightly creamy at this stage.


    Step 4: Combine Dry Ingredients

    In a separate bowl, whisk together the flour, baking soda, and salt.

    Gradually add the dry ingredients to the wet mixture, mixing just until combined. Avoid overmixing to keep the bars tender.


    Step 5: Fold in the Oats

    Stir in the old-fashioned rolled oats until evenly distributed.

    The dough will be thick and hearty—this is exactly what you want for that classic chewy texture.


    Step 6: Press the Base Layer

    Press about two-thirds of the oatmeal dough evenly into the bottom of the prepared baking pan.

    Use a spatula or lightly damp fingers to smooth it into an even layer. This will serve as the sturdy base for your chocolate filling.

    Set aside the remaining dough for the topping.


    Step 7: Prepare the Chocolate Filling

    In a medium saucepan over low heat, combine the sweetened condensed milk, chocolate chips, and butter. Stir continuously until the chocolate is fully melted and smooth.

    Remove from heat and stir in the salt and vanilla extract. The filling should be glossy, thick, and rich.


    Step 8: Spread the Chocolate Layer

    Pour the warm chocolate filling evenly over the oatmeal base in the pan. Use a spatula to spread it into an even layer, making sure it reaches all corners.


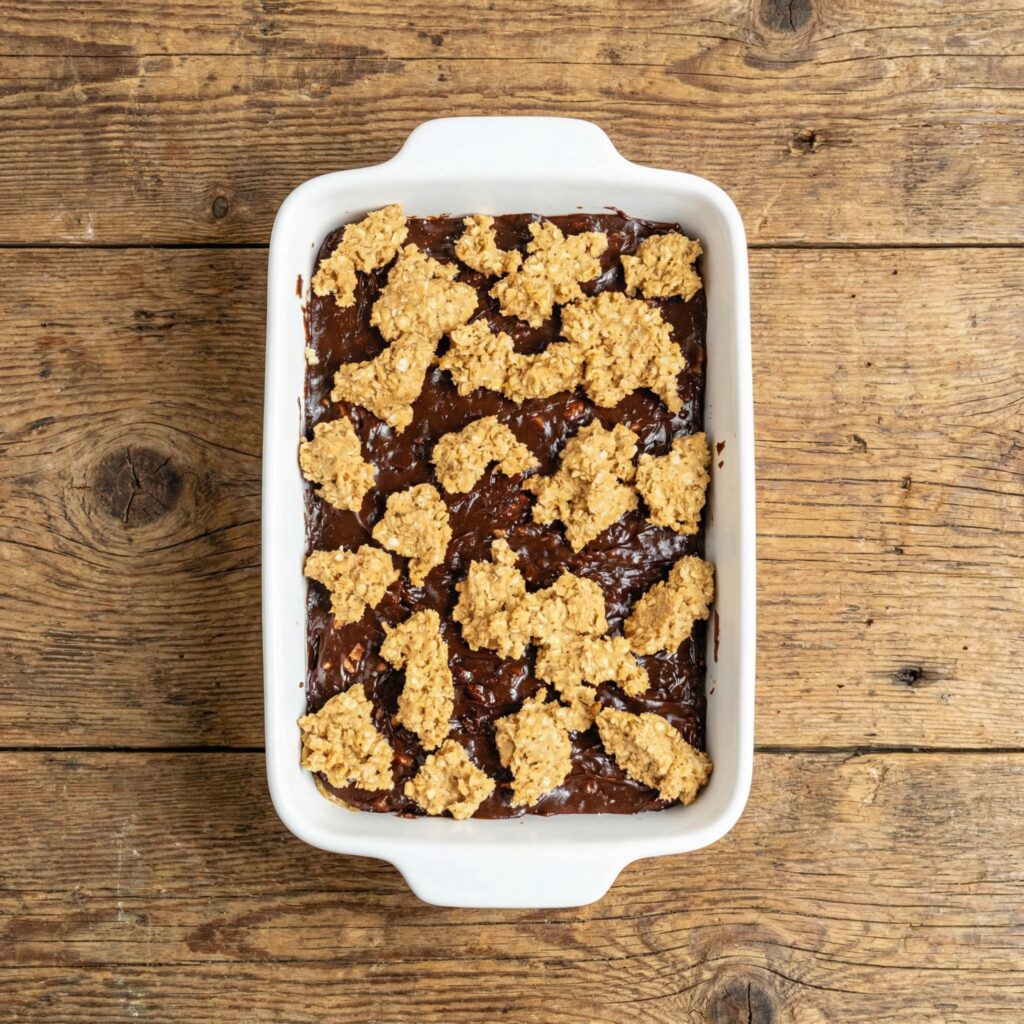
    Step 9: Add the Oatmeal Topping

    Crumble the remaining oatmeal dough evenly over the chocolate layer. Don’t worry about covering every inch—the chocolate peeking through creates that classic rustic look.

    Step 10: Bake to Perfection

    Bake in the preheated oven for 25–30 minutes, or until the top is lightly golden brown and set.

    The center may still look slightly soft, but it will firm up as it cools.

    Avoid overbaking, as this can dry out the bars.


    Step 11: Cool Completely

    Remove the pan from the oven and allow the bars to cool completely in the pan.

    This step is crucial—cutting them too early can cause the chocolate layer to ooze and fall apart.

    For clean slices, refrigerate the cooled bars for 1–2 hours before cutting.


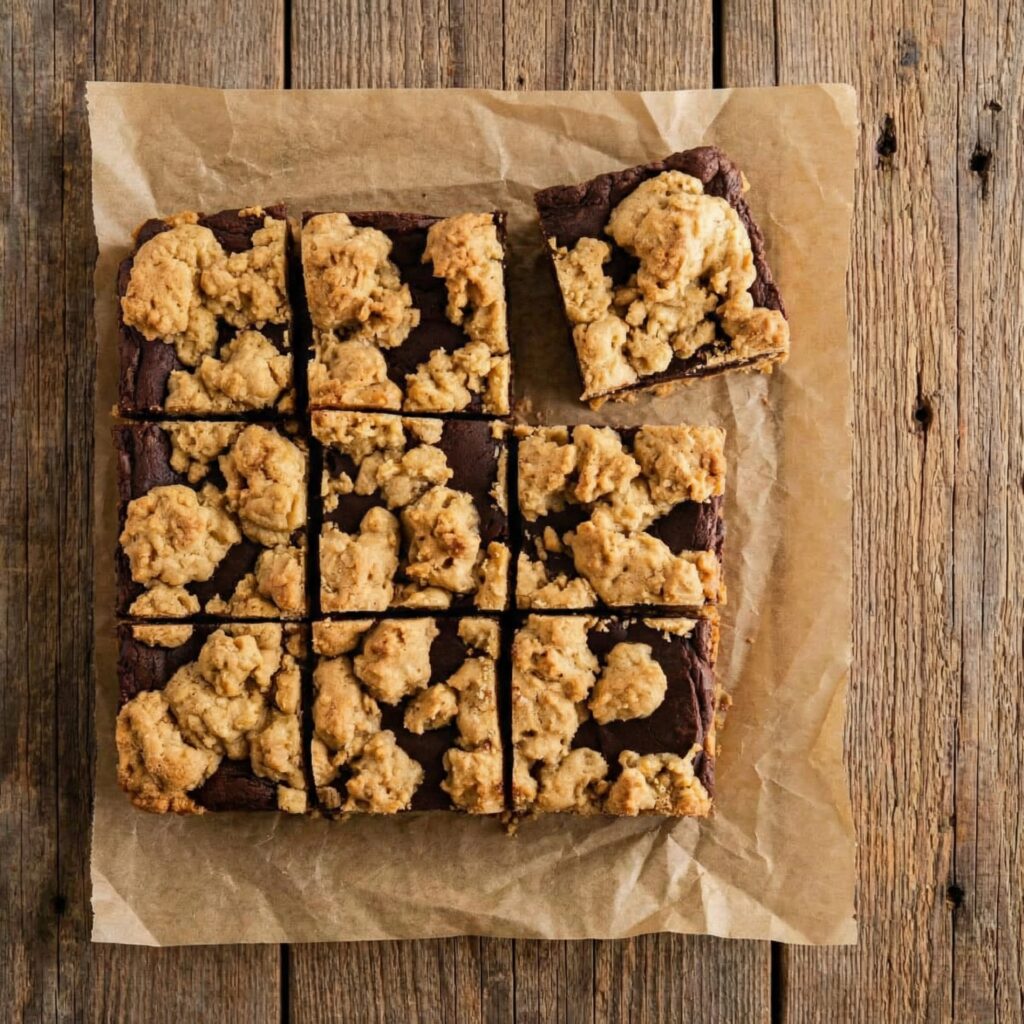
    Step 12: Slice and Serve

    Use the parchment overhang to lift the bars out of the pan. With a sharp knife, cut into squares or rectangles.

    Wipe the knife clean between cuts for neat edges.

    Serve at room temperature for the perfect balance of chewy oatmeal and fudgy chocolate.

    Tips for Perfect Revel Bars

    1. Use old-fashioned oats, not quick oats, for the best texture.
    2. Line the pan with parchment for easy removal.
    3. Don’t overbake—slightly soft centers ensure a fudgy filling.
    4. Chill before slicing for cleaner cuts.
    5. Add chopped nuts like walnuts or pecans for extra crunch if desired.

    Storage and Freezing

    • Store Revel Bars in an airtight container at room temperature for up to 4 days.
    • Refrigerate for a firmer texture and longer freshness.
    • Freeze individually wrapped bars for up to 3 months. Thaw at room temperature before serving.
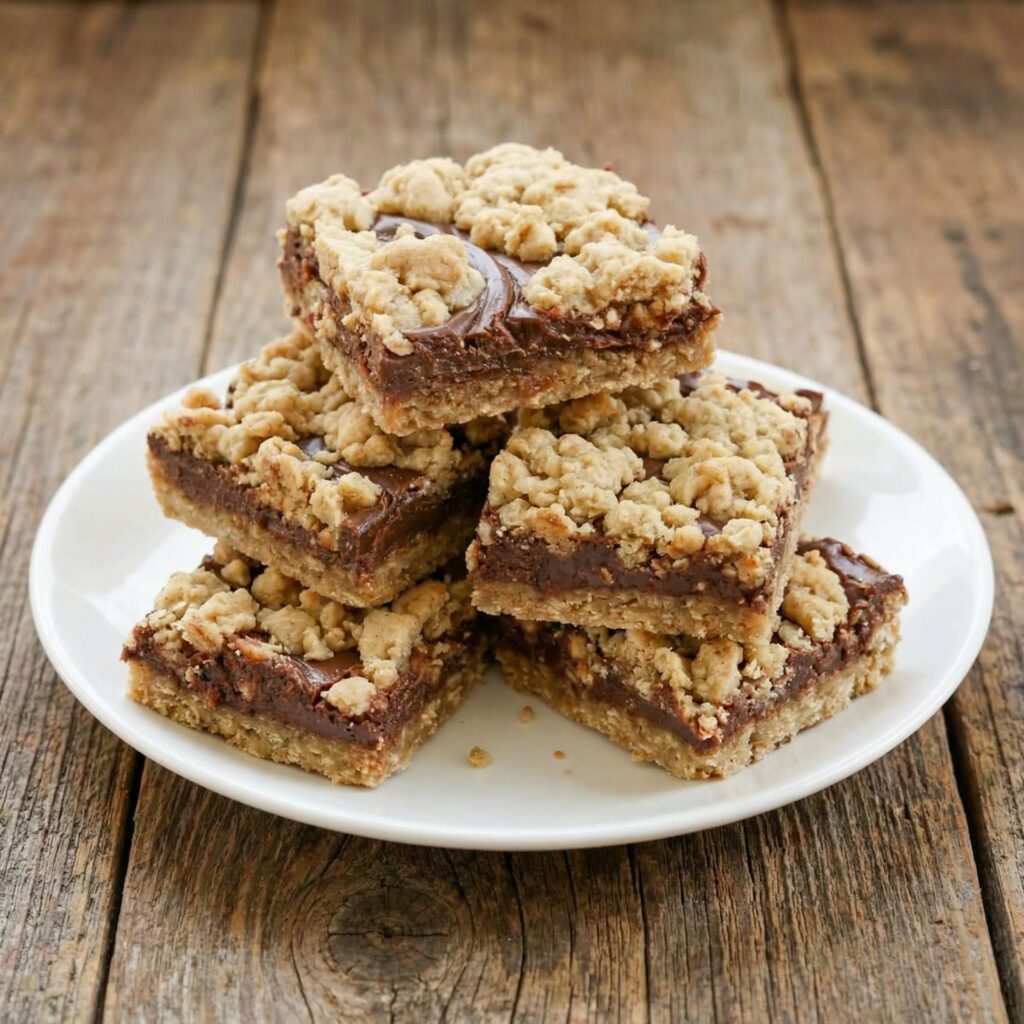
    Revel Bars are the perfect combination of nostalgic comfort and indulgent flavor.

    The chewy oatmeal layers contrast beautifully with the rich chocolate center, creating a dessert that feels both homey and decadent. Whether you’re baking for a gathering or simply satisfying a chocolate craving, these bars deliver every time.

    Once you try homemade Revel Bars, you’ll understand why this classic recipe has stood the test of time. With simple ingredients and easy steps, you can create a batch of irresistible bars that disappear almost as quickly as they cool.

  • Decadent & Delicate: How to Make Perfect Chocolate Macarons from Scratch

    Decadent & Delicate: How to Make Perfect Chocolate Macarons from Scratch

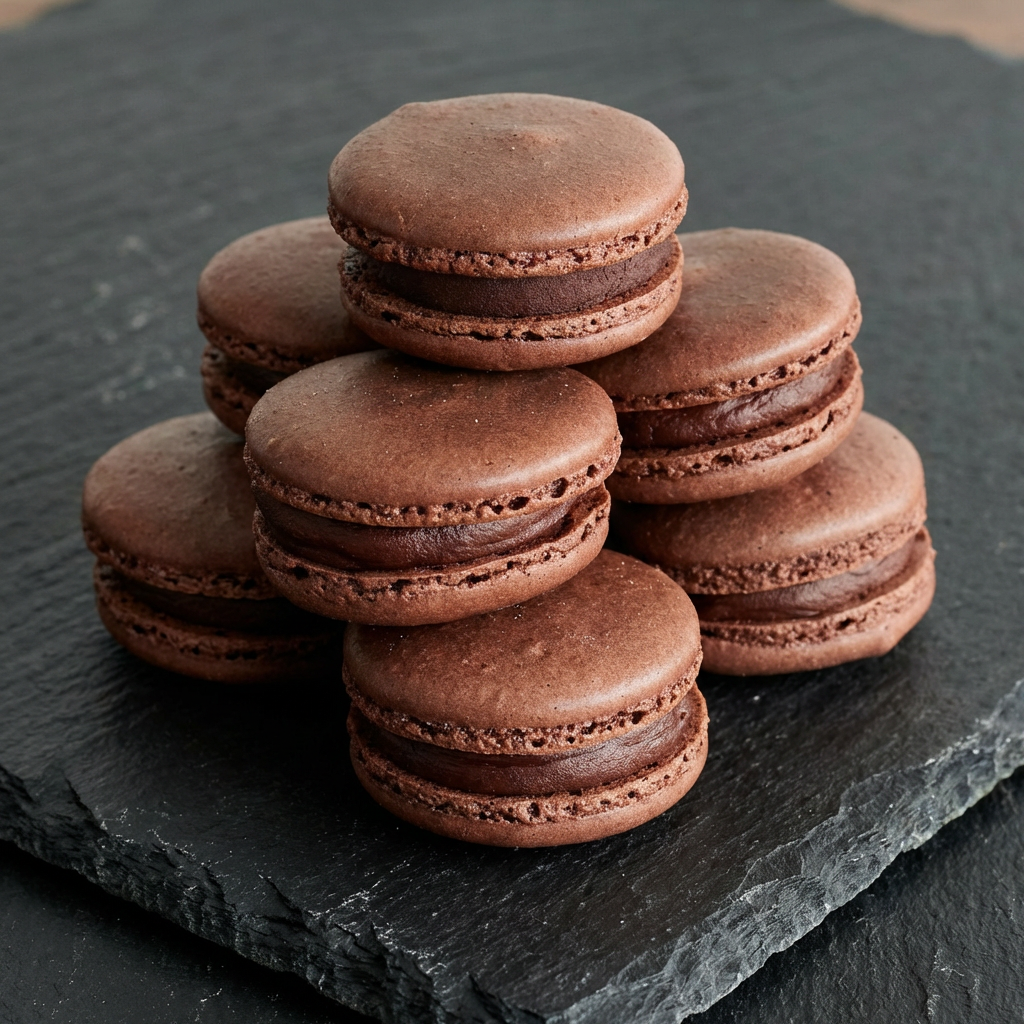
    Chocolate macarons are the ultimate show-stopping treat—crisp on the outside, chewy in the center, and filled with luscious chocolate ganache.

    These elegant French sandwich cookies may seem intimidating, but with careful technique and attention to detail, you can absolutely master them at home.

    This step-by-step guide will walk you through everything you need to know to create beautiful, bakery-style chocolate macarons with smooth tops, ruffled “feet,” and rich chocolate flavor in every bite.


    Ingredients You’ll Need

    For the Chocolate Macaron Shells:

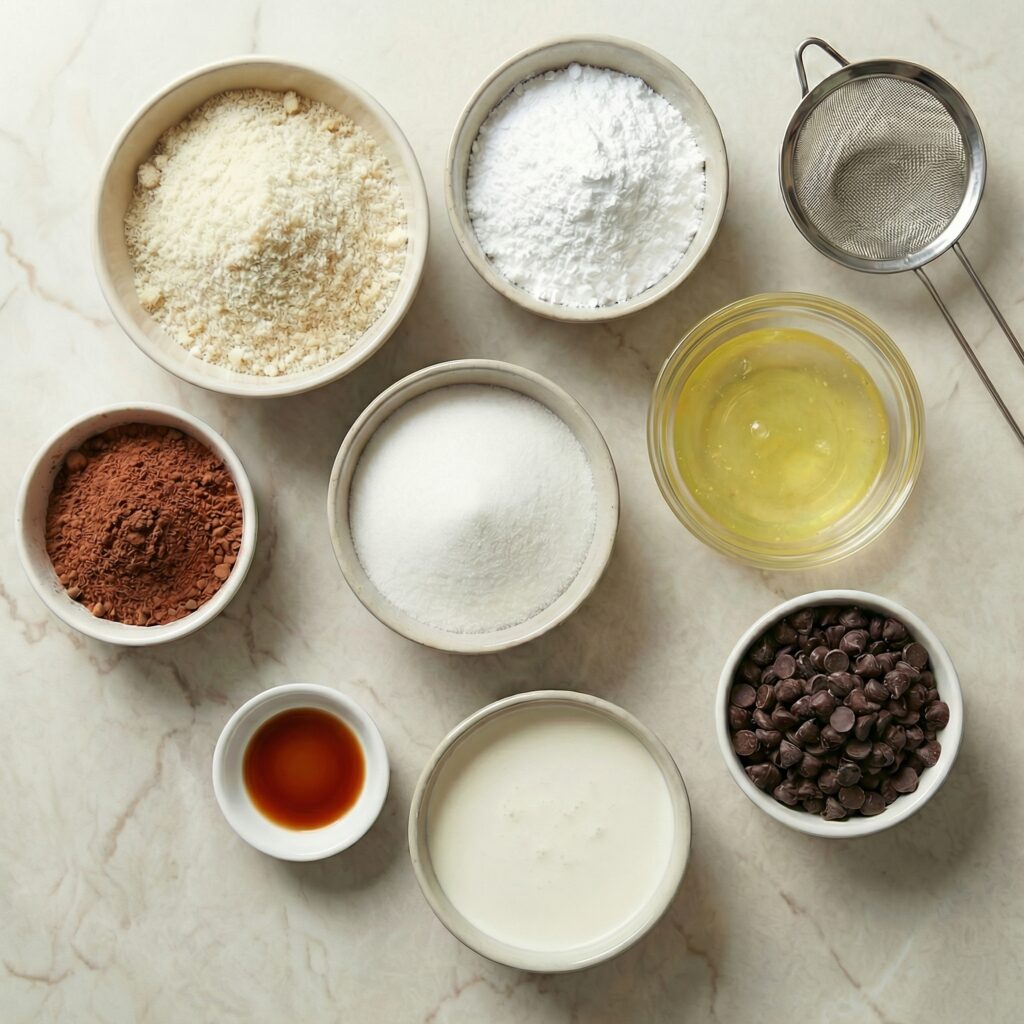
    • 1 cup (100g) almond flour, finely sifted
    • 1 ¾ cups (200g) powdered sugar
    • 2 tablespoons unsweetened cocoa powder
    • 3 large egg whites (room temperature)
    • ¼ cup (50g) granulated sugar
    • ¼ teaspoon cream of tartar (optional, stabilizes meringue)
    • ½ teaspoon vanilla extract

    For the Chocolate Ganache Filling:

    • ¾ cup (120g) semi-sweet chocolate chips or chopped chocolate
    • ½ cup (120ml) heavy cream
    • 1 tablespoon unsalted butter (optional, for shine)

    Step 1: Prepare Your Workspace

    Macarons require precision. Line two baking sheets with parchment paper or silicone mats.

    If you want evenly sized macarons, place a printed template underneath the parchment as a guide.

    Make sure your mixing bowls and beaters are completely clean and grease-free—any oil can prevent the egg whites from whipping properly.


    Step 2: Sift the Dry Ingredients

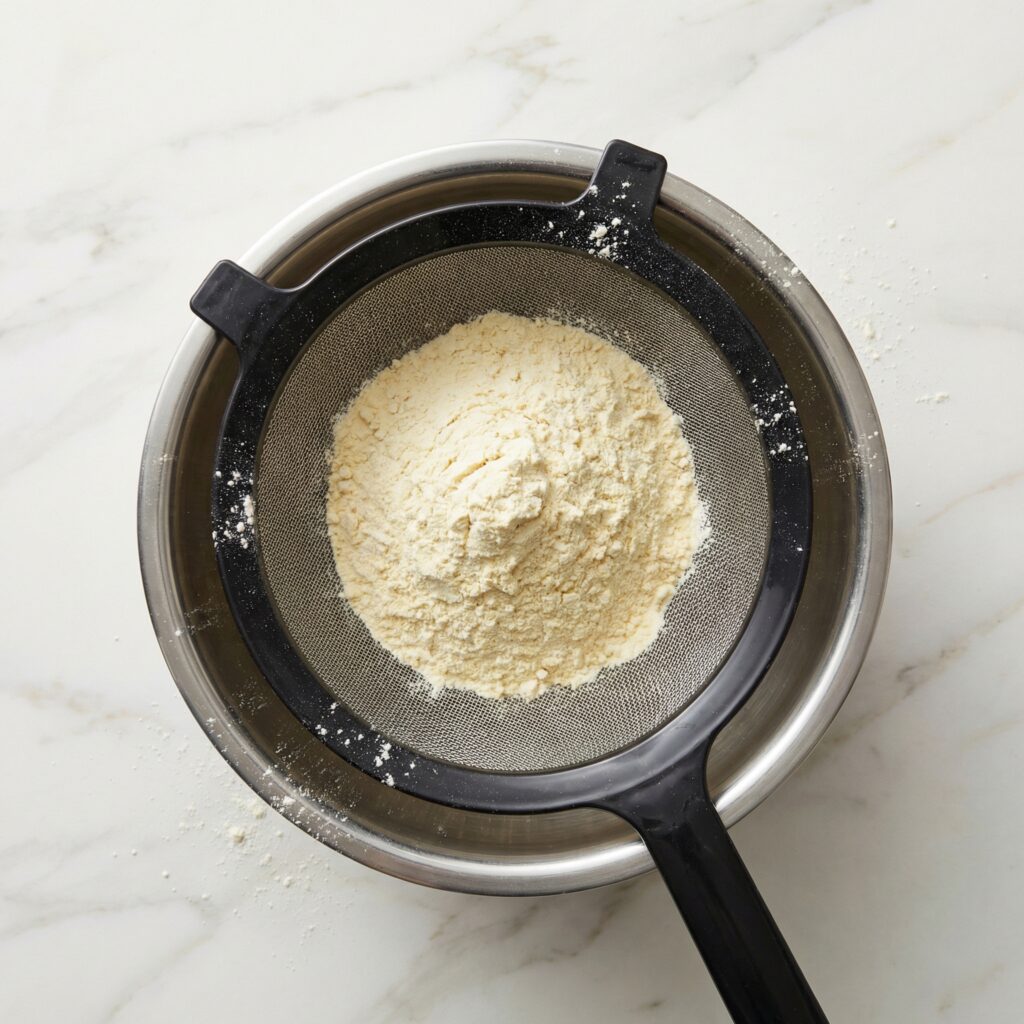
    In a large bowl, sift together the almond flour, powdered sugar, and cocoa powder.

    Sifting is crucial to remove lumps and ensure smooth macaron shells. If needed, pulse the mixture briefly in a food processor before sifting to achieve a fine texture.

    Set aside while you prepare the meringue.


    Step 3: Make the Meringue

    In a clean mixing bowl, beat the room-temperature egg whites on medium speed until foamy. Add the cream of tartar if using. Gradually sprinkle in the granulated sugar while continuing to beat.

    Increase the speed to medium-high and whip until stiff, glossy peaks form. The meringue should hold its shape firmly when you lift the beaters. Add vanilla extract and mix briefly to combine.


    Step 4: The Macaronage (Folding Process)

    Add the sifted dry ingredients to the meringue in two additions. Using a silicone spatula, gently fold the mixture by sweeping around the bowl and cutting through the center. Rotate the bowl as you fold.

    This step—called macaronage—is critical. The batter should flow slowly like lava when lifted with a spatula. If it’s too thick, the shells will be lumpy; if overmixed, they will spread too much. Aim for a smooth, glossy batter that forms ribbons and settles back into itself within 10–15 seconds.


    Step 5: Pipe the Macarons

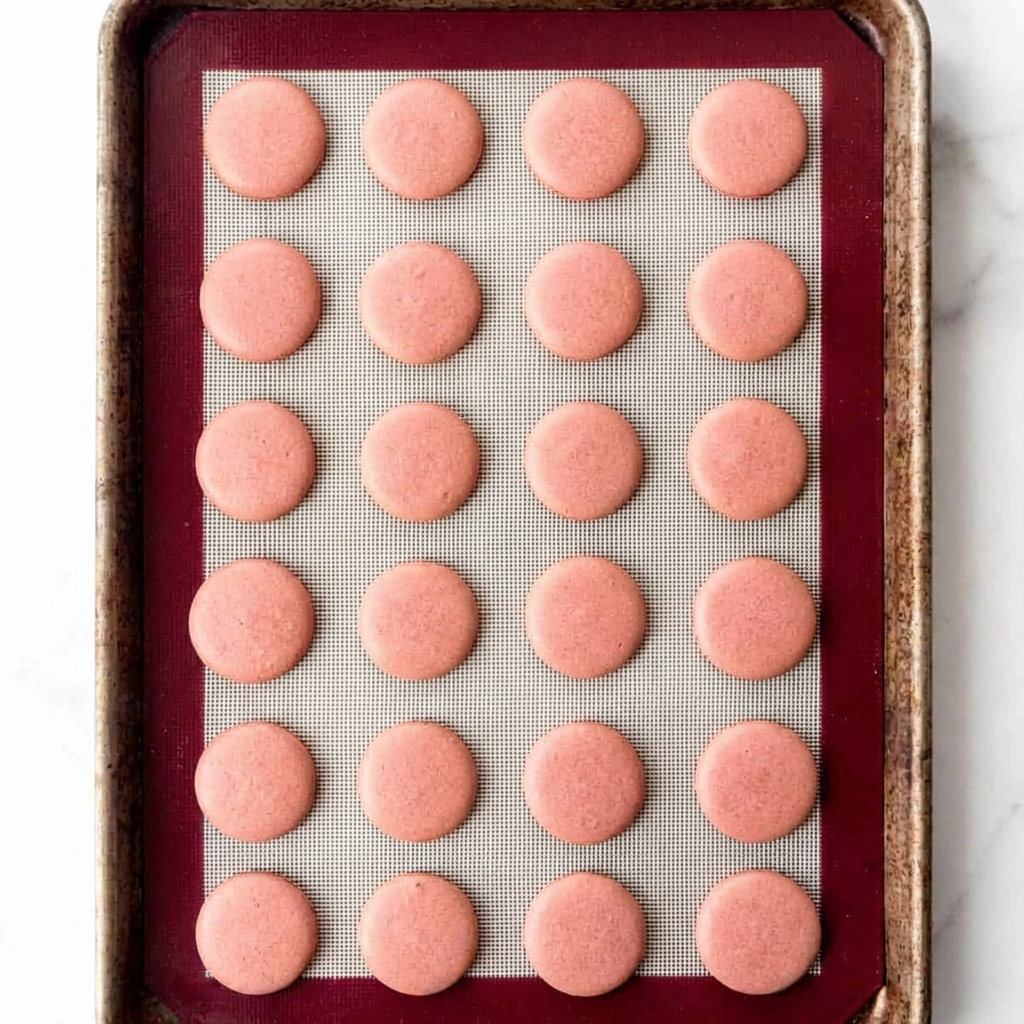
    Transfer the batter to a piping bag fitted with a round tip. Hold the bag vertically and pipe small, even circles onto the prepared baking sheets. Leave space between each macaron.

    Once piped, tap the baking sheets firmly on the counter several times to release air bubbles. Use a toothpick to pop any visible bubbles on the surface.


    Step 6: Rest the Shells

    Allow the piped macarons to rest at room temperature for 30–60 minutes, or until a thin skin forms on the surface. Gently touch the tops—if the batter doesn’t stick to your finger, they are ready to bake.

    This resting period helps develop the iconic “feet” at the base of each macaron.


    Step 7: Bake to Perfection

    Preheat your oven to 300°F (150°C). Bake one tray at a time on the center rack for 15–18 minutes. The macarons are done when they have risen with visible feet and do not wobble when gently touched.

    Remove from the oven and allow them to cool completely before attempting to remove them from the parchment. Trying to lift them too early may cause sticking.


    Step 8: Make the Chocolate Ganache

    While the shells cool, heat the heavy cream in a small saucepan until just simmering (do not boil). Pour the hot cream over the chopped chocolate in a heatproof bowl. Let sit for 1–2 minutes, then stir until smooth and glossy.

    Add butter if desired for extra shine and richness. Let the ganache cool until thick enough to pipe.


    Step 9: Assemble the Macarons

    Match similar-sized shells together. Pipe a small amount of ganache onto the flat side of one shell, then gently press another shell on top to form a sandwich.

    Repeat with remaining shells and filling.


    Step 10: Mature for Best Flavor

    For the best texture and flavor, place the assembled macarons in an airtight container and refrigerate for 24 hours. This resting period allows the filling to soften the shells slightly, creating the perfect chewy center.

    Bring to room temperature before serving.


    Tips for Perfect Chocolate Macarons

    1. Weigh your ingredients for accuracy. Macarons are sensitive to measurement errors.
    2. Avoid humidity—moist air can affect how shells dry and bake.
    3. Don’t skip resting time—it’s essential for developing feet.
    4. Use room-temperature egg whites for better volume.
    5. Practice patience—macarons improve with experience.

    Storage

    • Store filled macarons in the refrigerator for up to 5 days.
    • Freeze for up to 1 month in an airtight container. Thaw in the refrigerator before serving.

    Chocolate macarons are delicate, elegant, and deeply satisfying. With crisp shells, chewy centers, and silky ganache filling, they strike the perfect balance between texture and flavor.

    While they require attention to detail, the reward is a tray of bakery-worthy treats that look as stunning as they taste.

    Once you master these Chocolate Macarons, you’ll feel confident experimenting with flavors, fillings, and colors—turning your kitchen into your very own French pâtisserie.