Tag: chocolate layer cake

  • Black Forest Cake (Chocolate, Cherries, and Cloud of Cream)

    Black Forest Cake (Chocolate, Cherries, and Cloud of Cream)

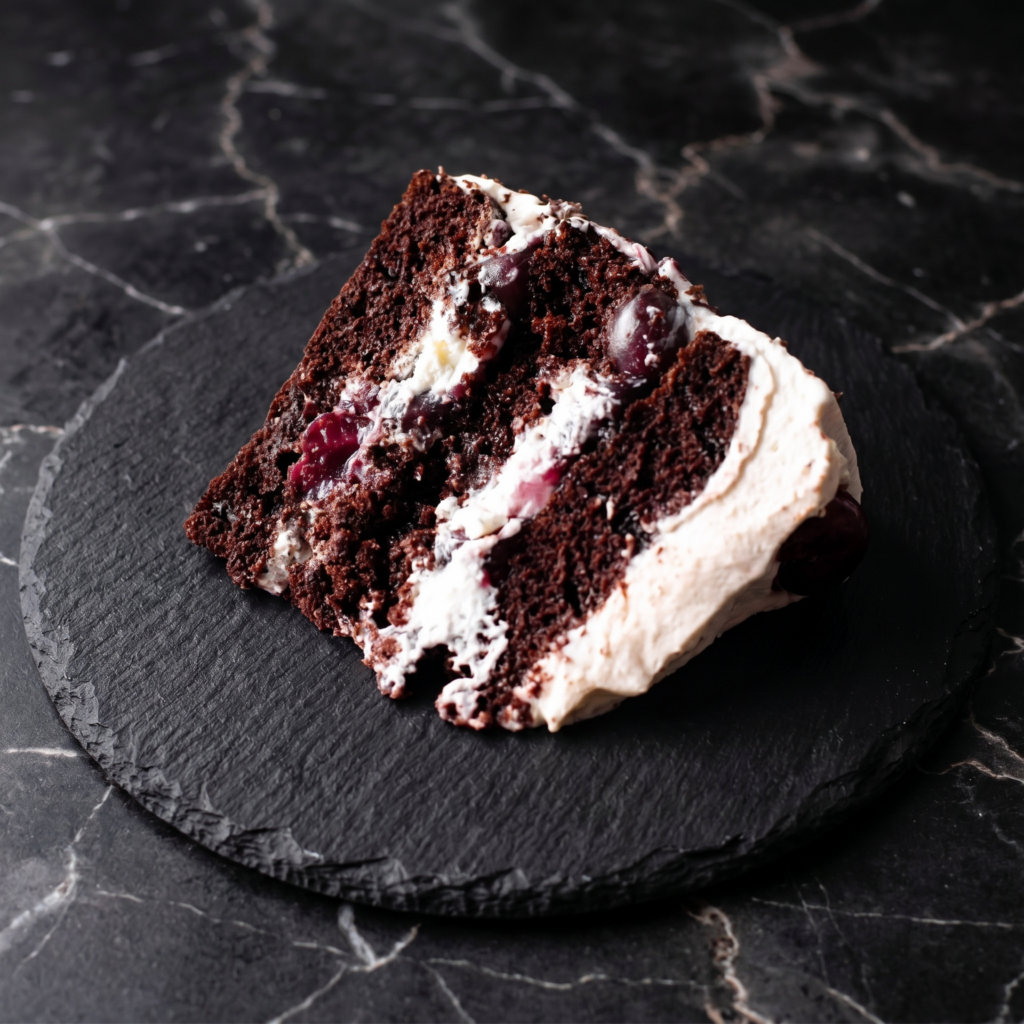
    Let’s talk about the cake that never goes out of style. Black Forest cake—with its rich chocolate layers, tart cherries, and billowy clouds of whipped cream—is a German classic for a reason. It’s elegant, indulgent, and absolutely unforgettable.

    The combination of deep chocolate, bright cherries, and light, airy cream is pure perfection. Whether you’re celebrating a birthday, an anniversary, or just the fact that you made it through the week, this cake delivers. Yes, it has multiple components. Yes, it’s worth every minute. Let’s make some magic.

    Ingredients
    For the Chocolate Cake (Makes 2 8-inch or 9-inch layers):

    • 1 ¾ cups (220g) all-purpose flour
    • 2 cups (400g) granulated sugar
    • ¾ cup (75g) unsweetened cocoa powder
    • 2 teaspoons baking soda
    • 1 teaspoon baking powder
    • 1 teaspoon salt
    • 2 large eggs, at room temperature
    • 1 cup (240ml) buttermilk, at room temperature
    • 1 cup (240ml) hot coffee (or hot water)
    • ½ cup (120ml) vegetable oil
    • 2 teaspoons vanilla extract

    For the Cherry Filling:

    • 2 cups (about 400g) pitted sour cherries (fresh, frozen, or canned in syrup)
    • ¼ cup (50g) granulated sugar
    • 2 tablespoons cornstarch mixed with 2 tablespoons water (slurry)
    • 2 tablespoons kirsch (cherry brandy) or cherry juice

    For the Whipped Cream:

    • 2 cups (480ml) heavy whipping cream, very cold
    • ¼ cup (30g) powdered sugar
    • 1 teaspoon vanilla extract
    • 1 teaspoon kirsch (optional)
    • 1 teaspoon unflavored gelatin (optional, for stability)

    For Assembly and Garnish:

    • Chocolate shavings or curls
    • Maraschino cherries with stems
    • Additional kirsch for brushing cake layers

    Instructions

    1. Make the Chocolate Cake: Preheat oven to 350°F (175°C). Grease two 8-inch or 9-inch round cake pans, line with parchment, and flour lightly. In a large bowl, whisk together flour, sugar, cocoa, baking soda, baking powder, and salt.

    Add eggs, buttermilk, hot coffee, oil, and vanilla. Beat on medium speed for 2 minutes. The batter will be thin. Pour into prepared pans and bake for 30-35 minutes (8-inch) or 25-30 minutes (9-inch) until a toothpick comes out clean. Cool completely.

    2. Make the Cherry Filling: In a medium saucepan, combine the cherries and sugar. Cook over medium heat until the cherries release their juices, about 5-7 minutes. Stir in the cornstarch slurry and cook for another 1-2 minutes until thickened. Remove from heat, stir in the kirsch, and let cool completely.

    3. Make the Whipped Cream: If using gelatin for stability, sprinkle it over 2 tablespoons cold water and let bloom for 5 minutes, then gently warm until dissolved and let cool slightly. In a large chilled bowl, beat the heavy cream, powdered sugar, vanilla, and kirsch (if using) until soft peaks form. If using gelatin, slowly drizzle it in while beating, then continue beating until stiff peaks form.

    4. Level the Cakes: Using a serrated knife, level the tops of the cooled chocolate cakes. Slice each layer in half horizontally to create 4 thin layers.

    5. Assemble the Cake: Place one cake layer on a serving plate. Brush lightly with kirsch. Spread a layer of cherry filling over the cake, then a layer of whipped cream. Top with another cake layer and repeat, ending with a cake layer on top.

    6. Crumb Coat and Chill: Apply a thin layer of whipped cream all over the cake. Refrigerate for 30 minutes.

    7. Final Frosting: Frost the cake with the remaining whipped cream, smoothing the sides and top.

    8. Decorate: Press chocolate shavings onto the sides of the cake. Pipe whipped cream rosettes on top and garnish with maraschino cherries. Dust with cocoa powder if desired.

    9. Chill: Refrigerate for at least 2 hours before serving to set.

    10. Slice and Serve: Slice with a sharp knife wiped clean between cuts. Serve chilled.

    11. Store: Store in an airtight container in the refrigerator for up to 3 days.

    Pro-Tips for Black Forest Cake Greatness

    • Use Sour Cherries: Their tartness balances the sweetness of the cake and cream. Sweet cherries won’t give you that classic flavor
    • Don’t Skip the Kirsch: It adds authentic Black Forest flavor. If you prefer non-alcoholic, use cherry juice
    • Stabilize the Whipped Cream: A little gelatin helps the cream hold up between layers, especially in warm weather
    • Chill Between Layers: Let each layer set before adding the next for clean, distinct layers
    • Use Chocolate Shavings, Not Sprinkles: Real chocolate shavings add elegance and flavor
  • Ultimate Devil’s Food Cake with Chocolate Frosting

    Ultimate Devil’s Food Cake with Chocolate Frosting

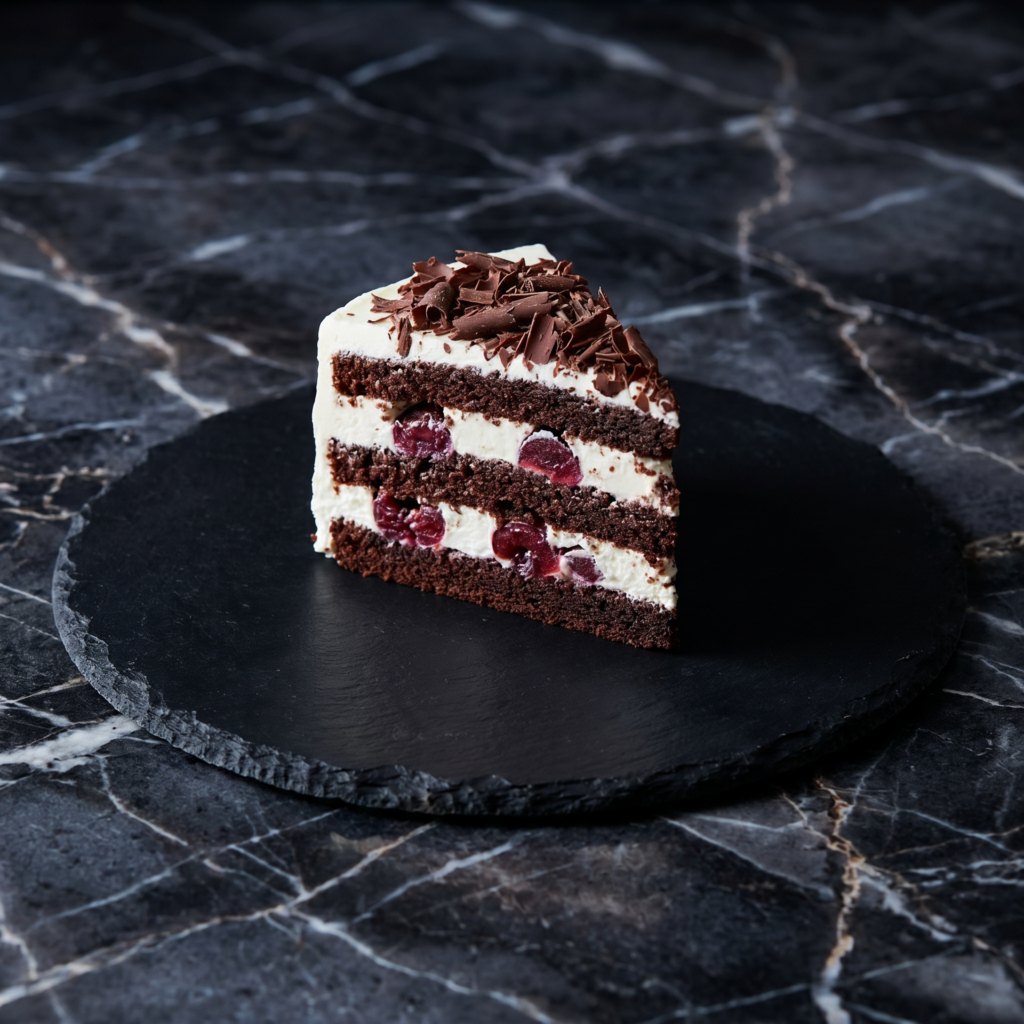
    This is the chocolate cake of all chocolate cakes. Devil’s food is defined by its deep, almost reddish-brown color, supremely moist and tender crumb, and intense chocolate flavor achieved by using both cocoa powder and melted dark chocolate.

    Paired with a tangy, silky chocolate sour cream frosting that cuts through the richness, this cake is a show-stopping, decadent masterpiece perfect for any celebration where only the deepest chocolate will do.

    The Science of Deep Color & Extreme Moistness

    What separates devil’s food from other chocolate cakes is its unique pH balance and moisture content. The recipe uses a combination of natural cocoa powder (which is acidic) and baking soda.

    When combined with a hot liquid like coffee, this creates a chemical reaction that deepens the cake’s color to a rich mahogany and tenderizes the crumb dramatically.

    Additionally, using oil instead of butter and incorporating buttermilk or sour cream ensures the cake stays incredibly moist for days. The melted chocolate in the batter adds fat and cocoa solids for a more complex, fudgy flavor than cocoa powder alone can provide.

    Ingredients

    For the Devil’s Food Cake:

    • 1 ¾ cups (219g) all-purpose flour
    • ¾ cup (75g) unsweetened natural cocoa powder
    • 2 teaspoons baking soda
    • 1 teaspoon baking powder
    • 1 teaspoon salt
    • 2 cups (400g) granulated sugar
    • 2 large eggs, room temperature
    • ½ cup (120ml) vegetable oil
    • 1 cup (240g) full-fat sour cream, room temperature
    • 2 teaspoons vanilla extract
    • 4 oz (115g) bittersweet chocolate, melted and slightly cooled
    • 1 cup (240ml) hot strong brewed coffee or hot water

    For the Chocolate Sour Cream Frosting:

    • 12 oz (340g) semi-sweet or bittersweet chocolate, finely chopped
    • 1 ½ cups (3 sticks / 340g) unsalted butter, softened
    • 1 cup (240g) full-fat sour cream, room temperature
    • 1 teaspoon vanilla extract
    • Pinch of salt
    • 3-4 cups (360-480g) confectioners’ sugar, sifted

    Instructions

    1. Bake the Cake Layers: Preheat oven to 350°F (175°C). Grease and flour three 8-inch round cake pans and line the bottoms with parchment. Sift flour, cocoa, baking soda, baking powder, and salt. In a large bowl, whisk sugar, eggs, and oil until combined. Whisk in sour cream and vanilla, then the melted chocolate.

    Alternately add the dry ingredients and hot coffee in three additions, beginning and ending with dry, mixing until just smooth (batter will be thin). Divide evenly among pans. Bake for 25-30 minutes until a toothpick comes out clean. Cool in pans 10 minutes, then turn out onto wire racks to cool completely.

    2. Make the Frosting Base: Melt the chopped chocolate in a heatproof bowl over simmering water or in short bursts in the microwave. Let cool until lukewarm.

    In a large bowl, beat the softened butter until creamy. Beat in the room-temperature sour cream, vanilla, and salt until combined (it may look curdled—this is okay). Beat in the lukewarm melted chocolate until smooth.

    3. Finish the Frosting: With the mixer on low, gradually add 3 cups of sifted confectioners’ sugar. Beat on medium-high for 2-3 minutes until very smooth, light, and spreadable. If too soft for piping, add more sugar, ¼ cup at a time. If too thick, add a teaspoon of milk.

    4. Assemble & Crumb Coat: Place one cake layer on a serving plate. Spread with about ¾ cup of frosting. Repeat with the second layer. Top with the third layer. Apply a thin layer of frosting over the entire cake to seal in crumbs. Refrigerate for 30 minutes to set.

    5. Frost the Cake: Use the remaining frosting to generously frost the top and sides of the chilled cake, creating a smooth finish. A bench scraper or offset spatula works best.

    6. Decorate & Serve: Decorate with chocolate shavings, curls, or a drizzle of melted chocolate. Let the cake sit at room temperature for at least 1 hour before slicing for the best texture. Store covered at room temperature for up to 2 days, or refrigerated for up to 5 days.

    Pro-Tips for the Ultimate Devil’s Food Cake

    • Use Natural Cocoa Powder: Do not substitute Dutch-process cocoa. The acid in natural cocoa is needed to react with the baking soda for the correct rise and color.
    • Room Temperature Ingredients: Eggs, sour cream, and butter for the frosting must be at room temperature to emulsify properly and prevent a greasy or lumpy texture.
    • Hot Coffee Enhances Flavor: The coffee intensifies the chocolate flavor without adding a coffee taste. You can use hot water, but coffee is highly recommended.
    • Thin Batter is Normal: Don’t be alarmed—the batter will be quite liquid. This contributes to the cake’s exceptional moisture.
    • Cool Cake Layers Completely: Frosting a warm cake is a recipe for sliding layers and melted frosting.
    • Frosting Consistency: The sour cream frosting is rich and tangy. If your kitchen is warm, chill the frosting for 15 minutes before the final coat for better spreadability.

    This Ultimate Devil’s Food Cake is a chocolate lover’s dream come true.