Tag: Chicken

  • Sizzling and Flavorful: How to Make Classic Kung Pao Chicken at Home

    Sizzling and Flavorful: How to Make Classic Kung Pao Chicken at Home

    Few dishes pack the perfect balance of heat, sweetness, and savory depth like Kung Pao Chicken.

    This classic Sichuan stir-fry combines tender chicken, crisp vegetables, and crunchy peanuts all coated in a flavorful, slightly spicy sauce that leaves your taste buds tingling.

    Making it at home is easier than you think, and the results are far superior to takeout, with fresh ingredients, vibrant textures, and bold flavors.

    This step-by-step guide will show you how to master Kung Pao Chicken from start to finish, ensuring every bite bursts with authentic taste.

    Whether you’re cooking for a weeknight dinner or impressing guests, this recipe delivers a flavorful punch with every bite.


    Why You’ll Love This Recipe

    • Quick and easy stir-fry, ready in under 30 minutes
    • Sweet, savory, and mildly spicy sauce
    • Crisp vegetables and crunchy peanuts for texture
    • Customizable spice level
    • Made with fresh ingredients, no mystery sauces

    Kung Pao Chicken is a perfect dish for anyone who loves bold, layered flavors without spending hours in the kitchen.
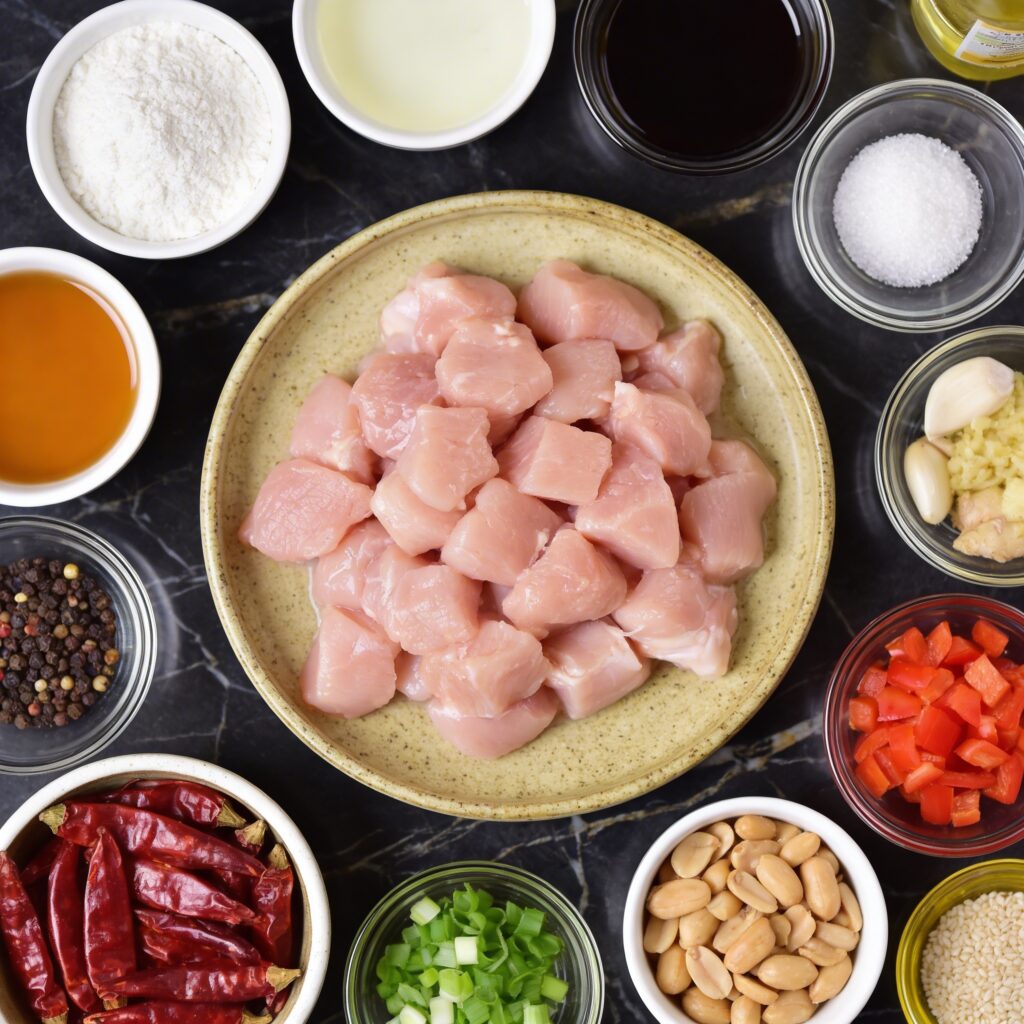

    Ingredients You’ll Need

    For the Chicken:

    • 1 pound boneless, skinless chicken thighs or breasts, cut into bite-sized pieces
    • 1 tablespoon soy sauce
    • 1 tablespoon Shaoxing wine (or dry sherry)
    • 1 teaspoon cornstarch
    • ½ teaspoon salt

    For the Sauce:

    • 3 tablespoons soy sauce
    • 1 tablespoon rice vinegar
    • 1 tablespoon hoisin sauce
    • 1 tablespoon sugar
    • 1 teaspoon sesame oil
    • 1 teaspoon cornstarch
    • 2 tablespoons water

    For the Stir-Fry:

    • 2 tablespoons vegetable oil
    • 8–10 dried red chilies, halved and seeds removed (adjust to taste)
    • 3 cloves garlic, minced
    • 1-inch piece ginger, minced
    • 4 green onions, chopped
    • 1 red bell pepper, diced
    • ½ cup unsalted roasted peanuts

    Optional for garnish: toasted sesame seeds


    Step 1: Marinate the Chicken

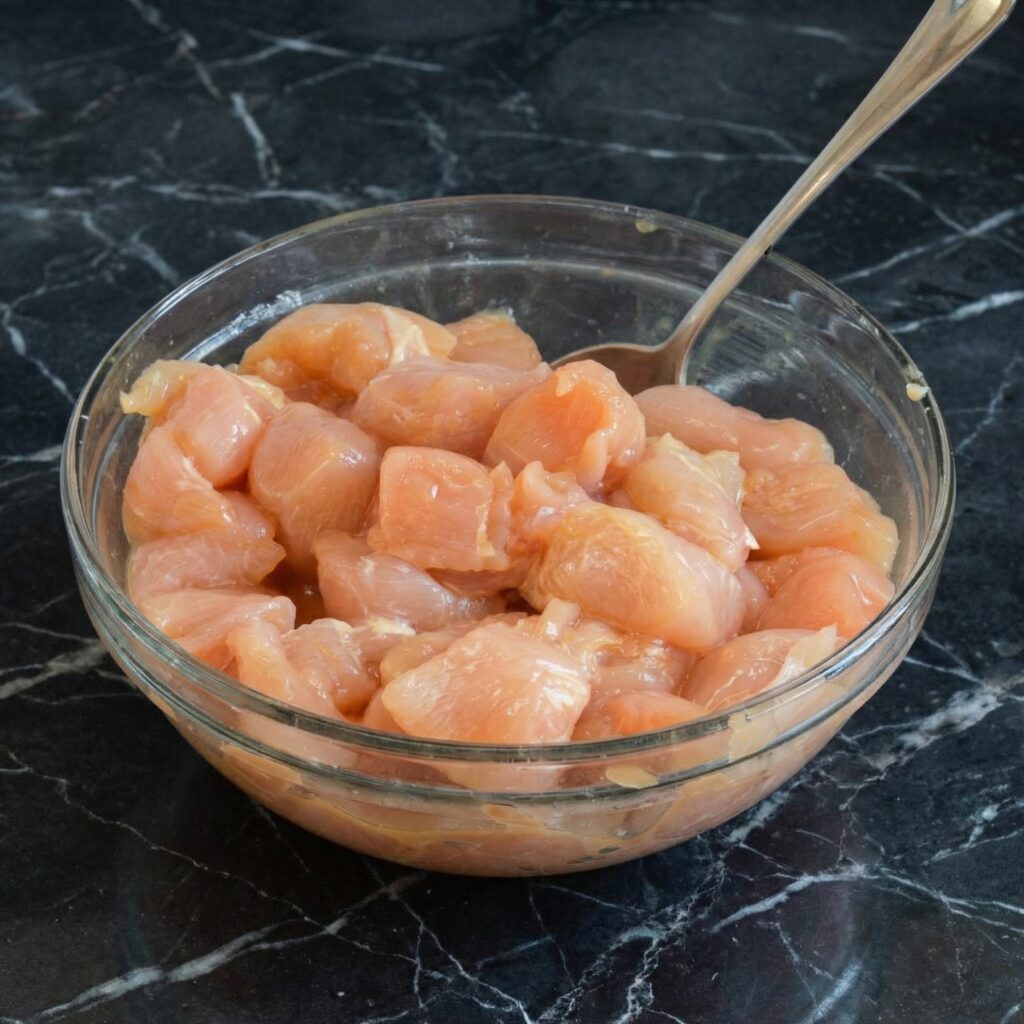
    In a medium bowl, combine chicken pieces with soy sauce, Shaoxing wine, cornstarch, and salt.

    Mix well and let it sit for at least 15 minutes.

    Marinating the chicken ensures tenderness and helps the cornstarch create a light coating when stir-fried, which allows the sauce to cling better.

    Step 2: Prepare the Sauce

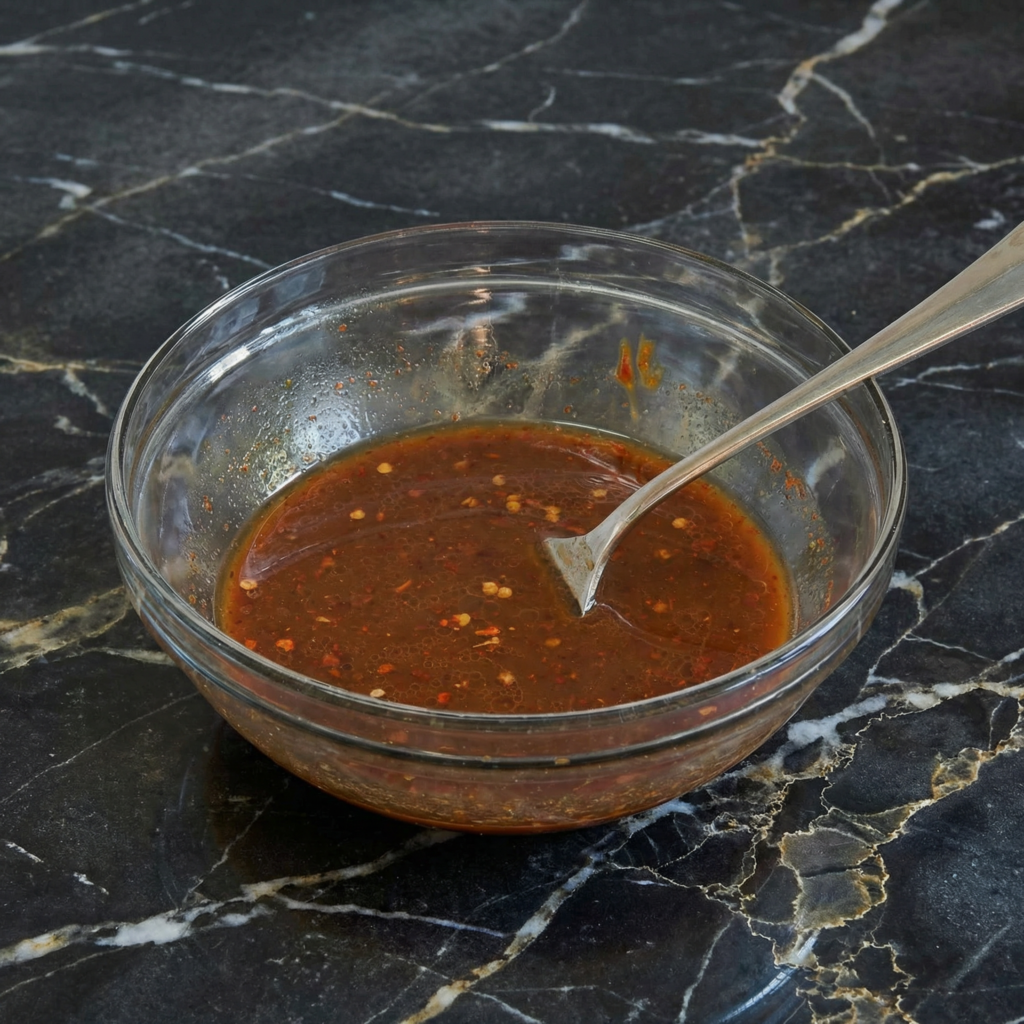
    In a small bowl, whisk together soy sauce, rice vinegar, hoisin sauce, sugar, sesame oil, cornstarch, and water until smooth.

    Set aside. This sauce will thicken quickly once added to the hot stir-fry.

    Step 3: Prep the Vegetables and Aromatics

    Dice the red bell pepper and chop green onions.

    Mince garlic and ginger finely.

    Remove seeds from dried red chilies if you prefer a milder dish.

    Having all ingredients prepped before cooking is essential, as stir-frying happens fast.


    Step 4: Stir-Fry the Chicken

    Heat a wok or large skillet over medium-high heat and add vegetable oil.

    Add the marinated chicken in a single layer.

    Cook for 3–4 minutes, stirring occasionally, until the chicken is lightly golden and almost cooked through.

    Remove chicken from the wok and set aside.

    This ensures the chicken stays tender and doesn’t overcook while you stir-fry the aromatics.


    Step 5: Toast the Dried Chilies and Aromatics

    In the same wok, add the dried red chilies and stir-fry for about 30 seconds until fragrant.

    Add garlic and ginger and stir-fry another 30 seconds, being careful not to burn them.

    The toasted chilies release their smoky, spicy aroma, which forms the foundation of the dish’s signature flavor.


    Step 6: Stir-Fry the Vegetables

    Add red bell pepper and the white parts of the green onions to the wok.

    Stir-fry for 2–3 minutes until the peppers are slightly tender but still crisp.

    Crisp vegetables add a vibrant texture contrast to the tender chicken and crunchy peanuts.


    Step 7: Combine Chicken and Sauce

    Return the cooked chicken to the wok.

    Give the prepared sauce a quick stir, then pour it over the chicken and vegetables.

    Stir continuously as the sauce thickens and coats every piece evenly, creating a glossy, flavorful finish.

    This step takes about 1–2 minutes, depending on the heat.


    Step 8: Add Peanuts and Green Onion Tops

    Add the roasted peanuts and the green parts of the onions.

    Toss everything together for another 30 seconds.

    The peanuts add crunch, while the green onion tops provide a fresh, aromatic finish.


    Step 9: Serve Immediately

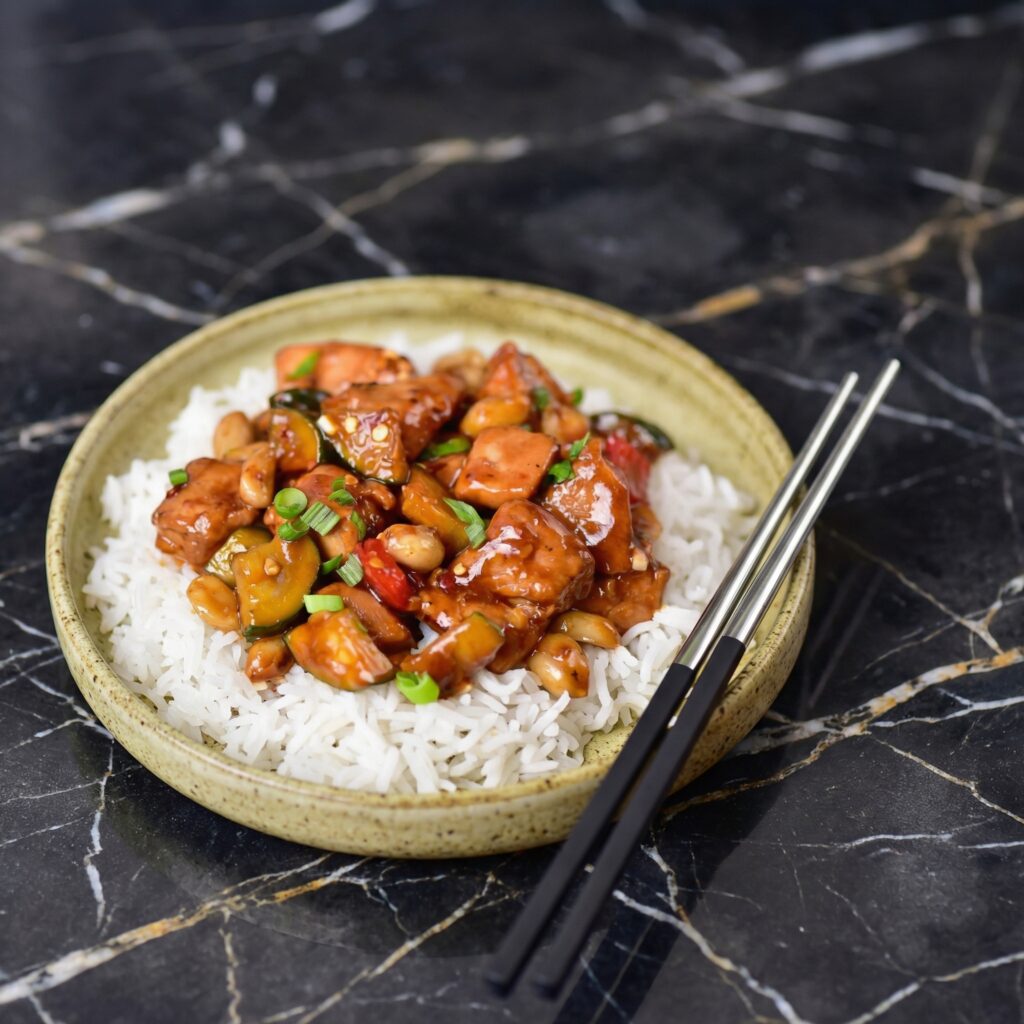
    Serve your Kung Pao Chicken hot over steamed jasmine rice or alongside fried rice.

    Optional garnishes include a sprinkle of toasted sesame seeds for extra texture and visual appeal.

    Enjoy the contrast of tender chicken, crisp vegetables, and nutty crunch coated in a rich, slightly spicy sauce.


    Tips for Perfect Kung Pao Chicken

    • Prep everything first: Stir-frying is fast, so ingredients must be ready.
    • Control the spice: Adjust the number of dried chilies to suit your heat tolerance.
    • Cook in batches if needed: Overcrowding the wok lowers the heat and leads to steaming rather than stir-frying.
    • Use high heat: This ensures quick cooking and helps vegetables stay crisp.
    • Toss quickly: Continuous stirring prevents burning and ensures even coating with the sauce.

    Attention to these details makes a huge difference in flavor and texture.


    Make-Ahead and Storage

    Leftovers can be stored in an airtight container in the refrigerator for up to 3 days.

    Reheat gently in a skillet over medium heat, adding a splash of water if the sauce has thickened too much.

    Avoid microwaving for long periods, which can soften vegetables and make the chicken less tender.


    Flavor Variations

    Once you’ve mastered the classic version, try these variations:

    • Swap peanuts for cashews for a slightly different texture
    • Add sliced zucchini or snow peas for extra veggies
    • Include a drizzle of chili oil for more heat
    • Replace chicken with shrimp or tofu for a protein twist

    Each variation maintains the core flavors while adding your personal touch.


    Final Thoughts

    Kung Pao Chicken is a perfect example of how simple ingredients and proper technique can create a dish bursting with flavor and texture.

    The combination of tender chicken, crisp vegetables, crunchy peanuts, and a spicy, savory sauce makes it a family favorite and a go-to weeknight meal.

    Cooking it at home allows you to balance spice, sweetness, and tang, delivering a more flavorful, fresher version than most takeout options.

    With this step-by-step guide, you’ll be able to create classic Kung Pao Chicken that’s crispy, aromatic, and utterly satisfying every time.

    Sizzling, flavorful, and perfectly balanced—this homemade Kung Pao Chicken will soon become a staple in your dinner rotation.
  • Bold, Smoky, and Bursting with Flavor: How to Make Tandoori Chicken Skewers at Home

    Bold, Smoky, and Bursting with Flavor: How to Make Tandoori Chicken Skewers at Home

    Few dishes capture the vibrant, aromatic flavors of Indian cuisine quite like Tandoori Chicken.

    These skewers feature juicy, marinated chicken infused with a rich blend of spices, yogurt, and citrus, then grilled to perfection until smoky and slightly charred. Perfect for a weeknight dinner, a summer barbecue, or a party appetizer, Tandoori Chicken Skewers are visually stunning, deeply flavorful, and surprisingly easy to make at home—no traditional tandoor oven required.

    This step-by-step guide will walk you through creating tender, flavorful skewers from scratch, including tips for marinating, grilling, and serving a dish that’s restaurant-quality yet home-friendly.


    Why You’ll Love Tandoori Chicken Skewers

    • Bold, smoky, and aromatic flavors
    • Juicy, tender chicken with a slightly charred exterior
    • Easy to prepare with simple ingredients
    • Works on grill, oven, or stovetop grill pan
    • Perfect for serving as a main, appetizer, or party dish

    The key is a marinade that balances yogurt, citrus, and traditional tandoori spices, which not only imparts flavor but also tenderizes the chicken for maximum juiciness.


    Ingredients You’ll Need

    For the Chicken:

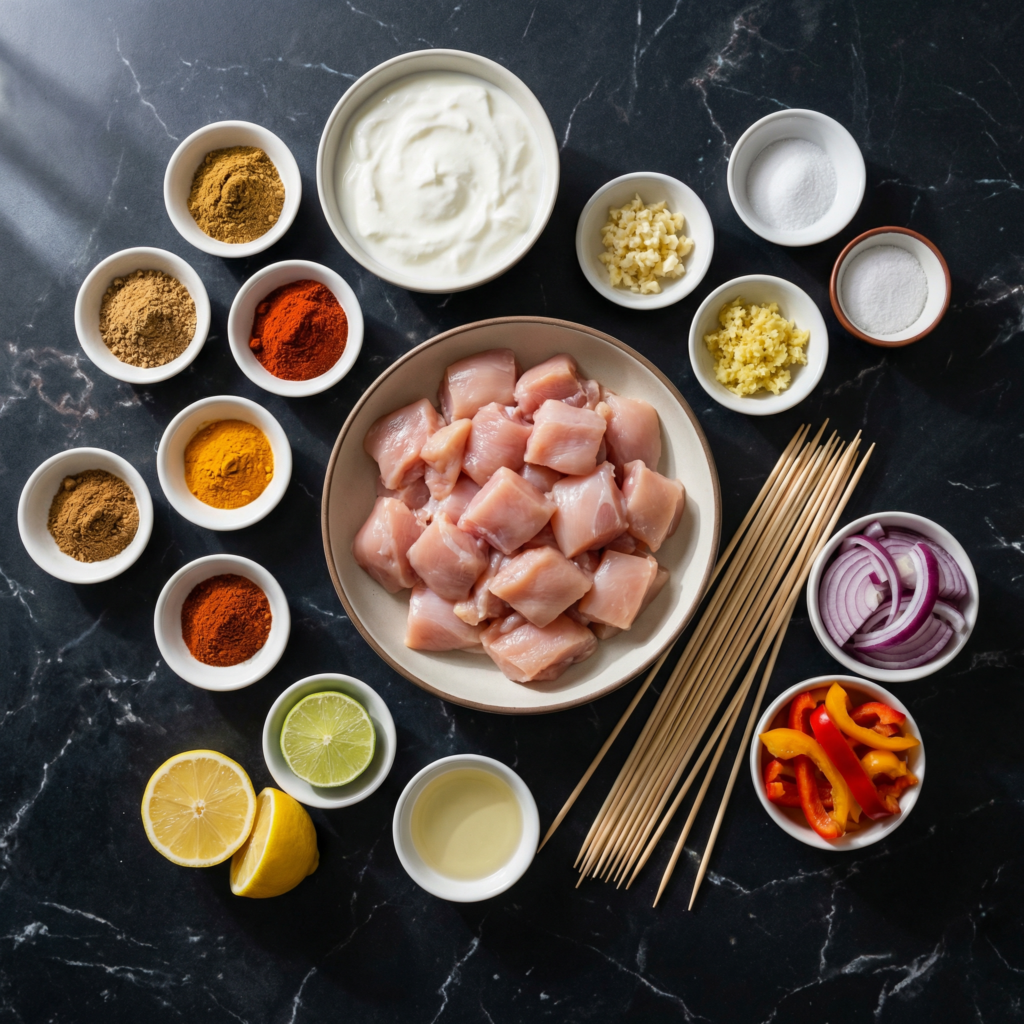
    • 1½ pounds boneless, skinless chicken thighs or breasts, cut into 1½-inch cubes
    • Wooden or metal skewers (soak wooden skewers in water for 15–20 minutes)

    For the Marinade:

    • ½ cup plain yogurt (Greek or regular)
    • 2 tablespoons lemon juice
    • 2 tablespoons vegetable oil
    • 2 tablespoons tandoori masala powder (store-bought or homemade)
    • 1 teaspoon ground cumin
    • 1 teaspoon smoked paprika
    • 1 teaspoon turmeric
    • 1 teaspoon chili powder (adjust to taste)
    • 3 garlic cloves, minced
    • 1-inch piece ginger, grated
    • 1 teaspoon salt

    For Serving:

    • Lemon wedges
    • Fresh cilantro
    • Sliced red onion
    • Optional: mint chutney or yogurt sauce

    Step 1: Prepare the Marinade

    In a medium bowl, combine yogurt, lemon juice, vegetable oil, tandoori masala, cumin, paprika, turmeric, chili powder, minced garlic, grated ginger, and salt.

    Whisk until smooth and aromatic. This vibrant mixture is the heart of your tandoori flavor.


    Step 2: Marinate the Chicken

    Add the cubed chicken to the marinade, ensuring each piece is fully coated.

    Cover and refrigerate for at least 2 hours, preferably 4–6 hours, or even overnight for maximum flavor and tenderness.

    Marinating allows the yogurt and citrus to tenderize the chicken while the spices infuse deep, smoky flavor.


    Step 3: Preheat Grill or Oven

    If using a grill, preheat to medium-high heat and lightly oil the grates.

    For oven-baking, preheat the oven to 425°F (220°C) and line a baking sheet with foil. Place a wire rack on top for even heat circulation.

    If cooking on a stovetop, preheat a grill pan over medium-high heat and lightly brush with oil.


    Step 4: Thread the Chicken onto Skewers

    Remove chicken from the marinade, letting excess drip off to prevent flare-ups on the grill.

    Thread the chicken cubes onto skewers, leaving a small gap between pieces to ensure even cooking and slight charring.


    Step 5: Cook the Skewers

    Grilling:

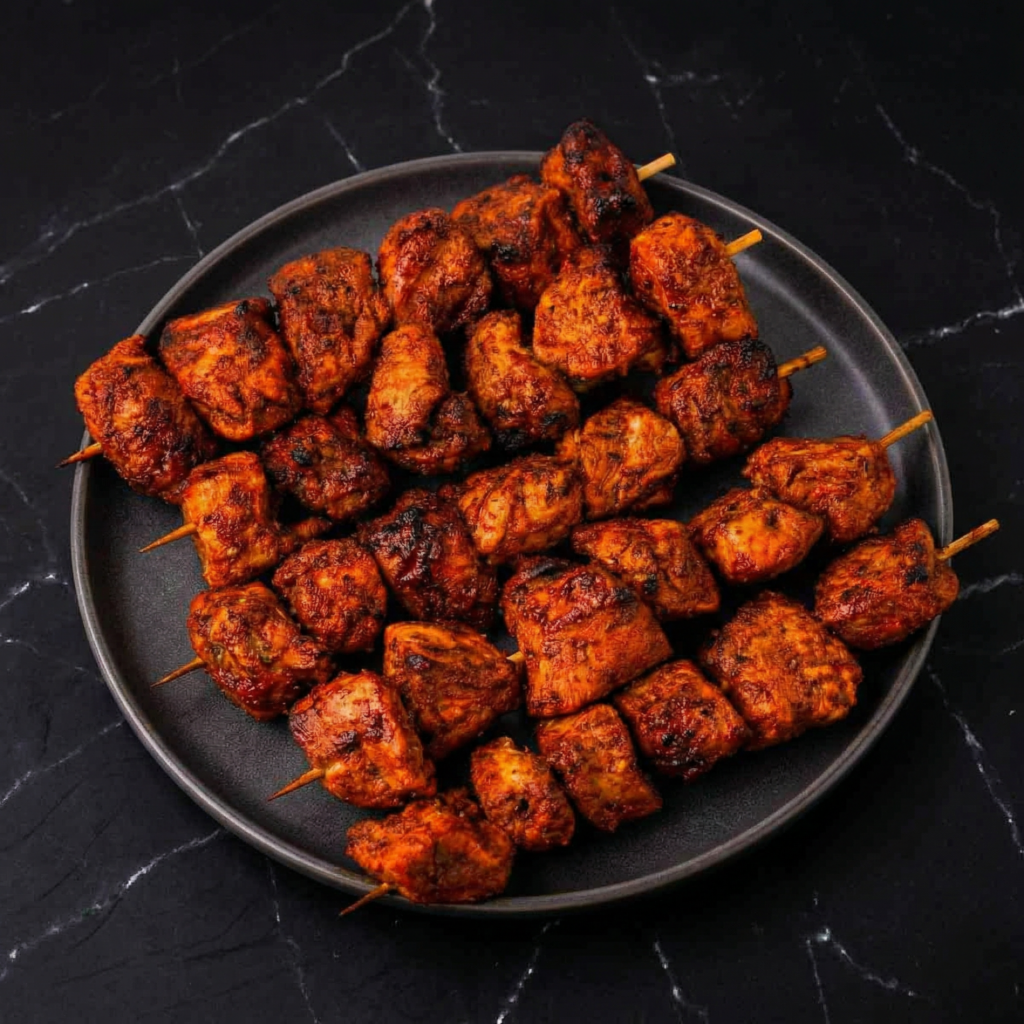
    Place skewers on the preheated grill. Cook for 10–12 minutes, turning every 2–3 minutes, until chicken is cooked through and lightly charred.

    Oven-Baking:

    Place skewers on the wire rack and bake for 12–15 minutes, flipping halfway through. For extra char, broil for 1–2 minutes at the end.

    Stovetop Grill Pan:

    Cook skewers over medium-high heat for 10–12 minutes, rotating frequently to ensure even browning.

    Check that the internal temperature reaches 165°F (74°C) for safe consumption.


    Step 6: Rest the Chicken

    Let the skewers rest for 3–5 minutes after cooking to allow juices to redistribute, keeping the chicken tender and moist.


    Step 7: Garnish and Serve

    Arrange skewers on a serving platter. Garnish with fresh cilantro, lemon wedges, and thinly sliced red onion for brightness.

    Optional: serve with mint chutney or a simple yogurt dip to complement the smoky, spiced chicken.

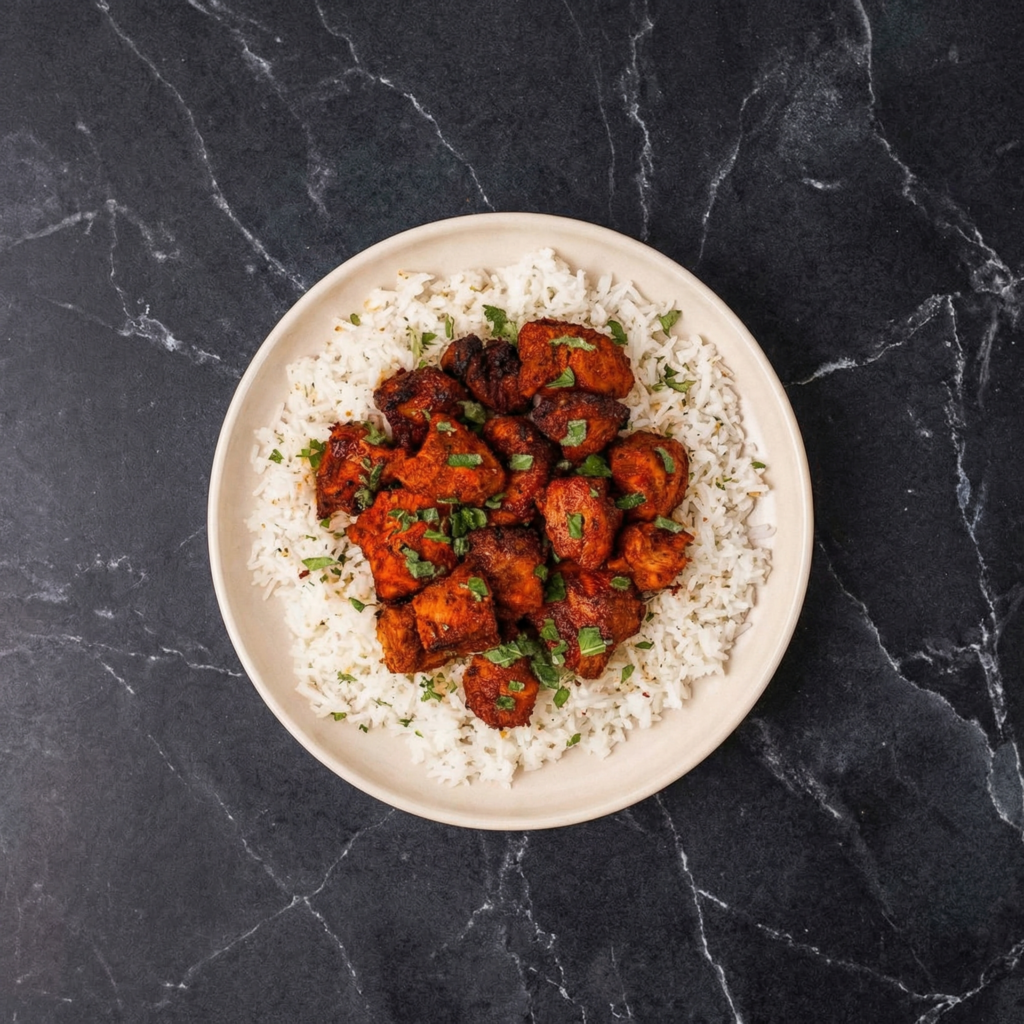
    These skewers are perfect alongside rice, naan, or in a lettuce wrap for a low-carb option.


    Flavor and Texture Highlights

    • Juicy, tender chicken with a smoky exterior
    • Bold, aromatic spices balanced by yogurt and citrus
    • Slightly charred edges for added depth of flavor
    • Fresh garnishes that add brightness and contrast

    Every bite combines complex flavors and satisfying textures, making Tandoori Chicken Skewers irresistible.


    Tips for Perfect Tandoori Chicken

    • Use thighs for juicier meat; breasts are leaner but require careful monitoring to avoid drying.
    • Marinate long for maximum tenderness and depth of flavor.
    • Thread skewers evenly to ensure consistent cooking.
    • Don’t overcrowd the grill or pan to allow proper caramelization.
    • Serve immediately for optimal texture and flavor.

    Optional Variations

    • Vegetable Skewers: Alternate chicken with bell peppers, onions, or zucchini.
    • Spicy Variation: Add extra chili powder or fresh chilies to the marinade.
    • Creamier Marinade: Stir in a little coconut milk for a richer flavor.
    • Sheet Pan Meal: Bake chicken and vegetables together for a simple one-pan dinner.

    Storage and Meal Prep

    • Marinated chicken can be stored in the refrigerator for up to 24 hours before cooking.
    • Cooked skewers can be refrigerated for 2–3 days and reheated gently in the oven or on a grill.
    • The marinade can also double as a dipping sauce if boiled for 1–2 minutes to ensure safety.

    Why This Recipe Works

    Tandoori Chicken Skewers are a perfect combination of smoky, spicy, and tangy flavors. Yogurt tenderizes the chicken, while the blend of spices creates depth and aroma. Cooking on skewers ensures even heat distribution and a visually appealing presentation.

    These skewers are versatile, easy to prepare, and full of bold flavors, making them perfect for weeknight dinners, parties, or outdoor grilling.


    With tender, juicy chicken, vibrant spices, and fresh garnishes, Tandoori Chicken Skewers bring the bold flavors of Indian cuisine straight to your home kitchen.

    They’re easy to make, fun to serve, and utterly satisfying—proof that a simple skewer can deliver extraordinary taste.

  • The Ultimate Fried Chicken Sandwich: Crispy, Juicy, and Worth the Mess

    The Ultimate Fried Chicken Sandwich: Crispy, Juicy, and Worth the Mess

    Few things hit harder than a perfectly made fried chicken sandwich. We’re talking shatteringly crisp coating, tender and juicy chicken, a soft toasted bun, and just enough sauce to bring everything together.

    It’s indulgent, comforting, and incredibly satisfying—and the best part is that you can make a restaurant-quality version right at home.

    This step-by-step guide walks you through everything, from seasoning the chicken to building the sandwich so every bite delivers crunch, flavor, and balance. Whether you’re cooking for friends or treating yourself, this fried chicken sandwich is a guaranteed favorite.


    Why This Fried Chicken Sandwich Works

    A great fried chicken sandwich is all about contrast:

    • Crispy exterior paired with juicy chicken
    • Savory seasoning balanced with a touch of sweetness
    • Soft buns against crunchy coating

    This recipe focuses on technique just as much as ingredients, ensuring consistent results even if it’s your first time frying.


    Ingredients You’ll Need

    Gather everything before you start—organization makes frying much easier.

    For the chicken:

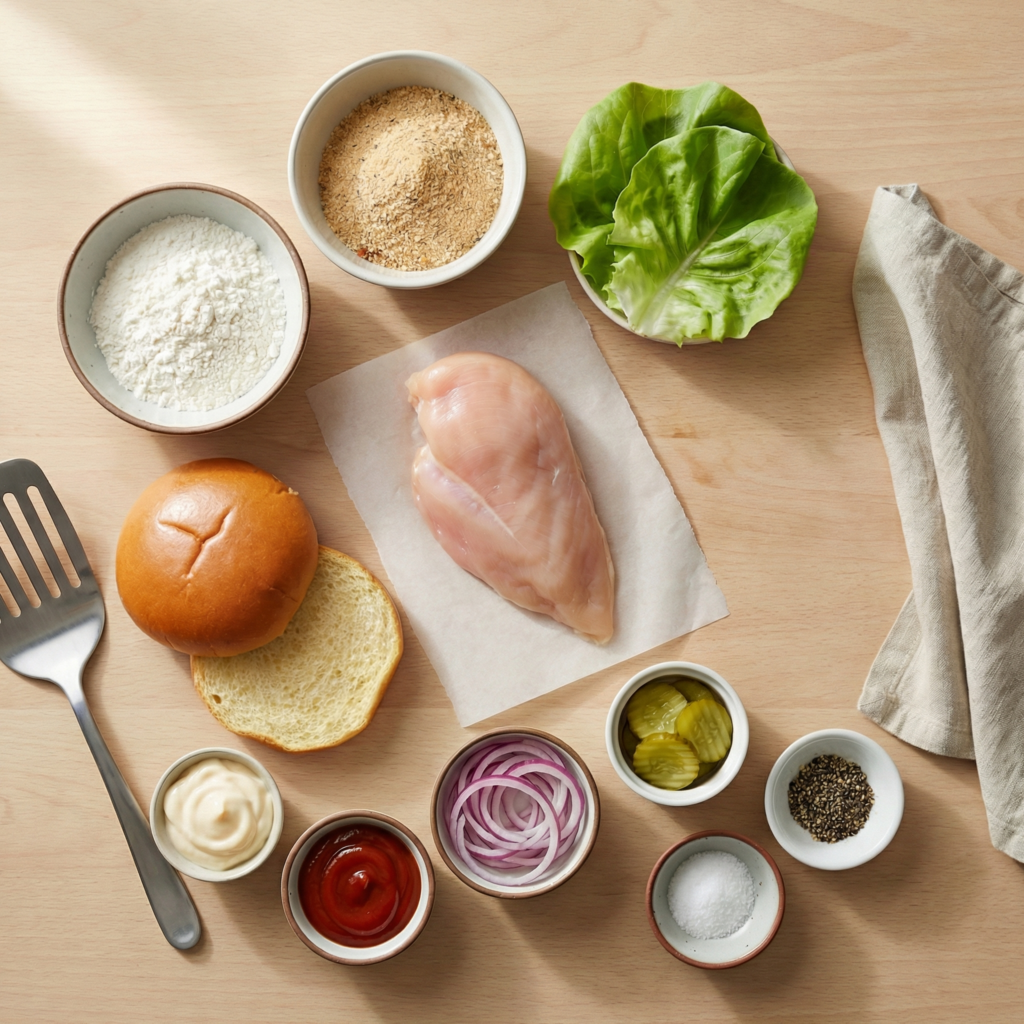
    • 2 large boneless, skinless chicken breasts
    • 1 cup buttermilk
    • 1 teaspoon salt
    • ½ teaspoon black pepper
    • ½ teaspoon paprika
    • ½ teaspoon garlic powder

    For the breading:

    • 1 ½ cups all-purpose flour
    • 1 teaspoon salt
    • 1 teaspoon paprika
    • ½ teaspoon cayenne pepper (optional)
    • ½ teaspoon onion powder

    For frying:

    • Vegetable or canola oil

    For assembling:

    • 4 brioche buns
    • Butter for toasting
    • Dill pickles
    • Lettuce (optional)
    • Mayo or spicy sauce of choice

    Step-by-Step Instructions

    Step 1: Prepare the Chicken

    Slice each chicken breast horizontally to create thinner cutlets. This helps the chicken cook evenly and keeps the sandwich from being too bulky.

    Place the chicken in a bowl and add buttermilk, salt, pepper, paprika, and garlic powder. Mix well, cover, and refrigerate for at least 30 minutes—or up to overnight for deeper flavor.


    Step 2: Set Up the Breading Station

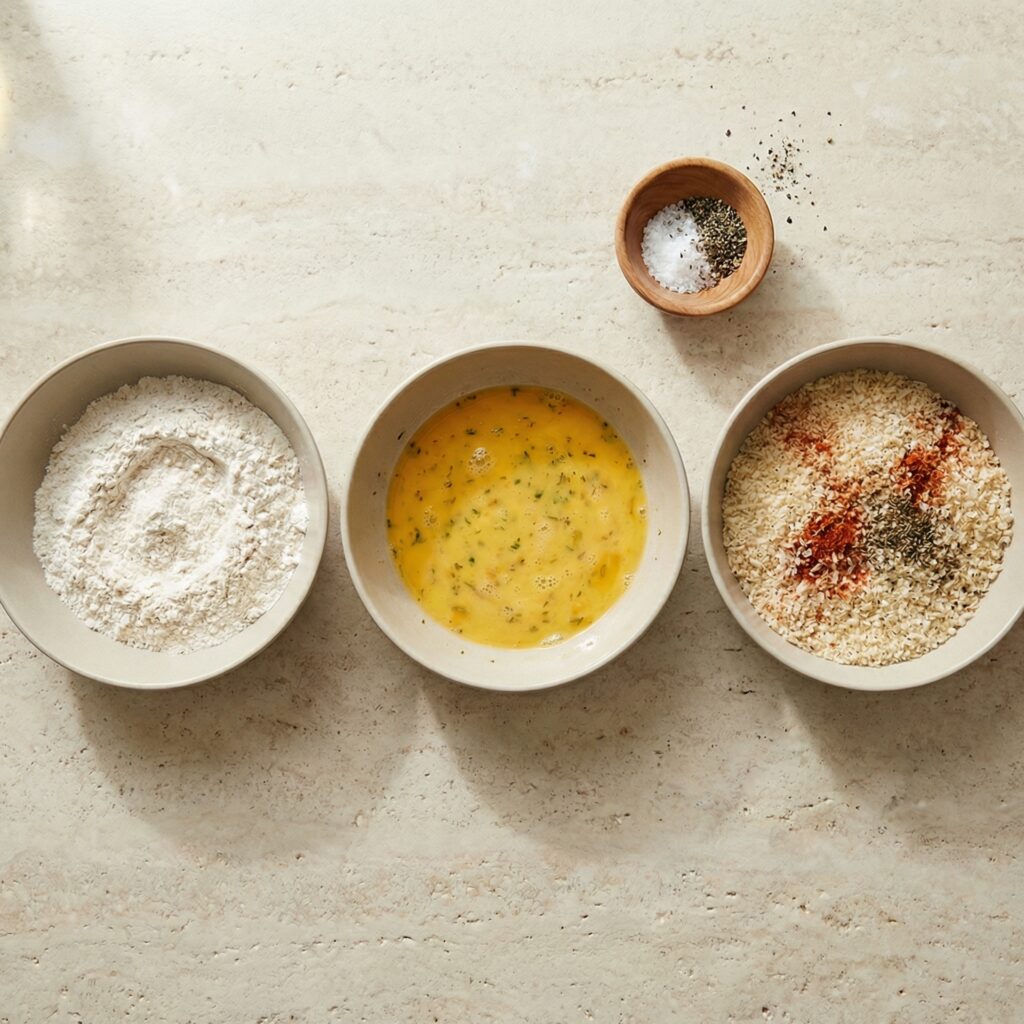
    In a shallow bowl, whisk together the flour, salt, paprika, cayenne, and onion powder.

    Remove the chicken from the buttermilk, allowing excess to drip off, then dredge each piece thoroughly in the seasoned flour. Press firmly so the coating sticks well.

    For extra crunch, dip the chicken back into the buttermilk and then into the flour a second time.


    Step 3: Heat the Oil

    Pour oil into a deep skillet or heavy-bottomed pan until it reaches about 1½ inches deep. Heat to 175°C / 350°F.

    If you don’t have a thermometer, test the oil by dropping in a small pinch of flour—it should sizzle immediately.


    Step 4: Fry the Chicken

    Carefully place the breaded chicken into the hot oil, working in batches to avoid overcrowding. Fry for 5–7 minutes per side, turning once, until golden brown and fully cooked.

    Transfer to a wire rack or paper towel-lined plate to drain excess oil.


    Step 5: Toast the Buns

    While the chicken rests, butter the cut sides of the brioche buns and toast them in a skillet until golden brown. Toasting adds flavor and keeps the buns from getting soggy.


    Step 6: Build the Sandwich

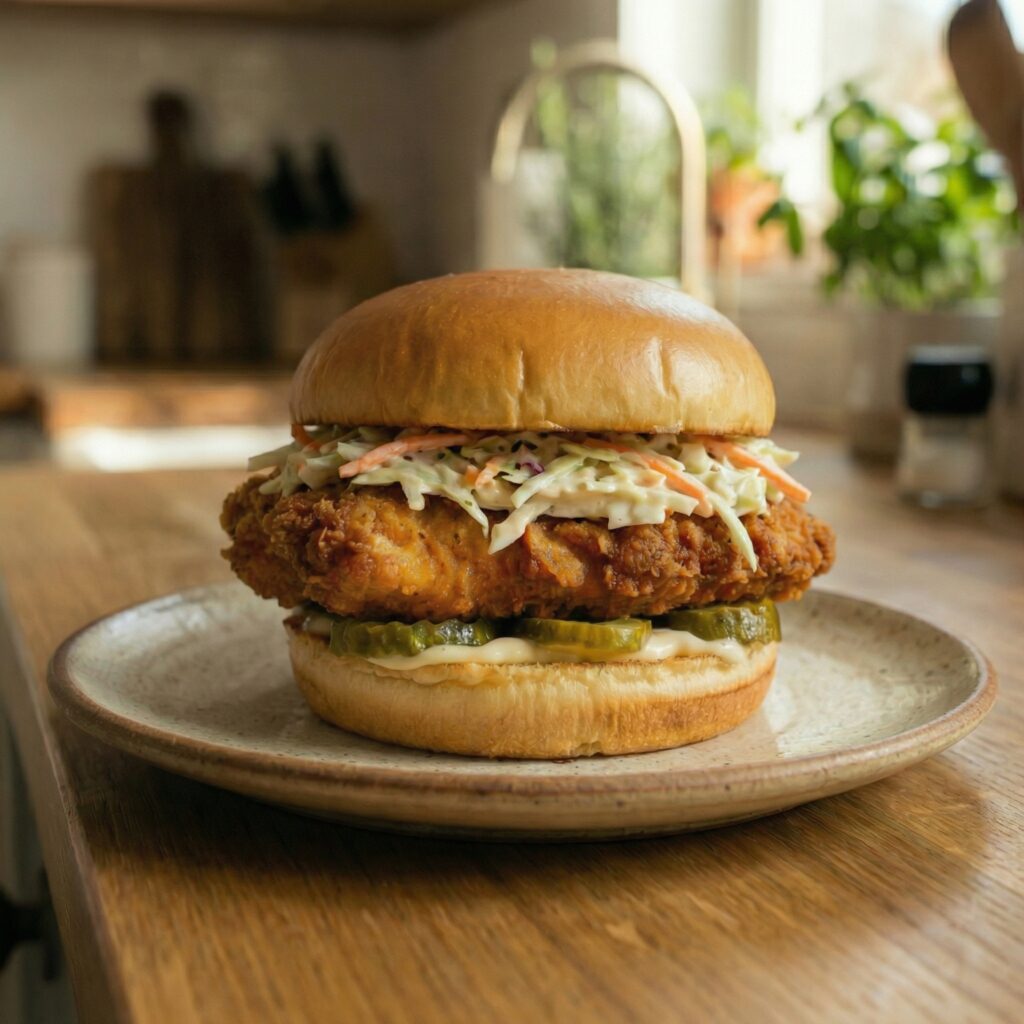
    Start with the bottom bun and spread a generous layer of mayo or sauce. Add lettuce if using, followed by the crispy fried chicken. Top with dill pickles for brightness and crunch.

    Finish with the top bun and press gently to set the sandwich.


    Step 7: Serve Hot

    Serve immediately while the chicken is at its crispiest. Pair with fries, coleslaw, or a simple salad for a complete meal.


    Tips for Extra-Crispy Fried Chicken

    • Don’t rush the marinade—buttermilk tenderizes the chicken
    • Double dredge for thicker, crunchier coating
    • Maintain oil temperature for even frying
    • Rest after frying to lock in juices

    These small steps make a huge difference.


    Variations to Try

    Once you master the classic, experiment:

    • Add hot honey for a sweet-spicy twist
    • Use spicy mayo or chipotle sauce
    • Swap lettuce for crunchy slaw
    • Add melted cheese for an indulgent upgrade

    The fried chicken sandwich is endlessly customizable.


    Final Thoughts

    This fried chicken sandwich recipe proves you don’t need a deep fryer or fast-food drive-thru to enjoy an incredible sandwich.

    With the right seasoning, proper frying technique, and thoughtful assembly, you get a sandwich that’s crispy, juicy, and completely irresistible.

    Once you make it at home, it’s hard to go back to anything else.