Tag: Chicken Recipe

  • Crispy, Fiery, and Unforgettable: Mastering Classic Spicy Fried Chicken

    Crispy, Fiery, and Unforgettable: Mastering Classic Spicy Fried Chicken

    Few dishes can match the irresistible combination of crispy skin, juicy meat, and bold, fiery flavor that defines classic spicy fried chicken. From backyard cookouts to late-night cravings, this dish is comfort food elevated with a kick.

    Making it at home allows you to control every element—from the heat level to the crunch—resulting in a perfectly golden, mouthwatering masterpiece.

    This step-by-step guide will teach you how to make classic spicy fried chicken that’s crunchy on the outside, tender on the inside, and packed with flavor.

    Whether you’re a beginner or a seasoned cook, you’ll love how achievable this iconic dish is.


    Why You’ll Love This Recipe

    • Extra-crispy coating with a perfect crunch
    • Juicy, flavorful chicken with a spicy kick
    • Perfect for dinners, gatherings, or meal prep
    • Simple pantry ingredients with big flavor
    • Completely customizable heat level

    Classic spicy fried chicken is all about technique and seasoning, and once mastered, it becomes an all-time favorite.
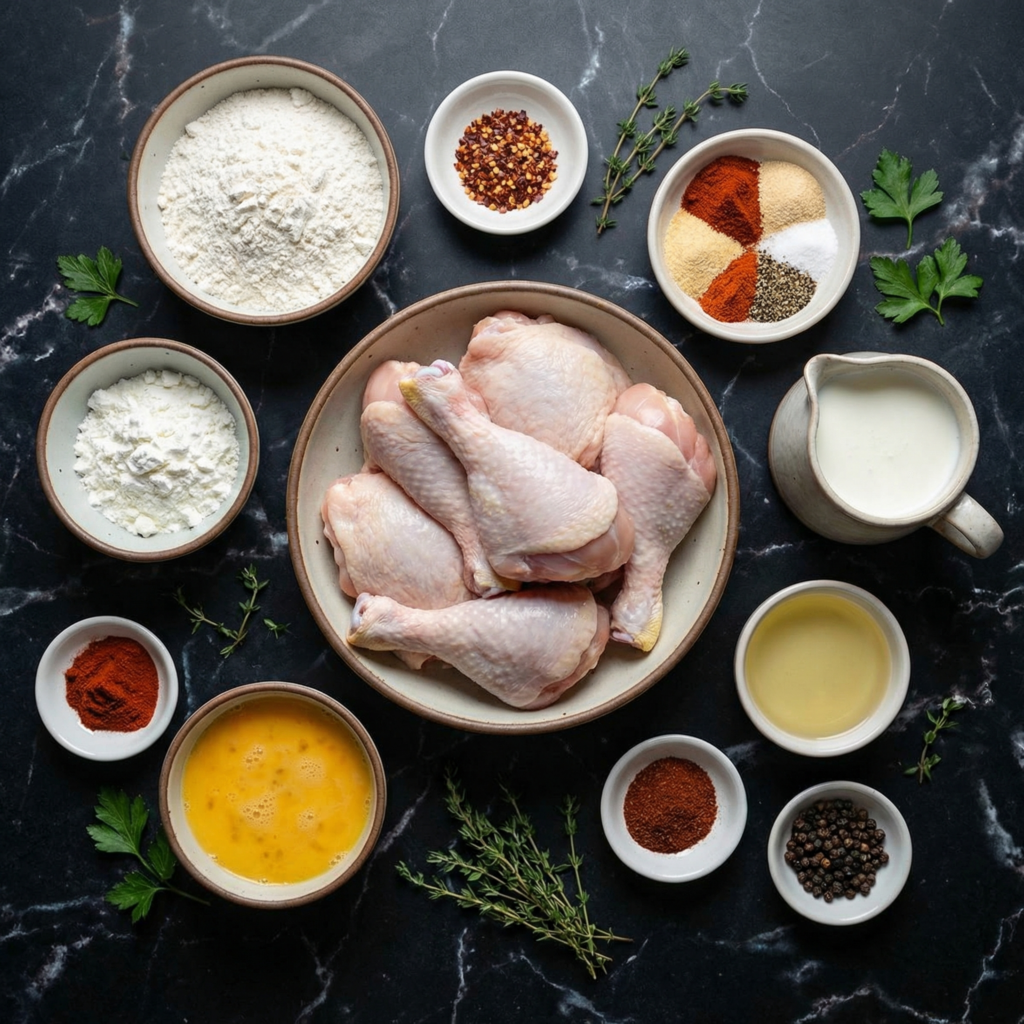

    Ingredients You’ll Need

    For the Chicken:

    • 3–4 pounds chicken pieces (legs, thighs, wings, or breasts)
    • 2 cups buttermilk
    • 1 teaspoon hot sauce (optional, for extra heat)
    • Salt and black pepper to taste

    For the Coating:

    • 2 cups all-purpose flour
    • 1 tablespoon paprika
    • 1 tablespoon cayenne pepper (adjust to taste)
    • 1 teaspoon garlic powder
    • 1 teaspoon onion powder
    • 1 teaspoon dried thyme or oregano
    • ½ teaspoon black pepper
    • 1 teaspoon salt

    For Frying:

    • Vegetable oil or canola oil, for deep frying (enough to fill 2–3 inches in a heavy skillet or Dutch oven)

    Optional for serving: lemon wedges, honey, or hot sauce for drizzling.


    Step 1: Brine the Chicken (Optional but Recommended)

    For extra juiciness, soak the chicken in a simple brine for 1–2 hours or overnight.

    A basic brine can be made with 4 cups water, ¼ cup salt, and ¼ cup sugar. Rinse the chicken after brining and pat dry.

    Brining ensures each bite is tender and flavorful all the way through.


    Step 2: Marinate in Buttermilk

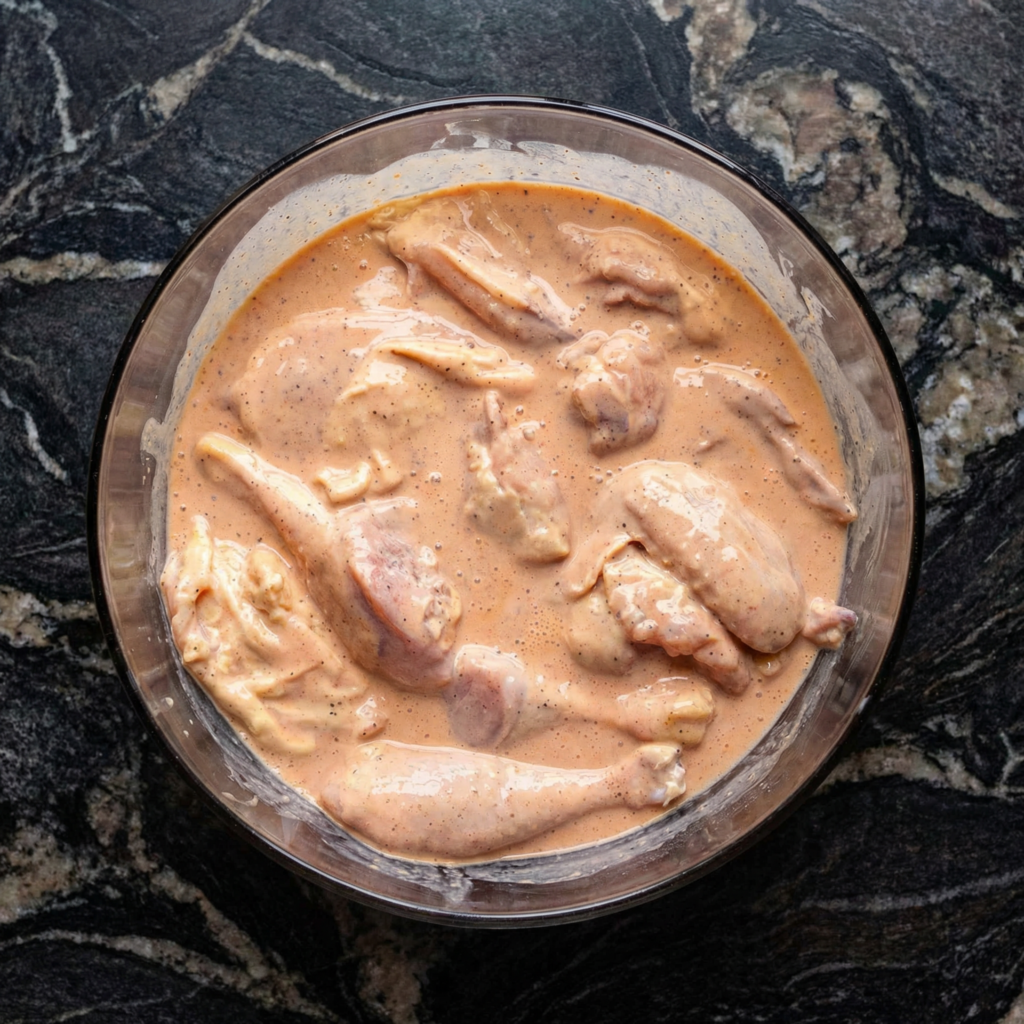
    In a large bowl, mix the buttermilk with 1 teaspoon hot sauce and a pinch of salt and pepper.

    Submerge the chicken pieces completely and refrigerate for at least 2 hours, preferably overnight.

    The acidity of the buttermilk tenderizes the meat while imparting subtle tang that complements the spicy coating.

    Step 3: Prepare the Flour Coating

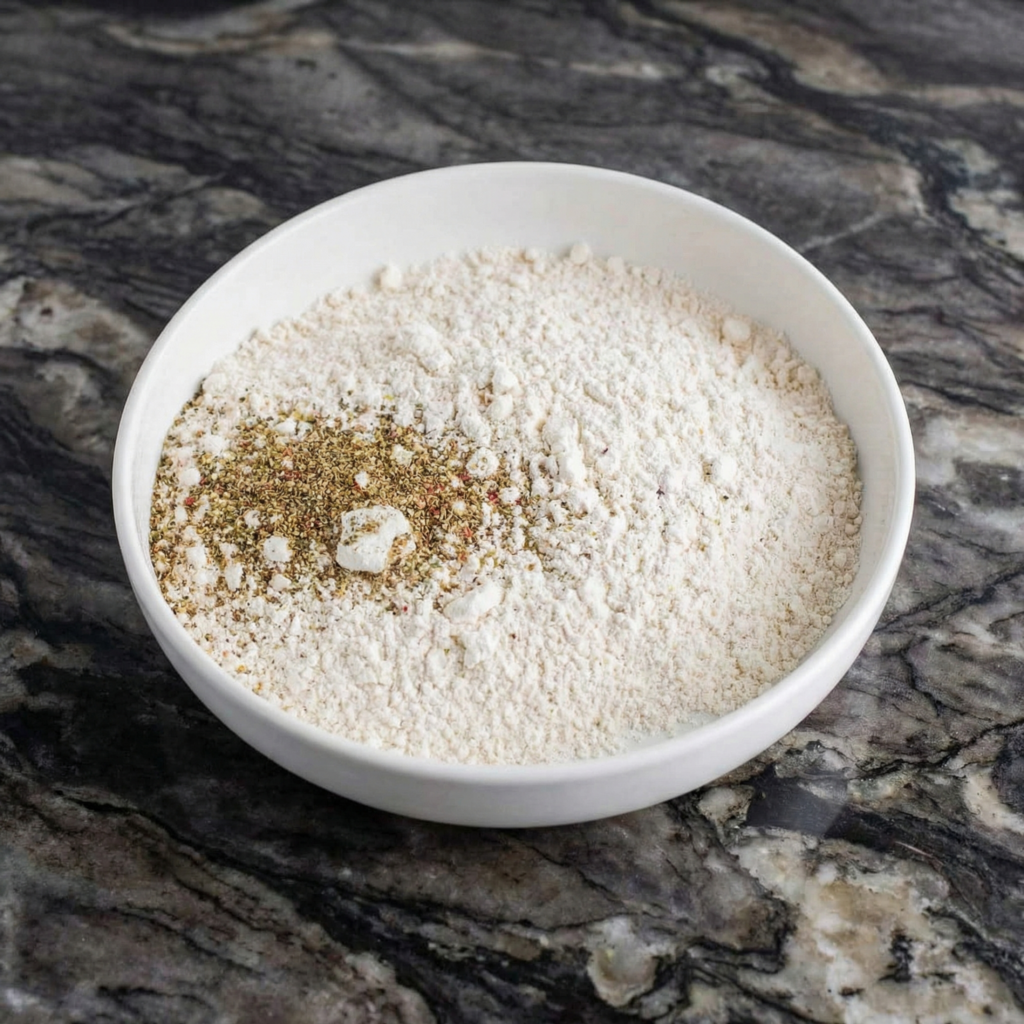
    In a shallow dish, combine flour, paprika, cayenne pepper, garlic powder, onion powder, dried thyme, salt, and black pepper.

    Mix thoroughly so that all spices are evenly distributed.

    This seasoned flour is the secret to achieving that flavorful, fiery crust.

    Step 4: Dredge the Chicken

    Remove the chicken from the buttermilk, allowing excess to drip off.

    Coat each piece thoroughly in the seasoned flour mixture. Press gently so the flour adheres well.

    For extra crunch, double dredge by dipping back into the buttermilk and then into the flour again.

    Place coated pieces on a wire rack while preparing the oil. Avoid stacking to prevent sticking.


    Step 5: Heat the Oil

    Pour oil into a heavy skillet, deep frying pan, or Dutch oven until it reaches 2–3 inches deep.

    Heat to 350°F (175°C) using a candy or deep-fry thermometer.

    Maintaining the proper temperature is crucial: too low and the chicken absorbs oil; too high and the coating burns before the meat cooks.


    Step 6: Fry the Chicken

    Carefully lower a few pieces of chicken into the hot oil. Do not overcrowd the pan.

    Fry for 12–15 minutes for wings or smaller pieces, and 18–20 minutes for larger thighs or breasts, turning occasionally for even browning.

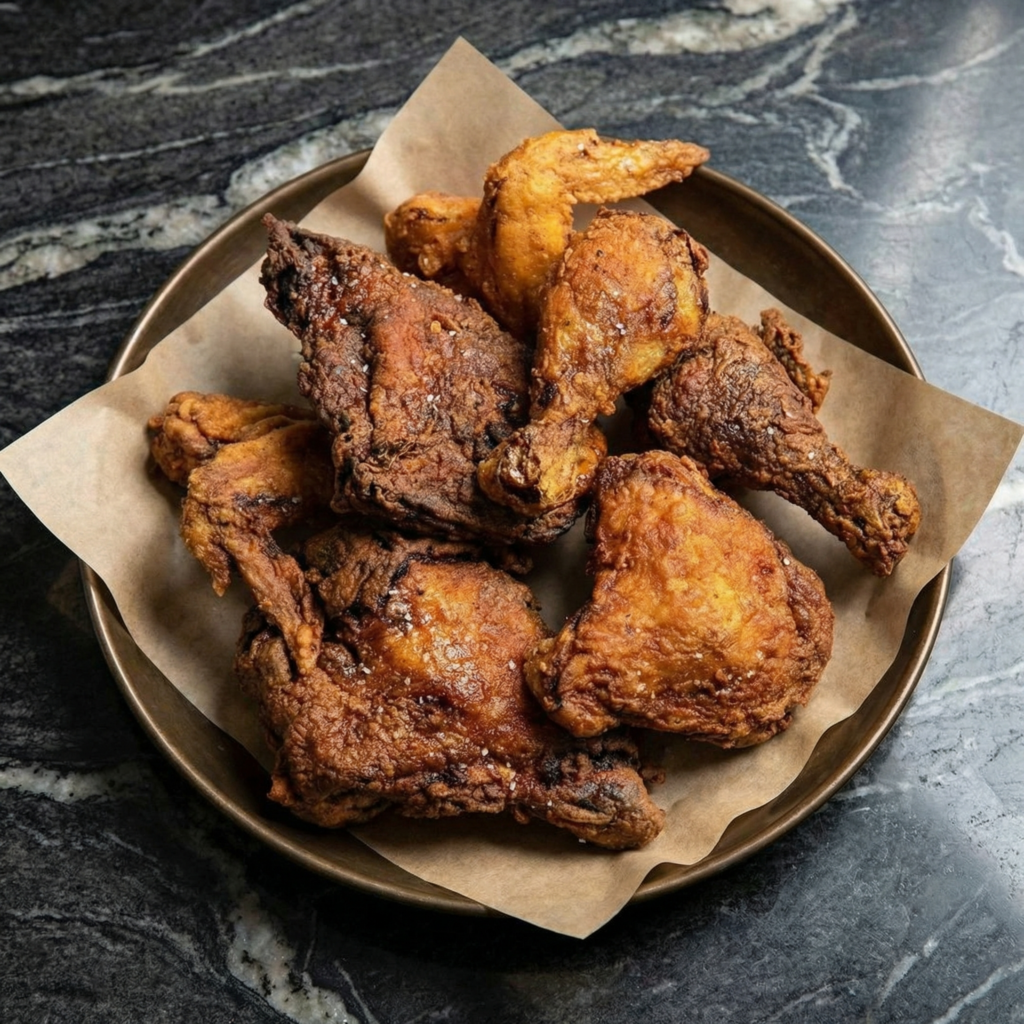
    The crust should turn golden brown, crispy, and flavorful.

    Check doneness with a thermometer: chicken should reach an internal temperature of 165°F (74°C).


    Step 7: Drain and Rest

    Remove chicken from the oil and place on a wire rack set over a baking sheet.

    This allows excess oil to drain and keeps the crust crunchy. Avoid paper towels, which can make the coating soggy.

    Let rest for 5–10 minutes before serving.


    Step 8: Serve and Enjoy

    Serve your classic spicy fried chicken hot with your favorite sides: coleslaw, mashed potatoes, cornbread, or pickles.

    Optional extras: drizzle honey for a sweet-spicy contrast or squeeze fresh lemon for brightness.

    The combination of heat, crunch, and juicy meat makes this dish irresistible.


    Tips for Extra Crispy, Spicy Chicken

    • Keep the chicken cold before frying for better crust adherence.
    • Maintain oil temperature for even cooking.
    • Double dredge for extra crunchy exterior.
    • Use a wire rack instead of paper towels to preserve crispiness.
    • Adjust cayenne pepper to control heat level.

    Small adjustments can make a big difference in texture and flavor.


    Make-Ahead and Storage

    Cooked fried chicken can be stored in the refrigerator for up to 3 days.

    Reheat in a 375°F oven for 10–12 minutes to restore crispiness.

    Avoid microwaving, which can make the coating soft and chewy.

    Leftover chicken also makes excellent sandwiches or salads.


    Variations

    Once you’ve mastered the classic version, try these variations:

    • Honey Hot Chicken: drizzle honey over the fried chicken before serving.
    • Buttermilk-Brined Extra Hot: increase cayenne and add hot sauce to the brine.
    • Southern Style: add a teaspoon of smoked paprika and a pinch of cayenne for deeper flavor.
    • Crunchy Cornflake Coating: mix crushed cornflakes with the flour for extra crunch.

    The possibilities are endless while maintaining the crispy, spicy foundation.


    Final Thoughts

    Classic spicy fried chicken is a dish that never goes out of style. With its crispy, golden exterior, tender, juicy interior, and bold kick of spice, it’s comfort food at its finest.

    While it might seem intimidating, this recipe shows that with proper preparation, attention to temperature, and seasoning, you can make restaurant-quality fried chicken at home.

    Whether for family dinners, parties, or a weekend indulgence, this spicy fried chicken will become a go-to favorite. Crispy, flavorful, and fiery, it’s a dish that will leave everyone coming back for seconds.

    Golden, spicy, and utterly irresistible—classic fried chicken done right.
  • Sweet, Spicy, and Totally Irresistible: Spicy Honey-Ginger Chicken Bowls with Tender Chicken Strips

    Sweet, Spicy, and Totally Irresistible: Spicy Honey-Ginger Chicken Bowls with Tender Chicken Strips

    If you’re craving a meal that’s bold, sticky, and bursting with flavor, these Spicy Honey-Ginger Chicken Bowls are exactly what you need.

    Juicy chicken strips are seared until golden and caramelized, then coated in a sticky honey-ginger sauce that balances sweet, spicy, and savory notes perfectly. Served over fluffy rice with crisp vegetables, this dish is colorful, satisfying, and packed with flavor in every bite.

    Cutting the chicken into strips ensures quick, even cooking and creates maximum surface area for that glossy, irresistible glaze. Whether for a weeknight dinner or a meal prep favorite, this recipe will become a go-to.


    Why You’ll Love This Recipe

    • Tender, juicy chicken strips with a crispy exterior
    • Sweet, spicy, and savory honey-ginger glaze
    • Quick to make and packed with flavor
    • Perfect for bowls, meal prep, or casual dinners
    • Fully customizable with vegetables and toppings

    The combination of sticky sauce, fresh vegetables, and fluffy rice makes every bite a balanced and satisfying experience.


    Ingredients You’ll Need

    For the Chicken:

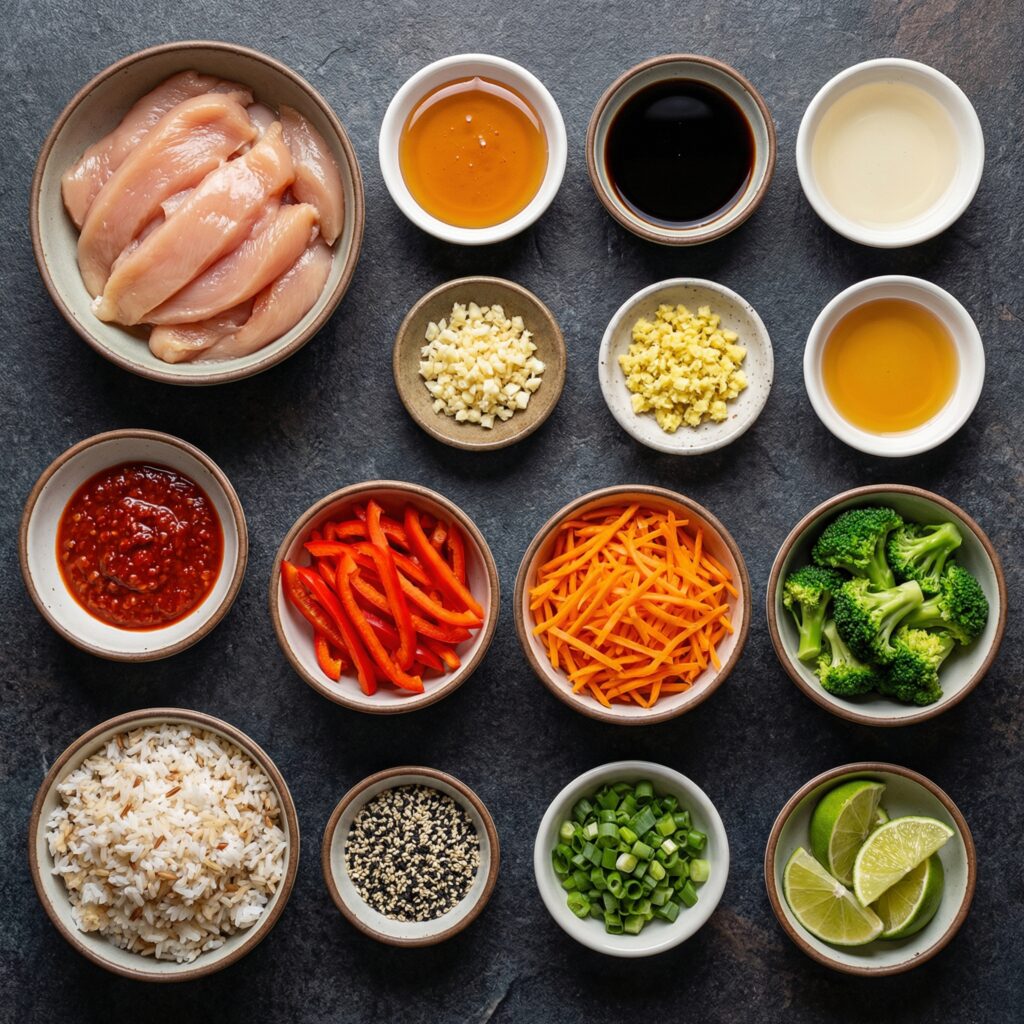
    • 1½ pounds boneless, skinless chicken breasts or thighs, cut into strips
    • Salt and black pepper, to taste
    • 2 tablespoons cornstarch
    • 1 tablespoon olive oil

    For the Spicy Honey-Ginger Sauce:

    • ⅓ cup low-sodium soy sauce
    • 3 tablespoons honey
    • 1 tablespoon rice vinegar
    • 1 tablespoon freshly grated ginger
    • 3 cloves garlic, minced
    • 1 teaspoon sesame oil
    • 1–2 teaspoons sriracha (adjust to taste)
    • 1 tablespoon cornstarch mixed with 2 tablespoons water (slurry)

    For the Bowls:

    • 3 cups cooked jasmine rice
    • 1 cup steamed broccoli
    • 1 cup shredded carrots
    • 1 cup sliced cucumbers
    • ½ cup shelled edamame
    • 2 green onions, sliced
    • Sesame seeds for garnish

    Step 1: Cook the Rice

    Start by preparing your rice according to package instructions. Fluff with a fork once cooked and keep warm.

    Jasmine rice works beautifully due to its soft texture and subtle fragrance, though brown rice or quinoa are excellent alternatives.


    Step 2: Prep the Chicken Strips

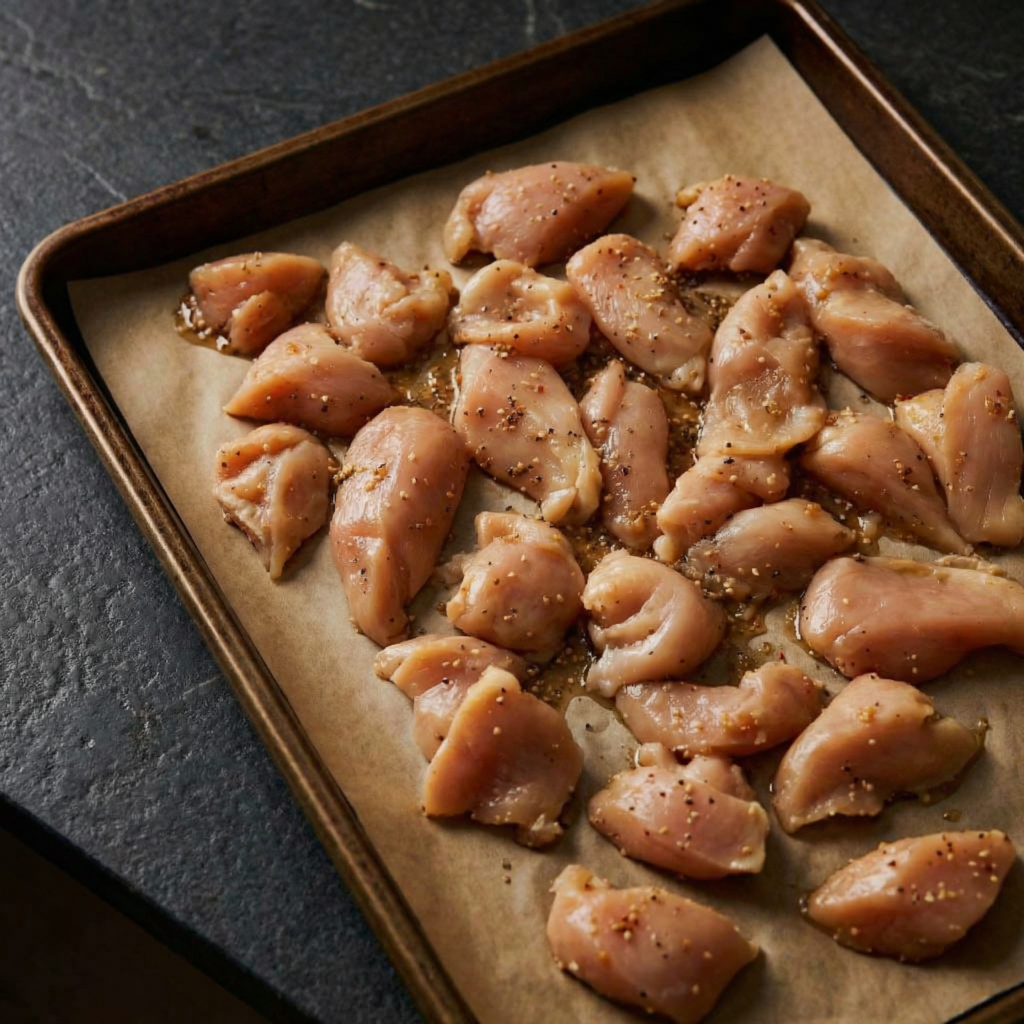
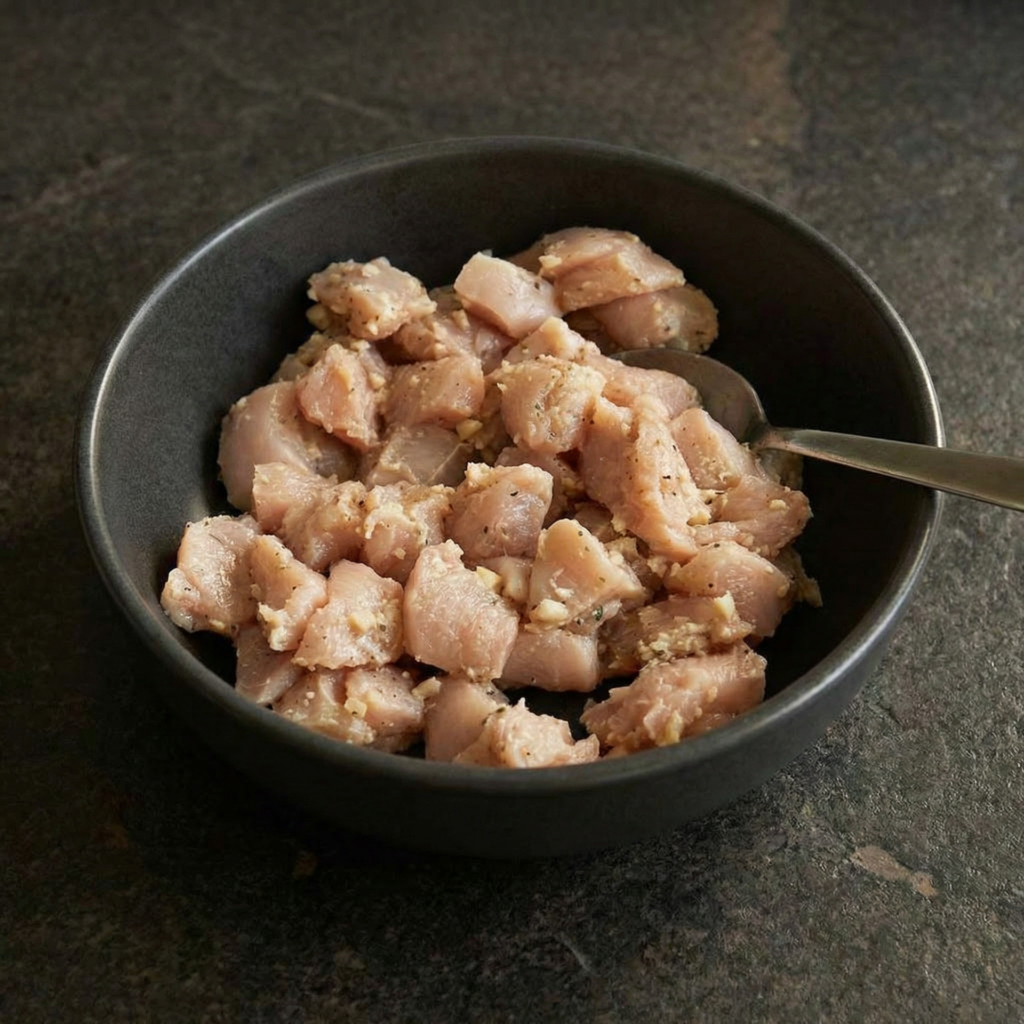
    Slice the chicken into even strips, about ½ inch thick. Pat the strips dry with paper towels—this is crucial for proper browning.

    Season both sides with salt and black pepper, then toss lightly with cornstarch. The cornstarch helps create a delicate crust that clings perfectly to the honey-ginger sauce later.


    Step 3: Sear the Chicken

    Heat olive oil in a large skillet over medium-high heat.

    Place the chicken strips in a single layer, being careful not to overcrowd the pan.

    Cook for 3–4 minutes on the first side without moving them to get a nice sear. Flip and cook for another 2–3 minutes until golden brown and cooked through (internal temperature should reach 165°F/75°C).

    Remove the chicken from the skillet and set aside.


    Step 4: Make the Honey-Ginger Sauce

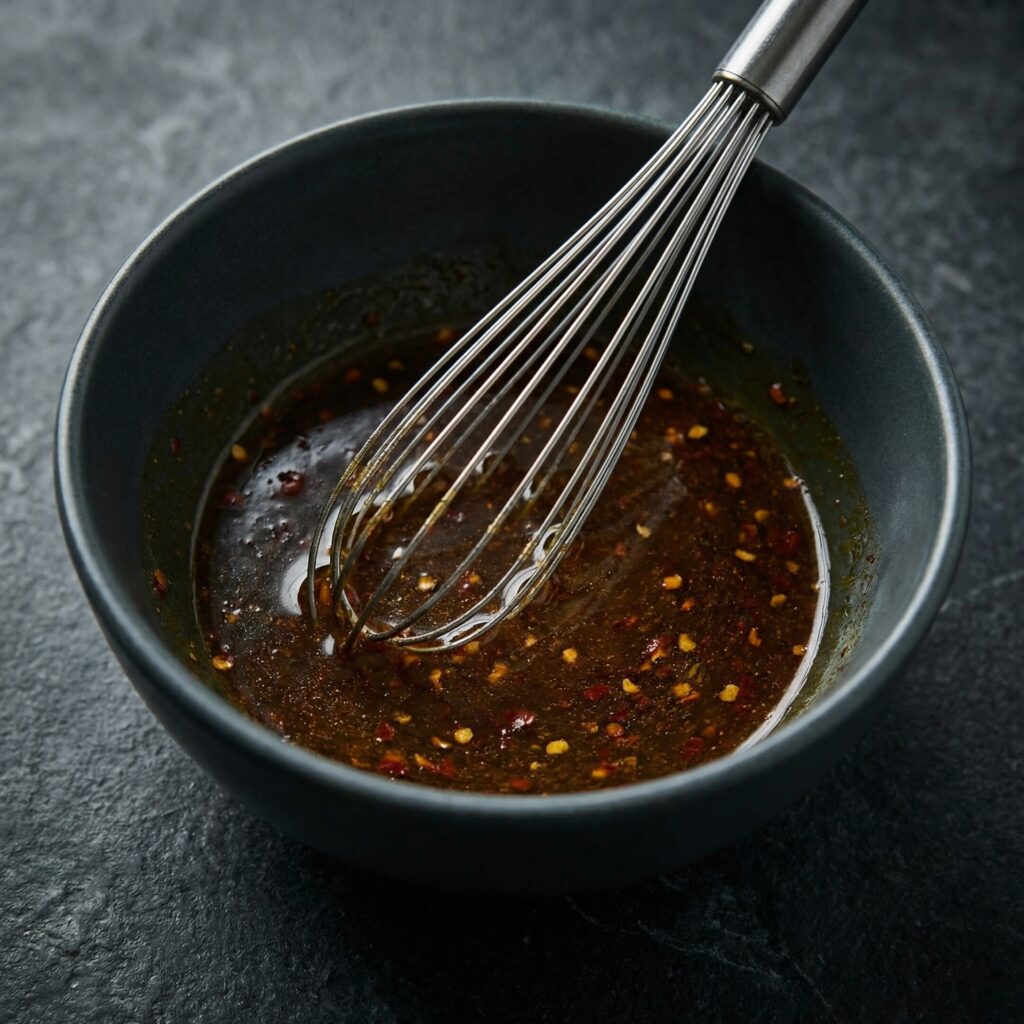
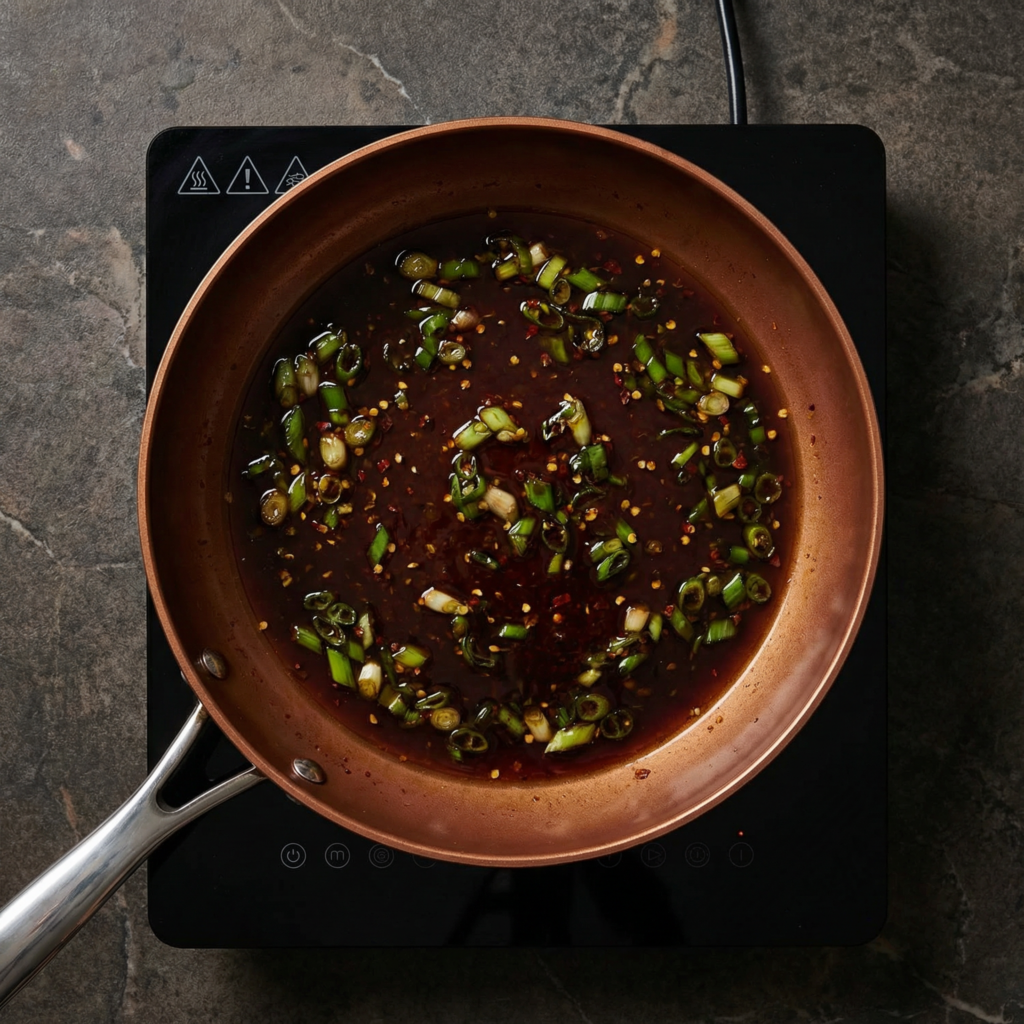
    Lower the heat to medium. In the same skillet (don’t wipe it clean—the browned bits add flavor), combine soy sauce, honey, rice vinegar, grated ginger, garlic, sesame oil, and sriracha.

    Stir and let the mixture simmer for 2–3 minutes so the garlic and ginger infuse the sauce.

    Add the cornstarch slurry and stir continuously until the sauce thickens into a glossy glaze, about 1–2 minutes.


    Step 5: Coat the Chicken in the Sauce

    Return the cooked chicken strips to the skillet.

    Toss gently to coat each strip in the honey-ginger glaze. Let simmer for 2–3 minutes so the sauce clings to the chicken and becomes sticky and luscious.


    Step 6: Prepare the Vegetables

    While the chicken simmers, prepare the vegetables:

    • Steam the broccoli until tender-crisp.
    • Slice the cucumbers thinly.
    • Shred the carrots if needed.
    • Warm the edamame if frozen.

    These fresh, crisp vegetables add texture and color, balancing the richness of the sauce.


    Step 7: Assemble the Bowls

    Divide the warm rice among serving bowls.

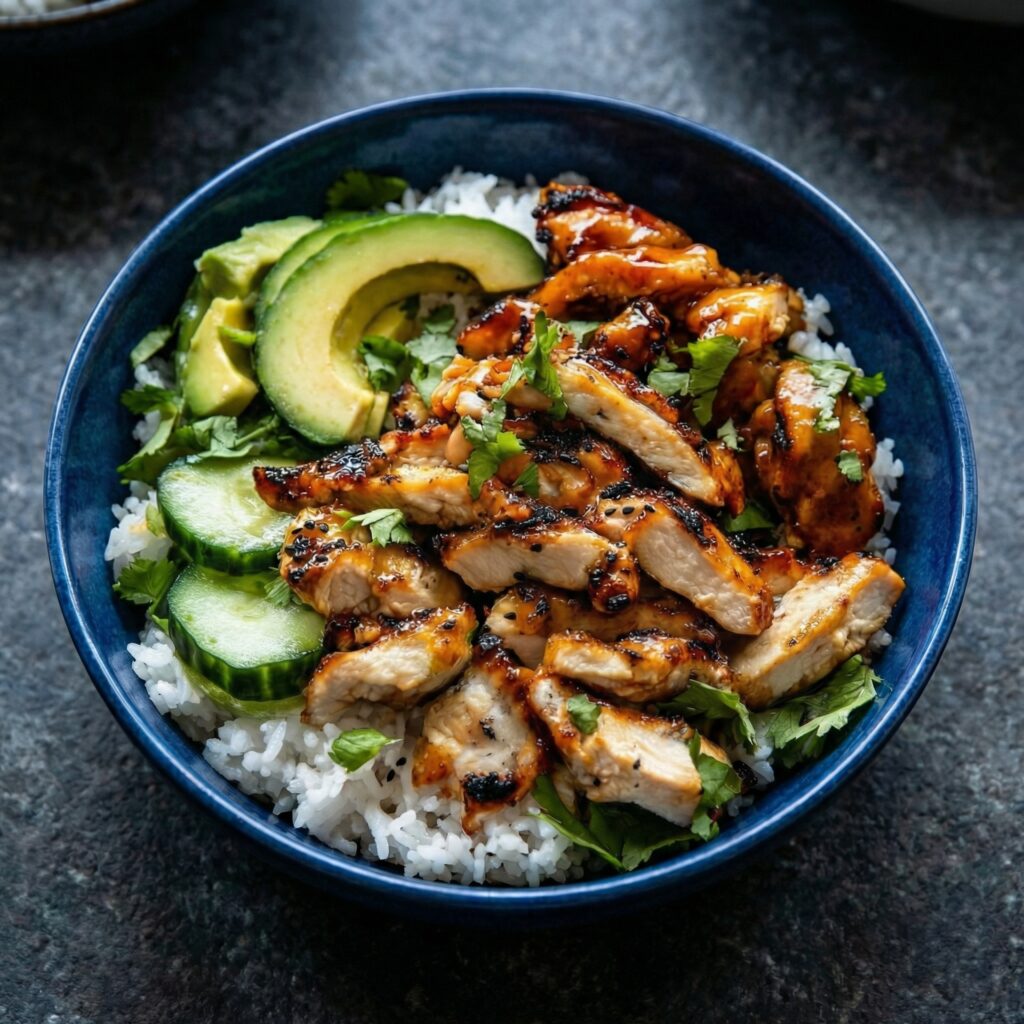
    Place the glazed chicken strips on top.

    Arrange broccoli, carrots, cucumbers, and edamame around the chicken.

    Drizzle extra sauce from the skillet over the rice, and sprinkle with sliced green onions and sesame seeds.


    Step 8: Serve and Enjoy

    Serve immediately while hot and glossy.

    For added brightness, squeeze fresh lime over the bowls. If you like more heat, drizzle additional sriracha.

    Every bite should have tender chicken, sticky glaze, fluffy rice, and refreshing vegetables—a perfect balance of flavors and textures.


    Tips for Success

    • Cut chicken evenly for uniform cooking.
    • Don’t overcrowd the skillet; sear in batches if needed.
    • Pat chicken dry to get a proper crust.
    • Adjust honey and sriracha to taste for your preferred sweet-heat balance.
    • If the sauce thickens too much, add a splash of water to loosen it.

    Flavor Variations

    • Swap broccoli for snap peas or bell peppers.
    • Top with crushed peanuts for crunch.
    • Add a soft-boiled egg for extra richness.
    • Serve over noodles instead of rice.

    These simple tweaks make the dish versatile and customizable to your preference.


    Storage & Meal Prep

    Store chicken, sauce, rice, and vegetables separately in airtight containers in the refrigerator for up to 4 days.

    Reheat the chicken gently in a skillet with a splash of water to loosen the sauce. Assemble bowls fresh for the best texture.


    Final Thoughts

    Spicy Honey-Ginger Chicken Bowls are a vibrant, flavorful, and balanced meal. Cutting the chicken into strips ensures fast cooking and maximum surface area for that sticky glaze, while crisp vegetables and fluffy rice provide perfect contrast.

    With a combination of sweet, savory, and spicy notes in every bite, this dish is satisfying, colorful, and simple enough for weeknights but impressive enough for entertaining.

    Prepare this recipe, and you’ll have a crowd-pleasing, restaurant-quality bowl that’s full of bold flavor and comfort in every bite.

  • Better-Than-Takeout Orange Chicken: Crispy, Sticky, Citrus-Glazed Perfection

    Better-Than-Takeout Orange Chicken: Crispy, Sticky, Citrus-Glazed Perfection

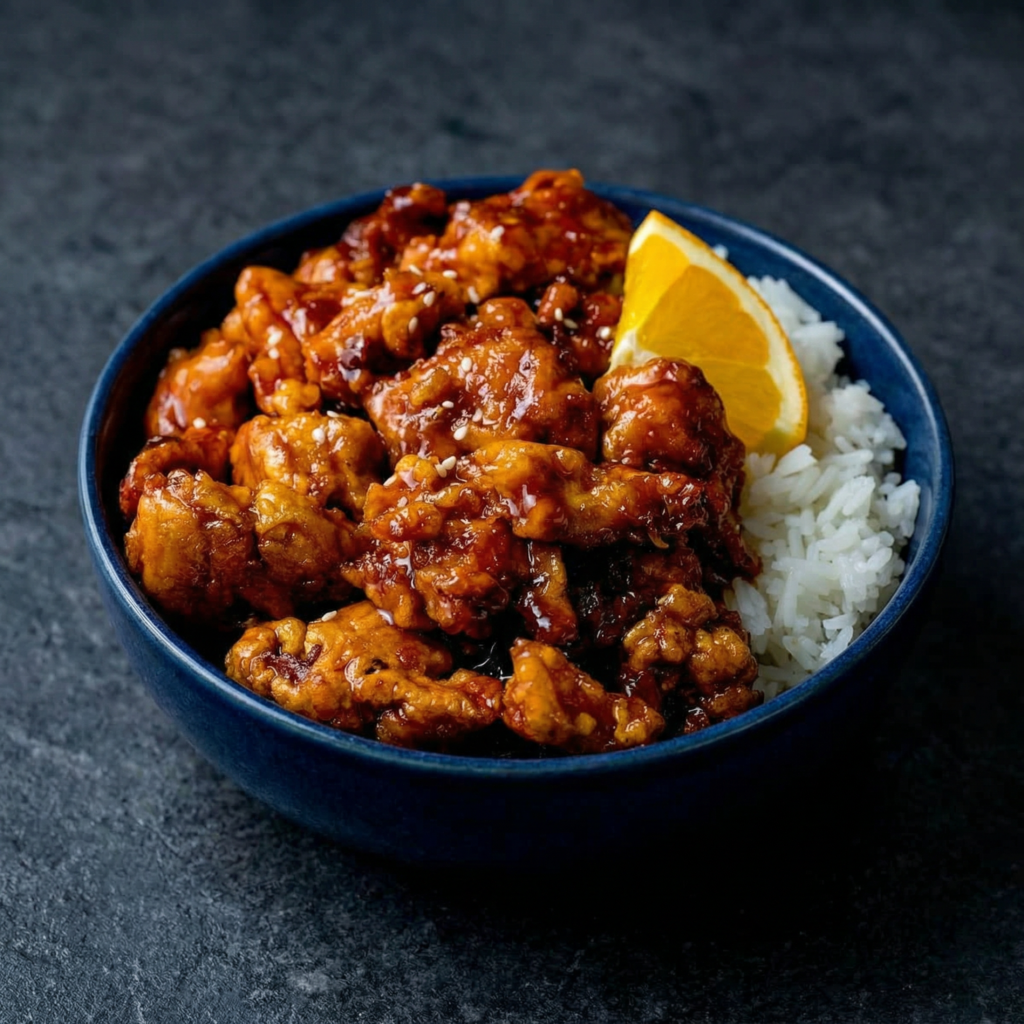
    If you love that irresistible balance of crispy chicken and glossy, sweet-tangy citrus sauce, this homemade Orange Chicken is about to become your new favorite dinner.

    It delivers everything you crave—crunchy coating, bold orange flavor, and that sticky, caramelized glaze—without waiting for delivery.

    The secret?

    Proper frying technique and a perfectly balanced sauce that’s bright, savory, and just sweet enough. Let’s walk through it step by step so you can recreate this takeout classic right in your own kitchen.


    Why You’ll Love This Recipe

    • Crispy, golden chicken
    • Fresh, vibrant orange flavor
    • Sticky, glossy sauce
    • Better ingredients than takeout
    • Ready in about 45 minutes

    Once you master the method, you’ll never look at takeout the same way again.


    Ingredients You’ll Need

    For the Chicken:

    • 1½ pounds boneless, skinless chicken thighs (cut into bite-sized pieces)
    • Salt and black pepper
    • 2 large eggs
    • ½ cup cornstarch
    • ½ cup all-purpose flour
    • Oil for frying

    For the Orange Sauce:

    • ¾ cup fresh orange juice
    • Zest of 1 orange
    • ¼ cup soy sauce
    • ⅓ cup granulated sugar
    • 2 tablespoons rice vinegar
    • 1 tablespoon hoisin sauce (optional)
    • 2 cloves garlic, minced
    • 1 teaspoon grated fresh ginger
    • ½ teaspoon red pepper flakes (optional)
    • 1 tablespoon cornstarch mixed with 2 tablespoons water (slurry)

    For Serving:

    • Cooked white rice
    • Sliced green onions
    • Sesame seeds

    Step 1: Prep the Chicken

    Pat the chicken pieces dry with paper towels. Removing excess moisture helps the coating stick and fry properly.

    Season lightly with salt and pepper.

    In one bowl, beat the eggs. In another bowl, combine cornstarch and flour.


    Step 2: Coat the Chicken

    Dip each piece of chicken into the beaten egg, letting excess drip off.

    Then dredge thoroughly in the cornstarch-flour mixture, pressing lightly so the coating adheres well.

    Place coated chicken on a plate while you heat the oil.

    The cornstarch is key—it creates that signature crisp, crackly exterior.


    Step 3: Fry Until Golden

    Heat about 2 inches of oil in a heavy pot or deep skillet to 350°F (175°C).

    Carefully add chicken pieces in batches. Avoid overcrowding the pan, which lowers the oil temperature and reduces crispiness.

    Fry for about 4–5 minutes, turning occasionally, until golden brown and cooked through.

    Transfer to a wire rack or paper towel-lined plate.

    For extra crispiness, you can double fry: fry once until lightly golden, rest for a few minutes, then fry again for 1–2 minutes.


    Step 4: Make the Orange Sauce

    While the chicken rests, prepare the sauce.

    In a saucepan over medium heat, combine orange juice, orange zest, soy sauce, sugar, rice vinegar, hoisin (if using), garlic, ginger, and red pepper flakes.

    Bring to a gentle simmer and cook for about 3–4 minutes to allow flavors to blend.


    Step 5: Thicken the Sauce

    Stir the cornstarch slurry to ensure it’s smooth, then slowly pour it into the simmering sauce while whisking.

    Within 1–2 minutes, the sauce will thicken into a glossy glaze.

    Reduce heat to low and keep warm. It should be thick enough to coat the back of a spoon.

    If it becomes too thick, add a splash of water or orange juice.


    Step 6: Toss the Chicken in Sauce

    Add the fried chicken to a large mixing bowl.

    Pour the warm orange sauce over the chicken.

    Gently toss until each piece is evenly coated in the sticky glaze.

    Work quickly—this keeps the coating crisp while evenly distributing the sauce.


    Step 7: Garnish and Serve

    Transfer the orange chicken to a serving dish.

    Sprinkle with sliced green onions and sesame seeds.

    Serve immediately over fluffy white rice.

    The contrast between crispy chicken and sticky sauce is best enjoyed fresh.


    Tips for Perfect Orange Chicken

    Use chicken thighs. They stay juicier than breast meat.

    Monitor oil temperature. Too low makes soggy chicken; too high burns the coating.

    Use fresh orange juice. It gives brighter, more authentic flavor than bottled.

    Toss just before serving. This preserves crispiness.


    Make It Your Own

    This recipe is flexible and easy to customize:

    • Add steamed broccoli or snap peas for balance.
    • Increase red pepper flakes for extra heat.
    • Use honey instead of sugar for deeper sweetness.
    • Air fry the chicken for a lighter version (though it won’t be quite as crispy).

    You can even turn leftovers into lettuce wraps for a fresh twist.


    Storage and Reheating

    Store leftovers in an airtight container in the refrigerator for up to 3 days.

    For best results, reheat in a skillet over medium heat. Microwaving works but may soften the coating.

    If possible, store sauce separately and toss just before serving.


    Final Thoughts

    Homemade Orange Chicken is everything you love about takeout—but fresher, crispier, and more vibrant. The crunchy golden coating and glossy citrus glaze create a perfect harmony of texture and flavor.

    Once you try making it yourself, you’ll realize how simple it is to recreate this iconic dish in your own kitchen.

    Heat that oil, zest that orange, and get ready for a plate of sticky, crispy, citrus-kissed perfection that rivals any restaurant version.