Tag: cherry dessert

  • Black Forest Cake (Chocolate, Cherries, and Cloud of Cream)

    Black Forest Cake (Chocolate, Cherries, and Cloud of Cream)

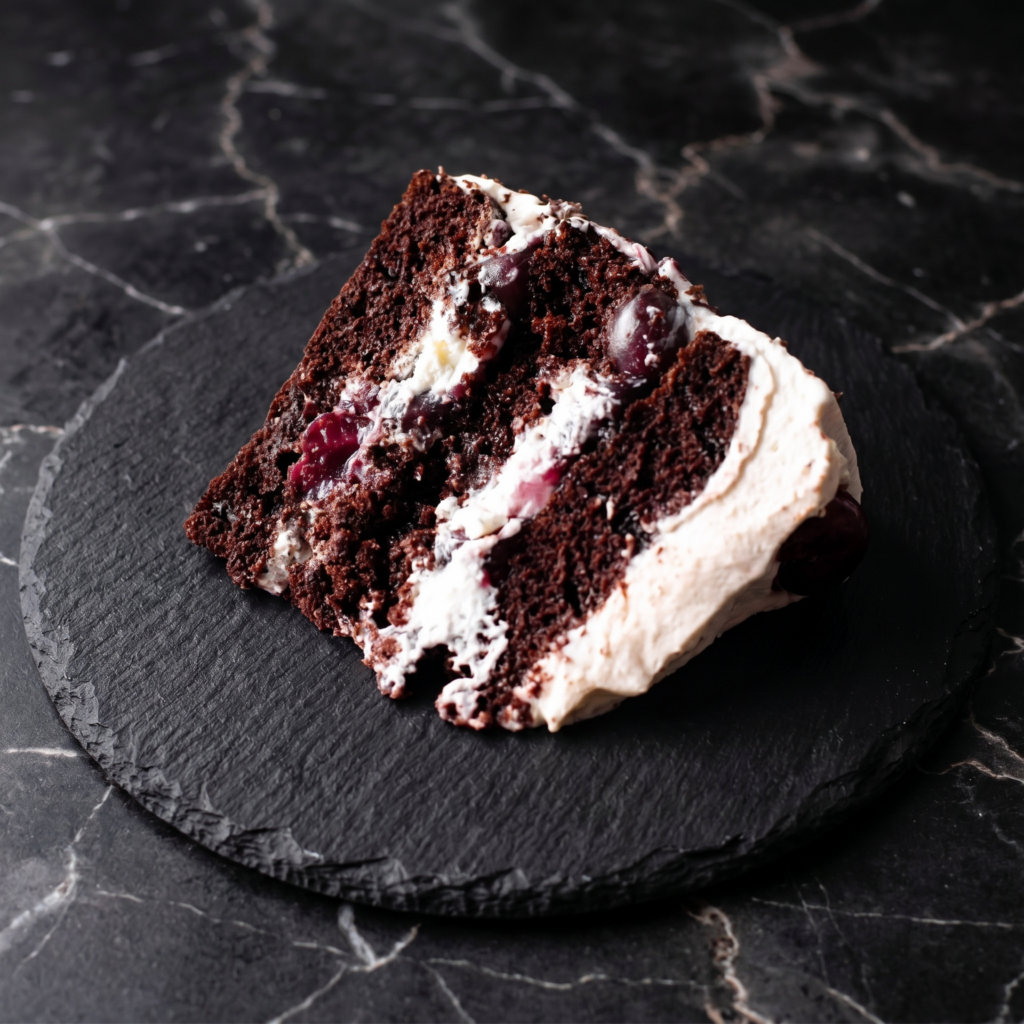
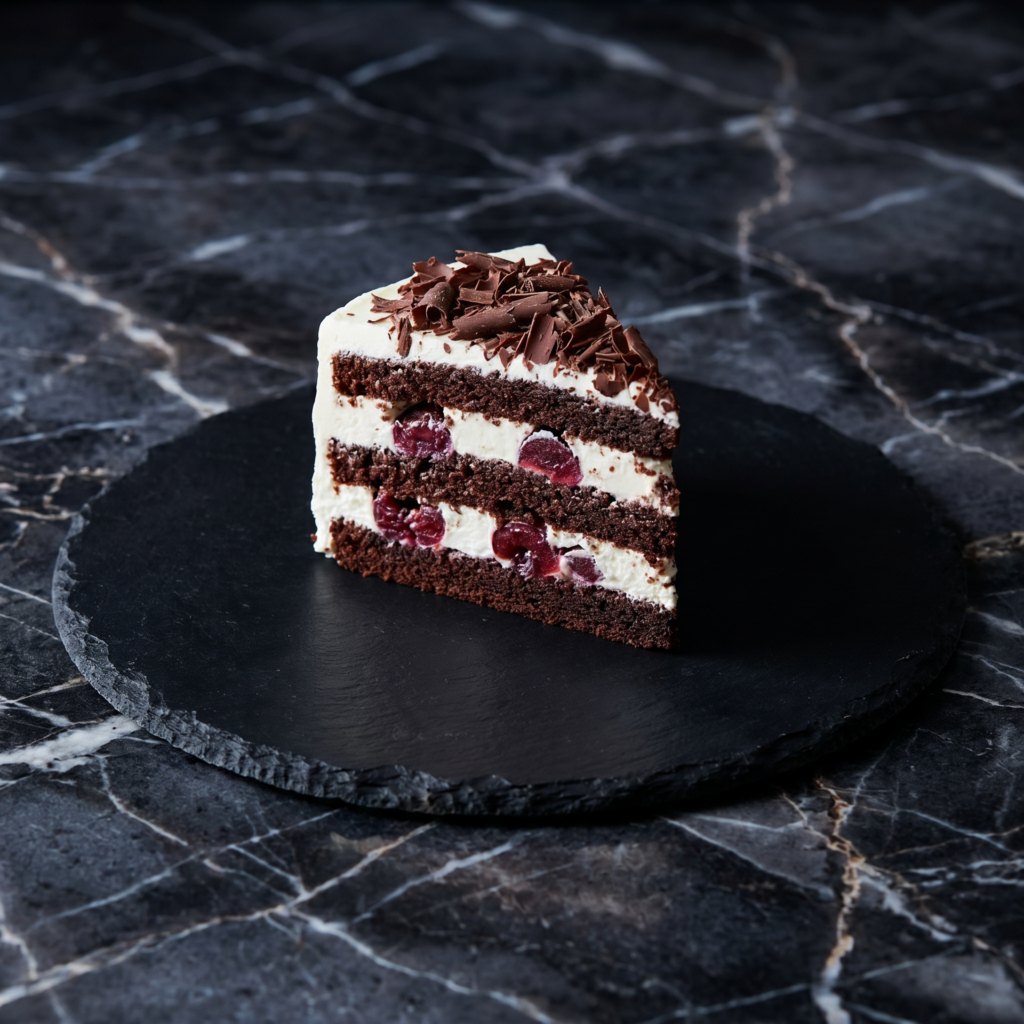
    Let’s talk about the cake that never goes out of style. Black Forest cake—with its rich chocolate layers, tart cherries, and billowy clouds of whipped cream—is a German classic for a reason. It’s elegant, indulgent, and absolutely unforgettable.

    The combination of deep chocolate, bright cherries, and light, airy cream is pure perfection. Whether you’re celebrating a birthday, an anniversary, or just the fact that you made it through the week, this cake delivers. Yes, it has multiple components. Yes, it’s worth every minute. Let’s make some magic.

    Ingredients
    For the Chocolate Cake (Makes 2 8-inch or 9-inch layers):

    • 1 ¾ cups (220g) all-purpose flour
    • 2 cups (400g) granulated sugar
    • ¾ cup (75g) unsweetened cocoa powder
    • 2 teaspoons baking soda
    • 1 teaspoon baking powder
    • 1 teaspoon salt
    • 2 large eggs, at room temperature
    • 1 cup (240ml) buttermilk, at room temperature
    • 1 cup (240ml) hot coffee (or hot water)
    • ½ cup (120ml) vegetable oil
    • 2 teaspoons vanilla extract

    For the Cherry Filling:

    • 2 cups (about 400g) pitted sour cherries (fresh, frozen, or canned in syrup)
    • ¼ cup (50g) granulated sugar
    • 2 tablespoons cornstarch mixed with 2 tablespoons water (slurry)
    • 2 tablespoons kirsch (cherry brandy) or cherry juice

    For the Whipped Cream:

    • 2 cups (480ml) heavy whipping cream, very cold
    • ¼ cup (30g) powdered sugar
    • 1 teaspoon vanilla extract
    • 1 teaspoon kirsch (optional)
    • 1 teaspoon unflavored gelatin (optional, for stability)

    For Assembly and Garnish:

    • Chocolate shavings or curls
    • Maraschino cherries with stems
    • Additional kirsch for brushing cake layers

    Instructions

    1. Make the Chocolate Cake: Preheat oven to 350°F (175°C). Grease two 8-inch or 9-inch round cake pans, line with parchment, and flour lightly. In a large bowl, whisk together flour, sugar, cocoa, baking soda, baking powder, and salt.

    Add eggs, buttermilk, hot coffee, oil, and vanilla. Beat on medium speed for 2 minutes. The batter will be thin. Pour into prepared pans and bake for 30-35 minutes (8-inch) or 25-30 minutes (9-inch) until a toothpick comes out clean. Cool completely.

    2. Make the Cherry Filling: In a medium saucepan, combine the cherries and sugar. Cook over medium heat until the cherries release their juices, about 5-7 minutes. Stir in the cornstarch slurry and cook for another 1-2 minutes until thickened. Remove from heat, stir in the kirsch, and let cool completely.

    3. Make the Whipped Cream: If using gelatin for stability, sprinkle it over 2 tablespoons cold water and let bloom for 5 minutes, then gently warm until dissolved and let cool slightly. In a large chilled bowl, beat the heavy cream, powdered sugar, vanilla, and kirsch (if using) until soft peaks form. If using gelatin, slowly drizzle it in while beating, then continue beating until stiff peaks form.

    4. Level the Cakes: Using a serrated knife, level the tops of the cooled chocolate cakes. Slice each layer in half horizontally to create 4 thin layers.

    5. Assemble the Cake: Place one cake layer on a serving plate. Brush lightly with kirsch. Spread a layer of cherry filling over the cake, then a layer of whipped cream. Top with another cake layer and repeat, ending with a cake layer on top.

    6. Crumb Coat and Chill: Apply a thin layer of whipped cream all over the cake. Refrigerate for 30 minutes.

    7. Final Frosting: Frost the cake with the remaining whipped cream, smoothing the sides and top.

    8. Decorate: Press chocolate shavings onto the sides of the cake. Pipe whipped cream rosettes on top and garnish with maraschino cherries. Dust with cocoa powder if desired.

    9. Chill: Refrigerate for at least 2 hours before serving to set.

    10. Slice and Serve: Slice with a sharp knife wiped clean between cuts. Serve chilled.

    11. Store: Store in an airtight container in the refrigerator for up to 3 days.

    Pro-Tips for Black Forest Cake Greatness

    • Use Sour Cherries: Their tartness balances the sweetness of the cake and cream. Sweet cherries won’t give you that classic flavor
    • Don’t Skip the Kirsch: It adds authentic Black Forest flavor. If you prefer non-alcoholic, use cherry juice
    • Stabilize the Whipped Cream: A little gelatin helps the cream hold up between layers, especially in warm weather
    • Chill Between Layers: Let each layer set before adding the next for clean, distinct layers
    • Use Chocolate Shavings, Not Sprinkles: Real chocolate shavings add elegance and flavor
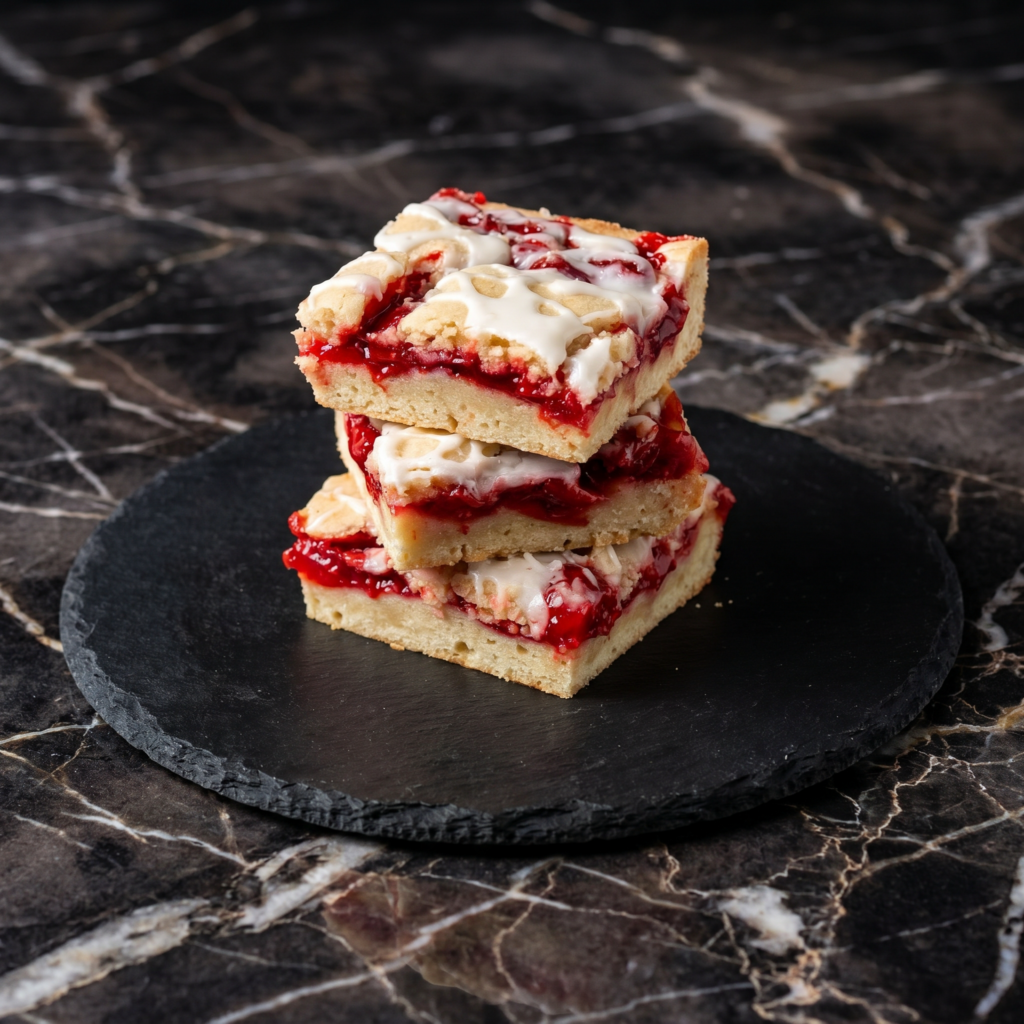
  • Cherry Pie Bars (All the Flavor, None of the Fuss)

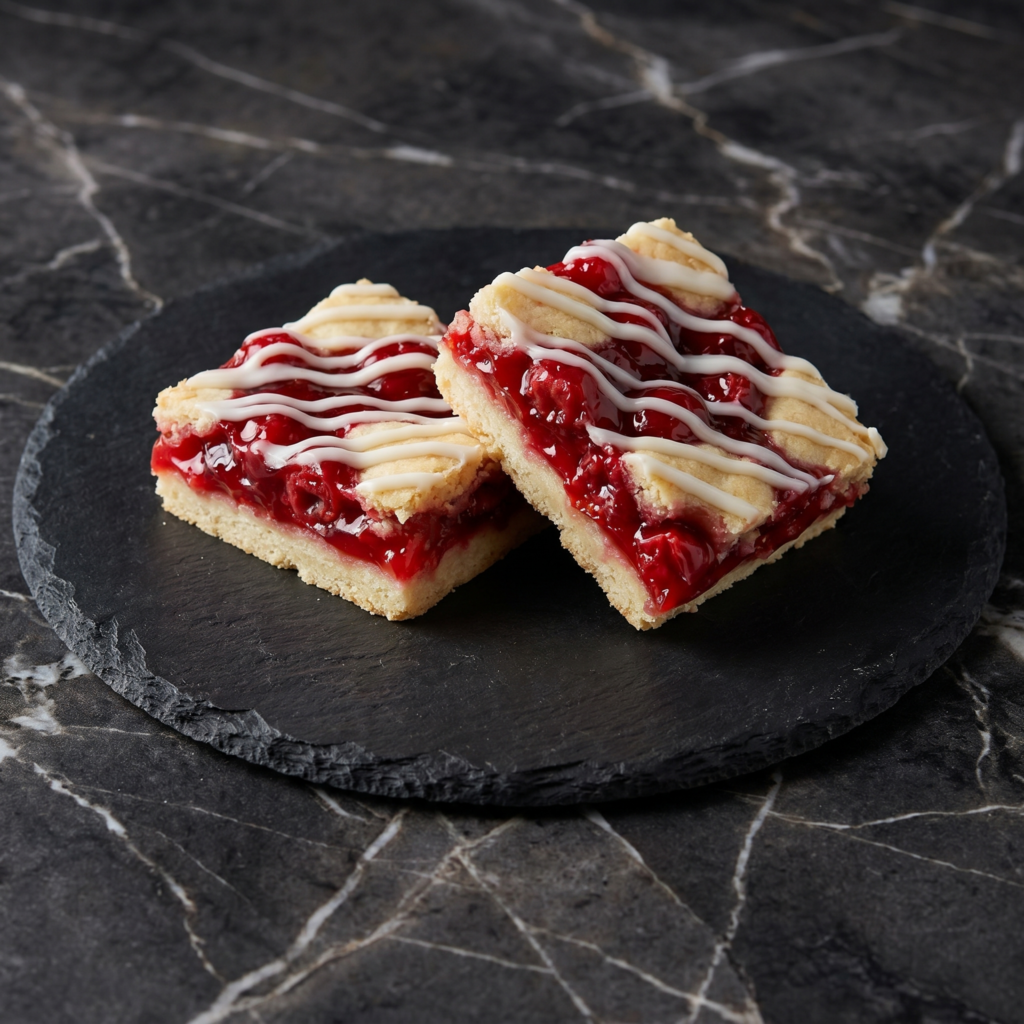
    Cherry Pie Bars (All the Flavor, None of the Fuss)

    Pie is wonderful. But let’s be honest: pie can be a project. The rolling, the chilling, the crimping, the fear of a soggy bottom. These Cherry Pie Bars are the answer.

    They have everything you love about cherry pie—that sweet-tart filling, the buttery crust, the crumbly topping—but in an easy, sliceable bar form that comes together in minutes. A buttery shortbread crust, a generous layer of cherry pie filling, and a golden oat crumble topping bake into the most irresistible dessert.

    Serve them warm with vanilla ice cream, pack them for picnics, or just stand at the counter and eat one (or three). No judgment here.

    The Secret to Perfectly Layered Pie Bars

    The key to great cherry pie bars is building the layers correctly. Start with a sturdy shortbread crust that’s pressed firmly into the pan—this creates a solid base that won’t crumble when you cut.

    The cherry filling goes right on top, and here’s the secret: use high-quality cherry pie filling or make your own with fresh or frozen cherries. The filling should be thick, not runny, so it doesn’t soak into the crust.

    The oat topping is the final layer, and the secret there is cold butter, cut into the dry ingredients until you have craggy, buttery clumps. Bake until golden and bubbly, cool completely (this is crucial for clean cuts), and you’ve got bars that taste like pie without the fuss.

    Ingredients

    For the Cherry Pie Bars (Makes 12-16 bars):

    • 2 cups (250g) all-purpose flour
    • ½ cup (100g) granulated sugar
    • ¼ teaspoon salt
    • 1 cup (226g) cold unsalted butter, cut into small cubes
    • 1 teaspoon vanilla extract
    • 1 can (21 oz) cherry pie filling (or about 2 cups homemade cherry filling)

    For the Oat Crumble Topping:

    • 1 cup (125g) all-purpose flour
    • ½ cup (100g) packed brown sugar
    • ½ cup (45g) old-fashioned rolled oats
    • ½ teaspoon cinnamon
    • ¼ teaspoon salt
    • ½ cup (113g) cold unsalted butter, cut into small cubes

    For Serving (Optional):

    • Powdered sugar, for dusting
    • Vanilla ice cream or whipped cream

    Instructions

    1. Preheat and Prep: Preheat your oven to 375°F (190°C). Grease a 9×13-inch baking pan or line it with parchment paper, leaving overhang on the long sides for easy removal.

    2. Make the Crust: In a large bowl, combine the flour, granulated sugar, and salt. Add the cold butter cubes and vanilla extract. Use a pastry blender, fork, or your fingertips to cut the butter into the flour until the mixture resembles coarse crumbs with pea-sized butter pieces. Press the mixture firmly and evenly into the bottom of the prepared pan.

    3. Pre-Bake the Crust: Bake the crust for 15-18 minutes until lightly golden around the edges. Remove from the oven (leave oven on).

    4. Make the Oat Topping: In a separate bowl, combine the flour, brown sugar, oats, cinnamon, and salt. Add the cold butter cubes and cut in until the mixture forms craggy, buttery clumps of various sizes.

    5. Add Cherry Filling: Spread the cherry pie filling evenly over the warm pre-baked crust.

    6. Add Topping: Sprinkle the oat crumble topping evenly over the cherry layer, covering as much as possible.

    7. Bake: Bake for 25-30 minutes until the topping is golden brown and the filling is bubbly around the edges.

    8. Cool Completely: Let the bars cool completely in the pan on a wire rack. This is essential for clean slices—at least 2 hours.

    9. Slice: Once completely cool, use the parchment overhang to lift the bars out of the pan. Place on a cutting board and slice into squares or bars with a sharp knife.

    10. Serve: Dust with powdered sugar if desired and serve. Extra delicious with vanilla ice cream.

    11. Store: Store in an airtight container at room temperature for up to 3 days, or in the refrigerator for up to 5 days.

    Pro-Tips for Cherry Pie Bar Greatness

    • Use Cold Butter: Cold butter is essential for a flaky crust and crumbly topping. If the butter softens, pop the dough in the fridge for 10 minutes.
    • Cool Completely Before Slicing: Warm bars will fall apart. Patience is rewarded with clean, beautiful squares.
    • Make Your Own Filling: For an extra-special treat, make your own cherry filling with fresh or frozen cherries, sugar, and a little cornstarch.
    • Customize the Fruit: Swap cherry for apple, blueberry, peach, or any pie filling you love.
    • Serve Warm with Ice Cream: If you can’t resist warm bars, serve them in bowls with vanilla ice cream—soggy bars don’t matter when they’re à la mode.