Tag: budget meals

  • Crispy, Golden & Irresistible: Classic Potato Pancakes Done Right

    Crispy, Golden & Irresistible: Classic Potato Pancakes Done Right

    There’s something deeply comforting about classic potato pancakes.

    Crispy on the outside, tender on the inside, and packed with savory flavor, these golden beauties are a timeless favorite.

    Whether you grew up enjoying them during holidays, as a cozy weekend breakfast, or as a hearty side dish, potato pancakes never go out of style.

    Made from simple ingredients—grated potatoes, onion, eggs, and flour—this dish transforms pantry staples into something truly special.

    The key is achieving that perfect crispy crust while keeping the interior soft and flavorful.

    Let’s walk step by step through how to make classic potato pancakes perfectly every time.


    Why You’ll Love This Recipe

    • Crispy, golden exterior
    • Soft, fluffy interior
    • Simple, affordable ingredients
    • Perfect for breakfast, brunch, or dinner
    • Customizable with toppings

    These pancakes are humble yet incredibly satisfying.
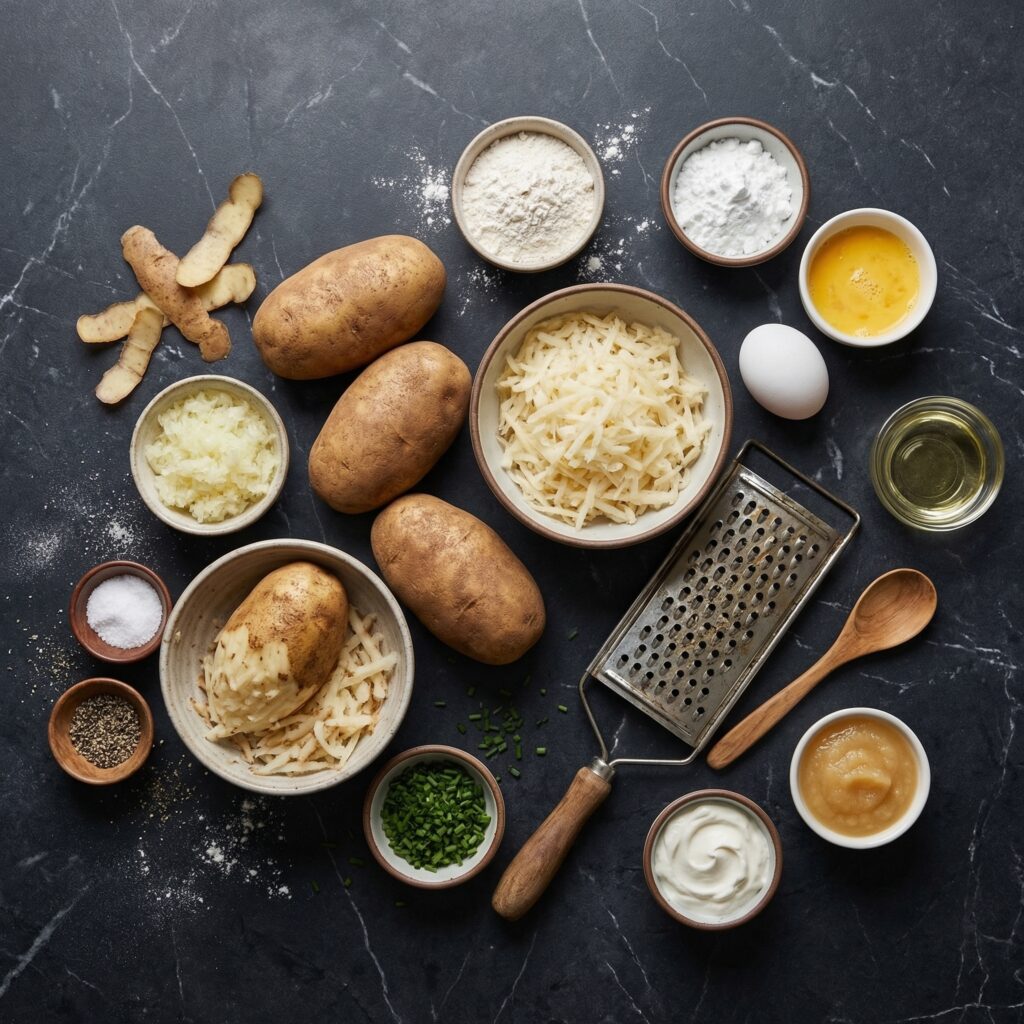

    Ingredients You’ll Need

    • 2 pounds russet potatoes (about 4–5 large potatoes)
    • 1 small yellow onion
    • 2 large eggs
    • ¼ cup all-purpose flour
    • 1 teaspoon salt
    • ½ teaspoon freshly ground black pepper
    • ½ teaspoon baking powder (optional, for lighter texture)
    • Vegetable oil for frying

    Optional for serving:

    • Sour cream
    • Applesauce
    • Fresh chives
    • Smoked salmon

    Step 1: Prepare the Potatoes

    Peel the potatoes and place them in a bowl of cold water to prevent browning.

    Using a box grater or food processor, grate the potatoes into long shreds.

    Immediately transfer the grated potatoes to a clean kitchen towel or cheesecloth.

    Squeeze out as much liquid as possible. This step is critical—removing excess moisture ensures crispy pancakes instead of soggy ones.

    Discard the liquid, but you may notice a layer of starch settling at the bottom of the bowl. You can add that starch back into the potato mixture for extra binding power.
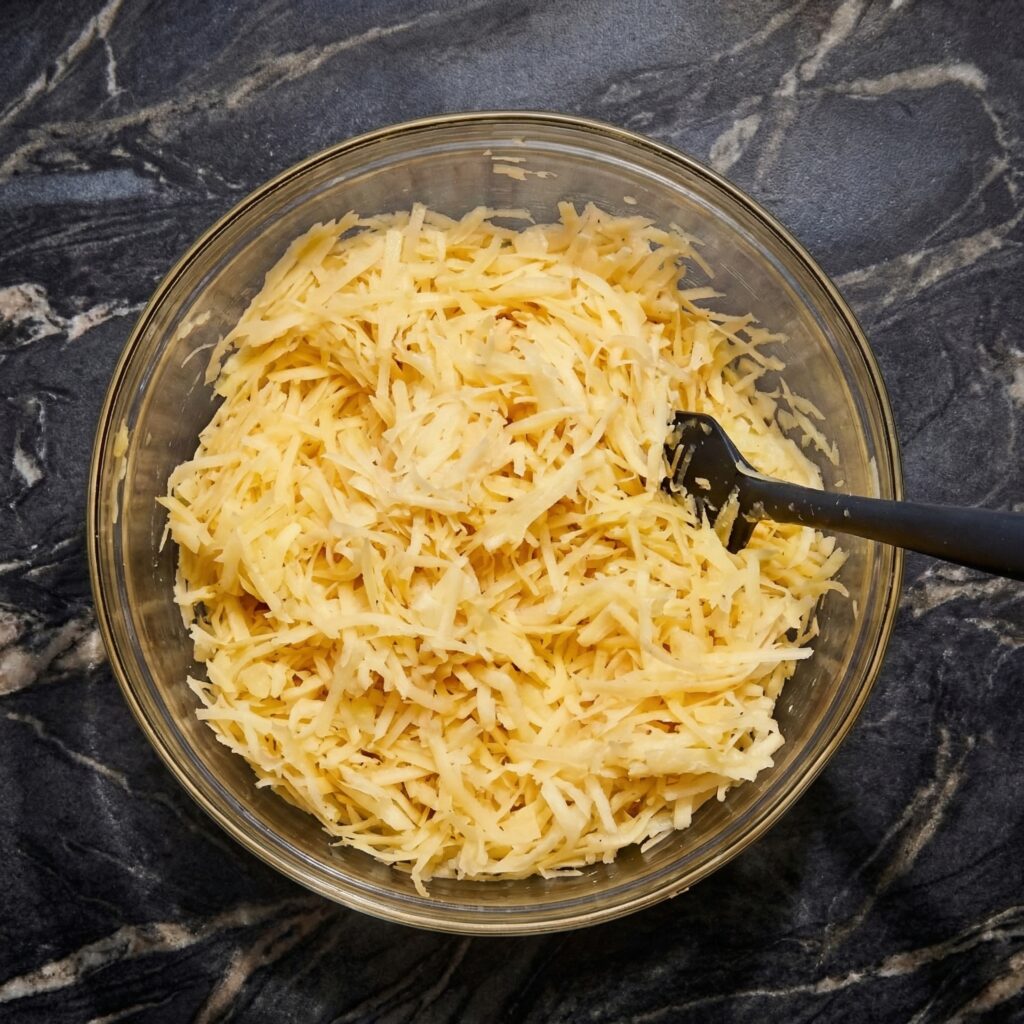

    Step 2: Grate the Onion

    Grate the onion using the same grater.

    The onion adds moisture and flavor, so mix it directly with the squeezed potatoes.

    The slight sharpness of raw onion mellows beautifully once fried.


    Step 3: Mix the Batter

    Transfer the potato and onion mixture to a large bowl.

    Add eggs, flour, salt, pepper, and baking powder if using.

    Stir until everything is evenly combined.

    The mixture should hold together when pressed but not feel overly wet.

    If it seems too loose, add an extra tablespoon of flour.


    Step 4: Heat the Oil

    Pour about ¼ inch of vegetable oil into a large skillet.

    Heat over medium-high heat until shimmering but not smoking.

    To test readiness, drop a small bit of the mixture into the oil. It should sizzle immediately.

    Proper oil temperature is key to achieving that crispy golden crust.


    Step 5: Shape the Pancakes

    Scoop about 2 tablespoons of the potato mixture and gently flatten it into a small patty in your hands.

    Carefully place it into the hot oil.

    Repeat without overcrowding the pan.

    Flatten slightly with a spatula to ensure even cooking.


    Step 6: Fry Until Golden

    Cook each pancake for 3–4 minutes per side.

    The edges should turn deep golden brown and crisp.

    Flip carefully once the underside is fully set.

    Avoid flipping too early, as this can cause them to fall apart.

    Adjust heat as needed to prevent burning while allowing the inside to cook through.


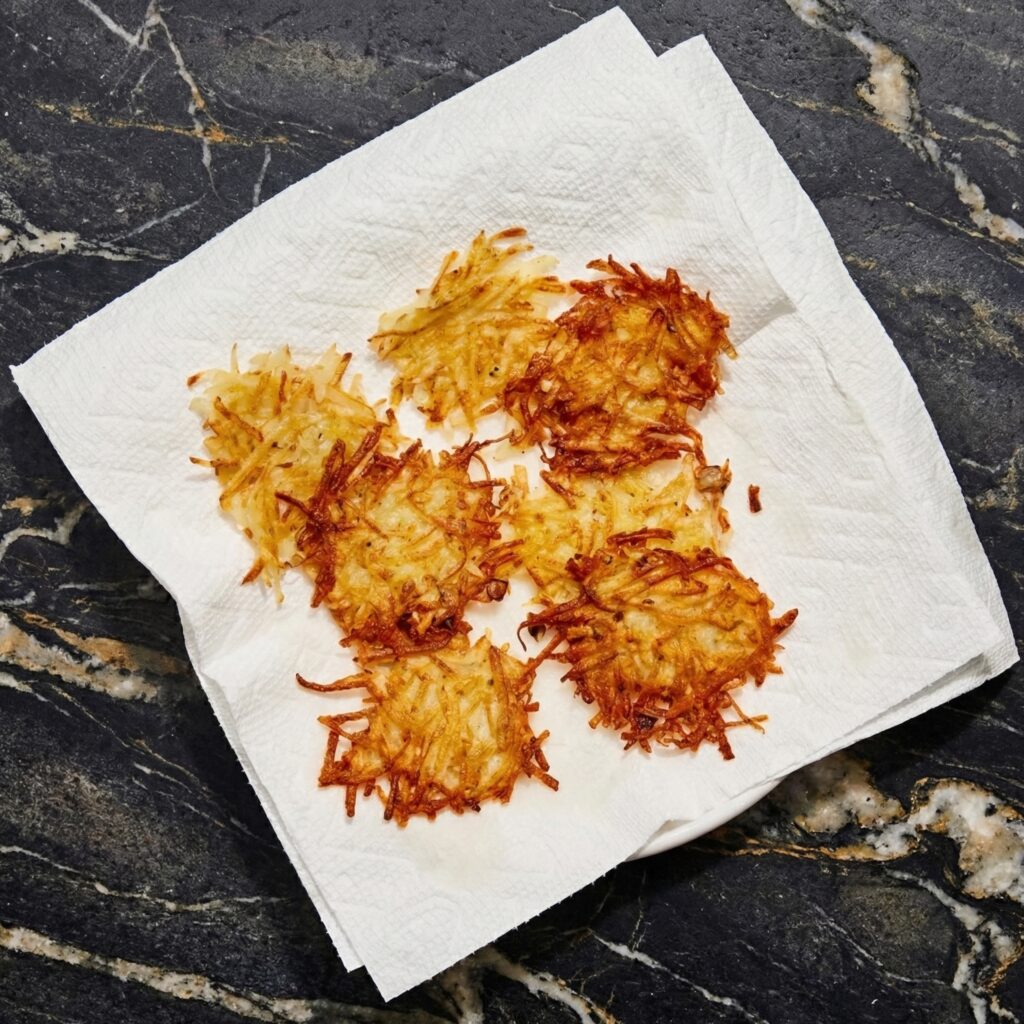
    Step 7: Drain and Keep Warm

    Transfer the cooked pancakes to a plate lined with paper towels to drain excess oil.

    For large batches, keep finished pancakes warm in a 200°F (95°C) oven while you finish frying the rest.

    This keeps them crisp and ready to serve.

    Step 8: Serve Immediately

    Classic potato pancakes are best enjoyed hot and fresh.

    Serve with:

    • A generous dollop of sour cream
    • A spoonful of applesauce for sweet contrast
    • Fresh chives for brightness
    • Smoked salmon for an elevated twist

    The contrast of crispy potato with cool, creamy toppings is irresistible.


    Tips for Extra Crispy Pancakes

    • Squeeze out as much liquid as possible from the potatoes.
    • Use russet potatoes for higher starch content.
    • Maintain consistent oil temperature.
    • Avoid overcrowding the pan.
    • Drain on a rack instead of stacking.

    Attention to moisture control is the secret to perfect texture.


    Make-Ahead and Storage

    While best fresh, leftovers can be stored in the refrigerator for up to 3 days.

    Reheat in a skillet over medium heat or in a 375°F oven to restore crispiness.

    Avoid microwaving, as it softens the crust.

    You can also freeze cooked pancakes in a single layer, then reheat directly from frozen in the oven.


    Flavor Variations

    Once you master the classic version, try:

    • Adding grated carrot or zucchini
    • Mixing in shredded cheddar cheese
    • Seasoning with garlic powder or paprika
    • Adding chopped herbs like parsley or dill

    Each variation adds personality while keeping the crispy base intact.


    Final Thoughts

    Classic potato pancakes are a celebration of simplicity. With just a few ingredients and proper technique, you can create golden, crispy patties that are comforting, satisfying, and full of flavor.

    The magic lies in the contrast—the crunchy exterior giving way to a soft, tender center. Whether served as a side dish, appetizer, or main course, they always bring warmth and nostalgia to the table.

    Once you master the art of squeezing, frying, and seasoning, you’ll find yourself returning to this recipe again and again.

    Crispy, golden, and utterly irresistible—this is potato perfection.
  • Crispy, Fiery, and Unforgettable: Mastering Classic Spicy Fried Chicken

    Crispy, Fiery, and Unforgettable: Mastering Classic Spicy Fried Chicken

    Few dishes can match the irresistible combination of crispy skin, juicy meat, and bold, fiery flavor that defines classic spicy fried chicken. From backyard cookouts to late-night cravings, this dish is comfort food elevated with a kick.

    Making it at home allows you to control every element—from the heat level to the crunch—resulting in a perfectly golden, mouthwatering masterpiece.

    This step-by-step guide will teach you how to make classic spicy fried chicken that’s crunchy on the outside, tender on the inside, and packed with flavor.

    Whether you’re a beginner or a seasoned cook, you’ll love how achievable this iconic dish is.


    Why You’ll Love This Recipe

    • Extra-crispy coating with a perfect crunch
    • Juicy, flavorful chicken with a spicy kick
    • Perfect for dinners, gatherings, or meal prep
    • Simple pantry ingredients with big flavor
    • Completely customizable heat level

    Classic spicy fried chicken is all about technique and seasoning, and once mastered, it becomes an all-time favorite.


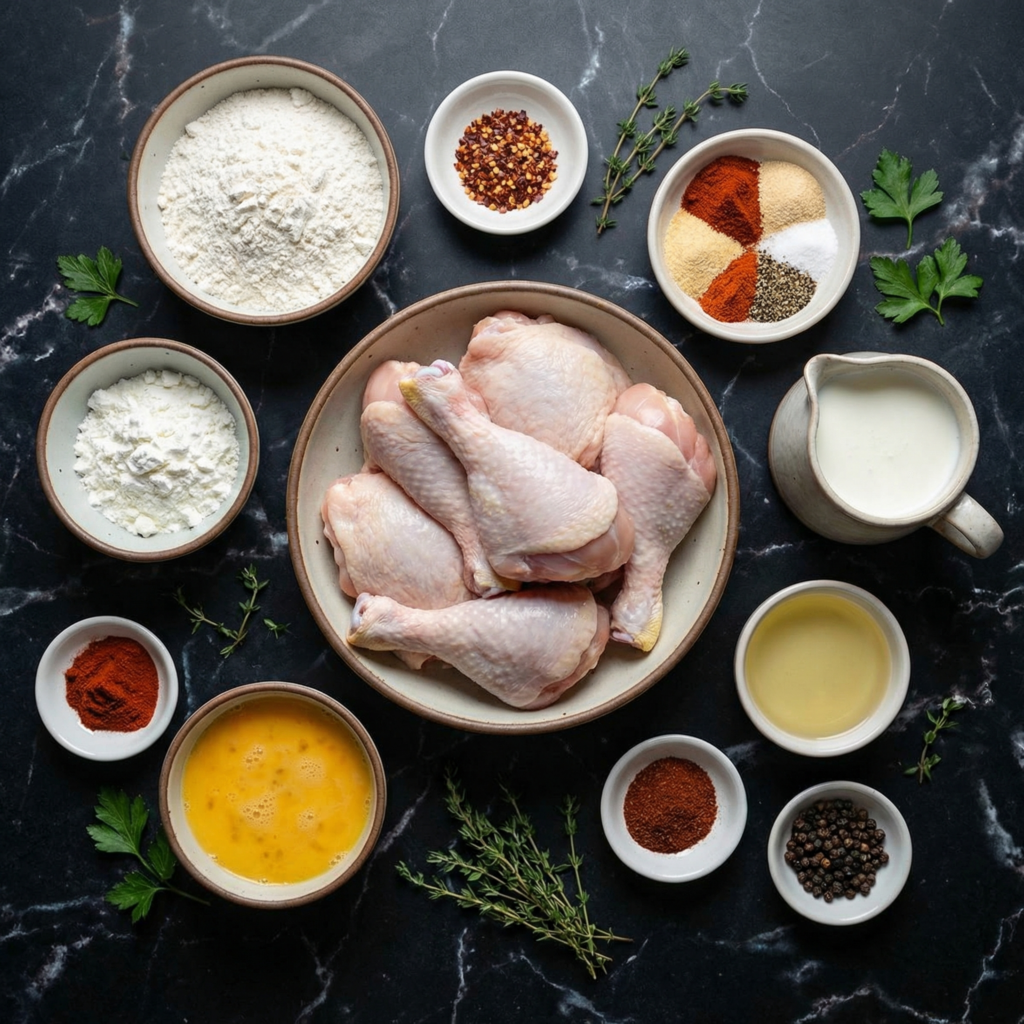
    Ingredients You’ll Need

    For the Chicken:

    • 3–4 pounds chicken pieces (legs, thighs, wings, or breasts)
    • 2 cups buttermilk
    • 1 teaspoon hot sauce (optional, for extra heat)
    • Salt and black pepper to taste

    For the Coating:

    • 2 cups all-purpose flour
    • 1 tablespoon paprika
    • 1 tablespoon cayenne pepper (adjust to taste)
    • 1 teaspoon garlic powder
    • 1 teaspoon onion powder
    • 1 teaspoon dried thyme or oregano
    • ½ teaspoon black pepper
    • 1 teaspoon salt

    For Frying:

    • Vegetable oil or canola oil, for deep frying (enough to fill 2–3 inches in a heavy skillet or Dutch oven)

    Optional for serving: lemon wedges, honey, or hot sauce for drizzling.


    Step 1: Brine the Chicken (Optional but Recommended)

    For extra juiciness, soak the chicken in a simple brine for 1–2 hours or overnight.

    A basic brine can be made with 4 cups water, ¼ cup salt, and ¼ cup sugar. Rinse the chicken after brining and pat dry.

    Brining ensures each bite is tender and flavorful all the way through.


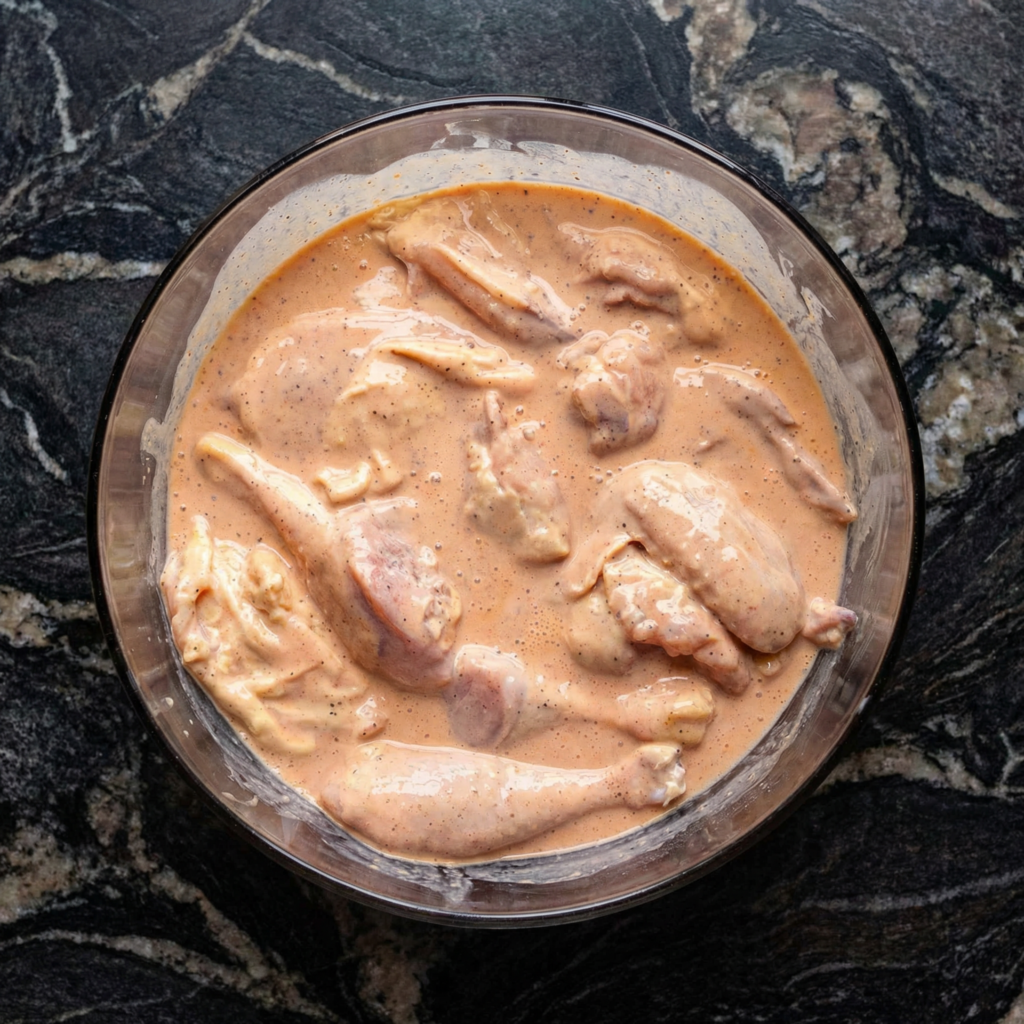
    Step 2: Marinate in Buttermilk

    In a large bowl, mix the buttermilk with 1 teaspoon hot sauce and a pinch of salt and pepper.

    Submerge the chicken pieces completely and refrigerate for at least 2 hours, preferably overnight.

    The acidity of the buttermilk tenderizes the meat while imparting subtle tang that complements the spicy coating.


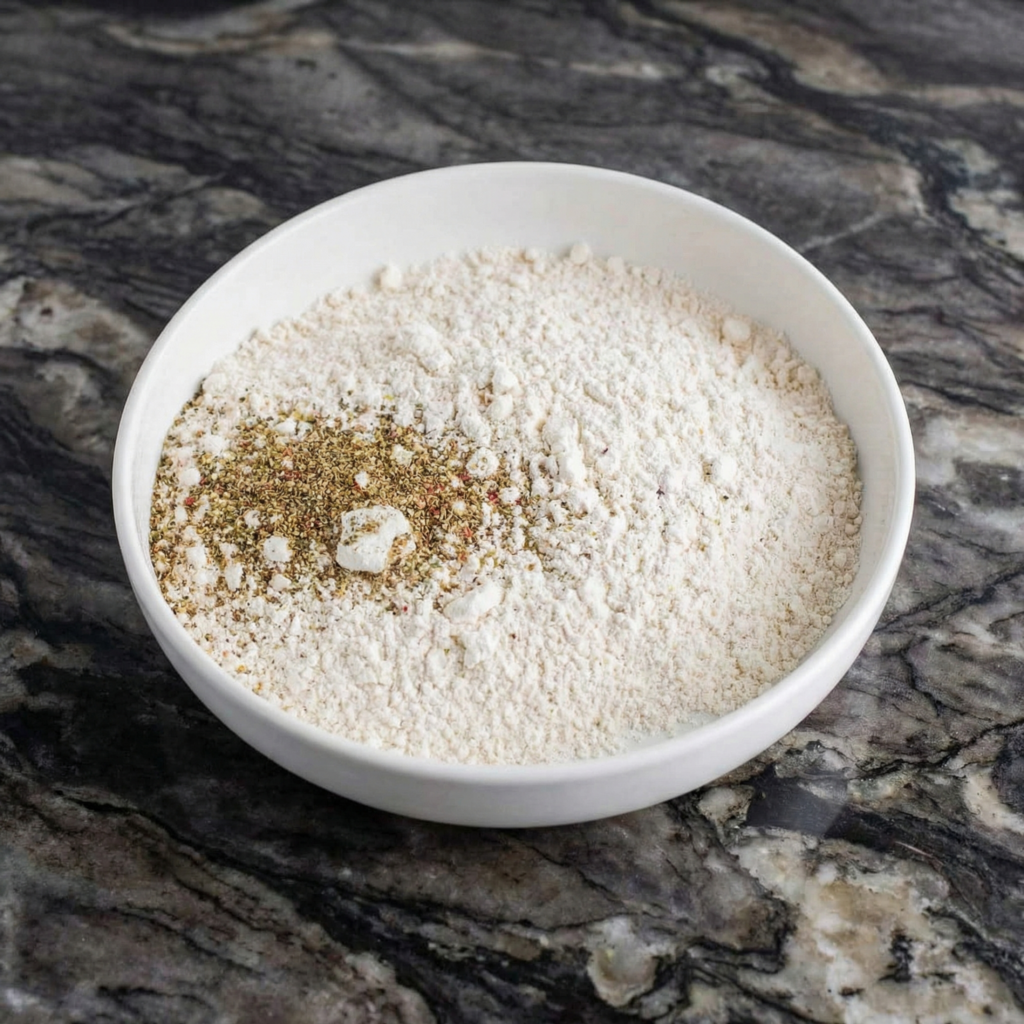
    Step 3: Prepare the Flour Coating

    In a shallow dish, combine flour, paprika, cayenne pepper, garlic powder, onion powder, dried thyme, salt, and black pepper.

    Mix thoroughly so that all spices are evenly distributed.

    This seasoned flour is the secret to achieving that flavorful, fiery crust.


    Step 4: Dredge the Chicken

    Remove the chicken from the buttermilk, allowing excess to drip off.

    Coat each piece thoroughly in the seasoned flour mixture. Press gently so the flour adheres well.

    For extra crunch, double dredge by dipping back into the buttermilk and then into the flour again.

    Place coated pieces on a wire rack while preparing the oil. Avoid stacking to prevent sticking.


    Step 5: Heat the Oil

    Pour oil into a heavy skillet, deep frying pan, or Dutch oven until it reaches 2–3 inches deep.

    Heat to 350°F (175°C) using a candy or deep-fry thermometer.

    Maintaining the proper temperature is crucial: too low and the chicken absorbs oil; too high and the coating burns before the meat cooks.


    Step 6: Fry the Chicken

    Carefully lower a few pieces of chicken into the hot oil. Do not overcrowd the pan.

    Fry for 12–15 minutes for wings or smaller pieces, and 18–20 minutes for larger thighs or breasts, turning occasionally for even browning.

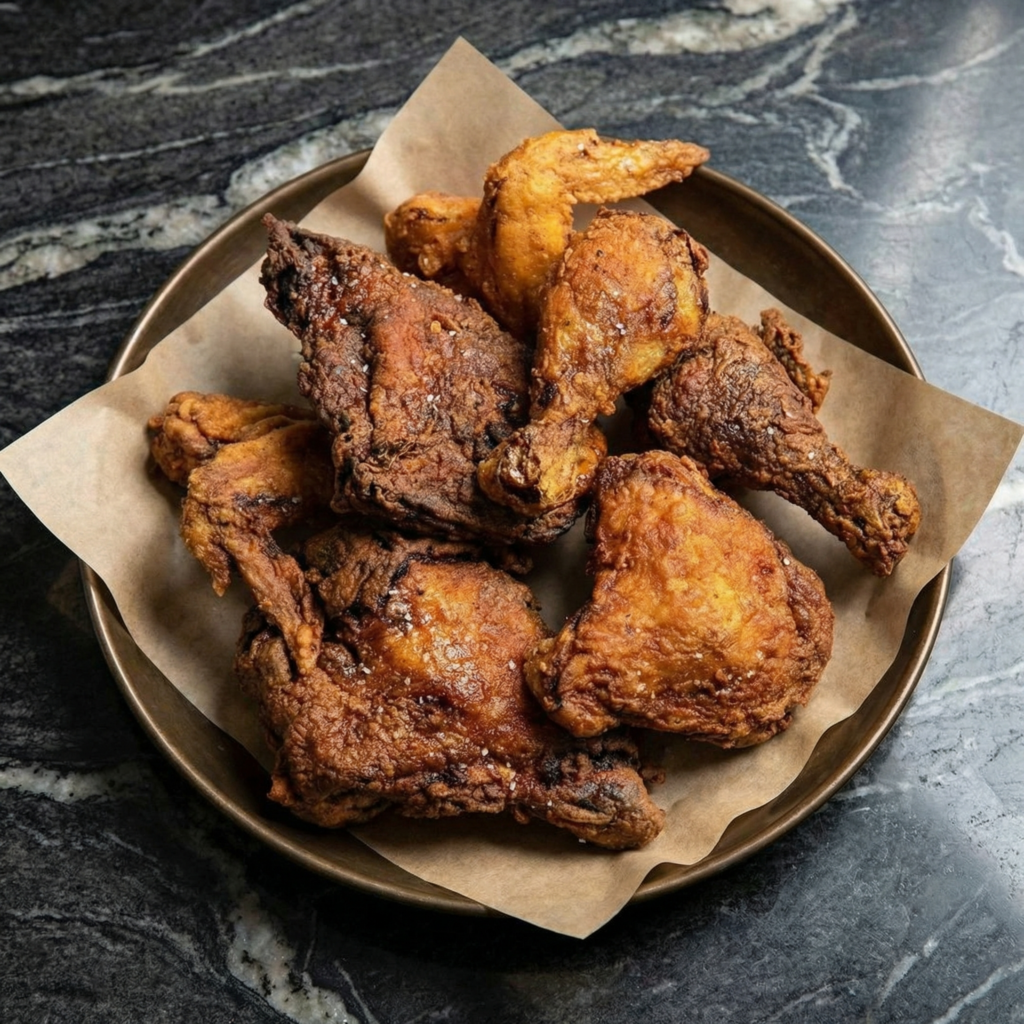
    The crust should turn golden brown, crispy, and flavorful.

    Check doneness with a thermometer: chicken should reach an internal temperature of 165°F (74°C).


    Step 7: Drain and Rest

    Remove chicken from the oil and place on a wire rack set over a baking sheet.

    This allows excess oil to drain and keeps the crust crunchy. Avoid paper towels, which can make the coating soggy.

    Let rest for 5–10 minutes before serving.


    Step 8: Serve and Enjoy

    Serve your classic spicy fried chicken hot with your favorite sides: coleslaw, mashed potatoes, cornbread, or pickles.

    Optional extras: drizzle honey for a sweet-spicy contrast or squeeze fresh lemon for brightness.

    The combination of heat, crunch, and juicy meat makes this dish irresistible.


    Tips for Extra Crispy, Spicy Chicken

    • Keep the chicken cold before frying for better crust adherence.
    • Maintain oil temperature for even cooking.
    • Double dredge for extra crunchy exterior.
    • Use a wire rack instead of paper towels to preserve crispiness.
    • Adjust cayenne pepper to control heat level.

    Small adjustments can make a big difference in texture and flavor.


    Make-Ahead and Storage

    Cooked fried chicken can be stored in the refrigerator for up to 3 days.

    Reheat in a 375°F oven for 10–12 minutes to restore crispiness.

    Avoid microwaving, which can make the coating soft and chewy.

    Leftover chicken also makes excellent sandwiches or salads.


    Variations

    Once you’ve mastered the classic version, try these variations:

    • Honey Hot Chicken: drizzle honey over the fried chicken before serving.
    • Buttermilk-Brined Extra Hot: increase cayenne and add hot sauce to the brine.
    • Southern Style: add a teaspoon of smoked paprika and a pinch of cayenne for deeper flavor.
    • Crunchy Cornflake Coating: mix crushed cornflakes with the flour for extra crunch.

    The possibilities are endless while maintaining the crispy, spicy foundation.


    Final Thoughts

    Classic spicy fried chicken is a dish that never goes out of style. With its crispy, golden exterior, tender, juicy interior, and bold kick of spice, it’s comfort food at its finest.

    While it might seem intimidating, this recipe shows that with proper preparation, attention to temperature, and seasoning, you can make restaurant-quality fried chicken at home.

    Whether for family dinners, parties, or a weekend indulgence, this spicy fried chicken will become a go-to favorite. Crispy, flavorful, and fiery, it’s a dish that will leave everyone coming back for seconds.

    Golden, spicy, and utterly irresistible—classic fried chicken done right.

  • Smash Burger Tacos: The Ultimate Crispy Smashburger Taco Recipe Everyone Is Obsessed With

    Smash Burger Tacos: The Ultimate Crispy Smashburger Taco Recipe Everyone Is Obsessed With

    If you love juicy smash burgers and crispy tacos, this viral Smash Burger Tacos recipe combines both into one irresistible dish.

    Featuring seasoned ground beef smashed directly onto tortillas, crispy seared edges, melted cheese, and fresh toppings, these easy smash burger tacos deliver bold flavor in under 30 minutes. Perfect for weeknight dinners, game-day meals, or casual entertaining, this recipe has quickly become one of the most popular TikTok smash burger taco recipes for good reason.

    This step-by-step guide shows you exactly how to make restaurant-style smash burger tacos at home with simple ingredients and perfect results every time.


    Why You’ll Love These Smash Burger Tacos

    This smashburger taco recipe combines the best textures and flavors—crispy beef, soft tortillas, melted cheese, and fresh toppings.

    Reasons this recipe stands out:

    • Quick and easy 30-minute meal
    • Crispy smash burger edges for maximum flavor
    • Family-friendly and customizable
    • Perfect for parties, cookouts, or taco nights
    • Minimal ingredients with big flavor payoff

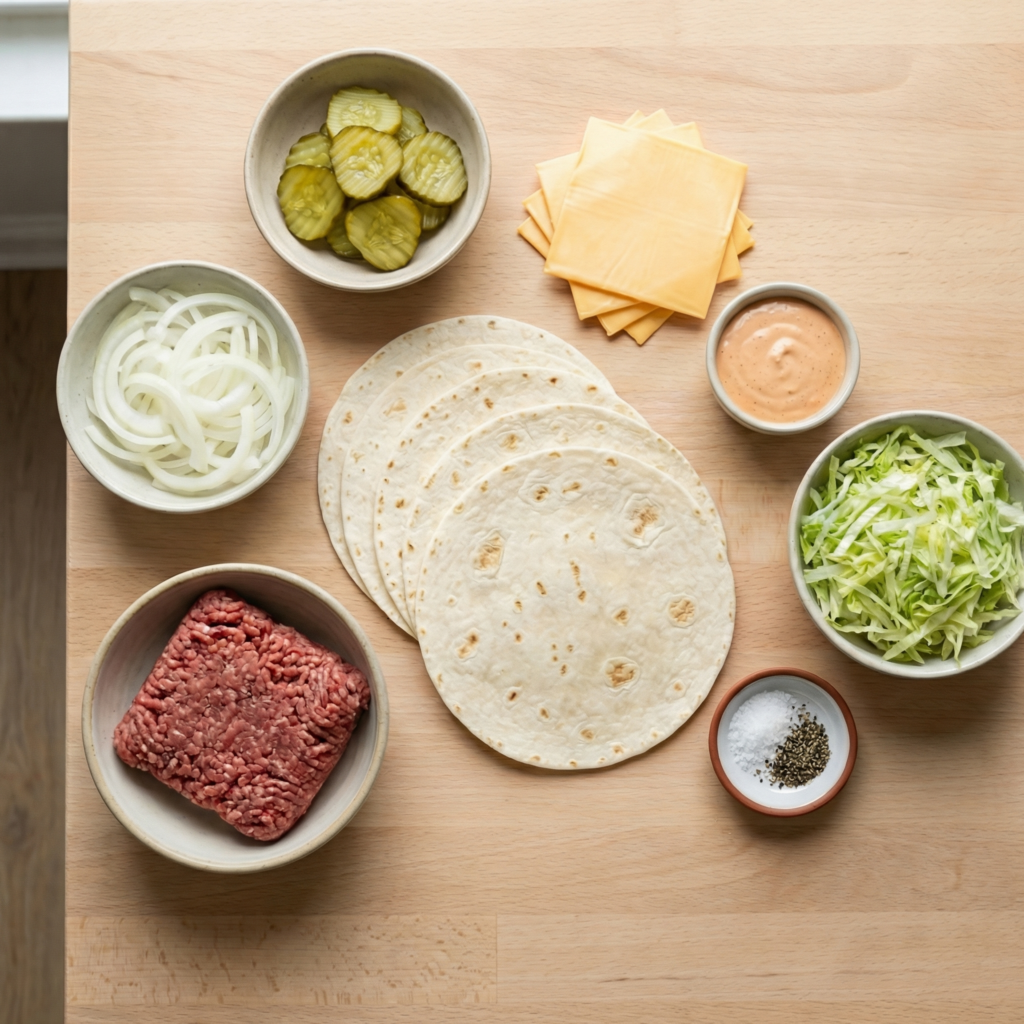
    Ingredients for Smash Burger Tacos

    Using simple ingredients makes this recipe fast and accessible.

    Main Ingredients

    • 1 pound ground beef (80/20 recommended)
    • 8 small flour tortillas
    • Salt and black pepper
    • 8 slices American cheese or cheddar cheese
    • 1 tablespoon cooking oil (if needed)

    Classic Burger Toppings

    • Shredded lettuce
    • Diced tomatoes
    • Pickles
    • Sliced onions

    Burger Sauce (Optional but Recommended)

    • ½ cup mayonnaise
    • 2 tablespoons ketchup
    • 1 tablespoon mustard
    • 1 tablespoon pickle relish
    • ½ teaspoon garlic powder

    How to Make Smash Burger Tacos (Step-by-Step)

    Step 1: Prepare the Burger Sauce

    In a small bowl, mix mayonnaise, ketchup, mustard, relish, and garlic powder until smooth. Refrigerate while preparing the tacos so the flavors blend together. This simple homemade sauce adds the classic burger taco flavor.


    Step 2: Divide the Ground Beef

    Divide the ground beef into 8 equal portions (about 2 ounces each). Roll lightly into balls without packing too tightly to keep the burgers tender.


    Step 3: Press Beef onto Tortillas

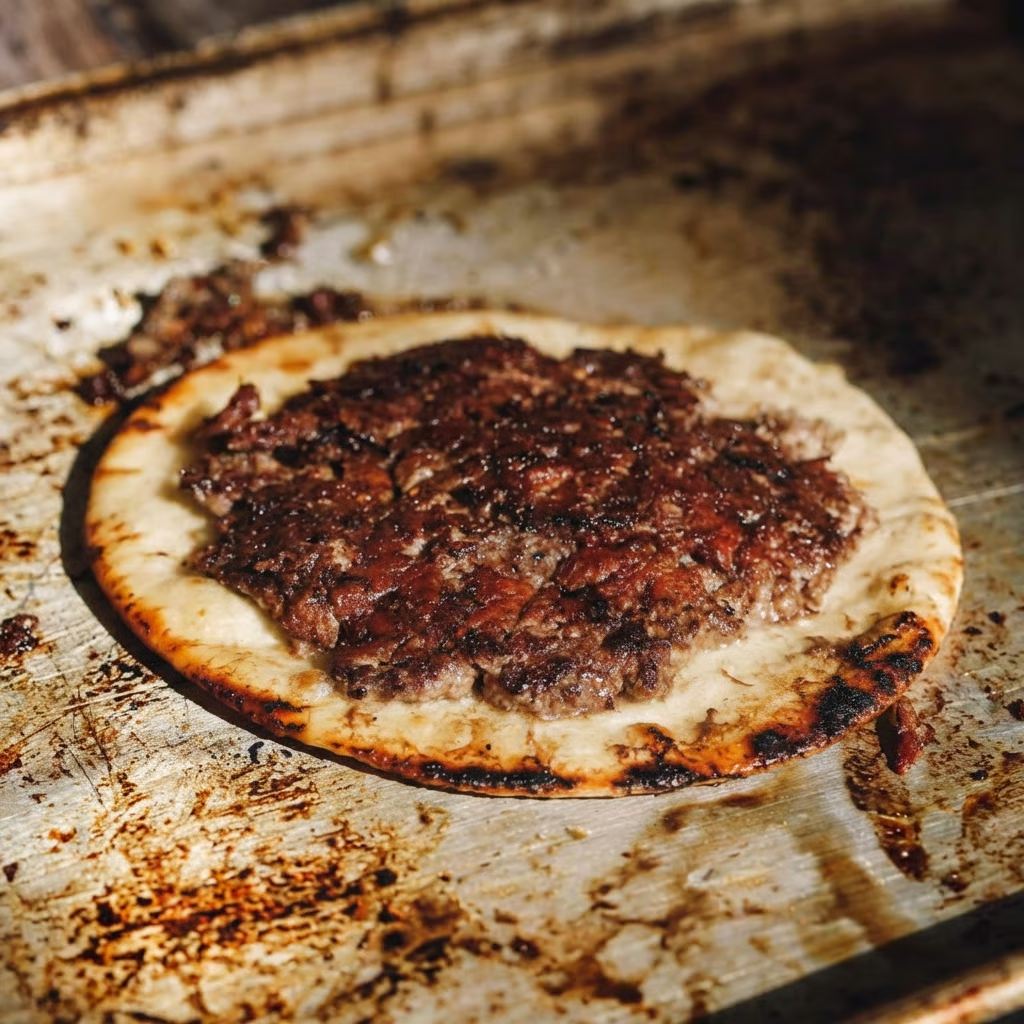
    Place each tortilla flat on a clean surface. Spread one portion of ground beef evenly across one side of the tortilla, pressing it thin so it covers most of the surface. Season lightly with salt and pepper.

    This step is key to achieving the signature crispy smash burger taco crust.


    Step 4: Heat the Skillet

    Heat a large cast-iron skillet or flat-top griddle over medium-high heat. If your pan is well-seasoned, oil may not be necessary, but lightly greasing the surface can help prevent sticking.


    Step 5: Cook the Beef Side First

    Place each tortilla beef-side down onto the hot skillet. Press gently with a spatula to ensure even contact with the pan. Cook for about 2–3 minutes until the beef develops a crispy brown crust.


    Step 6: Flip and Add Cheese

    Carefully flip the tortilla so the tortilla side touches the pan. Immediately place a slice of cheese on top of the cooked beef. Cook for another 1–2 minutes until the tortilla becomes lightly golden and the cheese melts.


    Step 7: Remove and Add Toppings

    Transfer the cooked smash burger taco to a plate. Add shredded lettuce, diced tomatoes, onions, pickles, and a drizzle of the prepared burger sauce.


    Step 8: Fold and Serve

    Fold the taco in half and serve immediately while hot and crispy. Repeat with remaining tortillas and beef portions.


    Pro Tips for the Best Smash Burger Tacos

    • Use 80/20 ground beef for the best flavor and crisp edges.
    • Spread the beef thinly to create a proper smashburger crust.
    • Cook on high heat for better caramelization.
    • Add cheese immediately after flipping for perfect melting.
    • Serve immediately to maintain crispiness.

    Easy Smash Burger Taco Variations

    This burger taco recipe is easy to customize depending on flavor preferences.

    Popular variations include:

    • Bacon Smash Burger Tacos: Add crispy bacon strips before folding.
    • Spicy Smash Tacos: Add jalapeños or spicy mayo.
    • BBQ Burger Tacos: Drizzle barbecue sauce instead of burger sauce.
    • Double Cheeseburger Tacos: Add extra cheese slices.
    • Low-Carb Version: Use low-carb tortillas.

    Serving Suggestions

    These crispy smash burger tacos pair perfectly with:

    • French fries
    • Onion rings
    • Coleslaw
    • Pickle spears
    • Potato wedges
    • Classic milkshakes

    They also make excellent party foods when served in smaller taco portions for gatherings.


    Storage and Reheating Tips

    Smash burger tacos are best eaten fresh, but leftovers can be stored in an airtight container in the refrigerator for up to 2 days. Reheat in a skillet over medium heat to restore crispness. Avoid microwaving if possible, as it softens the tortilla.

    For meal prep, prepare toppings and sauce ahead of time, then cook tacos fresh for the best texture.


    Frequently Asked Questions

    Can I use corn tortillas instead of flour tortillas?
    Yes, but flour tortillas hold the beef better and provide the classic smash burger taco texture.

    What cheese works best for smash burger tacos?
    American cheese melts smoothly and gives the classic burger flavor, but cheddar, Monterey Jack, or pepper jack also work well.

    Why are my smash burger tacos not crispy?
    The pan may not be hot enough, or the beef layer may be too thick. Ensure high heat and press the beef thinly onto the tortilla.


    Final Thoughts

    These Smash Burger Tacos are the ultimate fusion comfort food, combining the crispy edges of a smashburger with the convenience of handheld tacos.

    With juicy seasoned beef, melted cheese, fresh toppings, and creamy burger sauce wrapped in a lightly toasted tortilla, this viral recipe delivers bold flavor with minimal effort.

    Whether you’re planning taco night, a casual family dinner, or a game-day spread, this easy smash burger tacos recipe is guaranteed to become a repeat favorite thanks to its simplicity, crunch, and irresistible burger-inspired taste.