Tag: breakfast recipe

  • Chorizo Breakfast Tacos: Wake Up to Flavor

    Chorizo Breakfast Tacos: Wake Up to Flavor

    Breakfast tacos are the perfect way to start the day—especially when they’re filled with spicy, savory chorizo and eggs. This Texas-Mexico border classic combines flavorful Mexican chorizo with fluffy scrambled eggs, all wrapped in warm corn or flour tortillas and topped with fresh cilantro, onions, cheese, and a drizzle of crema.

    They’re quick, satisfying, and endlessly customizable. Whether you’re feeding a crowd on a weekend morning or just treating yourself to a special breakfast, these chorizo breakfast tacos deliver big flavor.

    Ingredients

    For the Chorizo and Eggs (serves 4):

    • 8 oz (225g) Mexican chorizo, casings removed
    • 8 large eggs
    • 2 tablespoons milk or water
    • Salt and pepper to taste (go easy on salt—chorizo is salty)
    • 1 tablespoon butter or oil

    For Serving:

    • 8-12 small corn or flour tortillas
    • ½ cup crumbled queso fresco or cotija cheese
    • ½ cup diced white onion
    • ½ cup chopped fresh cilantro
    • Crema or sour cream
    • 1 avocado, sliced
    • Lime wedges
    • Hot sauce

    Optional Toppings:

    • Pickled jalapeños
    • Salsa verde or roja
    • Refried beans

    Instructions

    1. Prepare the Toppings: Dice the onion, chop the cilantro, crumble the cheese, slice the avocado, and set everything out in small bowls for easy assembly.

    2. Warm the Tortillas: Wrap the tortillas in a damp paper towel and microwave for 30-60 seconds, or heat in a dry skillet until warm and pliable. Keep covered.

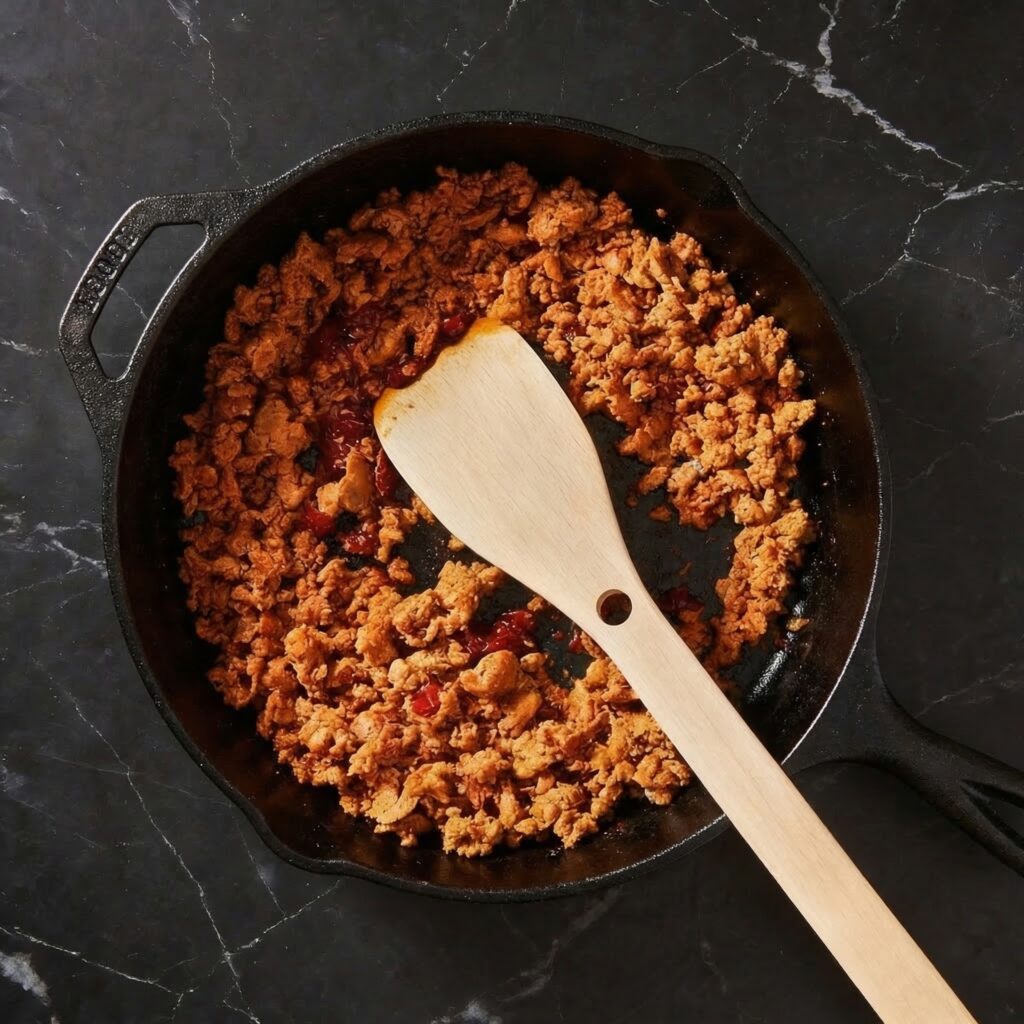
    3. Cook the Chorizo: In a large skillet over medium-high heat, add the chorizo. Cook, breaking it up with a spoon, until browned and cooked through, about 5-7 minutes. The chorizo will release a lot of orange-red oil—this is flavor!
    4. Whisk the Eggs: In a bowl, whisk the eggs with the milk or water until well combined. Season with a pinch of pepper and very little salt (the chorizo is already salty).

    5. Scramble Together: Reduce heat to medium. Push the cooked chorizo to one side of the skillet. Add the butter or oil to the empty side, then pour in the eggs. Scramble the eggs gently, folding them occasionally, until just set but still soft. Mix the chorizo and eggs together.

    6. Assemble the Tacos: Spoon the chorizo and egg mixture into the warm tortillas. Top with crumbled queso fresco, diced onion, fresh cilantro, a drizzle of crema, and avocado slices. Serve with lime wedges and hot sauce.

    7. Serve Immediately: Breakfast tacos are best enjoyed right away.

    Pro-Tips for Chorizo Breakfast Taco Perfection

    • Use Mexican Chorizo: Look for fresh Mexican chorizo in the refrigerated section—it’s soft and needs to be cooked. Spanish chorizo is cured and won’t work the same way.
    • Don’t Overcook the Eggs: Soft, fluffy eggs are key. Remove them from heat while still slightly underdone—they’ll continue cooking.
    • Warm Tortillas Properly: Cold tortillas crack and aren’t as flavorful. Warm them until pliable.
    • Set Up a Taco Bar: Put all toppings in bowls and let everyone build their own.
    • Drain Excess Fat: If your chorizo is very greasy, you can drain some of the fat before adding the eggs.
    • Add Beans: Spread a layer of warm refried beans on the tortilla before adding the eggs for extra richness.
    • Make It a Meal: Serve with breakfast potatoes or refried beans on the side.
    • Double the Recipe: This recipe scales easily for feeding a crowd.

    These Chorizo Breakfast Tacos will wake you up to flavor—absolutely delicious.

  • Authentic Belgian Waffles: Crispy Yeasted Waffles with Deep Pockets

    Authentic Belgian Waffles: Crispy Yeasted Waffles with Deep Pockets

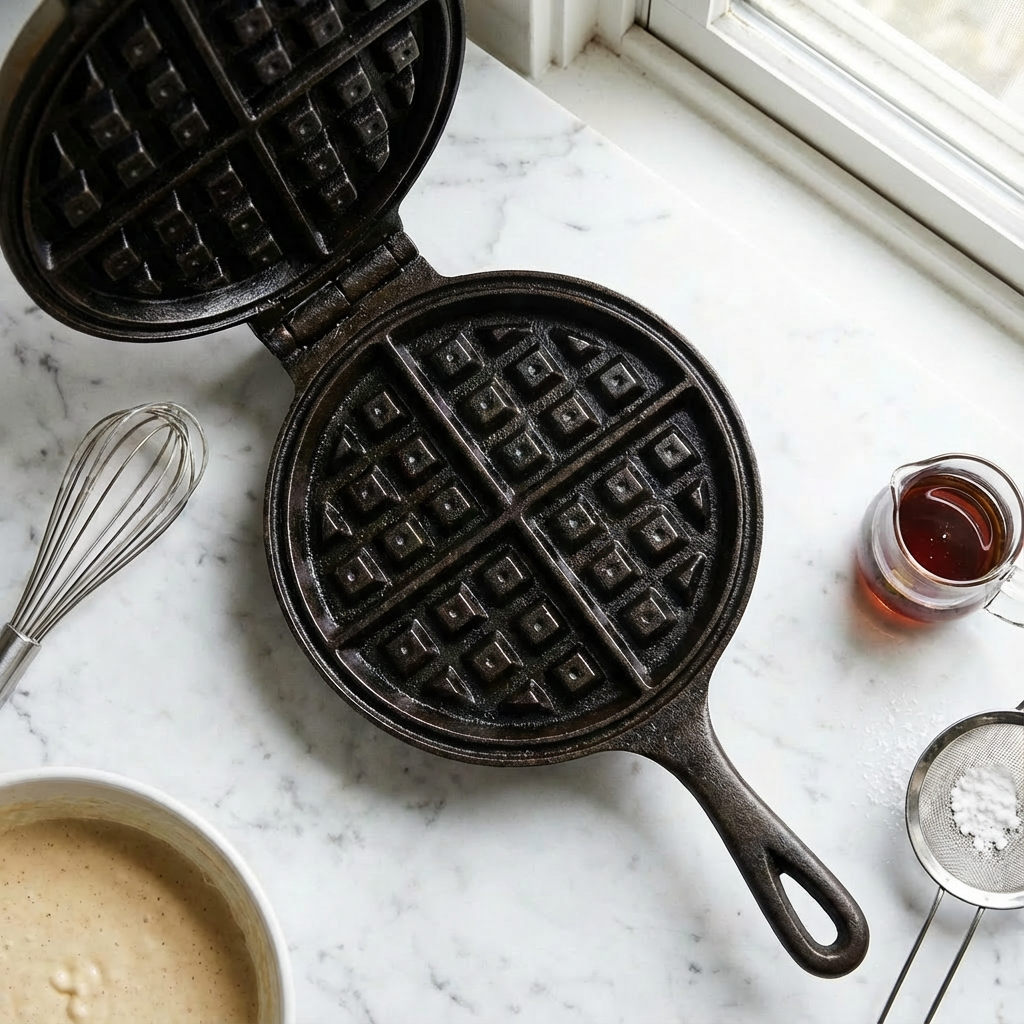
    True Belgian waffles are a different species altogether from their American counterparts. They are made from a yeasted batter (or dough) that rests overnight, developing incredible flavor and a light, airy structure. When cooked in a deep-pocketed waffle iron, they emerge with a shatteringly crisp, caramelized exterior and a soft, almost brioche-like interior.

    These waffles are substantial yet delicate, and their deep grids are engineered to hold pools of melted butter, syrup, and fruit. While they require planning ahead, the active work is minimal, and the result is a spectacular, restaurant-quality breakfast that’s worth the wait.

    The Science of the Crisp Exterior & Airy Interior

    The magic of an authentic Belgian waffle lies in the yeast and the high sugar content. The overnight fermentation allows yeast to slowly consume sugars, producing carbon dioxide and flavorful organic compounds.

    This creates a network of tiny air bubbles throughout the batter, resulting in an exceptionally light and tender crumb. The high amount of sugar (and often pearl sugar in Liège-style waffles) isn’t just for sweetness; it caramelizes on the hot iron, creating a thin, crisp, glossy shell. The use of both butter and oil ensures richness while contributing to browning.

    A Belgian waffle iron, with its deeper grids and higher clamping pressure, not only shapes the waffle but also provides more surface area for this caramelization and crisping to occur, creating the iconic contrast between the crunchy exterior and fluffy interior.

    Ingredients

    For the Overnight Batter:

    • 2 ¼ teaspoons (1 packet / 7g) active dry yeast
    • ¼ cup (60ml) warm water (105-115°F / 40-46°C)
    • 1 teaspoon granulated sugar
    • 2 cups (480ml) warm whole milk
    • ½ cup (1 stick / 113g) unsalted butter, melted and cooled slightly
    • 2 tablespoons light brown sugar
    • 1 teaspoon salt
    • 2 teaspoons vanilla extract
    • 2 large eggs, lightly beaten
    • 2 cups (250g) all-purpose flour

    For Cooking & Serving:

    • Non-stick cooking spray or melted butter, for the iron
    • Powdered sugar, fresh berries, whipped cream, maple syrup

    Instructions

    1. The Activated Yeast: In a small bowl, dissolve 1 tsp sugar in the warm water. Sprinkle the yeast over the top and let stand for 5-10 minutes until foamy.

    2. The Combined Liquid Base: In a large bowl, whisk together the warm milk, melted butter, brown sugar, salt, and vanilla extract.

    3. The Mixed Batter Before Resting: Whisk the foamy yeast mixture and the beaten eggs into the milk mixture. Gradually whisk in the flour until just combined and smooth. The batter will be thick but pourable.

    4. The Overnight-Risen Batter: Cover the bowl tightly with plastic wrap. Let it rest at room temperature for 1 hour, then refrigerate overnight (8-12 hours). The batter will rise, become bubbly, and almost double.

    5. The Prepared Waffle Iron: Preheat your Belgian waffle iron according to manufacturer’s instructions until very hot. Grease the grids lightly with cooking spray or melted butter.

    6. The Portioned Batter: Gently stir the risen batter to deflate it slightly. It will be very airy. Ladle the appropriate amount of batter onto the center of the lower grid (about ½ to ⅔ cup for a standard round Belgian iron).

    7. The Cooking Waffle: Close the lid and cook according to your iron’s instructions, usually for 4-5 minutes. Do not open the lid early. Steam will escape from the sides as it cooks.

    8. The Finished, Golden Waffle: The waffle is done when the steam nearly stops and it is deeply golden brown and crisp. Carefully remove it with a fork.

    9. The Served Waffle: Serve immediately while hot and crisp. Dust with powdered sugar and top with fresh berries, whipped cream, and/or maple syrup as desired.

    Pro-Tips for Waffle Perfection

    • Plan Ahead: The overnight rest is non-negotiable for flavor and texture.
    • Don’t Overmix: Mix the batter just until the flour is incorporated to avoid developing gluten, which can make the waffles tough.
    • Batter Consistency: The batter should be thick like a brownie batter. If it seems too thick after resting, you can gently fold in a tablespoon or two of milk.
    • Hot Iron is Key: A properly preheated iron ensures immediate caramelization and prevents sticking.
    • Resist Peeking: Opening the iron too early can tear the waffle and release steam needed for the rise.
    • Keep Waffles Warm & Crisp: Place cooked waffles in a single layer on a wire rack in a 200°F (95°C) oven. This keeps them warm and prevents them from getting soggy.
    • No Belgian Waffle Iron? A deep-pocketed “American” style iron can work, but the waffles will be thinner. You may need to reduce the batter amount per waffle.
    • Flavor Variations: Add ½ teaspoon of cinnamon or cardamom to the dry ingredients. Fold in fresh blueberries or chocolate chips into the batter just before cooking.
    • Make Ahead & Freeze: Let cooked waffles cool completely on a rack, then freeze in a single layer. Reheat in a toaster or oven for a quick, excellent breakfast.
    • Serving: Authentic Belgian waffles are often served simply with a dusting of powdered sugar, as their rich, caramelized flavor stands on its own.

    These Authentic Belgian Waffles turn an ordinary morning into a luxurious event.