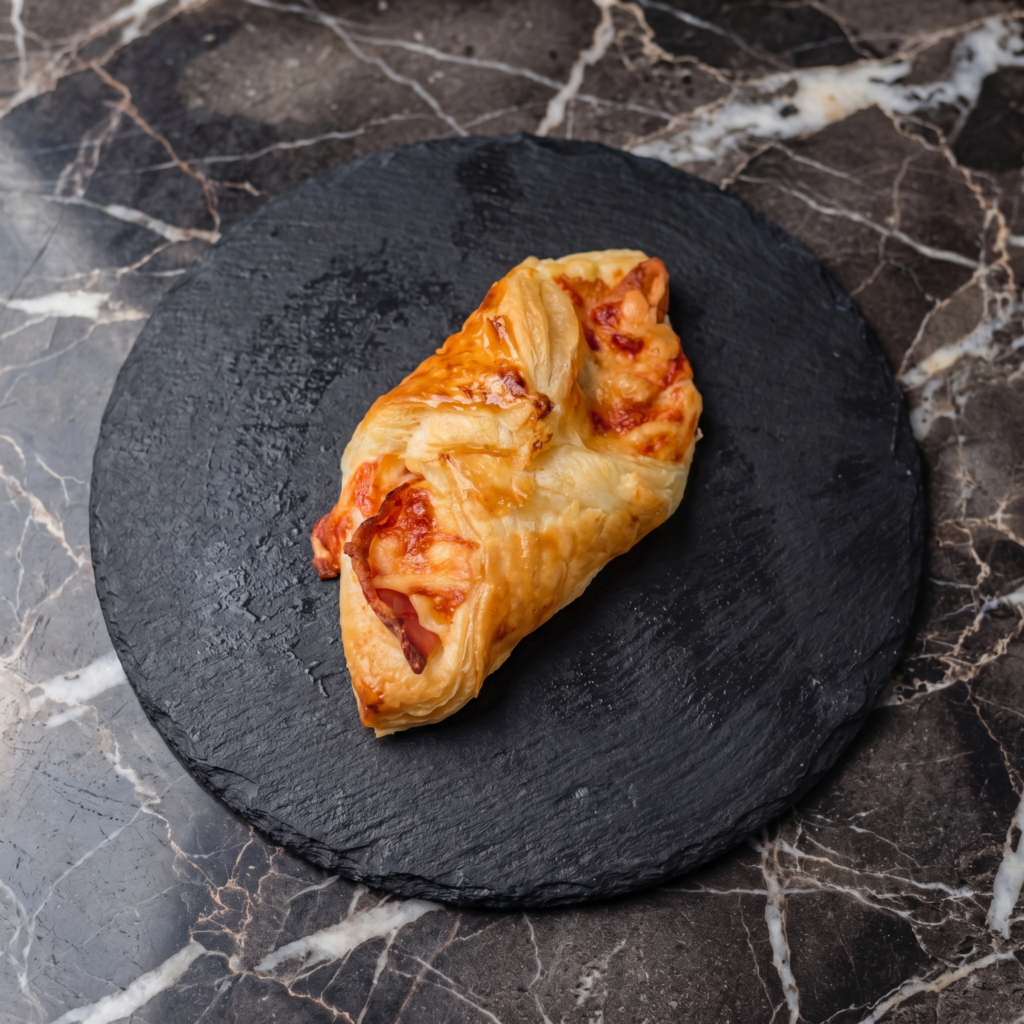
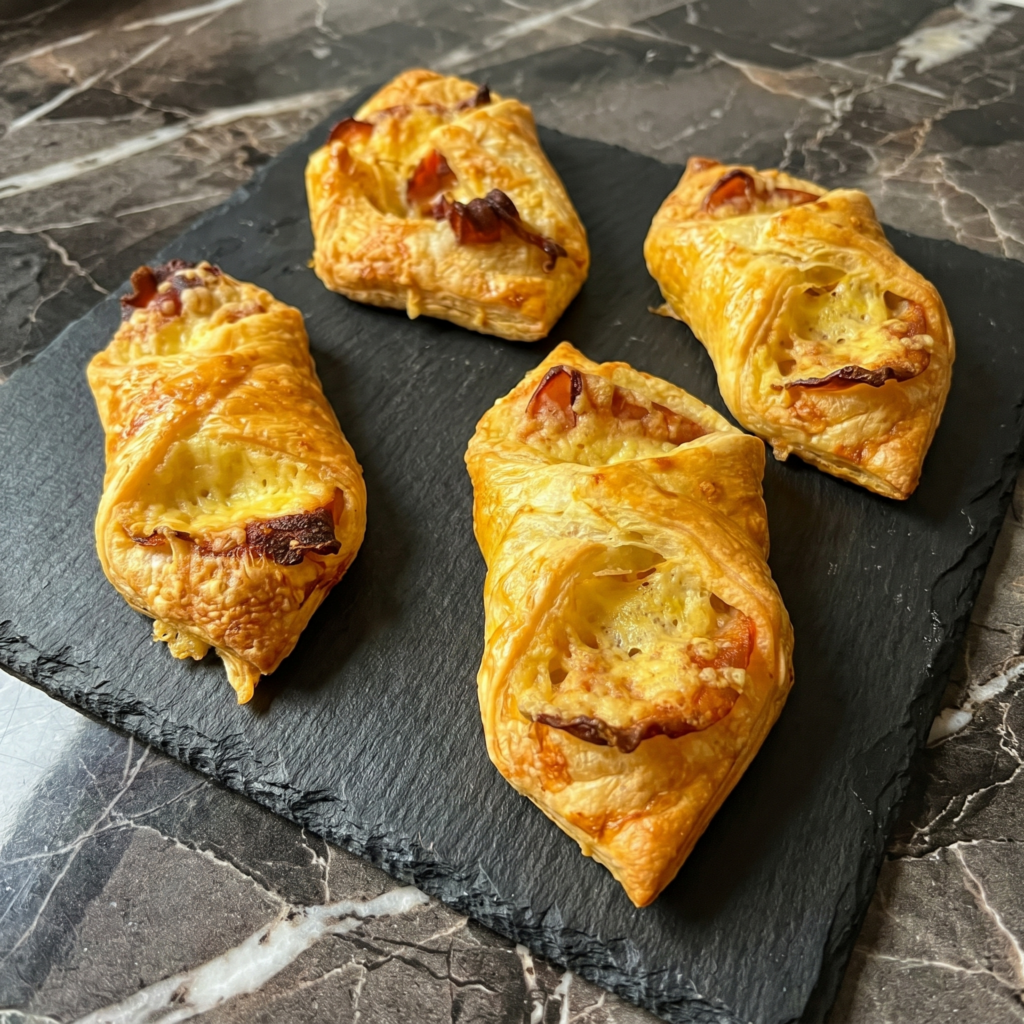
Puff pastry is a gift from the gods. Stuff it with bacon and cheese? Now we’re talking. These turnovers are flaky, buttery, salty, and ridiculously easy. No rolling. No fuss.
Twenty minutes. Four ingredients. Zero leftovers.
Ingredients
Makes 8 turnovers.
1 sheet frozen puff pastry, thawed
8 slices bacon, cooked crispy and crumbled
1 cup (100g) shredded cheddar or Gruyère cheese
1 egg, beaten (for egg wash)
Optional: black pepper, chives, or hot honey for drizzling
Step-by-Step Instructions
Step 1: Prep
Preheat oven to 400°F (200°C). Line a baking sheet with parchment paper.
Roll out puff pastry slightly (just to smooth seams). Cut into 8 squares.
Step 2: Fill
Spoon bacon and cheese into the center of each square. Don’t overstuff.
Fold diagonally into a triangle. Press edges with a fork to seal.
Step 3: Egg Wash & Bake
Brush tops with beaten egg. Cut a small slit for steam to escape.
Bake 15-18 minutes until puffed and golden brown.
Step 4: Serve
Cool 5 minutes. Drizzle with hot honey if you’re feeling fancy.
Experience the nostalgic joy of a honey bun, transformed into a breathtaking, from-scratch masterpiece. These buns begin with a rich, tender yeast dough that’s surprisingly simple to make. It’s filled with a spiced butter sweetened with real honey, then baked until golden and fragrant.
The final touch is a vibrant orange glaze that soaks in slightly, creating the perfect sticky-sweet bite. Warm from the oven, they redefine what a homemade breakfast pastry can be.
The Art of a Tender Yeast Dough & The Perfect Sticky Glaze
The secret to these buns’ incredible texture lies in an enriched dough—a yeasted dough that includes eggs, butter, and milk. These ingredients tenderize the gluten, resulting in a soft, pillowy crumb that’s sturdy enough to hold the swirl.
Using instant yeast streamlines the process, requiring no proofing in water. For the signature sticky quality, the glaze employs a two-part technique: a hot simple syrup (honey and orange juice) is brushed on the warm buns to penetrate and add moisture, followed by a thicker powdered sugar glaze that clings to the exterior.
The orange zest cuts the sweetness and creates a sophisticated, balanced flavor far beyond any store-bought version.
Ingredients
For the Sweet Dough:
¾ cup (180ml) whole milk, warm (about 110°F)
2 ¼ teaspoons (1 packet) instant yeast
¼ cup (50g) granulated sugar
1 large egg + 1 egg yolk, room temperature
¼ cup (½ stick / 57g) unsalted butter, melted and cooled
1 teaspoon salt
3 – 3 ½ cups (375-440g) all-purpose flour, divided
For the Honey-Cinnamon Filling:
¼ cup (½ stick / 57g) unsalted butter, very soft
⅓ cup (115g) honey
¼ cup (50g) packed light brown sugar
1 tablespoon ground cinnamon
½ teaspoon ground ginger (optional)
For the Orange Glaze:
⅓ cup (115g) honey
¼ cup (60ml) fresh orange juice
1 cup (120g) confectioners’ sugar, sifted
1 tablespoon orange zest
Pinch of salt
Instructions
1. Make and Let the Dough Rise: In the bowl of a stand mixer fitted with the dough hook, combine warm milk, yeast, and sugar. Let sit for 1 minute. Add the egg, egg yolk, melted butter, salt, and 3 cups of flour. Mix on low until a shaggy dough forms.
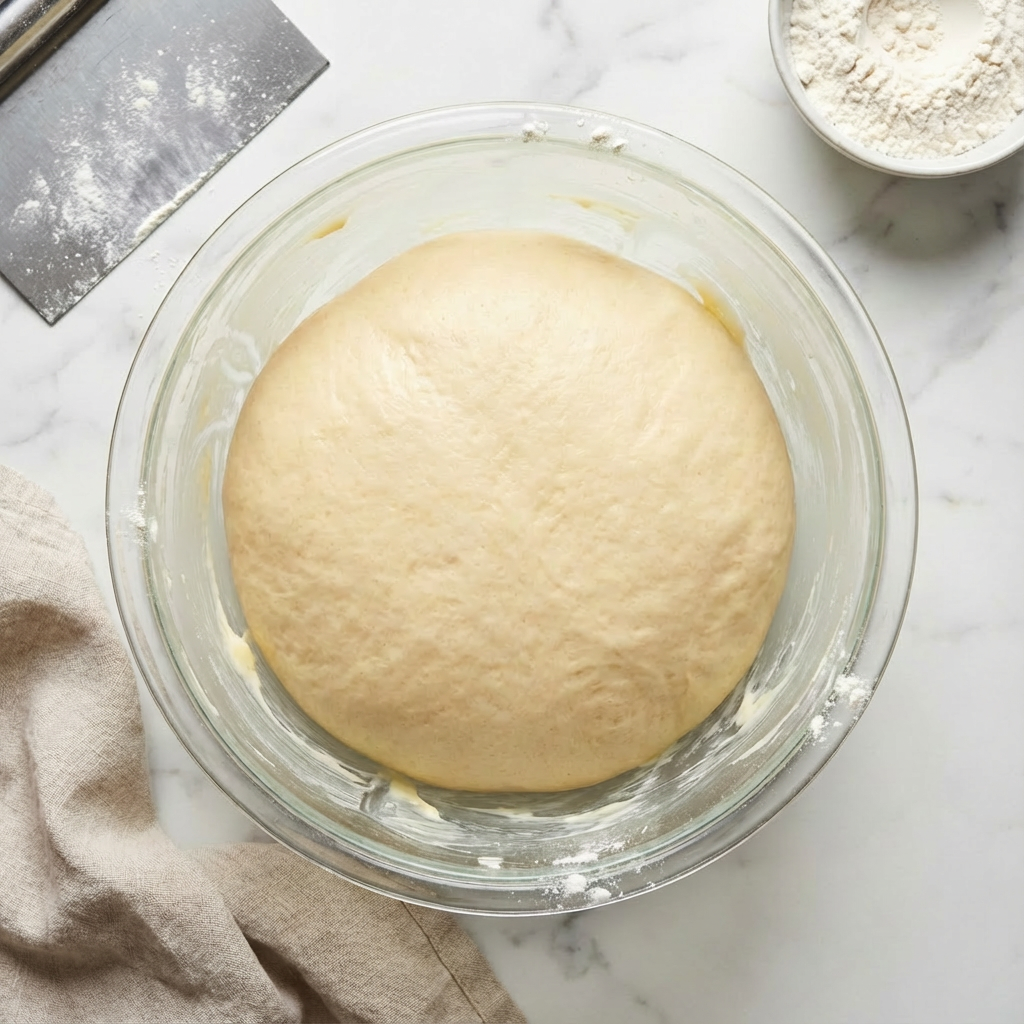
Knead on medium speed for 5-7 minutes, adding remaining flour 1 tablespoon at a time if needed, until the dough is smooth, elastic, and pulls away from the bowl. Place in a greased bowl, cover, and let rise in a warm place until doubled in size, about 1-1.5 hours.
2. Shape the Swirled Buns: Punch down the risen dough. On a lightly floured surface, roll it into a 10×15-inch rectangle. Spread the very soft butter evenly over the surface. In a small bowl, mix honey, brown sugar, cinnamon, and ginger.
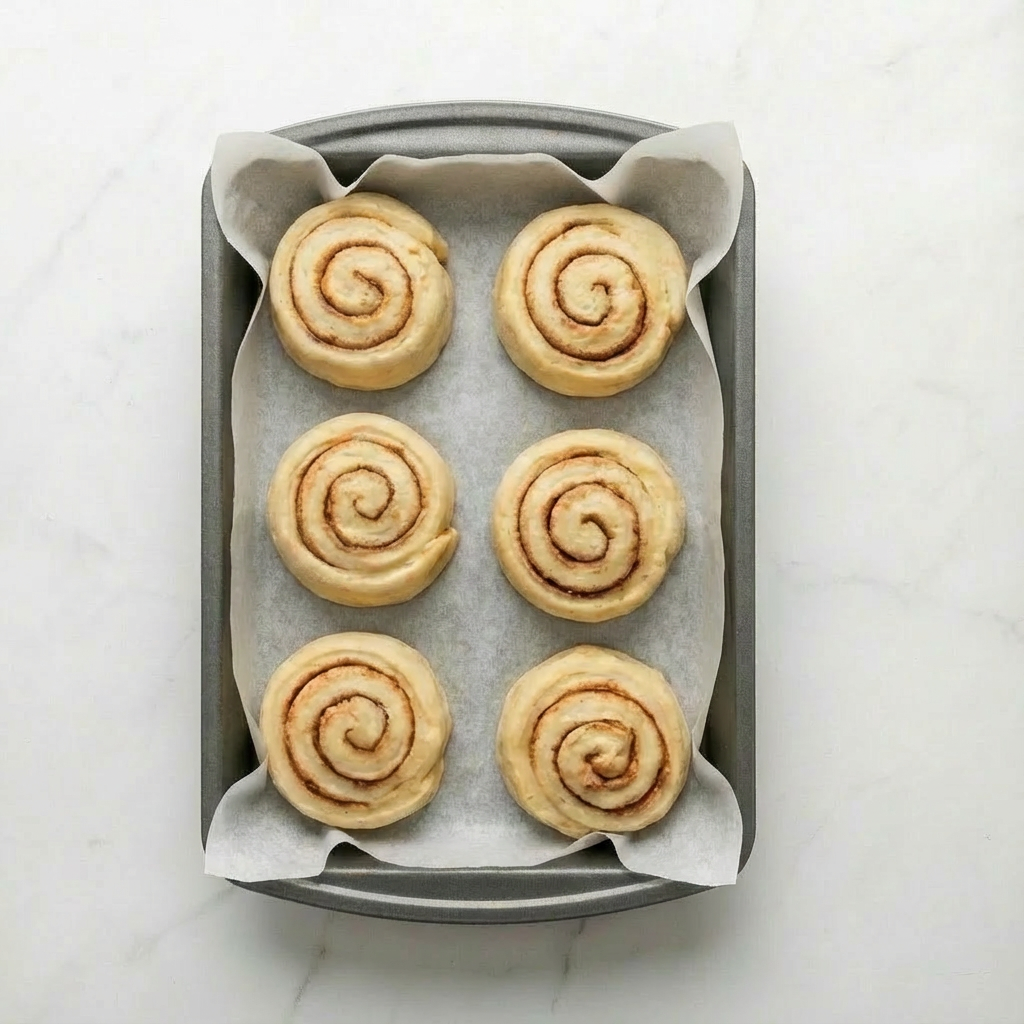
Drop and spread this mixture over the butter layer. Starting from a long side, tightly roll the dough into a log. Using a sharp knife or bench scraper, cut into 9 equal pieces.
3. Second Rise and Bake: Place the swirled rolls cut-side up in a greased 9-inch round cake pan or cast-iron skillet, spacing them slightly apart. Cover and let rise until puffy and nearly doubled, about 45-60 minutes. Preheat oven to 350°F (175°C). Bake for 22-26 minutes, until golden brown on top. If the tops brown too quickly, tent with foil.
4. Prepare the Glaze & Finish: While the buns bake, make the glaze. In a small saucepan, combine the ⅓ cup honey and orange juice. Heat over medium until simmering and thin. As soon as the buns come out of the oven, brush this hot honey-orange syrup generously all over their tops, allowing it to soak in.
In a bowl, whisk the sifted confectioners’ sugar, orange zest, and salt with 1-2 tablespoons of the remaining warm syrup (or more orange juice) until a thick but pourable glaze forms. Drizzle this final glaze over the warm buns.
5. Serve Warm: Let the buns cool in the pan for at least 15-20 minutes before serving. They are best eaten the day they are made, warm from the oven. Store leftovers covered at room temperature for 1 day, or individually wrap and freeze.
Pro-Tips for Perfect Pull-Apart Honey Buns
Milk Temperature Matters: Warm the milk to about 110°F (43°C)—just warmer than body temperature. Too hot will kill the yeast.
Knead Until Smooth: The dough should become smooth and elastic and pass the “windowpane test”: stretch a small piece thinly enough to see light through it without tearing.
Soft Butter for Filling: The butter for the filling must be very soft to spread easily without tearing the delicate, risen dough.
Sharp Cutting Tool: Use unflavored dental floss or a very sharp serrated knife to cut the log cleanly without squashing the swirls.
The Hot Syrup Brush: Do not skip brushing the buns with the hot honey-orange syrup straight from the oven. This step adds incredible moisture and flavor.
Make Ahead: After shaping and placing in the pan, cover tightly and refrigerate overnight for a fresh-baked morning. Let sit at room temperature for 1 hour before baking.
These Homemade Cinnamon Honey Buns are a labor of love that yields the most rewarding, decadent breakfast imaginable.
Wake up to a burst of spring flavor with these stunning Strawberry Lemon Cheesecake Rolls. Imagine soft, pillowy sweet roll dough wrapped around a ribbon of creamy, tangy cheesecake filling and juicy fresh strawberries, all finished with a zesty lemon glaze.
They combine the comforting warmth of a homemade roll with the bright, fresh taste of strawberries and lemon. While they look like they came from a fancy bakery, the process is straightforward—a simple enriched dough, an easy no-cook filling, and a glaze that comes together in minutes. Perfect for Easter, Mother’s Day, or a special weekend brunch, these rolls are guaranteed to impress and delight everyone at the table.
The Science of a Tender Roll & Stable Filling
The perfection of these rolls hinges on two key elements: the enriched dough and the stabilized filling. The dough is enriched with butter, eggs, and milk, which tenderize the gluten, resulting in a soft, fluffy, and rich crumb that can hold the moist filling without becoming soggy. A proper rise is crucial for developing flavor and texture.
The cheesecake filling gets its pipeable, non-runny consistency from a clever technique: combining cream cheese with a thickener. Cornstarch (or flour) is mixed with the sugar before being blended into the cream cheese. This starch absorbs excess moisture released from the strawberries during baking, preventing a soggy, leaking filling. Macerating the strawberries with a little sugar draws out some juice beforehand, which further protects the dough’s structure. This balance ensures every bite has a defined, creamy swirl and tender bread.
Ingredients
For the Sweet Roll Dough:
¾ cup (180ml) whole milk, warmed to about 110°F
2 ¼ teaspoons (1 packet) instant yeast
⅓ cup (65g) granulated sugar
1 large egg, room temperature
¼ cup (½ stick / 57g) unsalted butter, melted and cooled
1 teaspoon vanilla extract
½ teaspoon salt
3 – 3 ½ cups (375-440g) all-purpose flour, divided
1 tablespoon heavy cream or milk (optional, for creaminess)
Instructions
1. Make the Dough: In the bowl of a stand mixer, combine warm milk, yeast, and ⅓ cup sugar. Let sit for 5 minutes until foamy. Add egg, melted butter, vanilla, salt, and 3 cups of flour. Using the dough hook, mix on low until combined, then increase speed to medium and knead for 5-7 minutes, adding more flour 1 tablespoon at a time if needed, until dough is soft, smooth, and slightly tacky. Place in a greased bowl, cover, and let rise in a warm place for 1-2 hours, until doubled.
2. Macerate Strawberries & Make Filling: While dough rises, toss diced strawberries with 1 tablespoon sugar and set aside for 20 minutes. Drain excess liquid. For the filling, beat cream cheese, ¼ cup sugar, cornstarch, and vanilla until completely smooth. Gently fold in the drained strawberries.
3. Shape the Rolls: Punch down risen dough. On a lightly floured surface, roll into a 10×15 inch rectangle. Spread the strawberry cheesecake filling evenly over the dough, leaving a ½-inch border on one long edge. Tightly roll up the dough, starting from the long side with filling. Pinch the seam to seal.
4. Cut & Second Rise: Using a sharp knife or unflavored dental floss, cut the log into 12 even rolls. Place them in a greased 9×13 inch baking dish. Cover and let rise for 30-45 minutes, until puffy.
5. Bake: Preheat oven to 350°F (175°C). Bake rolls for 25-30 minutes, until golden brown on top. If the filling bubbles heavily, it’s normal.
6. Make Glaze & Finish: While rolls bake, whisk together powdered sugar, 2 tablespoons lemon juice, zest, and cream (if using) until smooth. Add more juice for a thinner consistency. Let rolls cool in pan for 10 minutes, then drizzle generously with lemon glaze.
7. Serve: Serve warm. Store leftovers covered in the refrigerator for up to 3 days. Reheat gently.
Pro-Tips for Perfect, Leak-Free Rolls
Proper Dough Texture: The dough should be soft and slightly sticky, but not so wet that it can’t be handled. Adding flour gradually is key.
Drain Those Berries: Draining the macerated strawberries is the most important step to prevent a soggy, leaking mess. Pat them gently with a paper towel if needed.
Cornstarch is Your Friend: The cornstarch in the filling acts as a stabilizer, absorbing berry juices during baking. Don’t skip it.
Sharp Cutting Tool: Use a sharp serrated knife or dental floss to cut the rolls cleanly without squishing them.
Don’t Overbake: The rolls are done when they’re golden. Overbaking can dry out the dough.
Glaze Consistency: For a thick glaze that sits on top, use less lemon juice. For a thinner, drizzle-able glaze that soaks in slightly, add more juice.
Make Ahead: Assemble the rolls up through step 4, cover tightly, and refrigerate overnight. In the morning, let them sit at room temp for 30 minutes while the oven preheats, then bake as directed.
These Strawberry Lemon Cheesecake Rolls are a beautiful, flavorful celebration in every bite.