Tag: bread maker

  • Swirled with Sweet Spice: The Ultimate Cinnamon Quick Bread You’ll Make Again and Again

    Swirled with Sweet Spice: The Ultimate Cinnamon Quick Bread You’ll Make Again and Again

    There’s something timeless about the warm aroma of cinnamon drifting through your kitchen.

    Cinnamon quick bread is soft, tender, and beautifully swirled with sweet spice—perfect for breakfast, brunch, or an afternoon treat with coffee. Best of all, since it’s a quick bread, there’s no yeast and no rising time required.

    Just mix, swirl, bake, and enjoy. This step-by-step guide will show you exactly how to create a moist, bakery-style cinnamon quick bread with a rich cinnamon sugar ribbon in every slice.
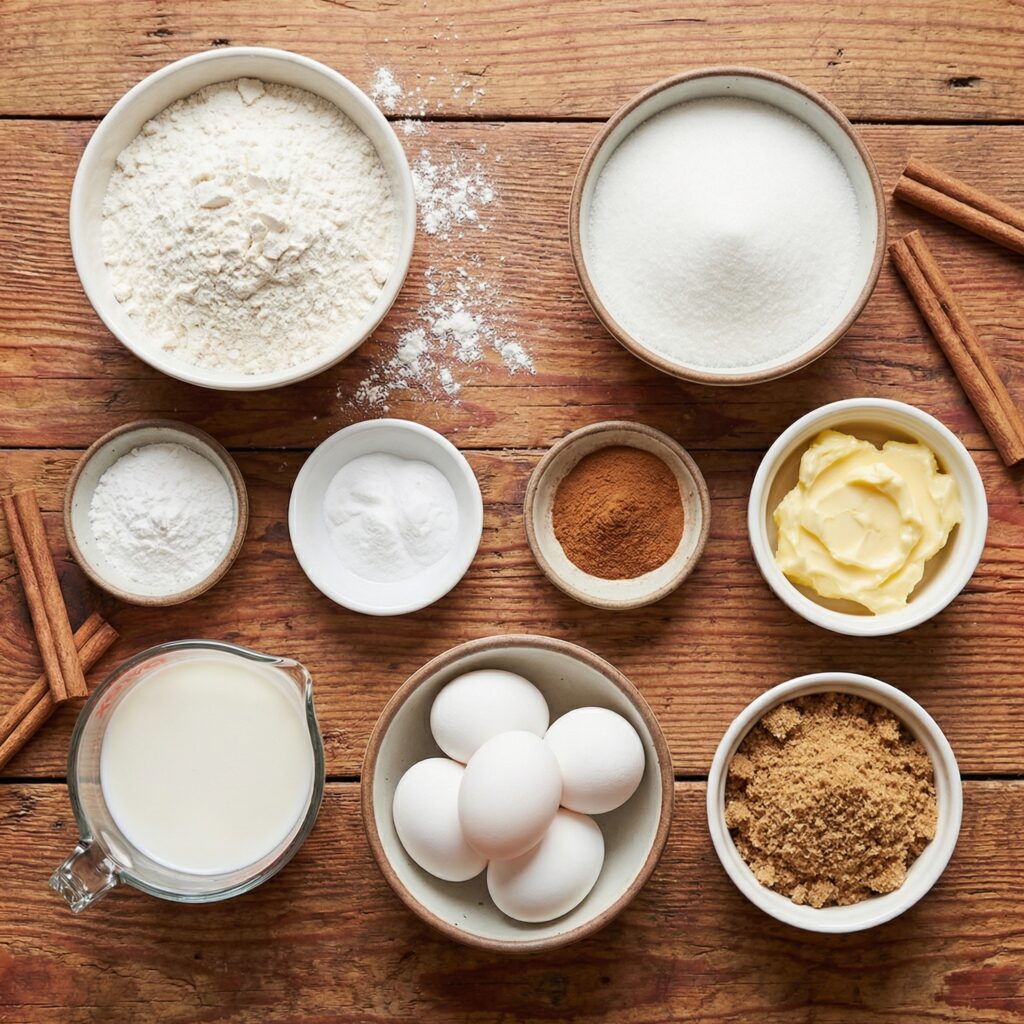

    Ingredients You’ll Need

    For the Bread Batter:

    • 2 cups (250g) all-purpose flour
    • 1 cup (200g) granulated sugar
    • 1 teaspoon baking soda
    • ½ teaspoon baking powder
    • ½ teaspoon salt
    • 1 teaspoon ground cinnamon
    • 2 large eggs
    • 1 cup (240ml) buttermilk (or milk + 1 tablespoon vinegar)
    • ½ cup (120ml) vegetable oil or melted butter
    • 1 teaspoon vanilla extract

    For the Cinnamon Swirl:

    • ⅓ cup (65g) brown sugar
    • 1 tablespoon ground cinnamon
    • 1 tablespoon melted butter

    Optional Glaze:

    • ½ cup powdered sugar
    • 1–2 tablespoons milk
    • ¼ teaspoon vanilla extract

    Step 1: Preheat and Prepare Your Pan

    Preheat your oven to 350°F (175°C). Lightly grease a standard 9×5-inch loaf pan with butter or nonstick spray.

    For easy removal, you can also line the pan with parchment paper, leaving an overhang on the sides.

    Preparing the pan properly ensures your bread releases cleanly after baking.


    Step 2: Mix the Dry Ingredients

    In a large mixing bowl, whisk together the flour, sugar, baking soda, baking powder, salt, and cinnamon.

    Mixing the dry ingredients first ensures even distribution of the leavening agents and spice, giving the bread a consistent texture and flavor throughout.


    Step 3: Combine the Wet Ingredients

    In a separate bowl, whisk together the eggs, buttermilk, oil (or melted butter), and vanilla extract until smooth.

    The buttermilk adds moisture and a slight tang, while the oil keeps the bread soft and tender for days.


    Step 4: Combine Wet and Dry Mixtures

    Pour the wet ingredients into the bowl of dry ingredients. Using a spatula or wooden spoon, gently stir until just combined.

    Be careful not to overmix—this can develop too much gluten and make the bread dense. The batter should be smooth but slightly thick, with no visible streaks of flour.


    Step 5: Prepare the Cinnamon Swirl

    In a small bowl, mix together the brown sugar, ground cinnamon, and melted butter until combined.

    This mixture will create the sweet, gooey ribbon that makes cinnamon quick bread so irresistible.


    Step 6: Layer and Swirl

    Pour half of the batter into the prepared loaf pan and spread evenly. Sprinkle half of the cinnamon swirl mixture over the batter.

    Add the remaining batter on top and gently smooth it out. Sprinkle the rest of the cinnamon mixture over the top layer. Using a knife or skewer, gently swirl the cinnamon sugar into the batter with a few figure-eight motions. Avoid over-swirling—you want distinct ribbons of cinnamon throughout the bread.


    Step 7: Bake to Golden Perfection

    Place the loaf pan in the preheated oven and bake for 50–60 minutes, or until a toothpick inserted into the center comes out clean or with just a few moist crumbs.

    If the top begins to brown too quickly, loosely tent the bread with aluminum foil during the last 10–15 minutes of baking.


    Step 8: Cool Before Removing

    Once baked, remove the bread from the oven and let it cool in the pan for 10–15 minutes.

    Then carefully transfer it to a wire rack to cool completely. Cooling allows the crumb to set and prevents the bread from becoming gummy when sliced.


    Step 9: Add the Optional Glaze

    For an extra touch of sweetness, whisk together powdered sugar, milk, and vanilla extract until smooth.

    Drizzle the glaze over the cooled bread, allowing it to cascade down the sides. Let it set for 10–15 minutes before slicing.


    Step 10: Slice and Serve

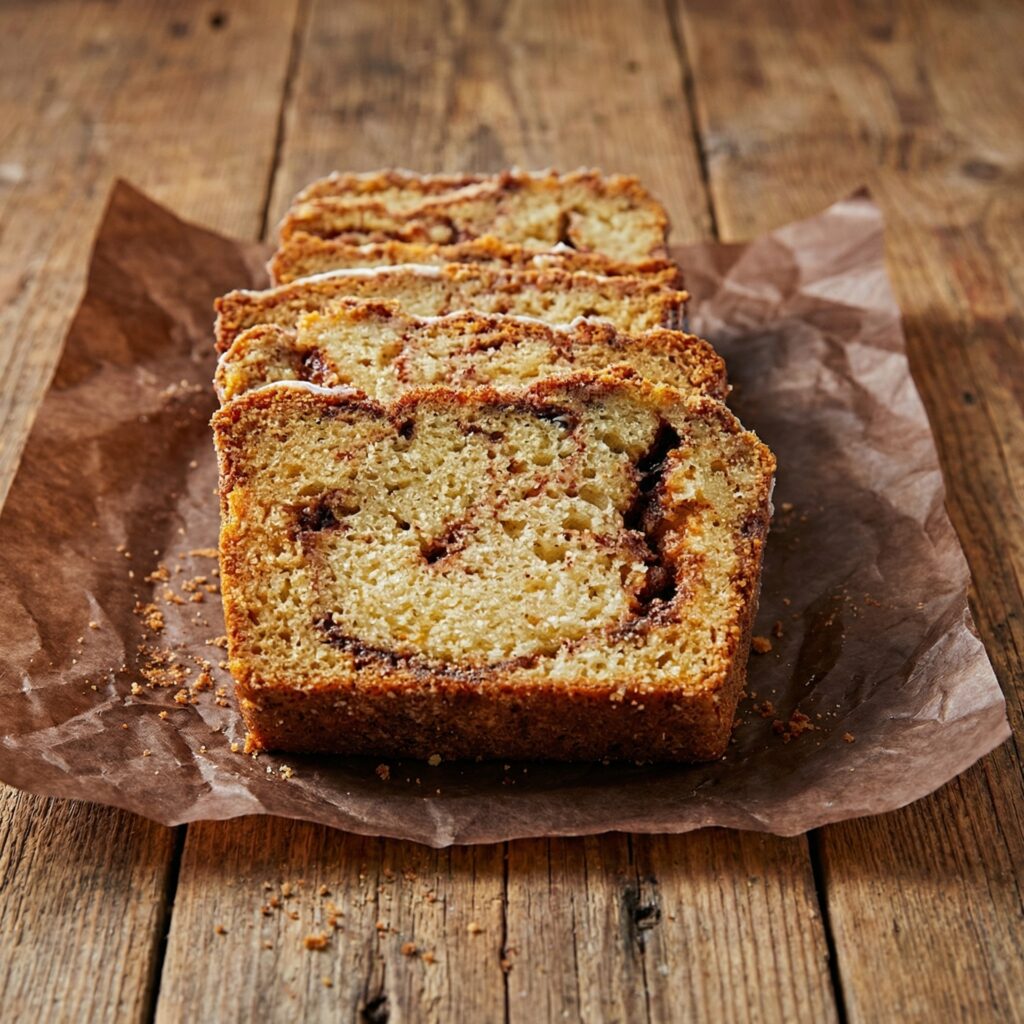
    Use a sharp serrated knife to slice the bread. Each slice should reveal beautiful swirls of cinnamon sugar running throughout the soft, tender crumb.

    Serve warm with butter, alongside coffee or tea, or as a comforting afternoon snack.

    Tips for the Best Cinnamon Quick Bread

    1. Don’t overmix the batter – Stir just until combined to keep the bread tender.
    2. Use room-temperature ingredients – They incorporate more smoothly into the batter.
    3. Measure flour correctly – Spoon it into the measuring cup and level it off to avoid dense bread.
    4. Let it cool fully before slicing – This ensures clean slices and proper texture.
    5. Customize it – Add chopped nuts, raisins, or a streusel topping for extra texture.

    Storage and Freezing

    • Store cinnamon quick bread in an airtight container at room temperature for up to 3 days.
    • Refrigerate for up to 5 days if glazed.
    • Freeze slices individually wrapped for up to 3 months. Thaw at room temperature or warm gently in the microwave.
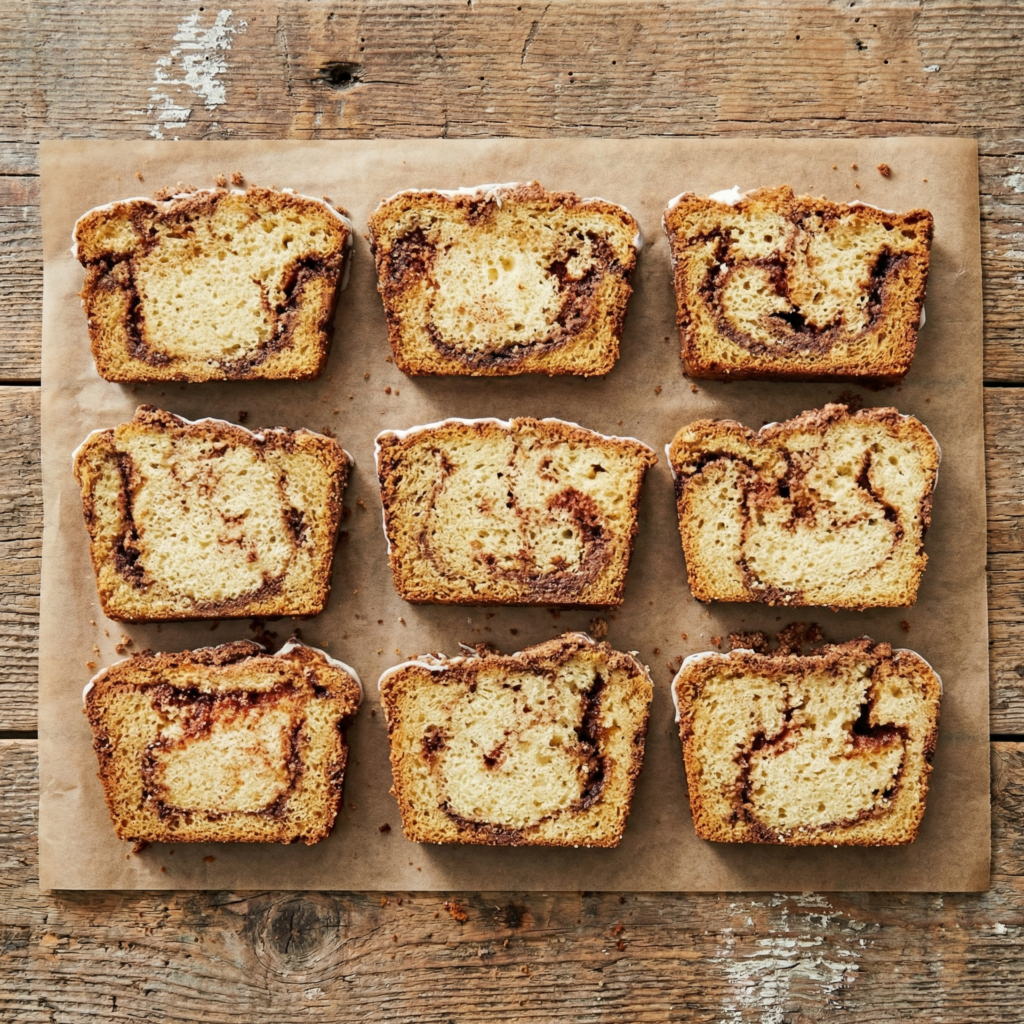
    Cinnamon quick bread is the kind of recipe you’ll turn to again and again. It’s simple enough for beginner bakers yet impressive enough to share with friends and family. The soft crumb, sweet cinnamon swirl, and optional glaze create a comforting loaf that feels both nostalgic and indulgent.

    With minimal prep and everyday ingredients, you can fill your kitchen with the warm scent of cinnamon and enjoy a homemade treat that tastes like it came straight from a bakery. One slice is never enough—and luckily, this recipe makes it easy to bake another loaf whenever the craving strikes.

  • Perfect White Bread for the Bread Machine: Effortless Homemade Loaves

    Perfect White Bread for the Bread Machine: Effortless Homemade Loaves

    There’s nothing quite like the aroma and taste of freshly baked bread, and with a bread machine, it’s easier than ever to achieve. This recipe is your gateway to perfect, consistent loaves every time. Simply add the ingredients to the pan in the correct order, press a button, and let the machine handle the mixing, kneading, rising, and baking.

    The result is a beautifully tall, soft, and tender white loaf with a light, golden crust—ideal for sandwiches, toast, or simply slathered with butter. It’s homemade bread made truly hassle-free.

    The Science of the Machine-Made Loaf

    The bread machine automates the three critical stages of bread making: kneading, proofing, and baking, each in a controlled environment. During the knead cycle, the paddle thoroughly mixes and develops the gluten network, which is essential for the bread’s structure and chew.

    The proofing cycle provides a warm, humid environment for the yeast to ferment, producing carbon dioxide that makes the dough rise. Finally, the baking cycle applies consistent, surrounding heat that sets the structure, browns the crust, and creates that irresistible aroma.

    The order of adding ingredients (typically liquids first, then dry, with yeast last) is crucial to prevent the yeast from activating prematurely. This precise, hands-off process removes the guesswork and variables of traditional baking, guaranteeing a perfect loaf with minimal effort.

    Ingredients

    For a 1.5 lb Loaf (Standard Bread Machine Pan):

    • 1 cup + 2 tablespoons (270ml) warm water (105-115°F / 40-46°C)
    • 2 tablespoons (28g) unsalted butter, softened or melted
    • 2 tablespoons (25g) granulated sugar
    • 1 ¼ teaspoons salt
    • 3 cups (375g) bread flour*
    • 2 ¼ teaspoons (1 packet / 7g) active dry yeast or bread machine yeast

    *Bread flour is recommended for its higher protein content, which yields a better rise and chewier texture. All-purpose flour can be used but may produce a slightly denser loaf.

    Instructions

    1. The Measured Liquid Ingredients in the Pan: To the bread machine pan, add the warm water, softened or melted butter, sugar, and salt.

    2. The Added Flour Mound: Add the bread flour to the pan, carefully pouring it over the liquid to cover the surface completely.

    3. The Yeast in its Well: Use your finger to make a small well (indentation) in the top center of the flour mound. This keeps the yeast dry until mixing begins. Pour the yeast into this well.

    4. The Pan Locked in the Machine: Securely place the bread pan into the bread machine. Close and lock the lid.

    5. The Selected Cycle & Settings: Select the appropriate cycle for a basic white loaf. Typically, this is the “Basic” or “White Bread” cycle. Choose your desired crust color (Light, Medium, or Dark) and the loaf size (1.5 lb). Press start.

    6. The Baked Loaf in the Pan: At the end of the cycle, the machine will beep. The bread will be fully baked, with a deep golden-brown crust, and the pan will be very hot.

    7. The Loaf Removed from the Pan: Using oven mitts, carefully remove the hot pan from the machine. Tip the loaf out onto a clean kitchen towel or cooling rack. The loaf should release easily. Remove the kneading paddle from the bottom of the loaf if it’s stuck inside.

    8. The Cooling Loaf: Allow the bread to cool completely on a wire rack for at least 1 hour before slicing. This allows the interior crumb to set and prevents a gummy texture.

    9. The Sliced Loaf: Once completely cool, use a serrated bread knife to slice the loaf. The interior should be soft, fluffy, and uniform with a fine, tender crumb.

    Pro-Tips for Bread Machine Success

    • Ingredient Temperature Matters: Use warm water (not hot) to activate the yeast without killing it. Cold ingredients can slow or prevent rising.
    • Follow the Manufacturer’s Order: Most machines require liquids first, then dry, with yeast last. Always check your manual.
    • Measure Accurately: Use measuring cups for liquids and a kitchen scale for flour for the most consistent results.
    • Don’t Open the Lid: Resist the urge to check during the rise or bake cycles, as it releases heat and humidity crucial for the bread’s success.
    • Remove Promptly: Take the loaf out of the machine as soon as the cycle ends to prevent condensation from making the crust soggy.
    • Cool Completely: This is the hardest but most important rule. Slicing warm bread compresses the crumb and makes it seem doughy.
    • Troubleshooting: If your loaf is too dense, your yeast may be old. If it collapses, there may be too much liquid or the room was too warm.
    • Customize It: Add ½ cup of raisins or dried cranberries at the beep (if your machine has a fruit/nut add signal). For a richer loaf, replace water with milk and add an egg.
    • Storage: Store cooled bread in a plastic bag at room temperature for 2-3 days, or slice and freeze for longer storage.
    • Clean the Pan: Let the pan and paddle soak in warm, soapy water to easily remove any baked-on dough.

    This Perfect White Bread recipe unlocks the full, simple potential of your bread machine.